
South County – May 2021


Quick wallpaper removal job in Fenton. Removed paper and backing, sealed wall and did two coats of paint to the top of the stairs.
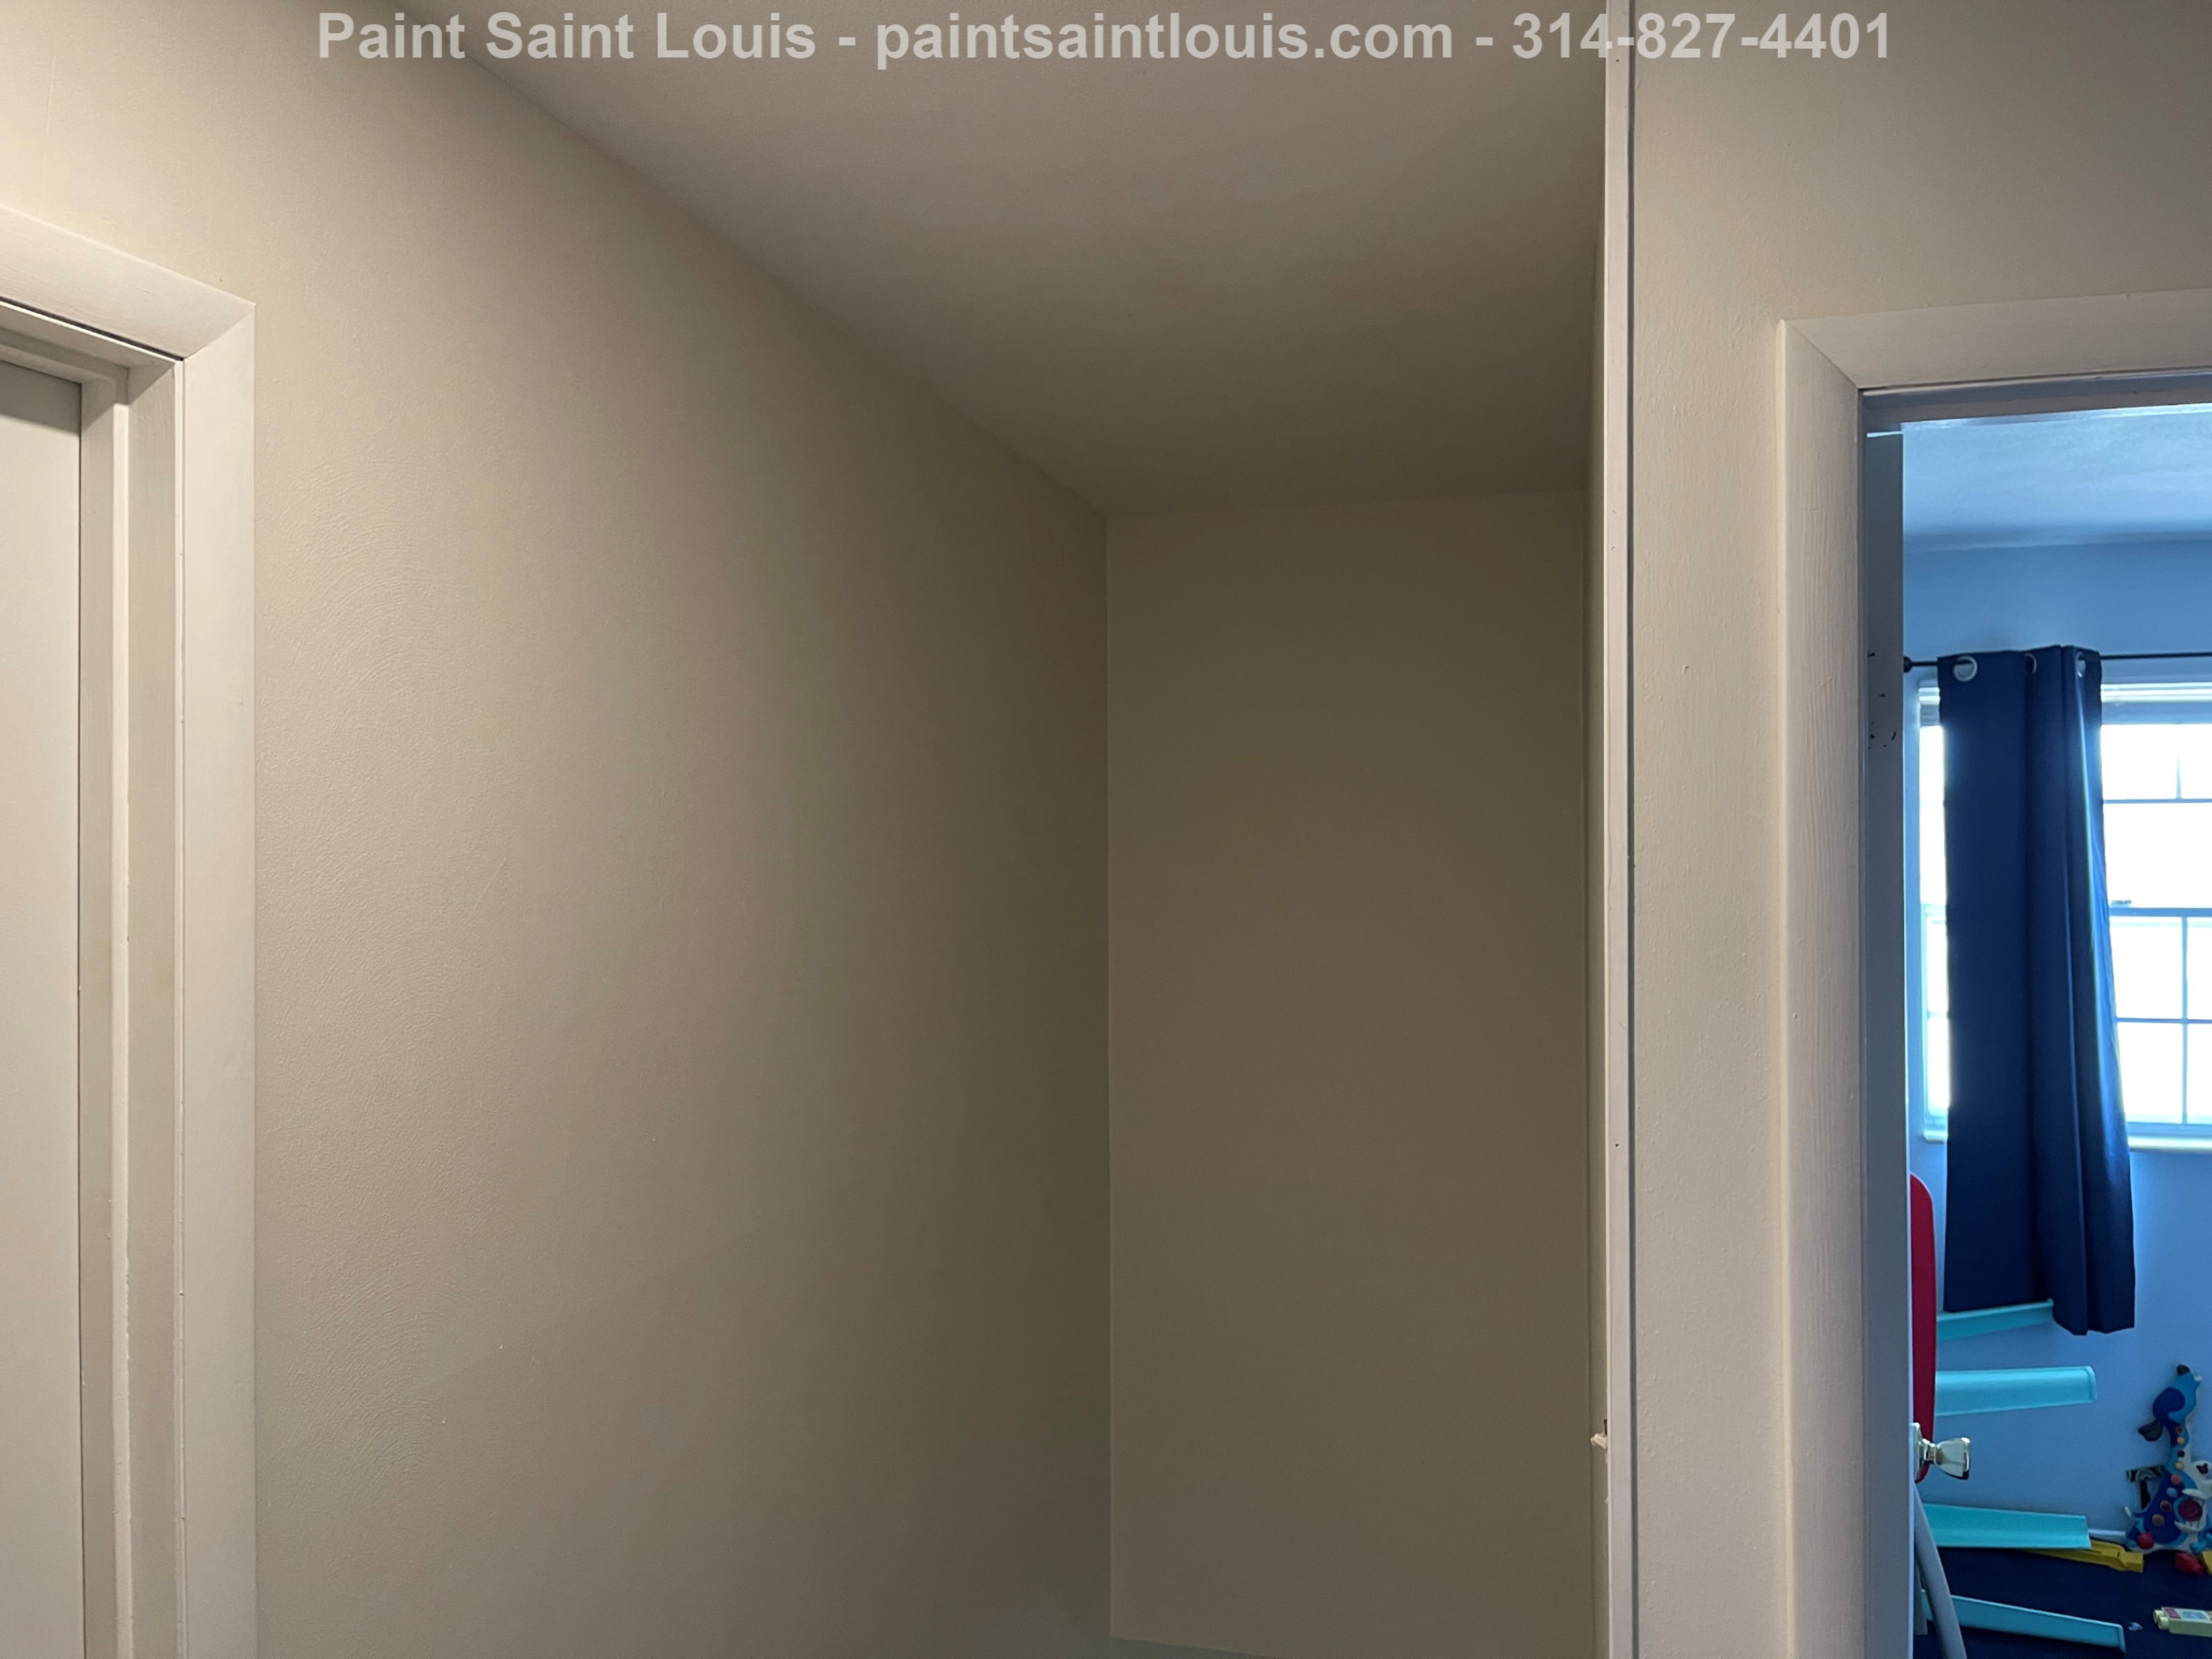
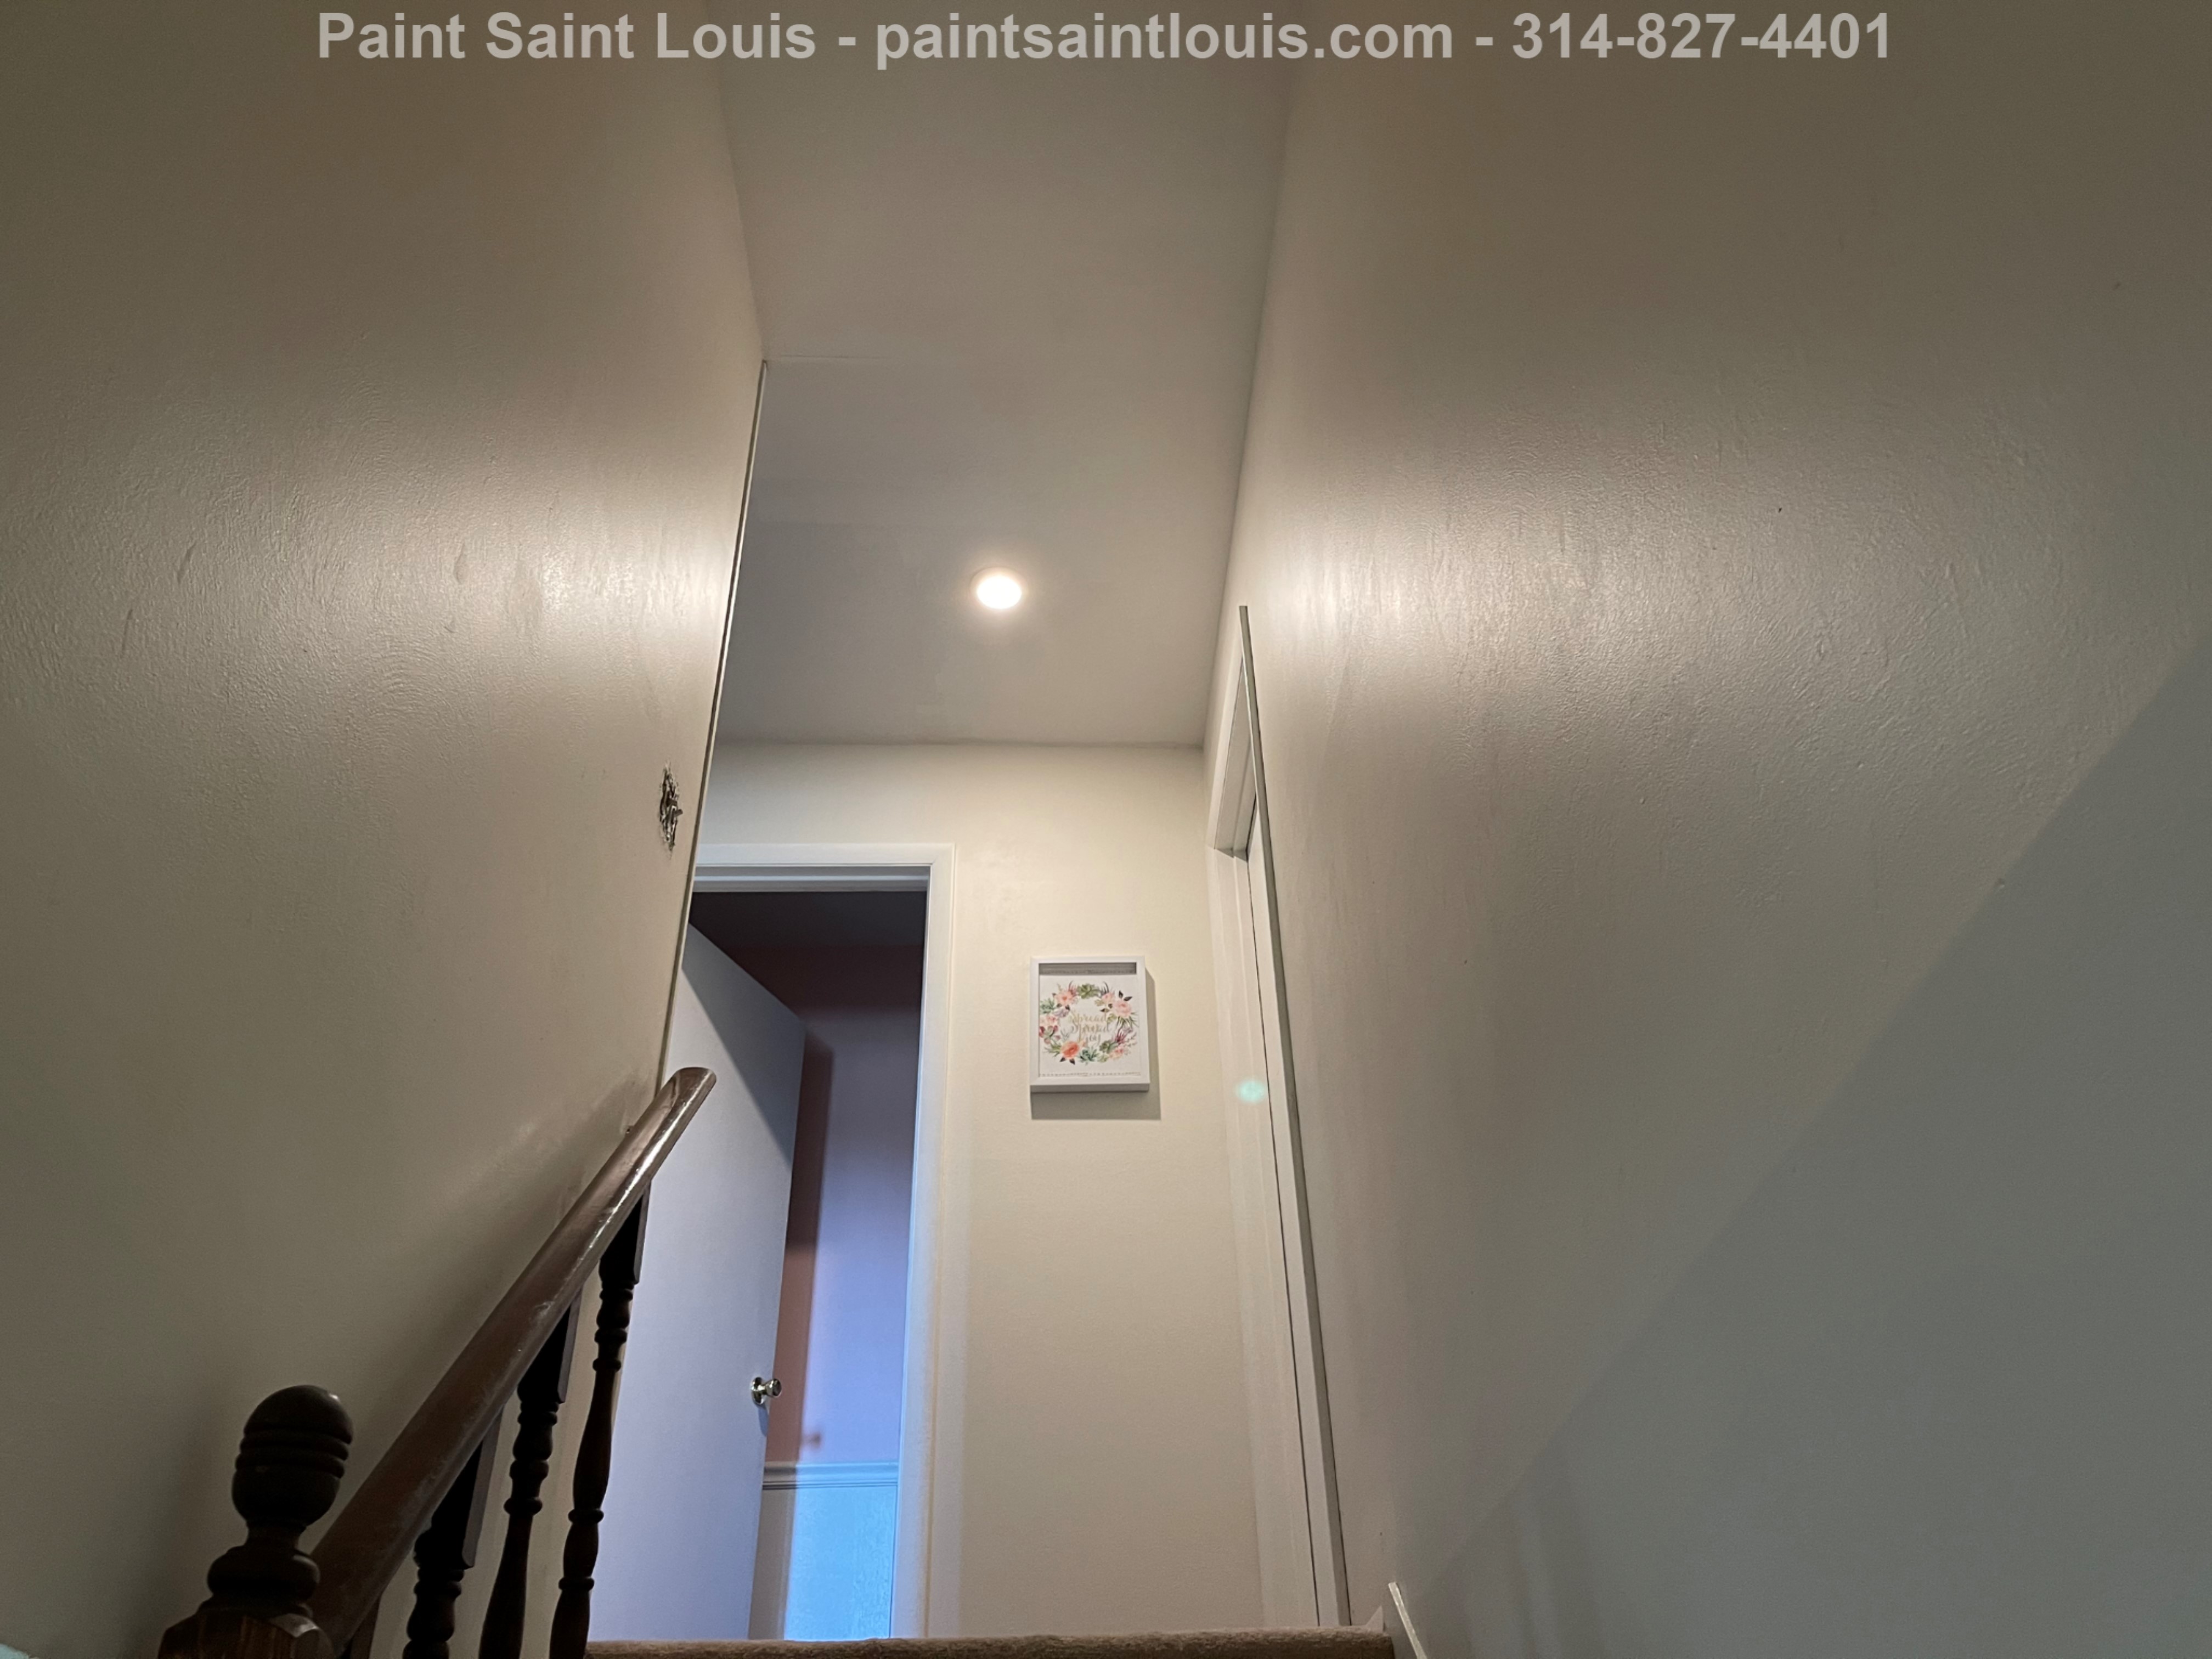
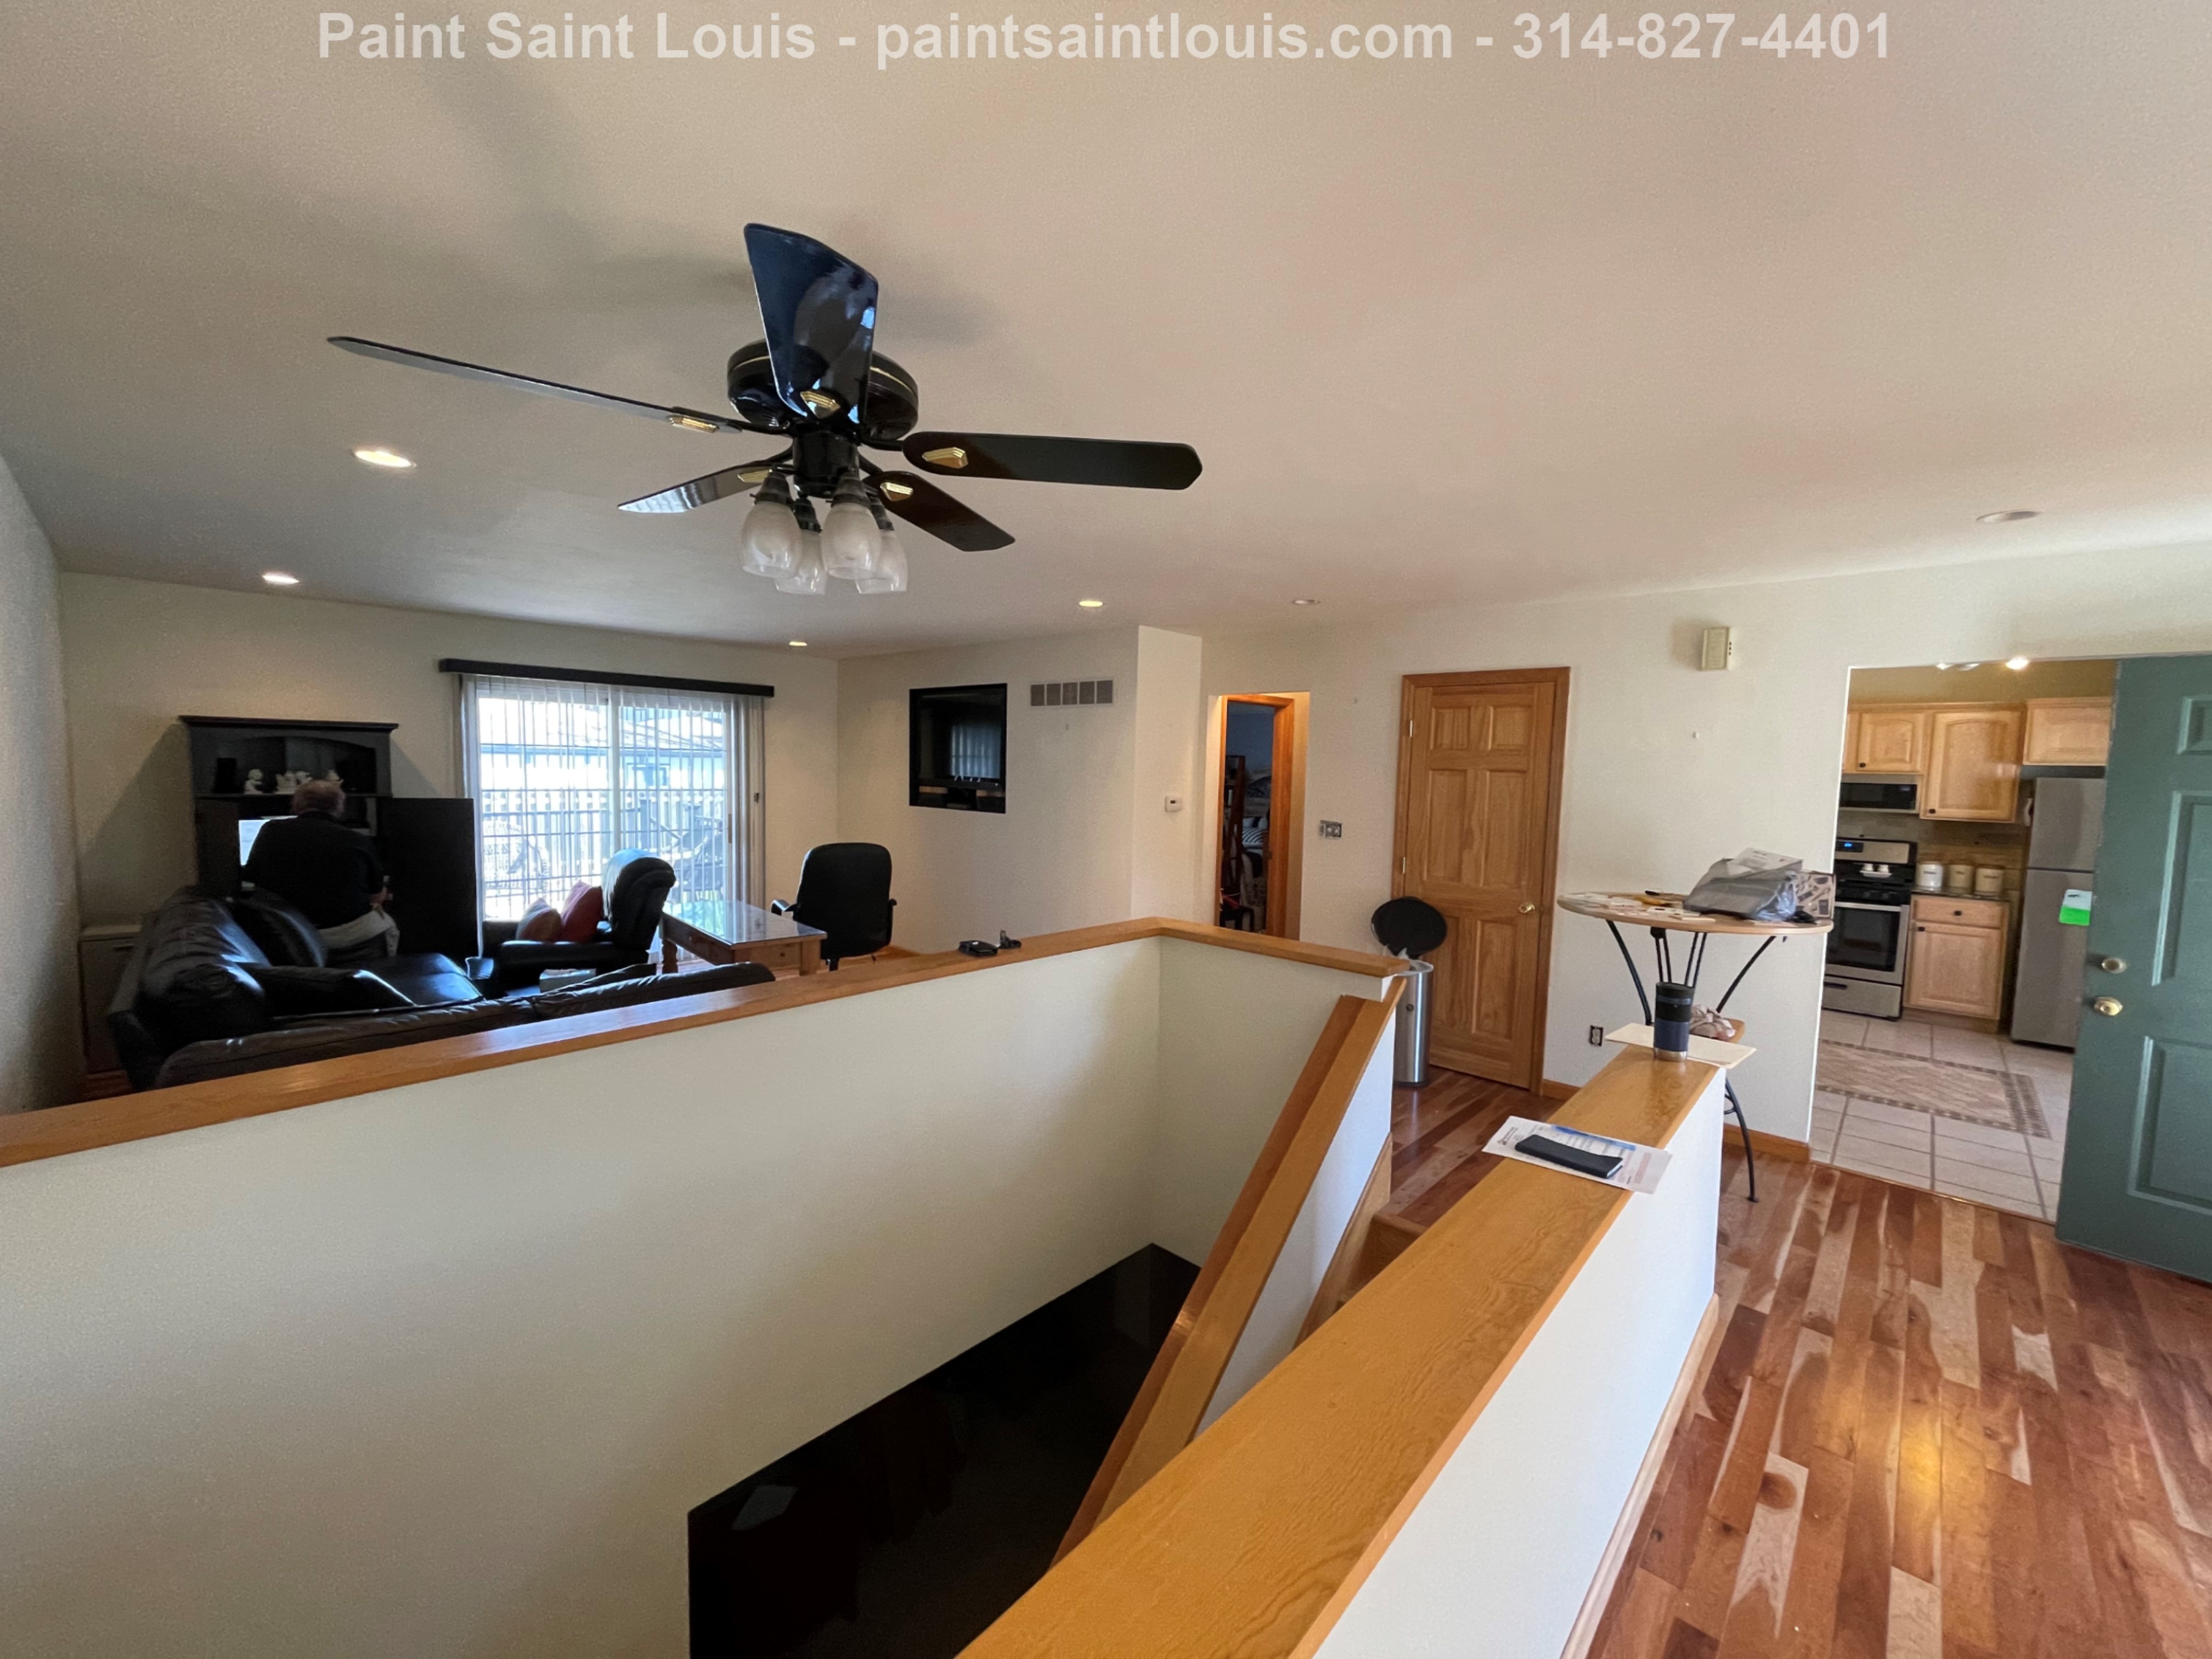
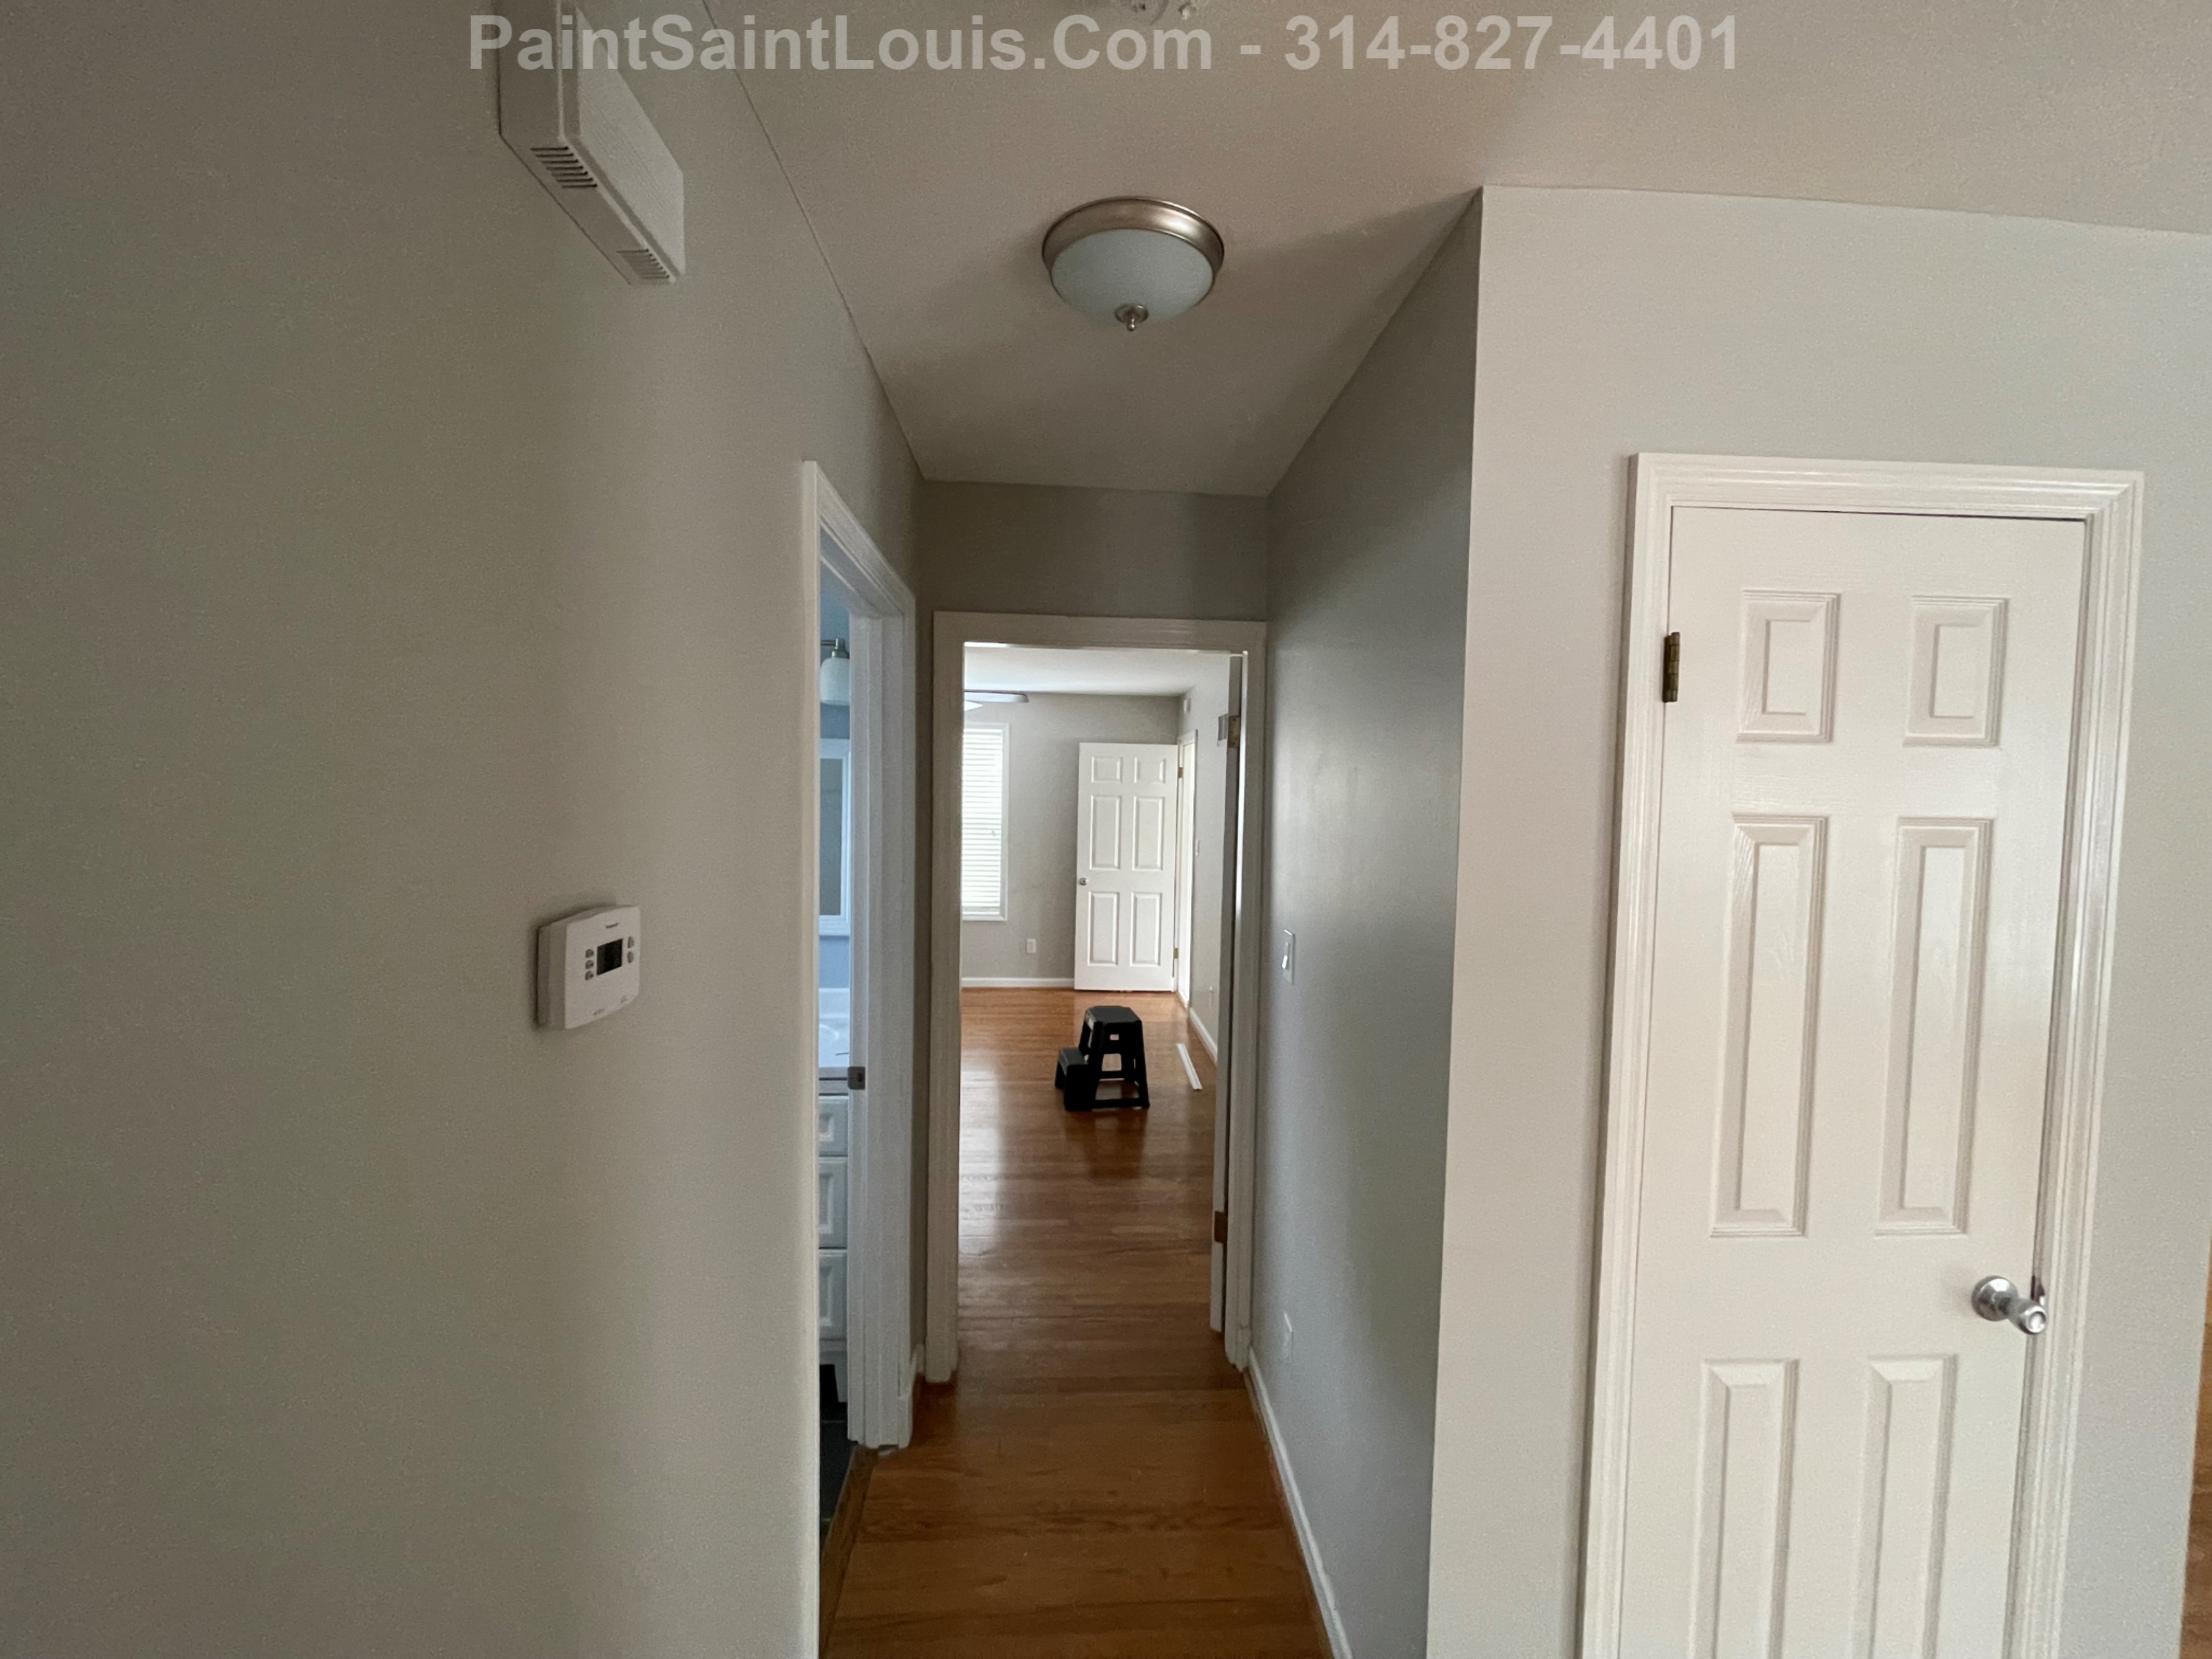
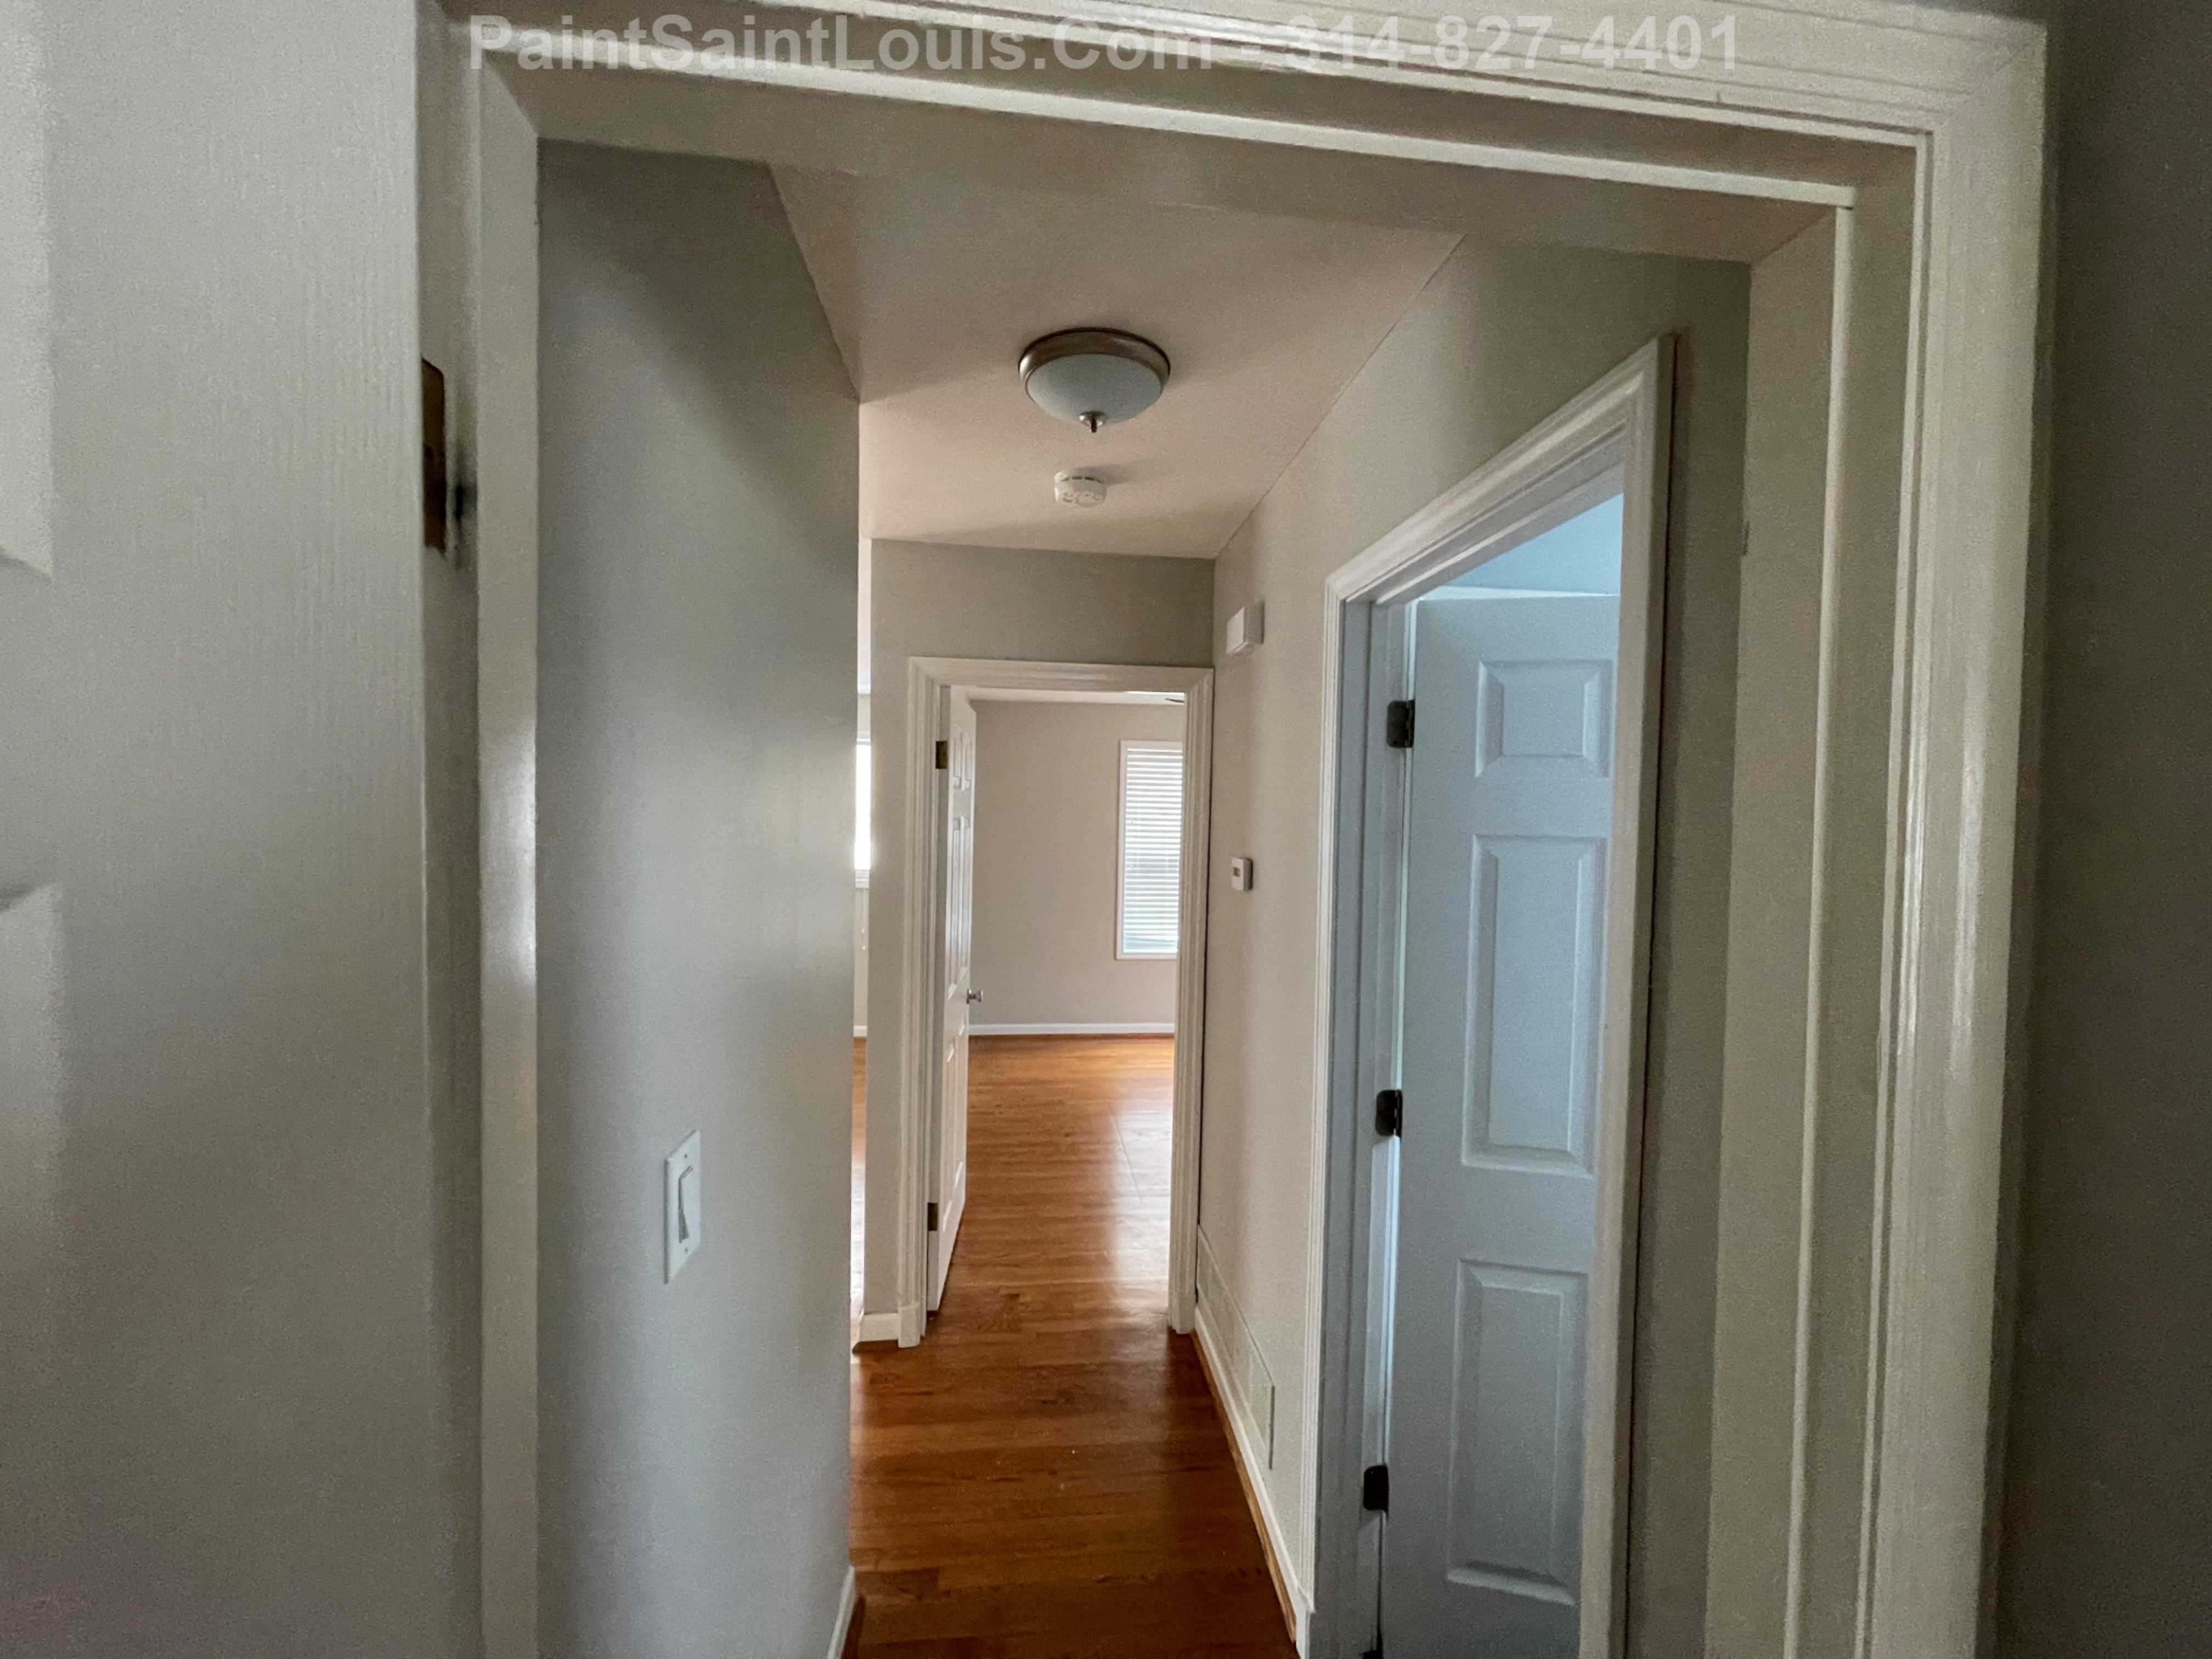
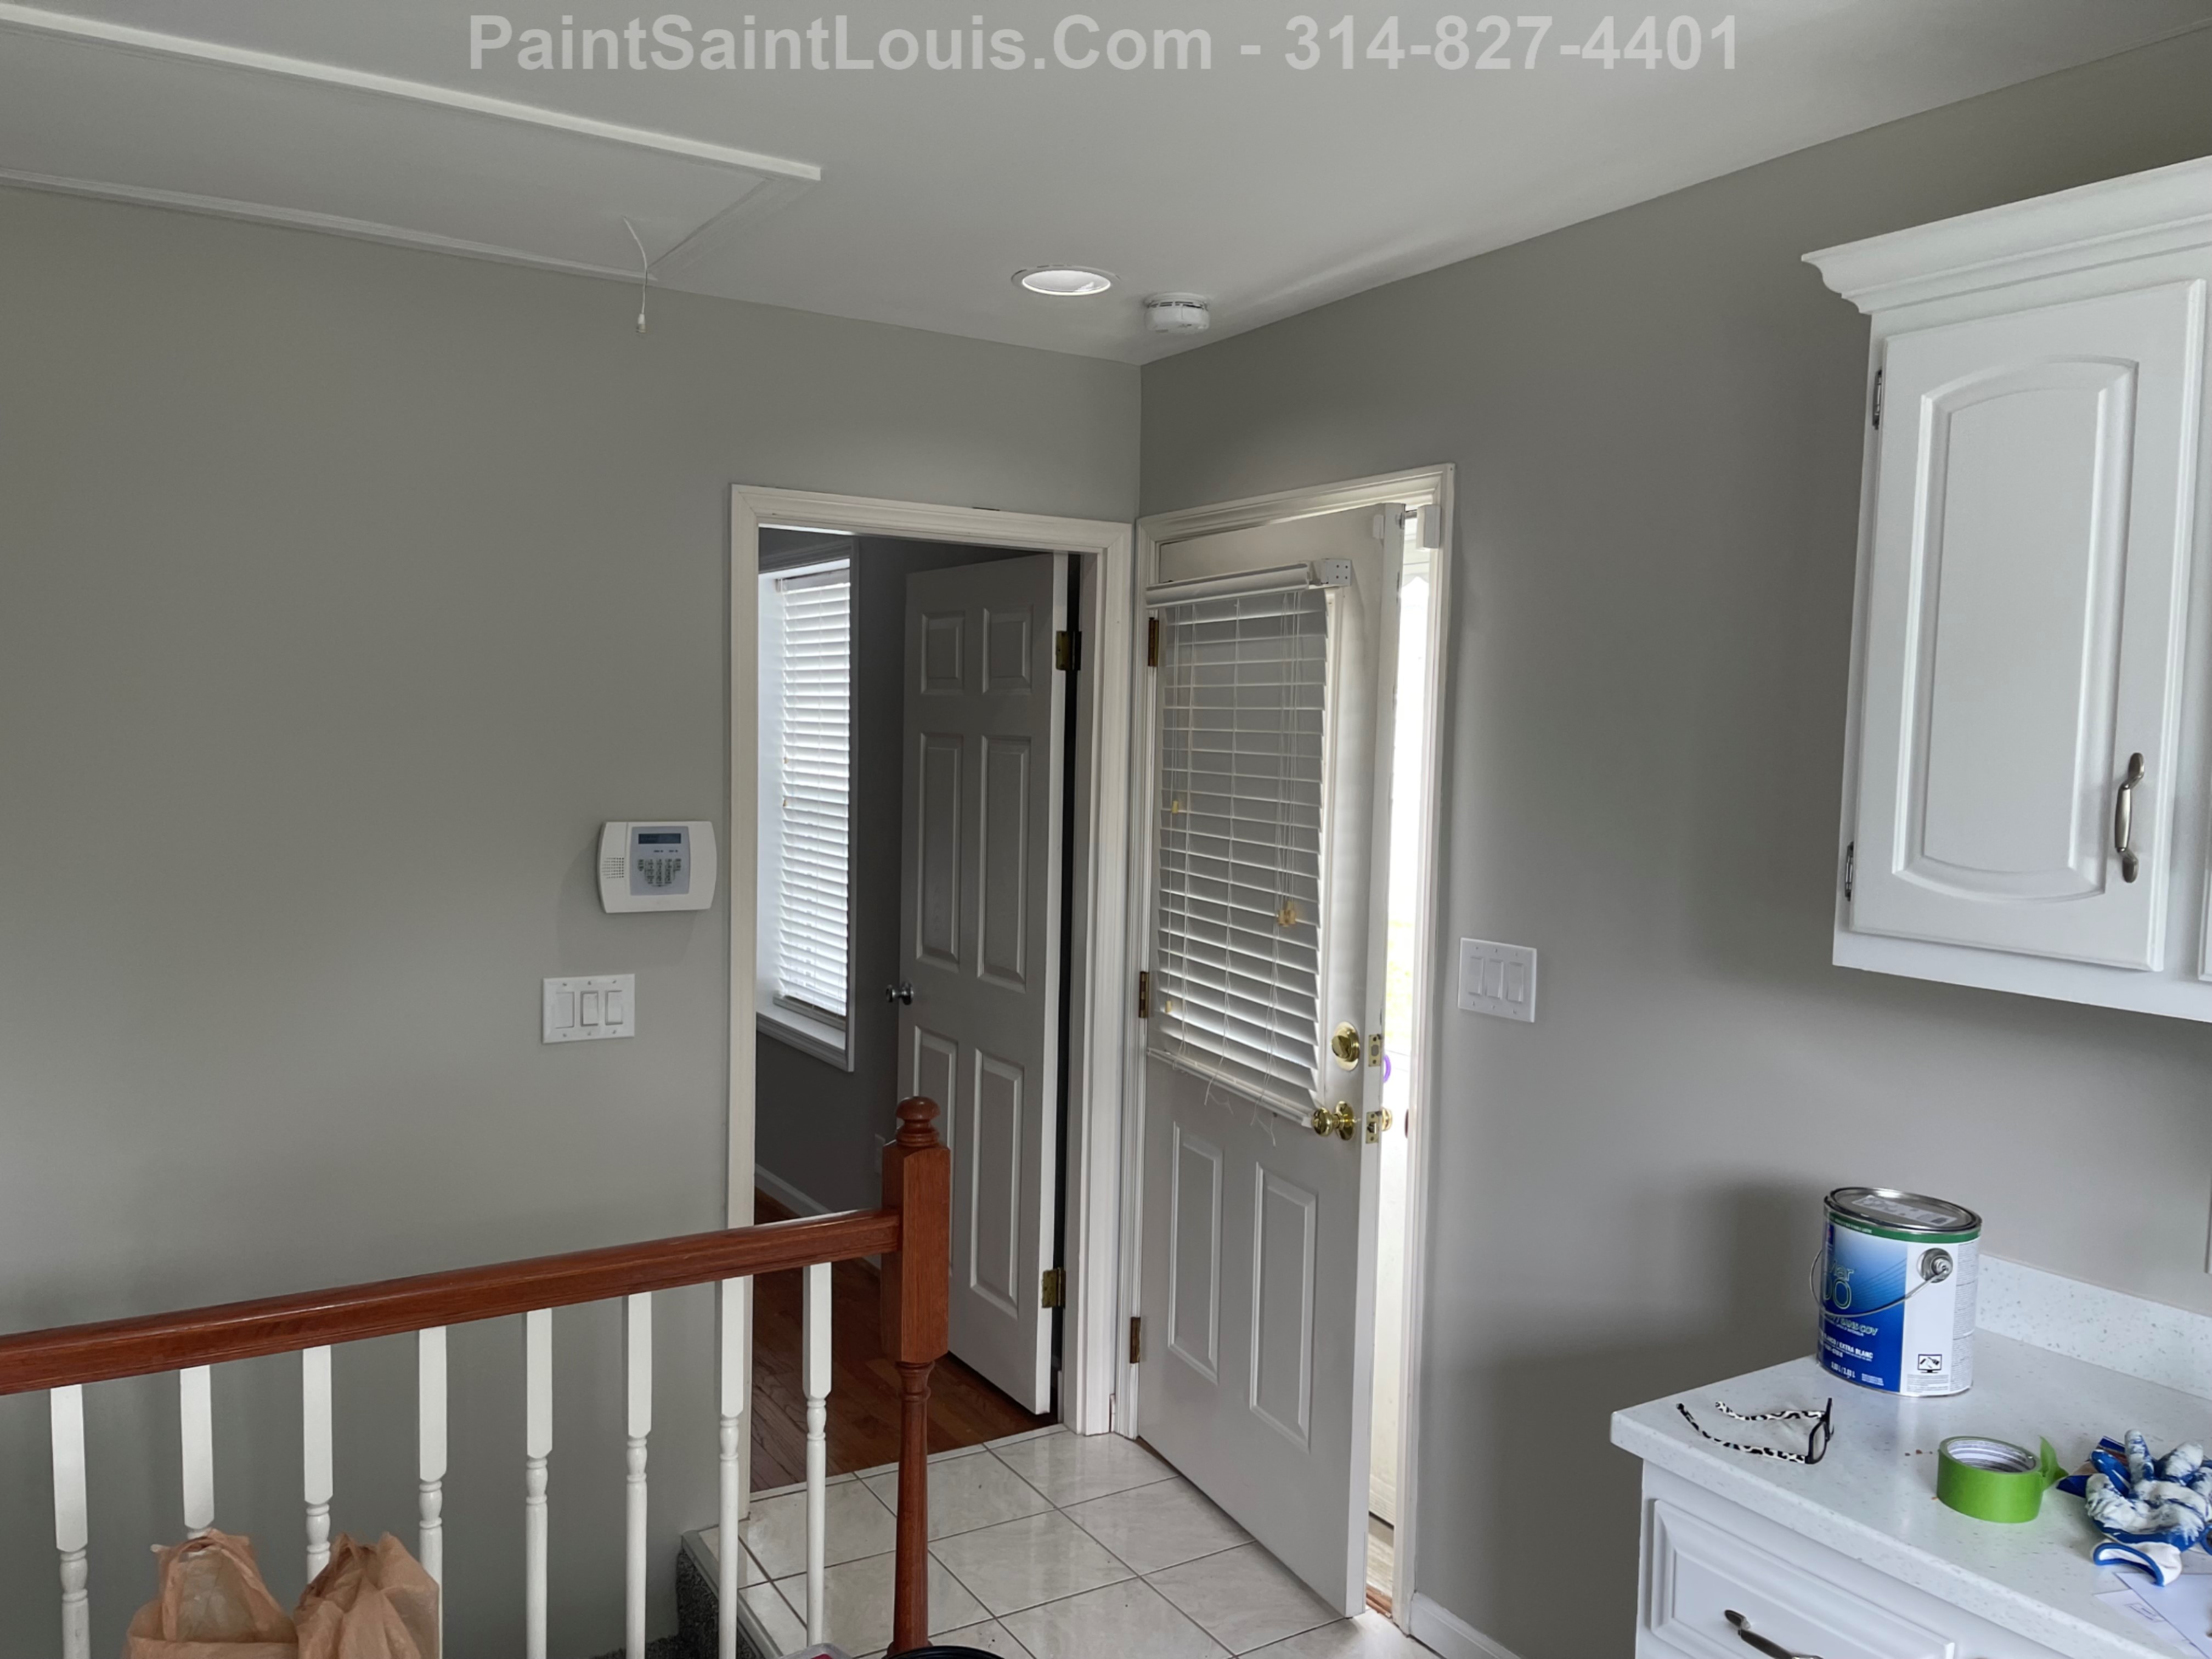
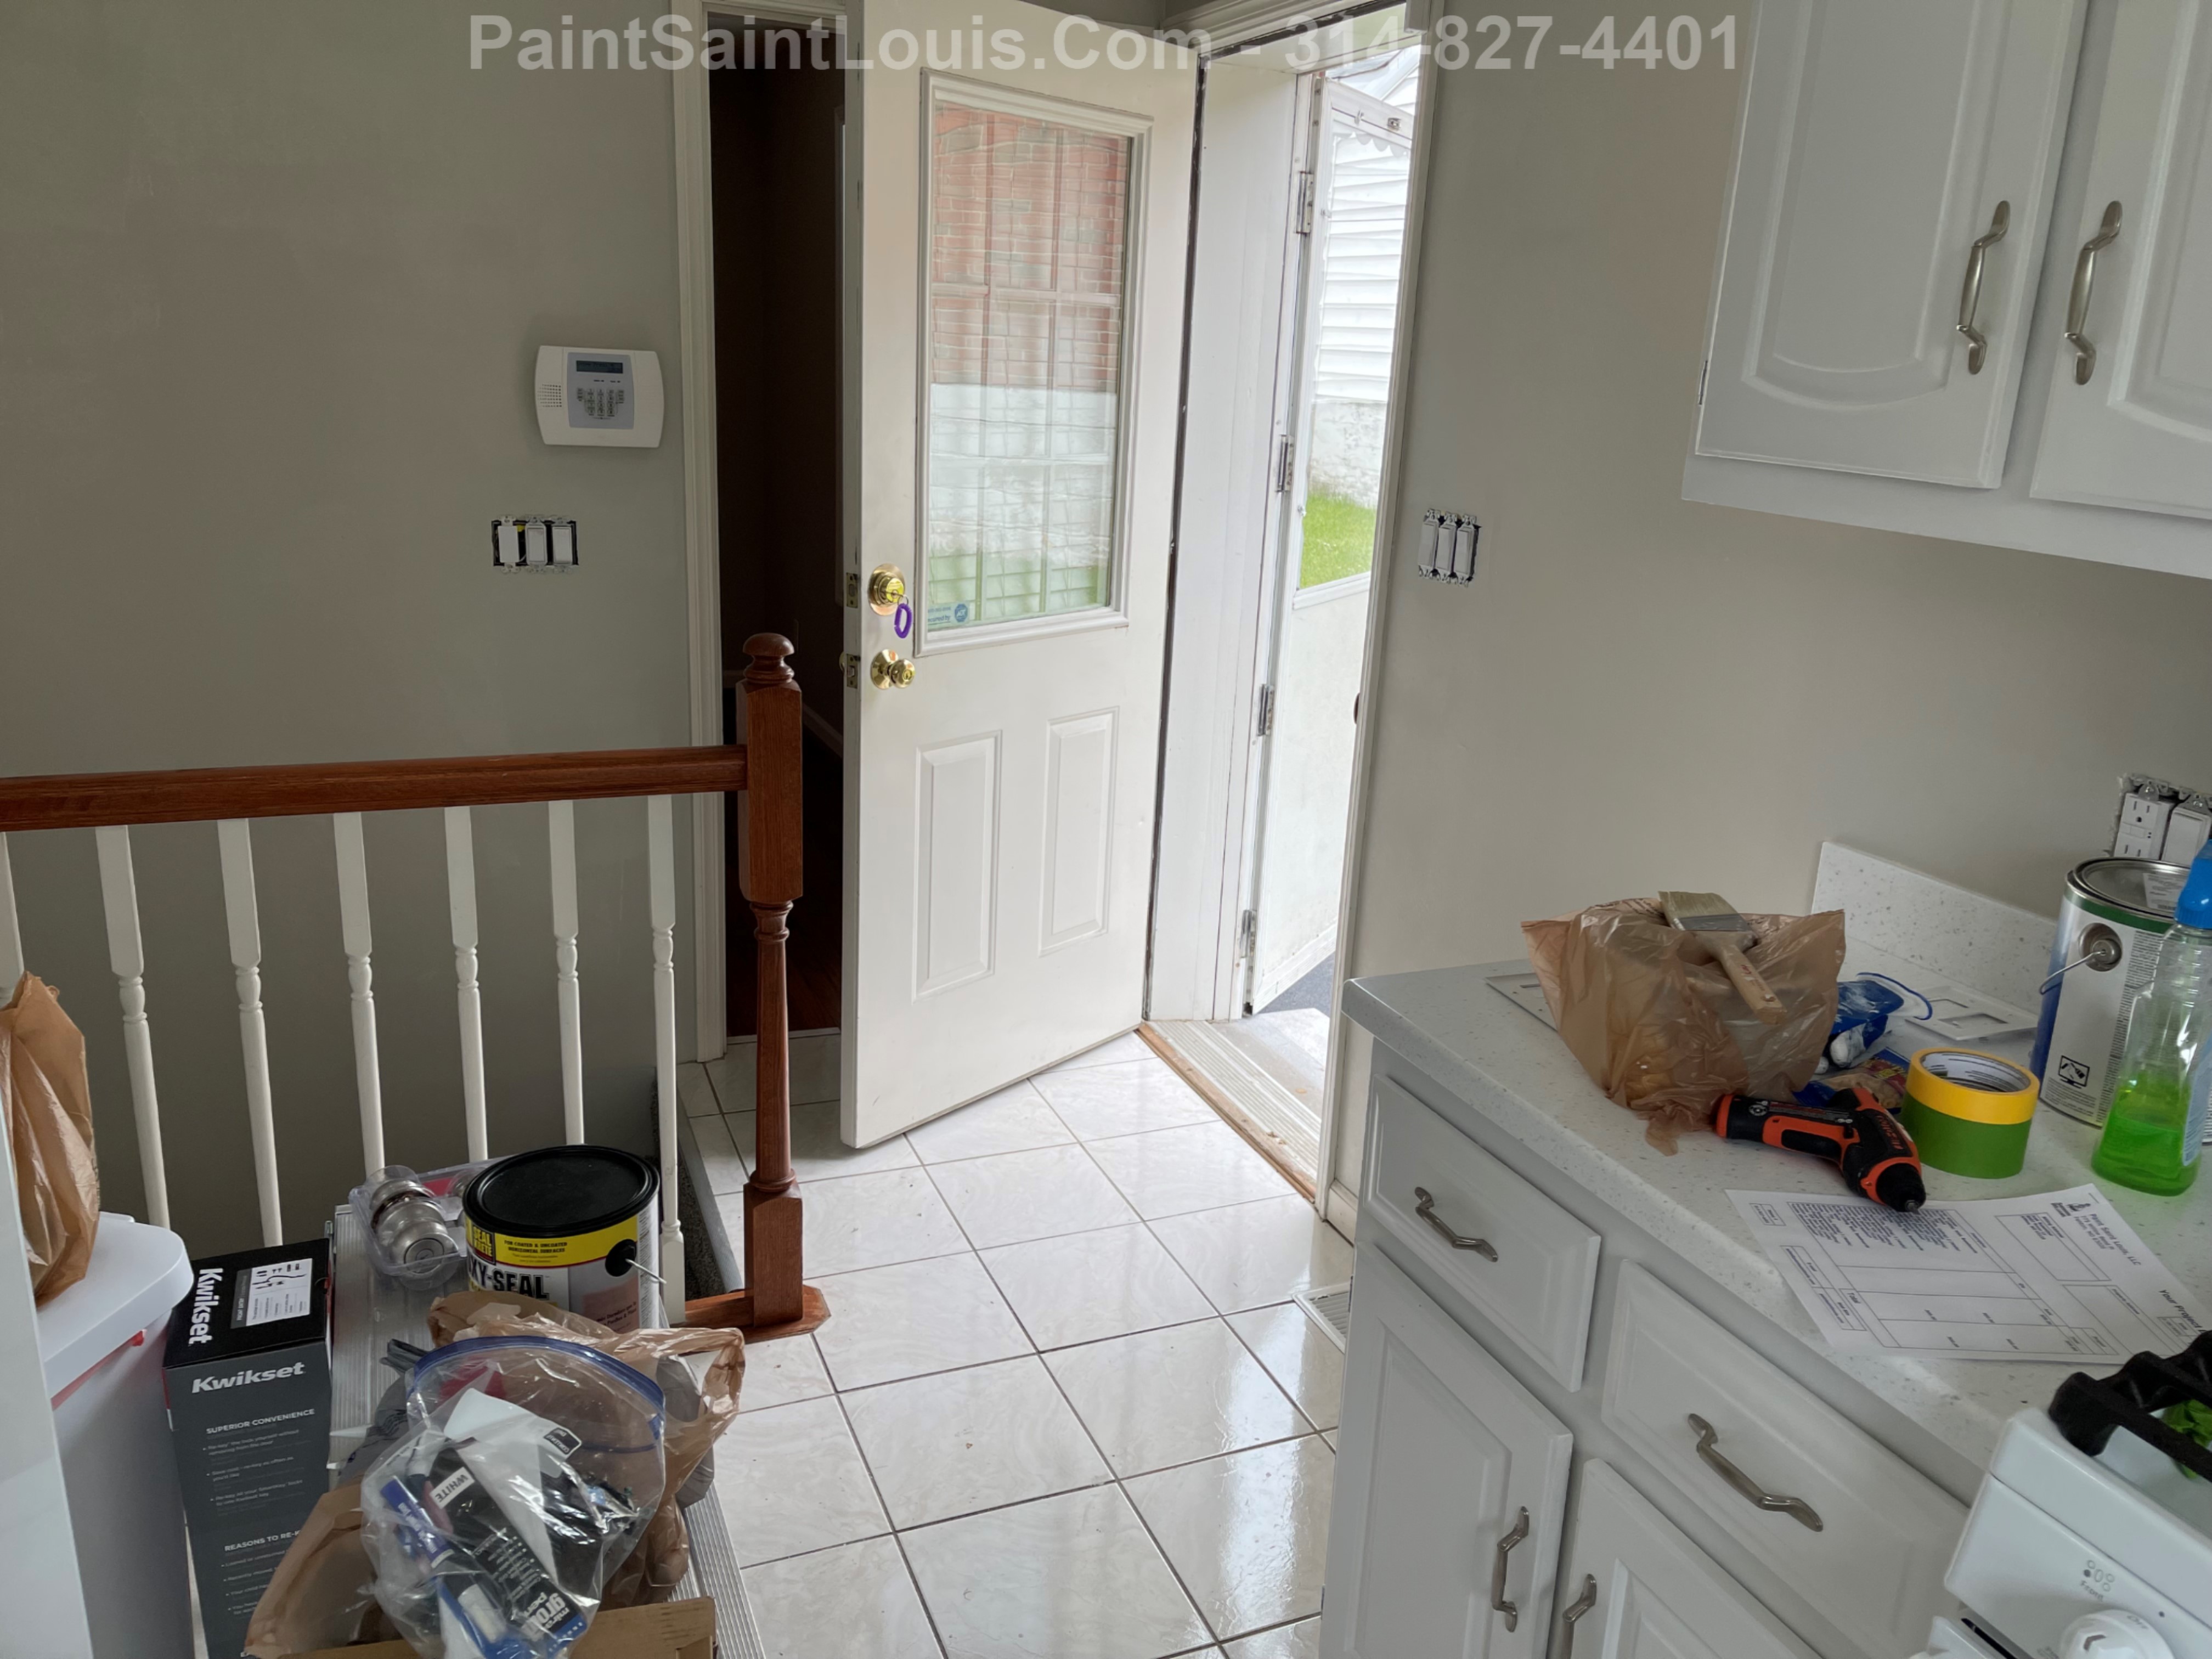
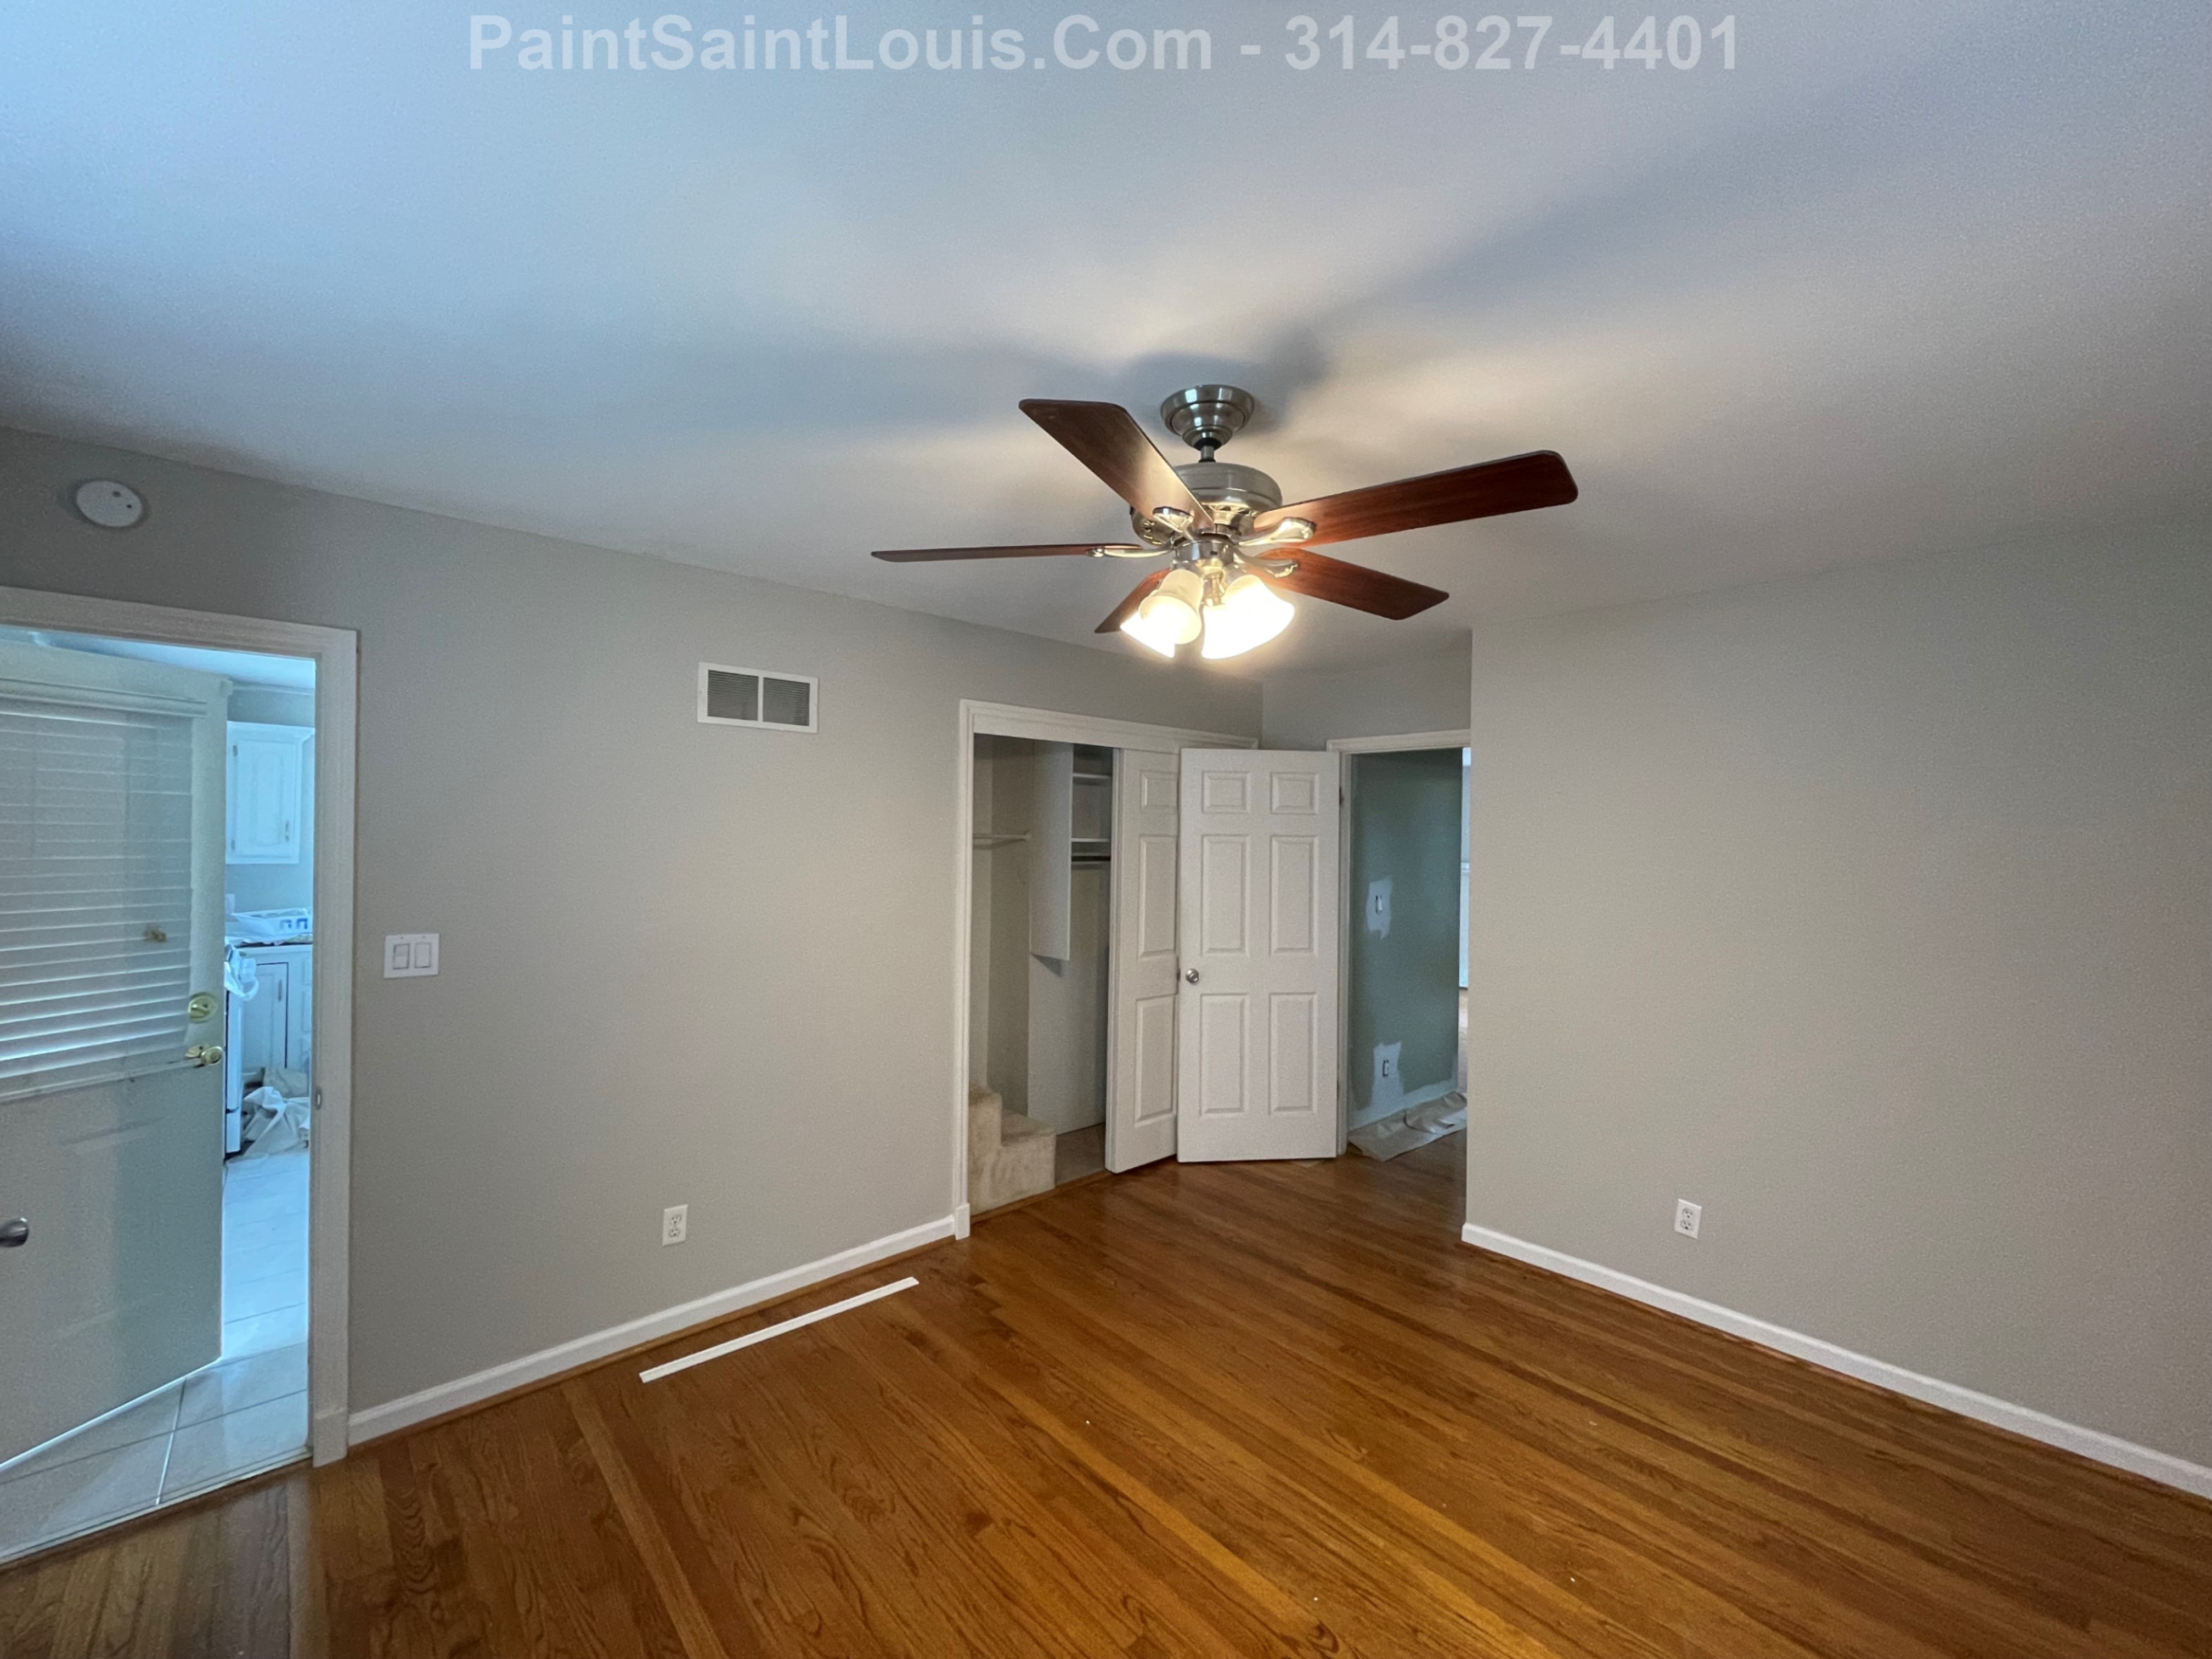
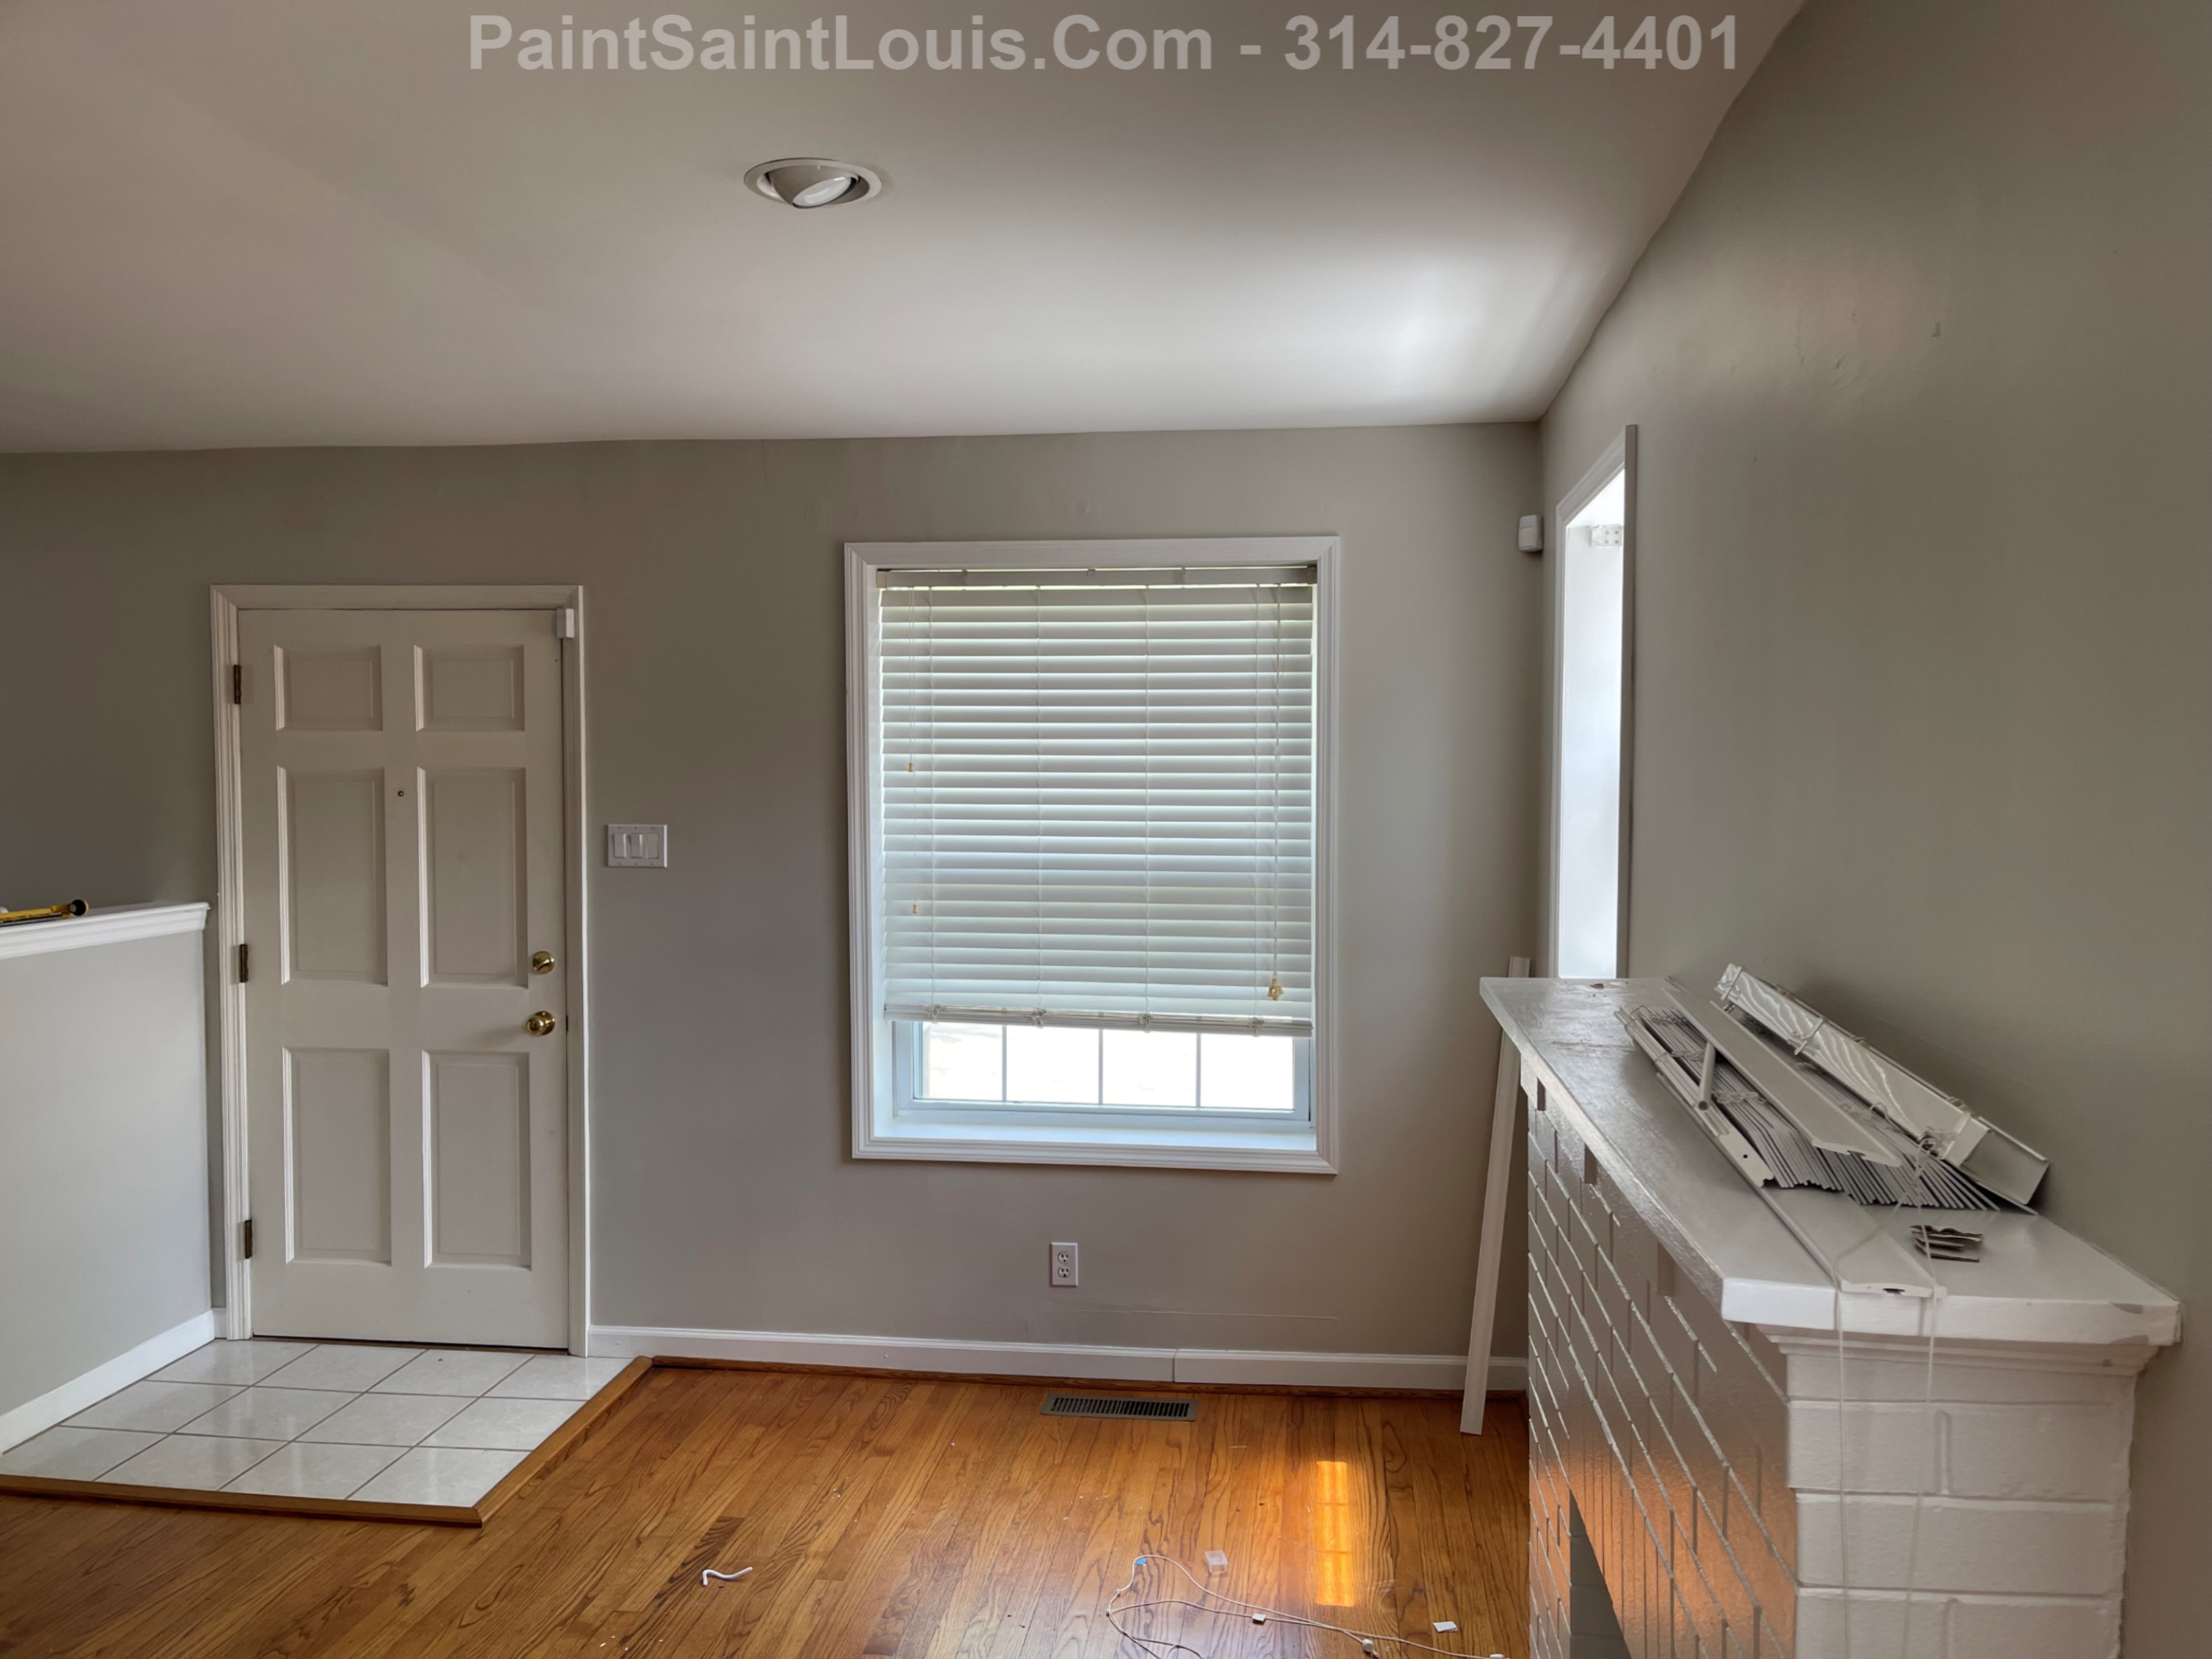
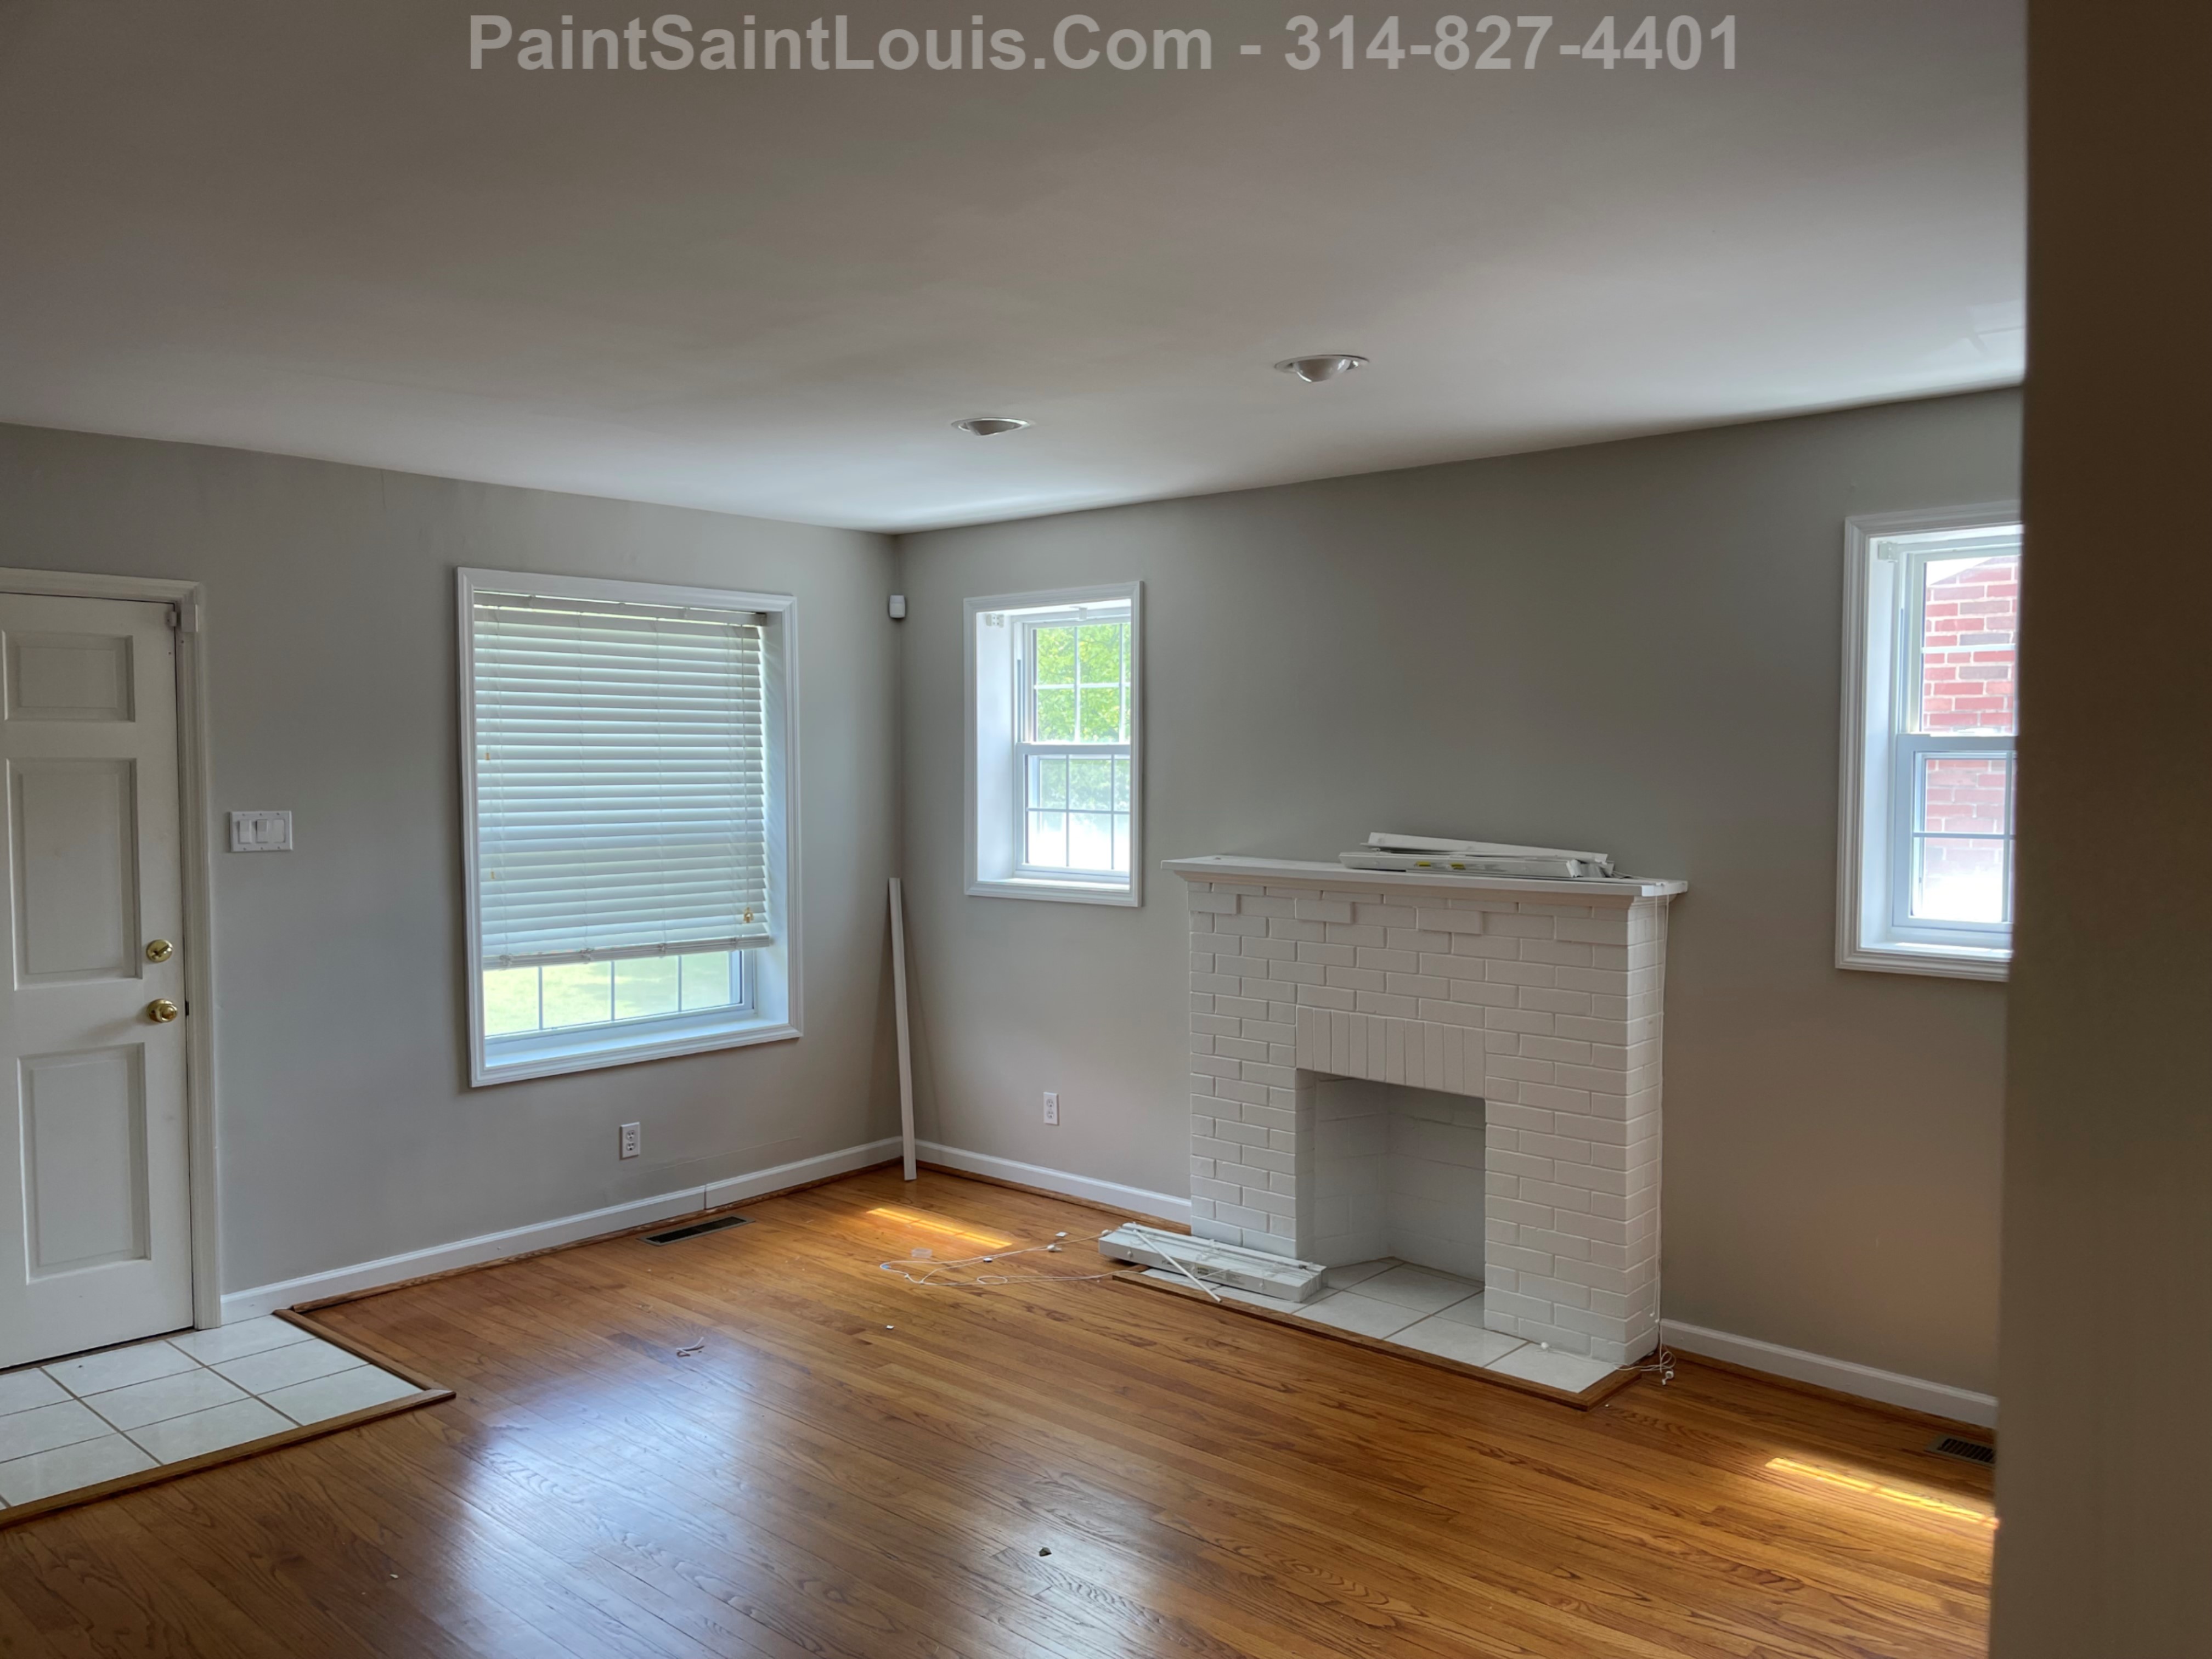
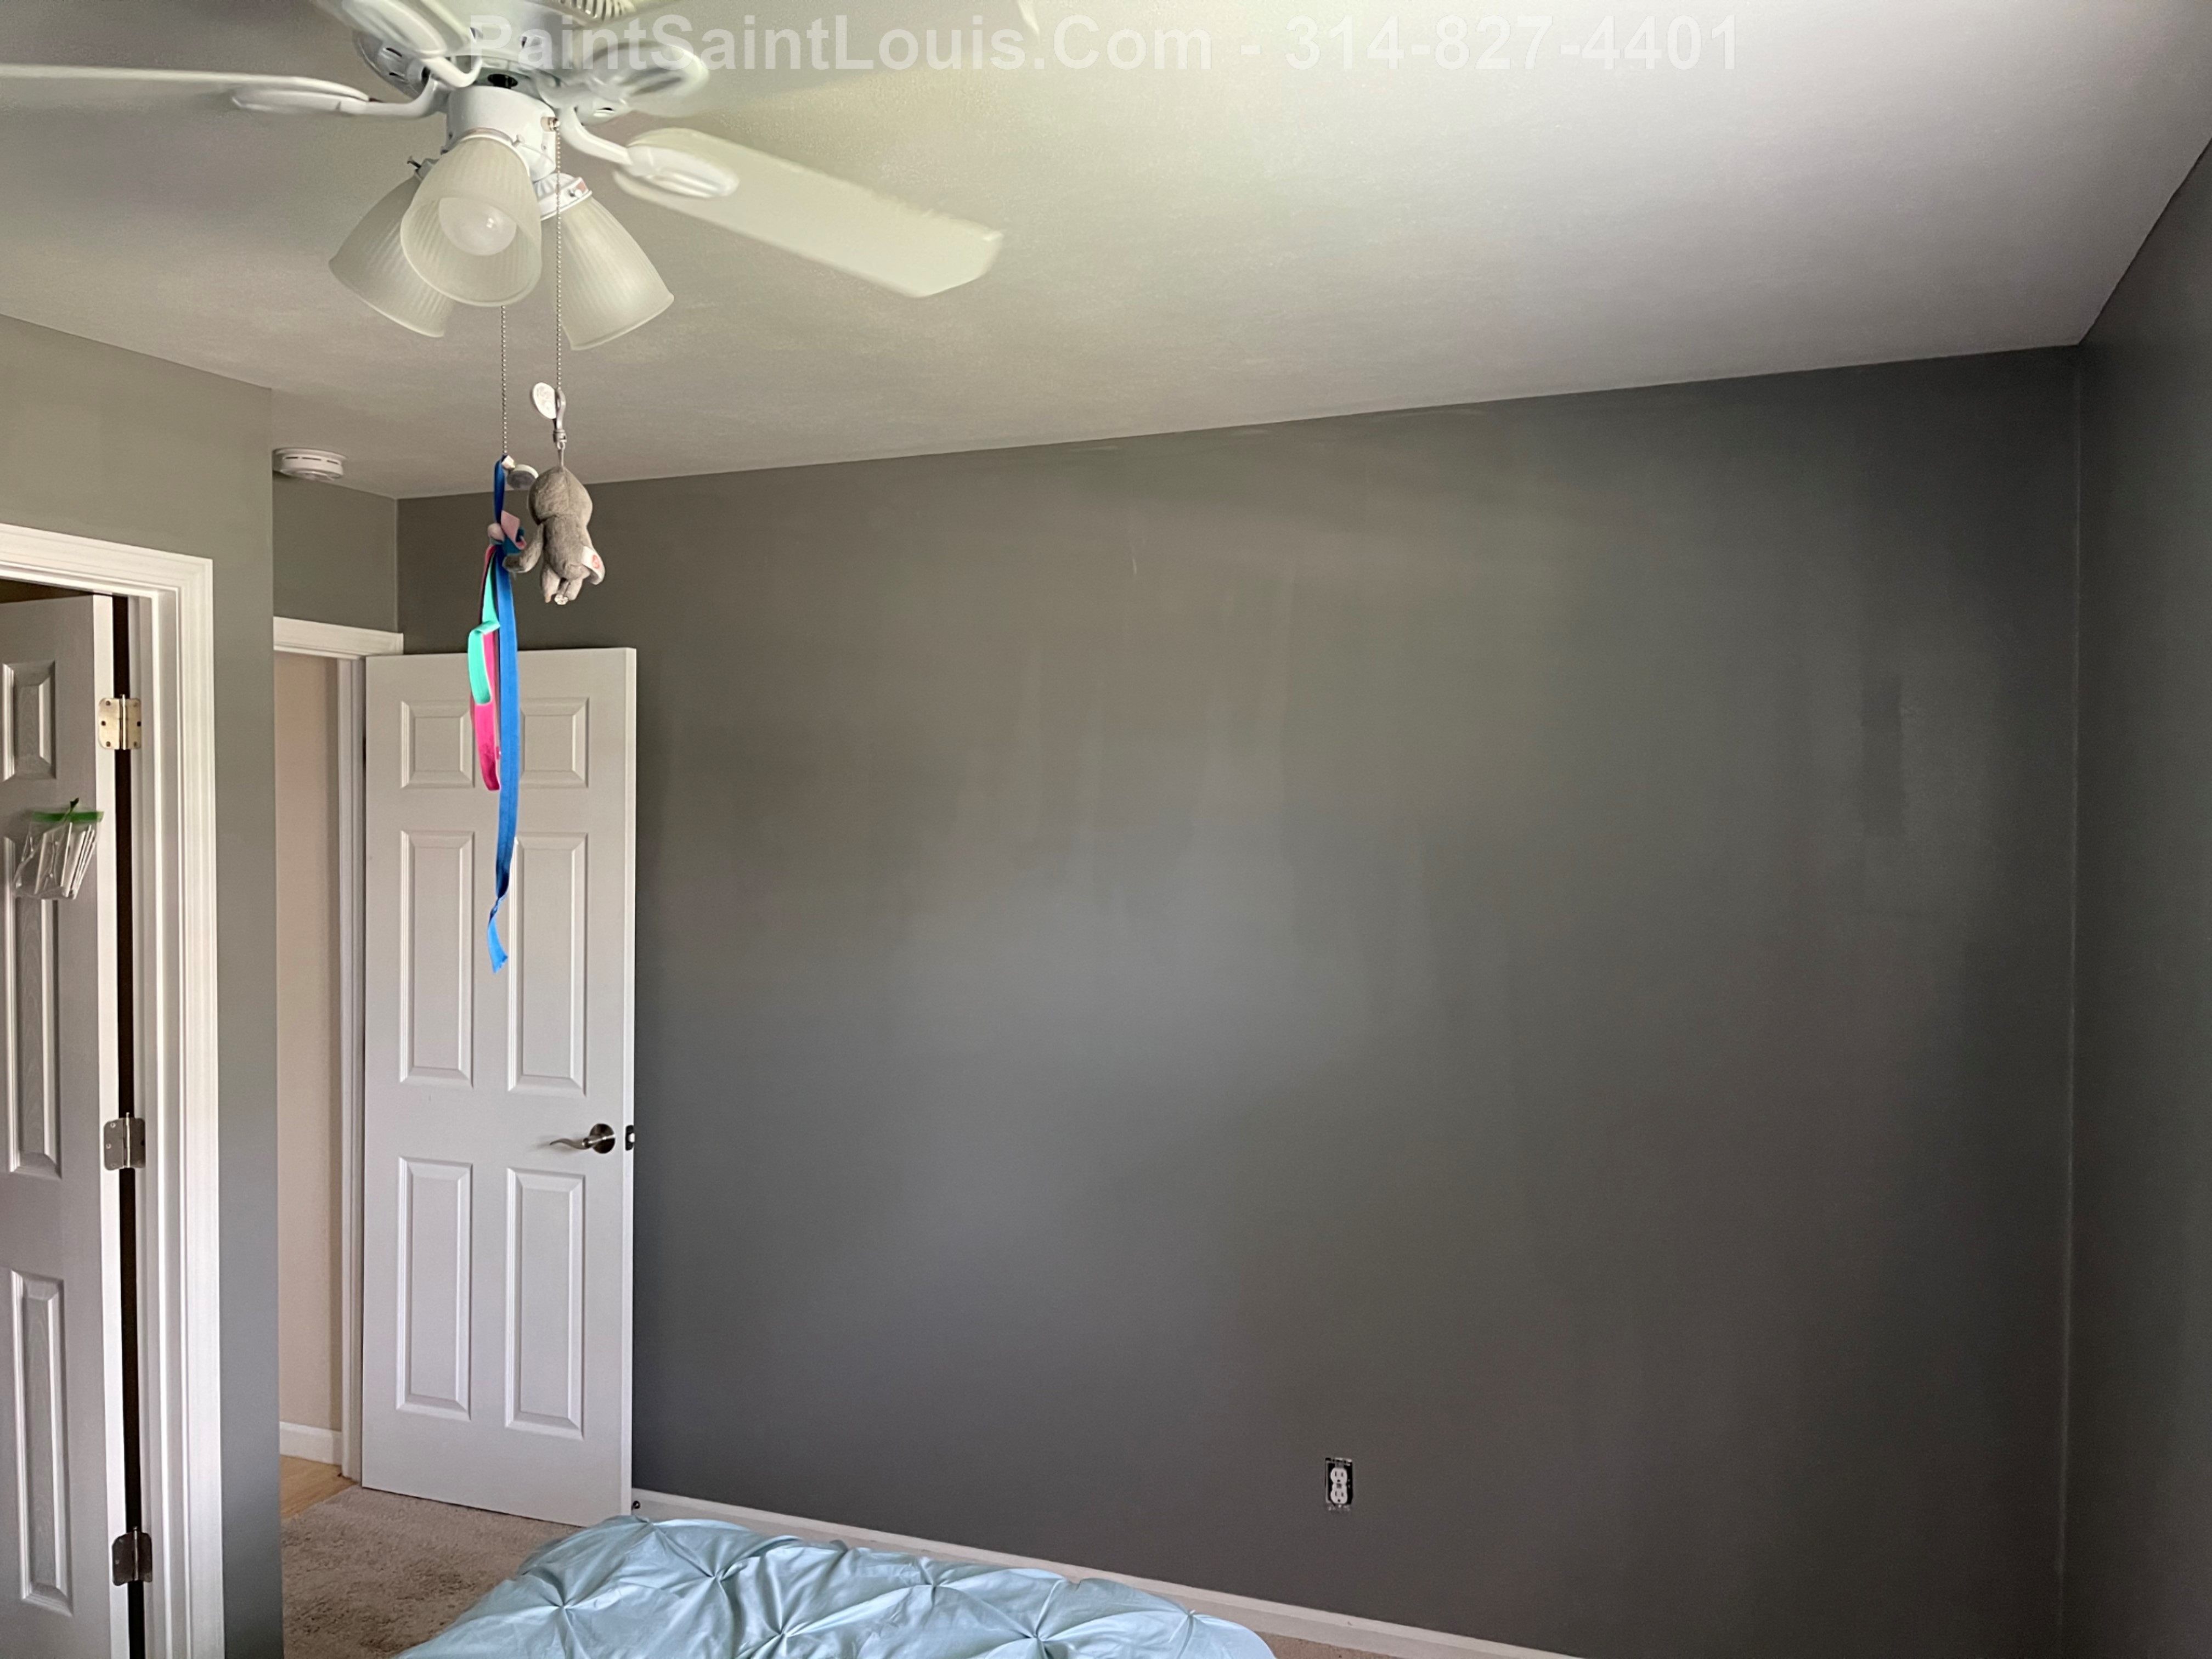
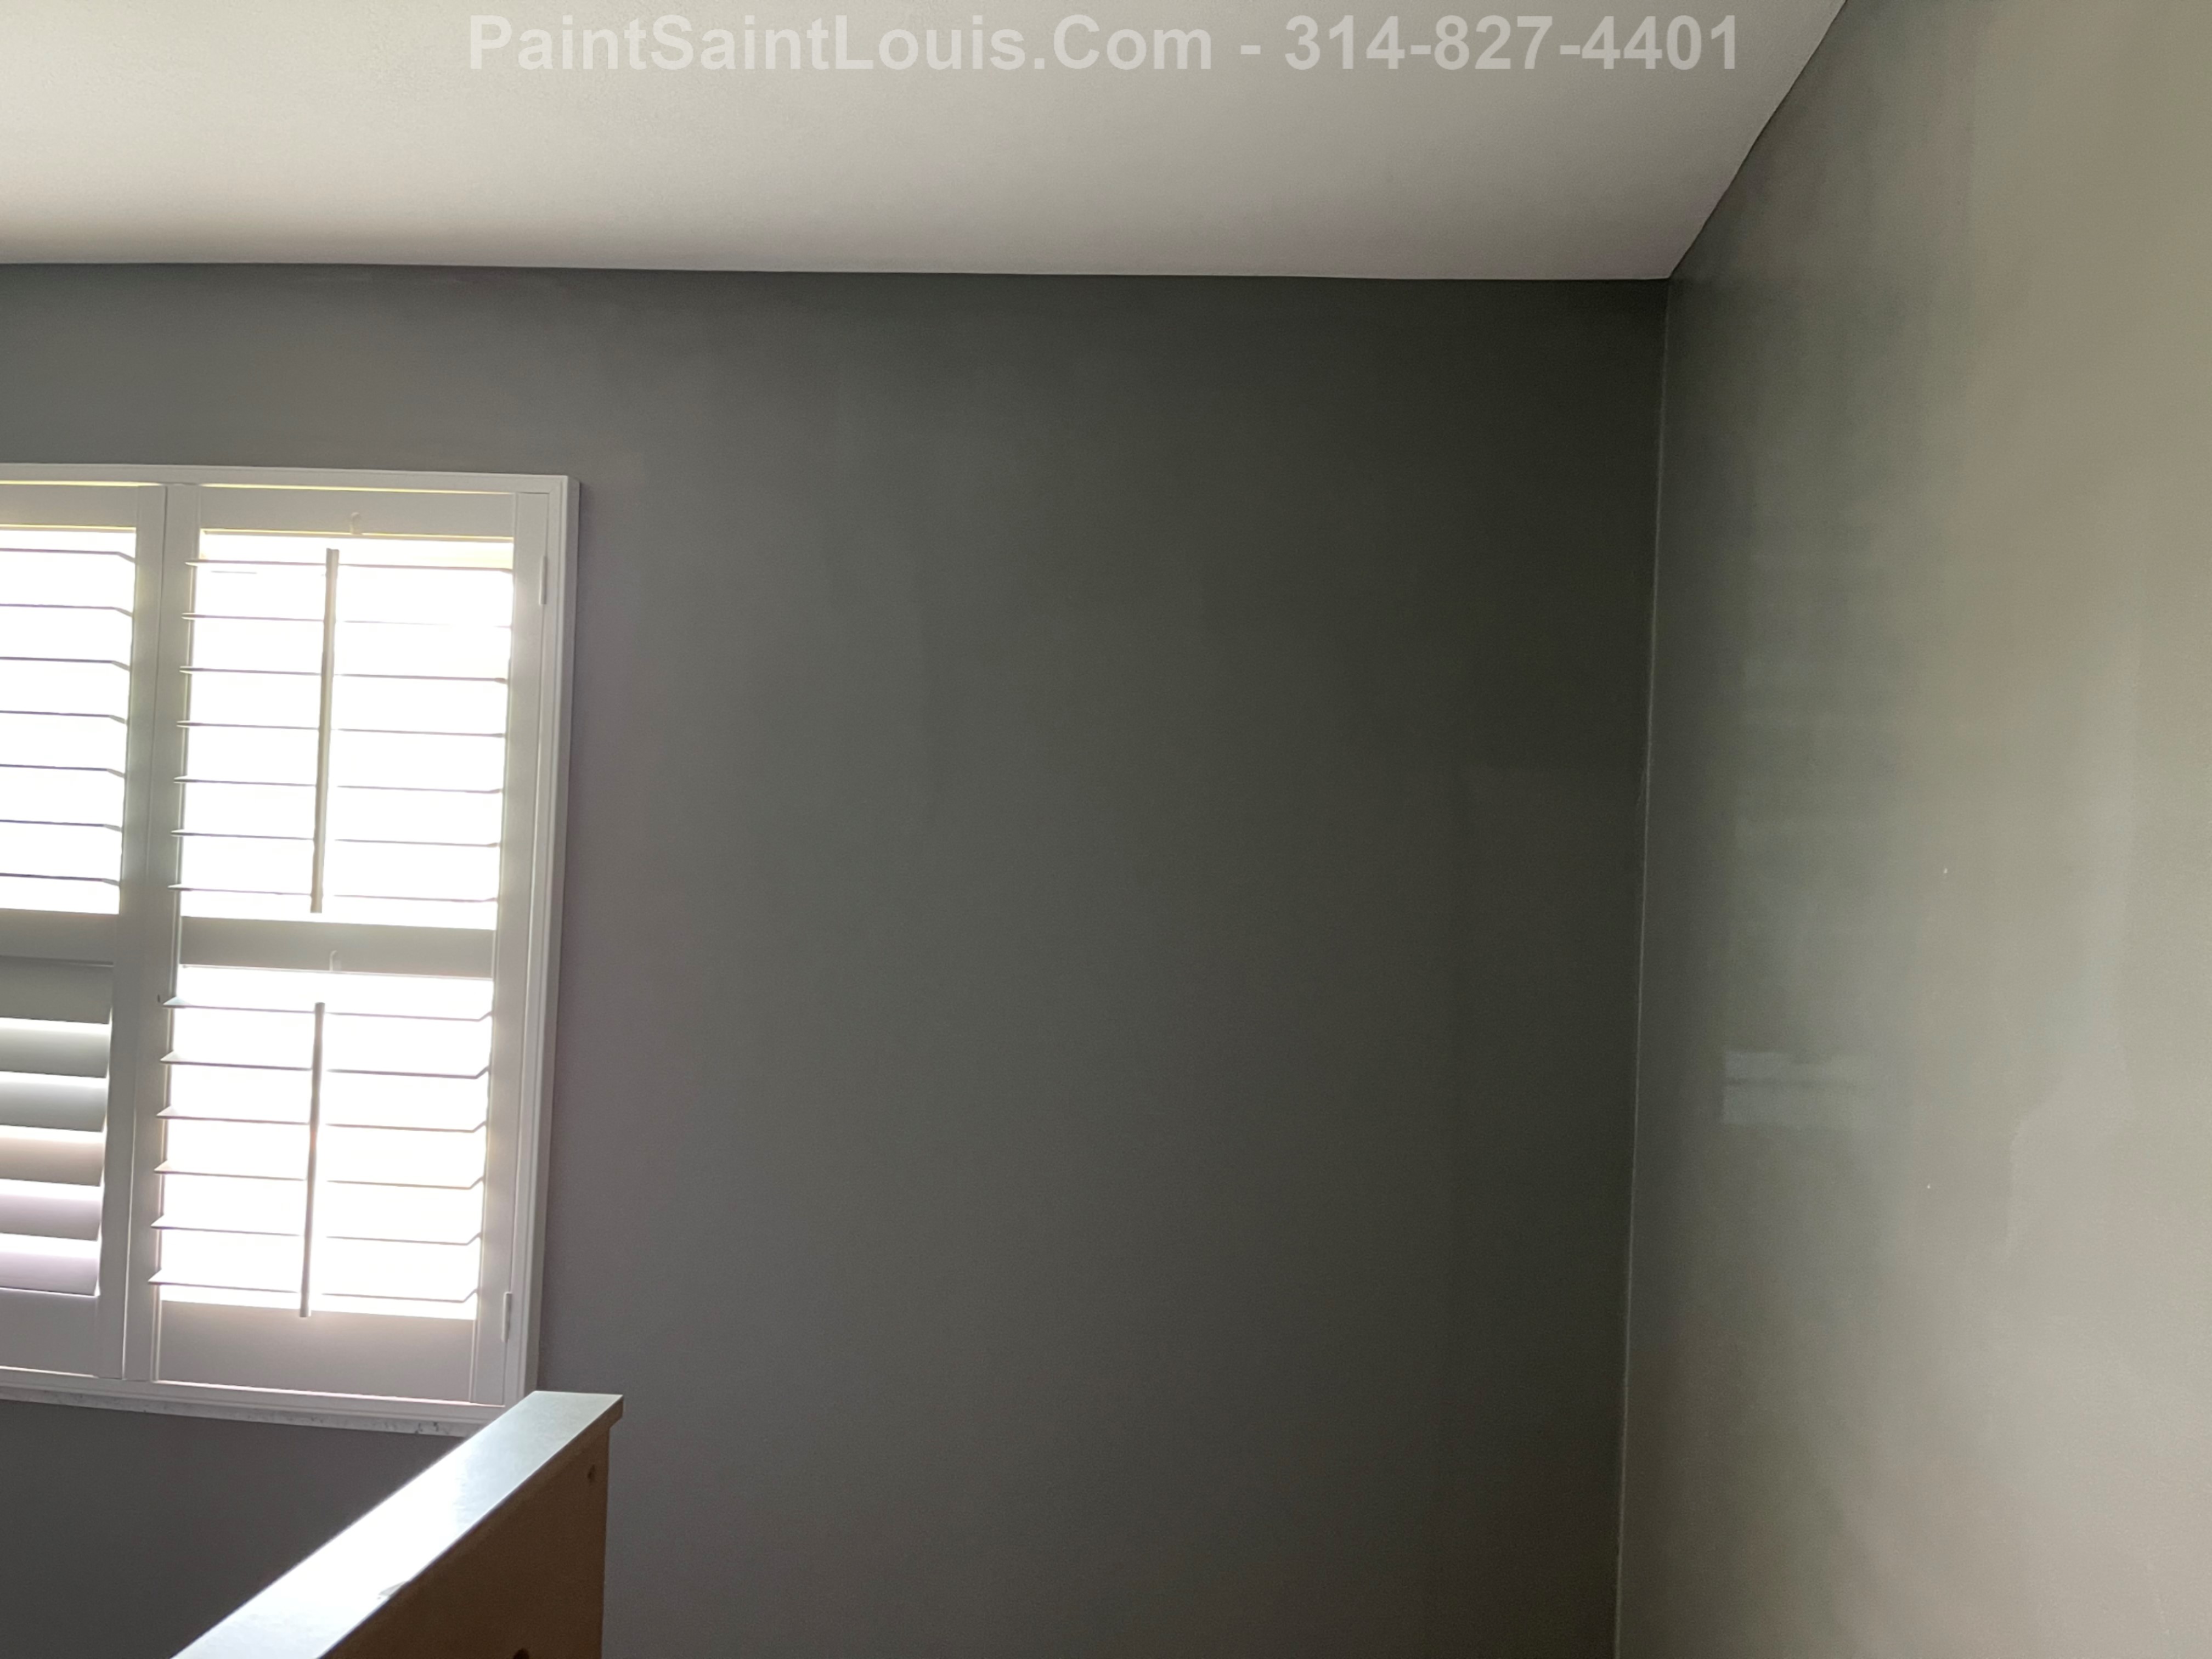
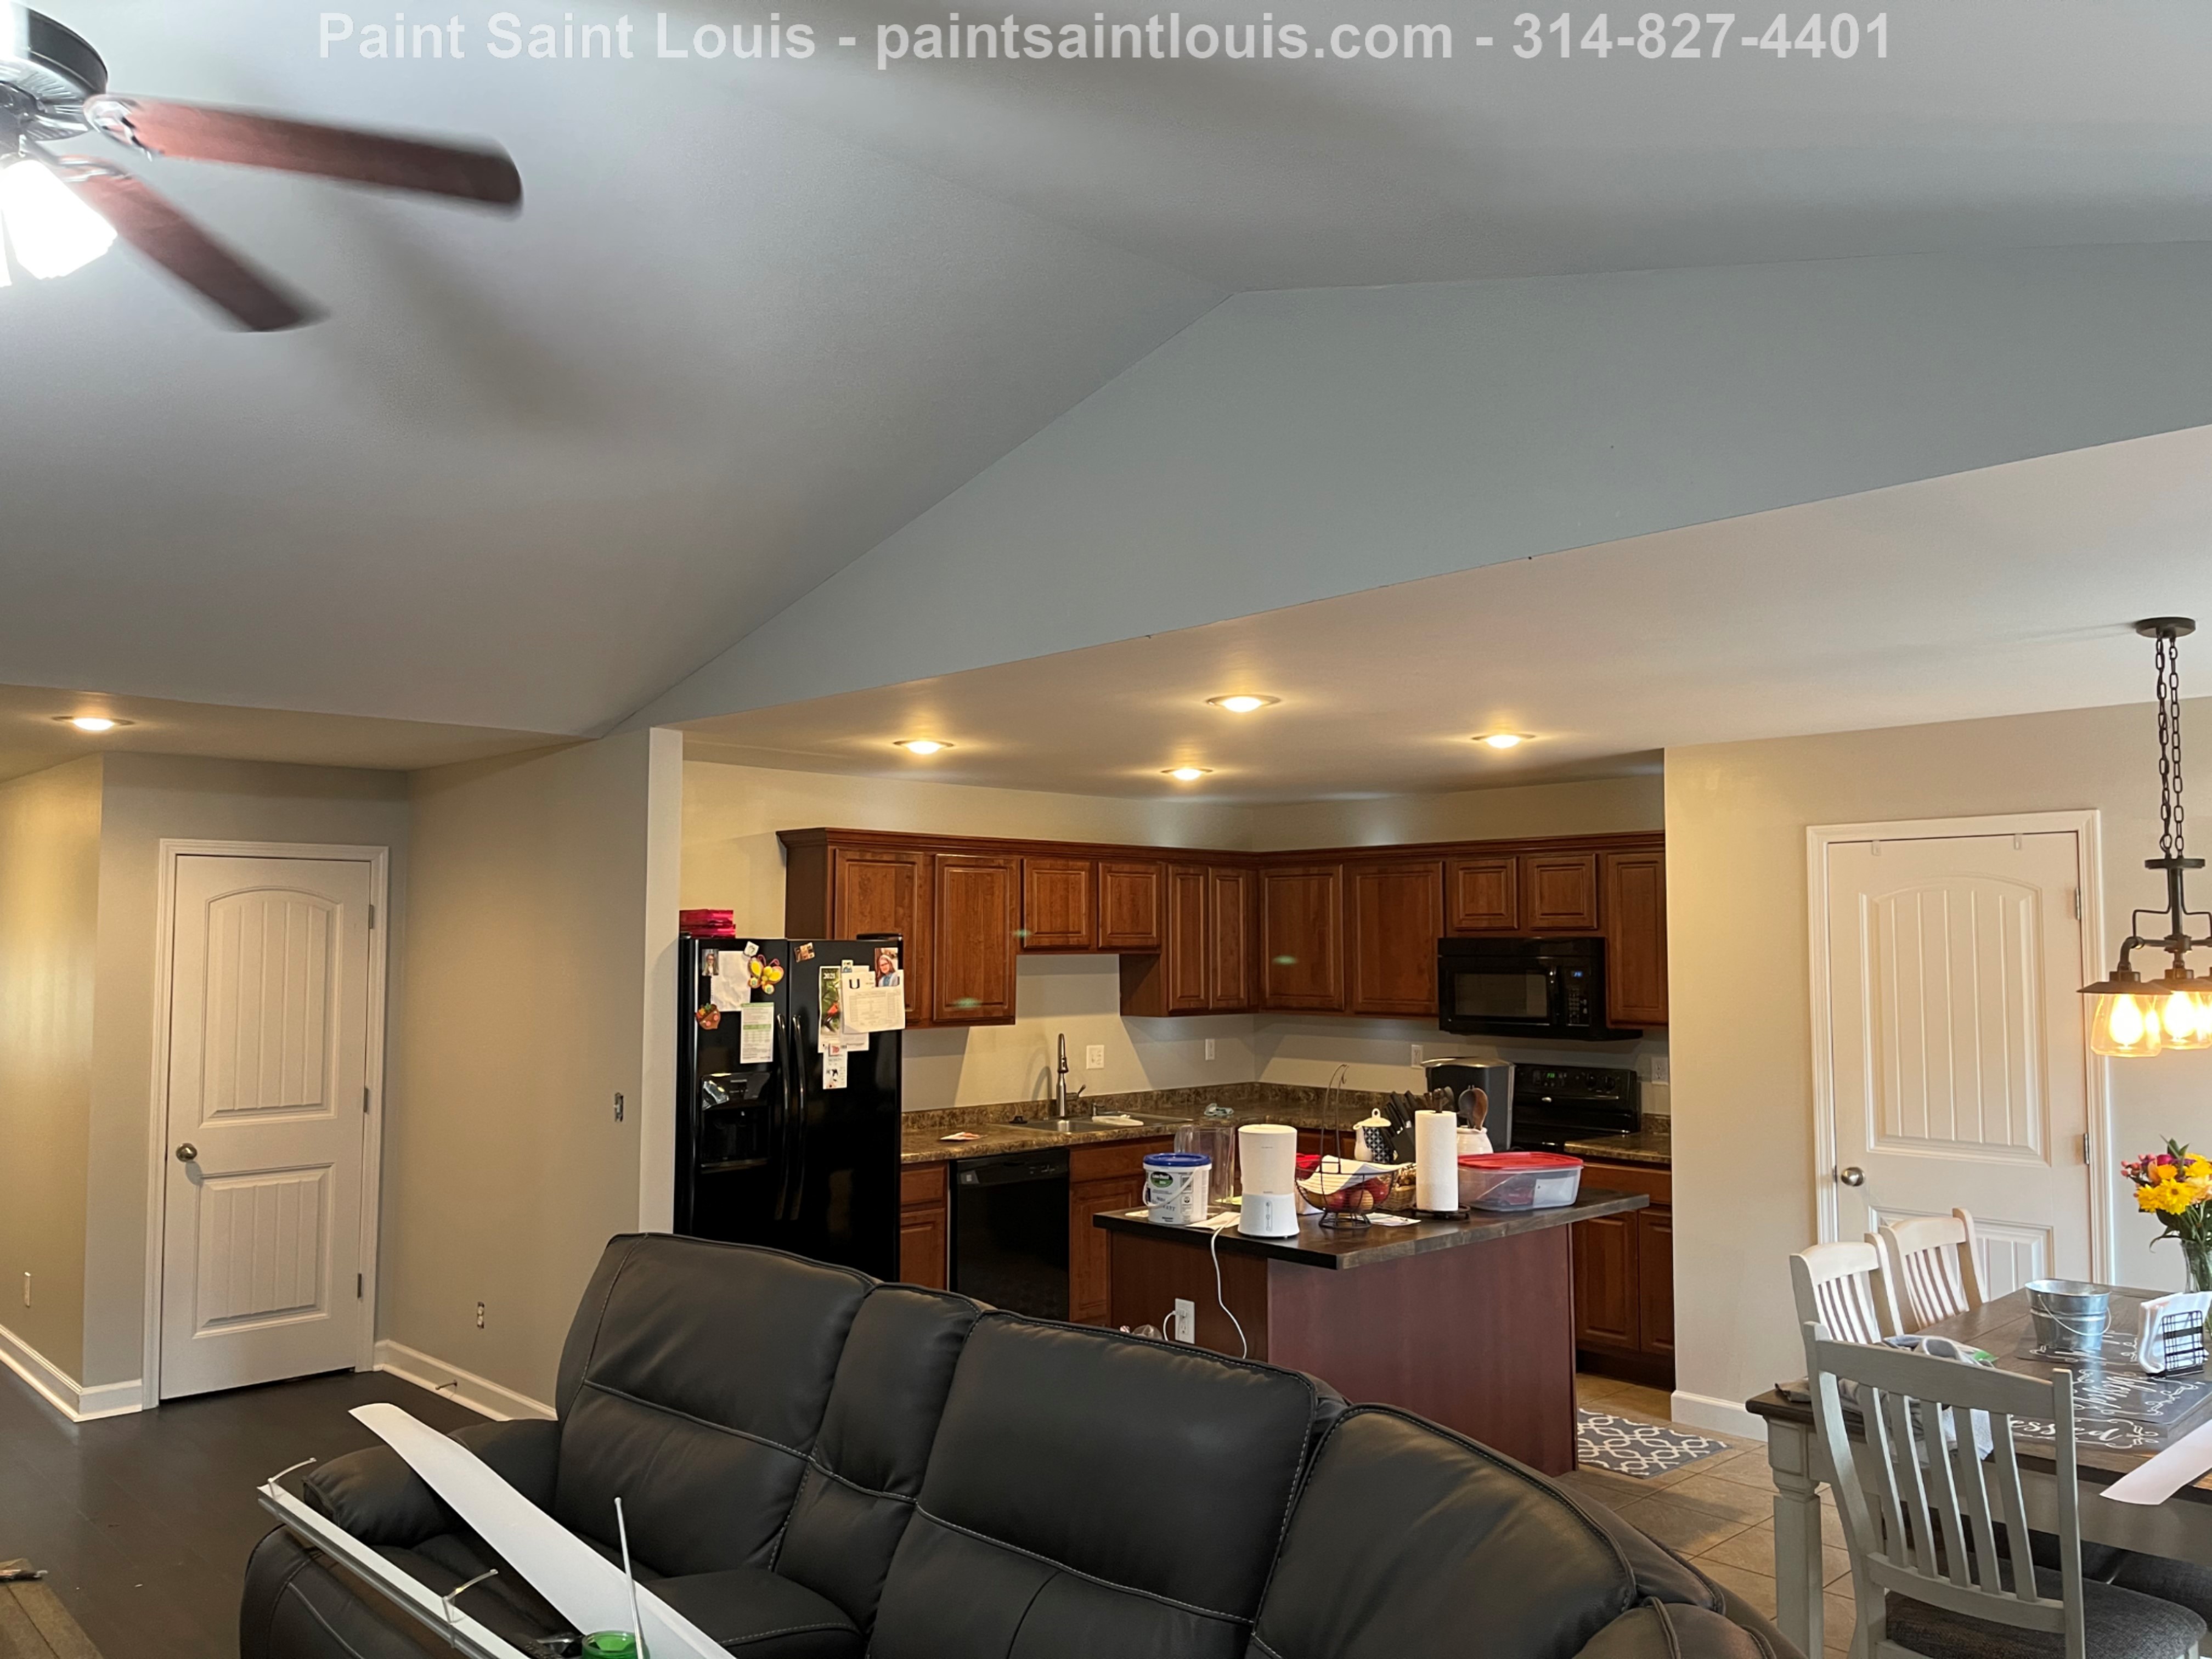
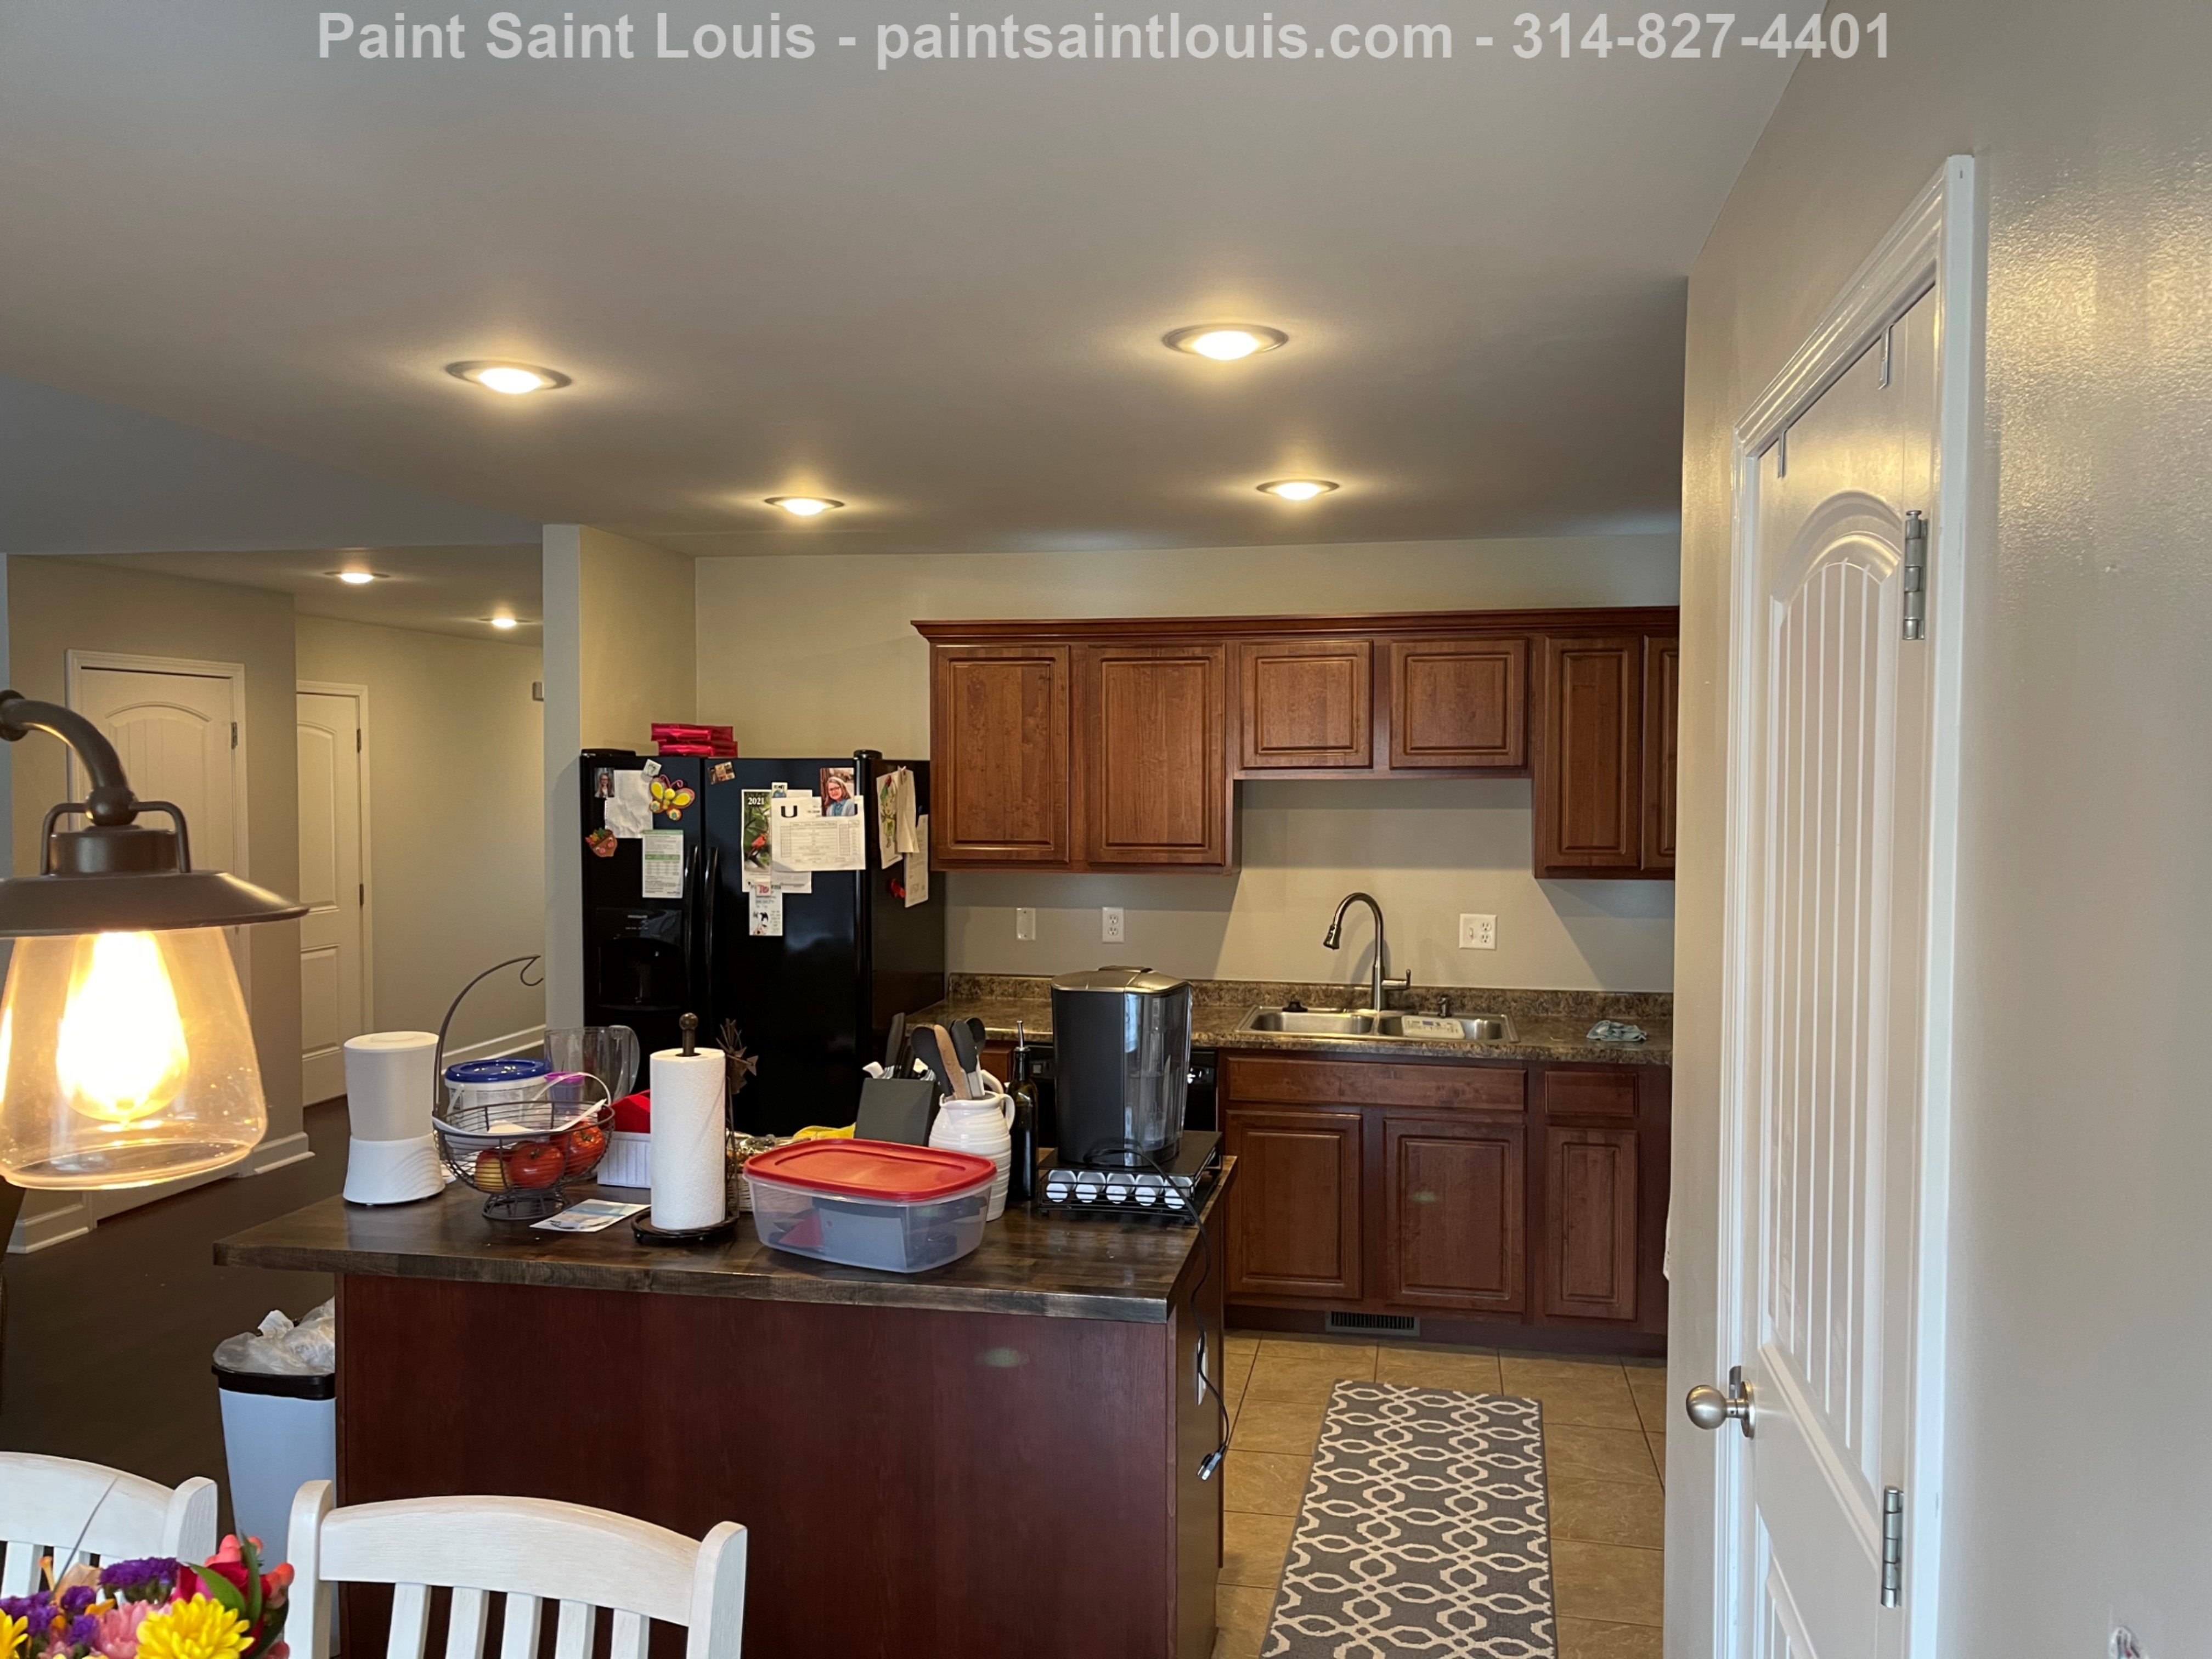
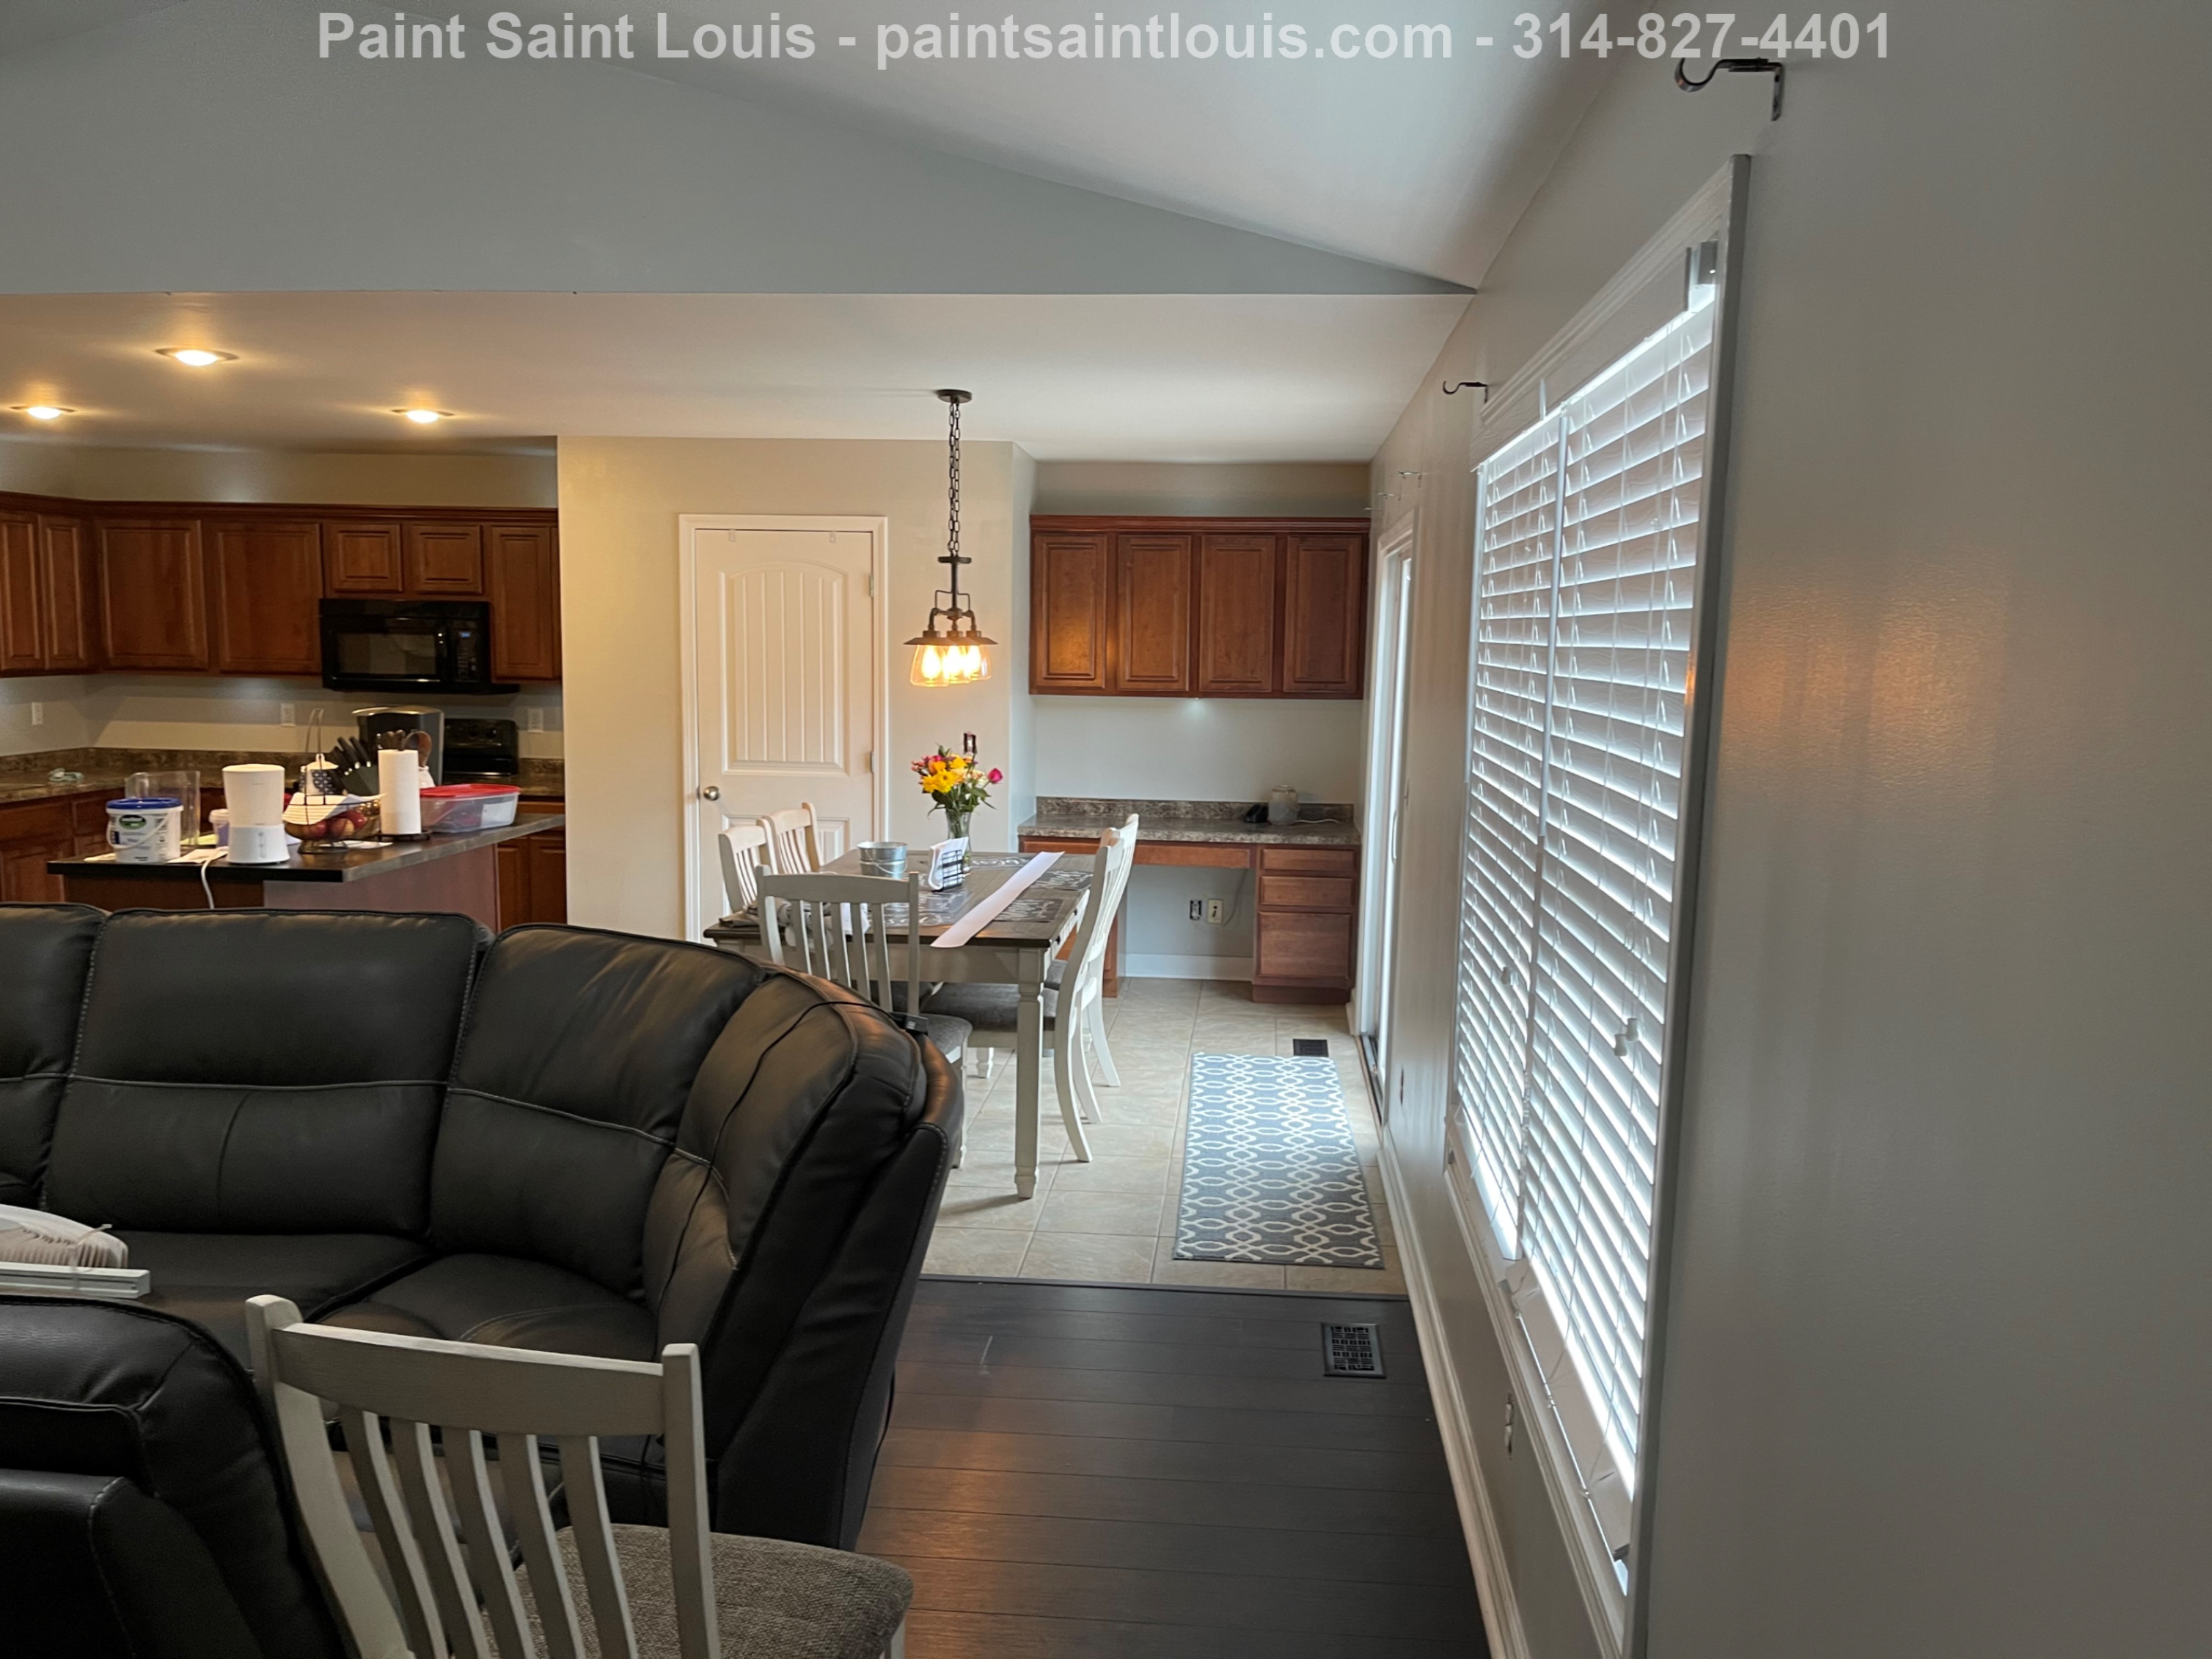
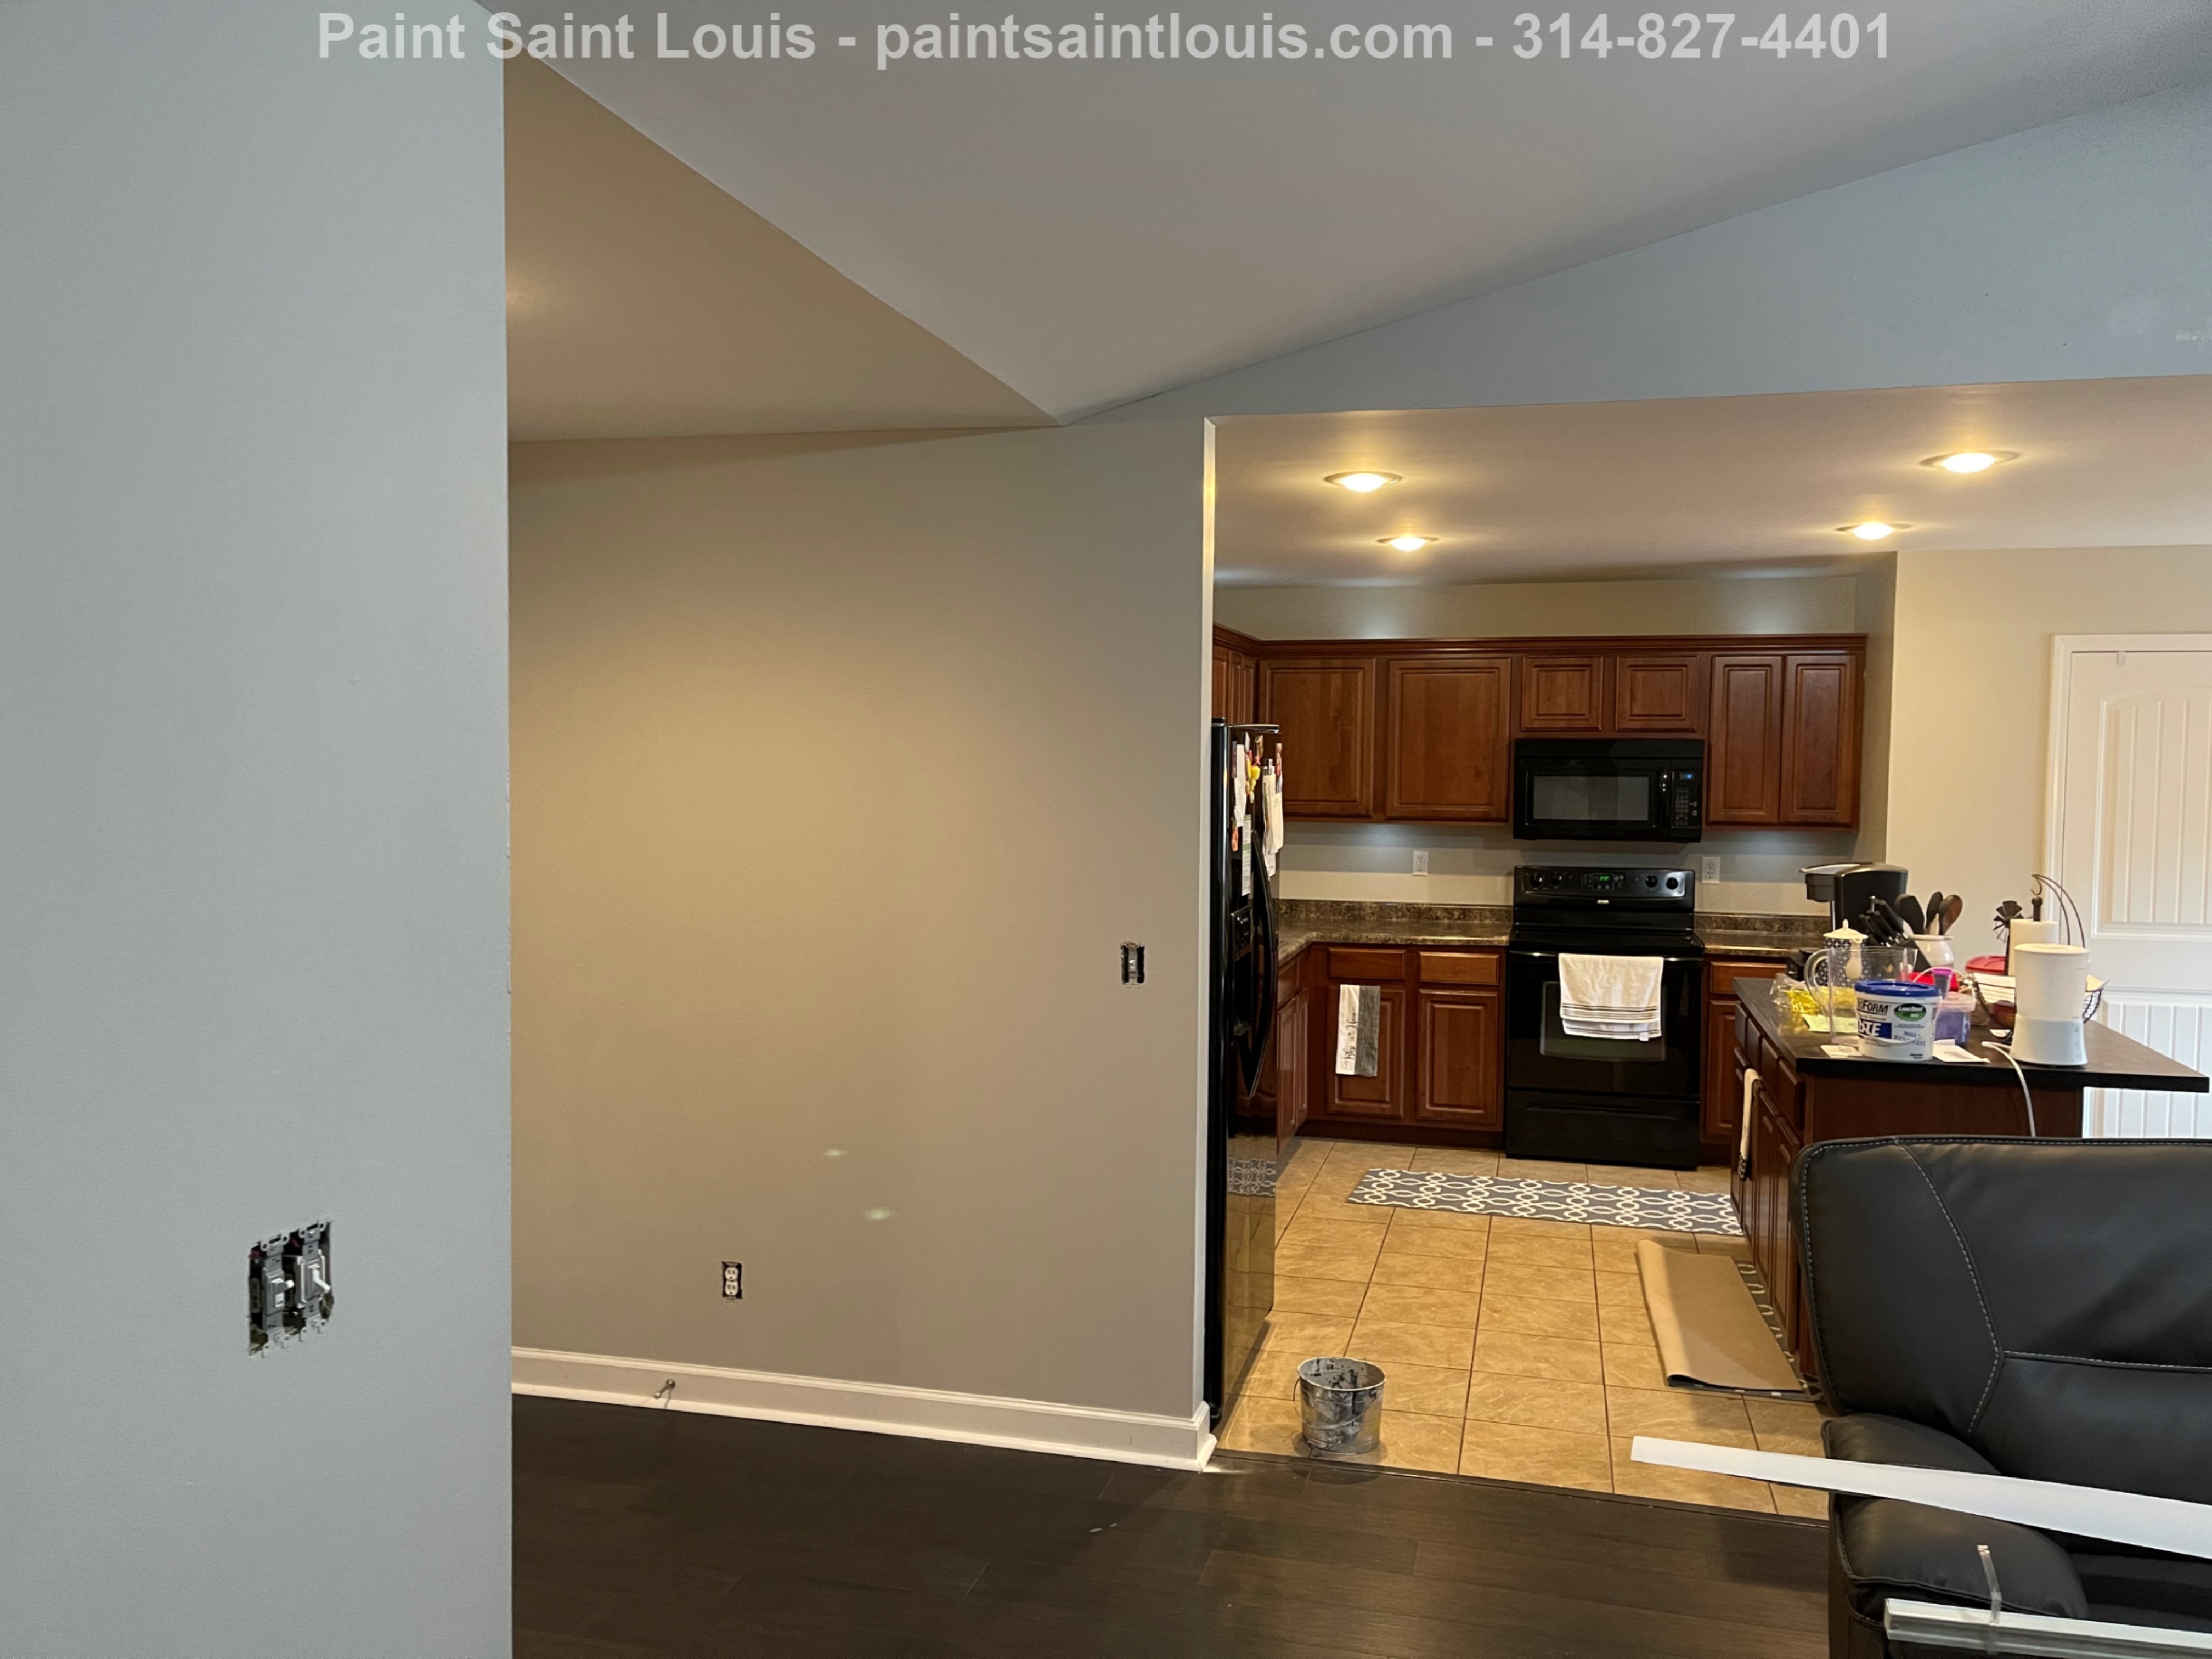
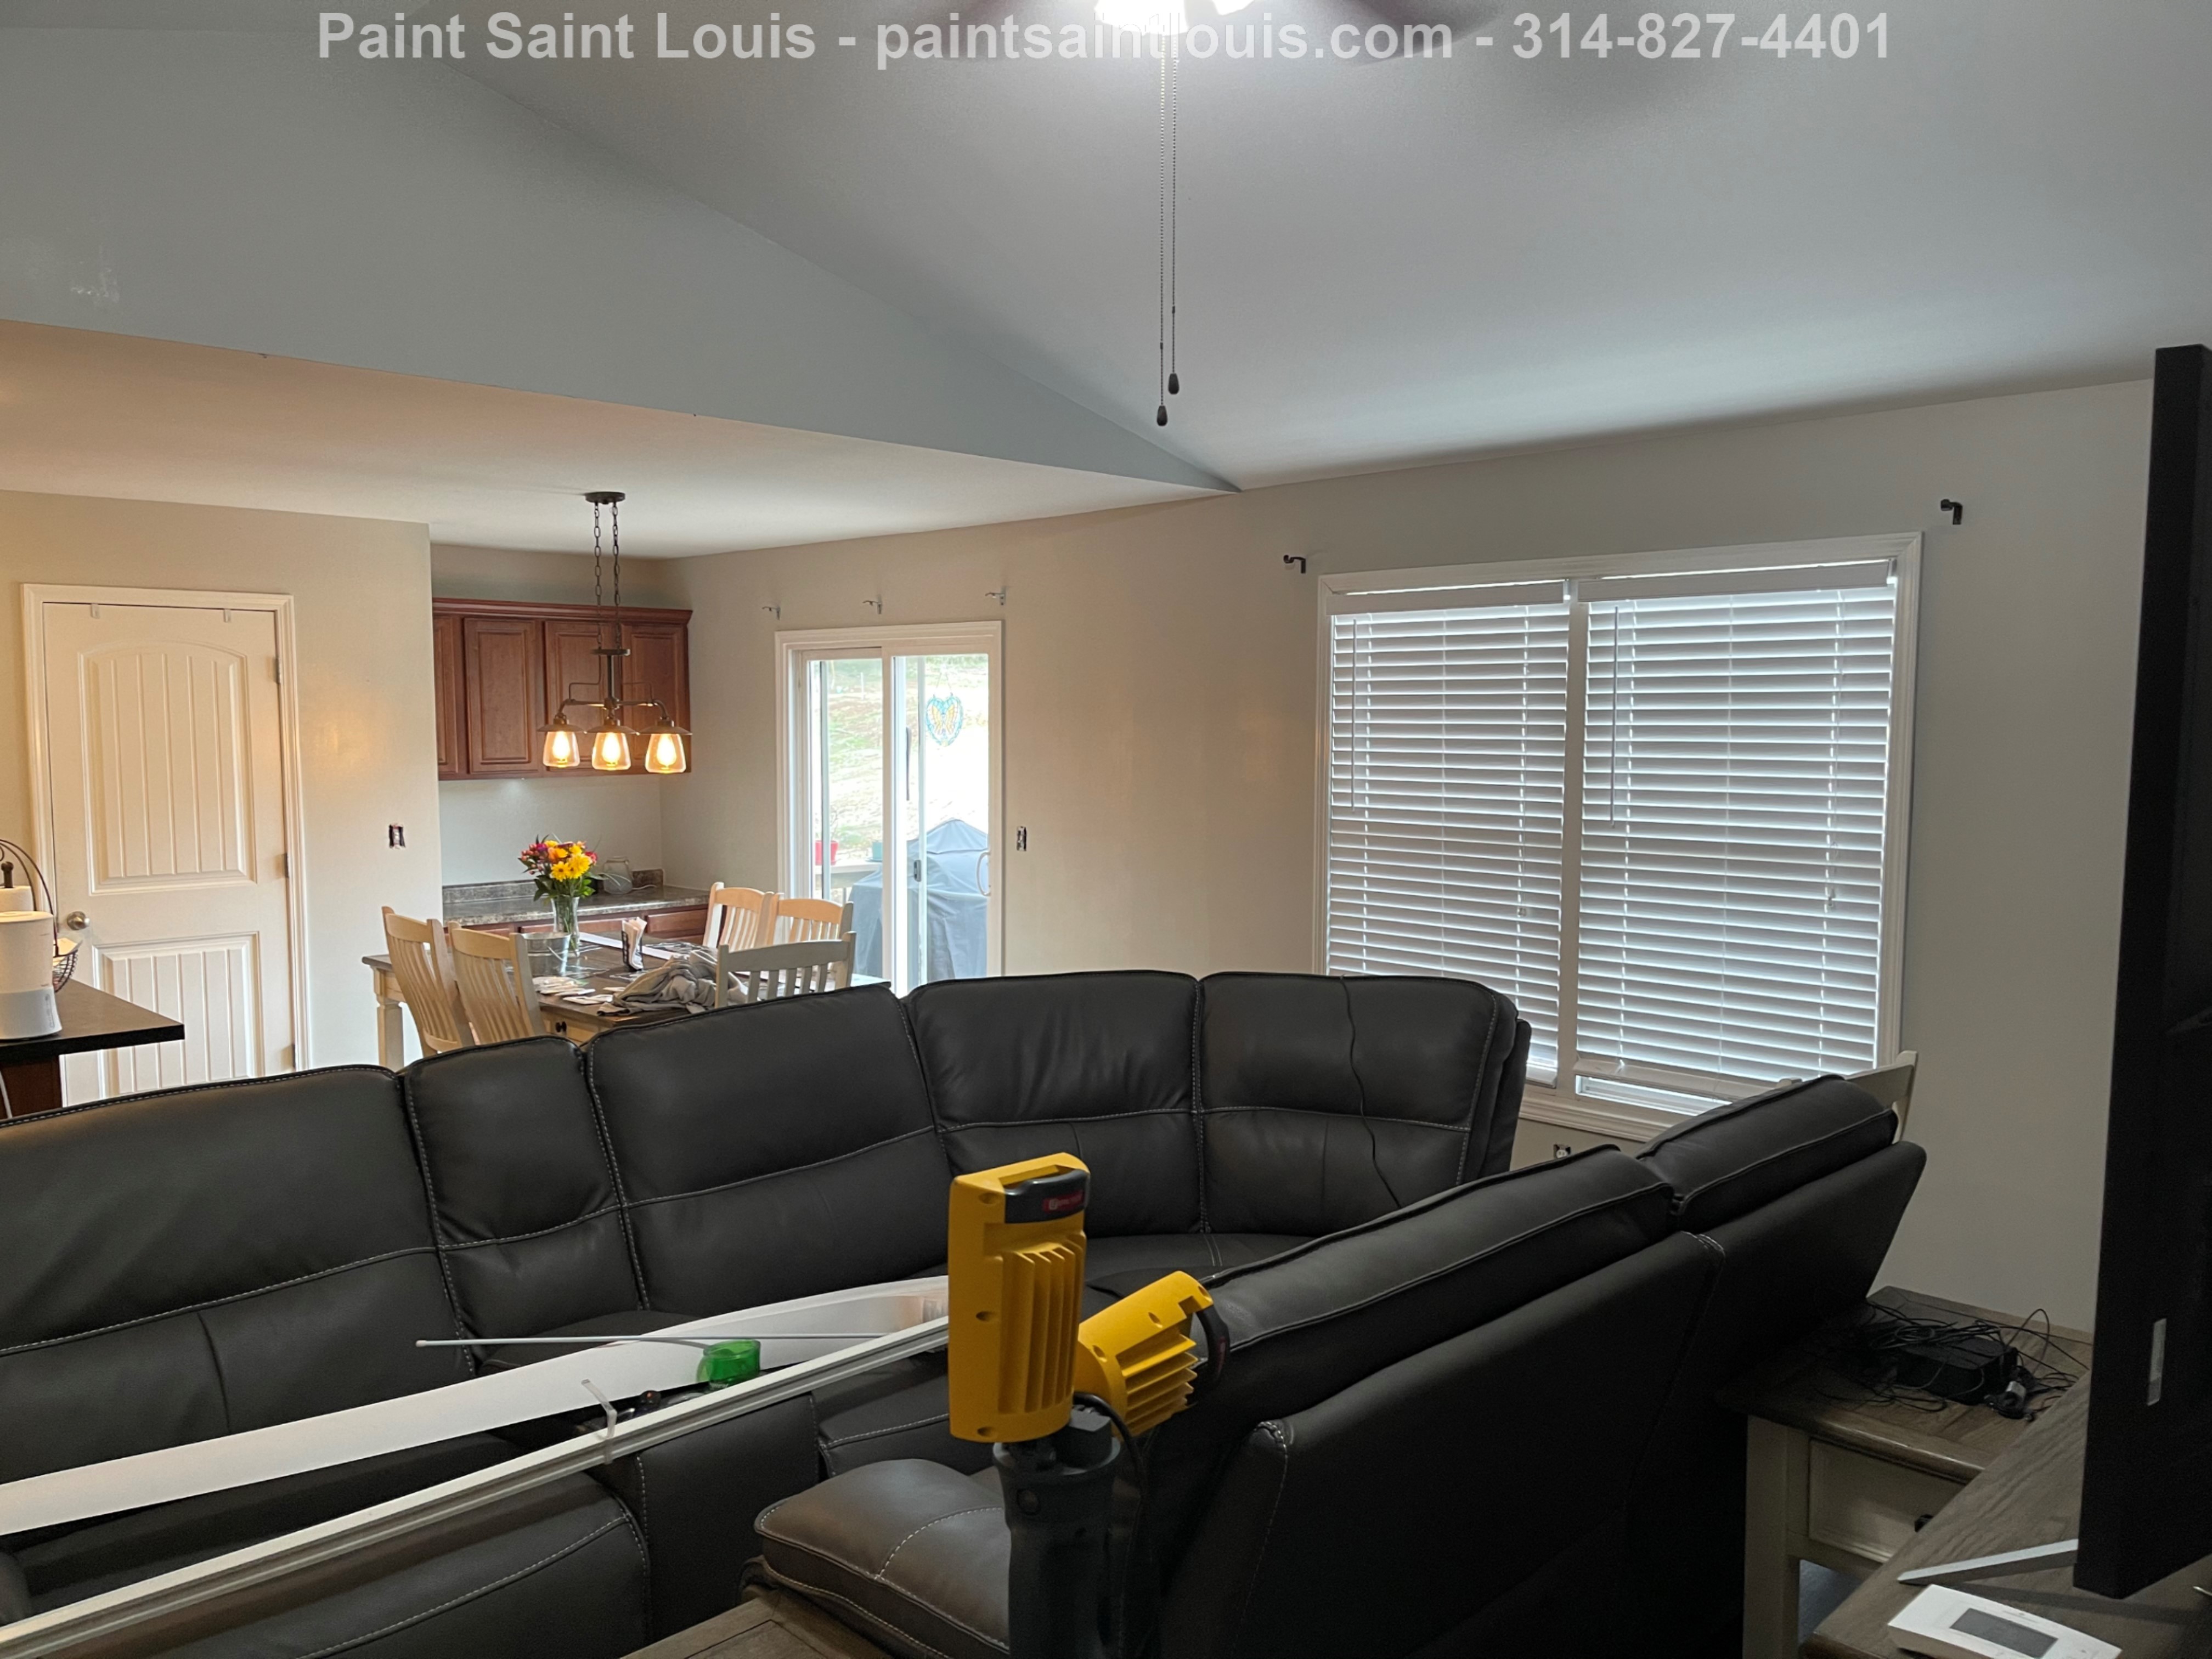
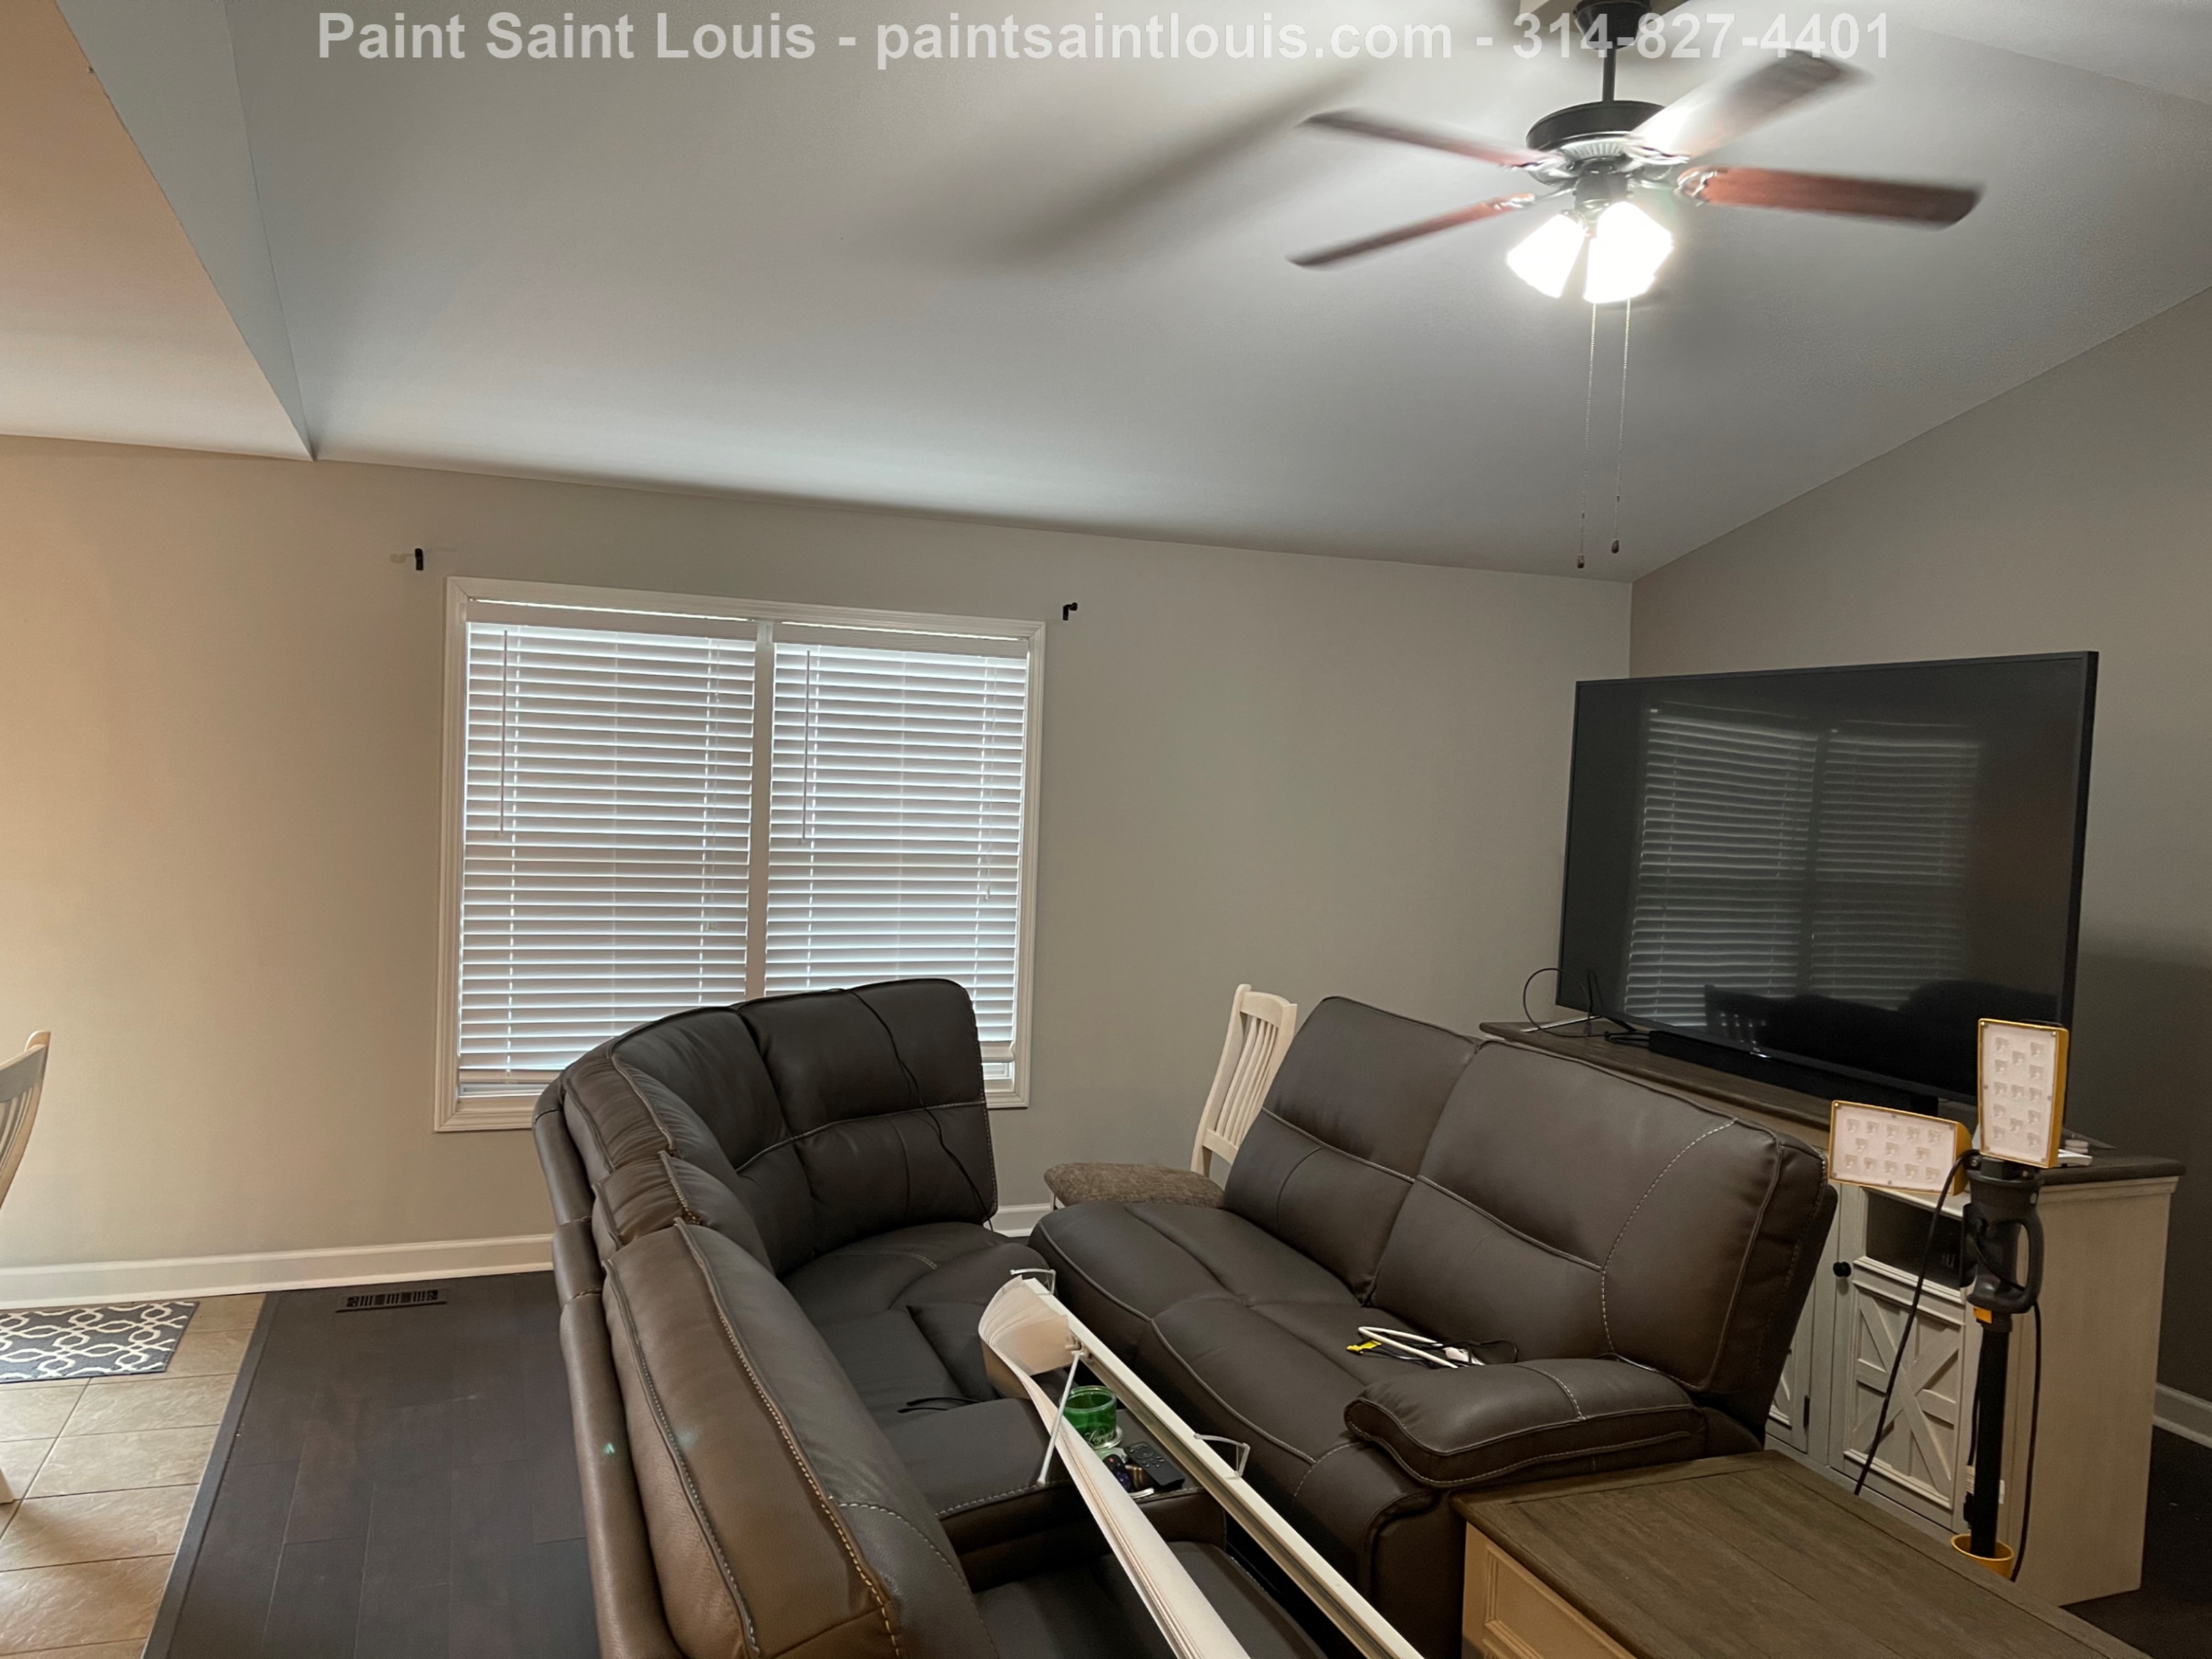
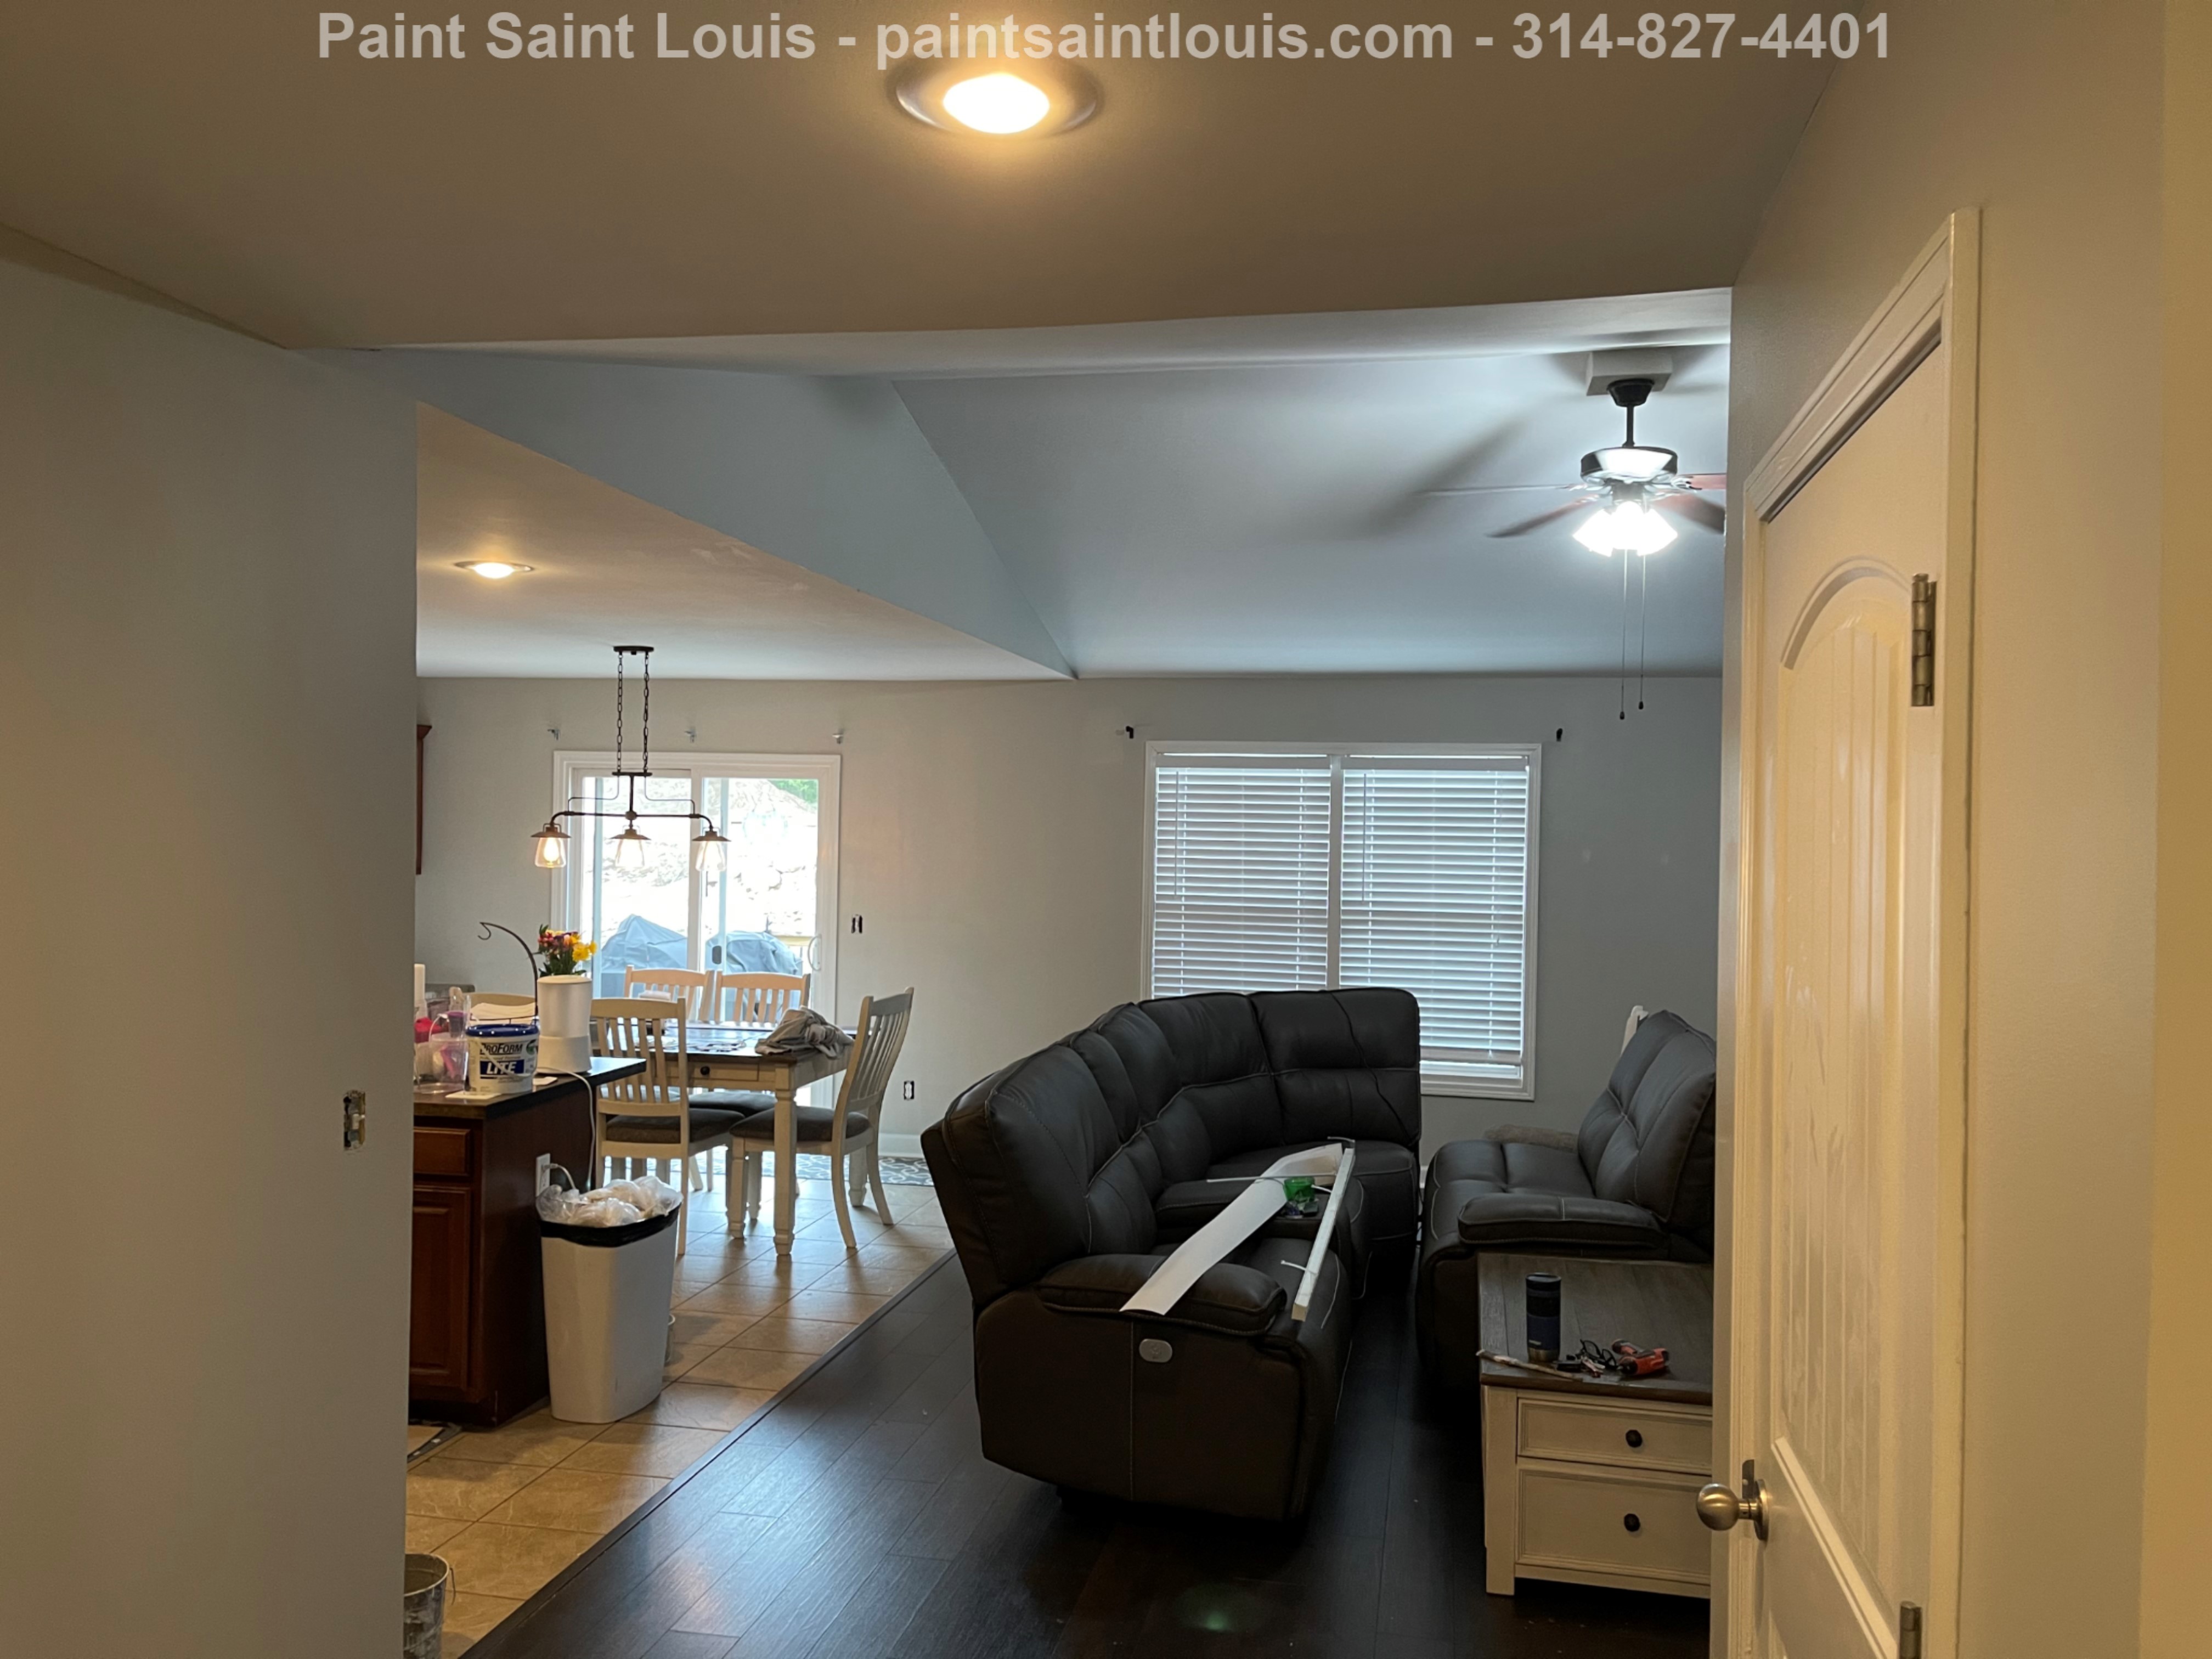
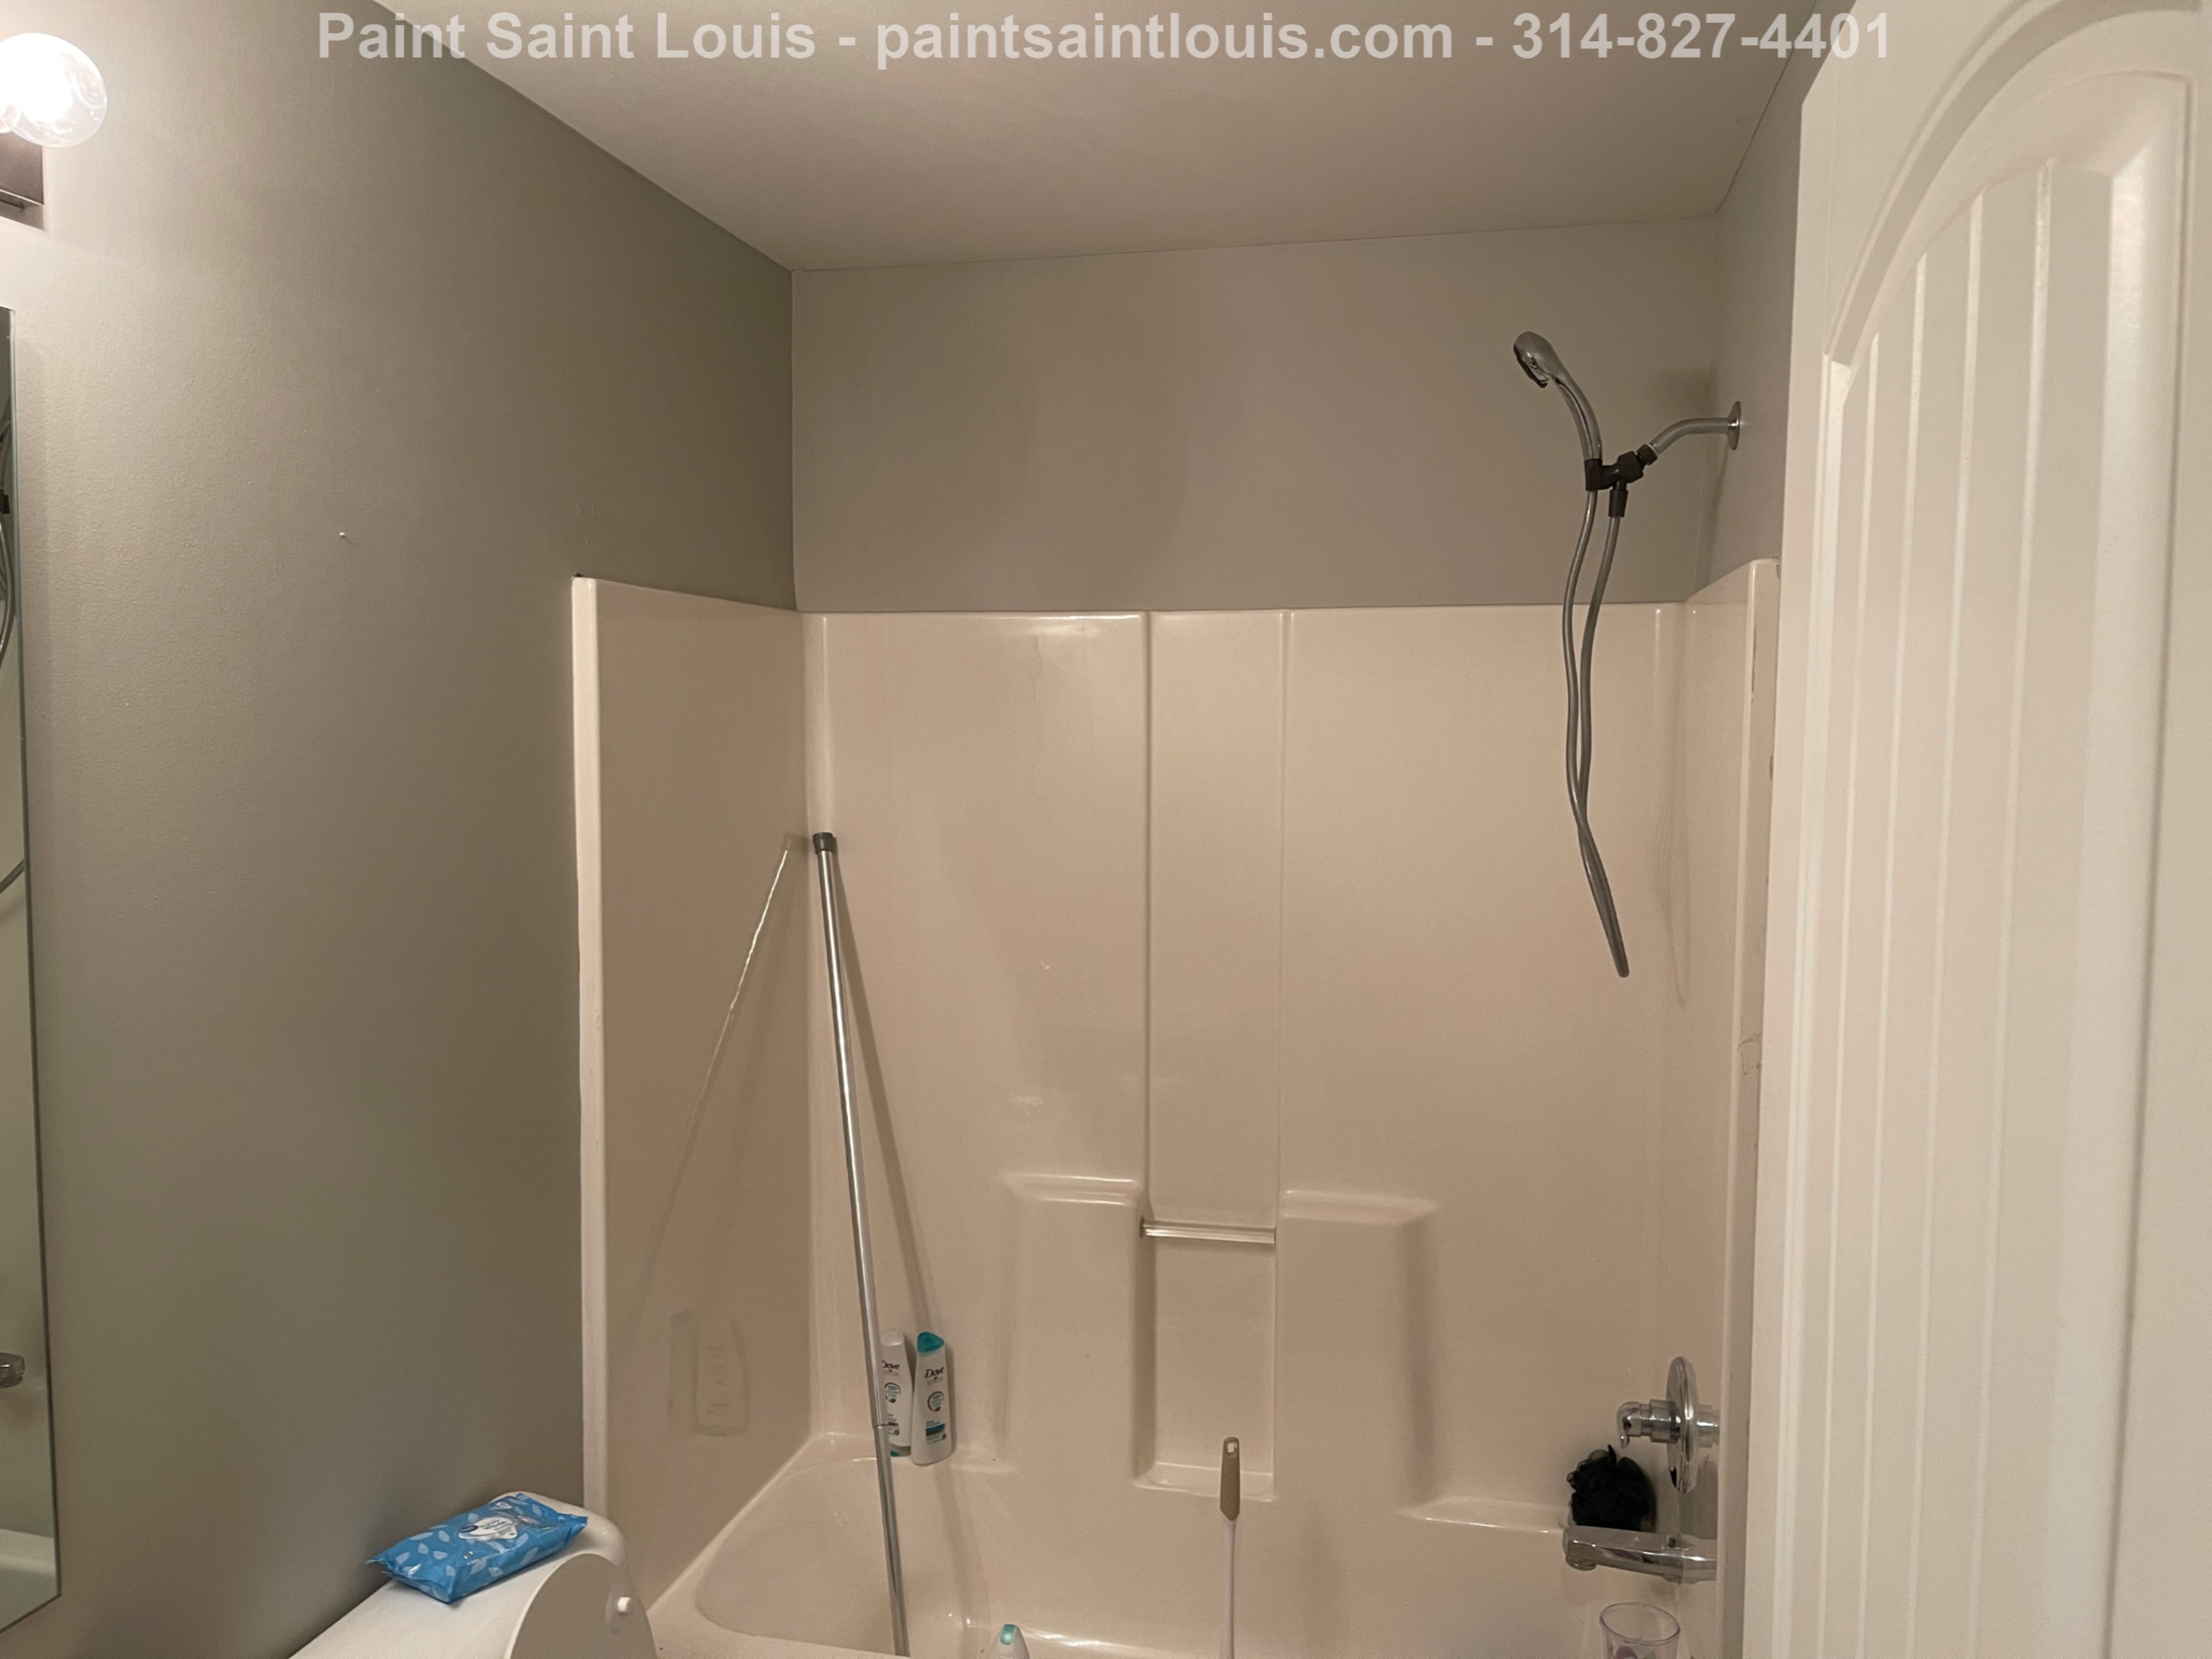
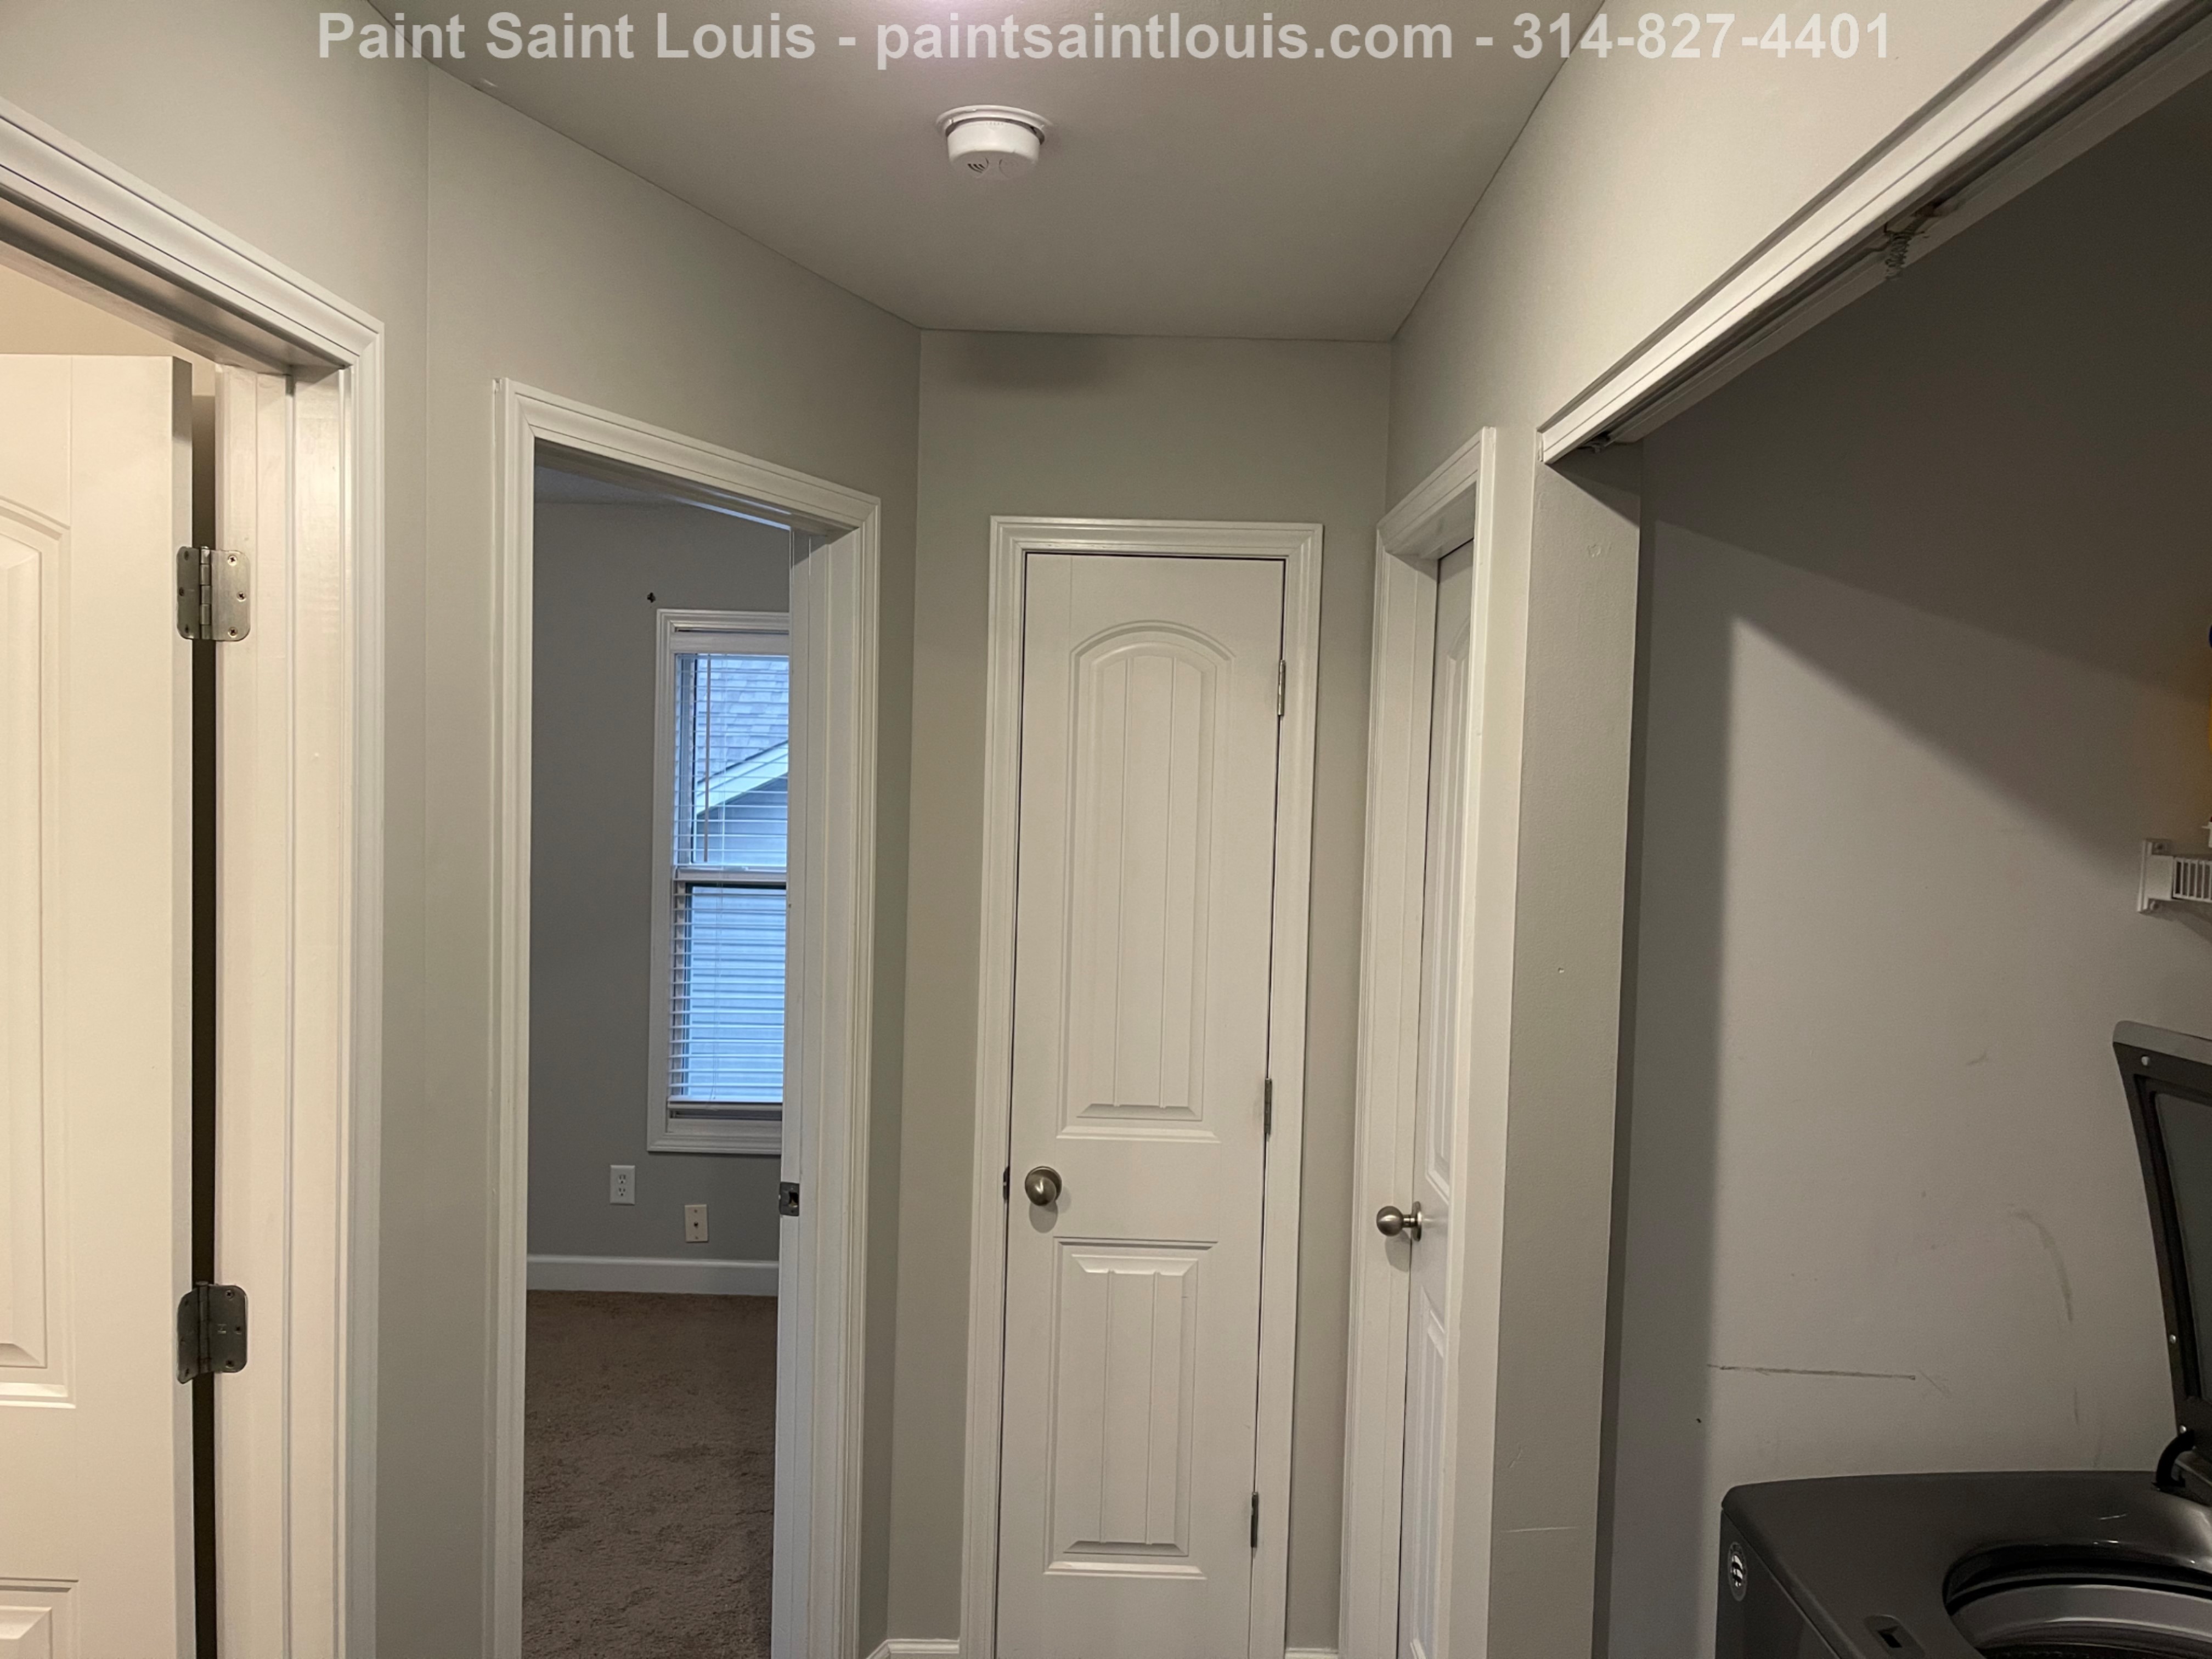
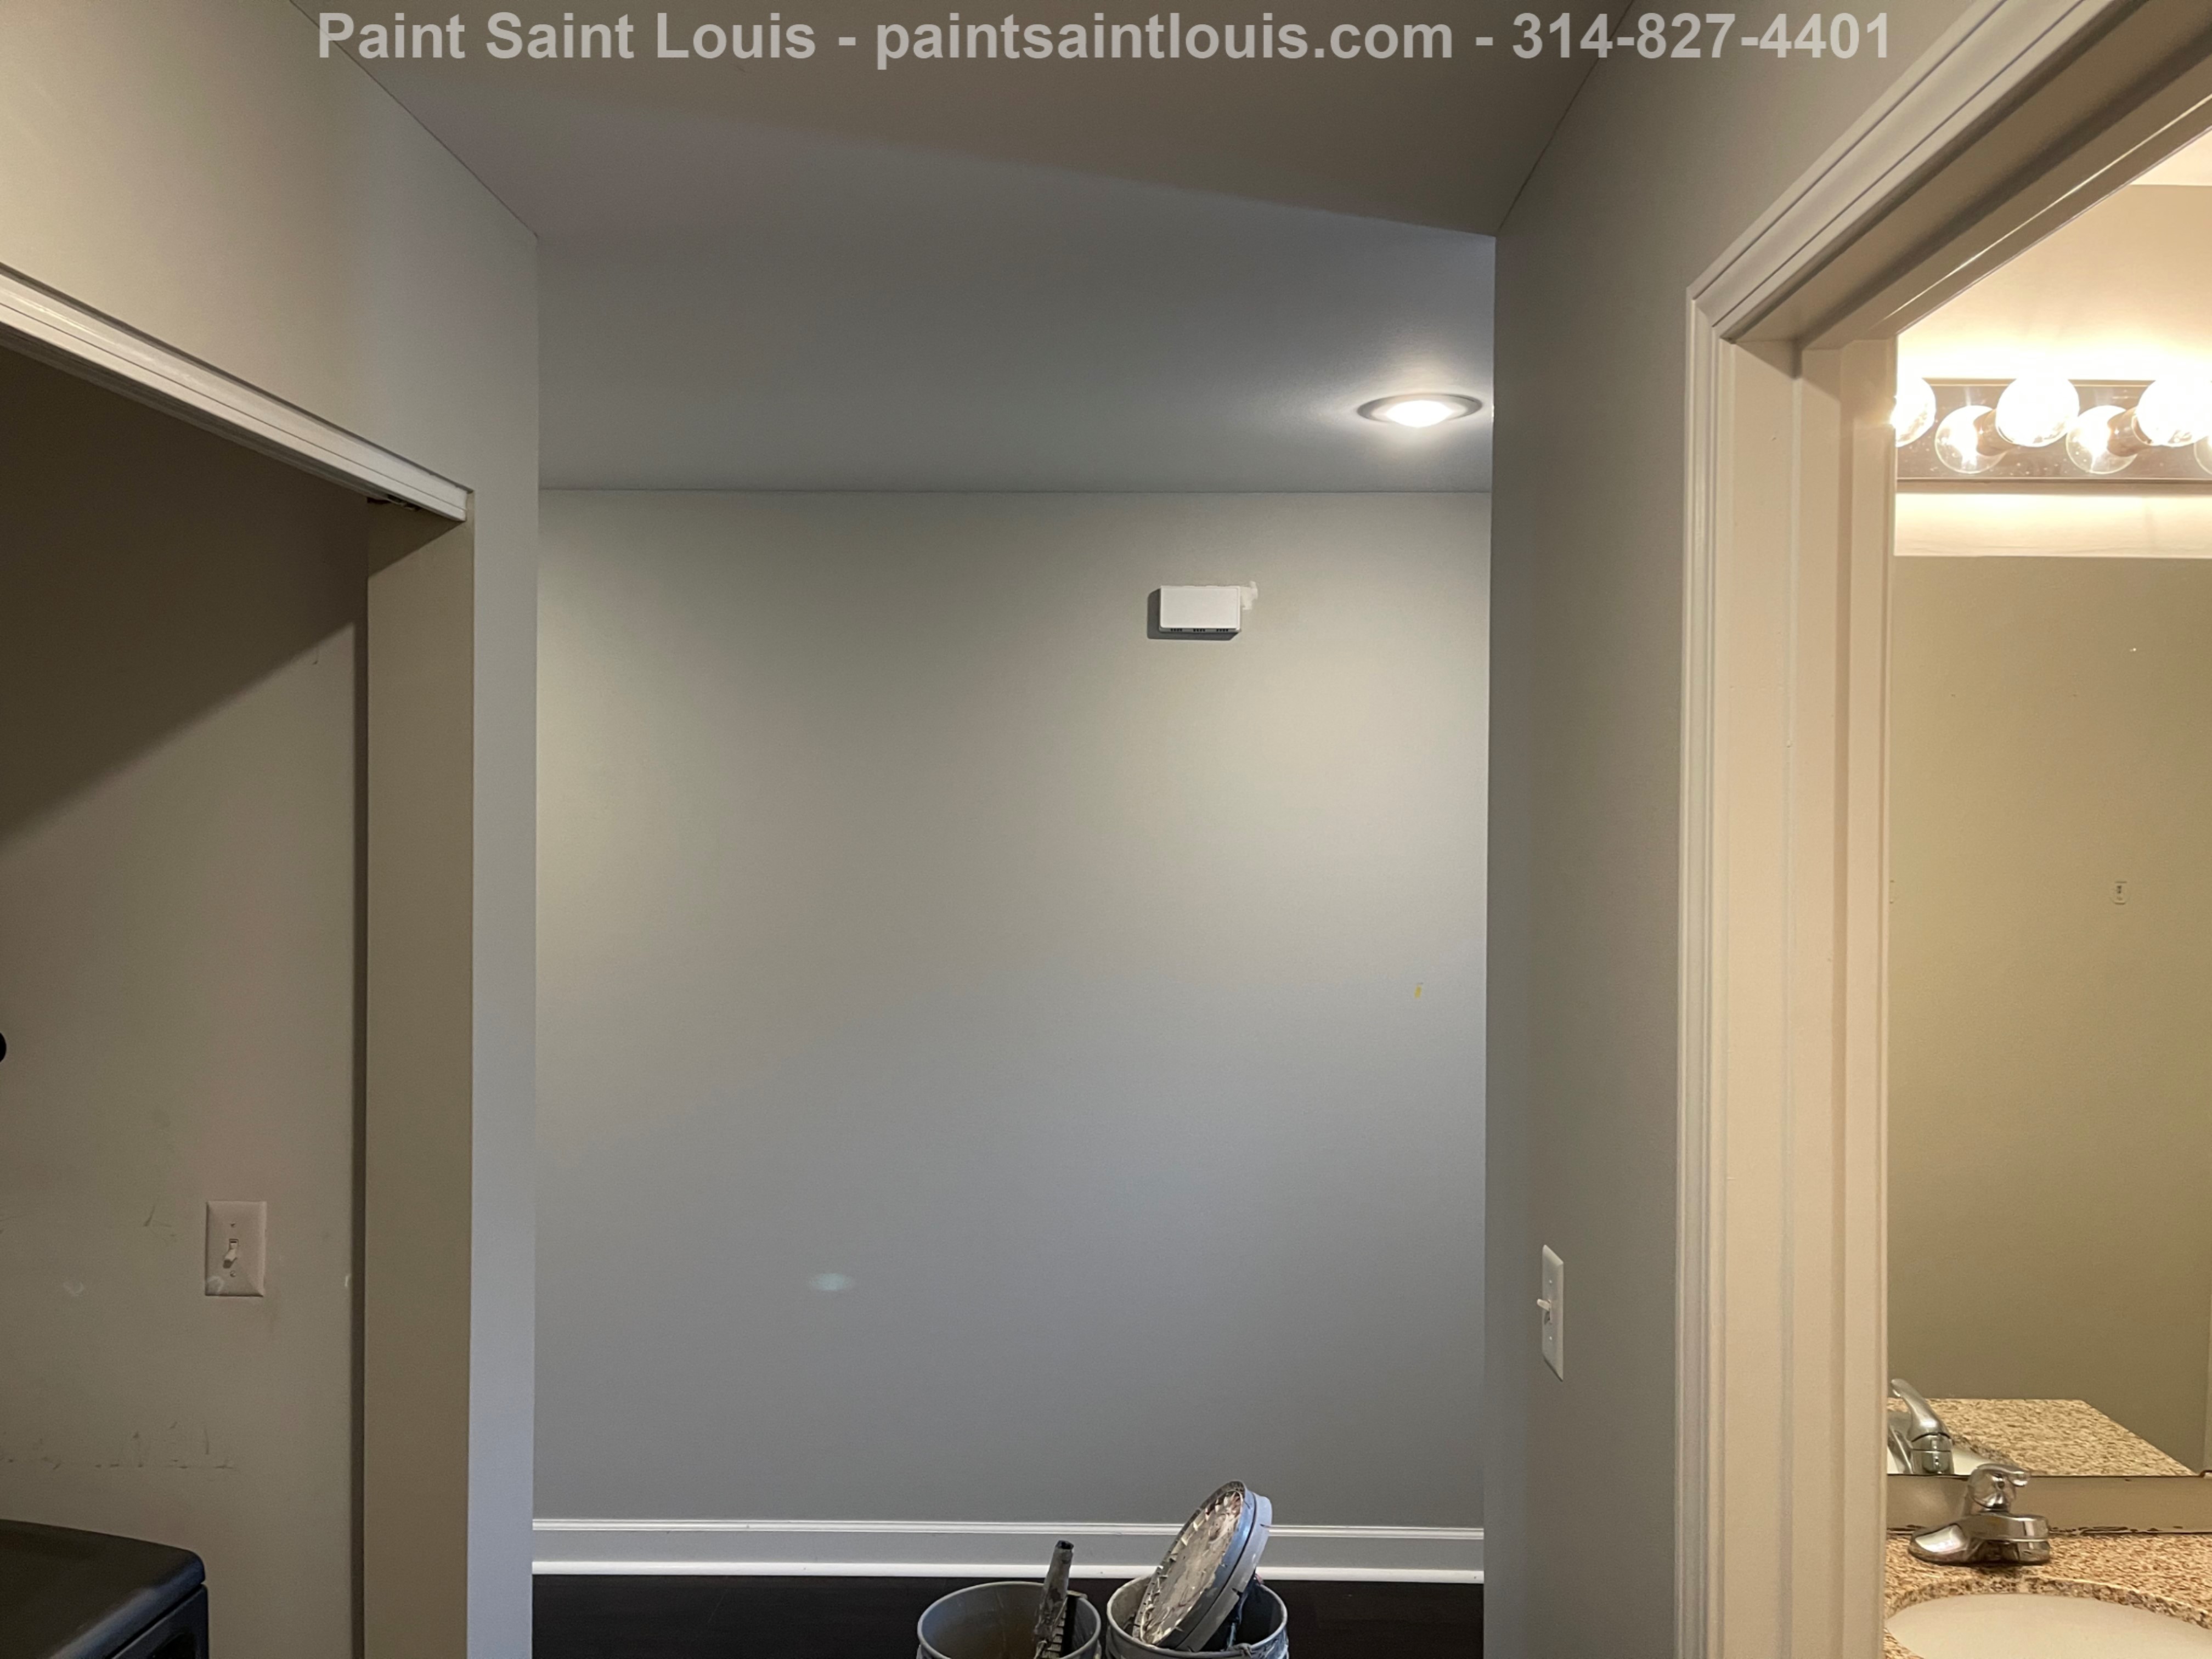
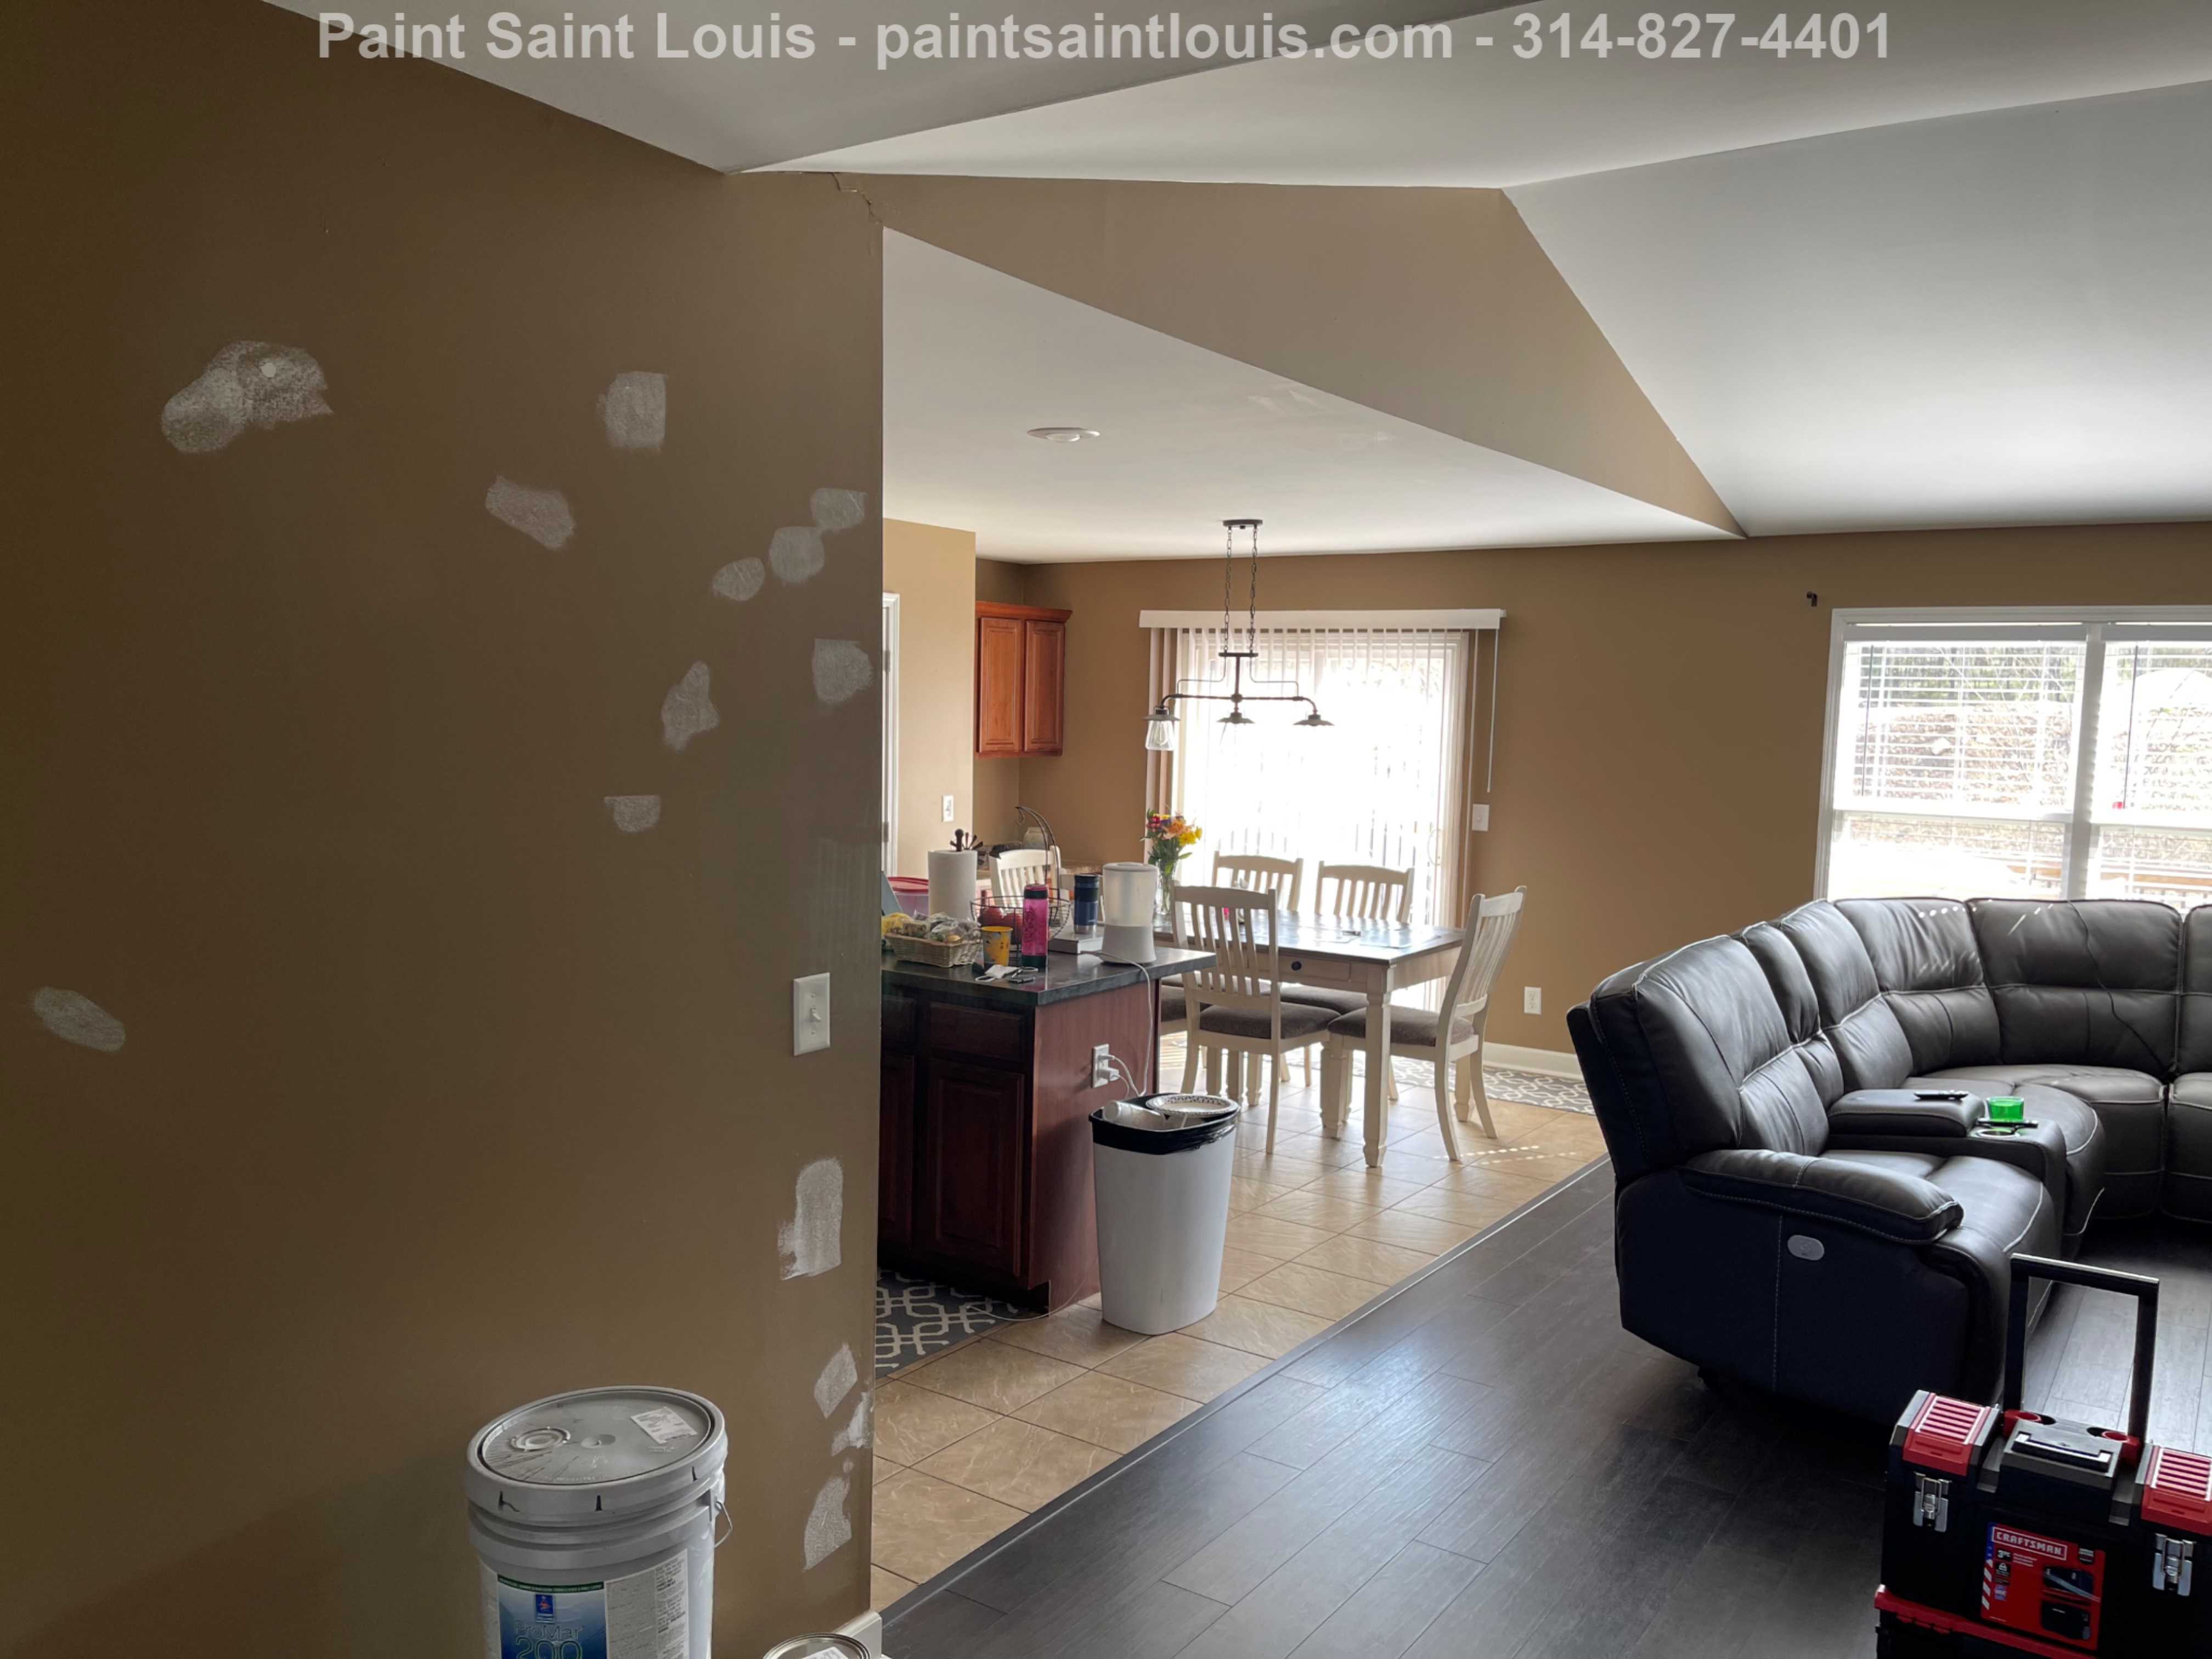
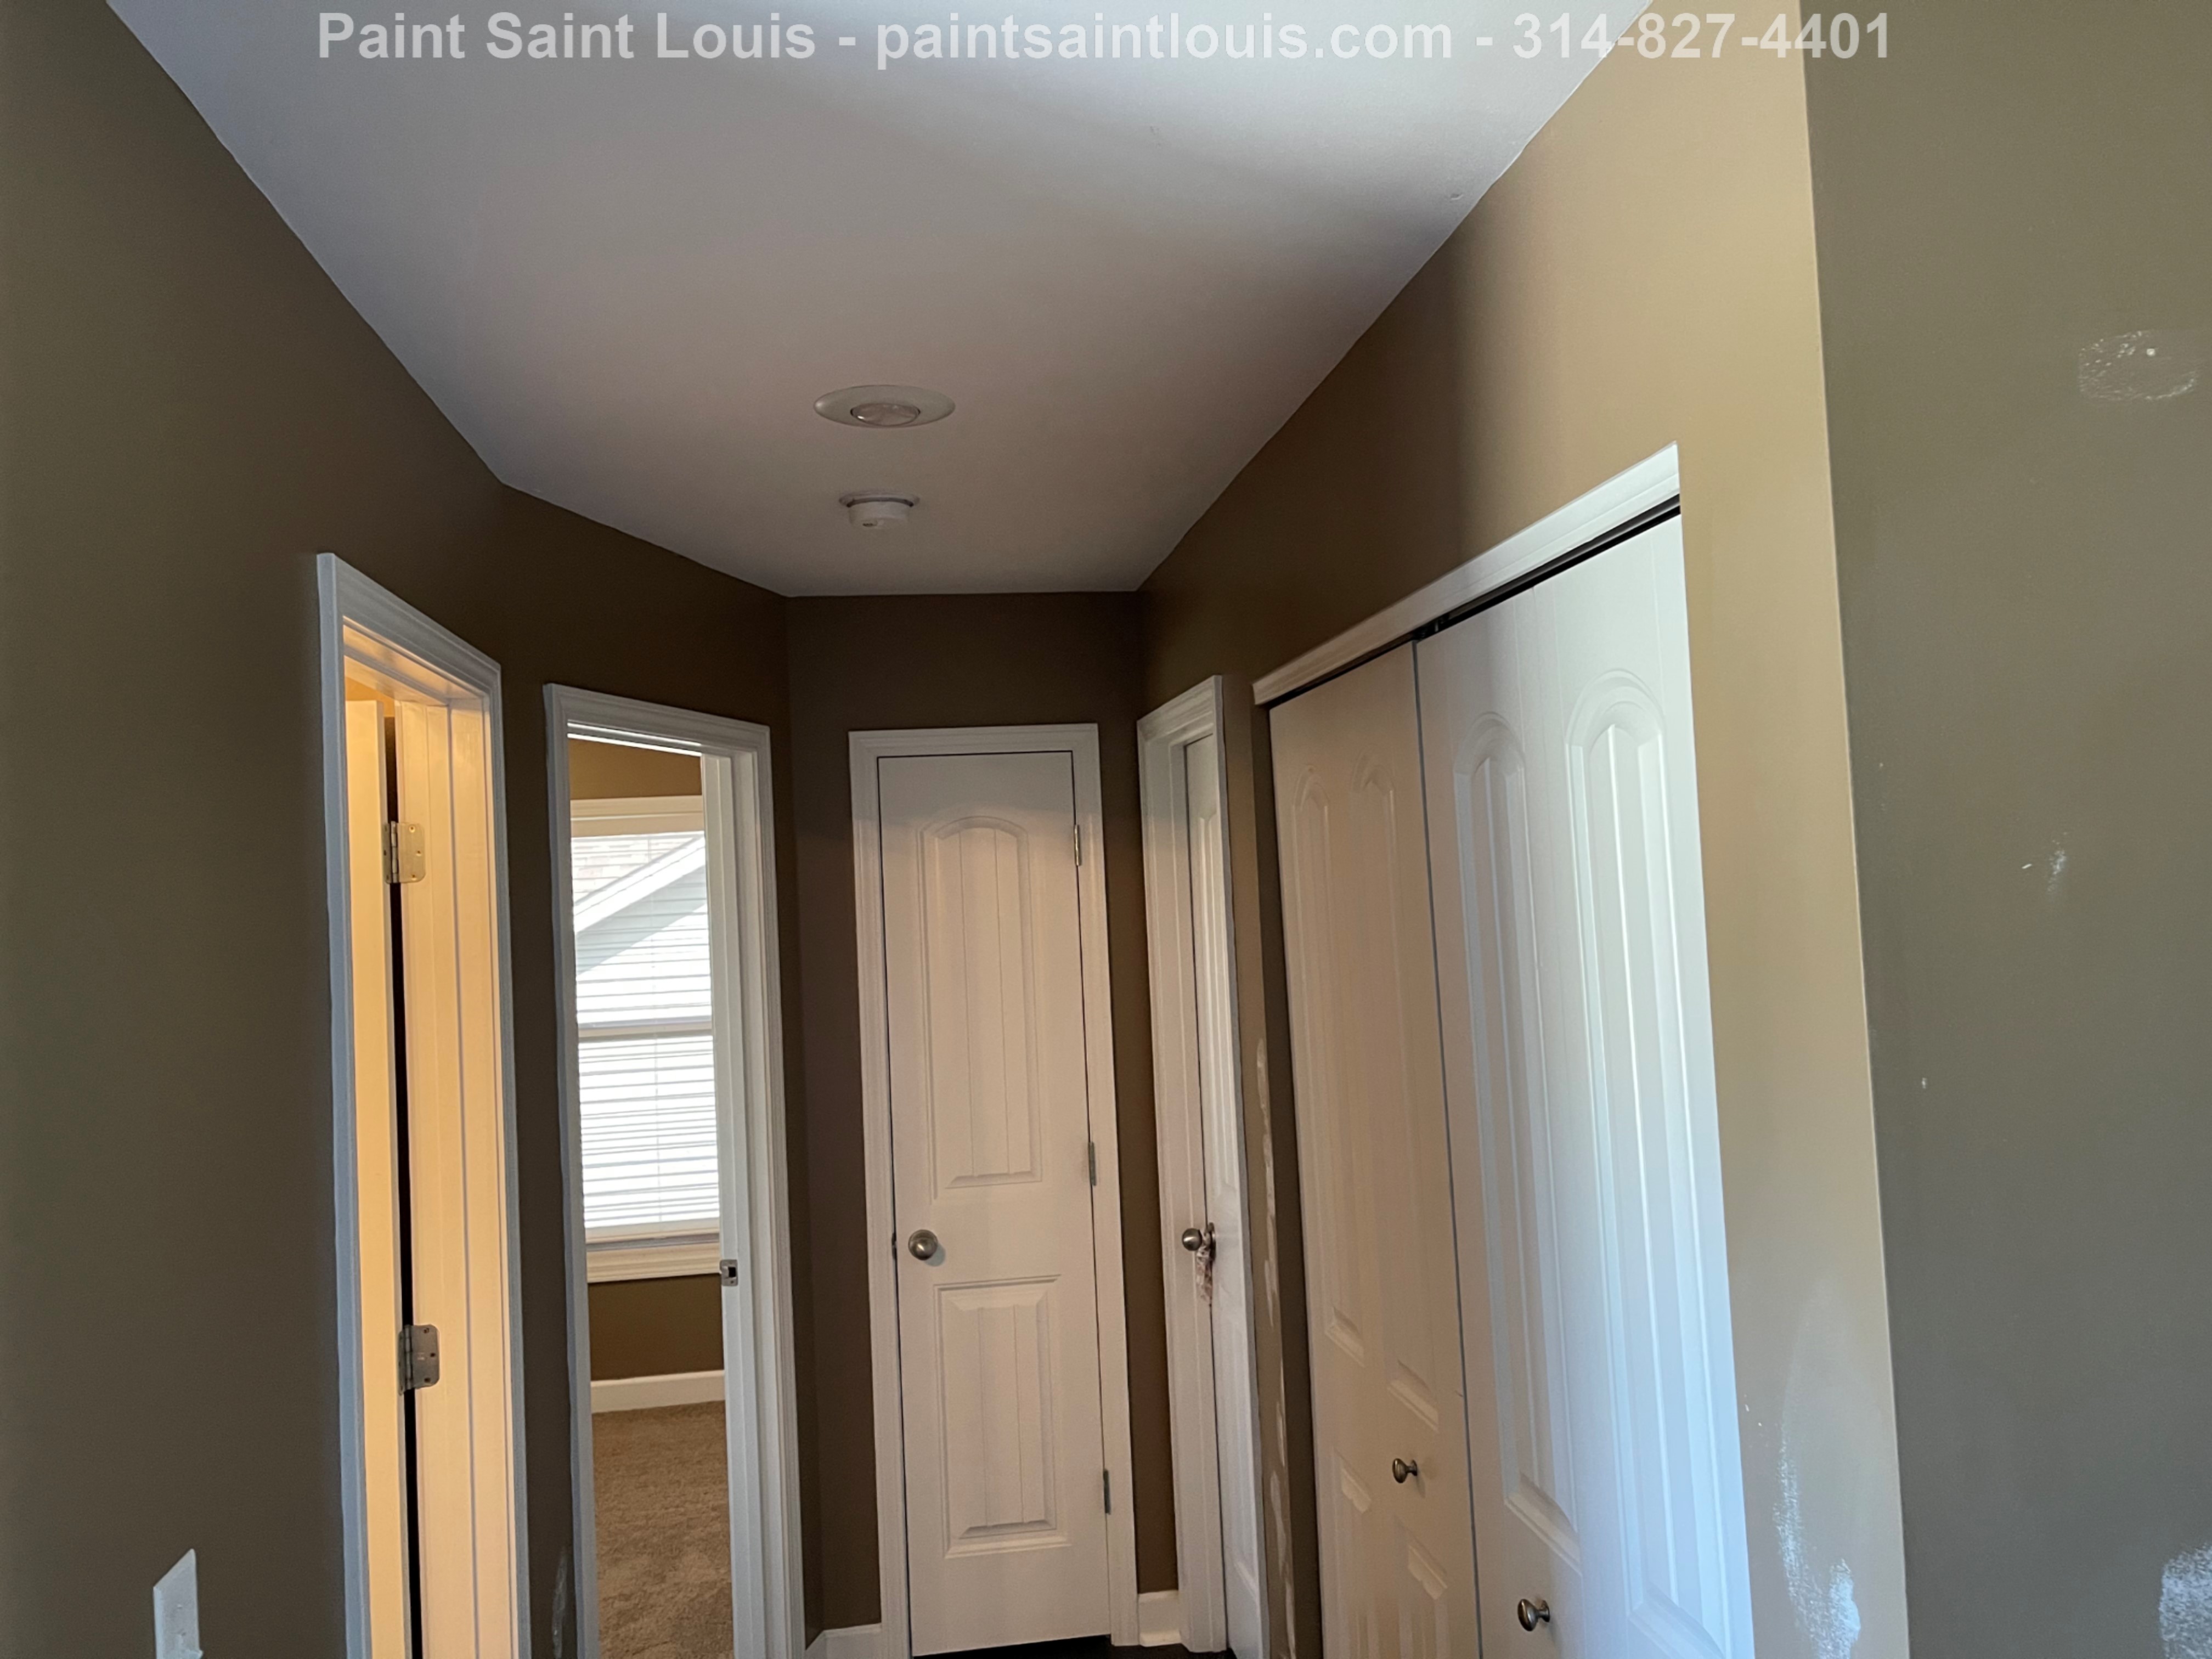
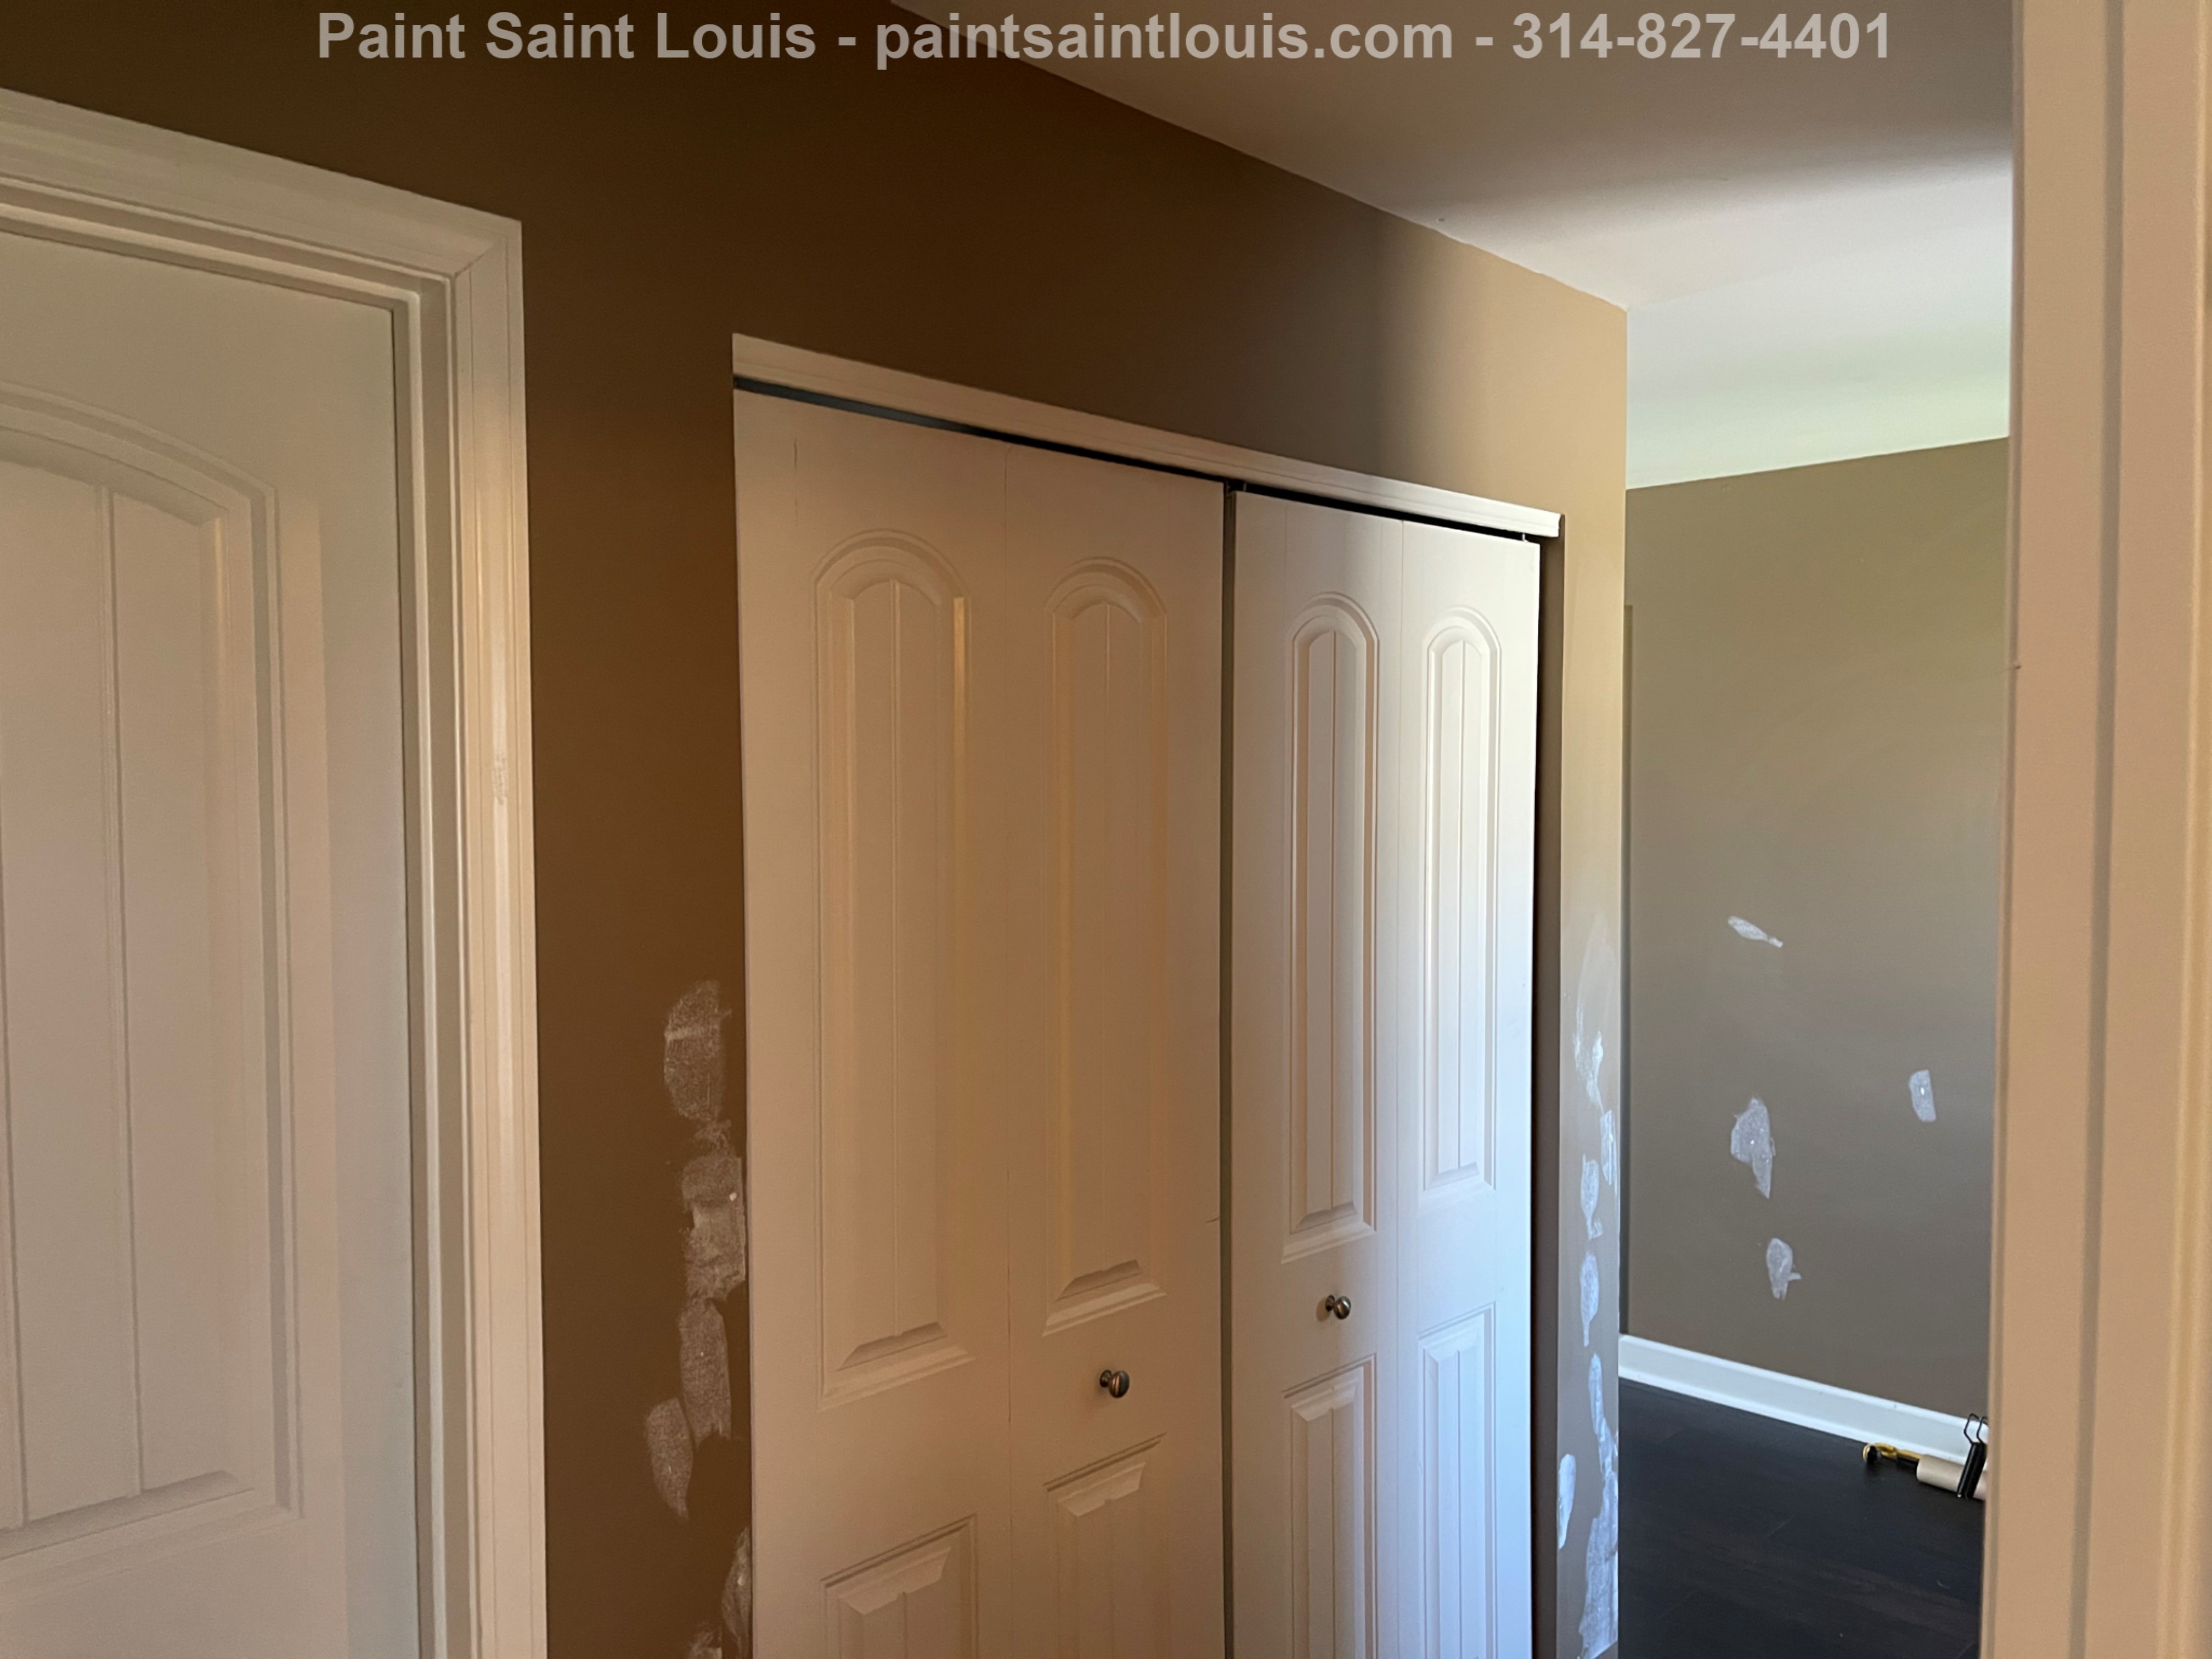
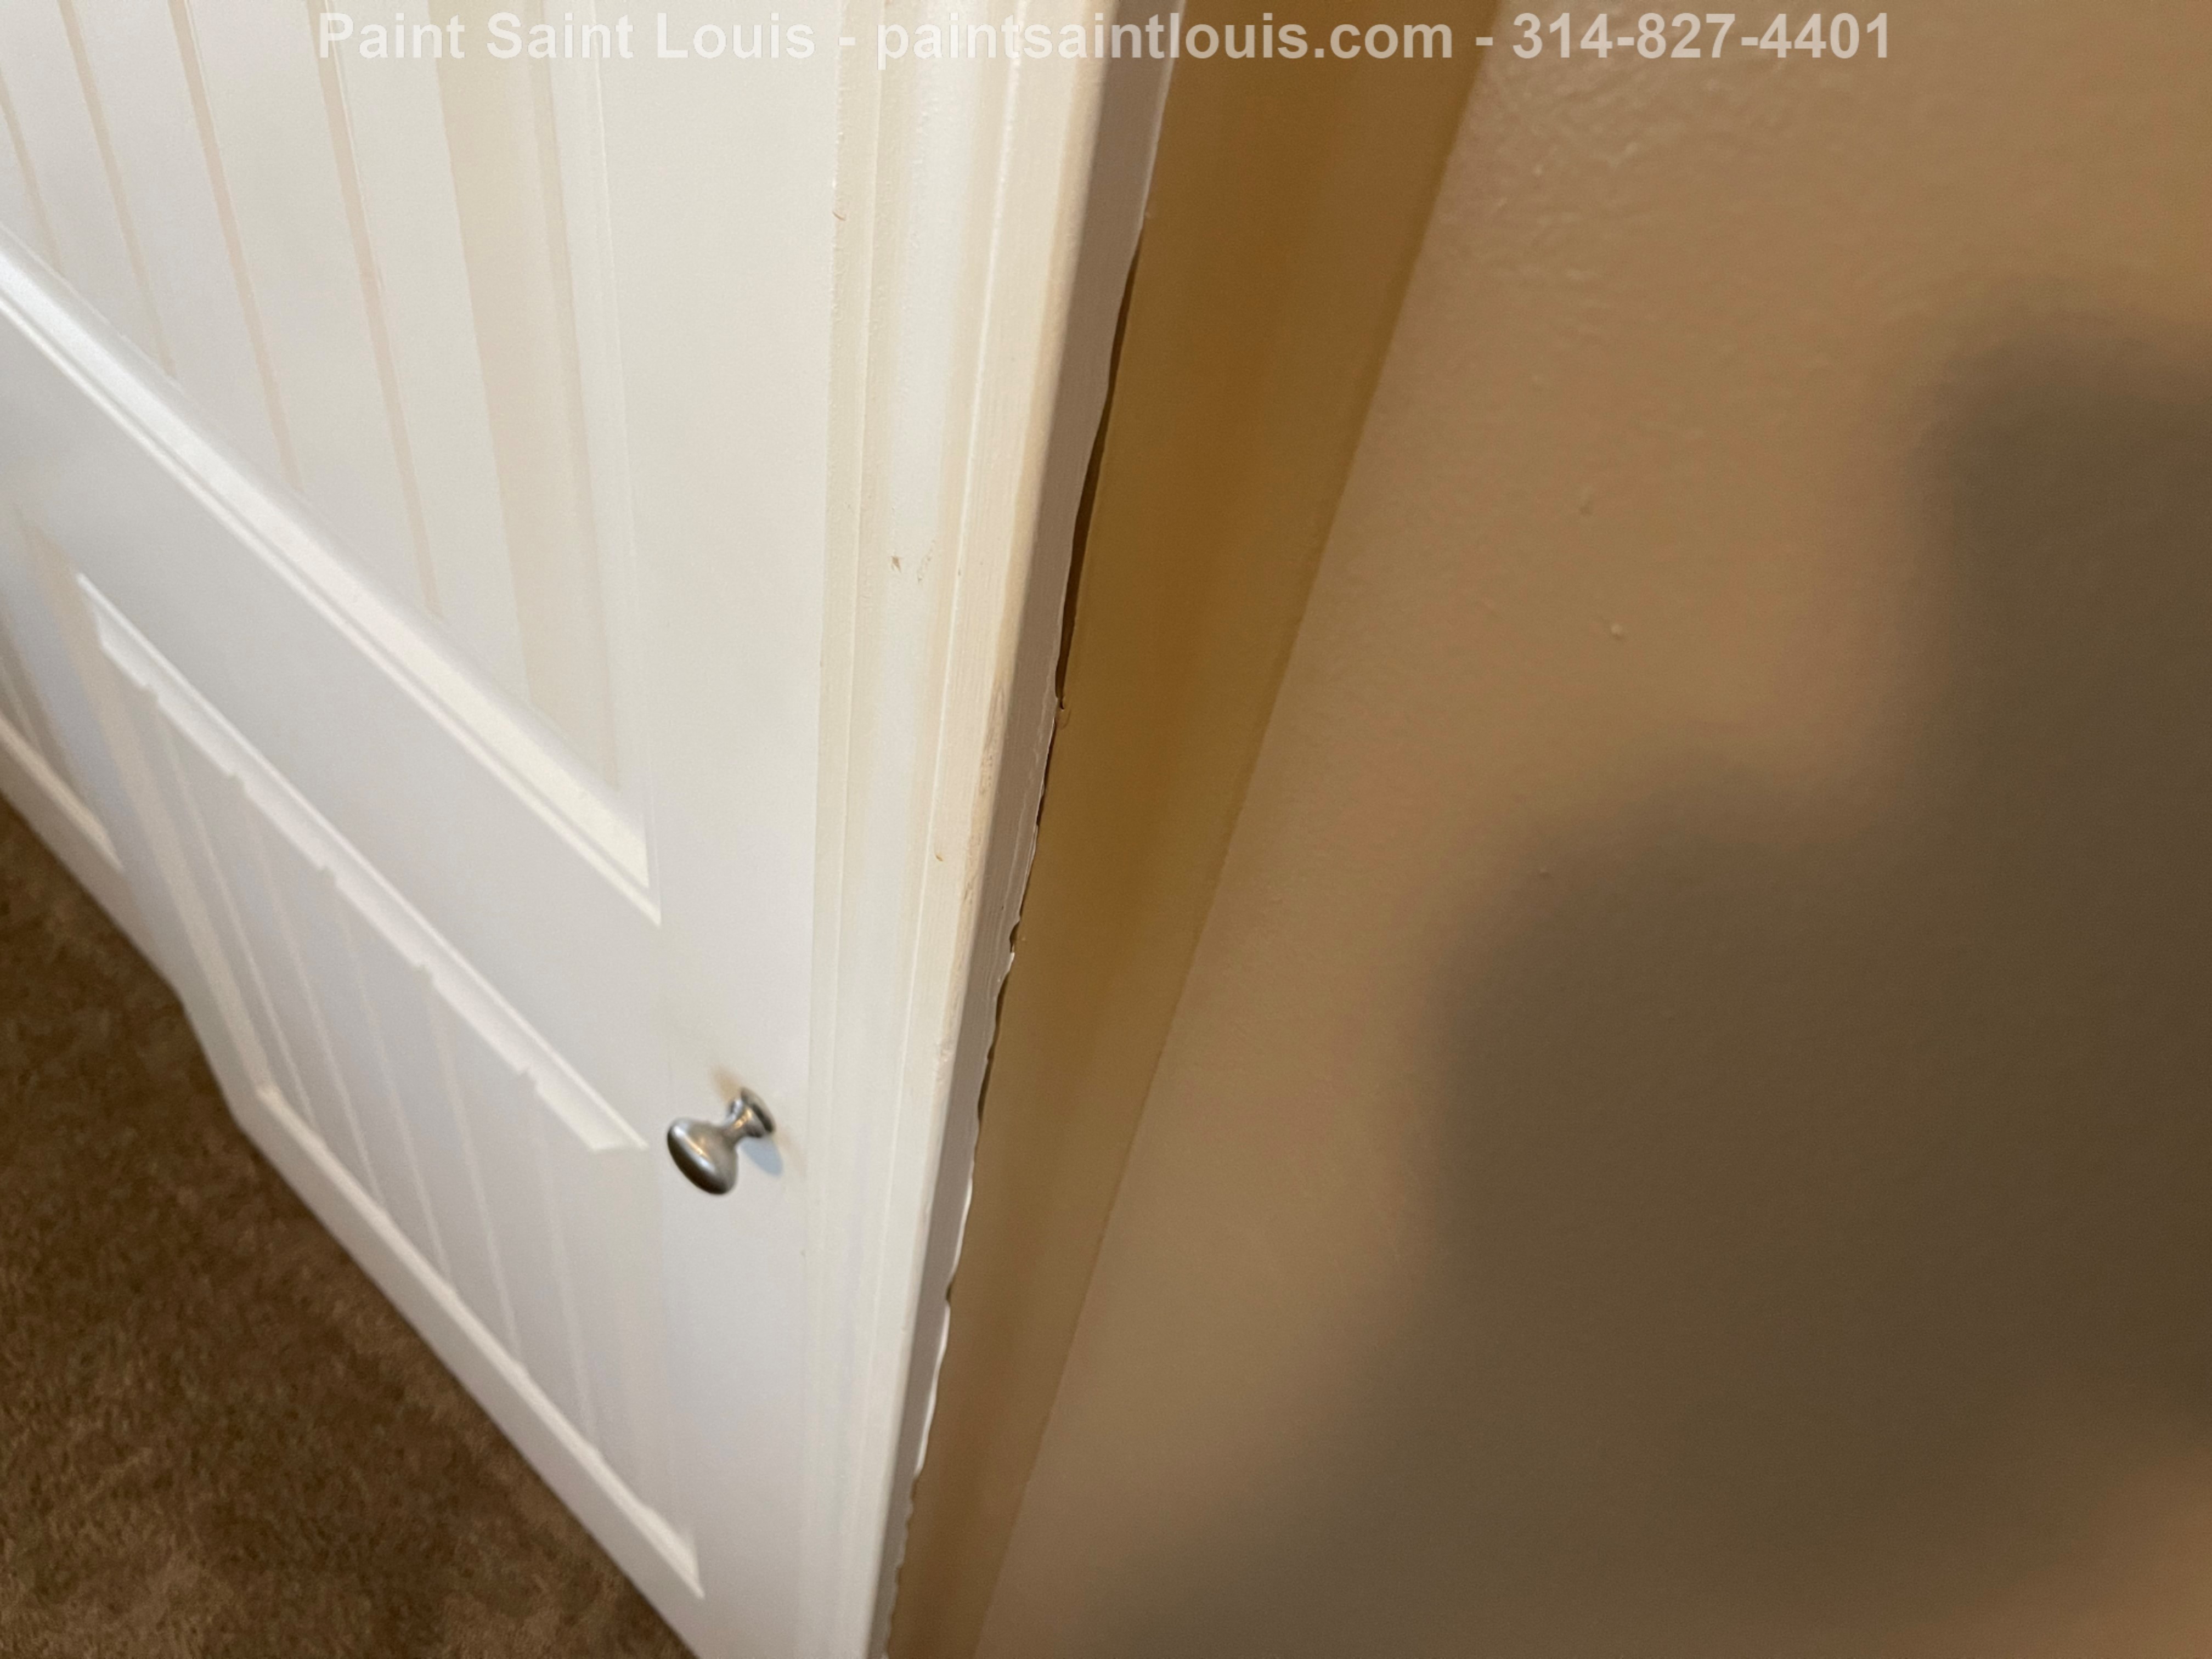
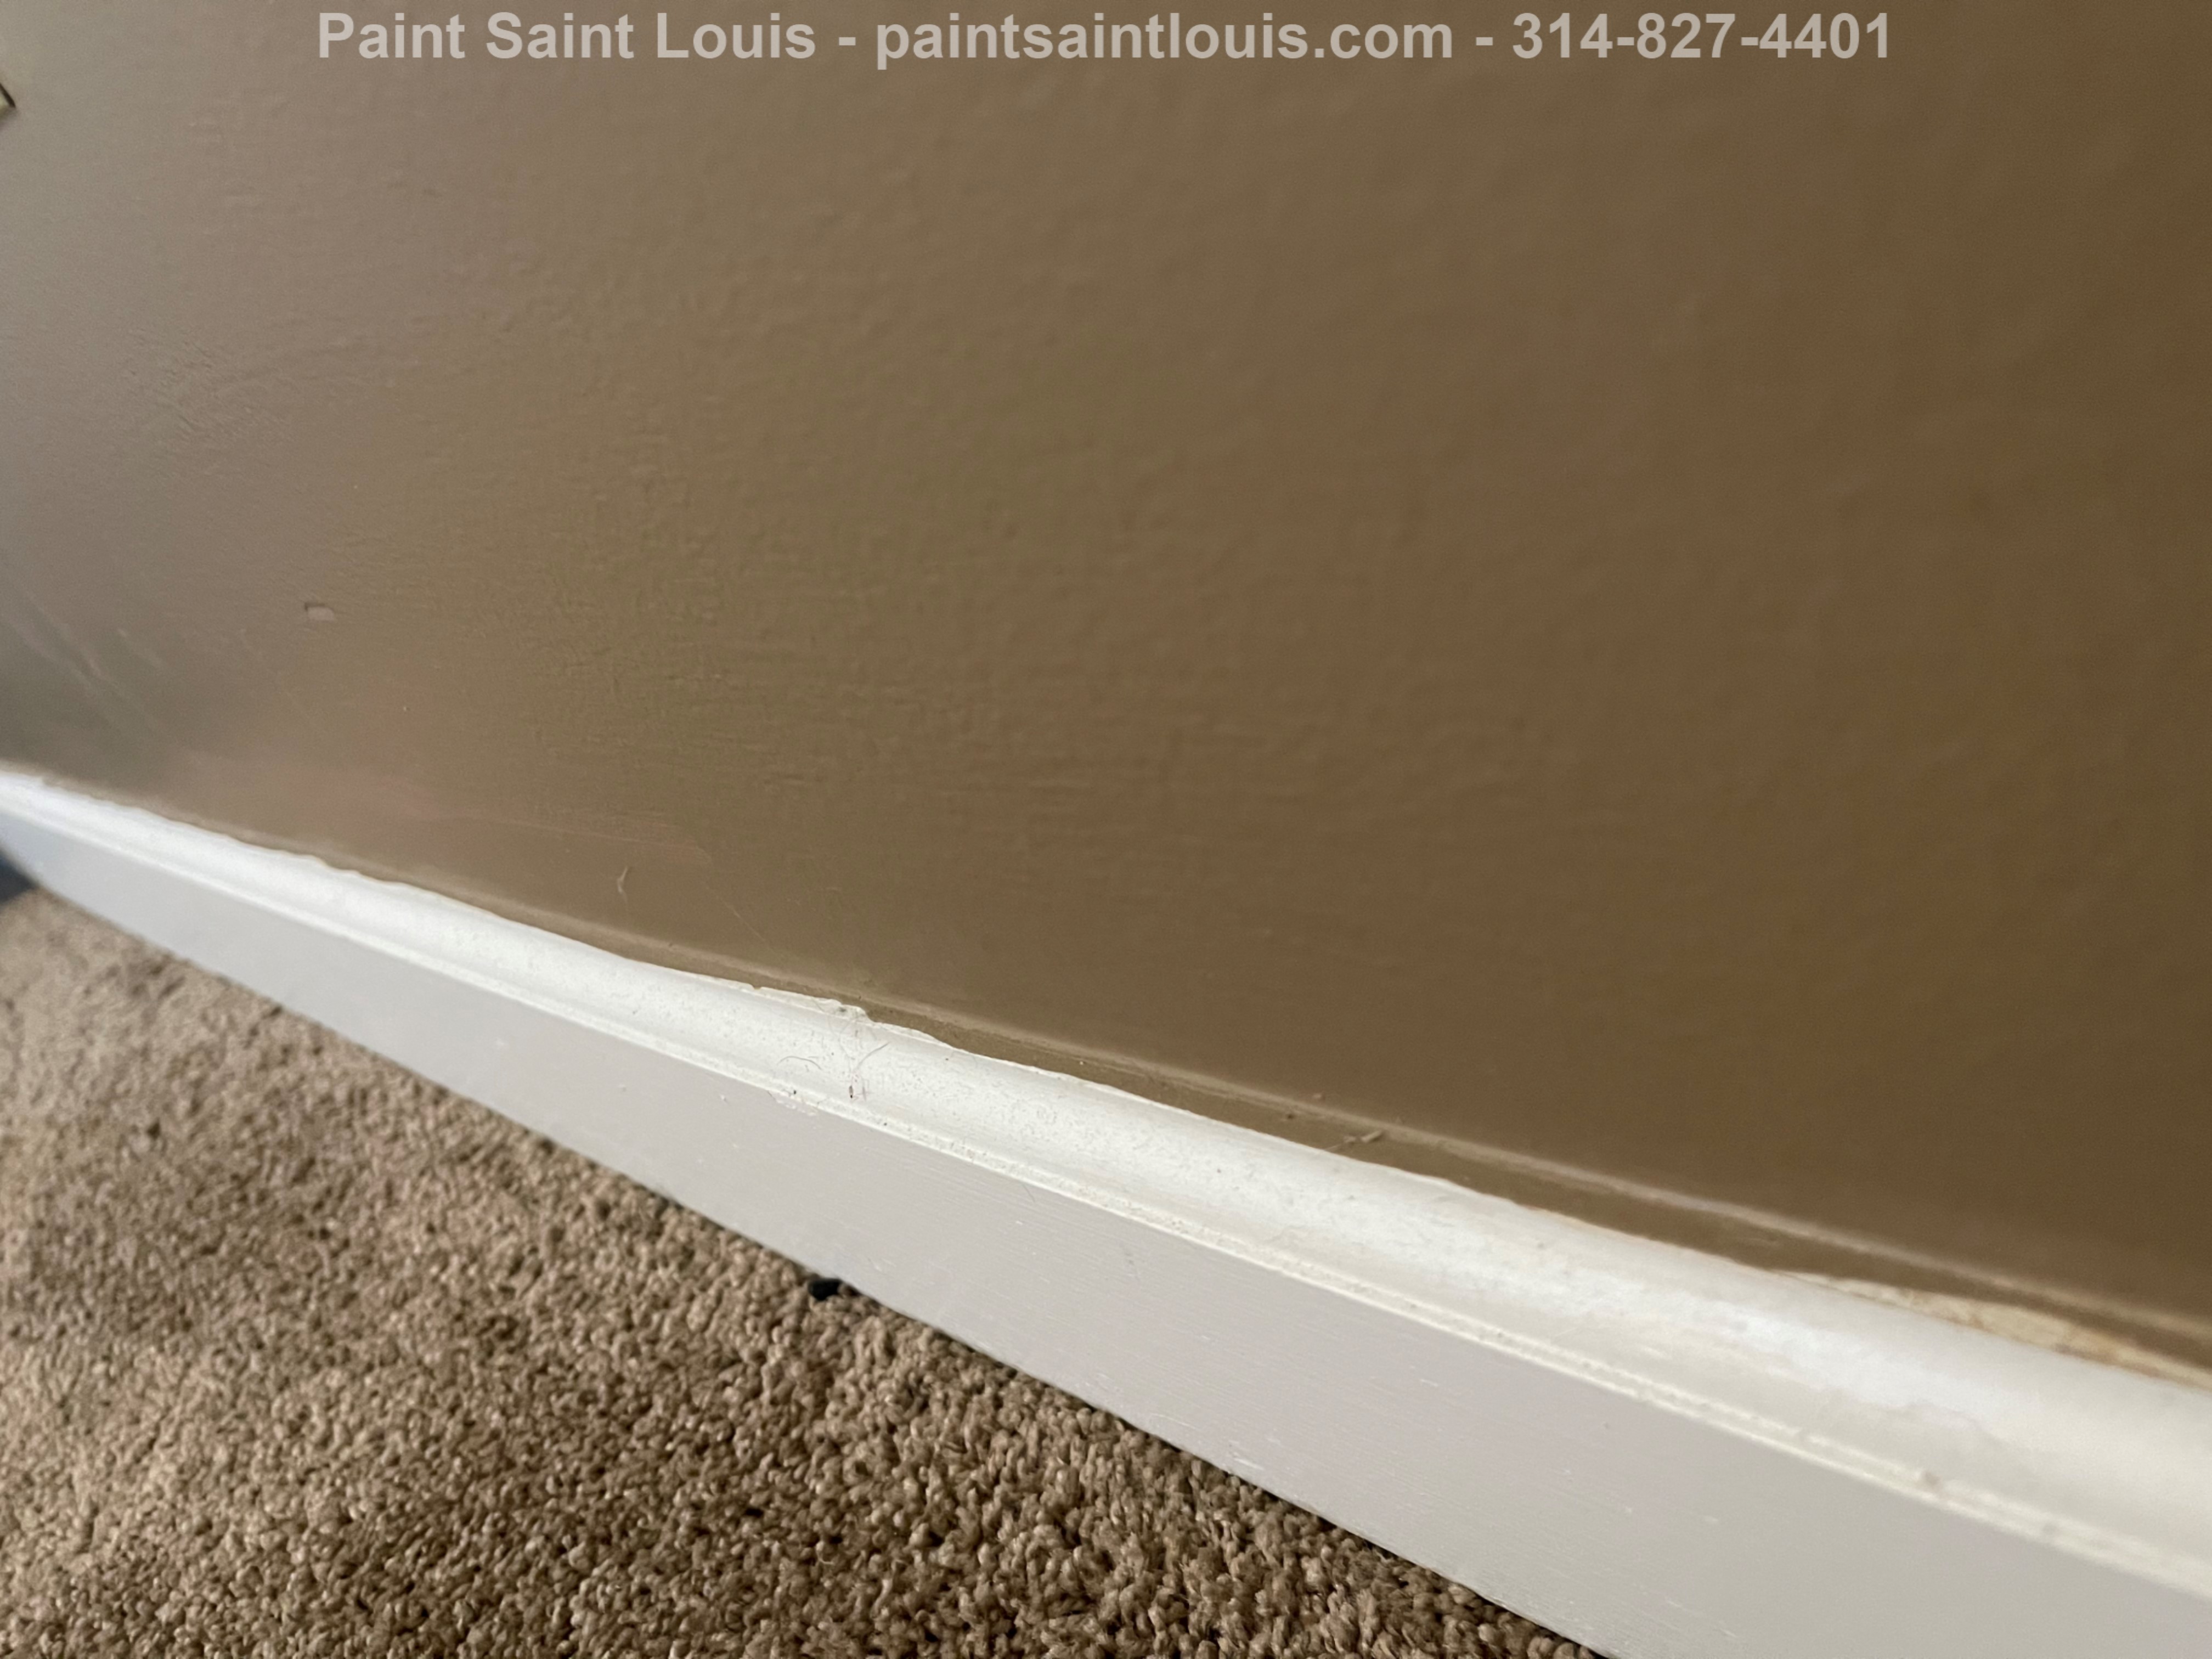
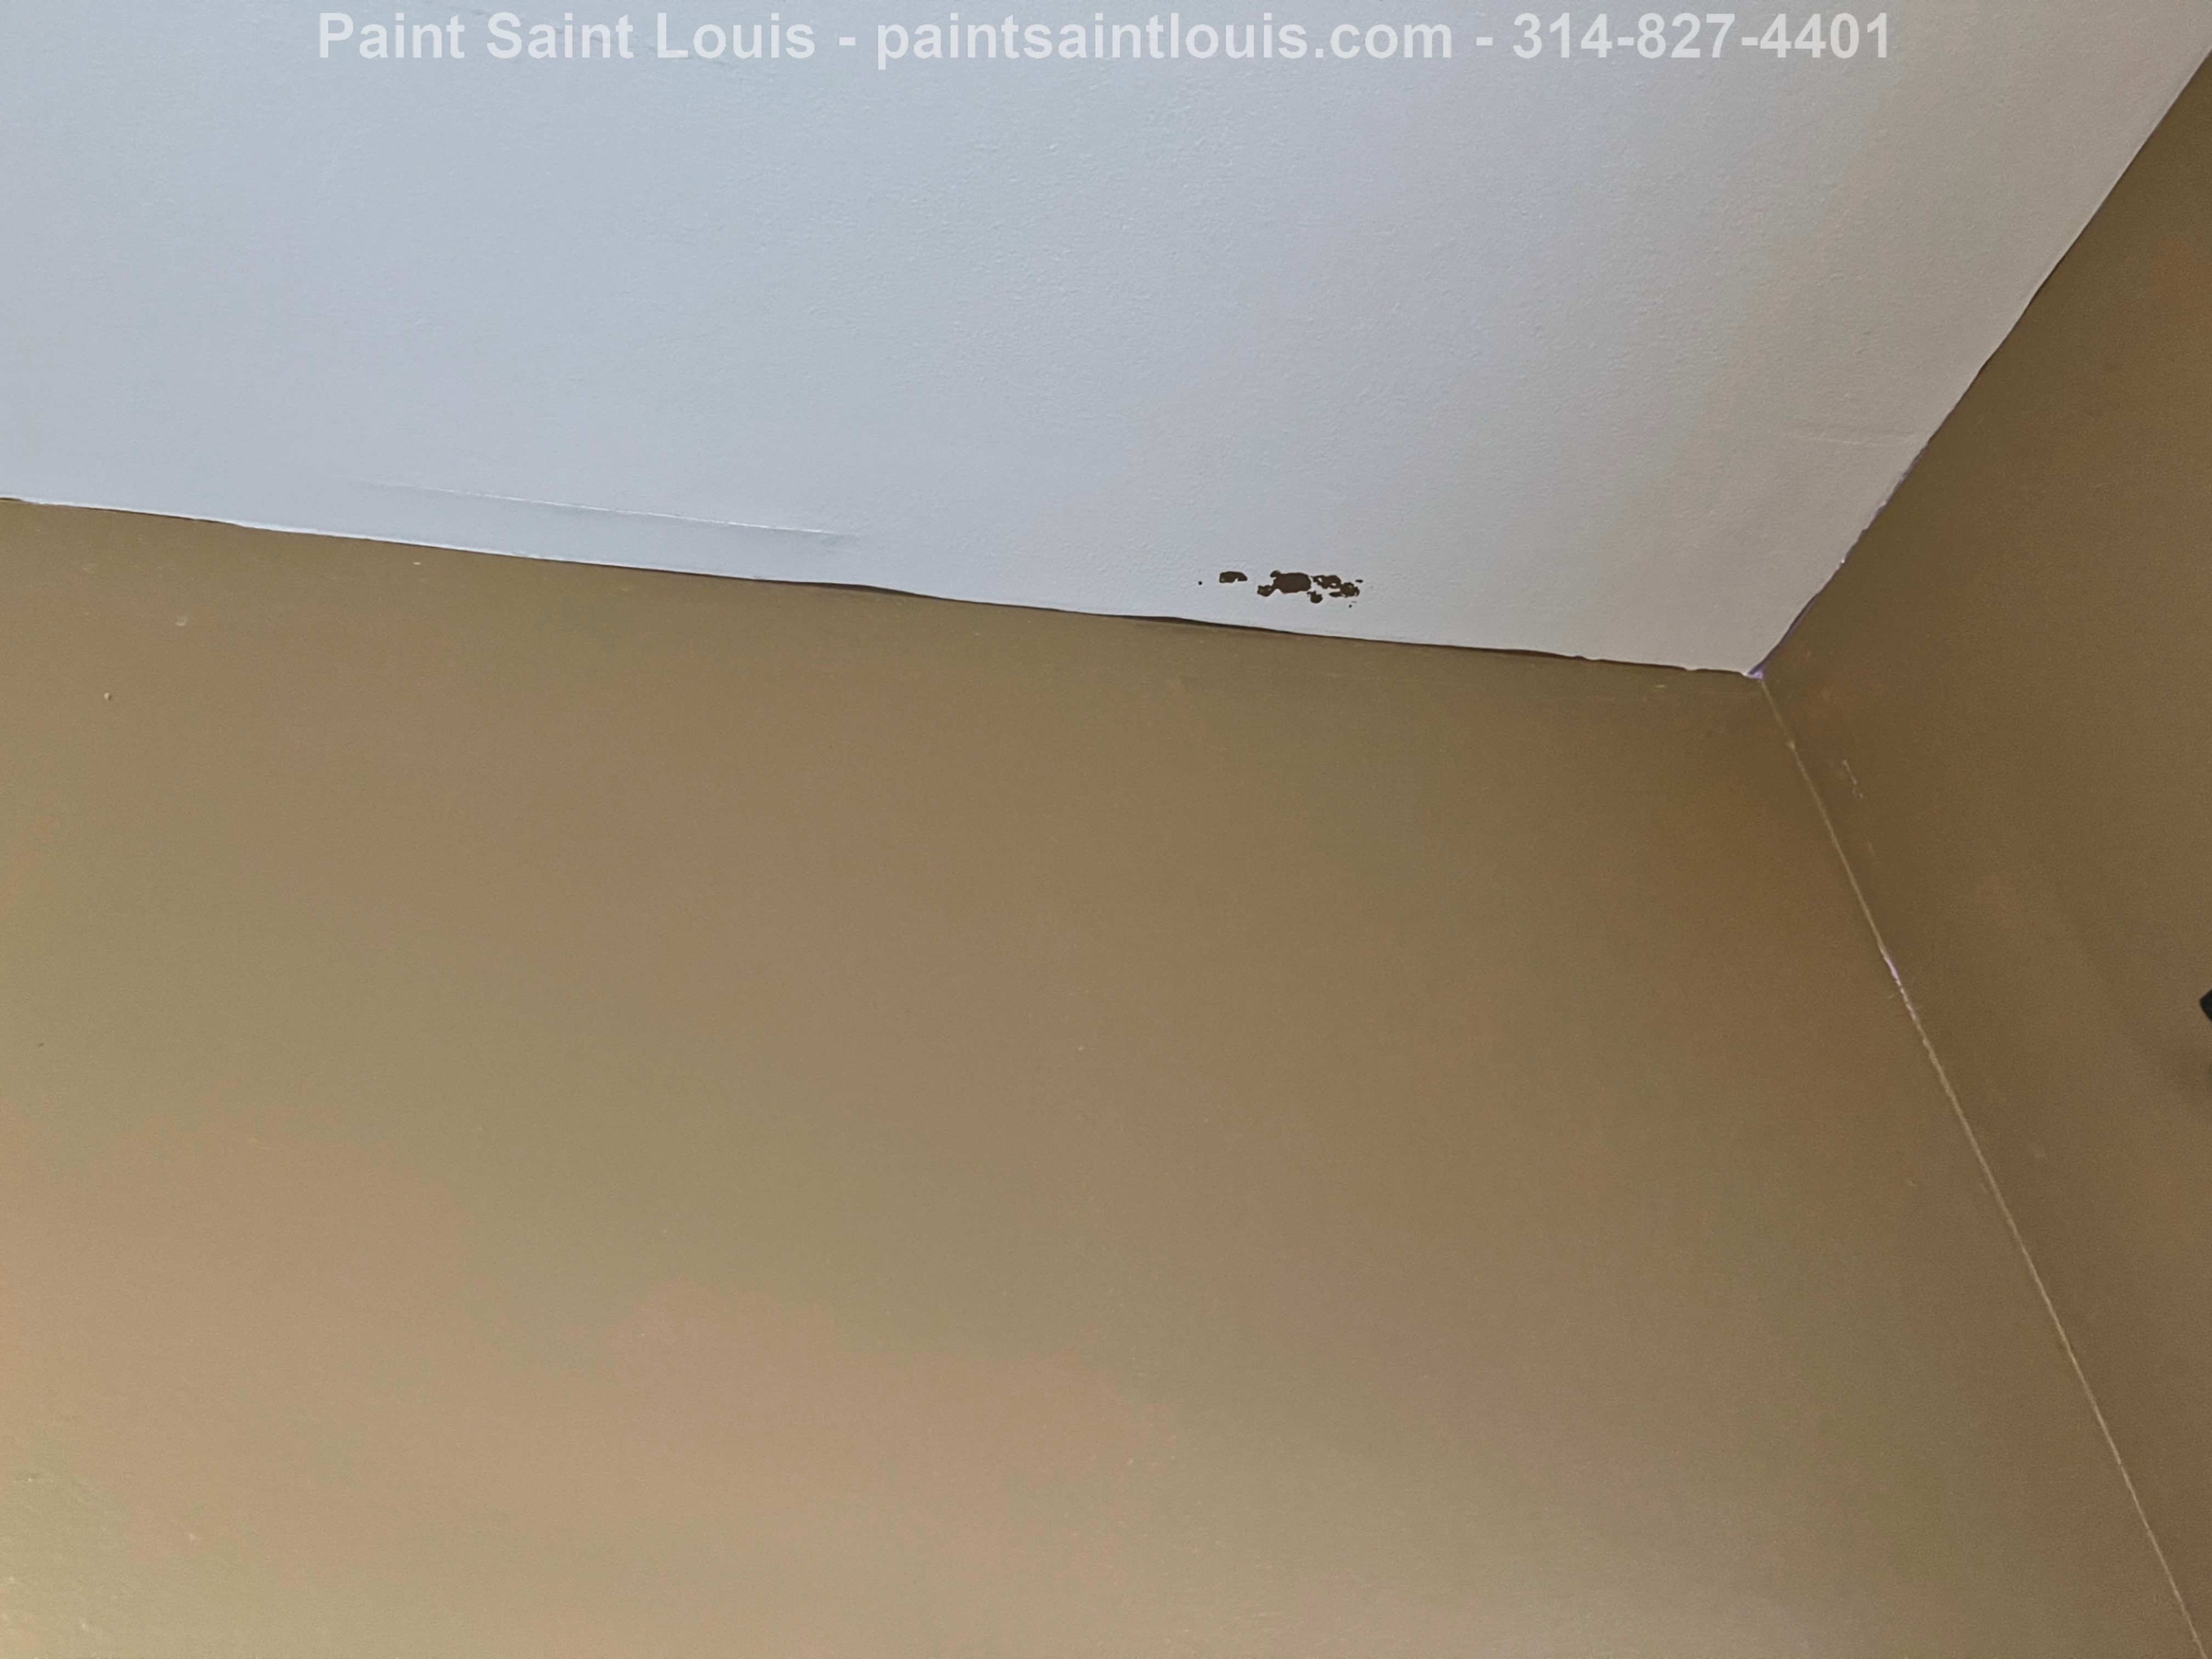
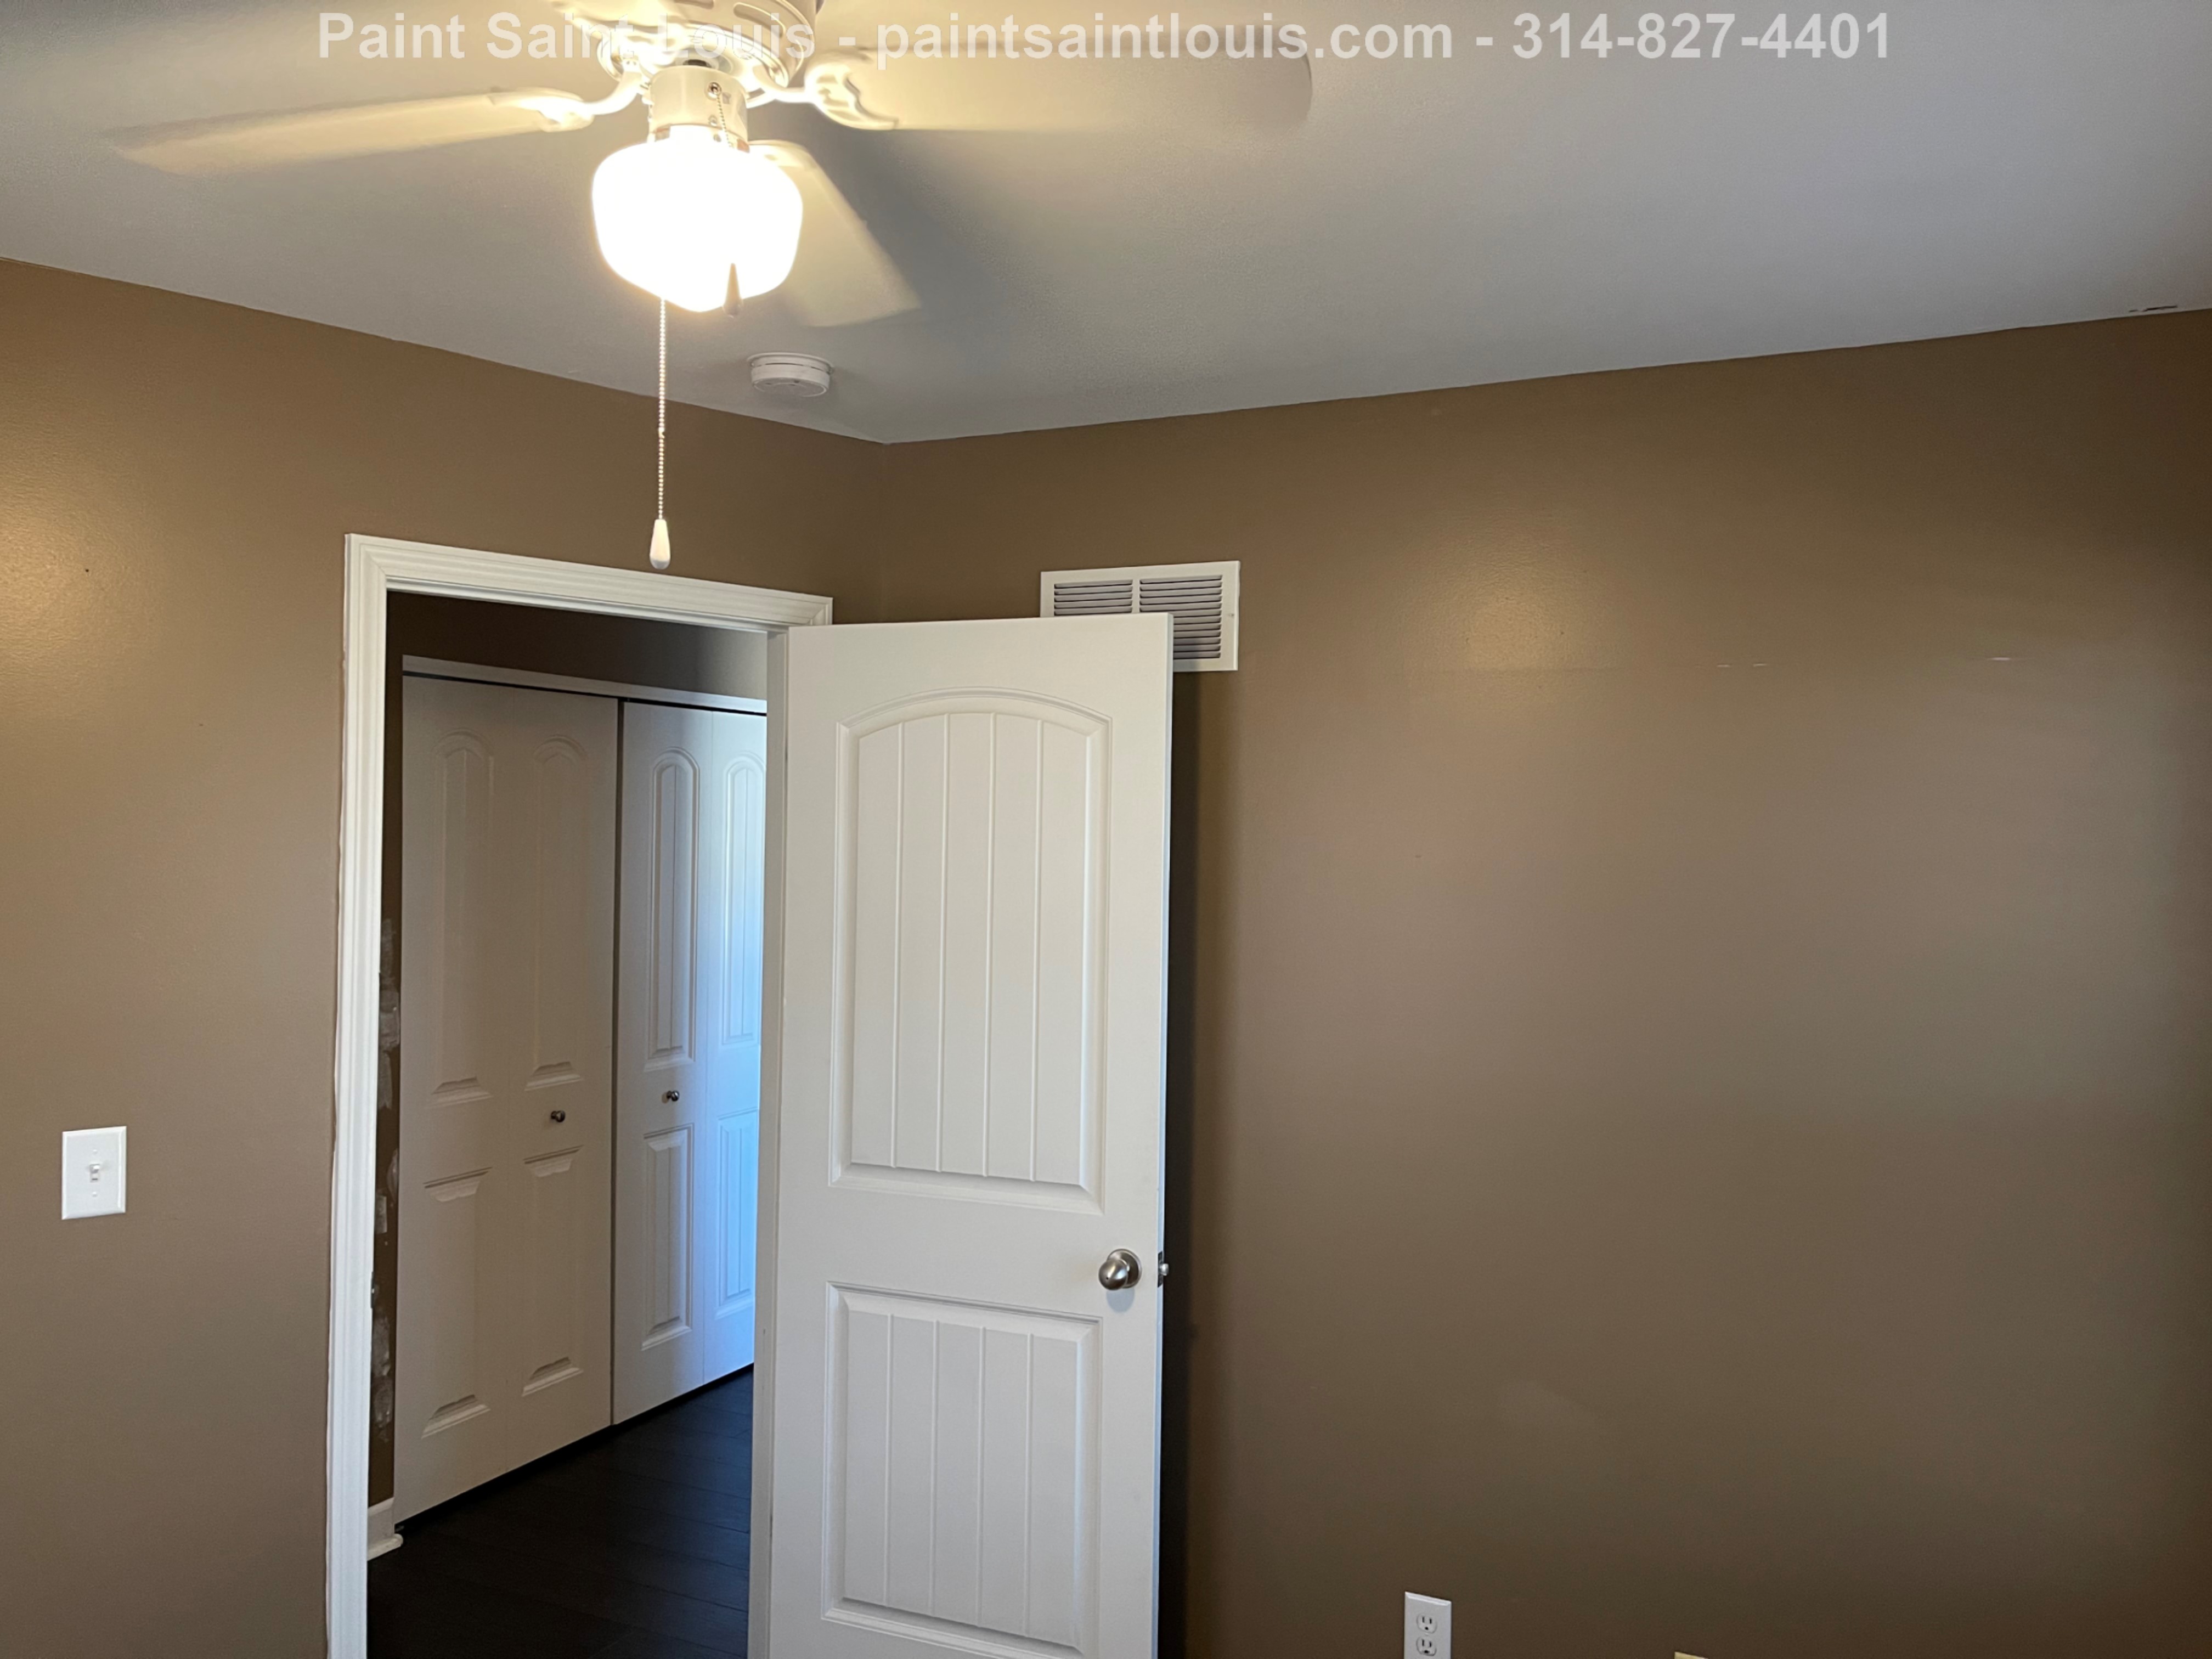
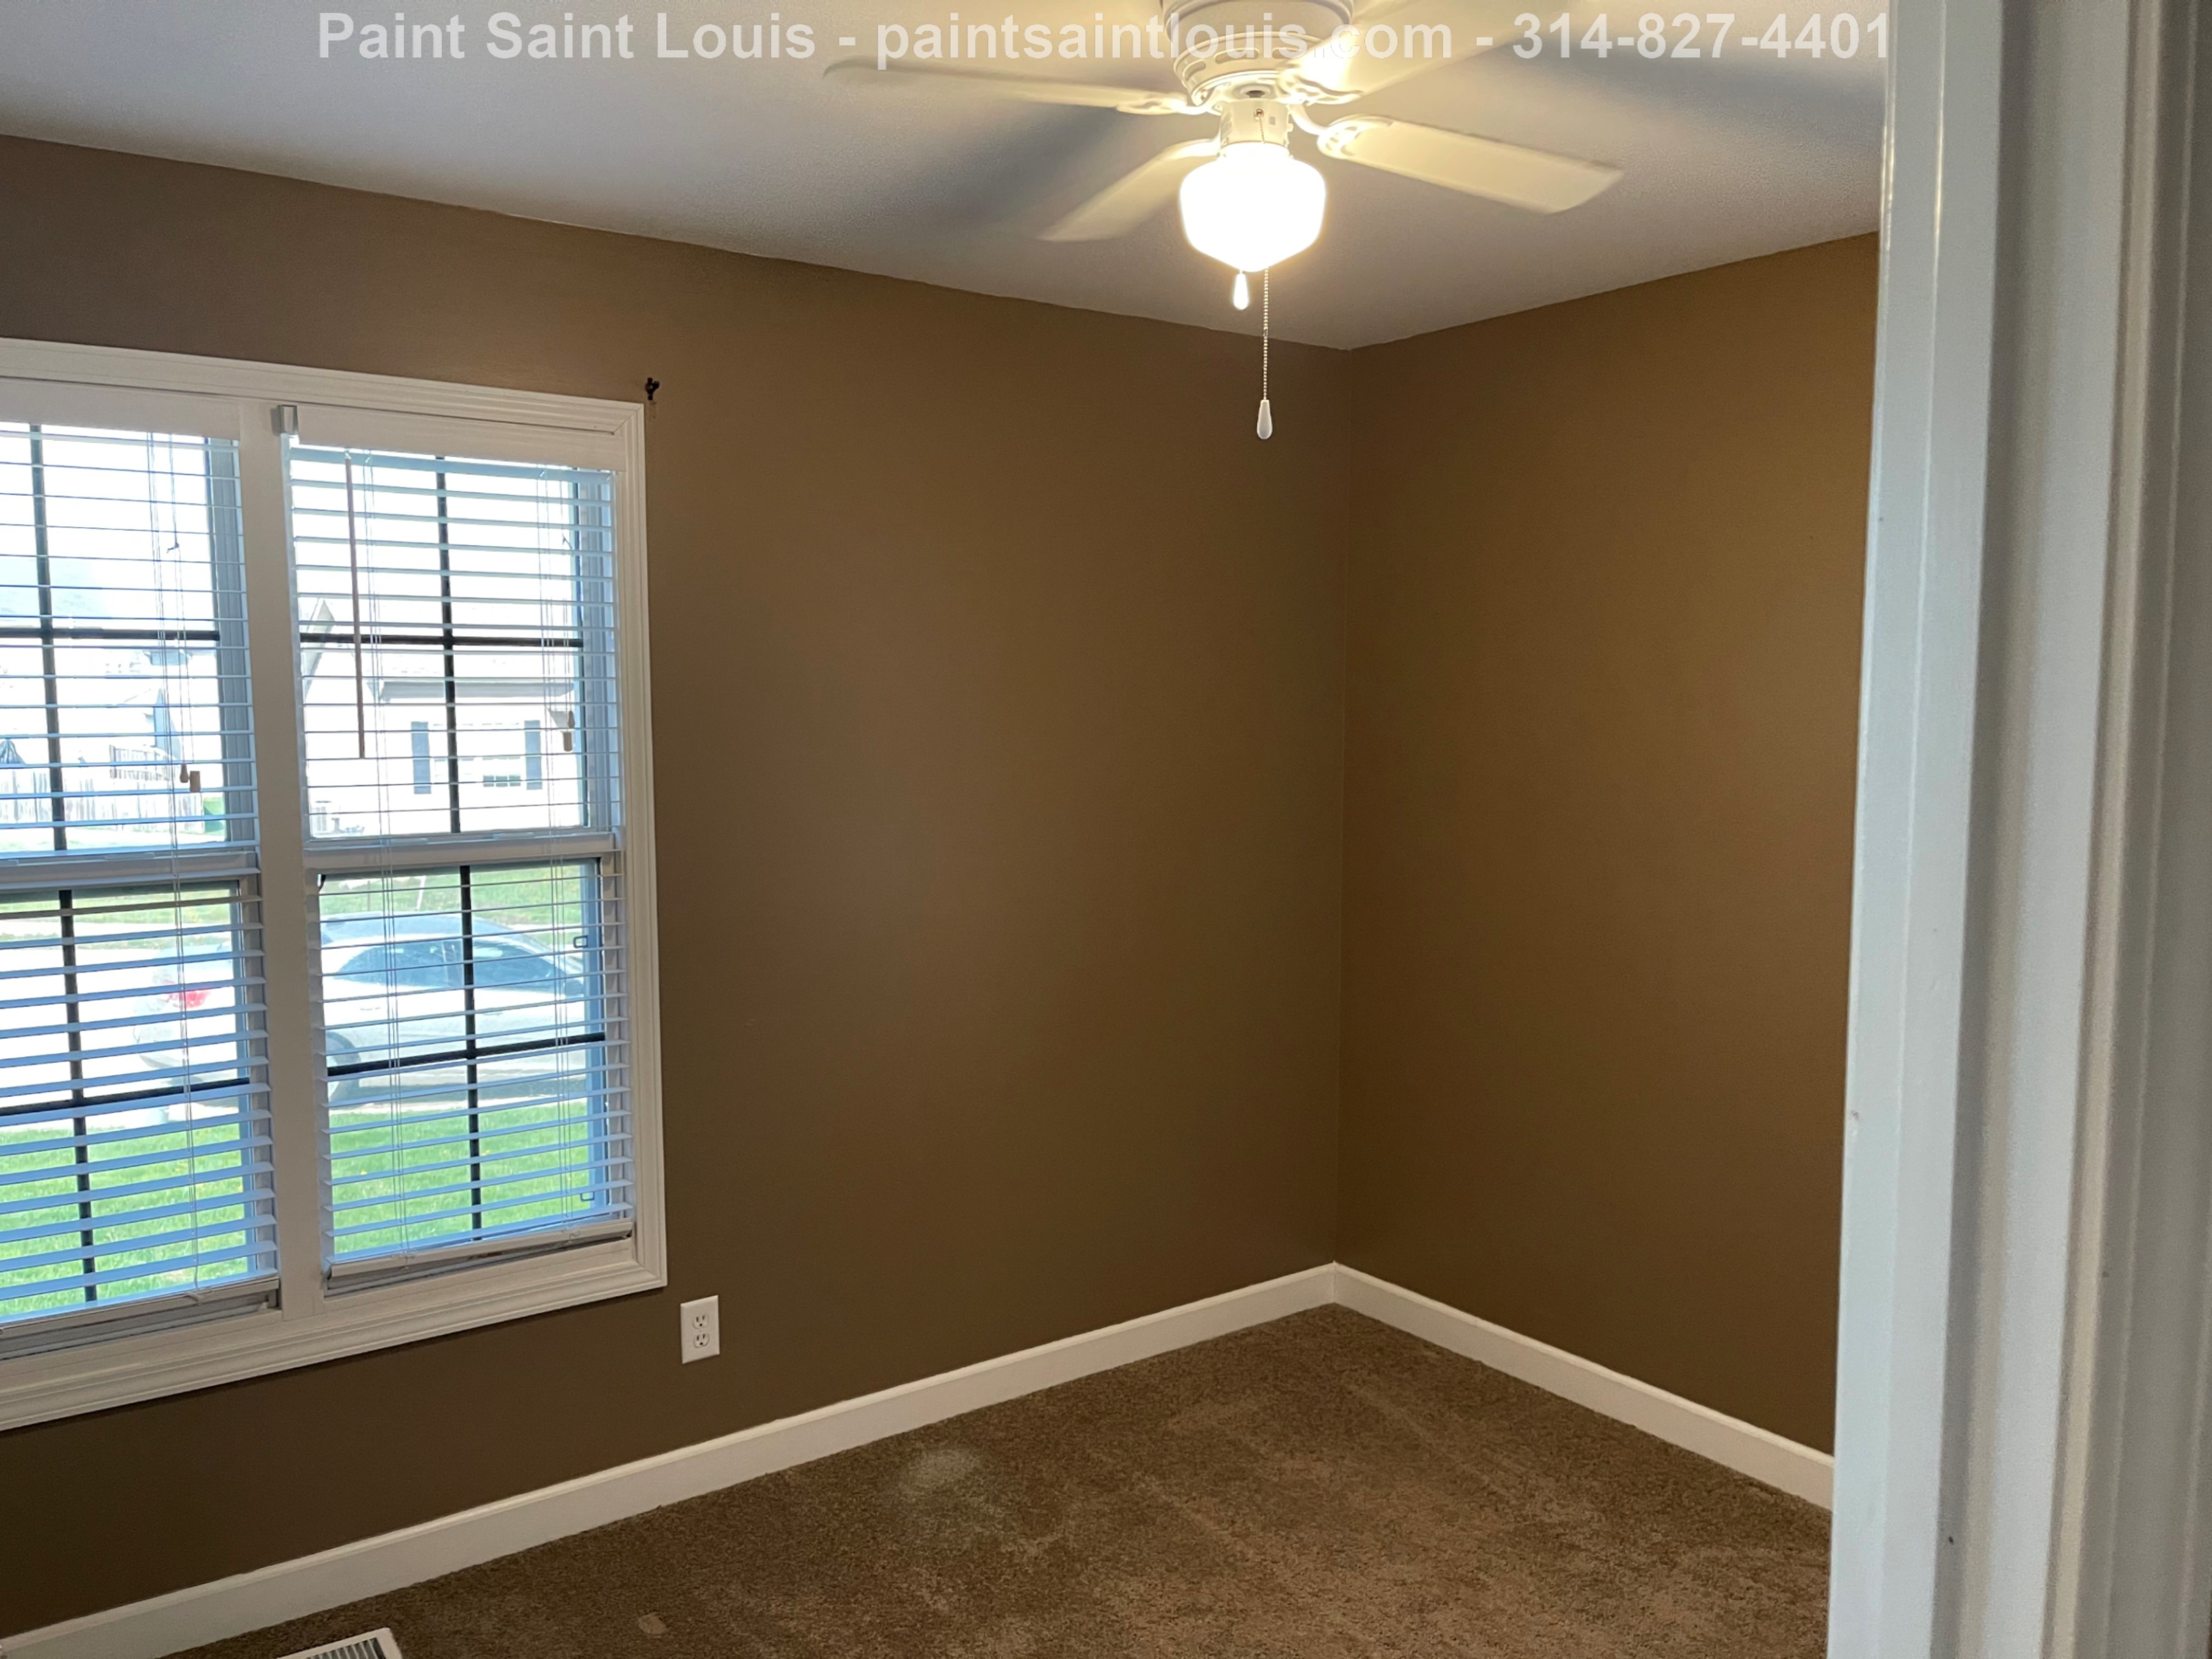
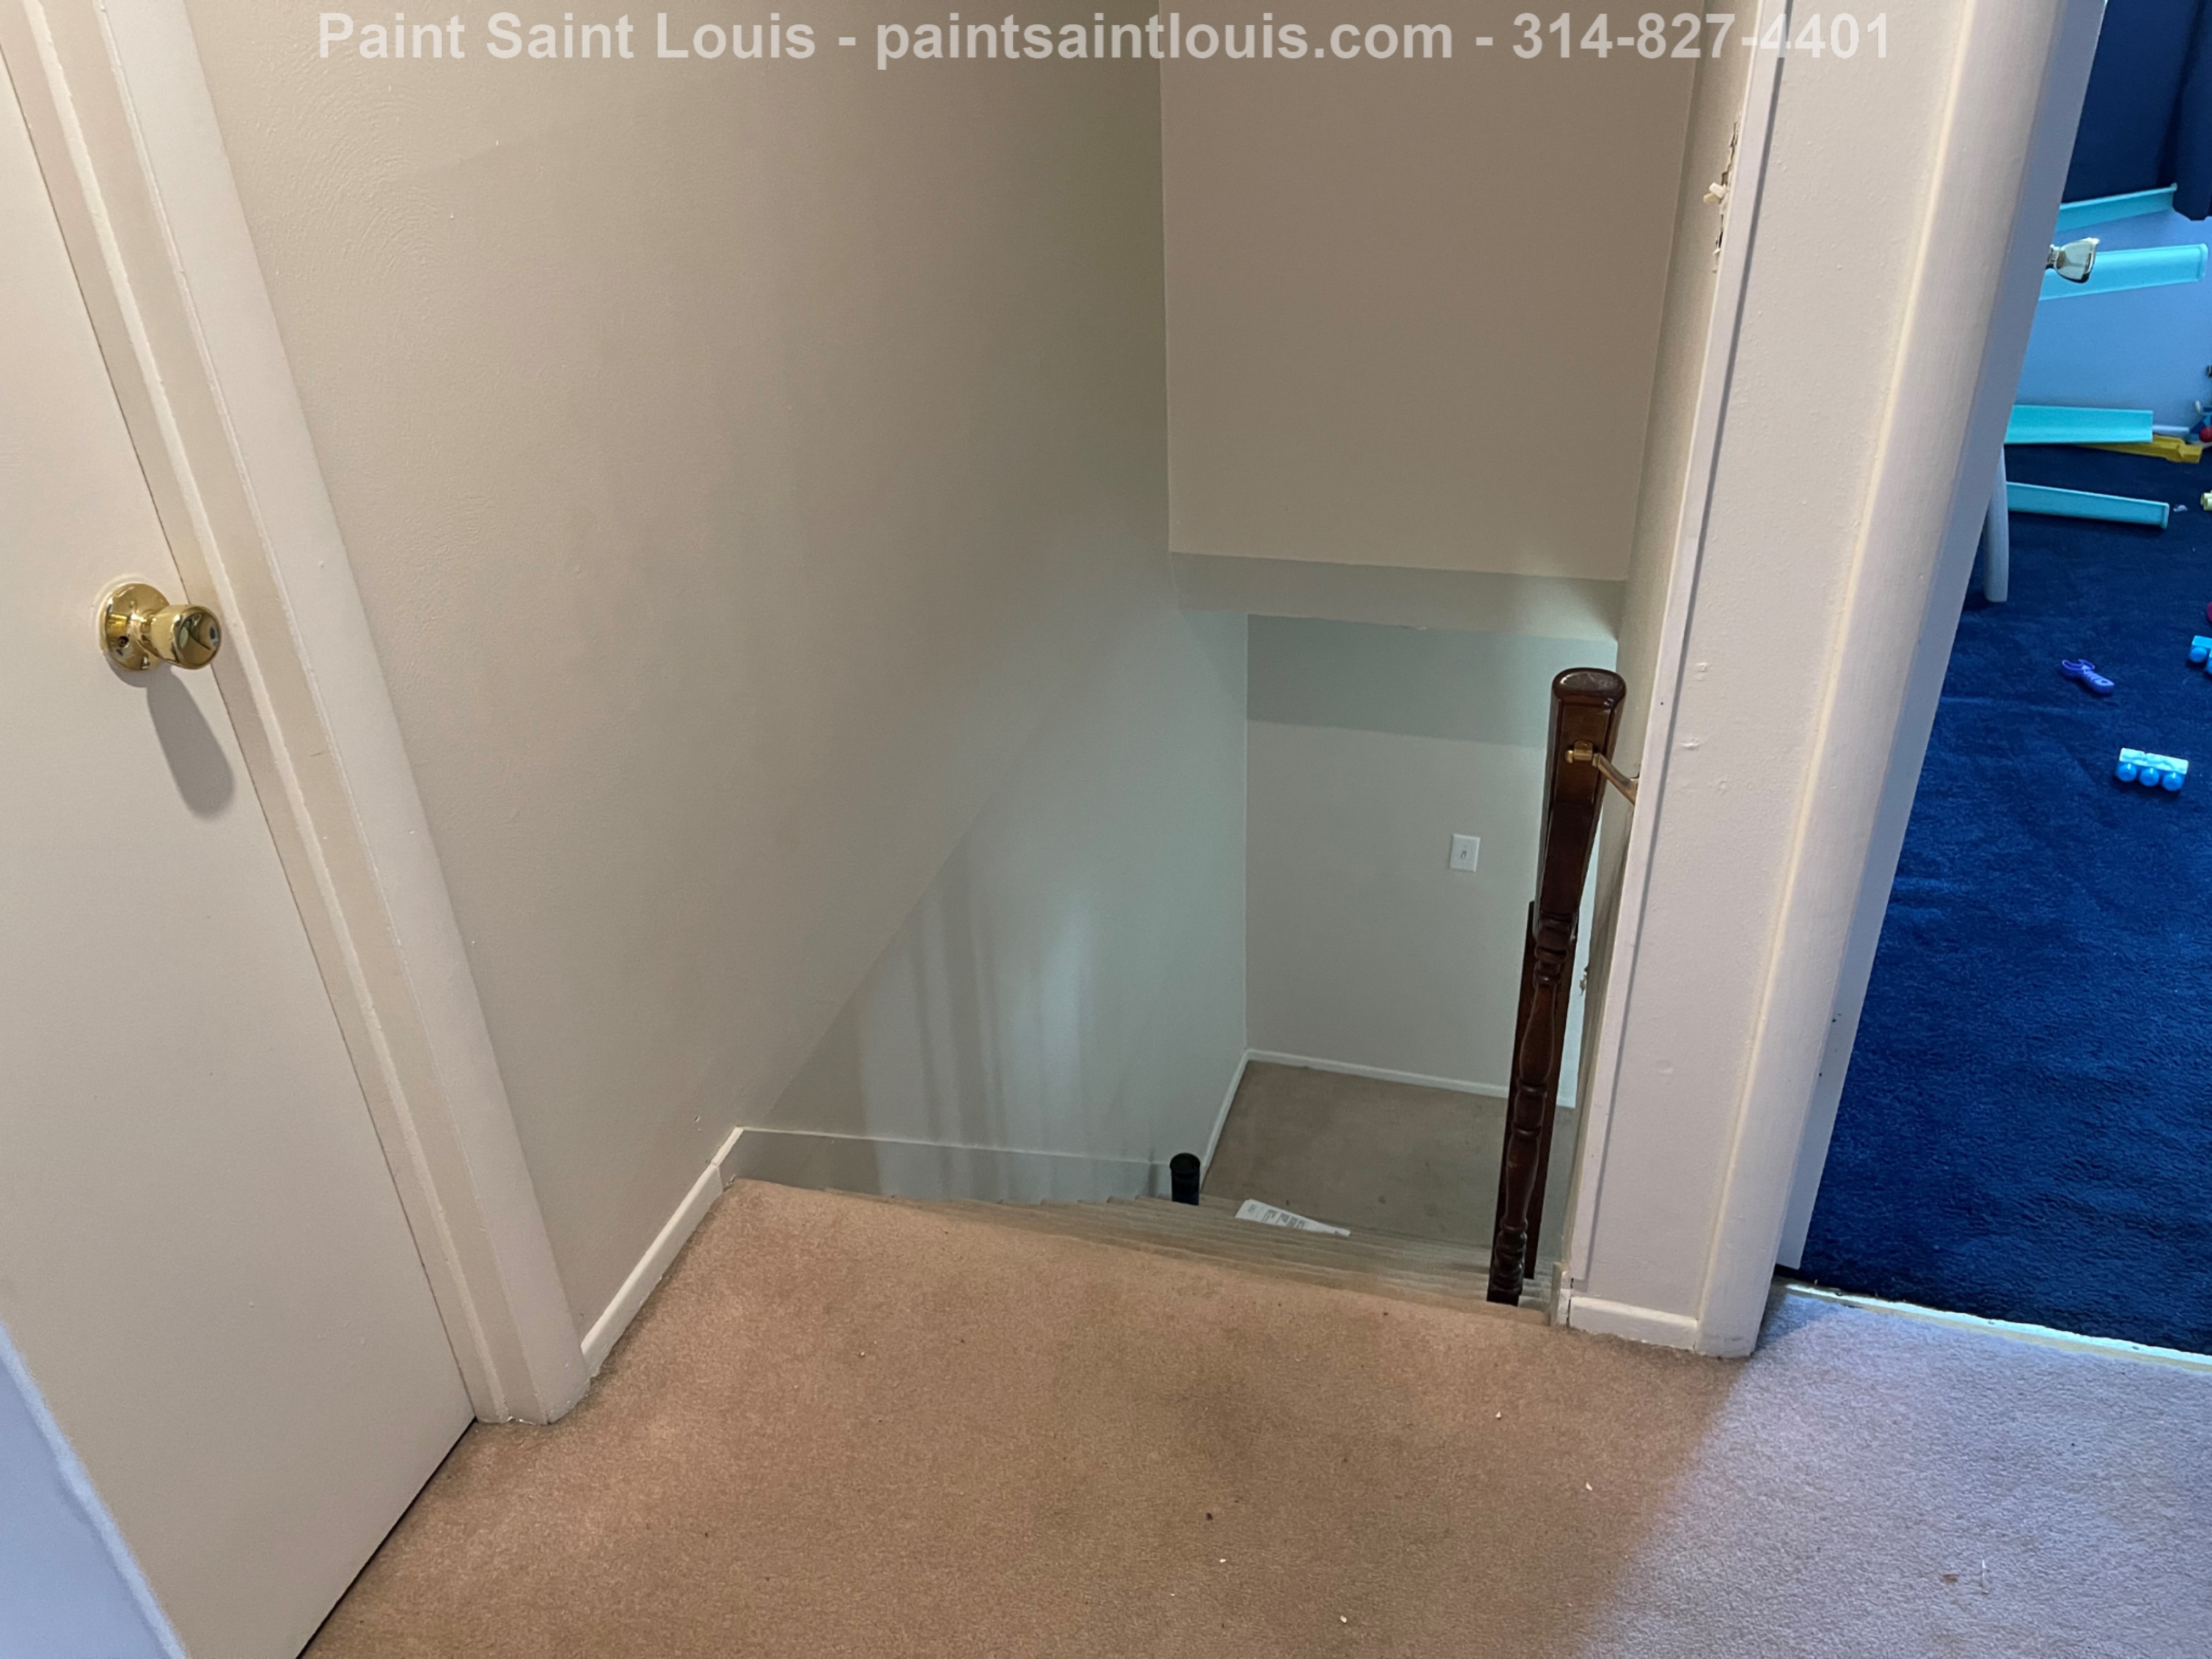
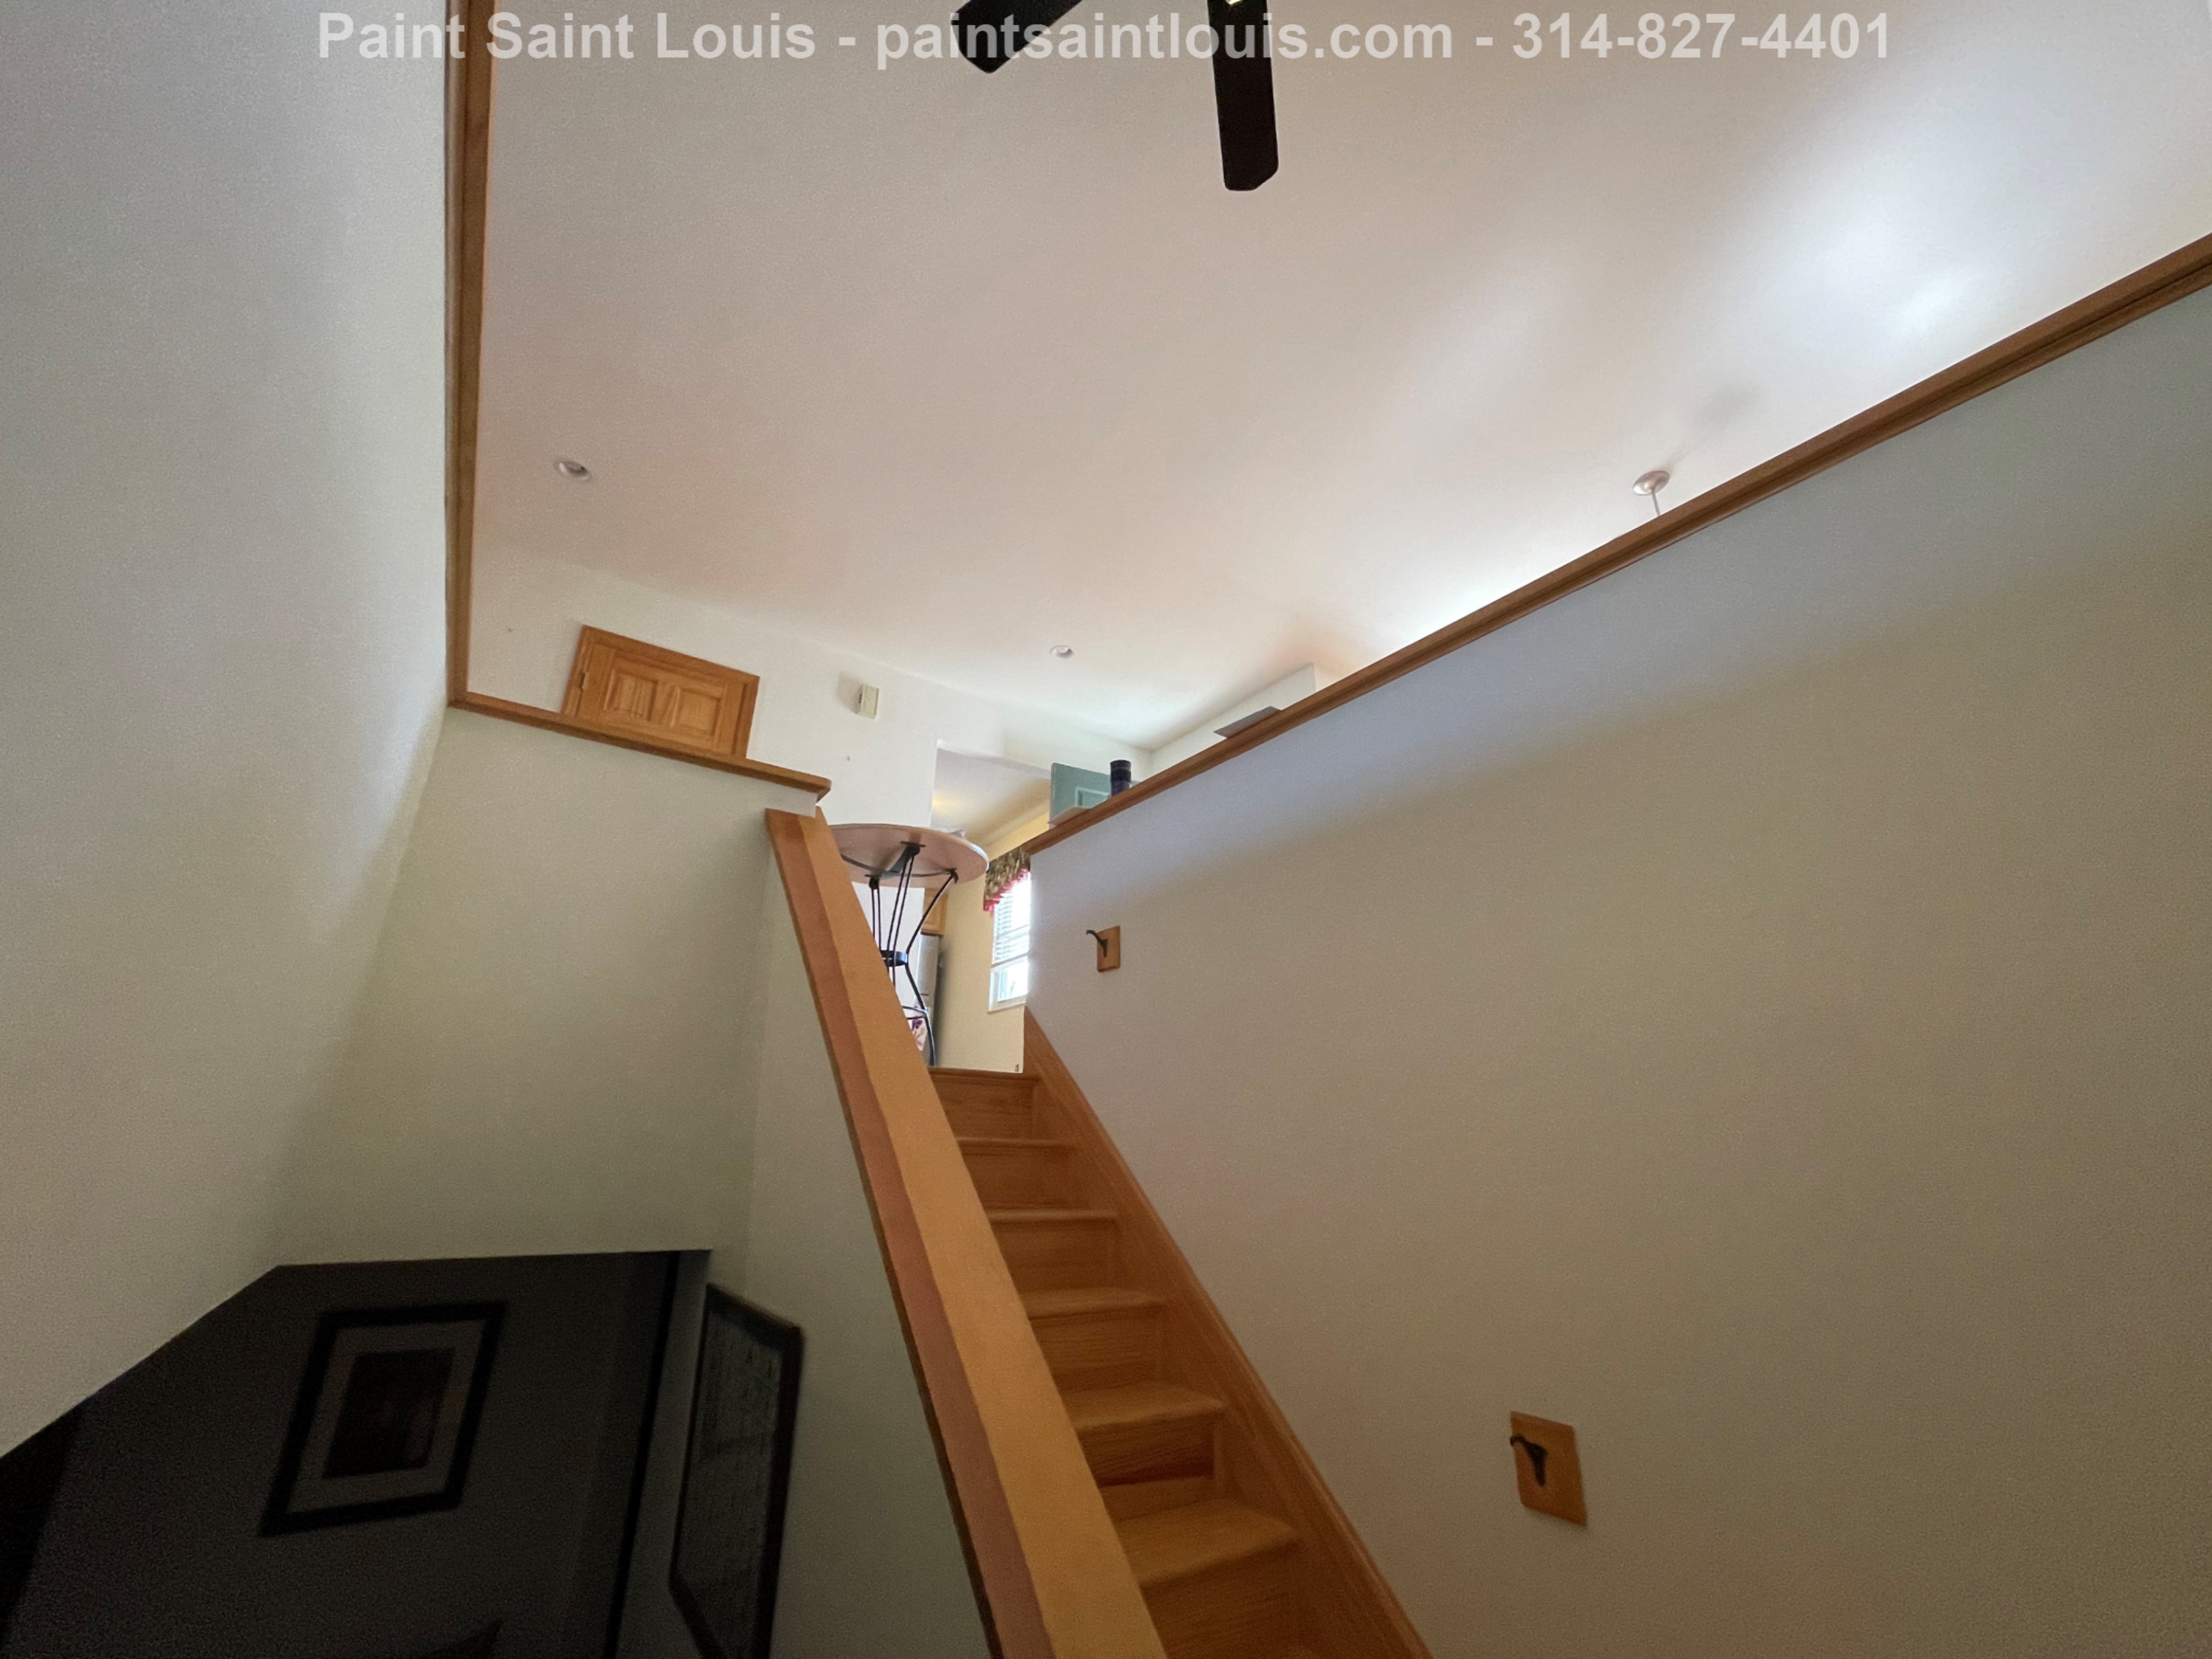
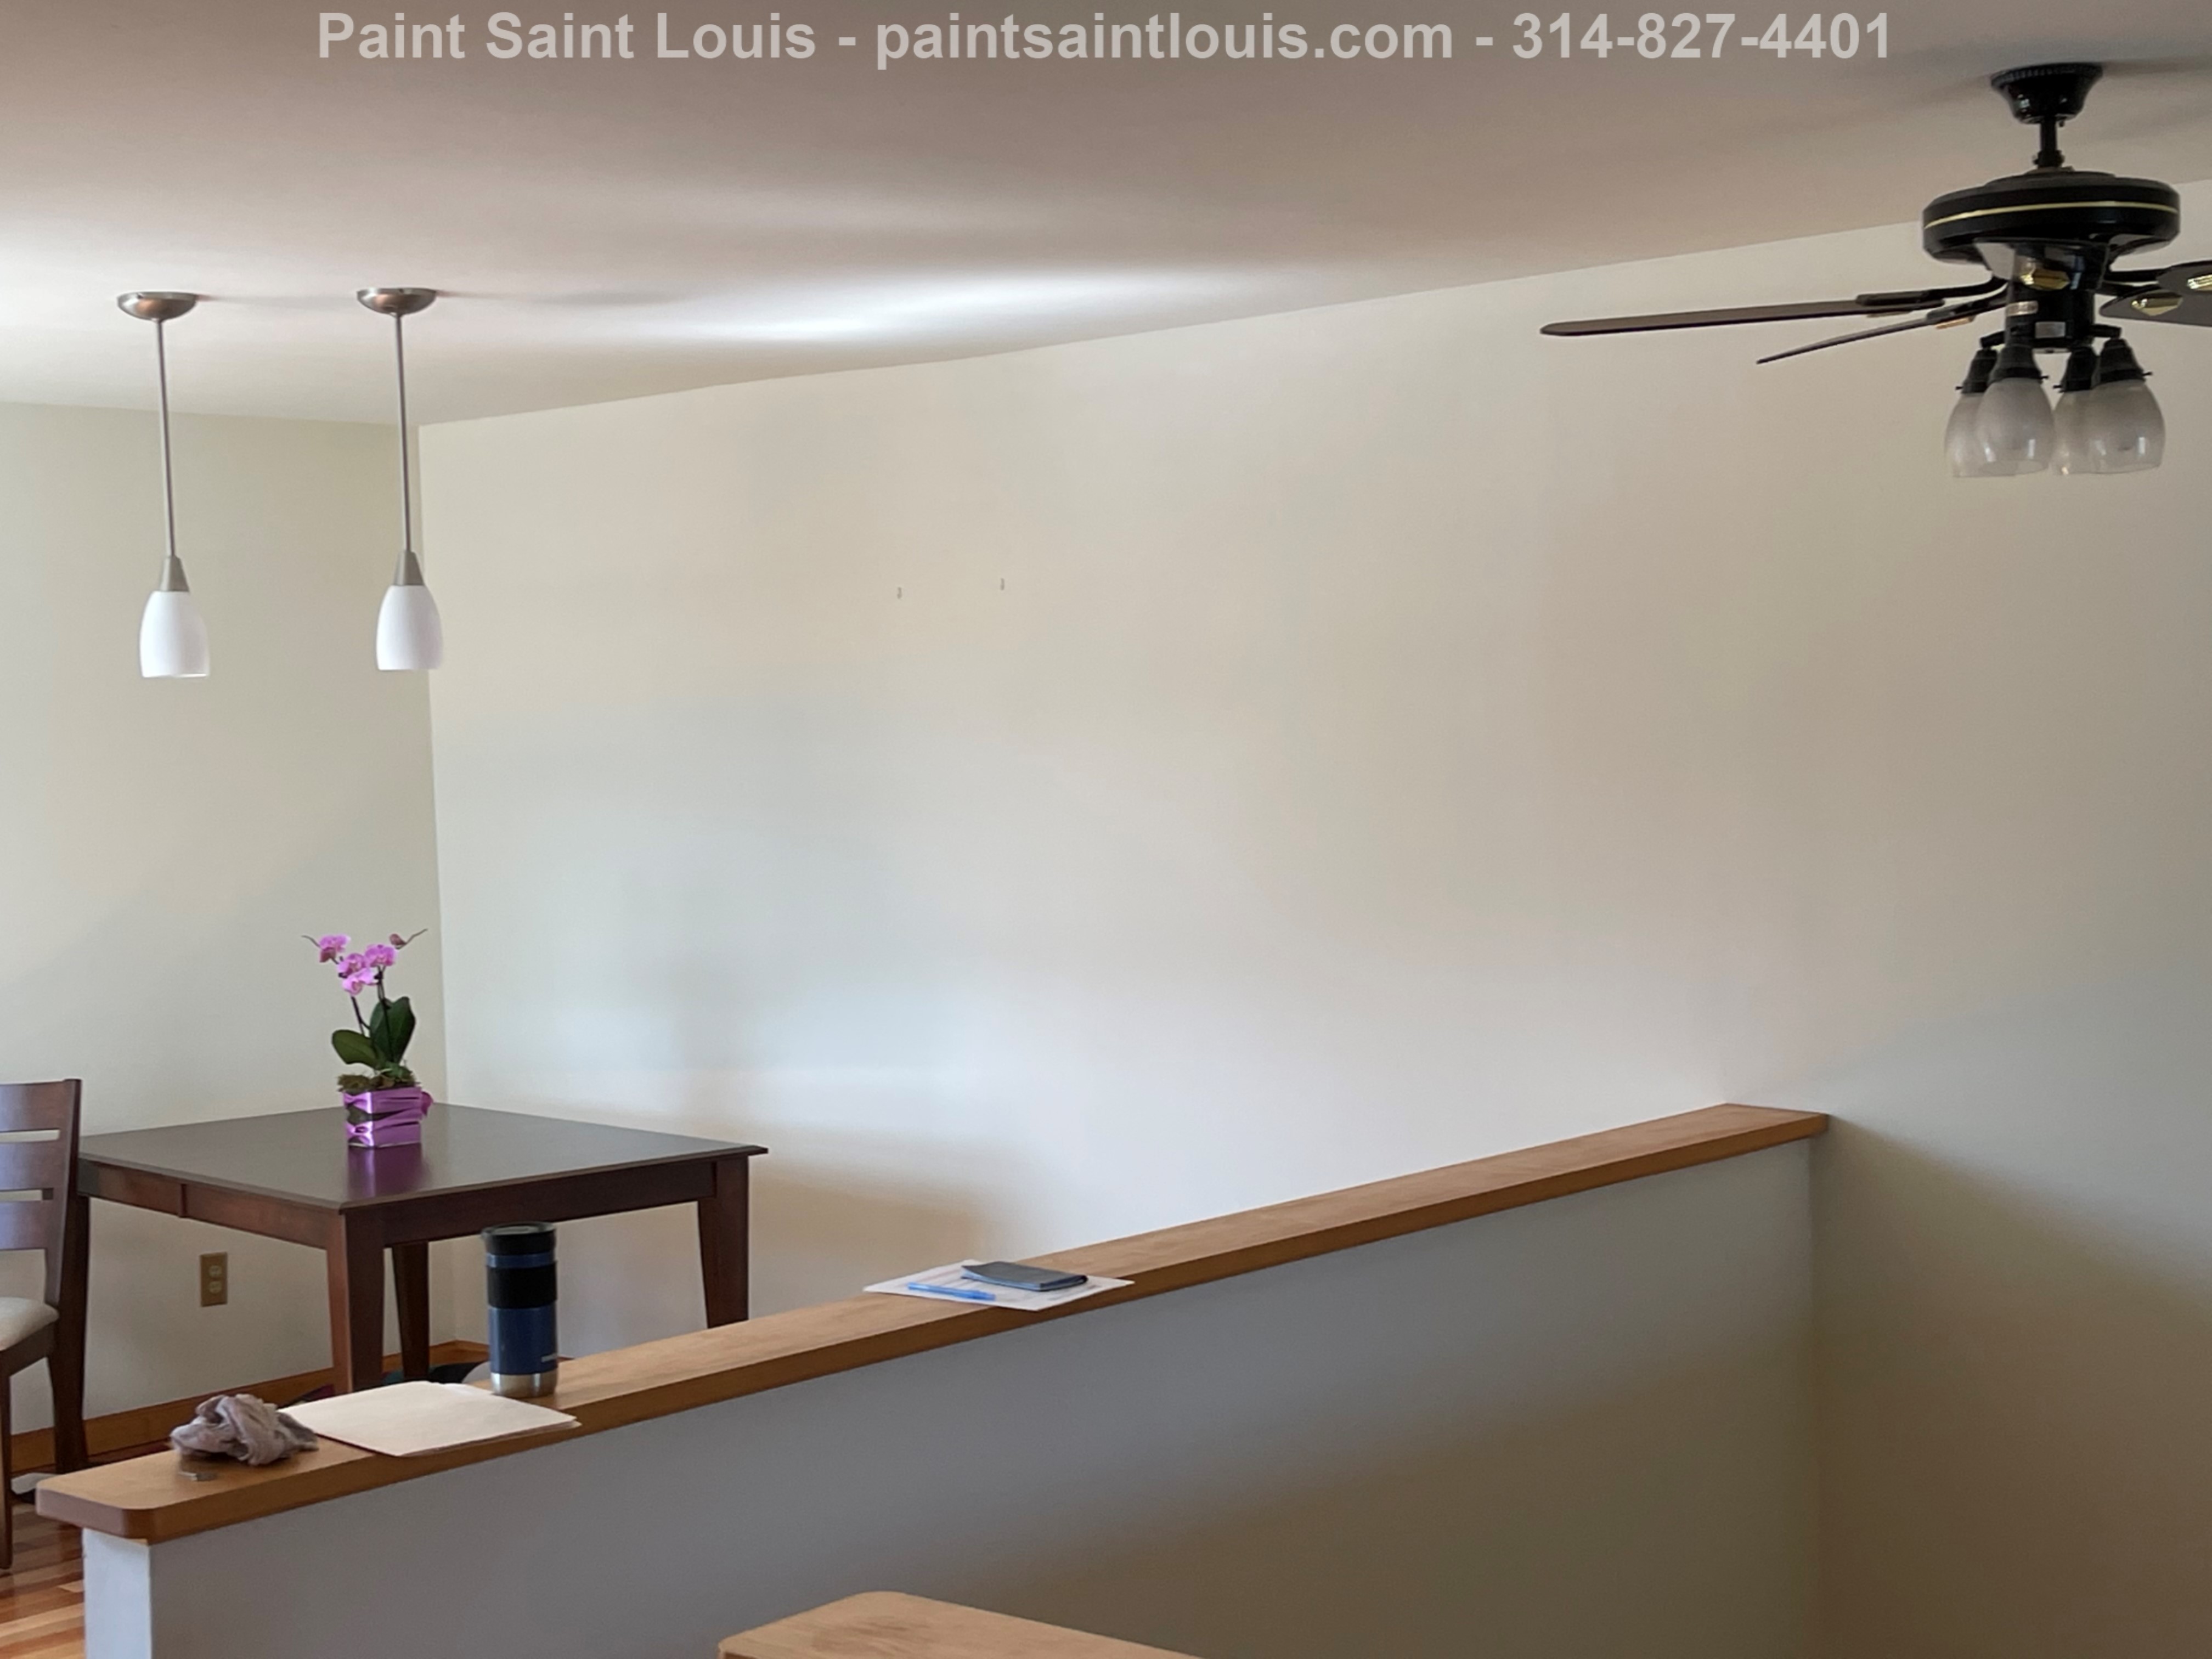
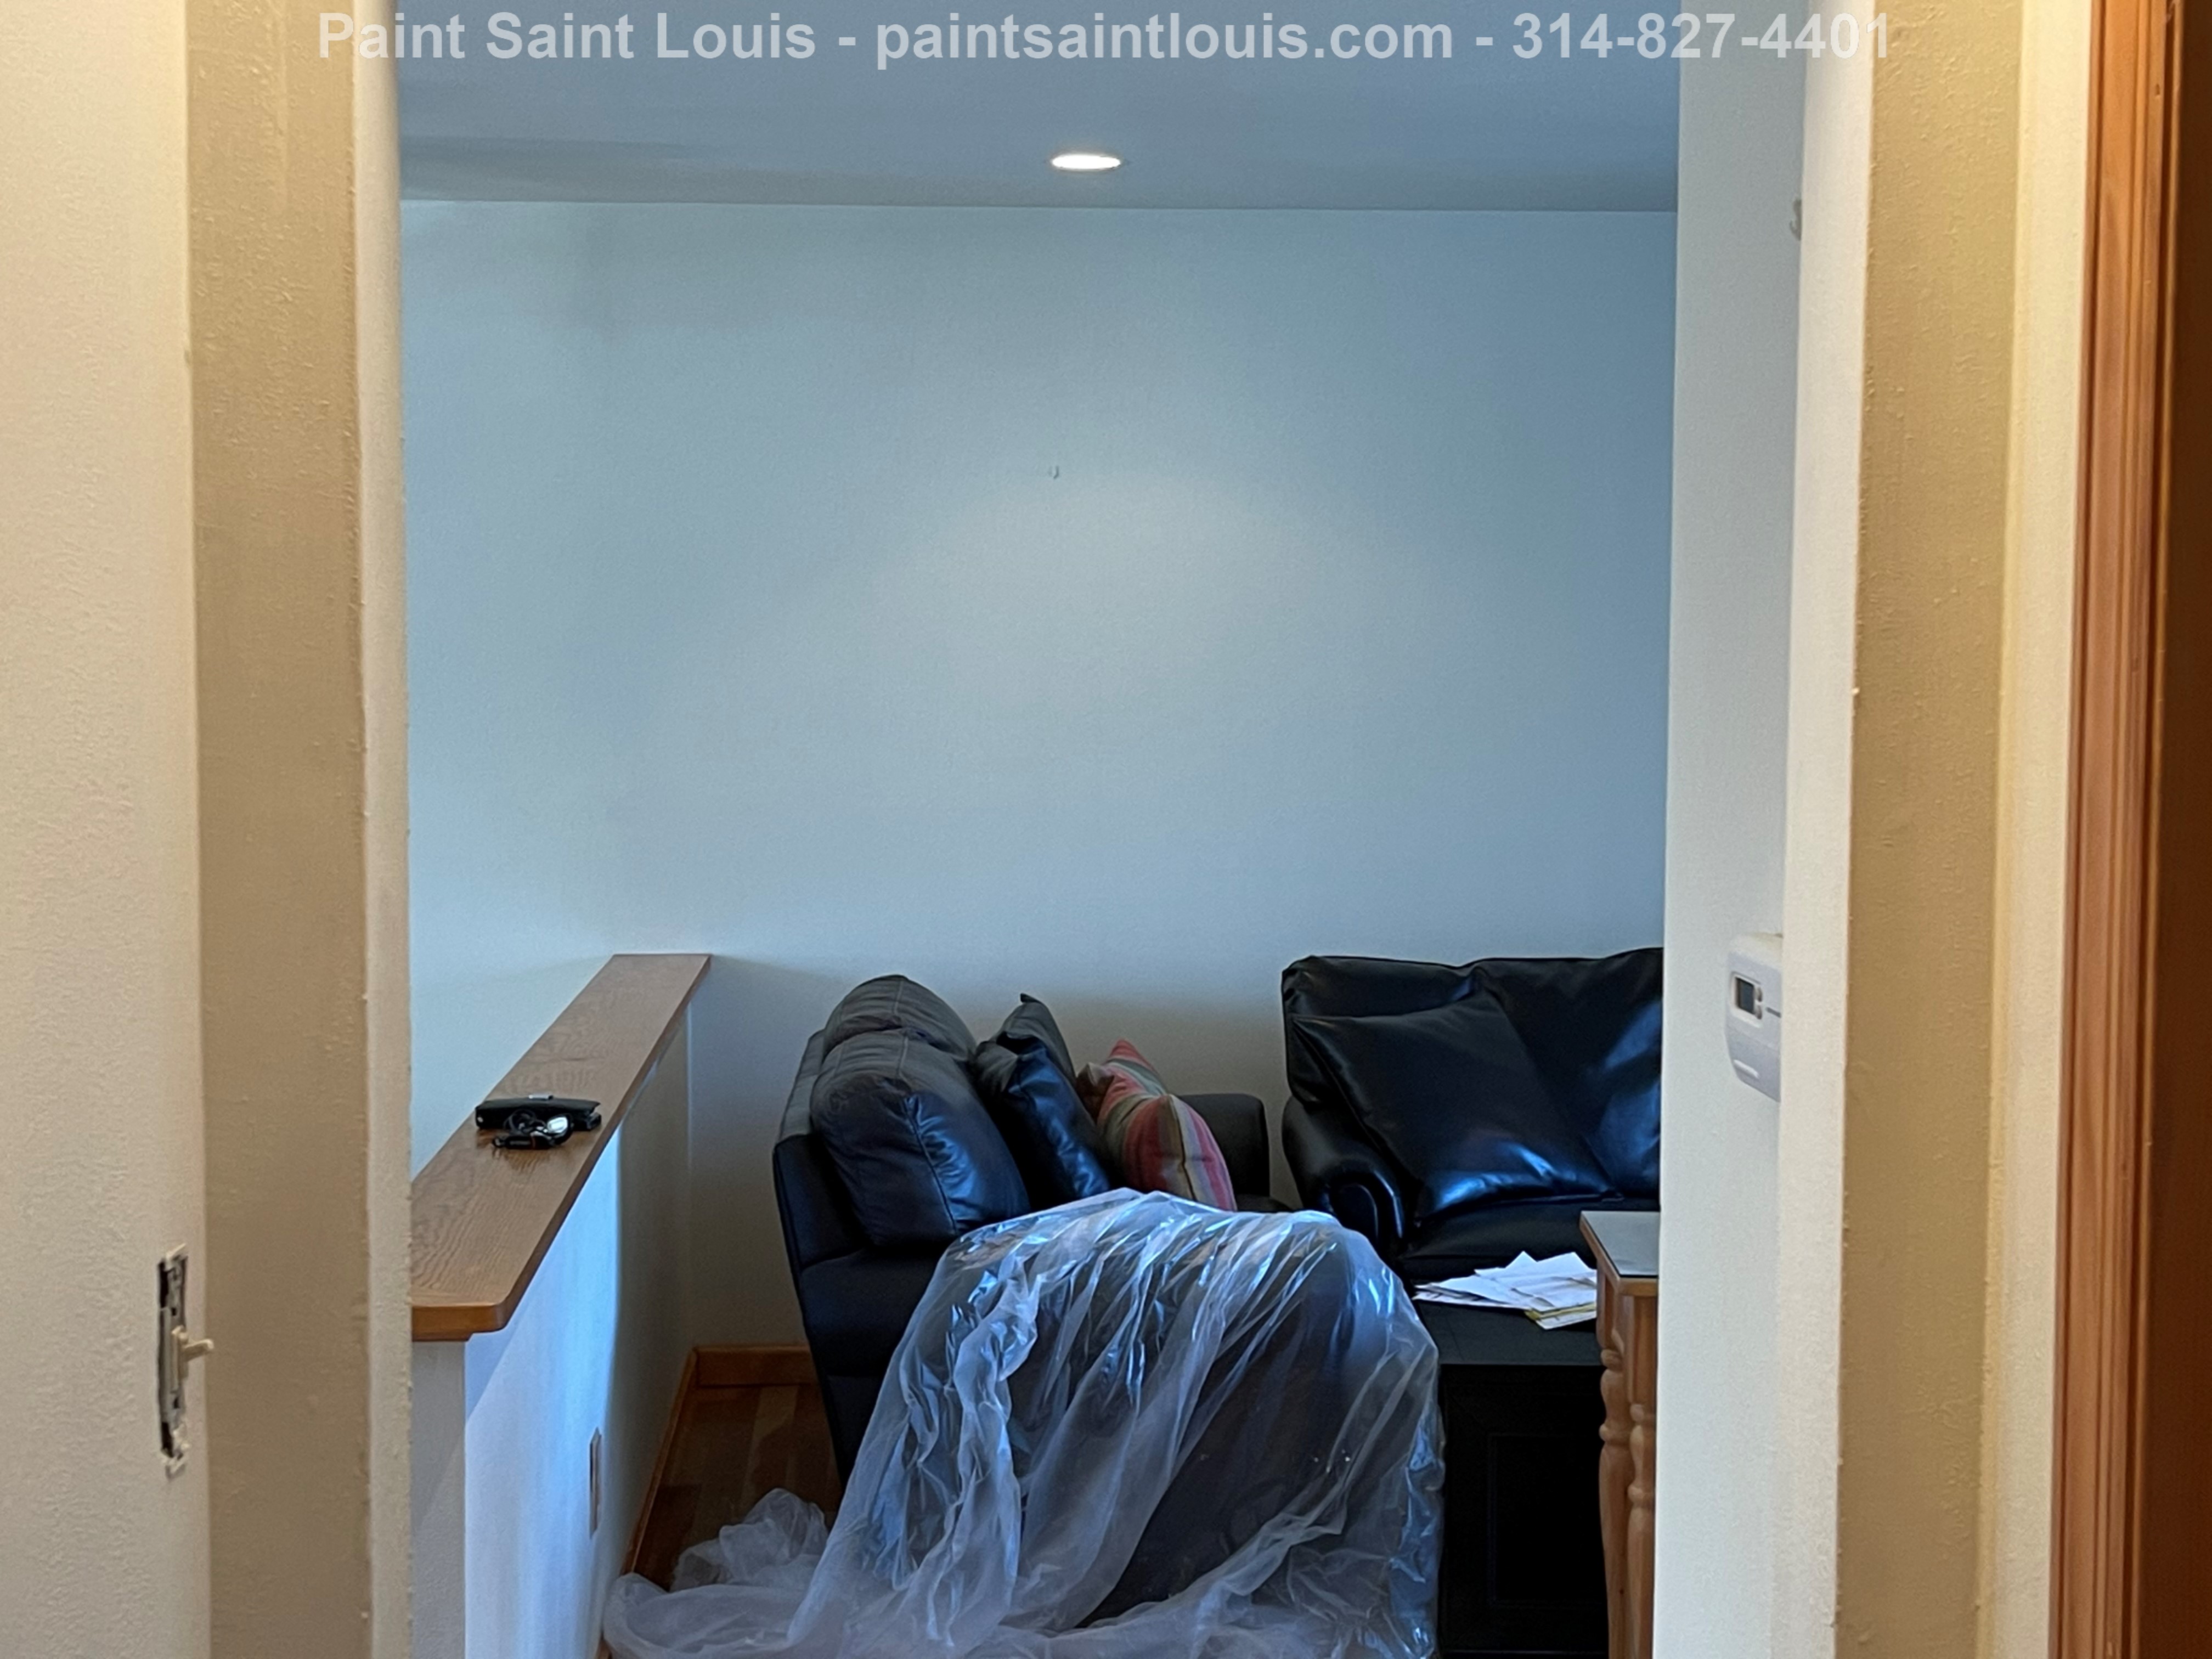
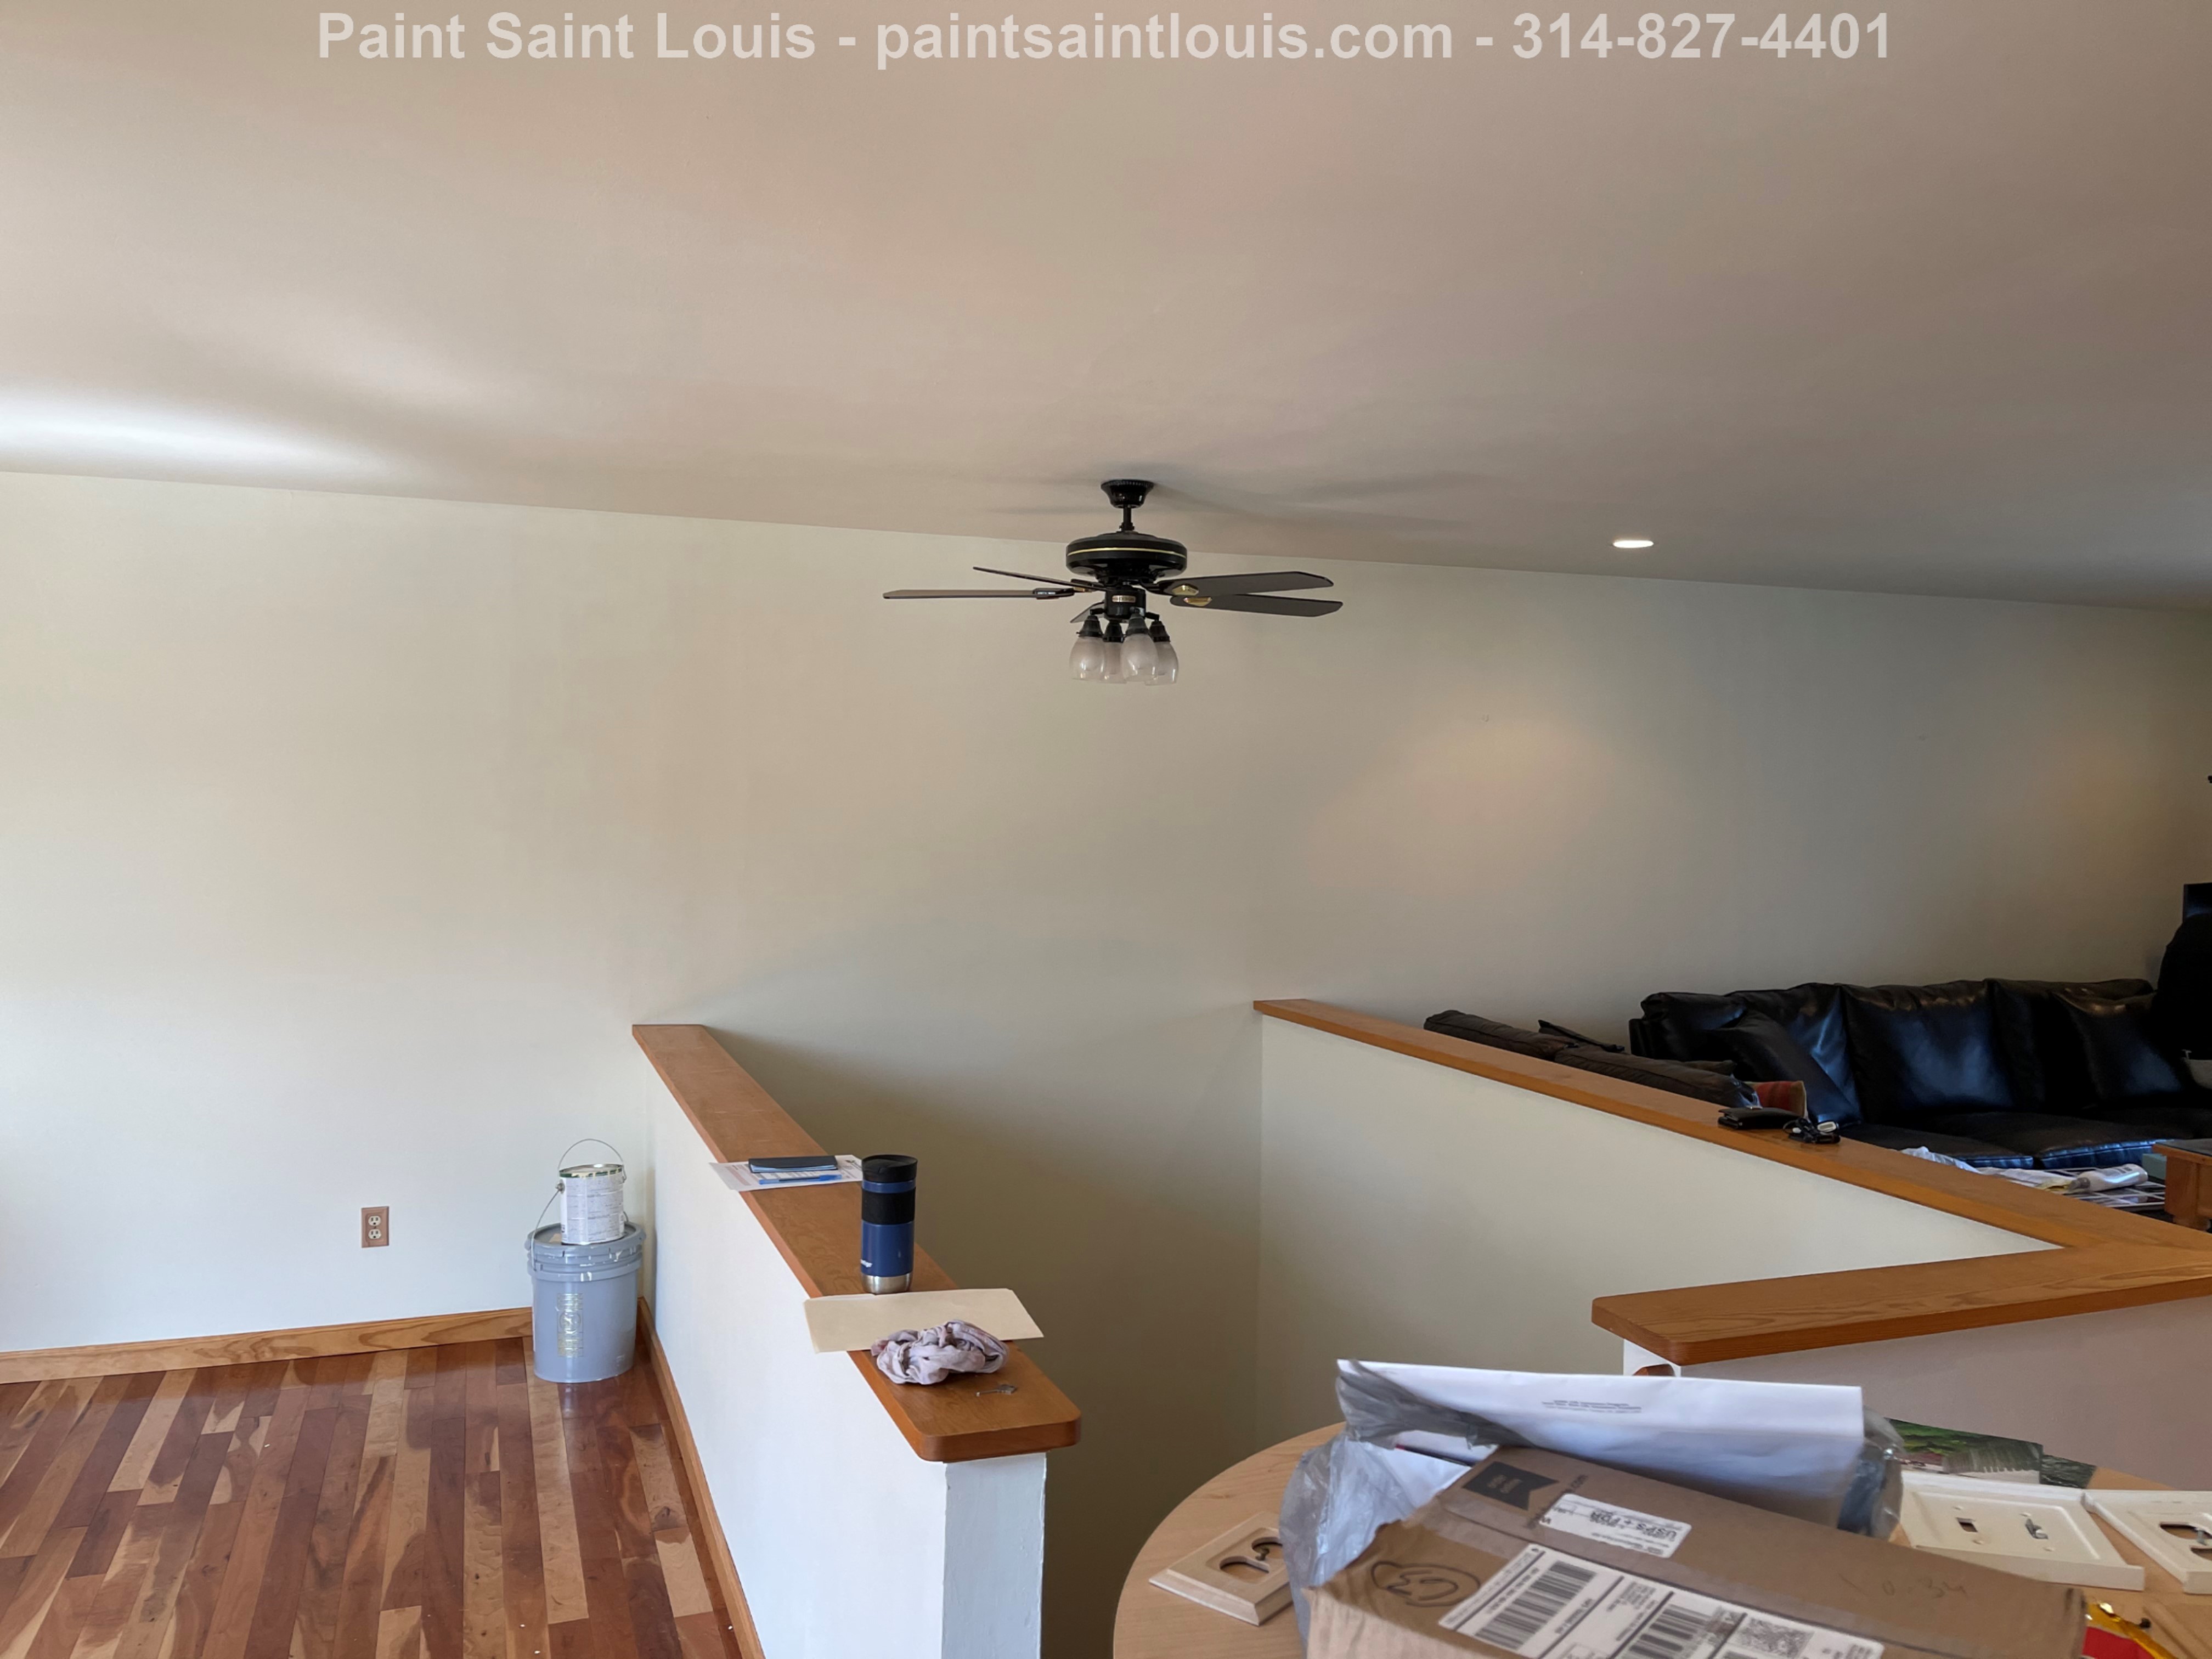
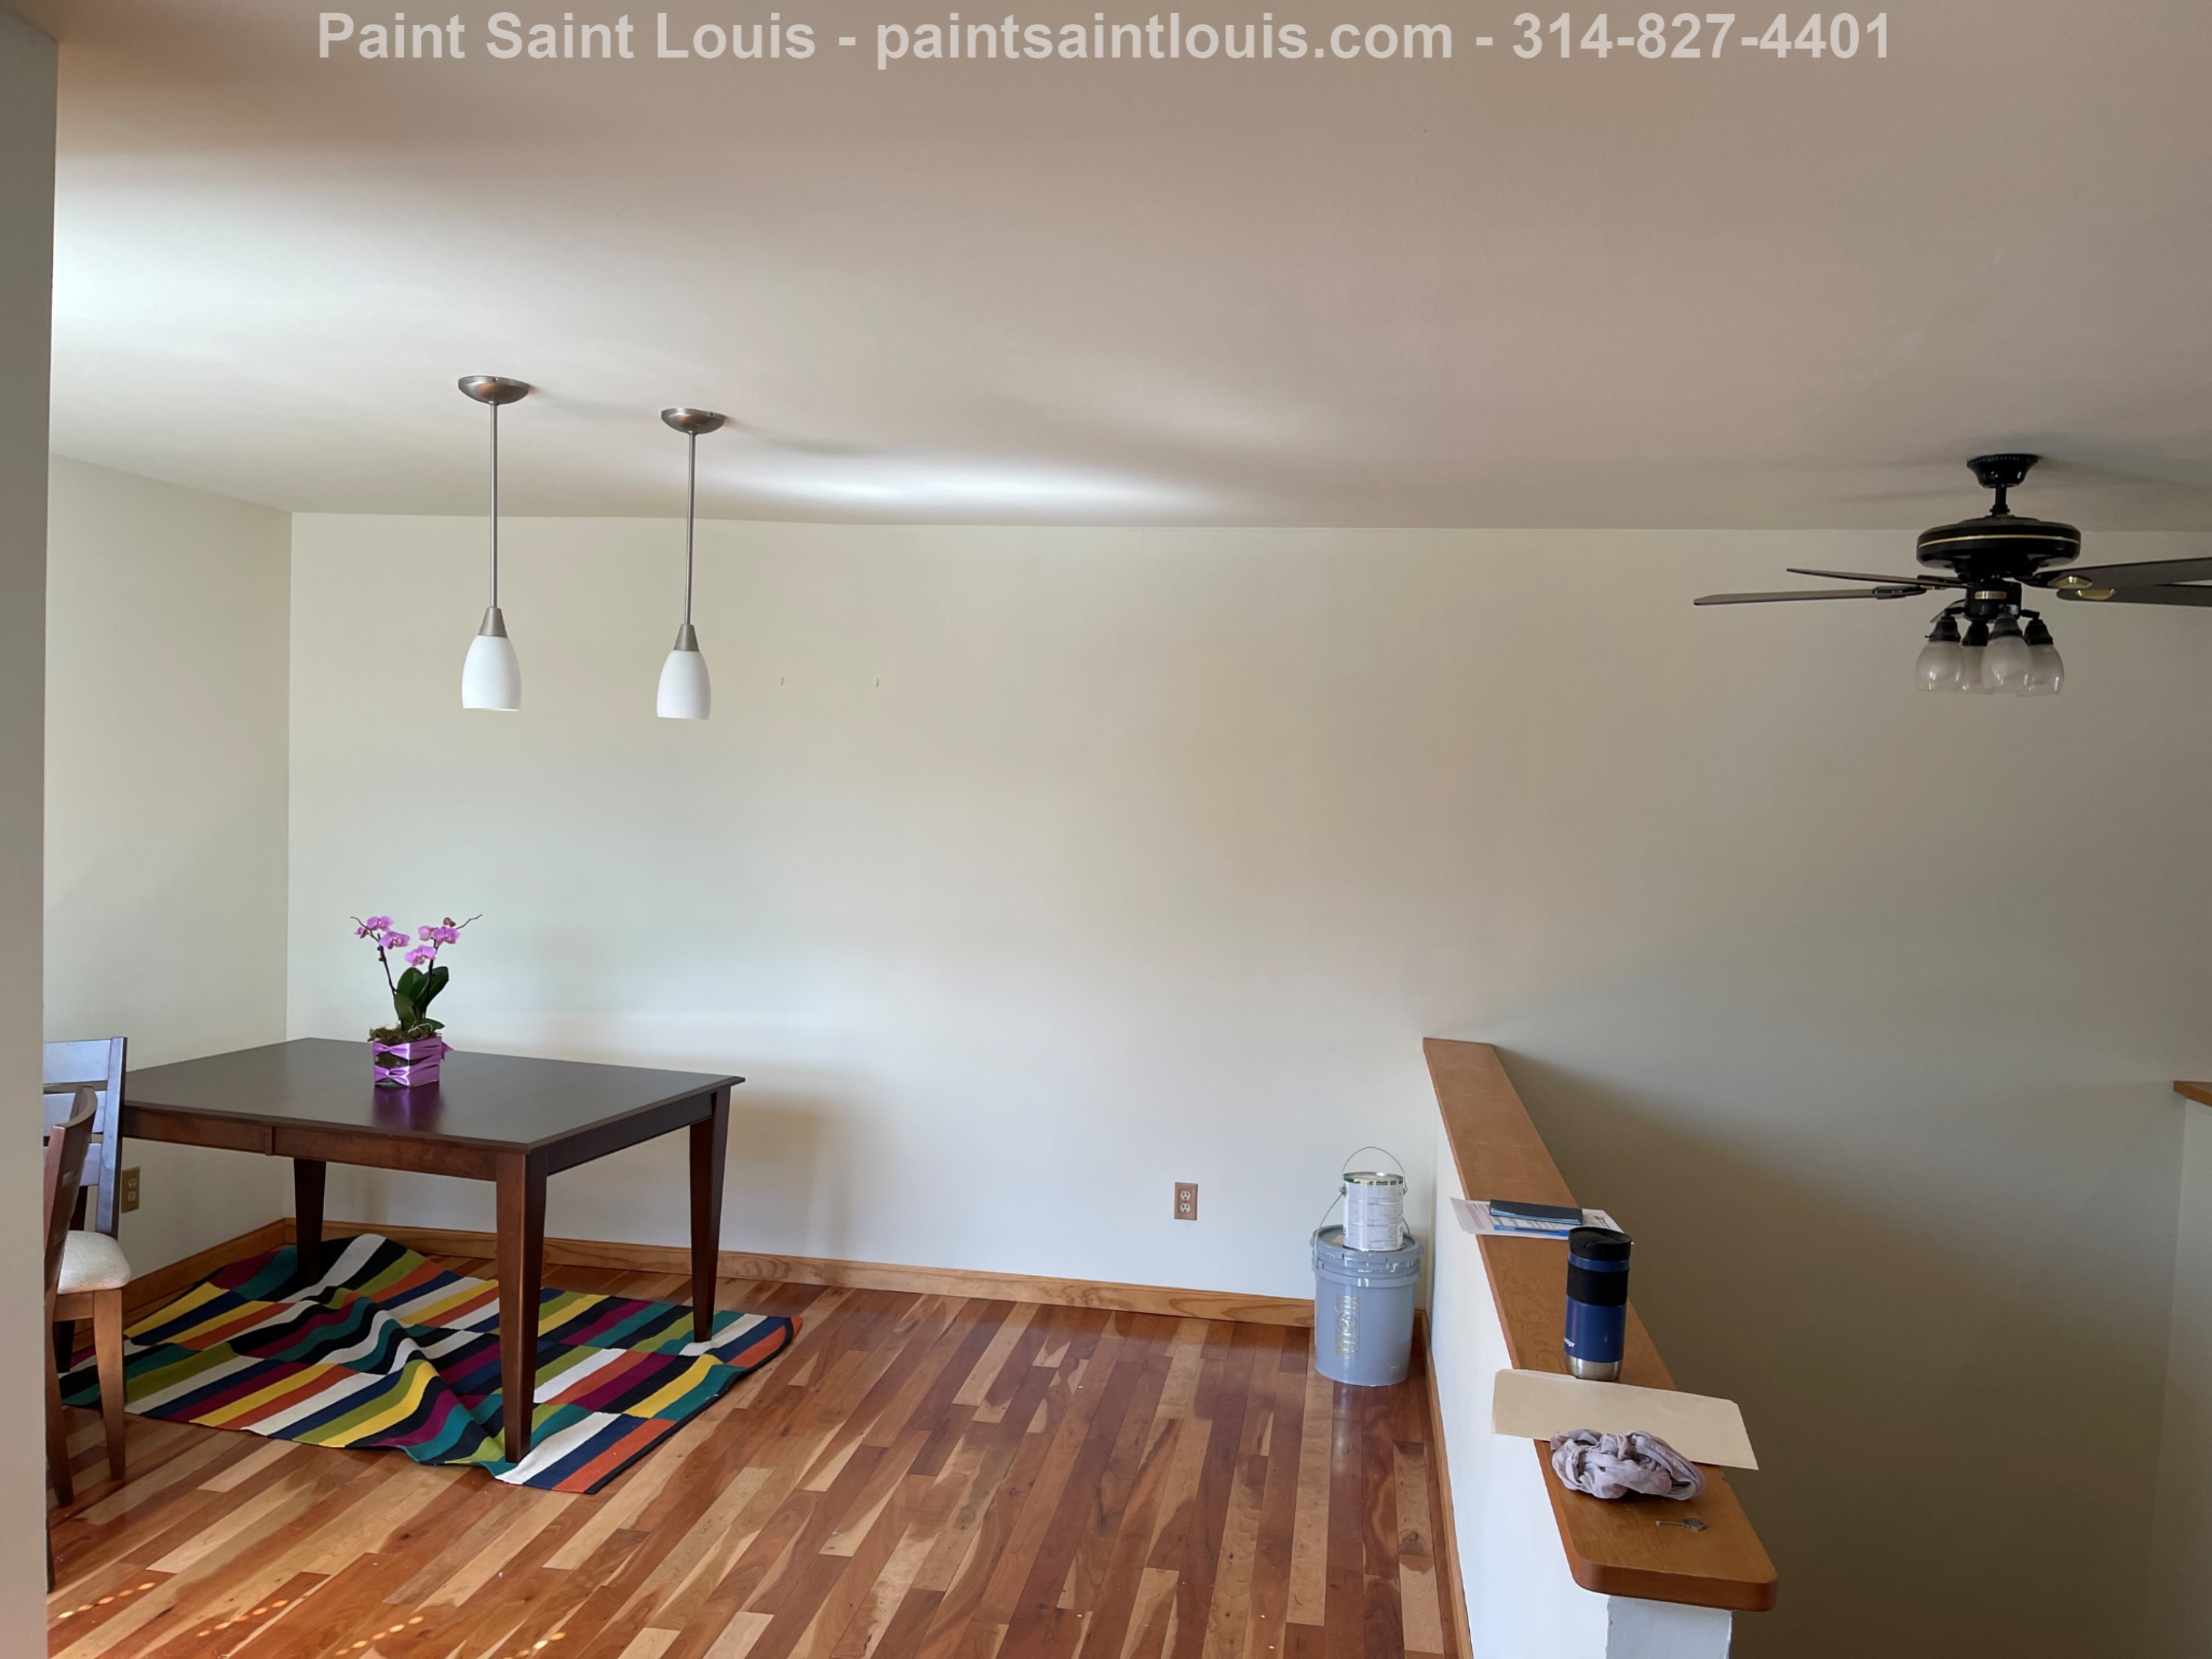
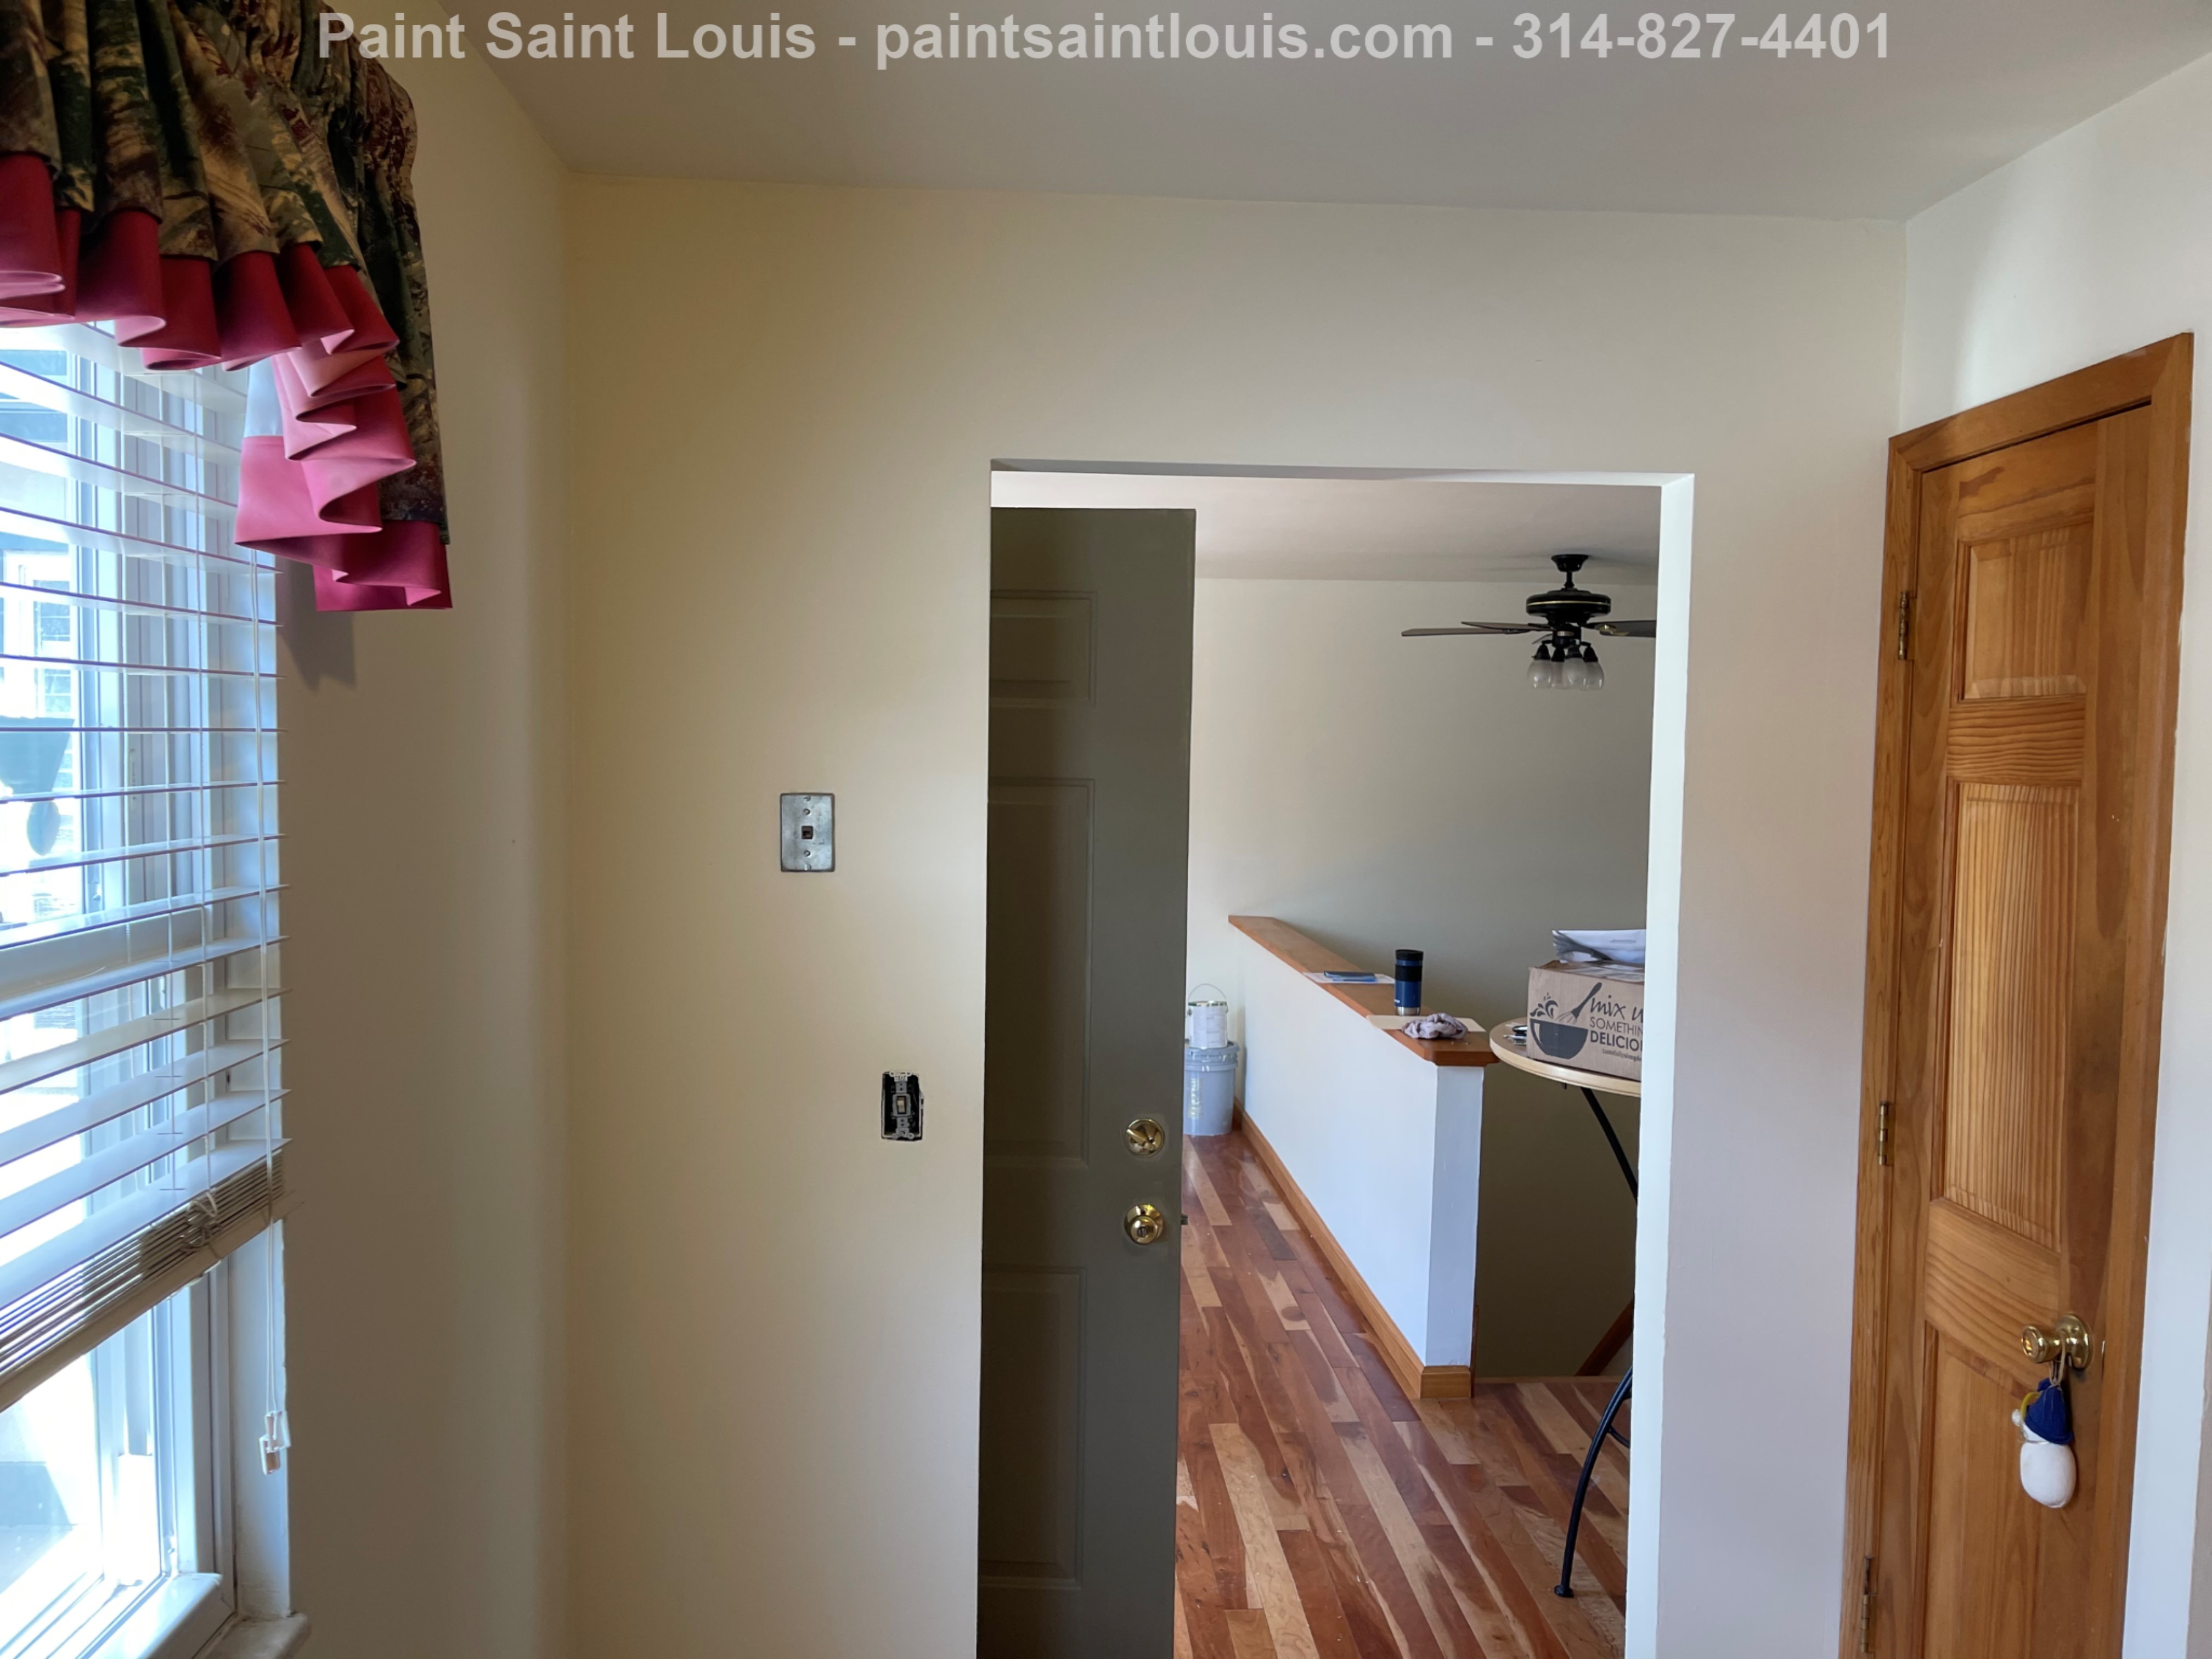
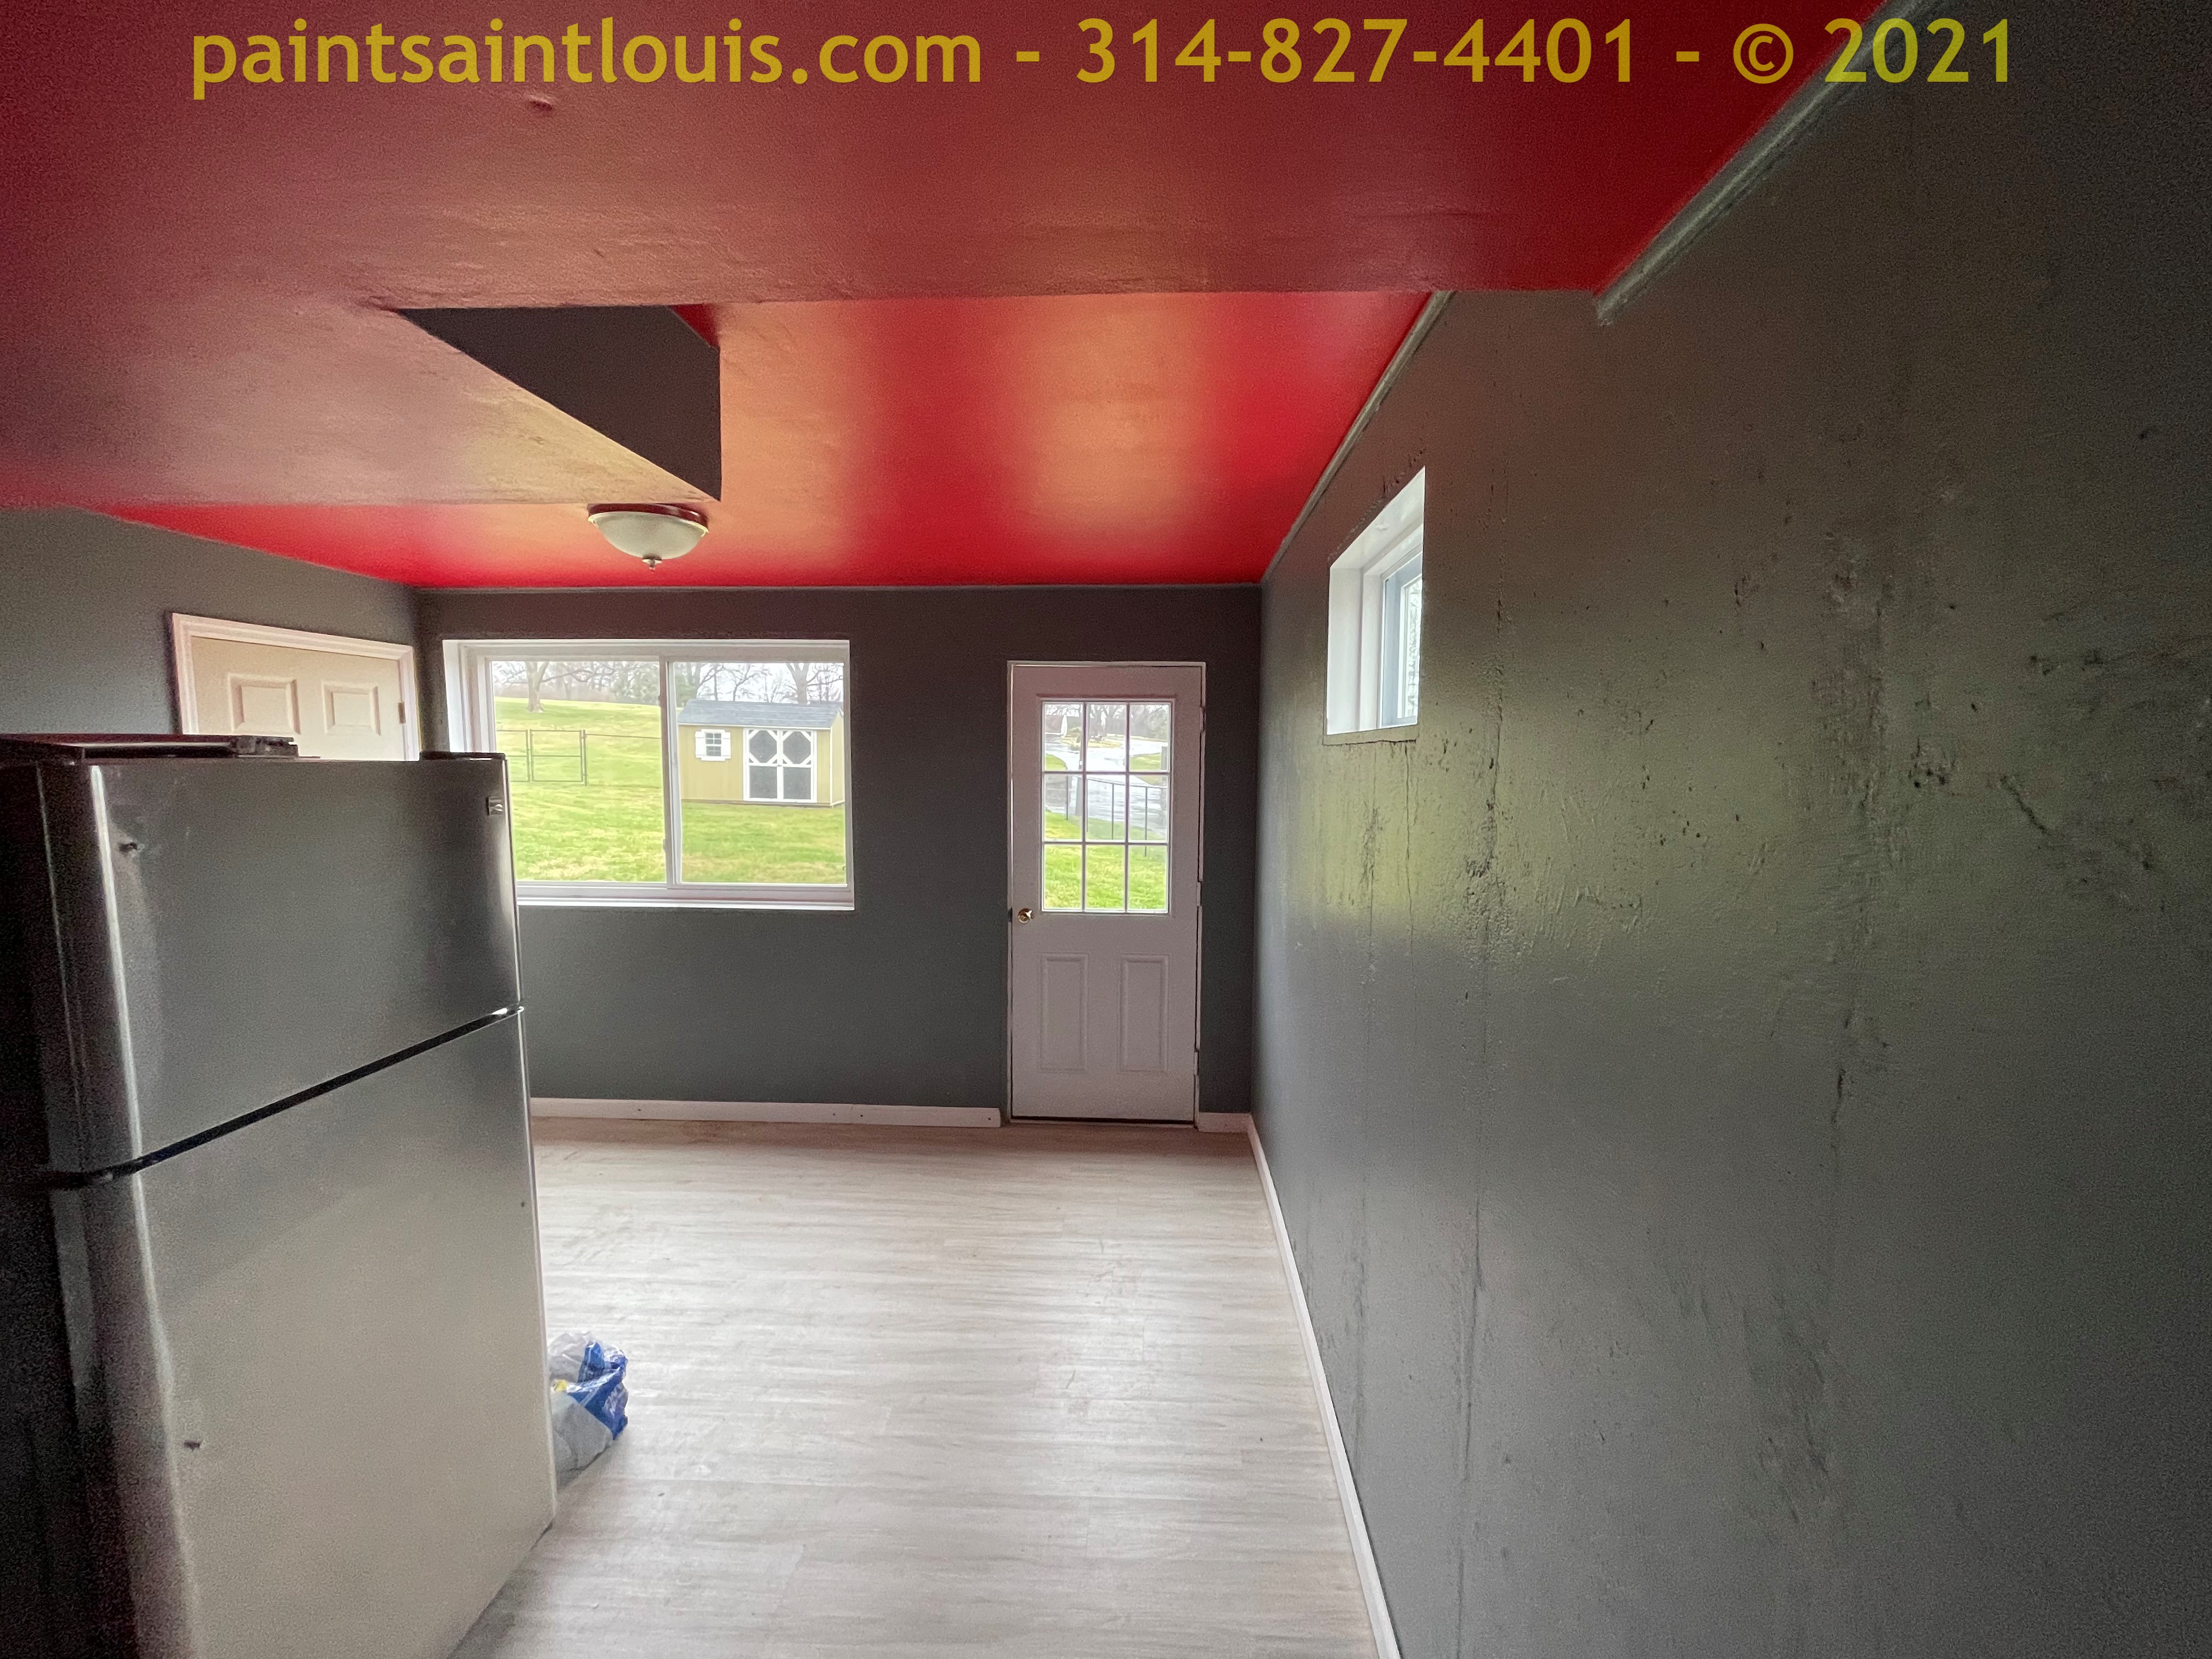
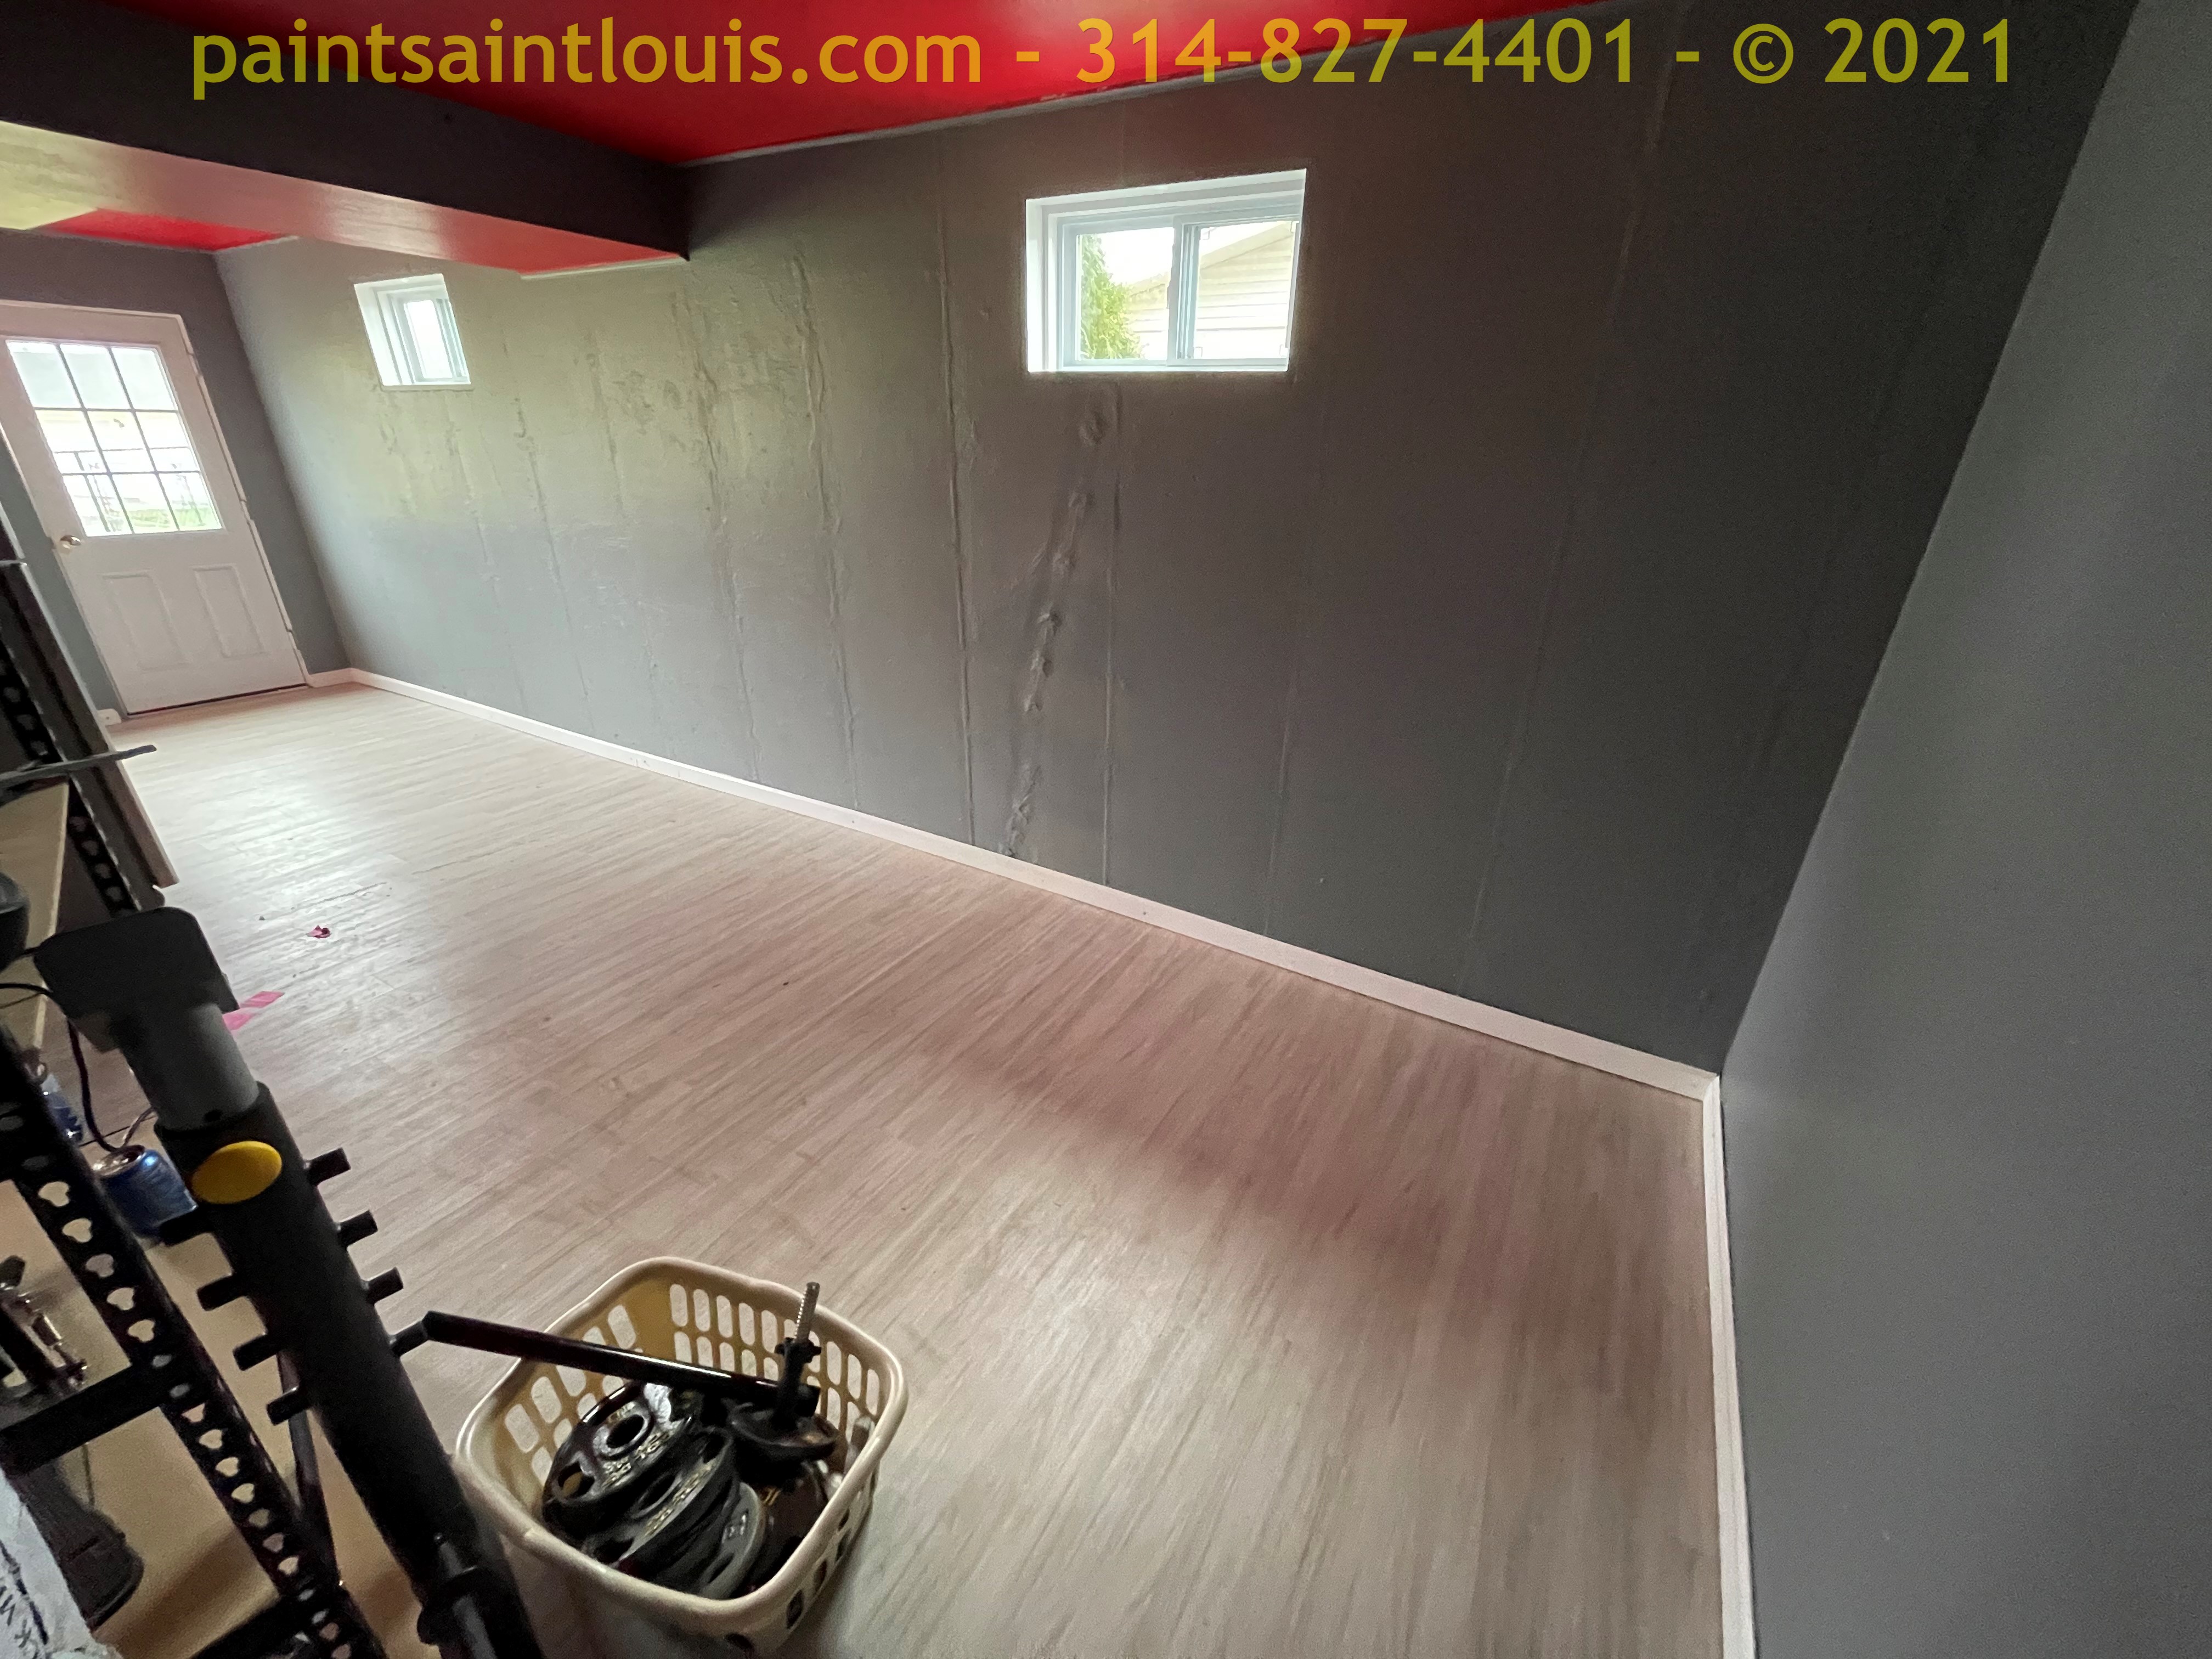
Residential repaint in Ballwin. For this project we were repainting all the ceilings and the walls including the stairwell to the lower level of this condo located in Valley Park/Ballwin area.
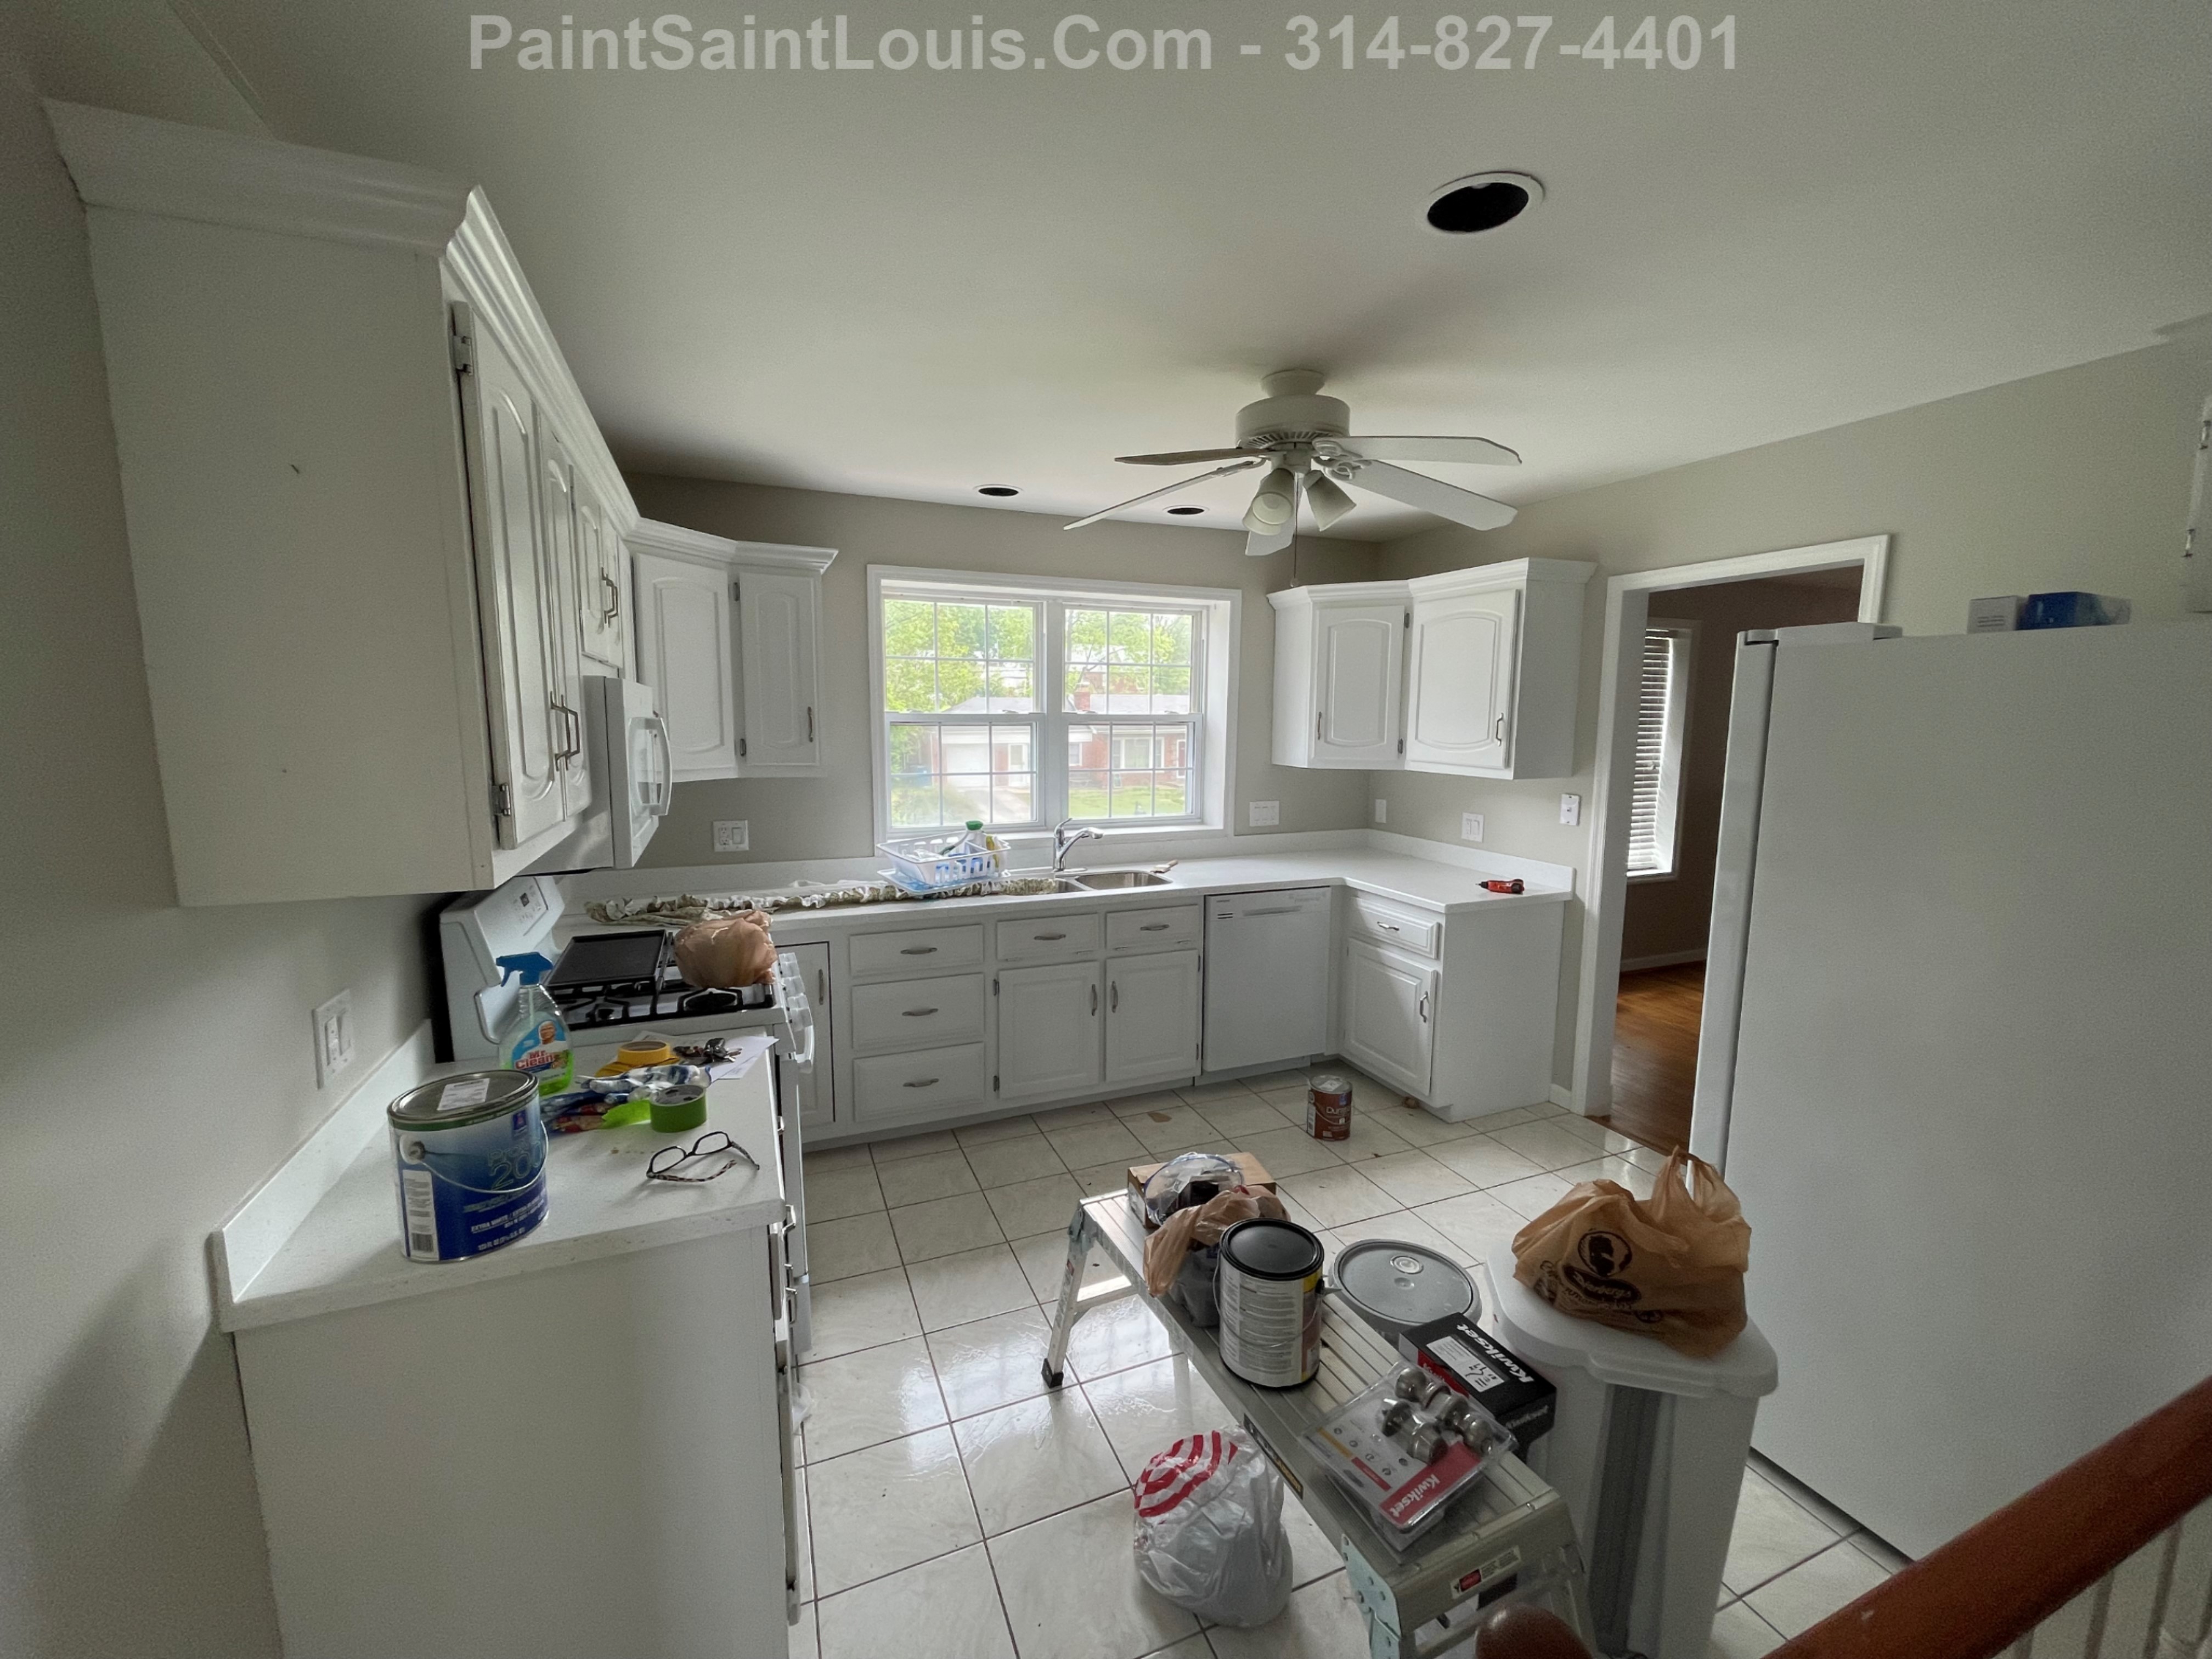
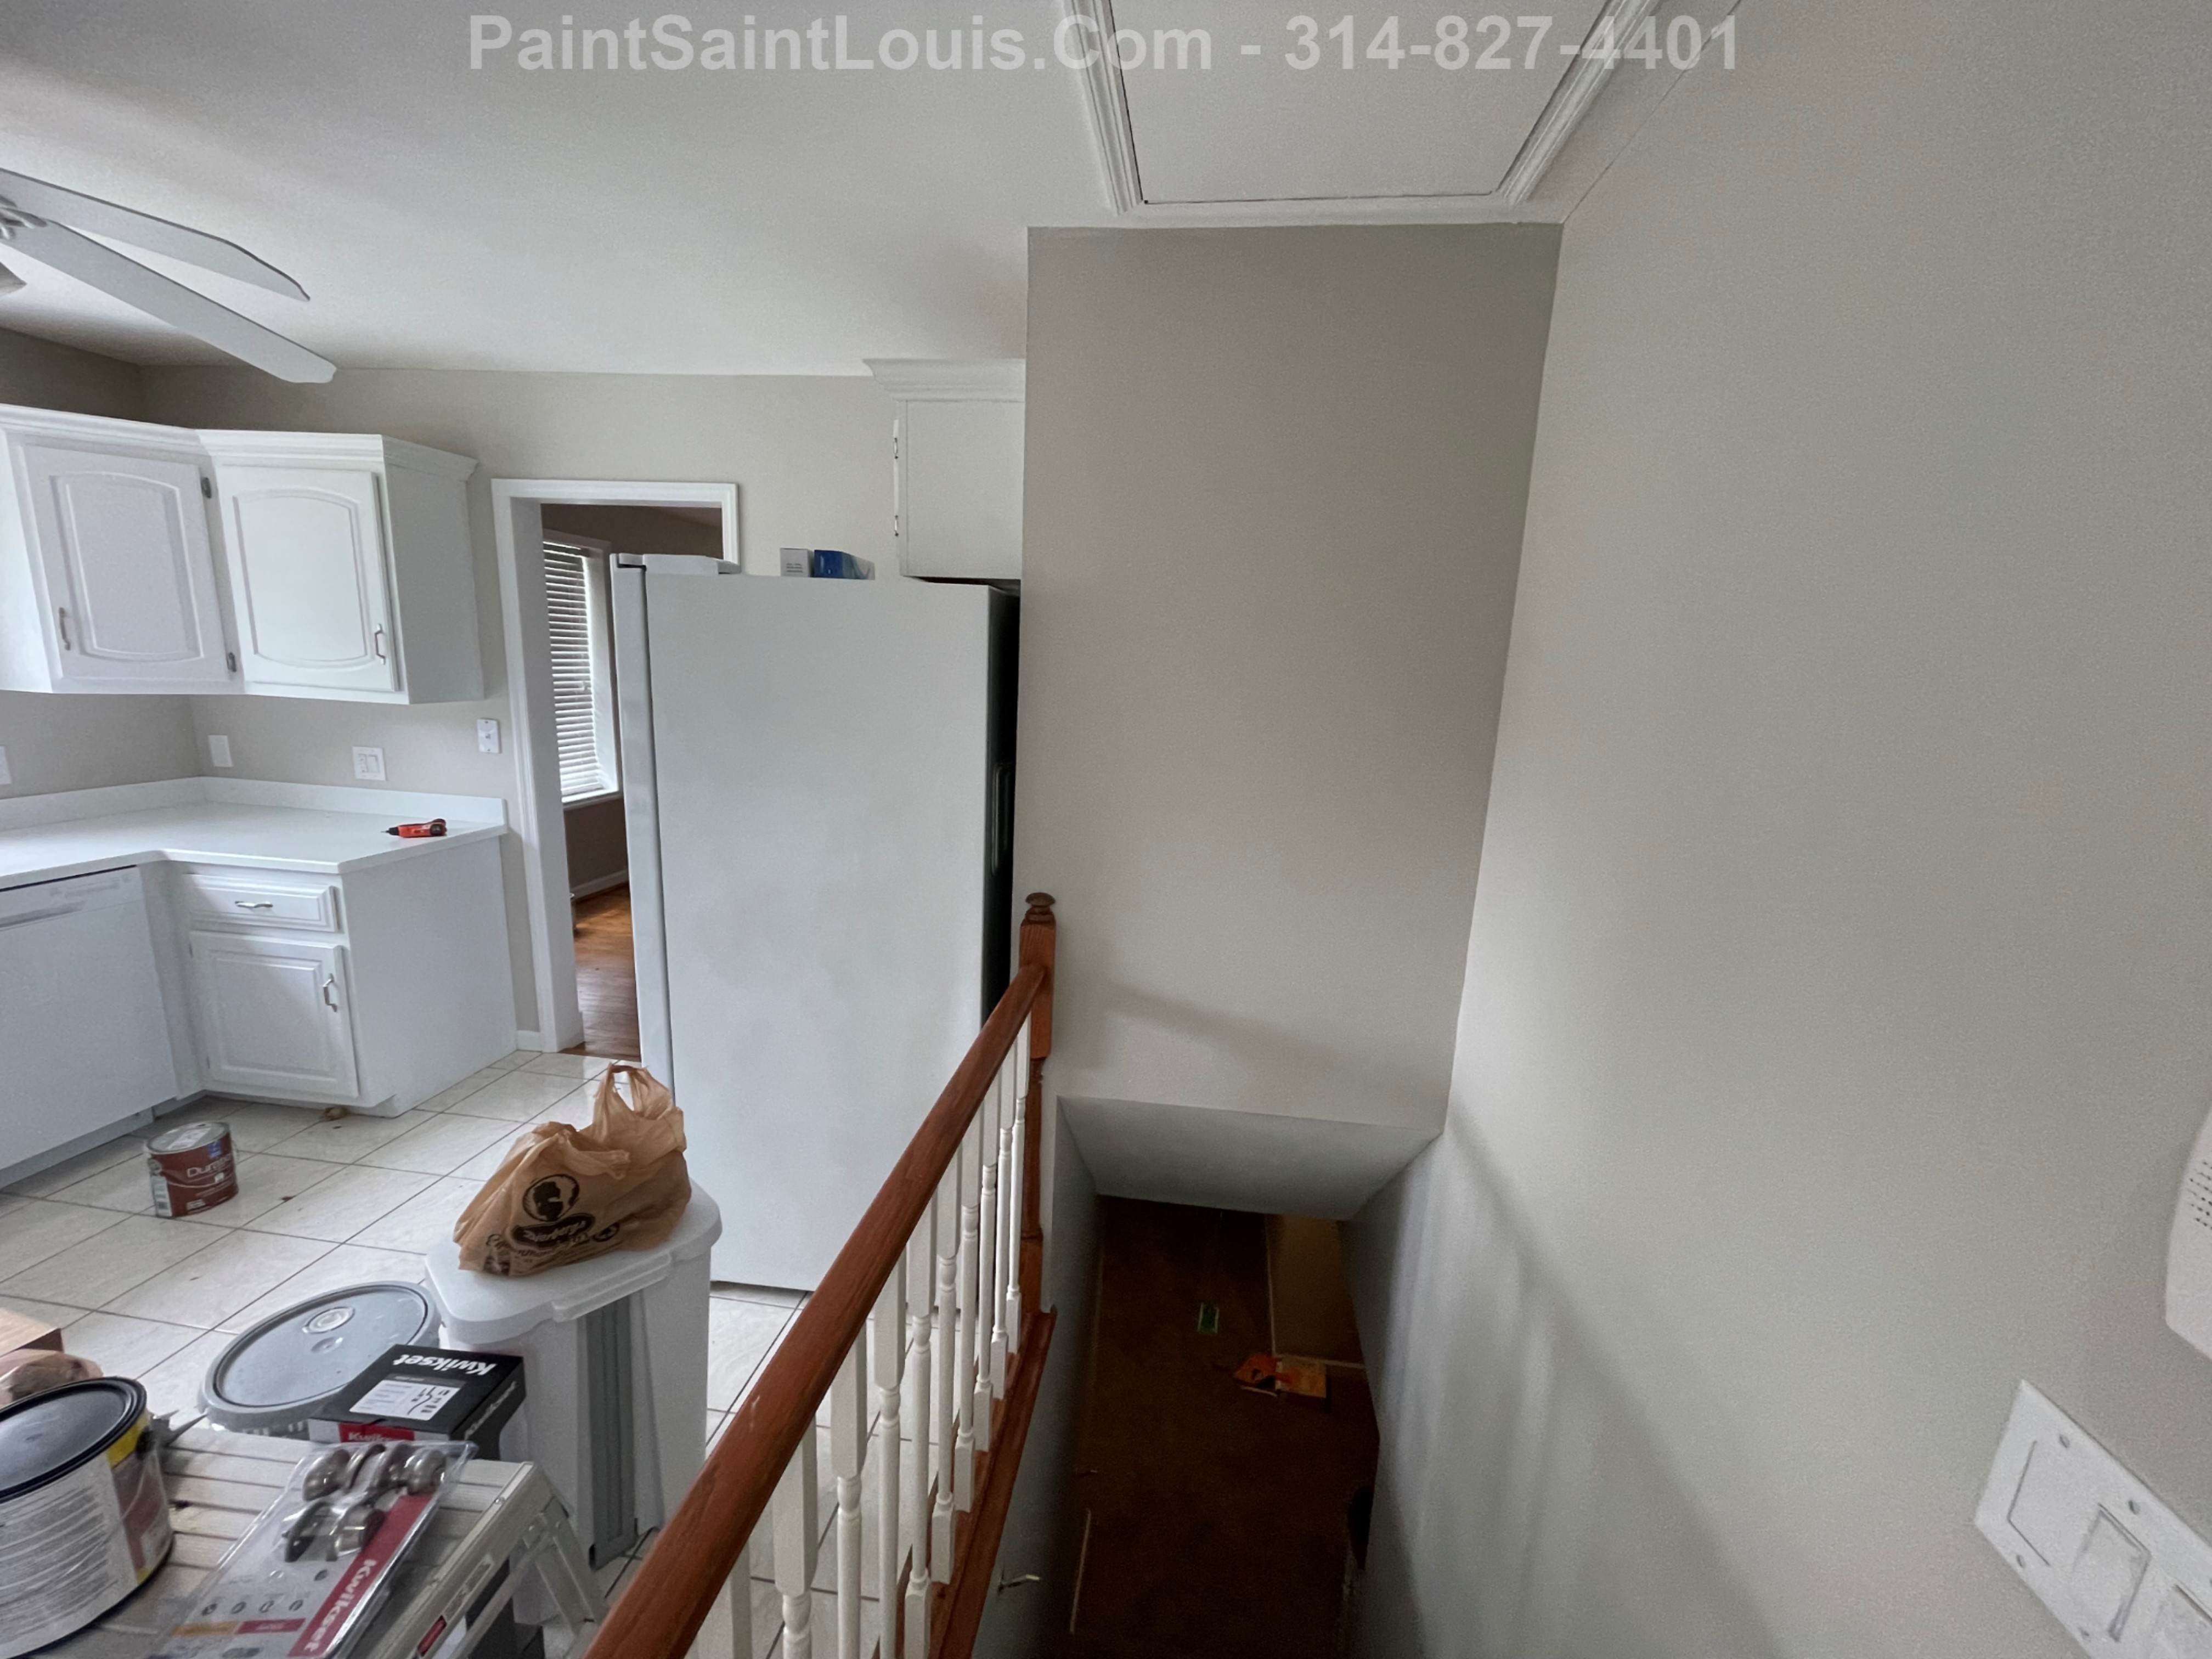
While jobs like this seem simple they generally are except for one factor and that’s a lot of furniture and nowhere to go with it. While doing the ceilings it’s a bigger challenge so there is a lot of plastic laid, lots of tarps and some stretching to reach all the areas.
In this situation and with the timing available it was easier for ceiling painting to complete one half the ceiling and then the other. By splitting into the smaller areas ceilings are painted then prep everything else in those areas and prepare for wall paint. Then move everything over to the other side and do the same thing. By this point with all ceilings done everything goes back to the center of the room for the remainder of the wall painting work.
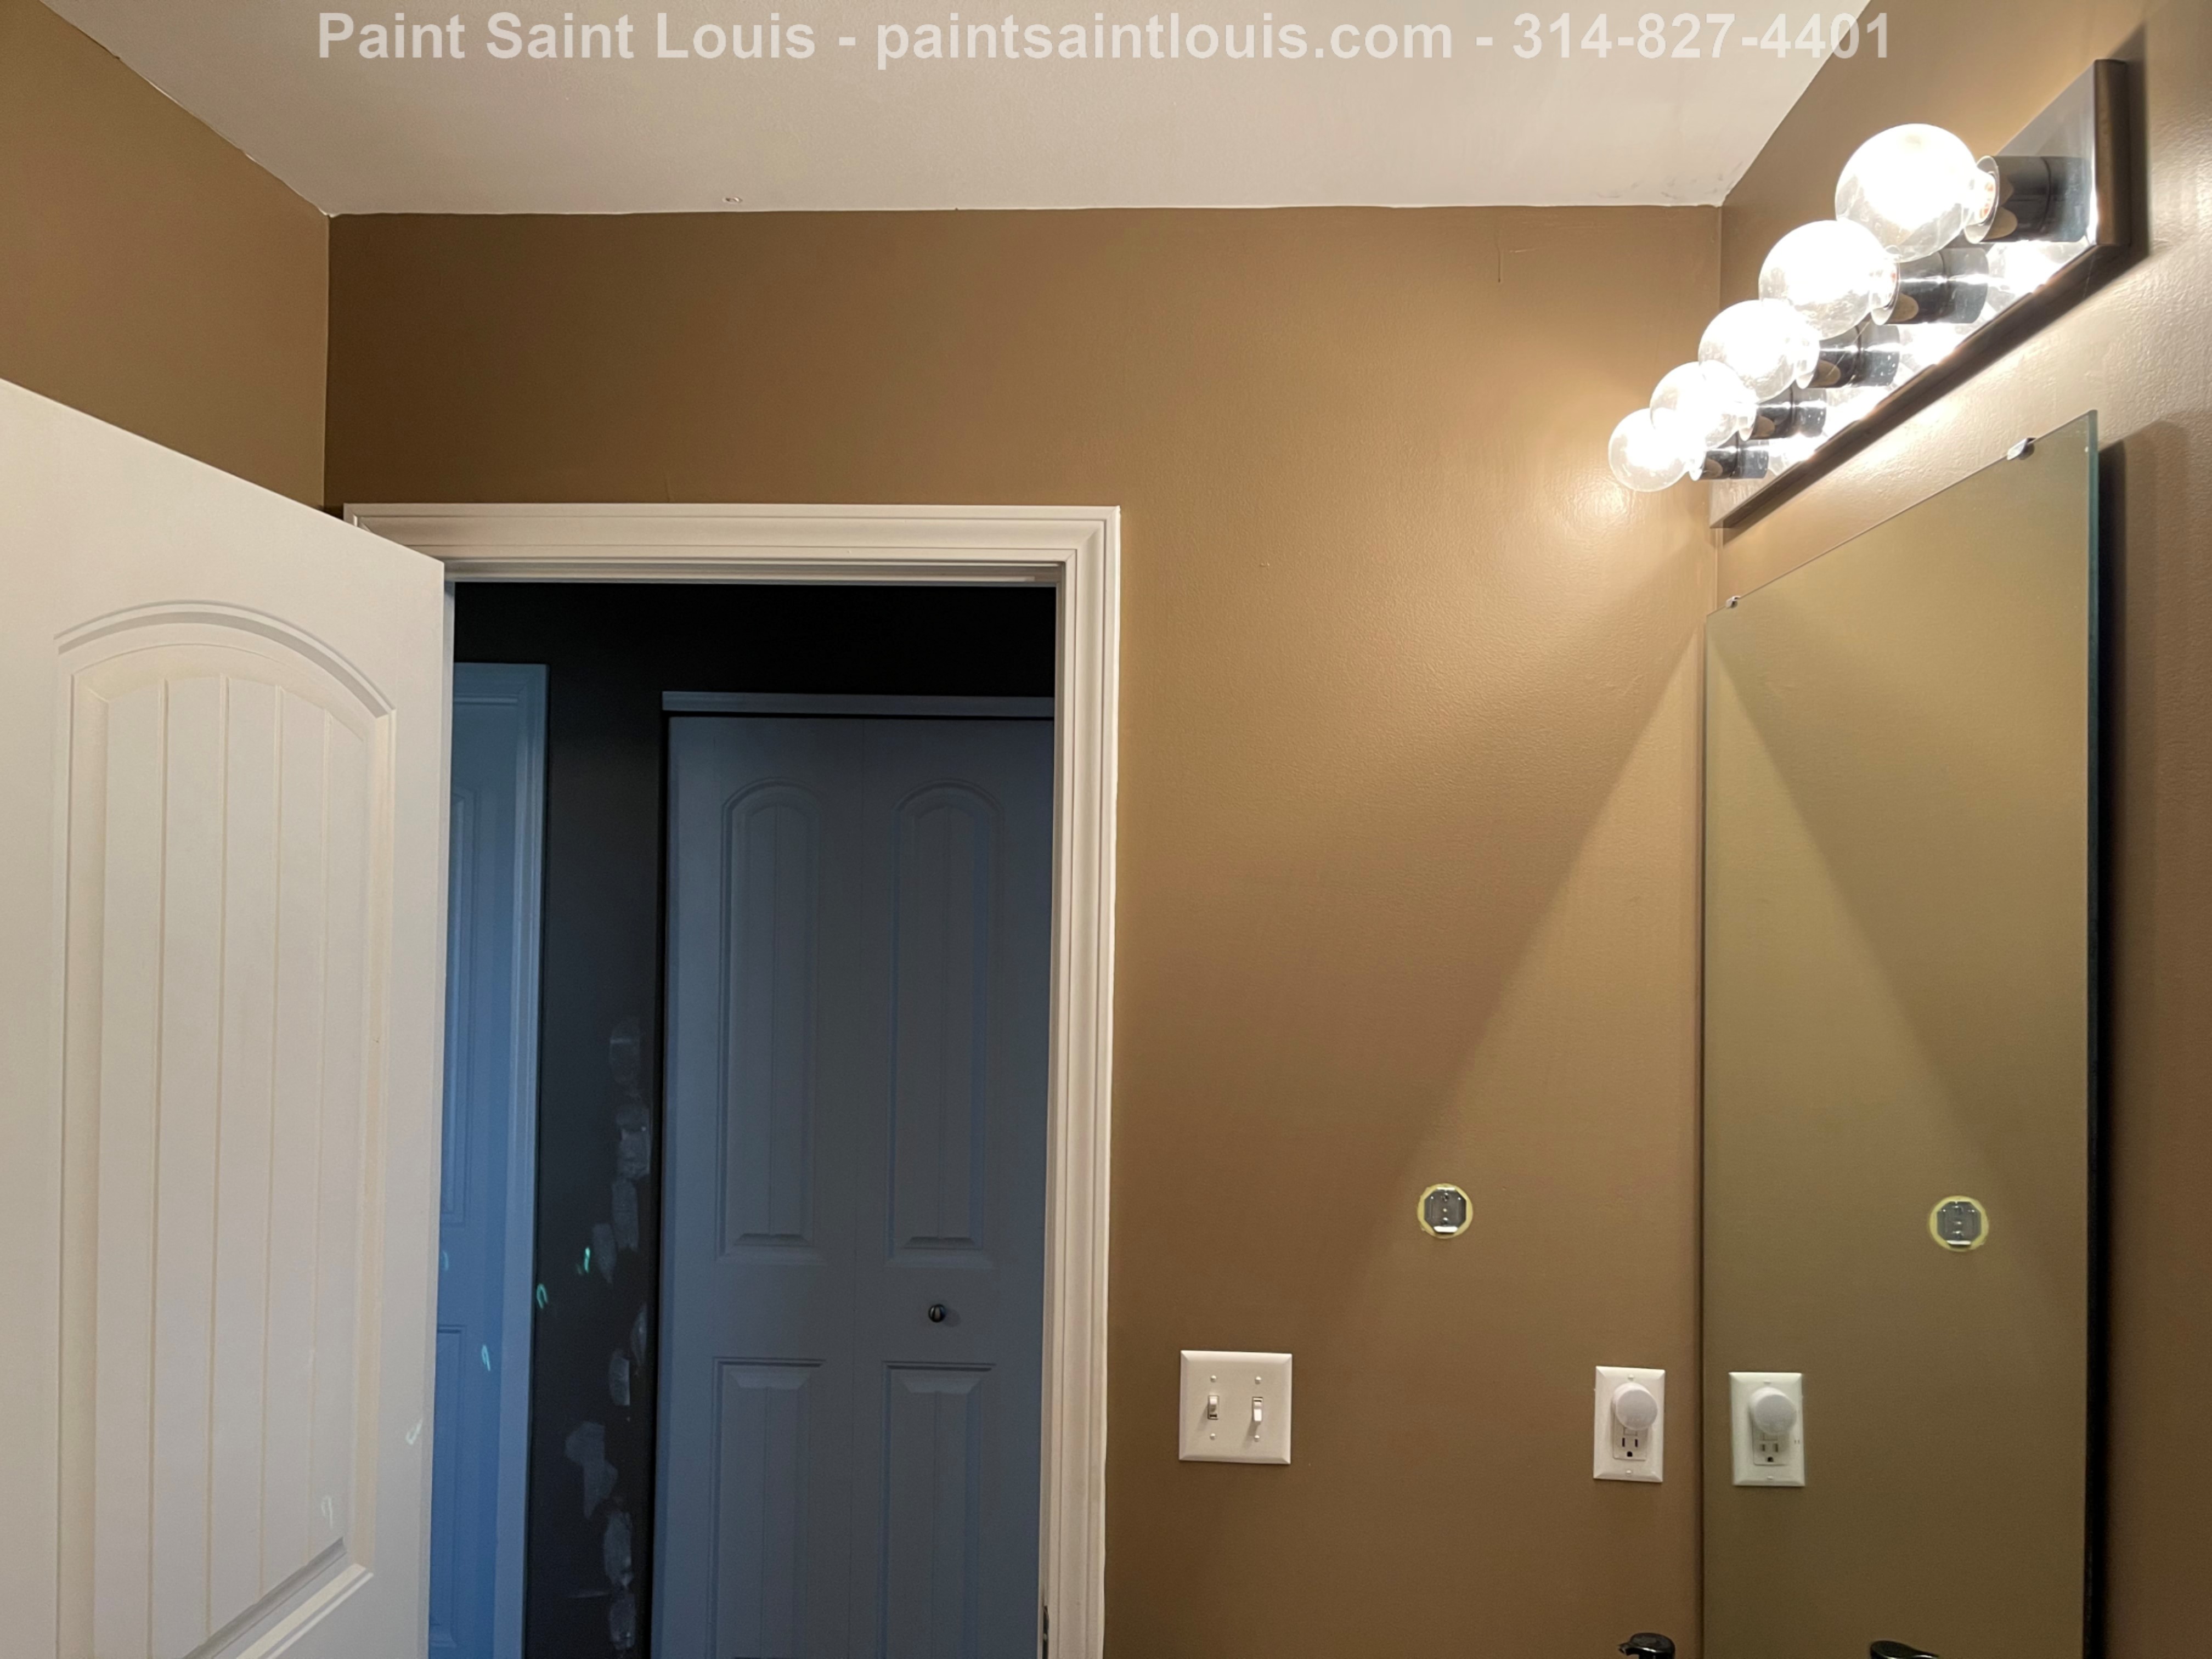
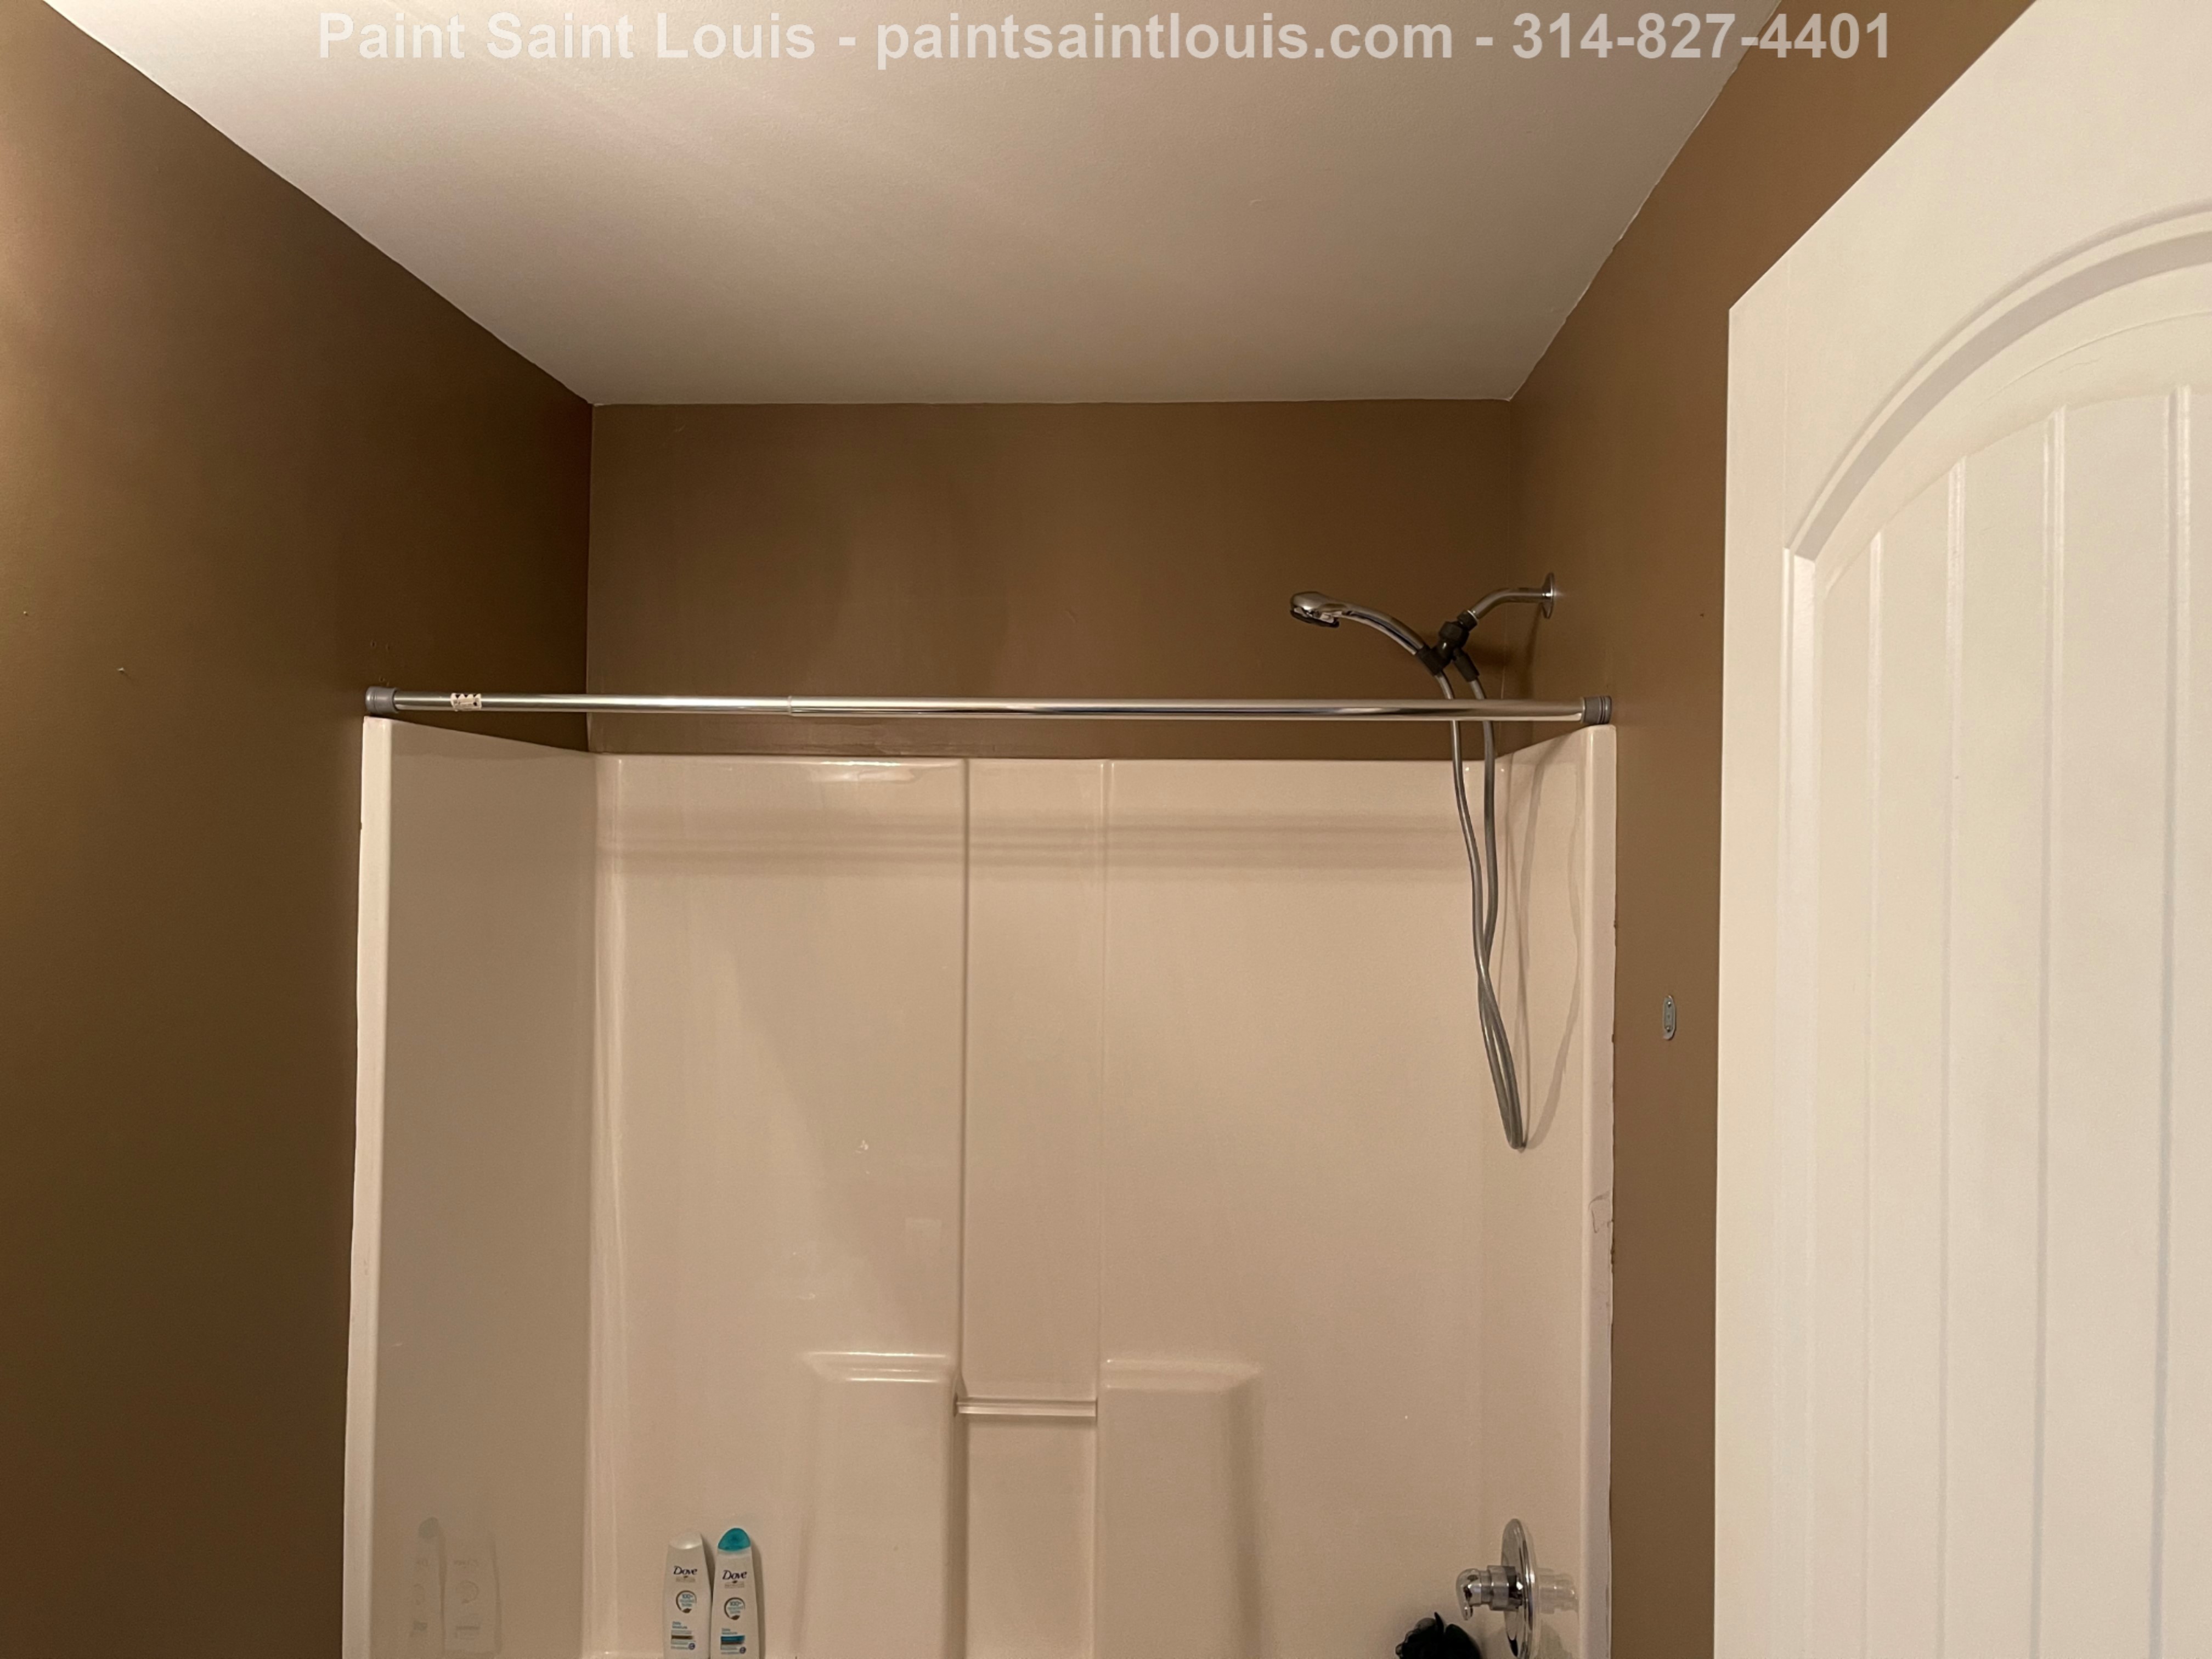
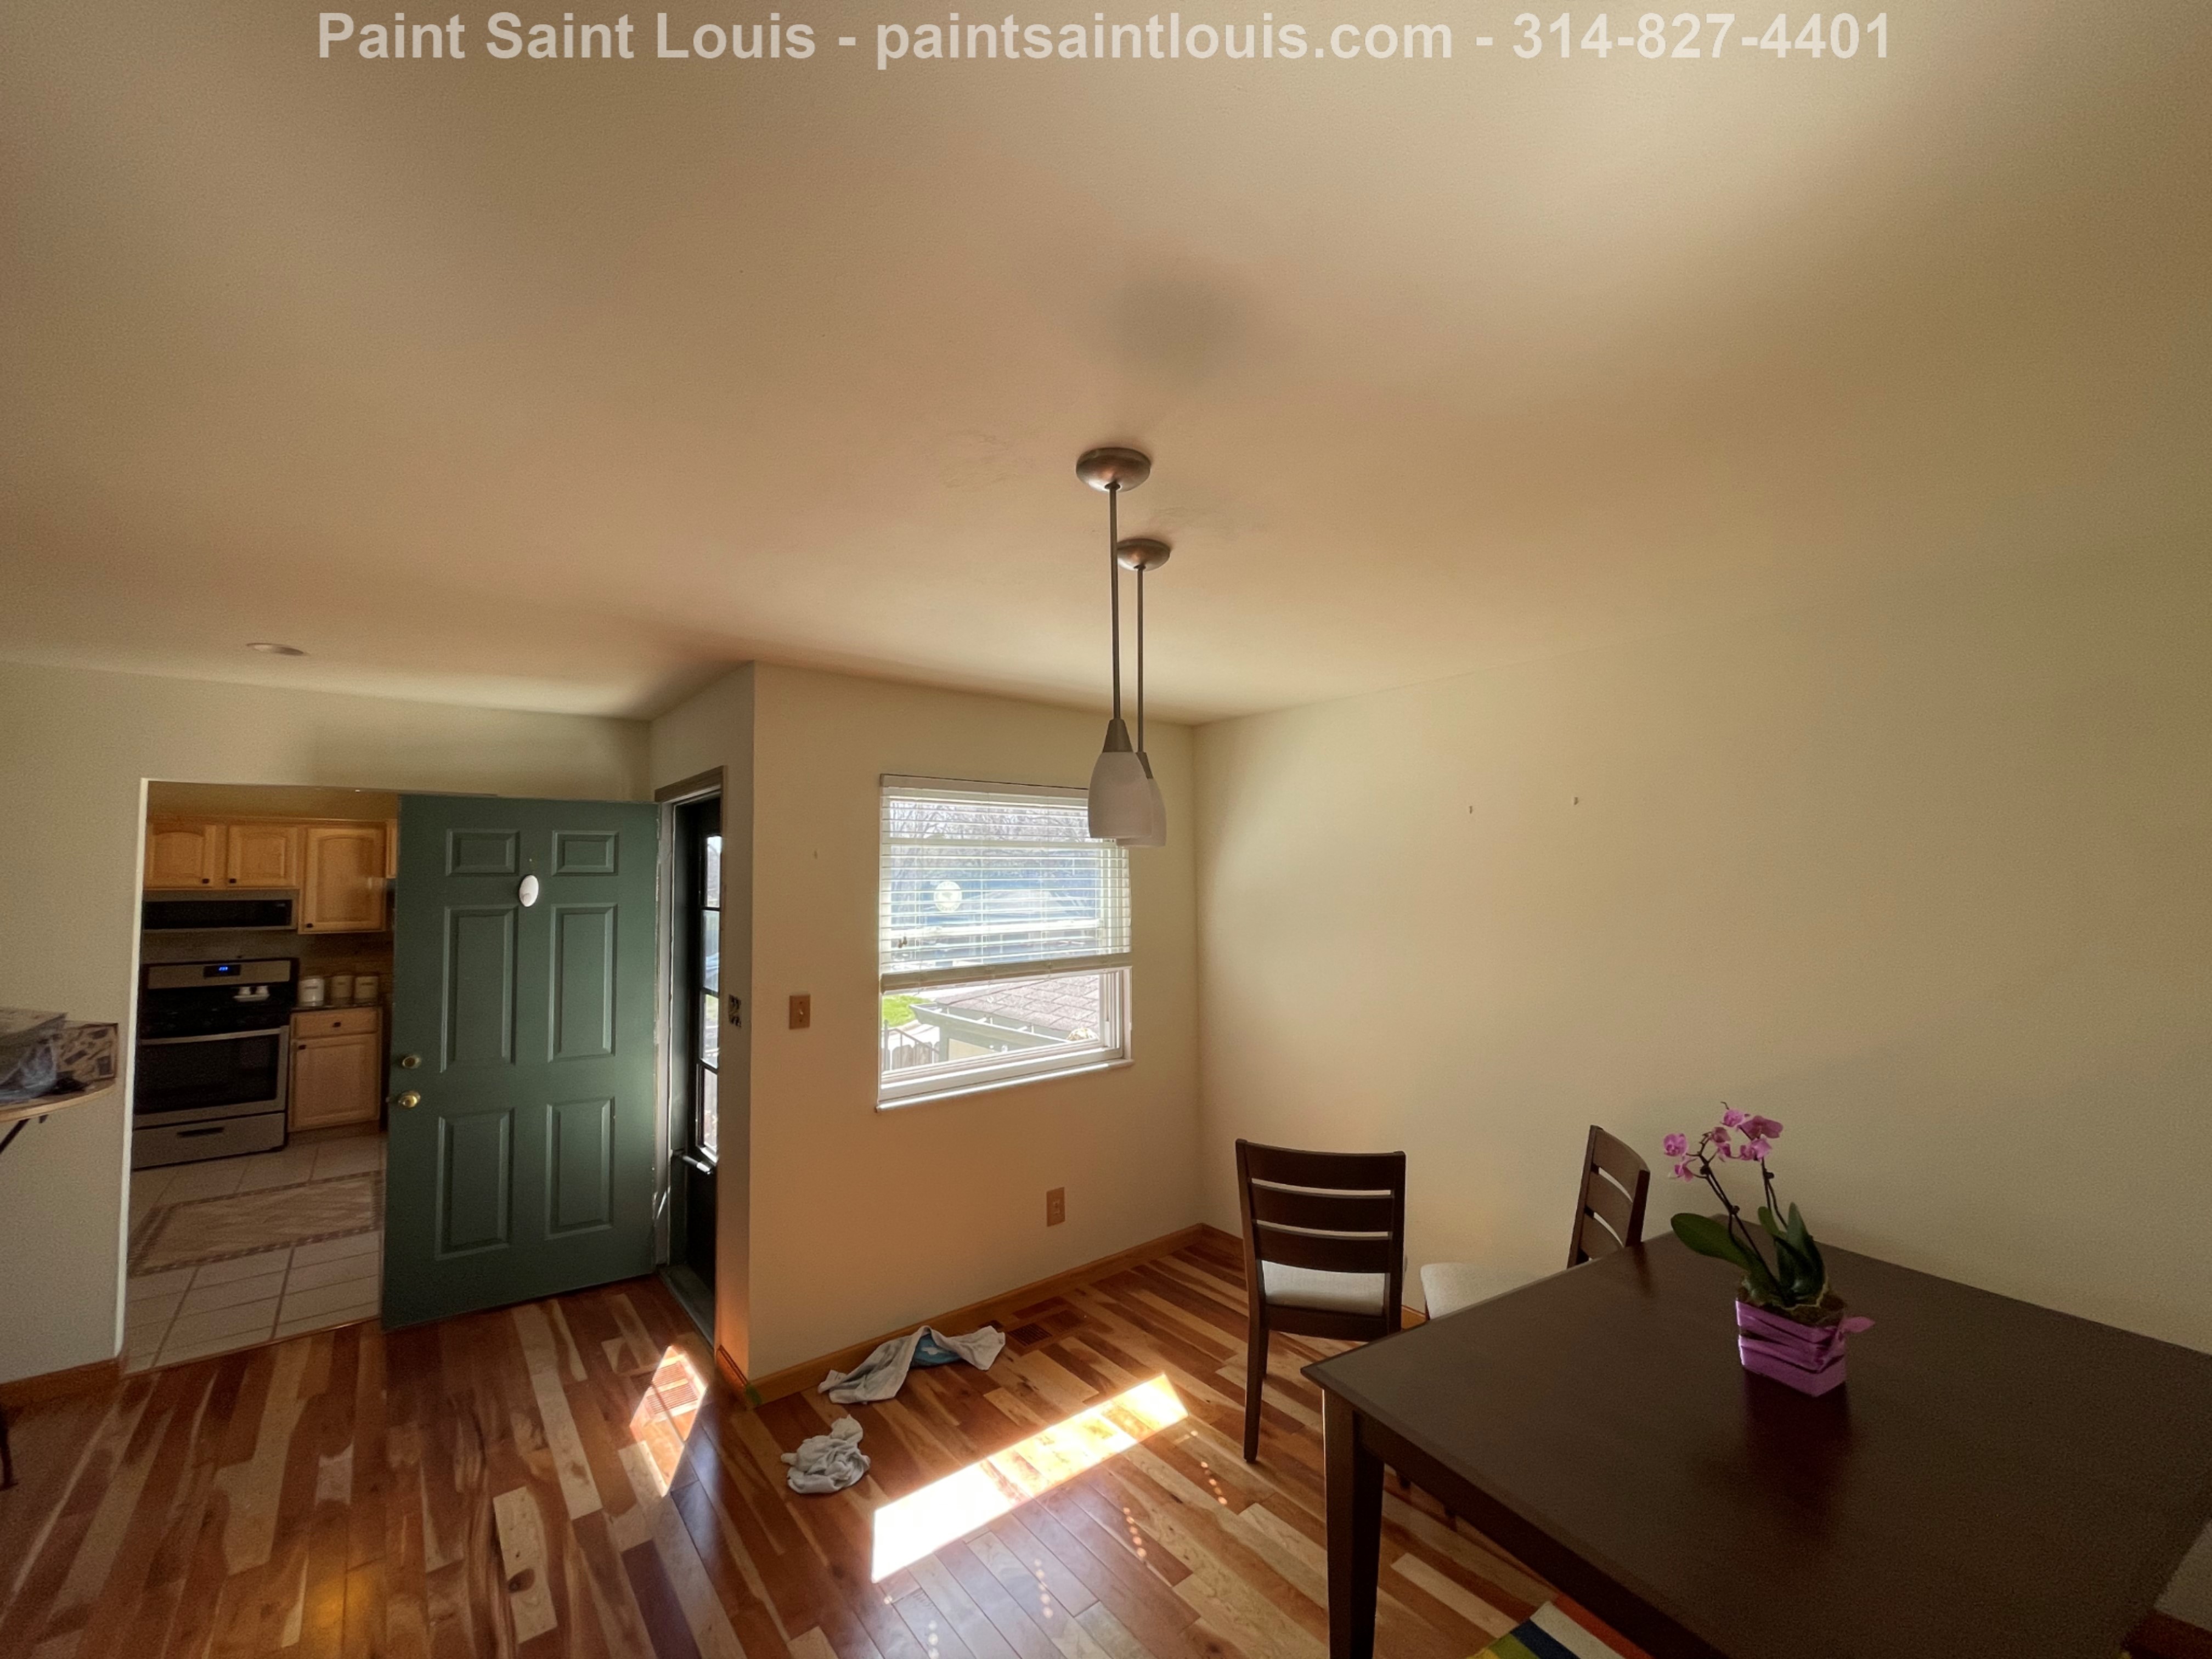
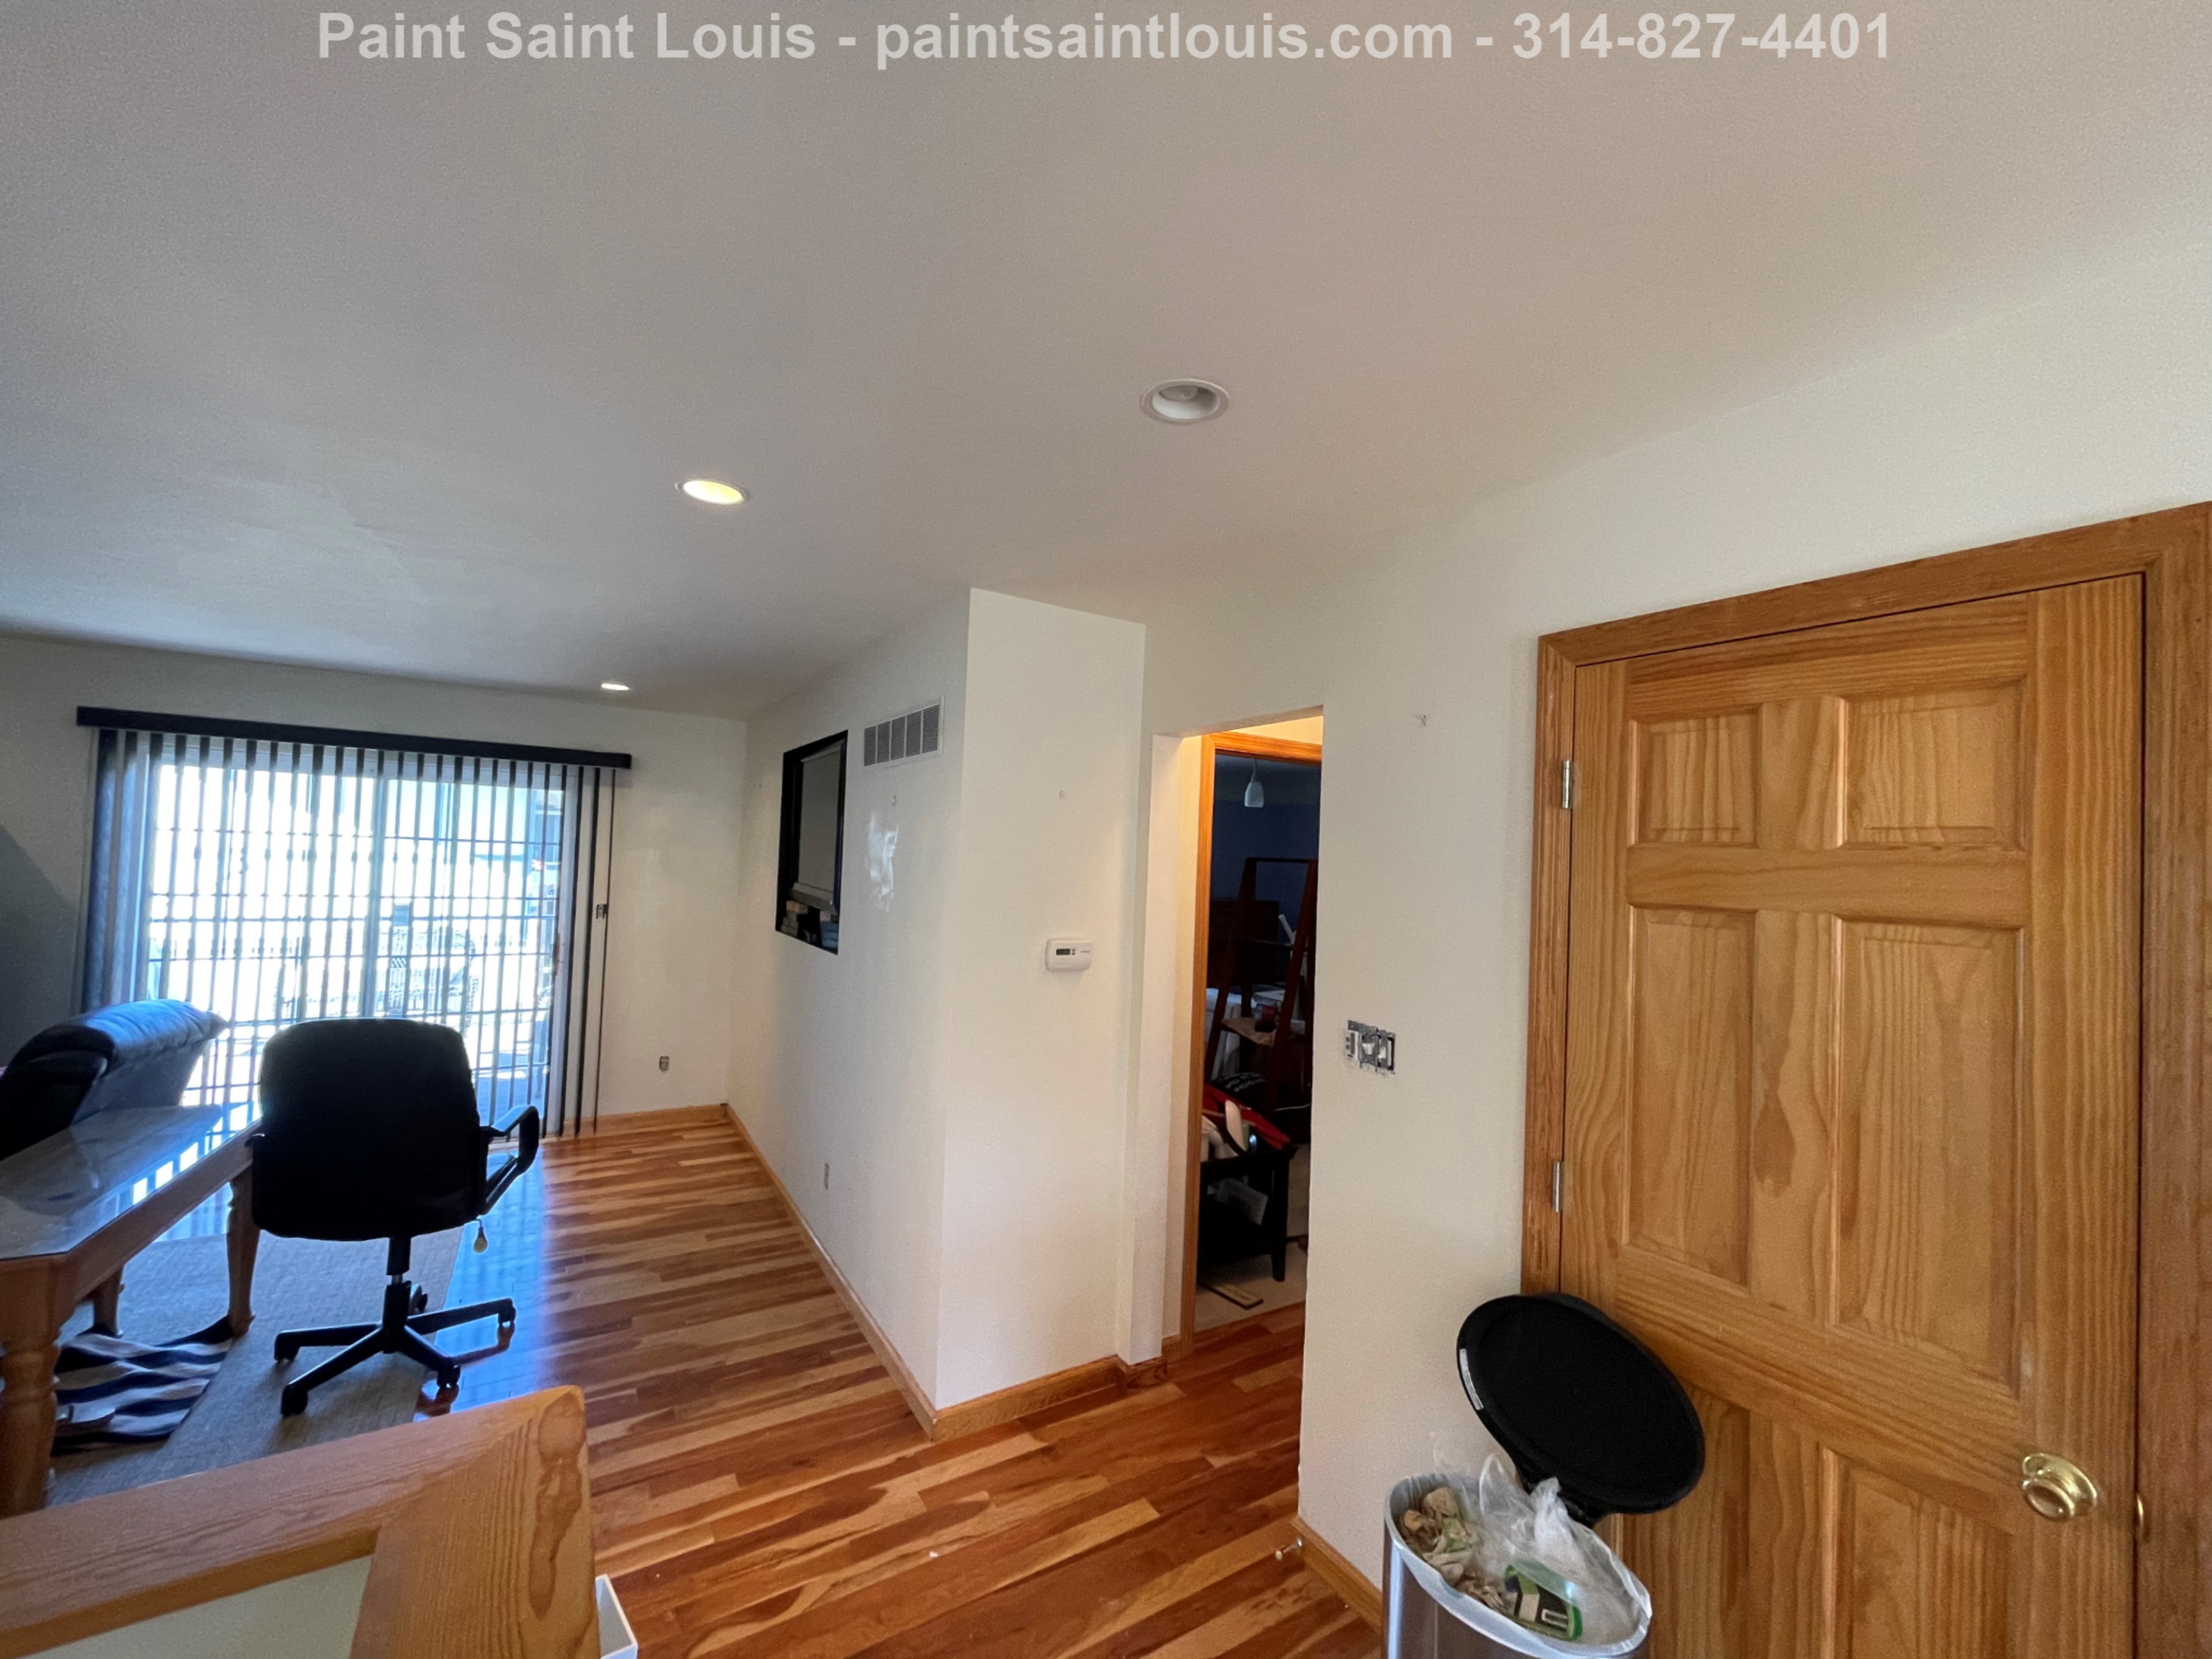
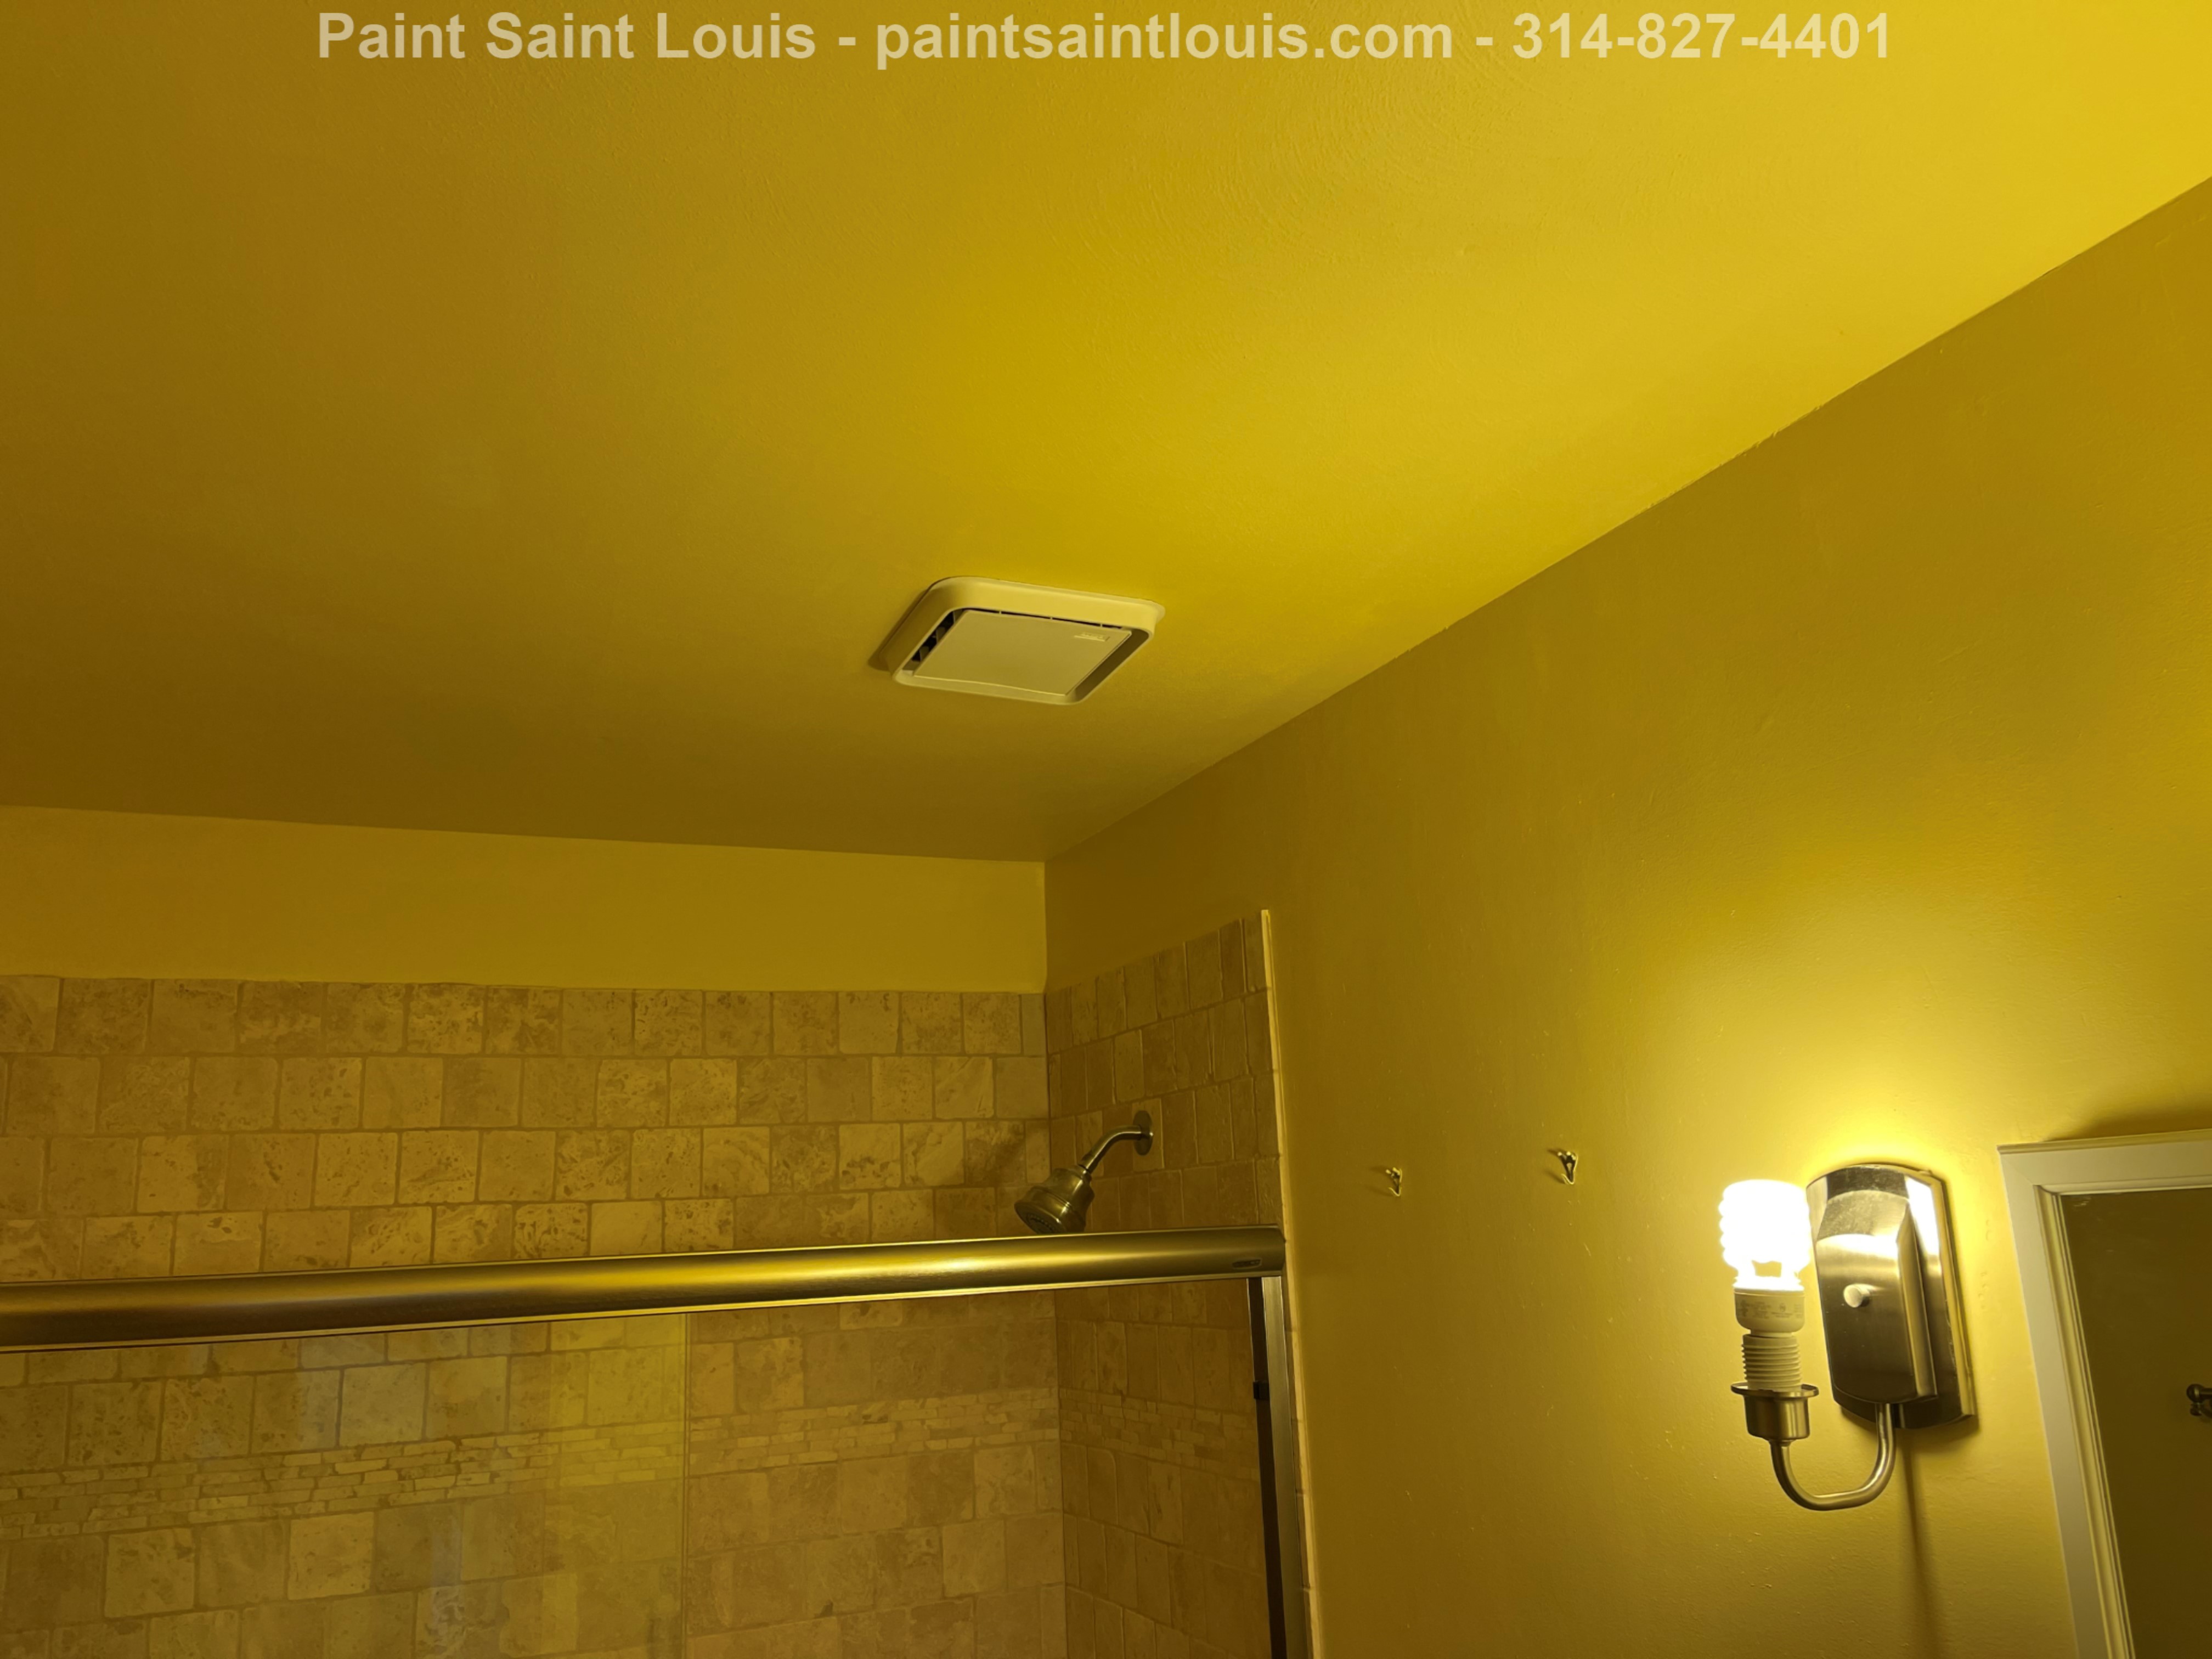
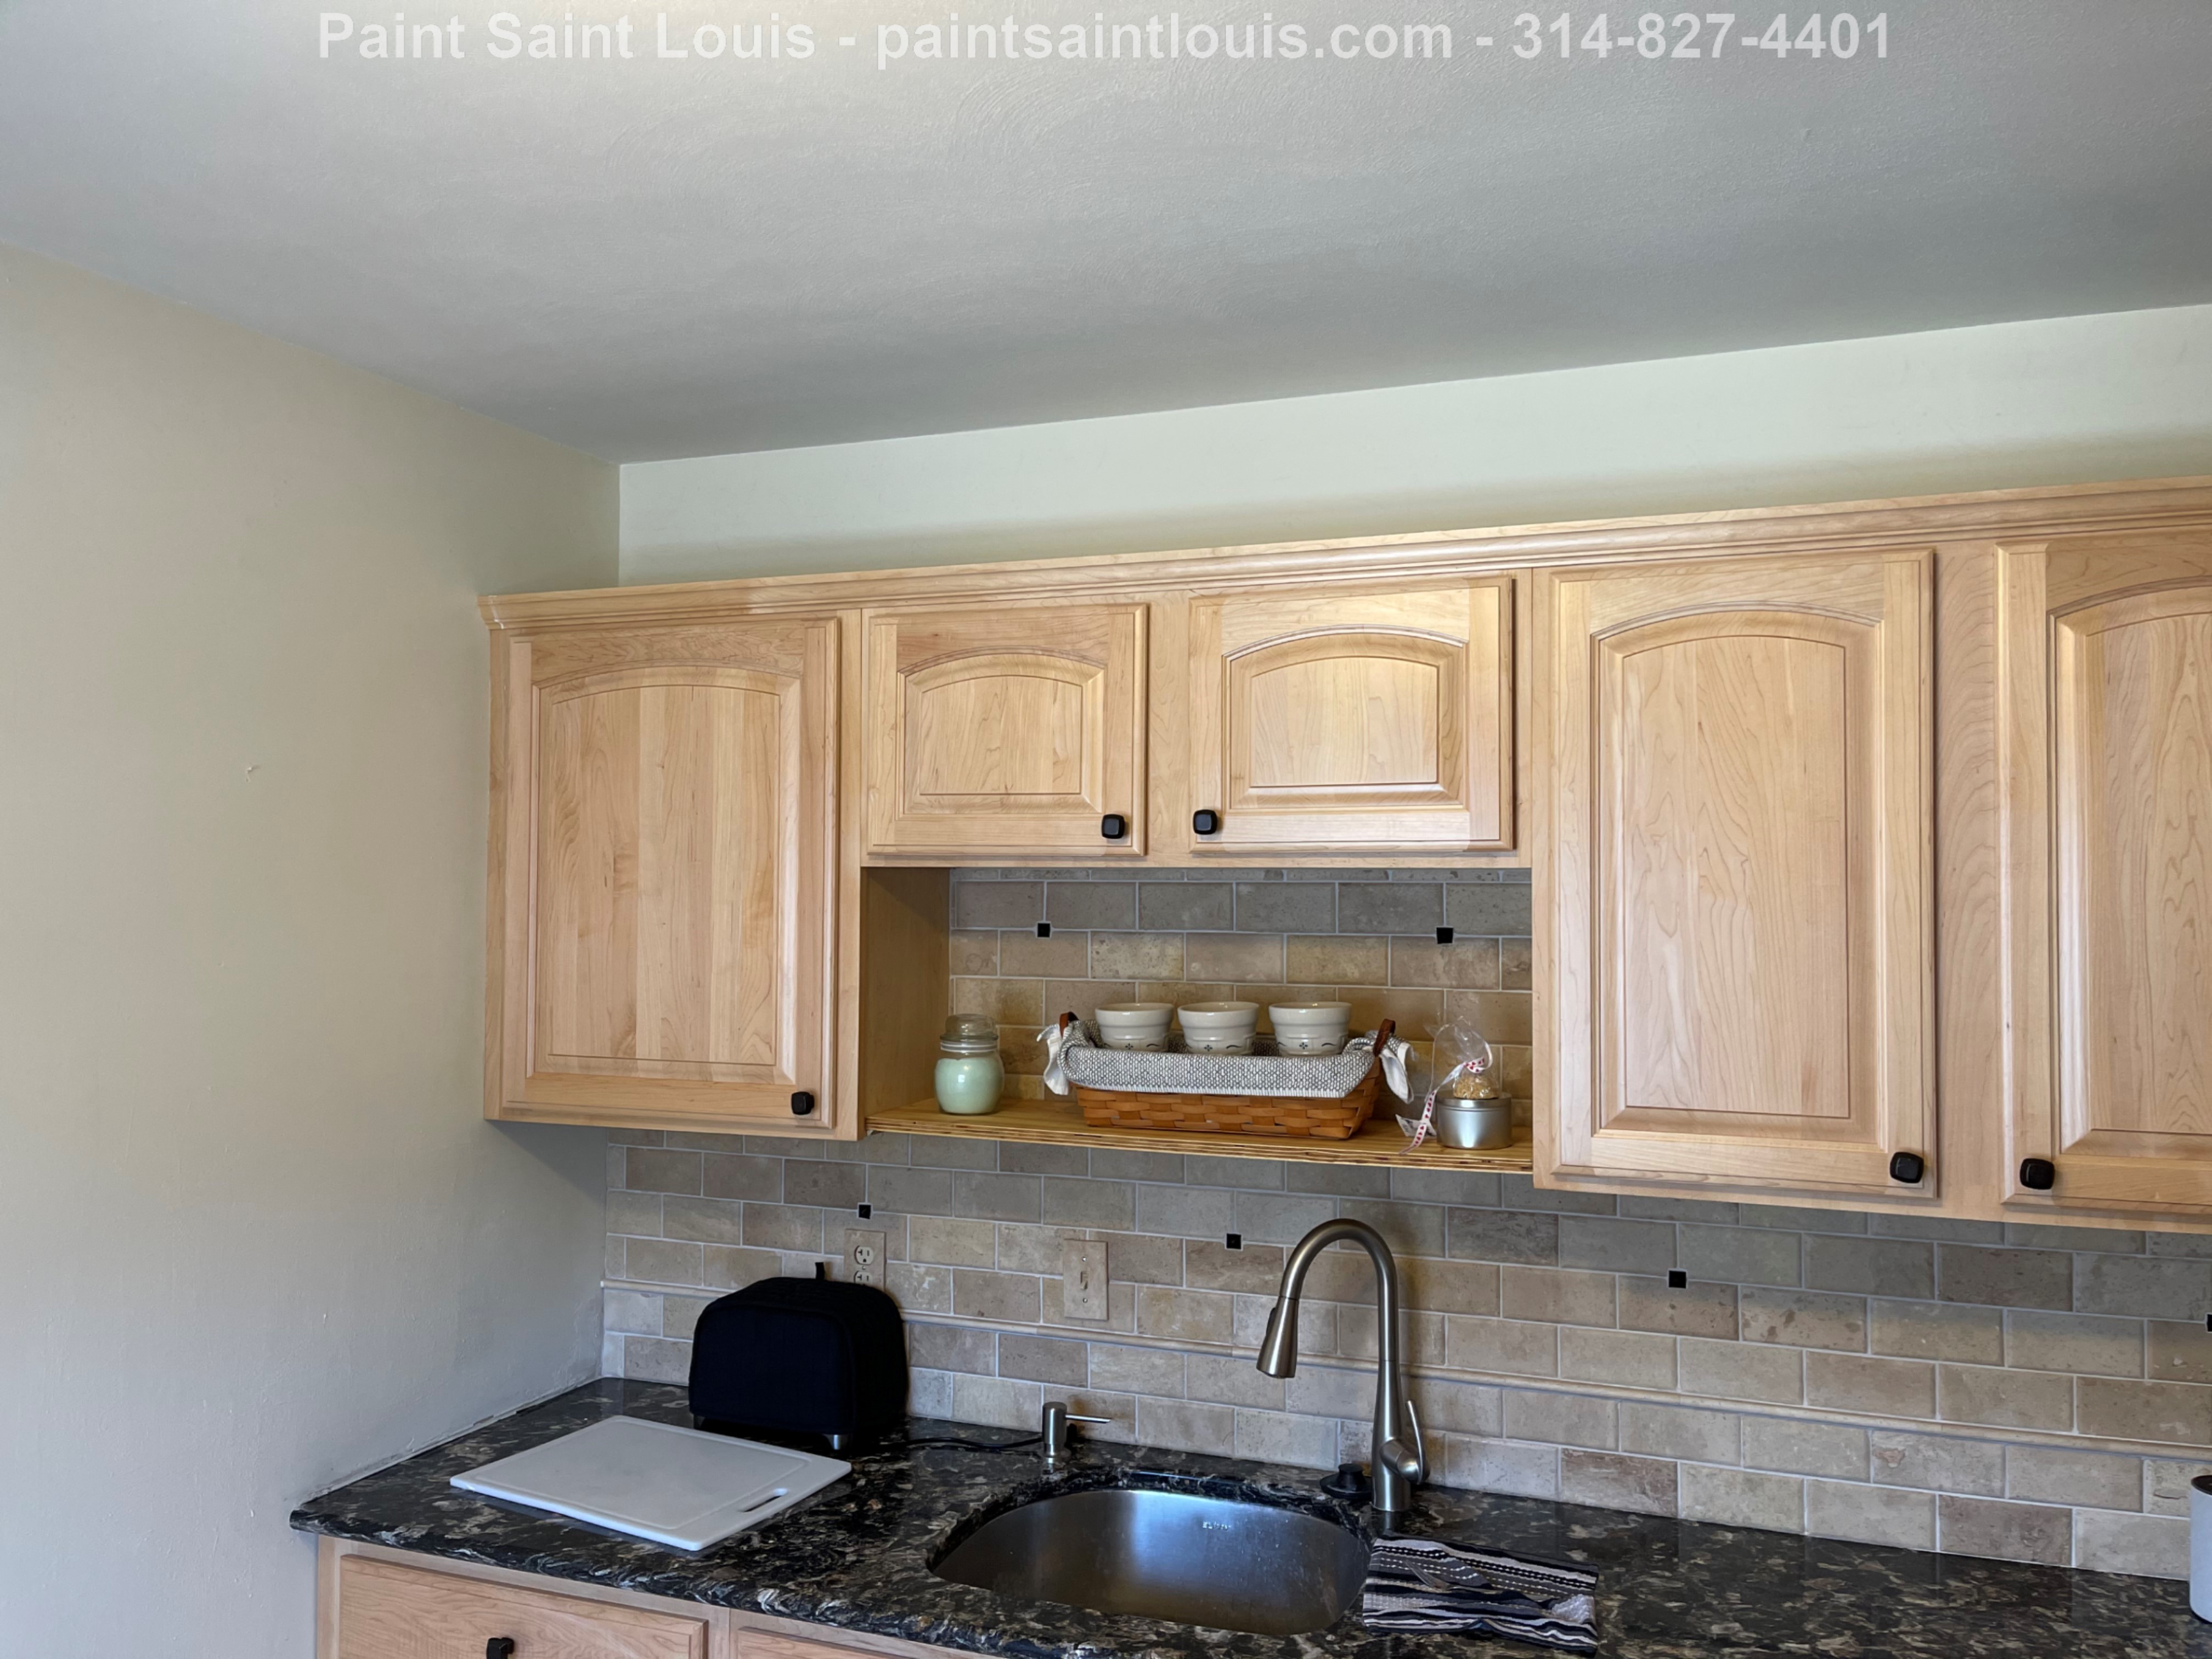
For this project we completed the living room, stairwell to the lower level, dining room, kitchen, a small hallway and the bathroom. The paint product used was Promar 200 using the low sheen eg-shel paint that offers a nice flat look but a finish that can also be cleaned without damage.

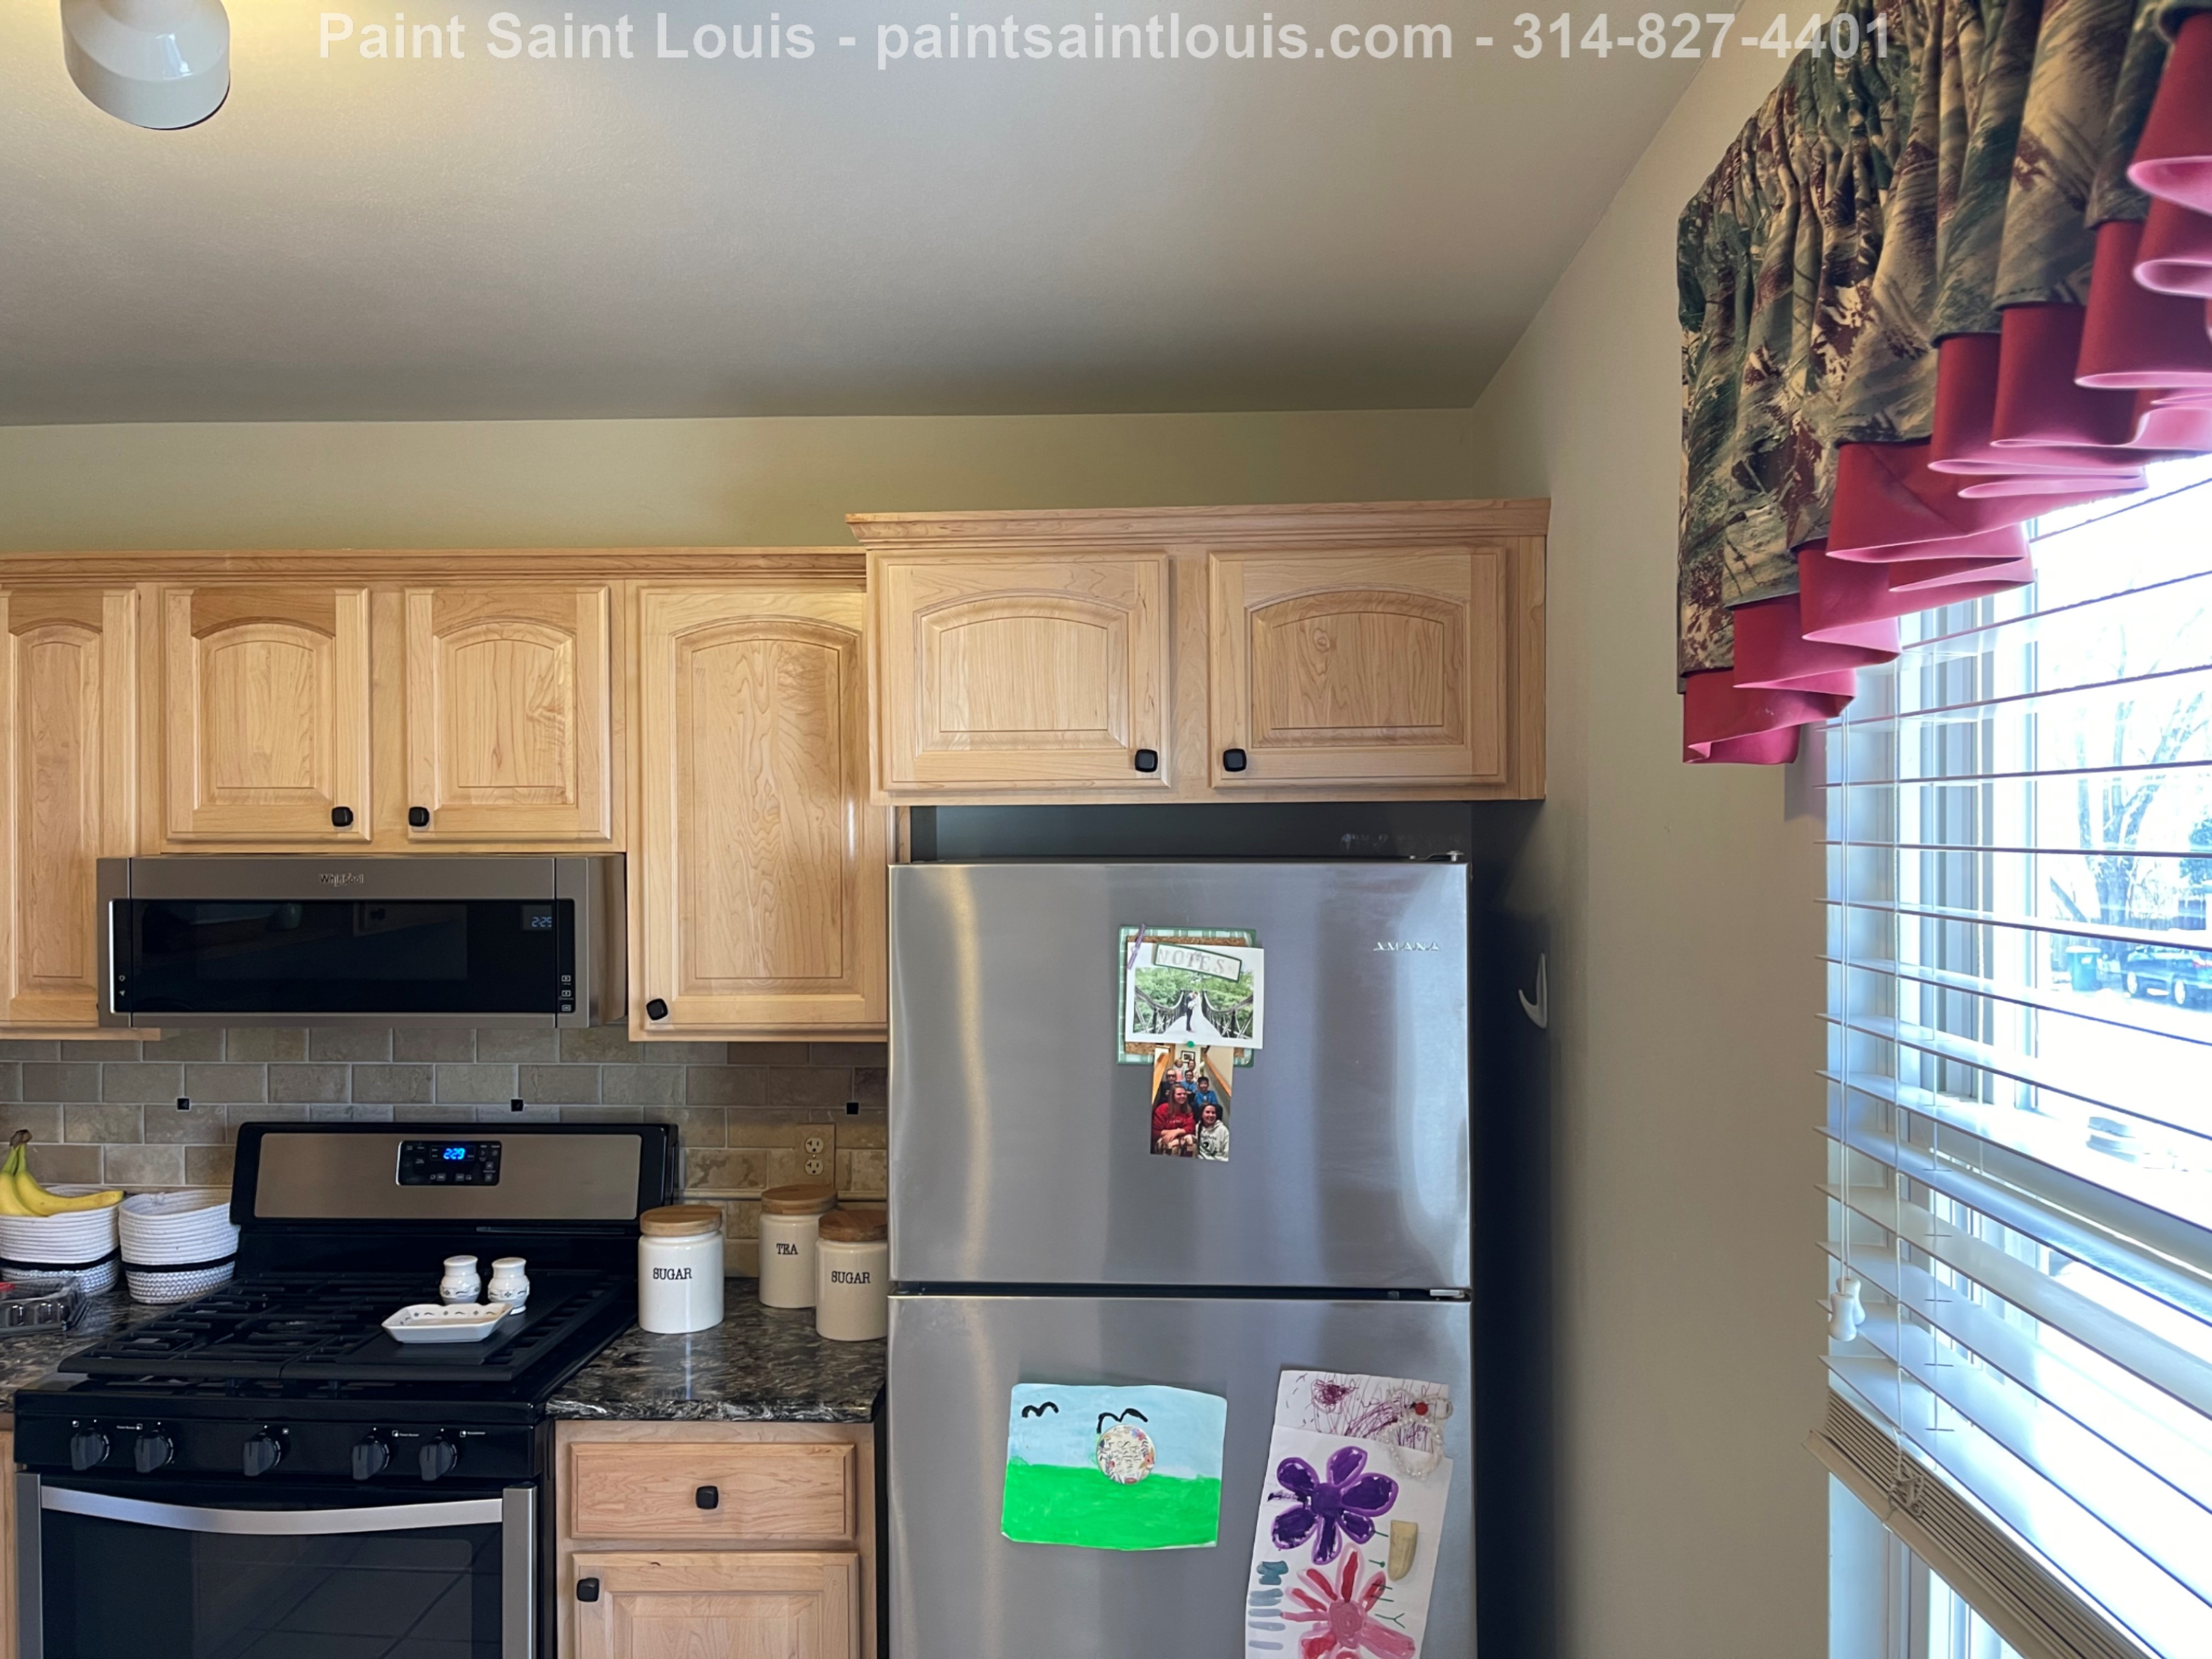

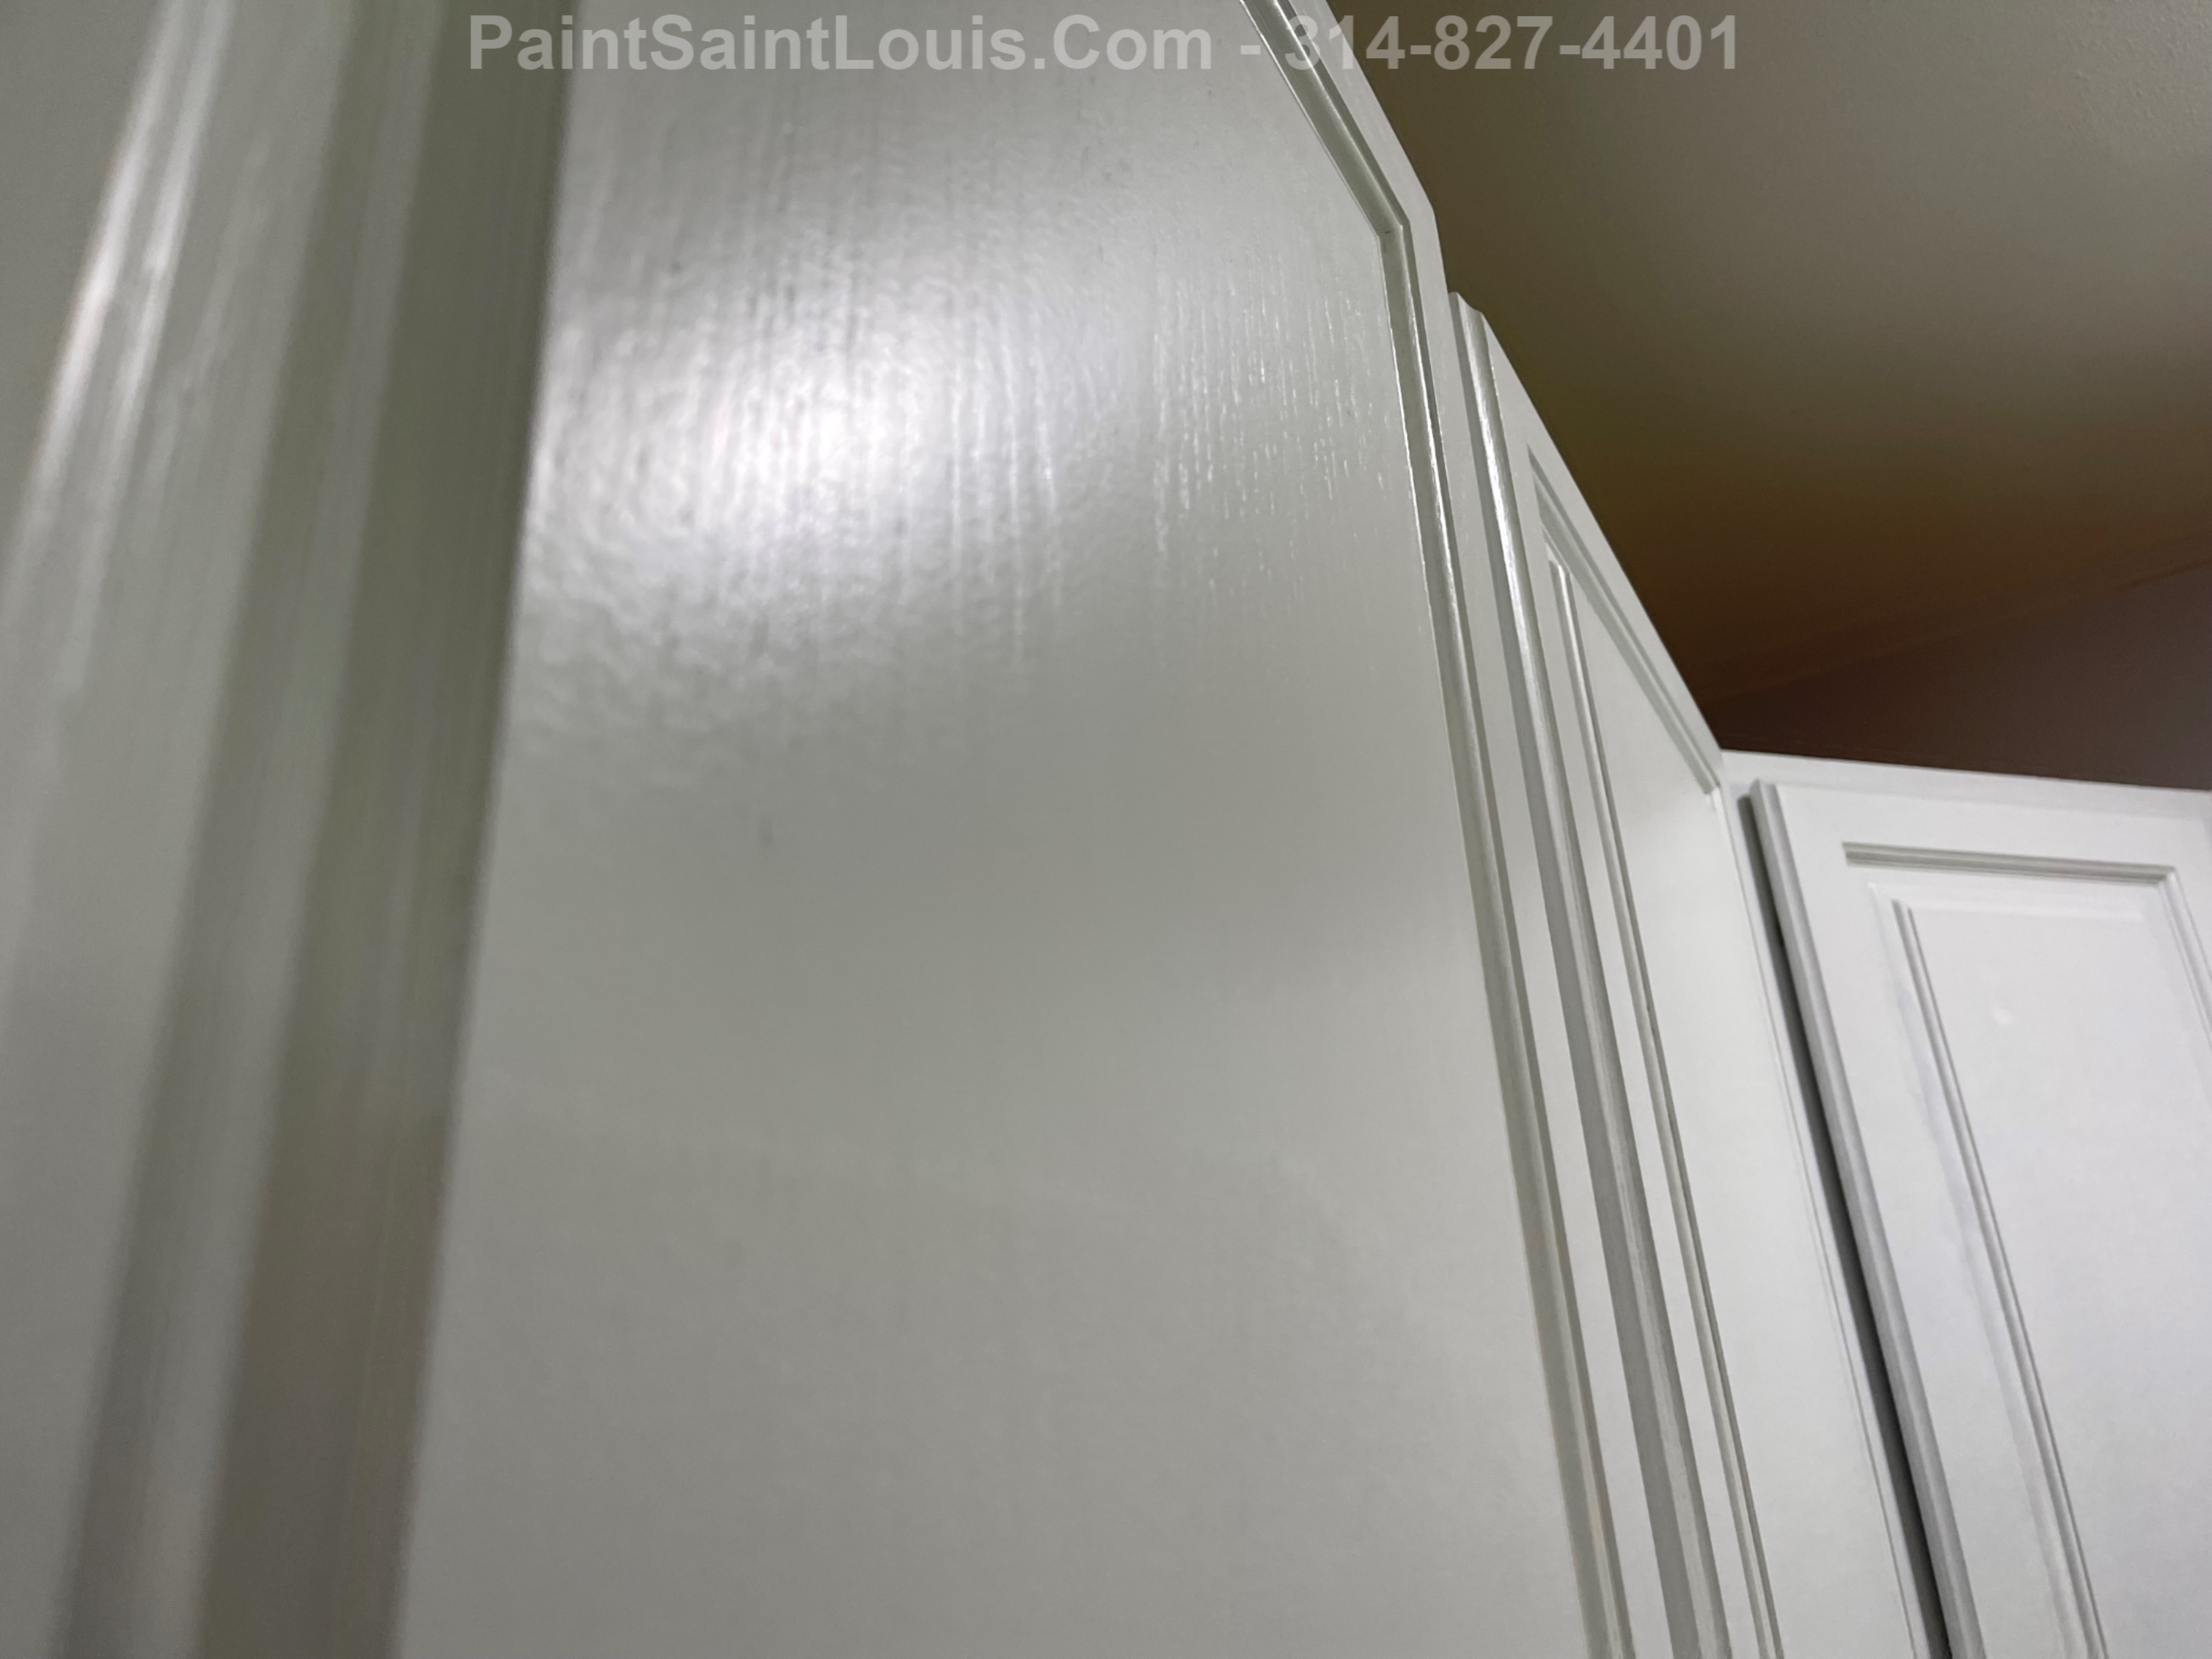
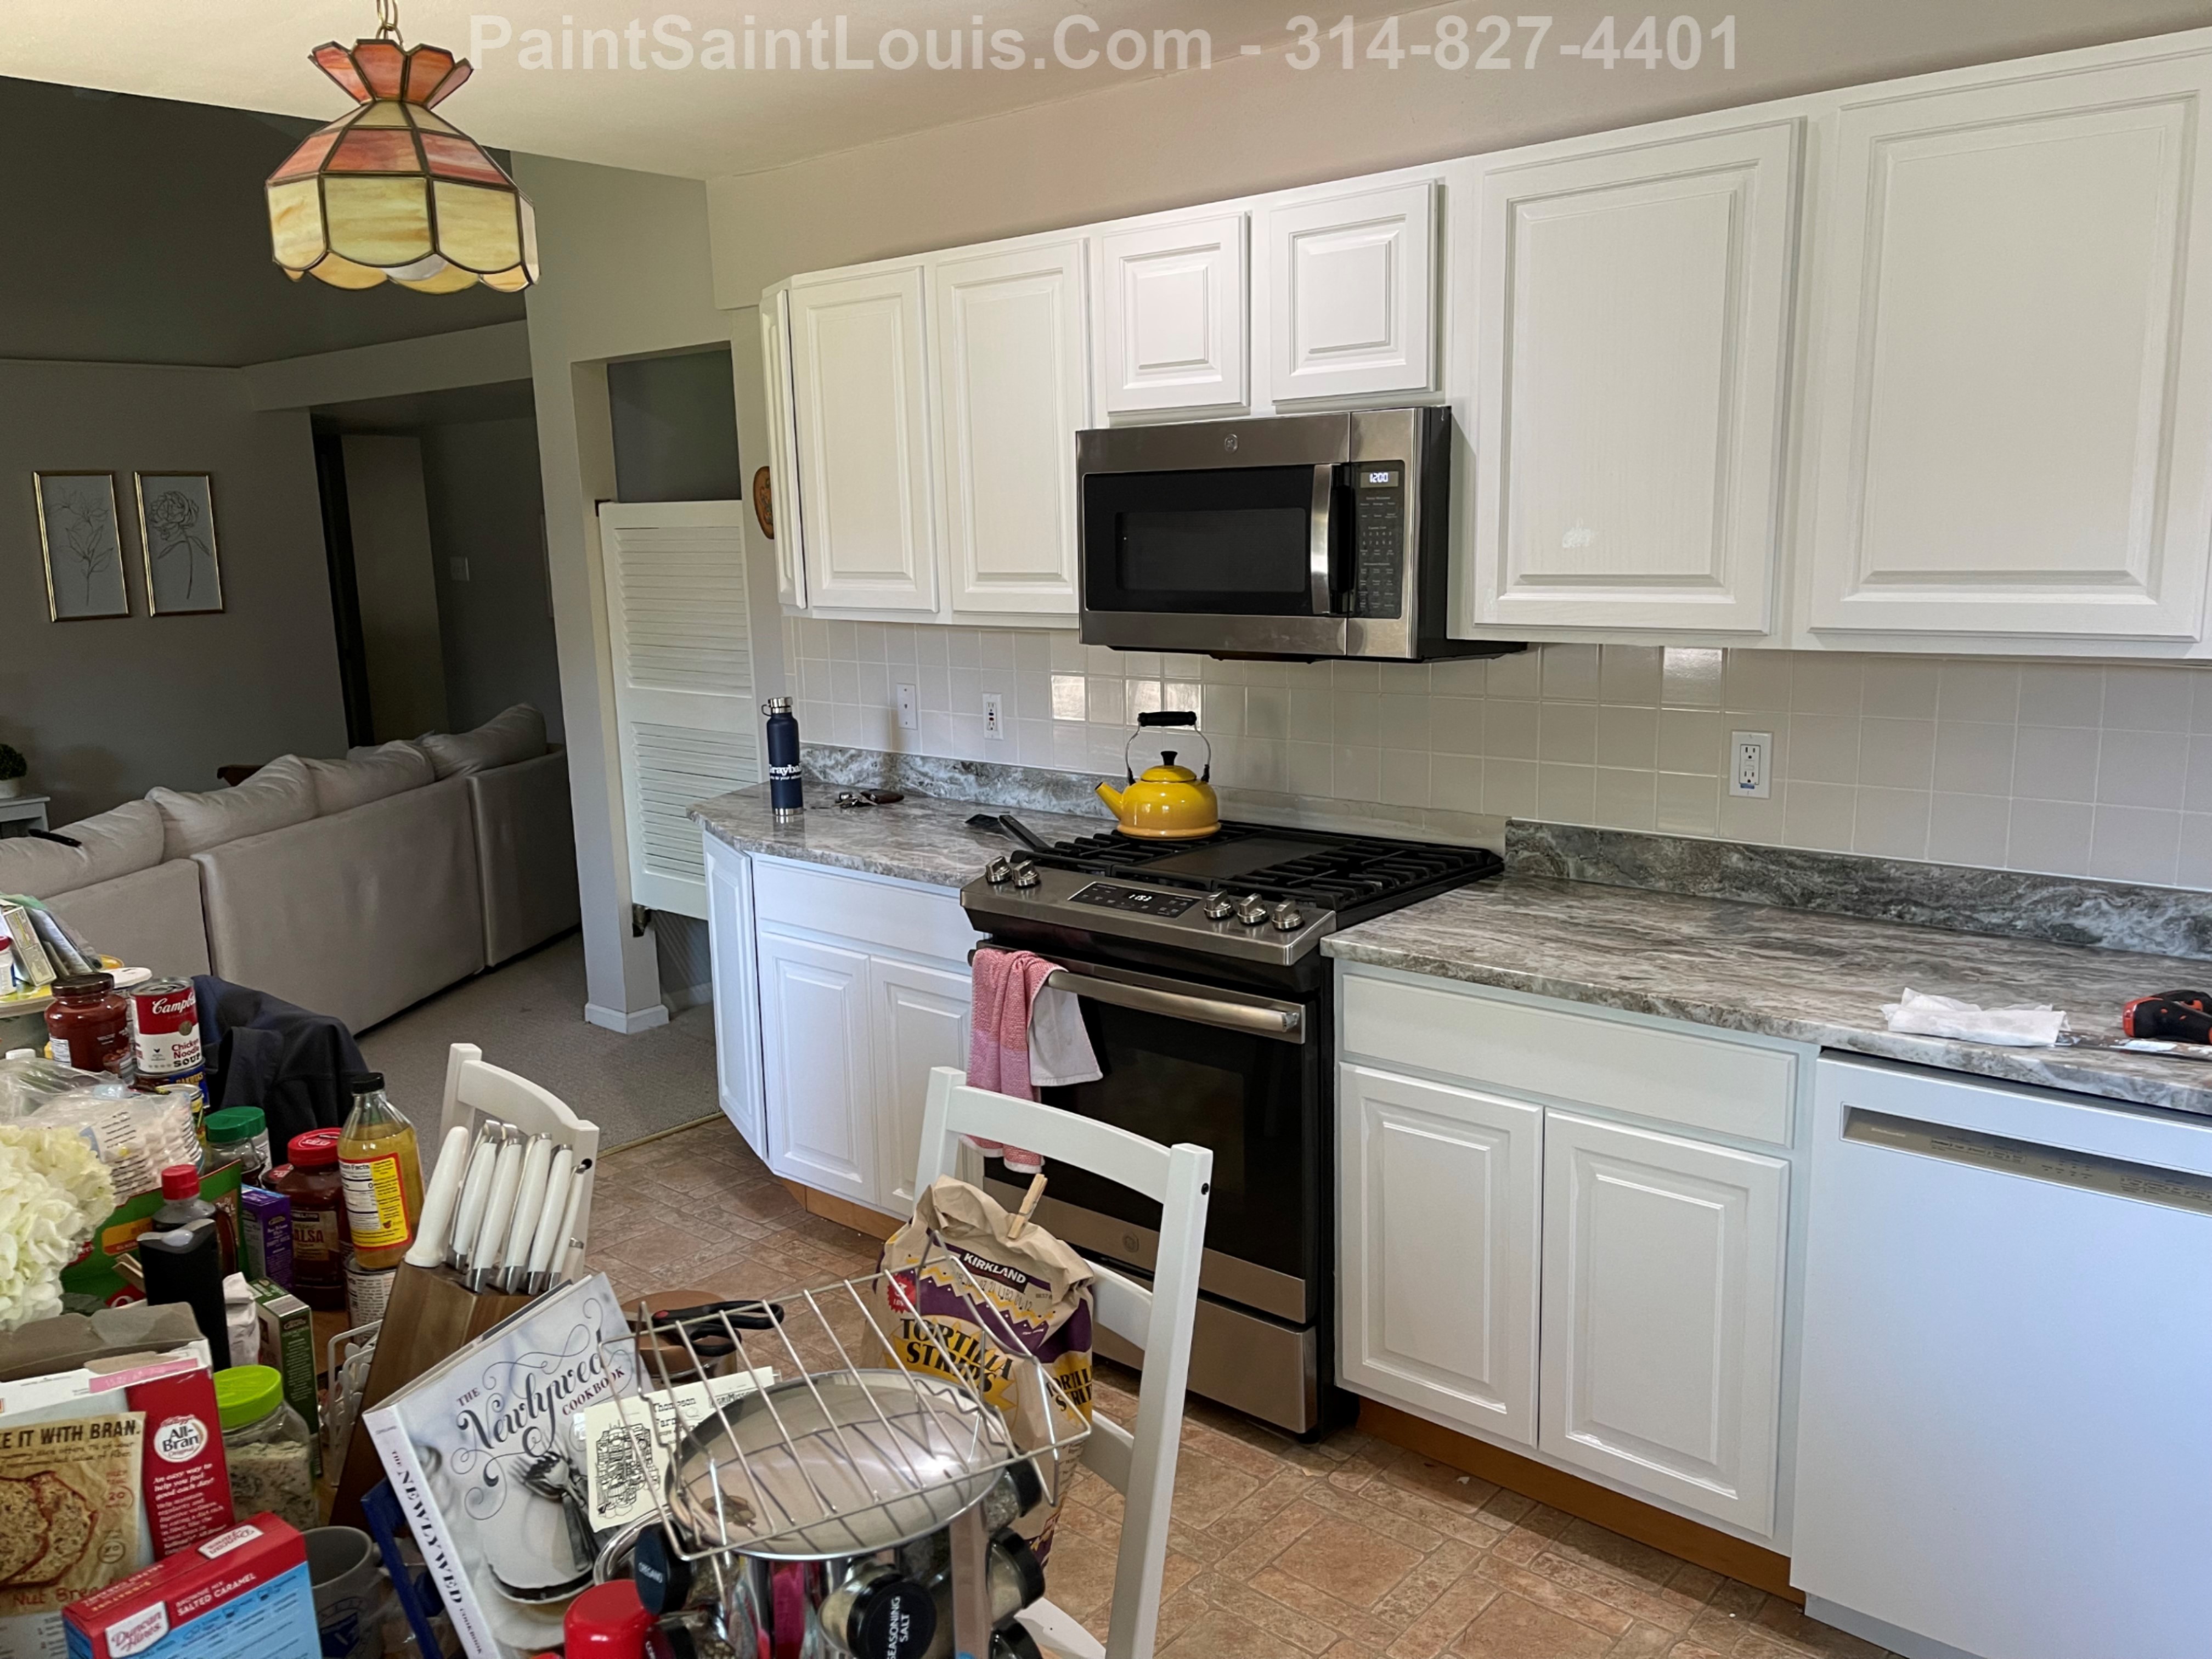
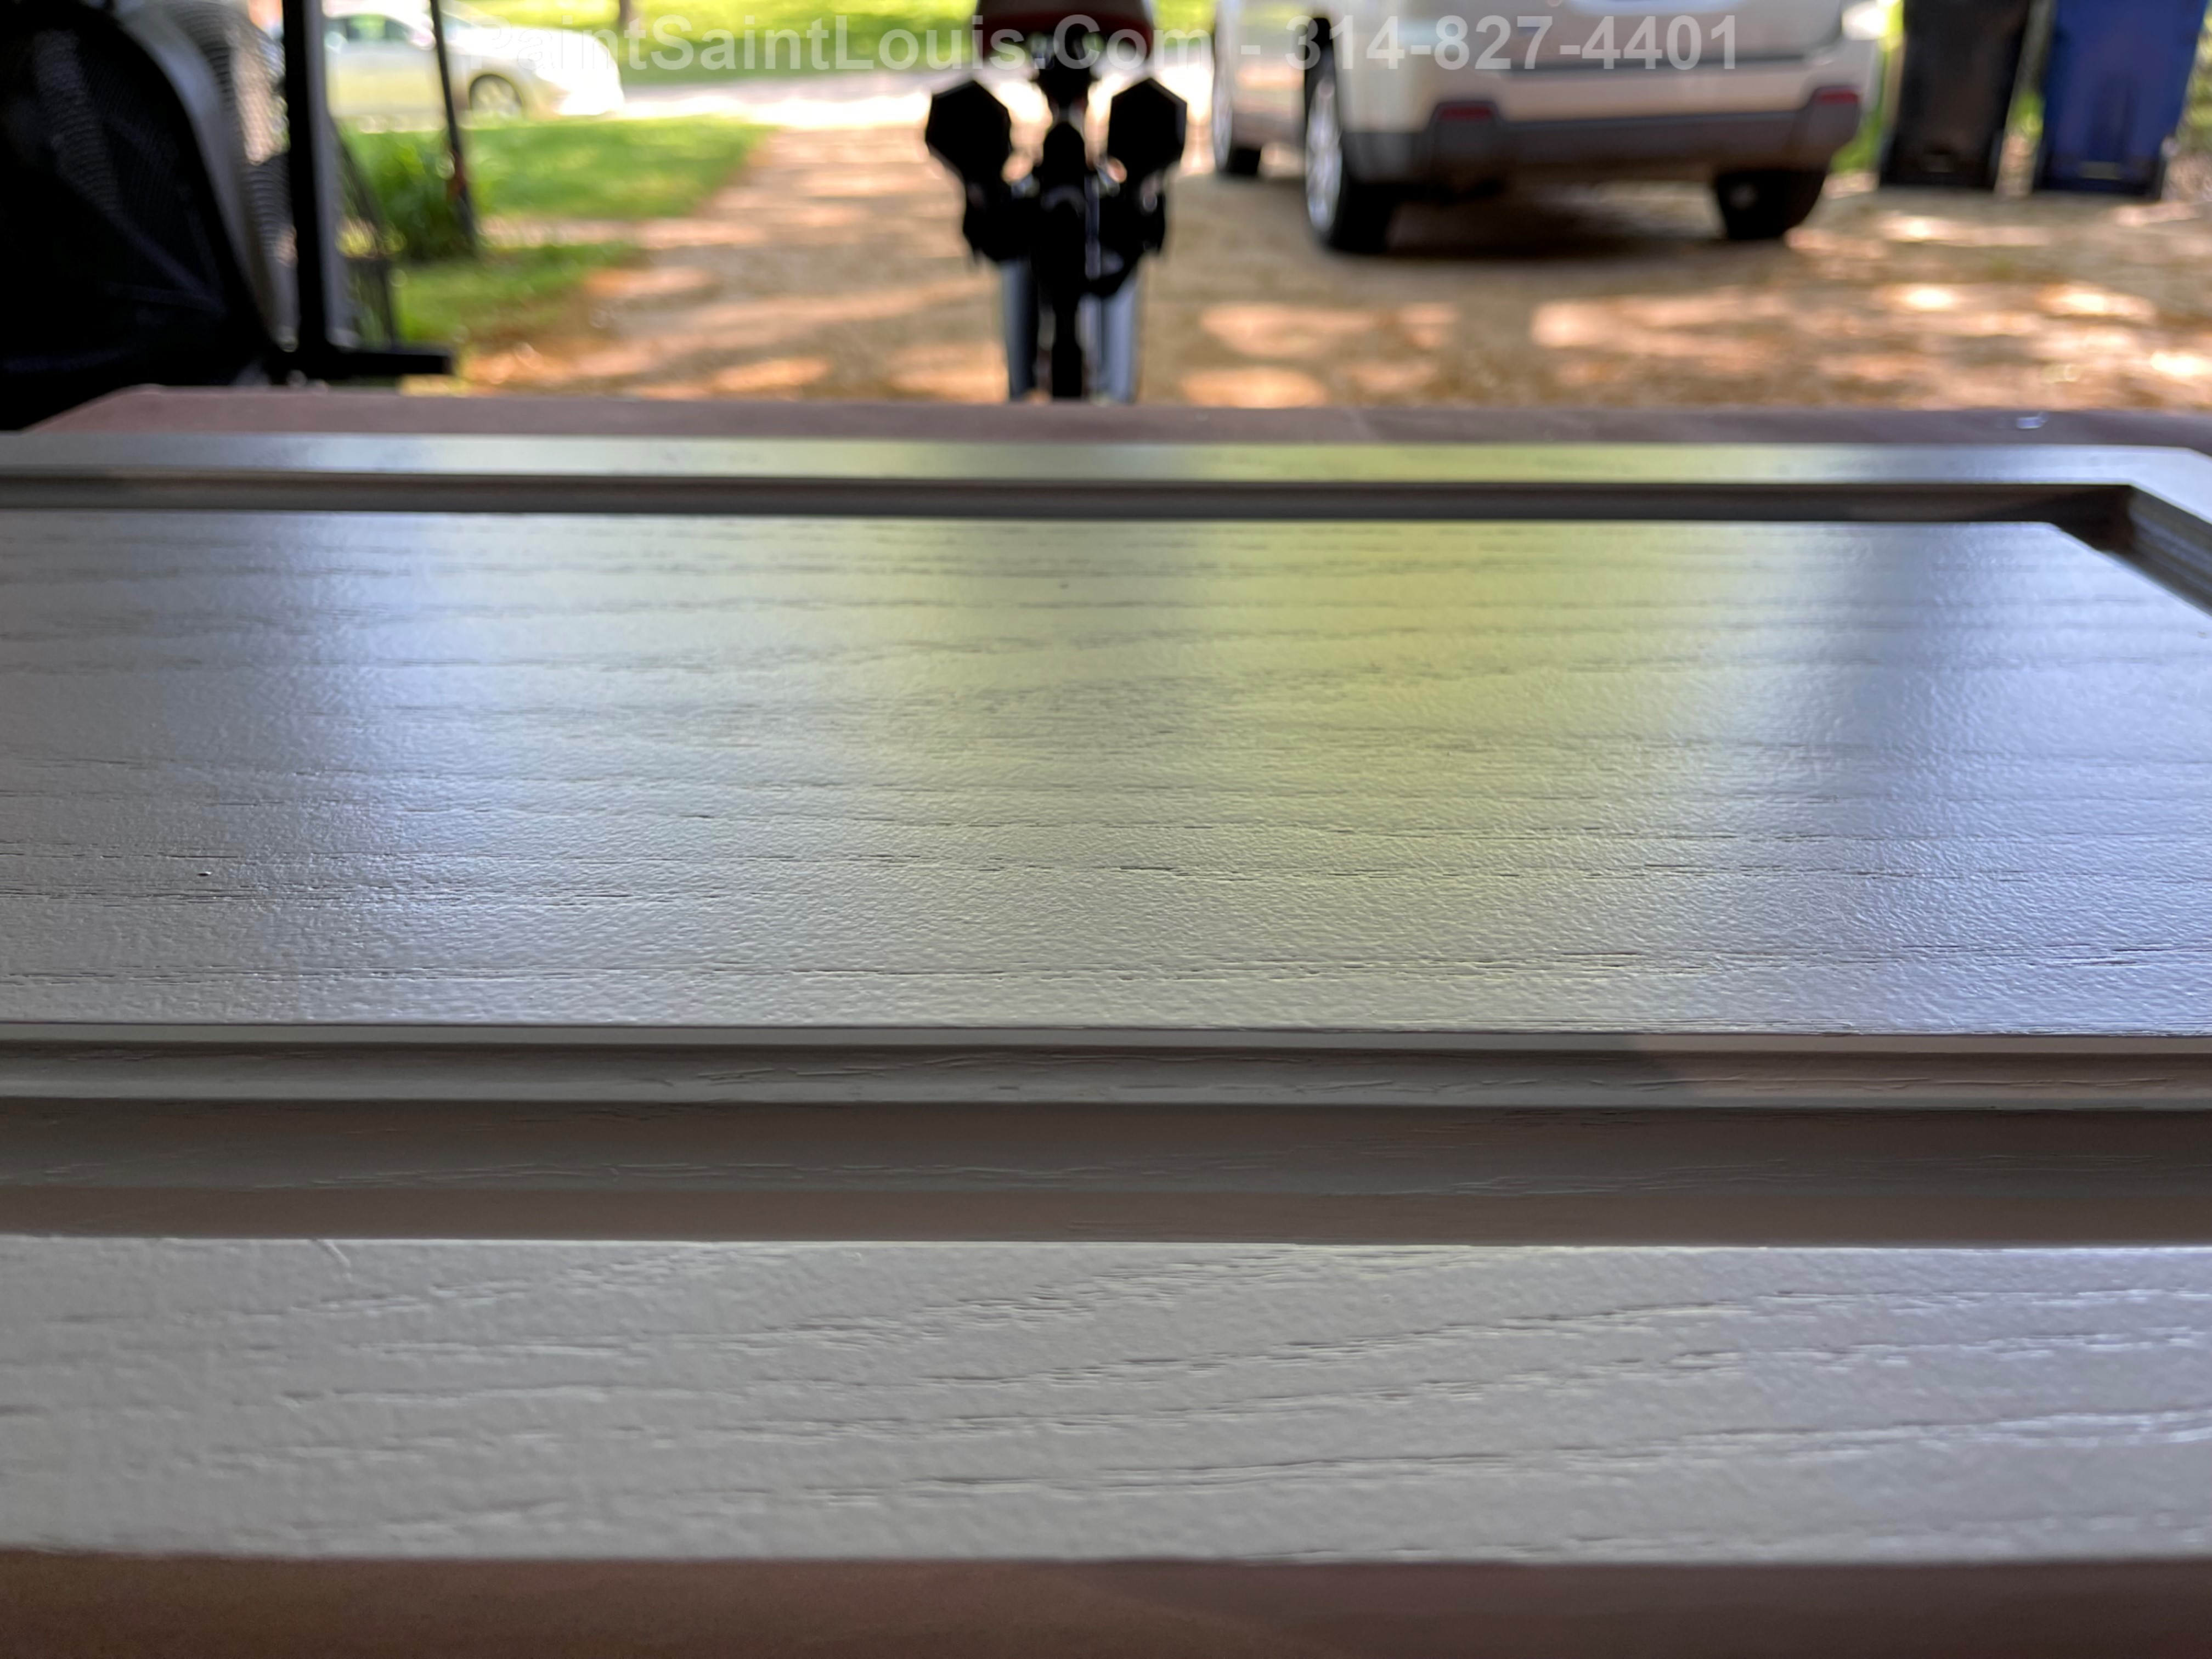
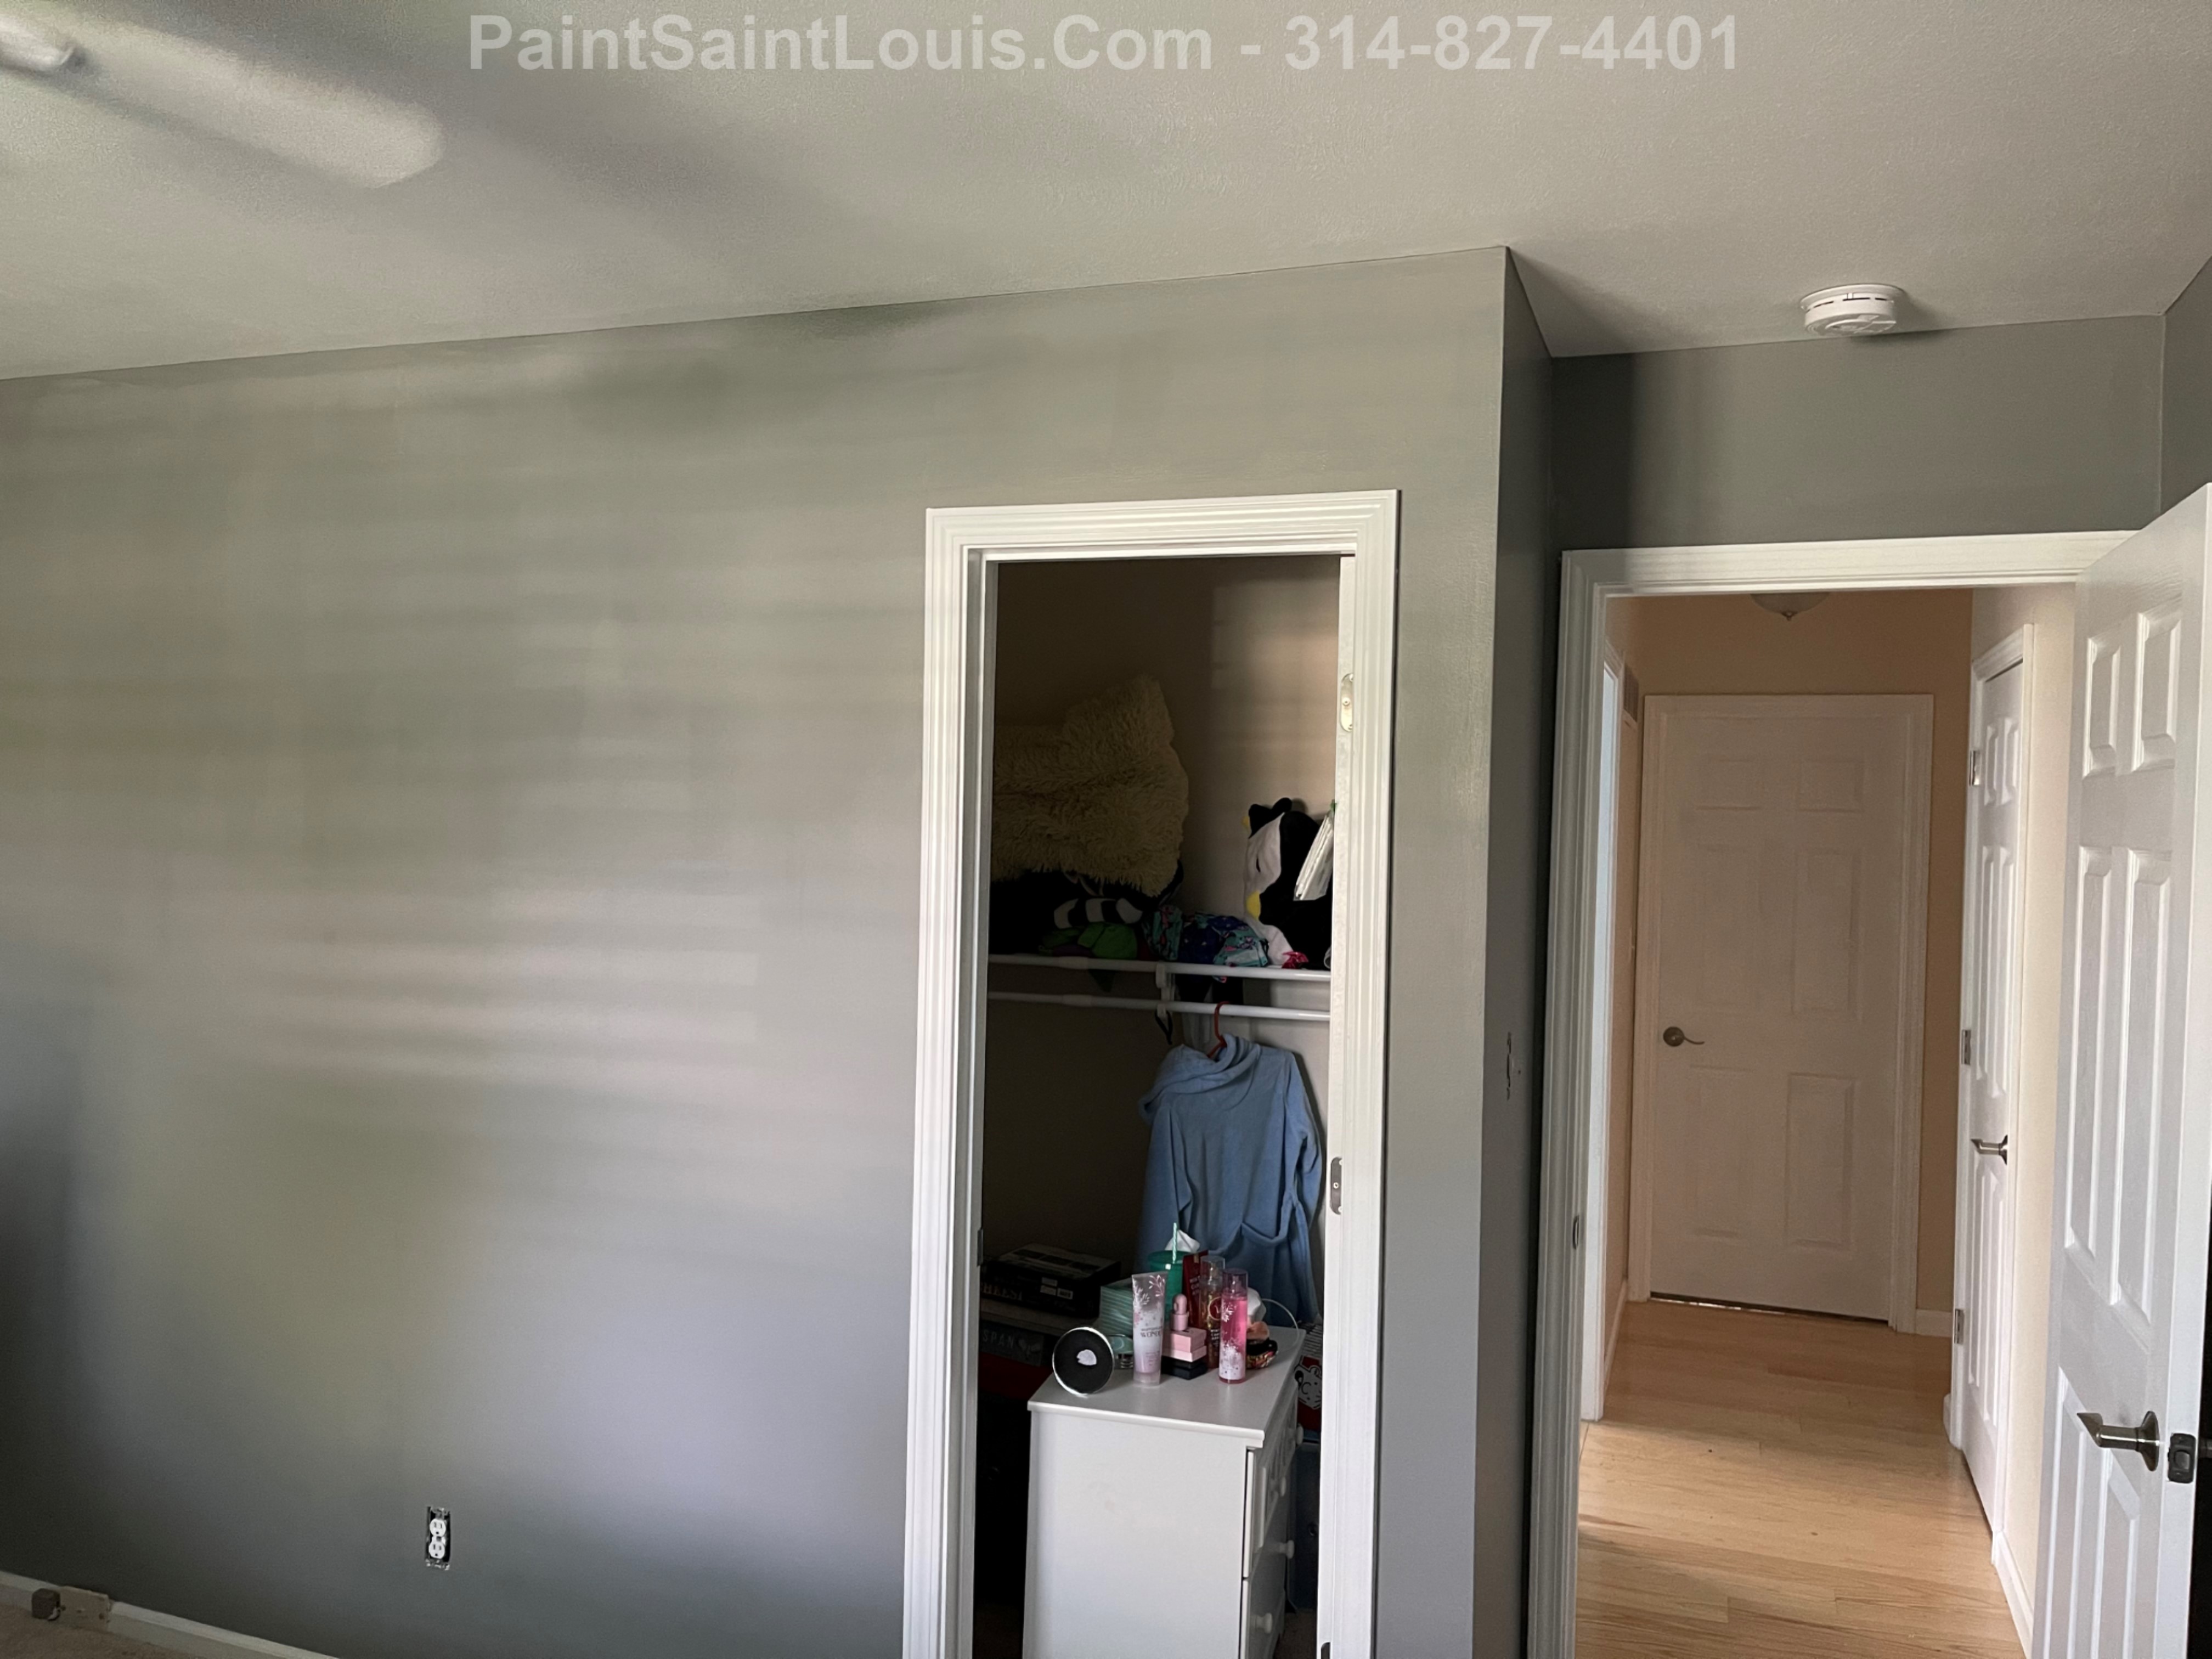
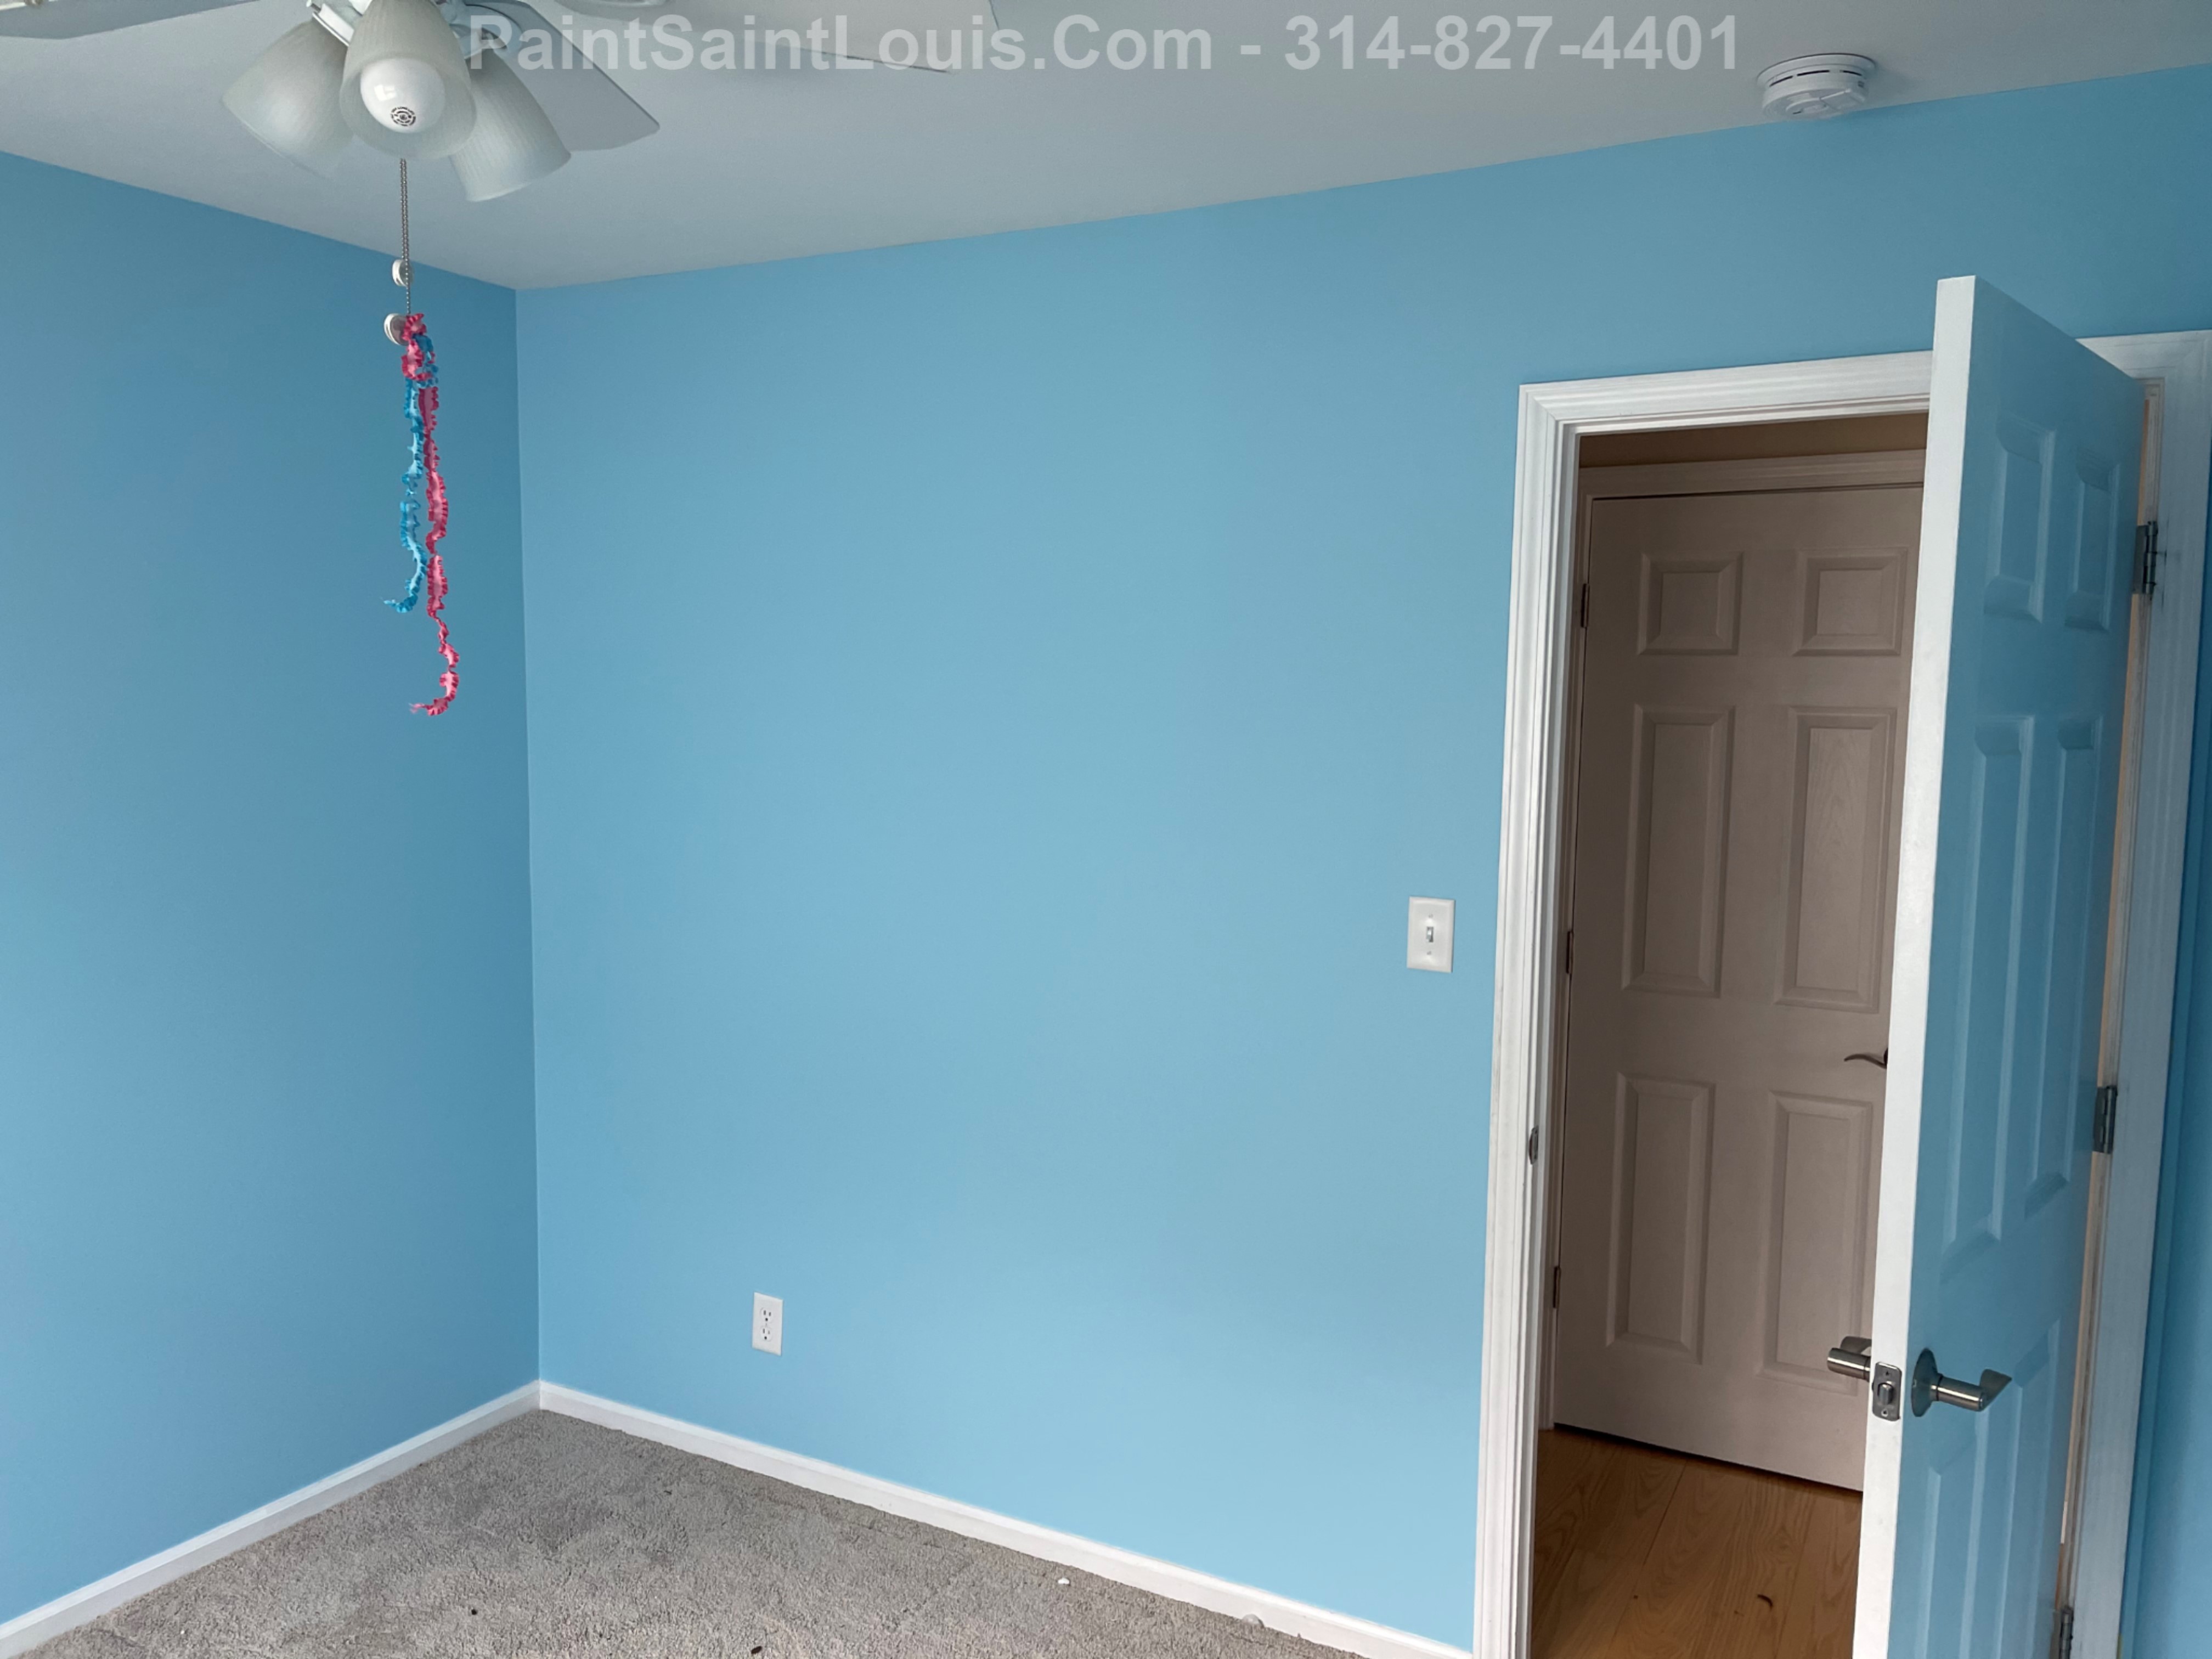
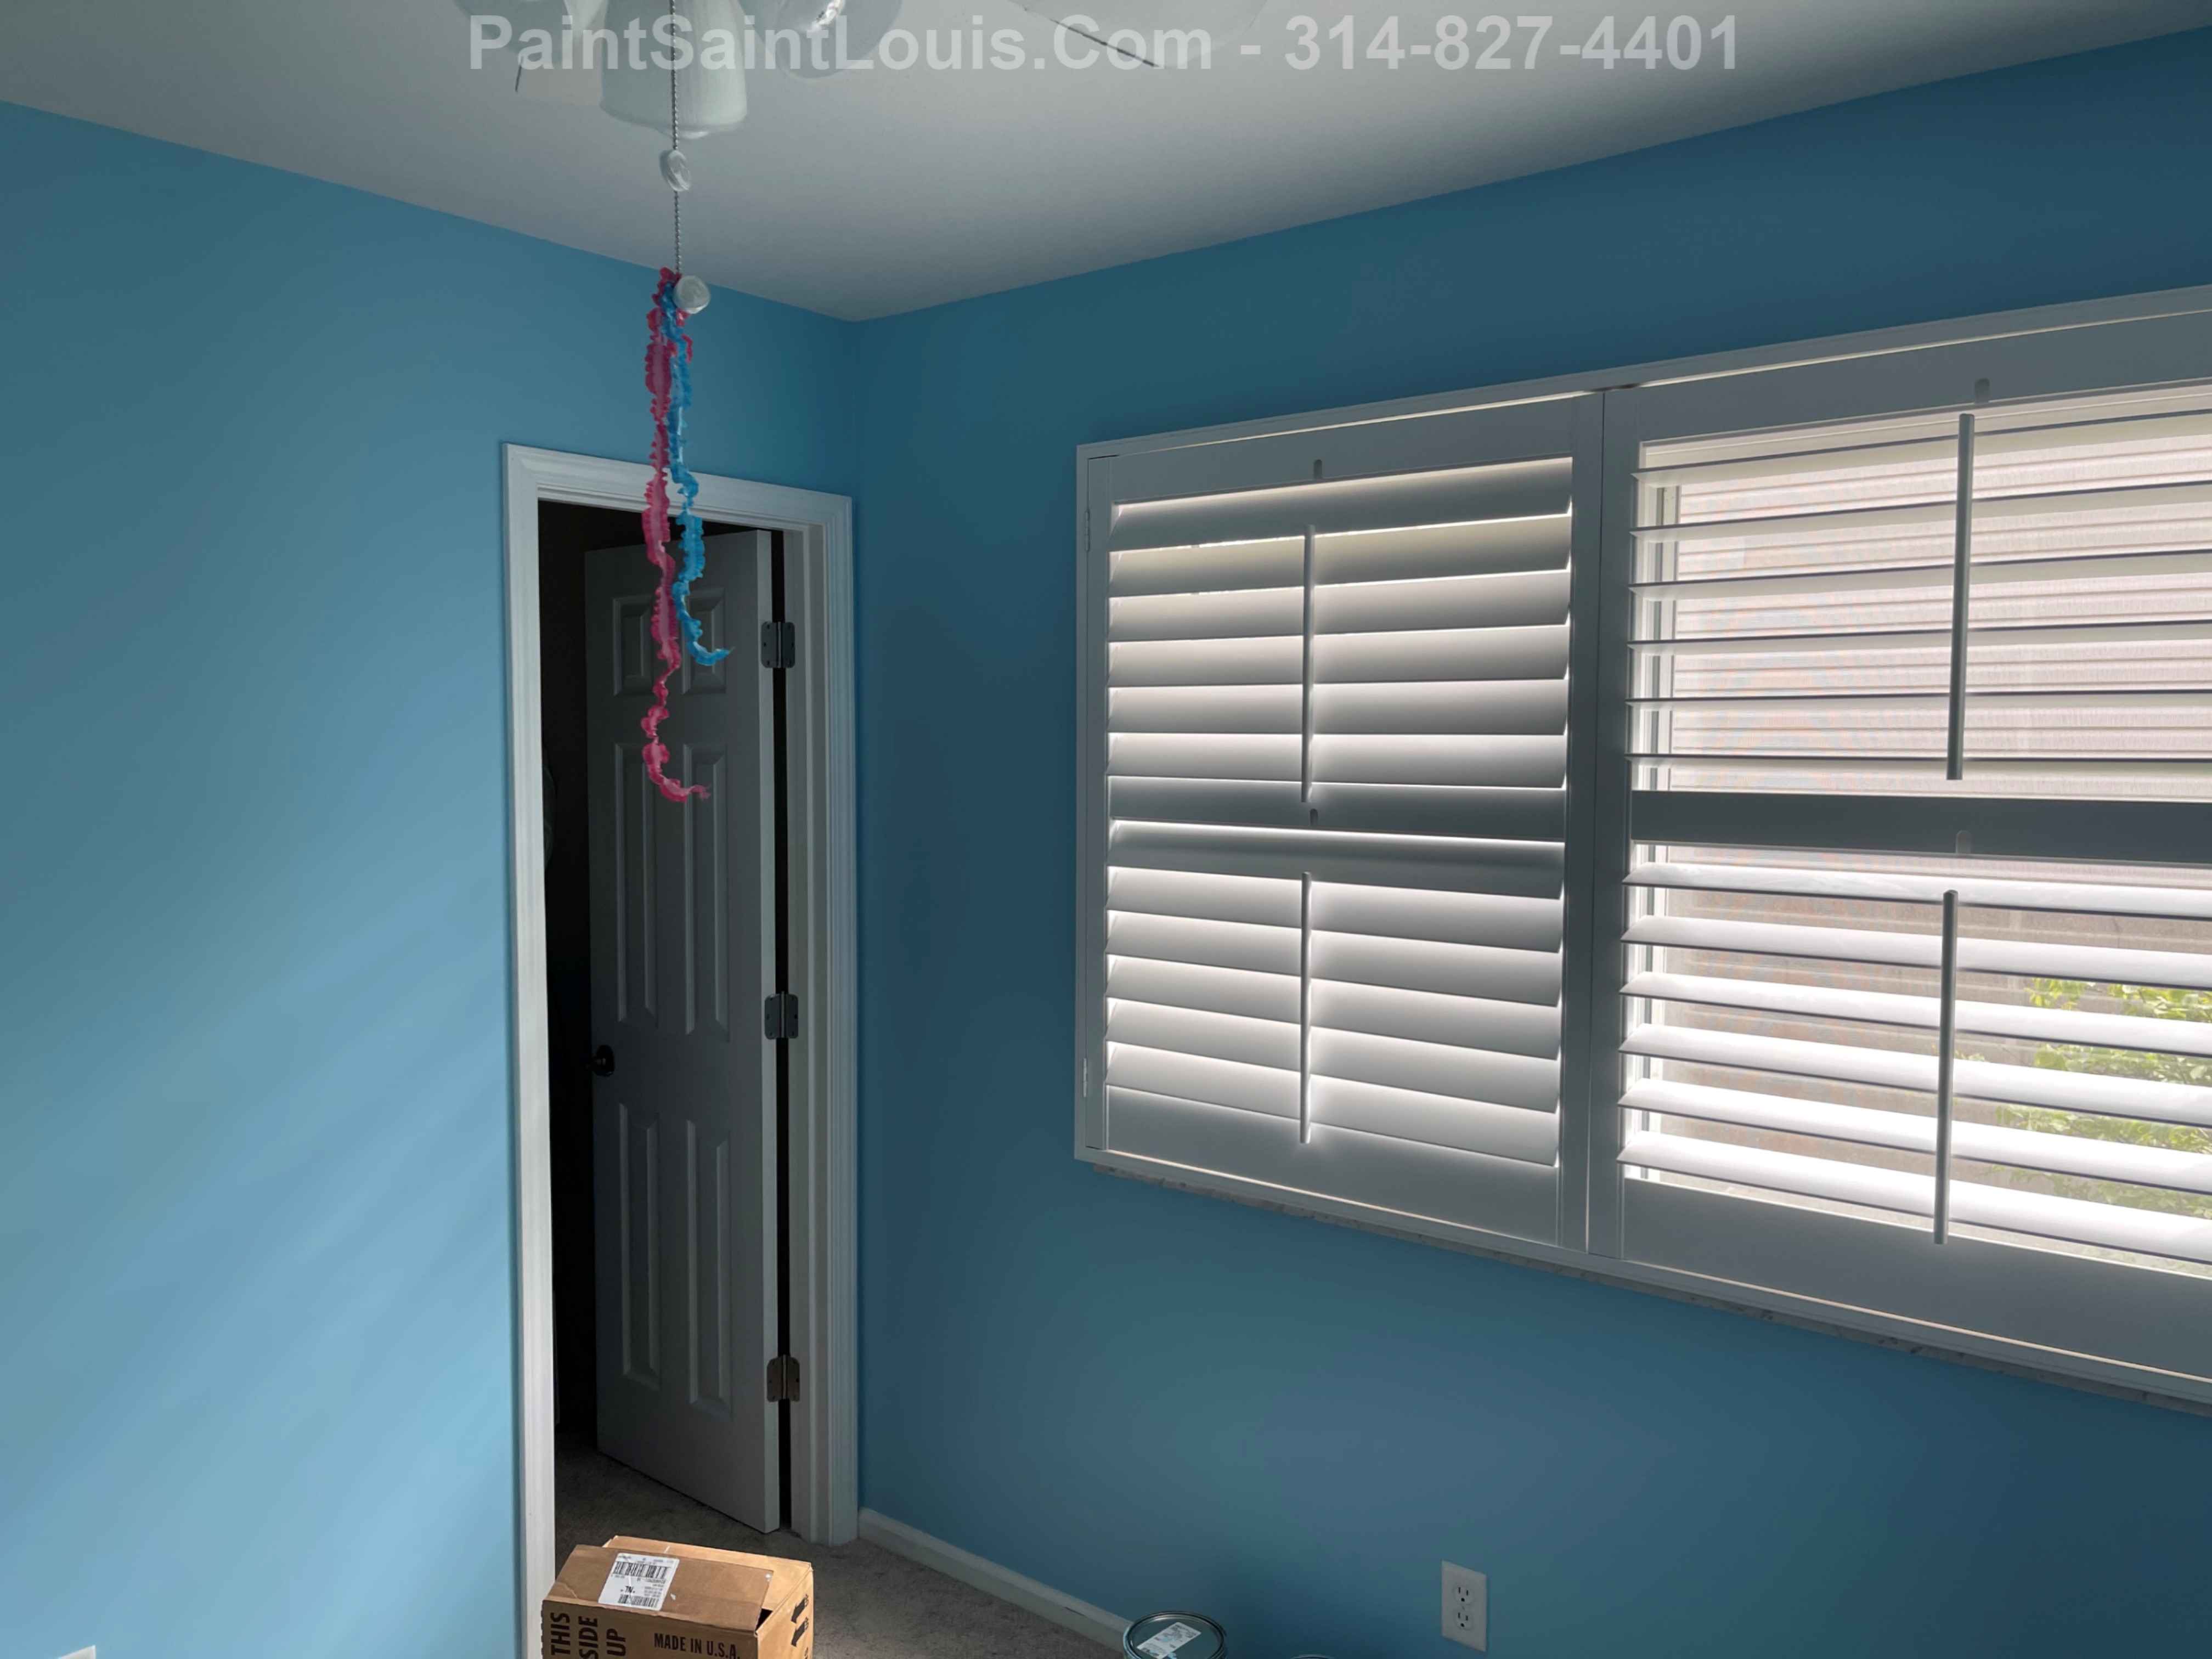
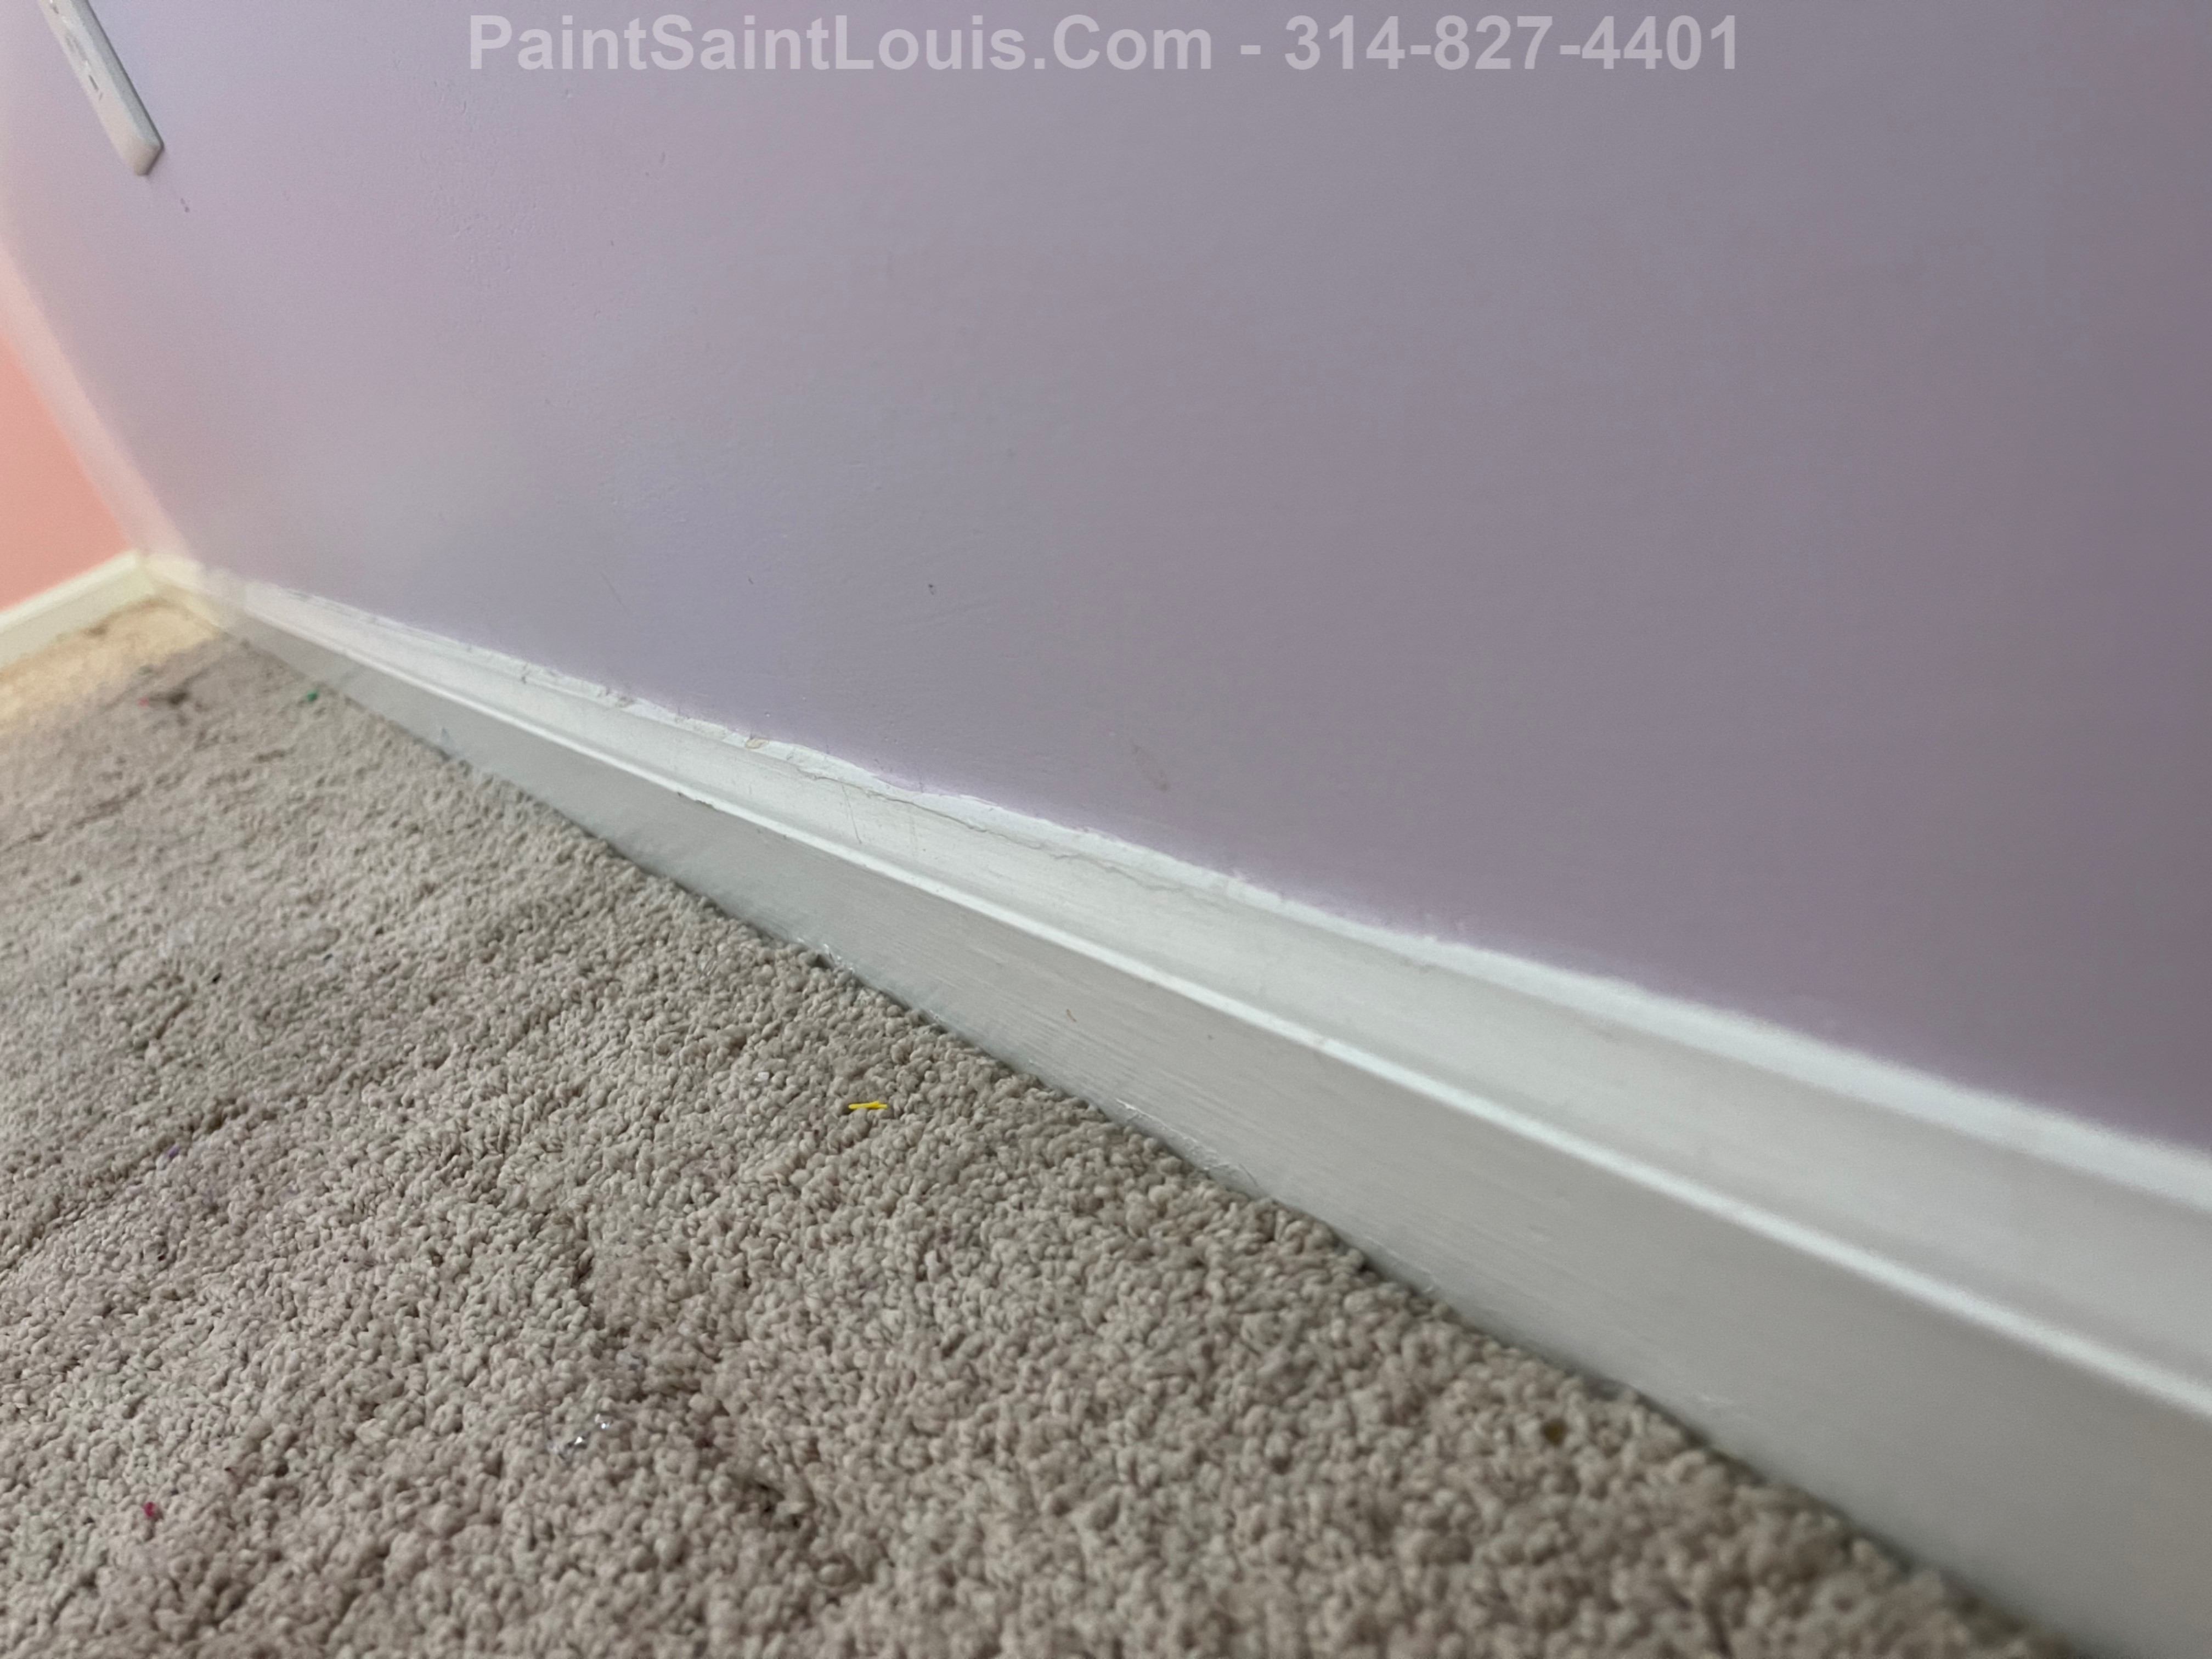
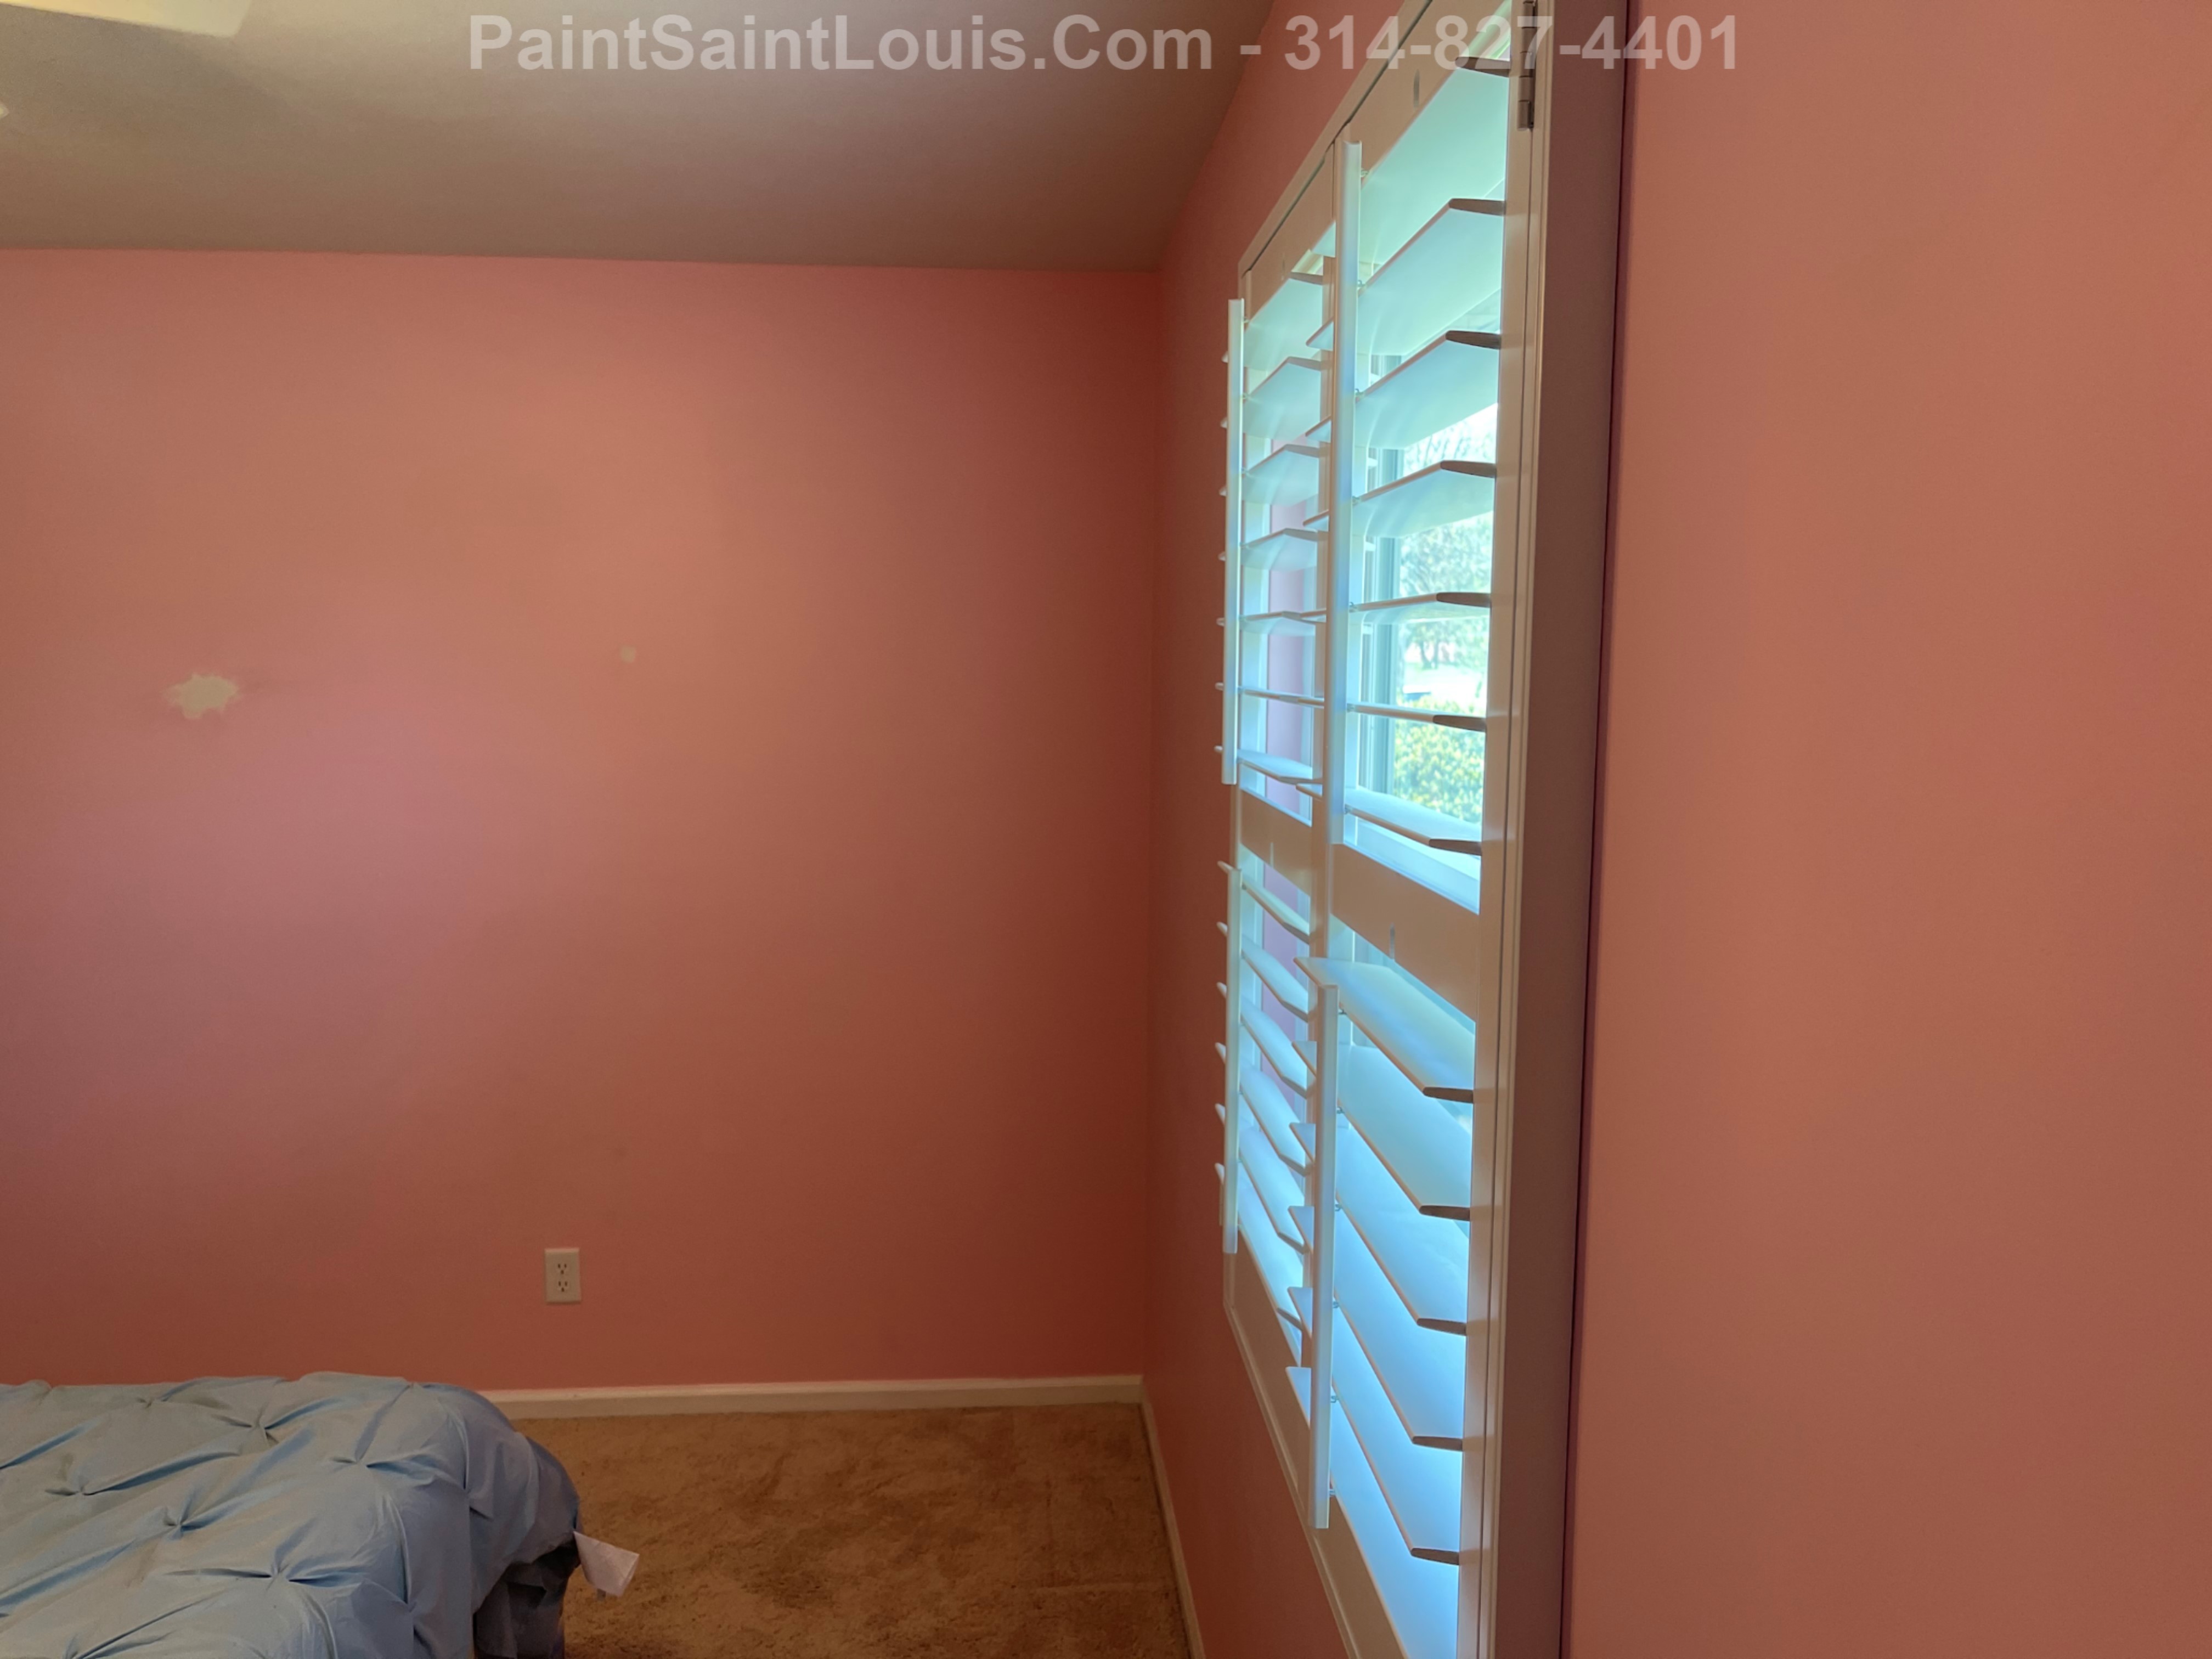
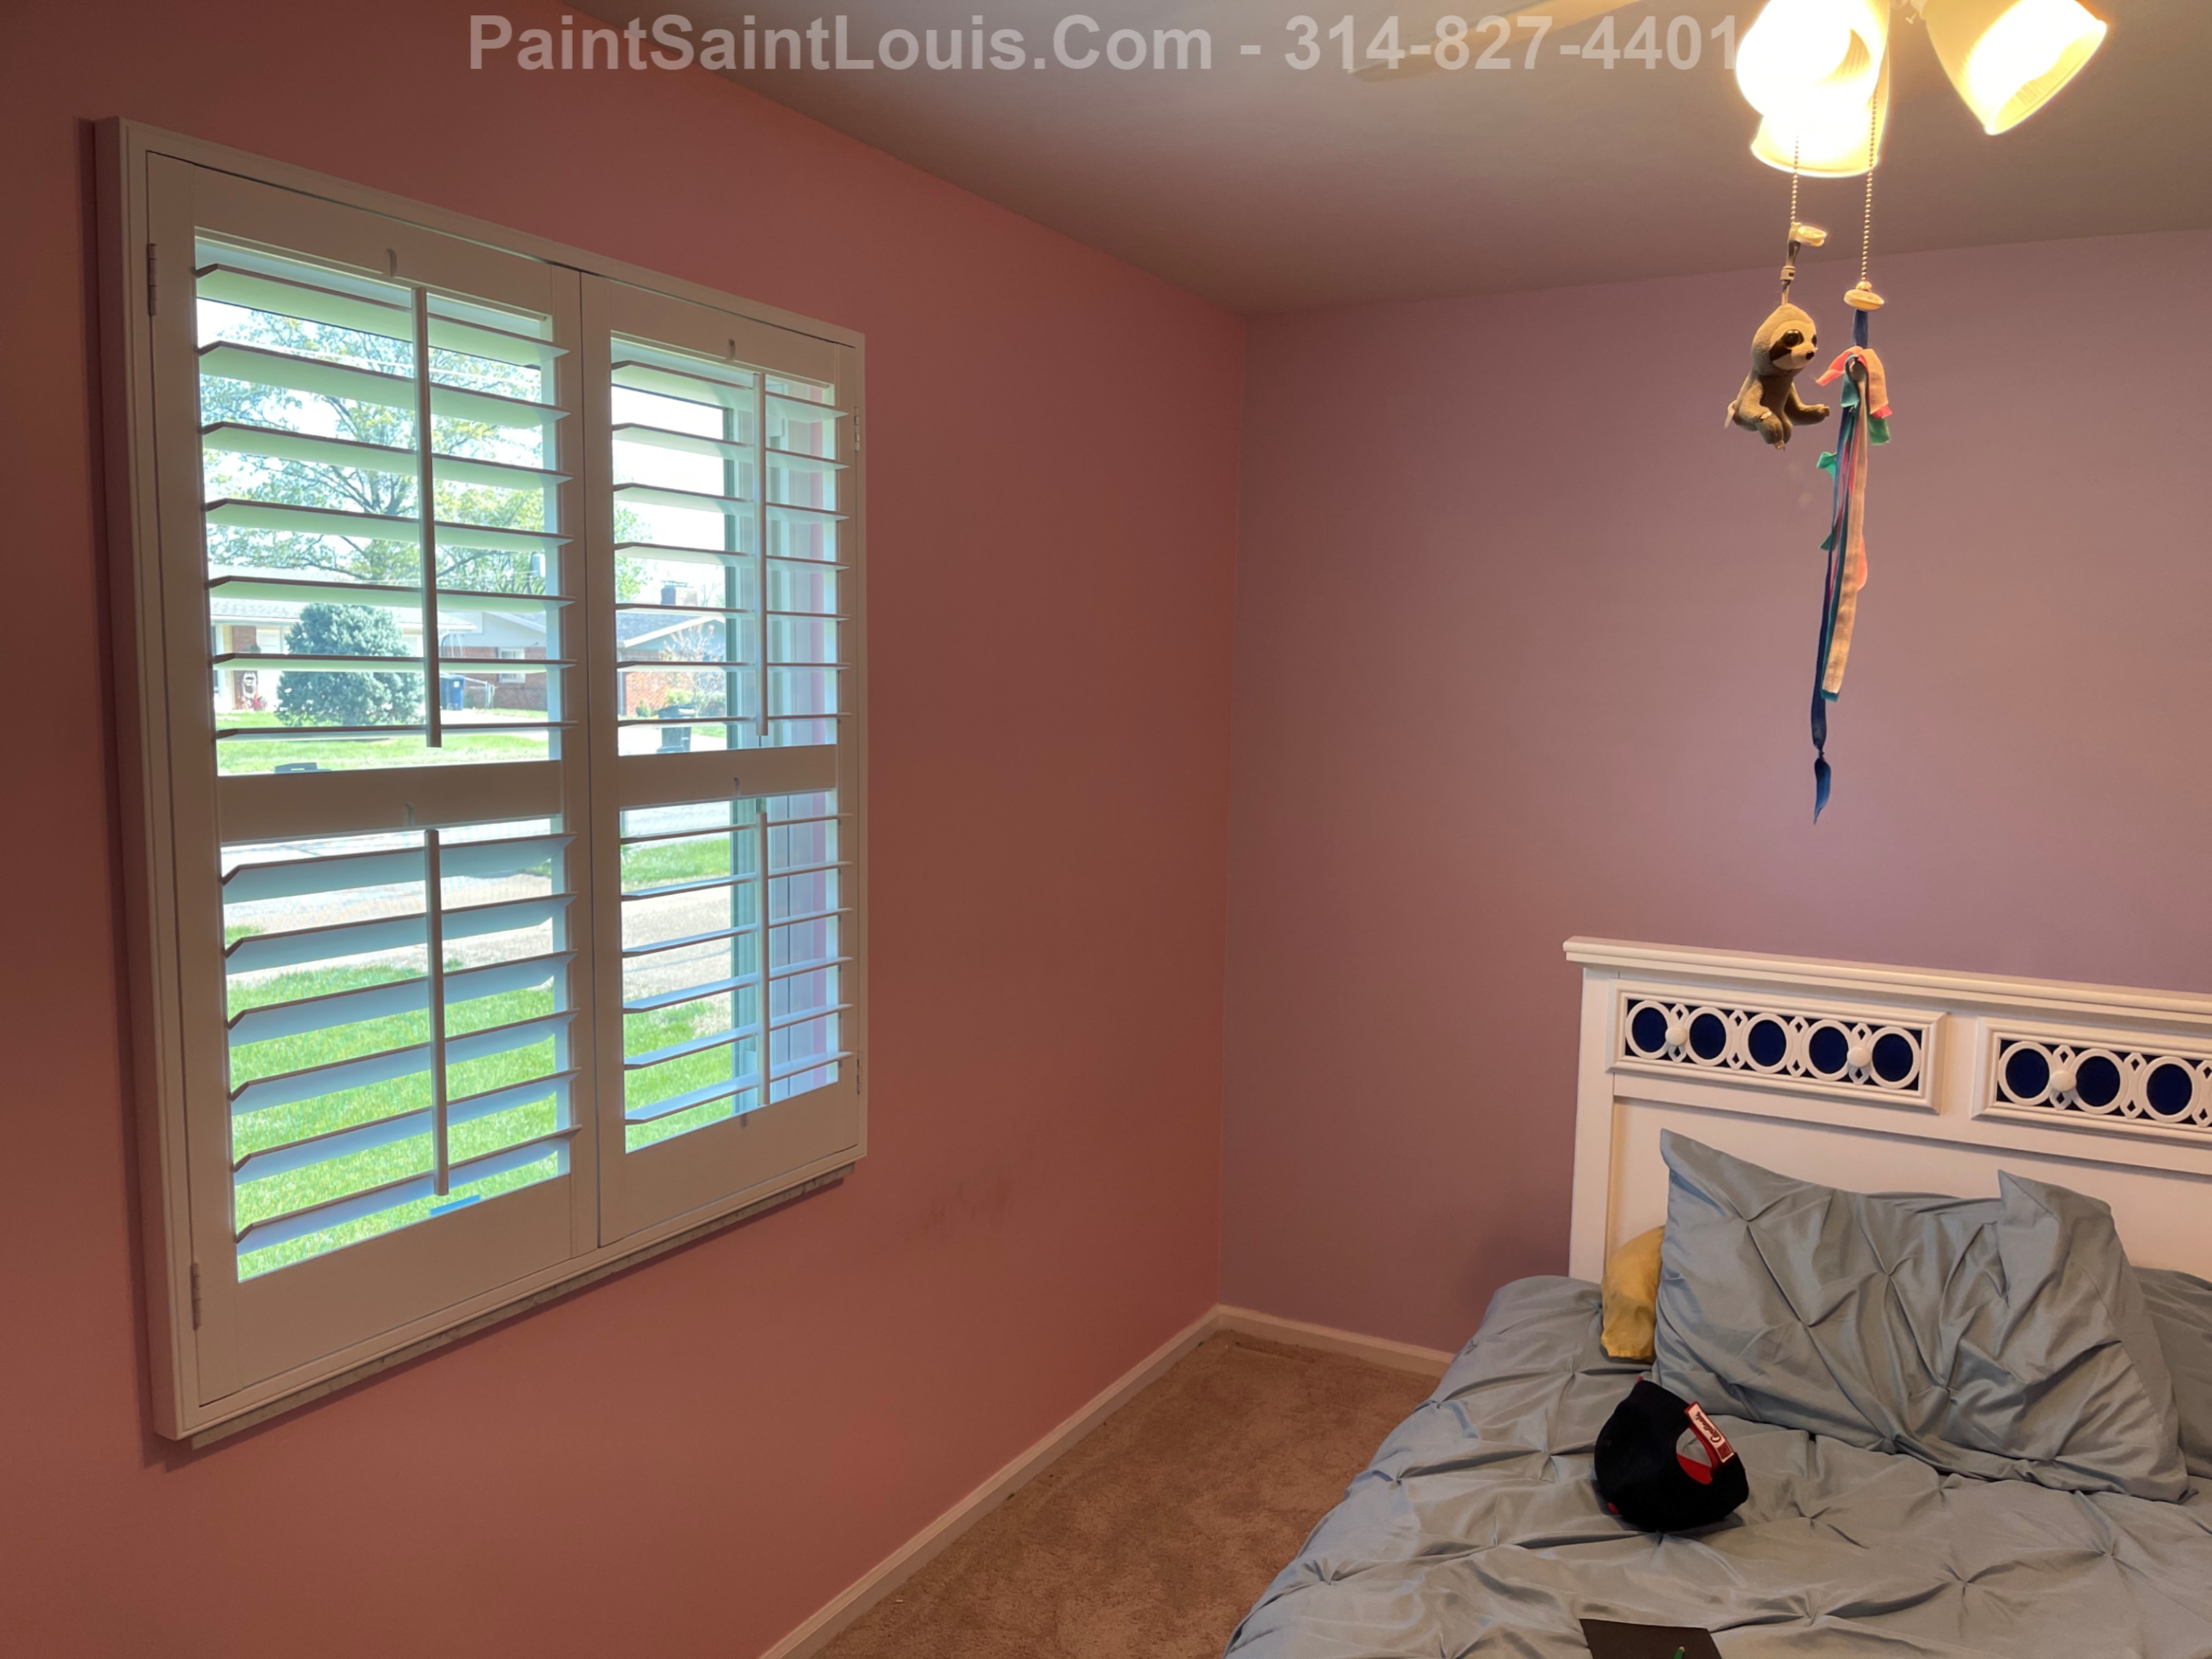
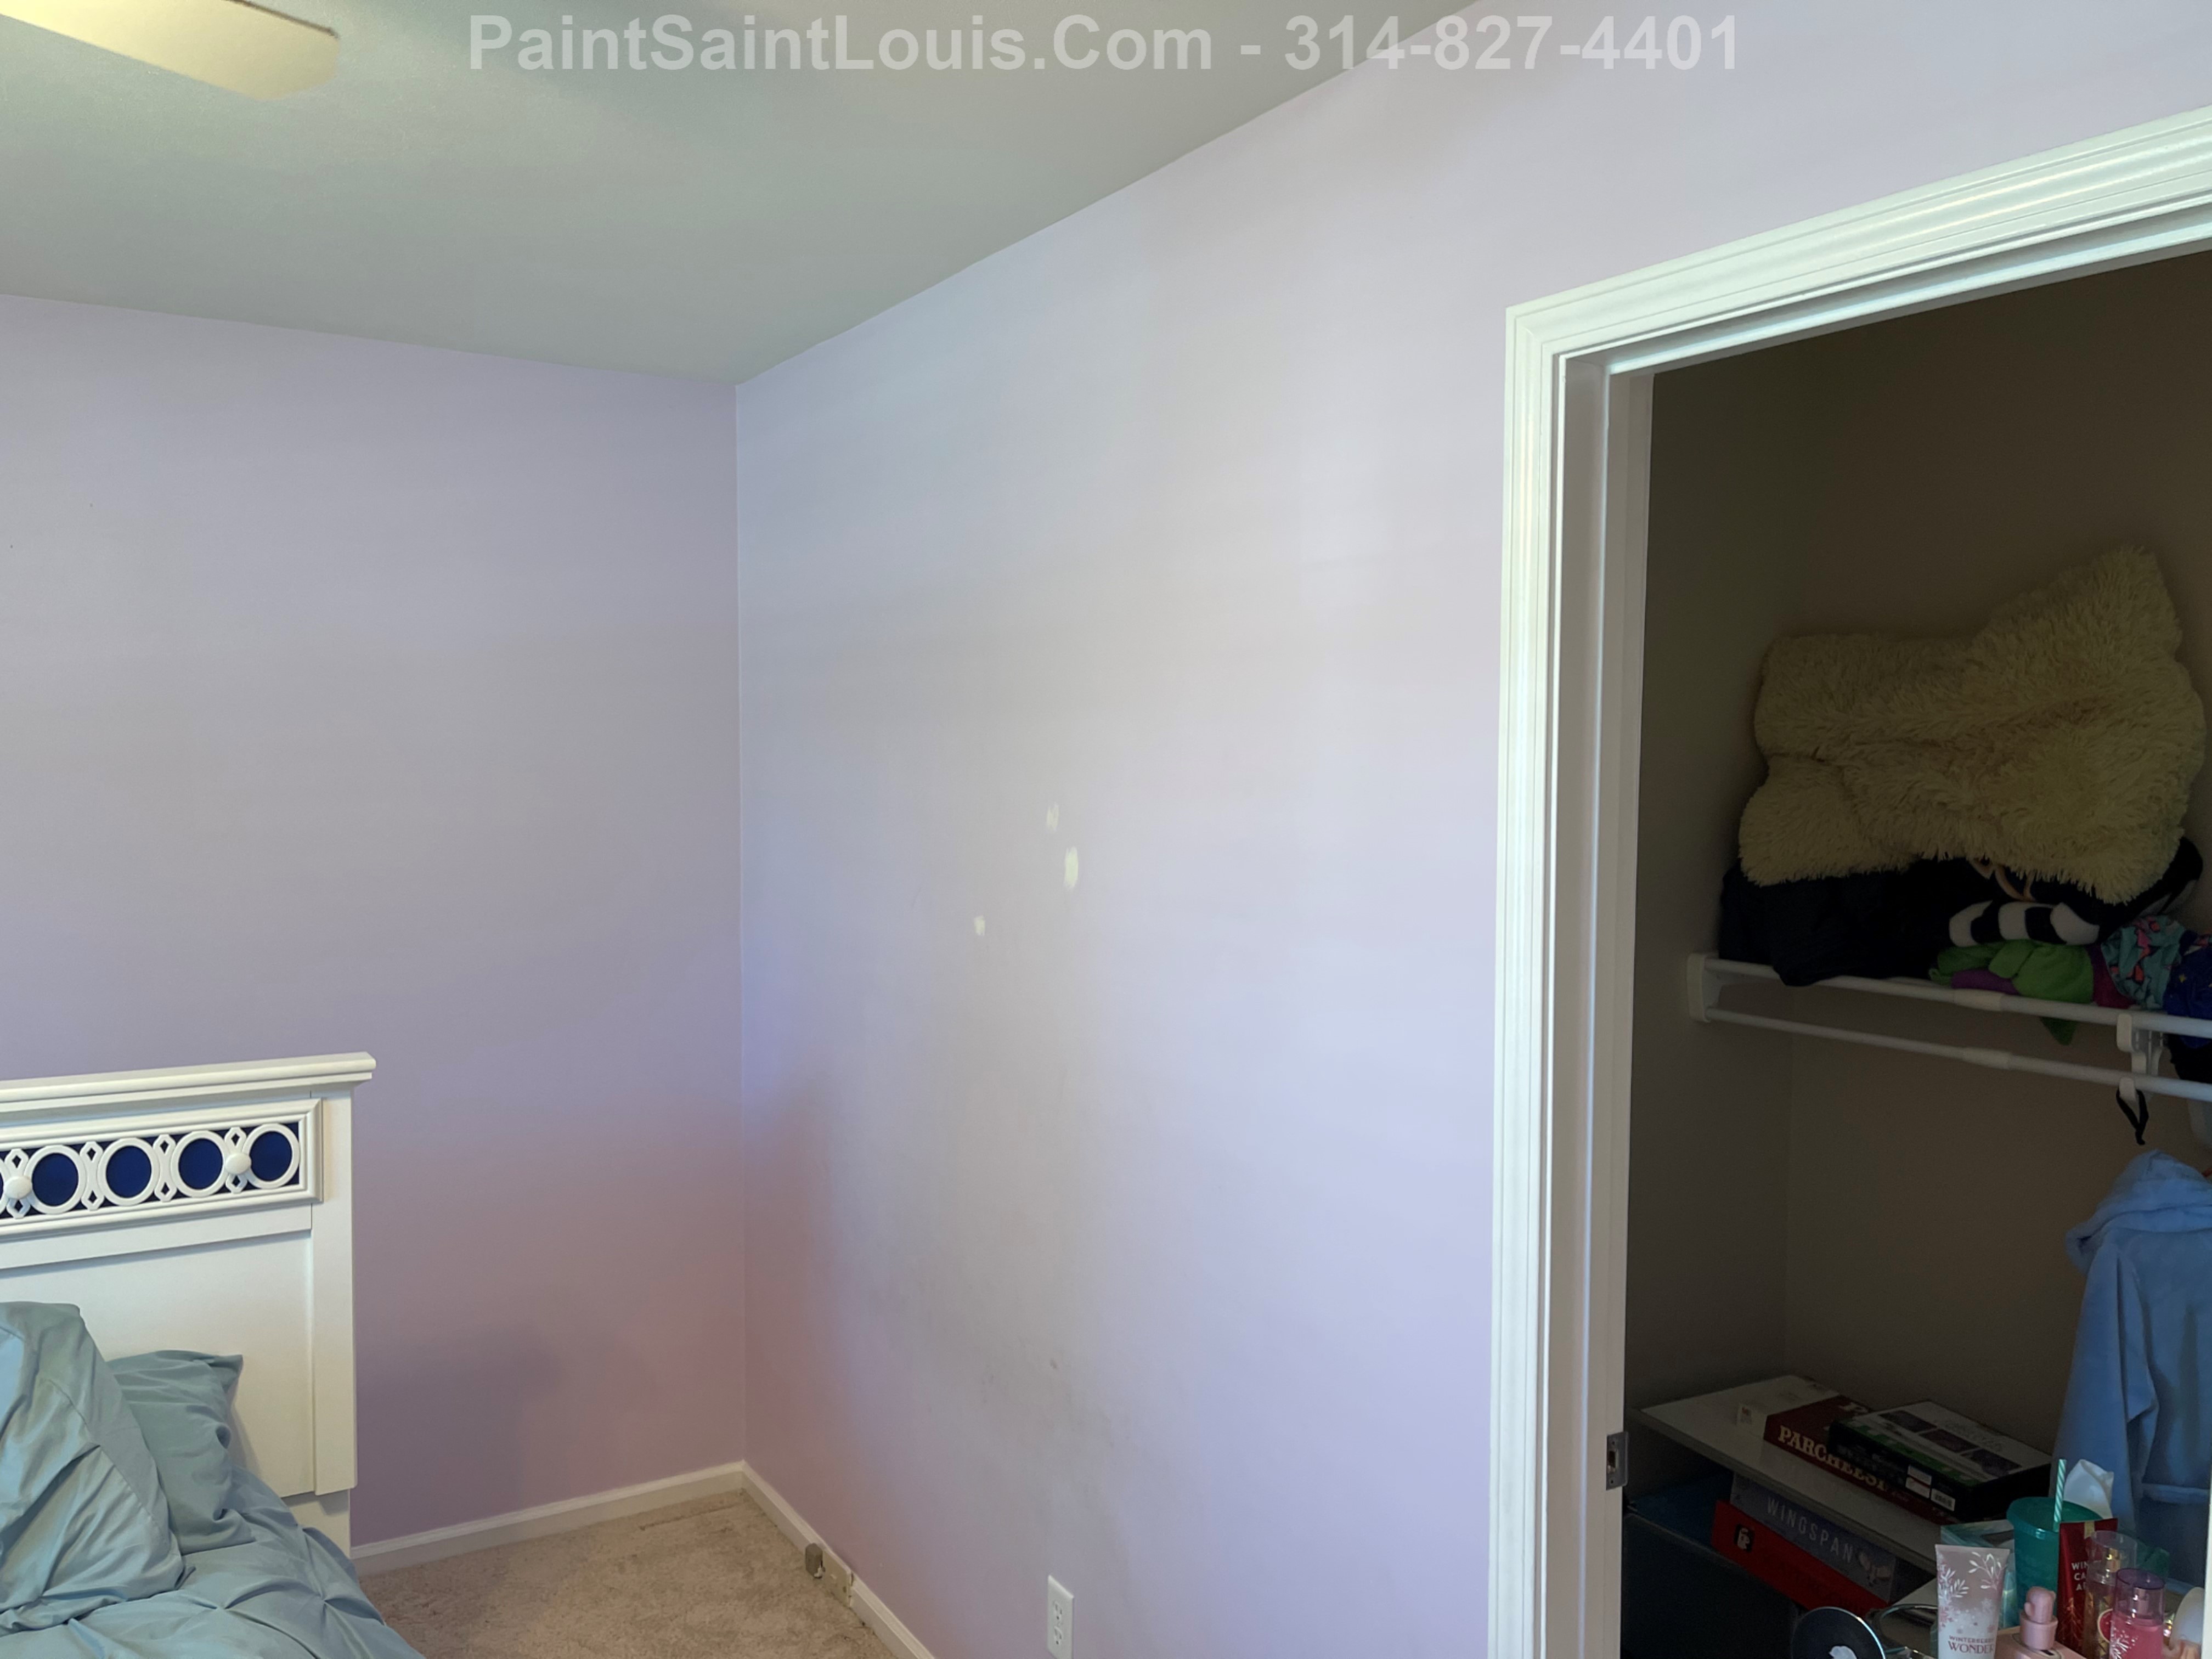
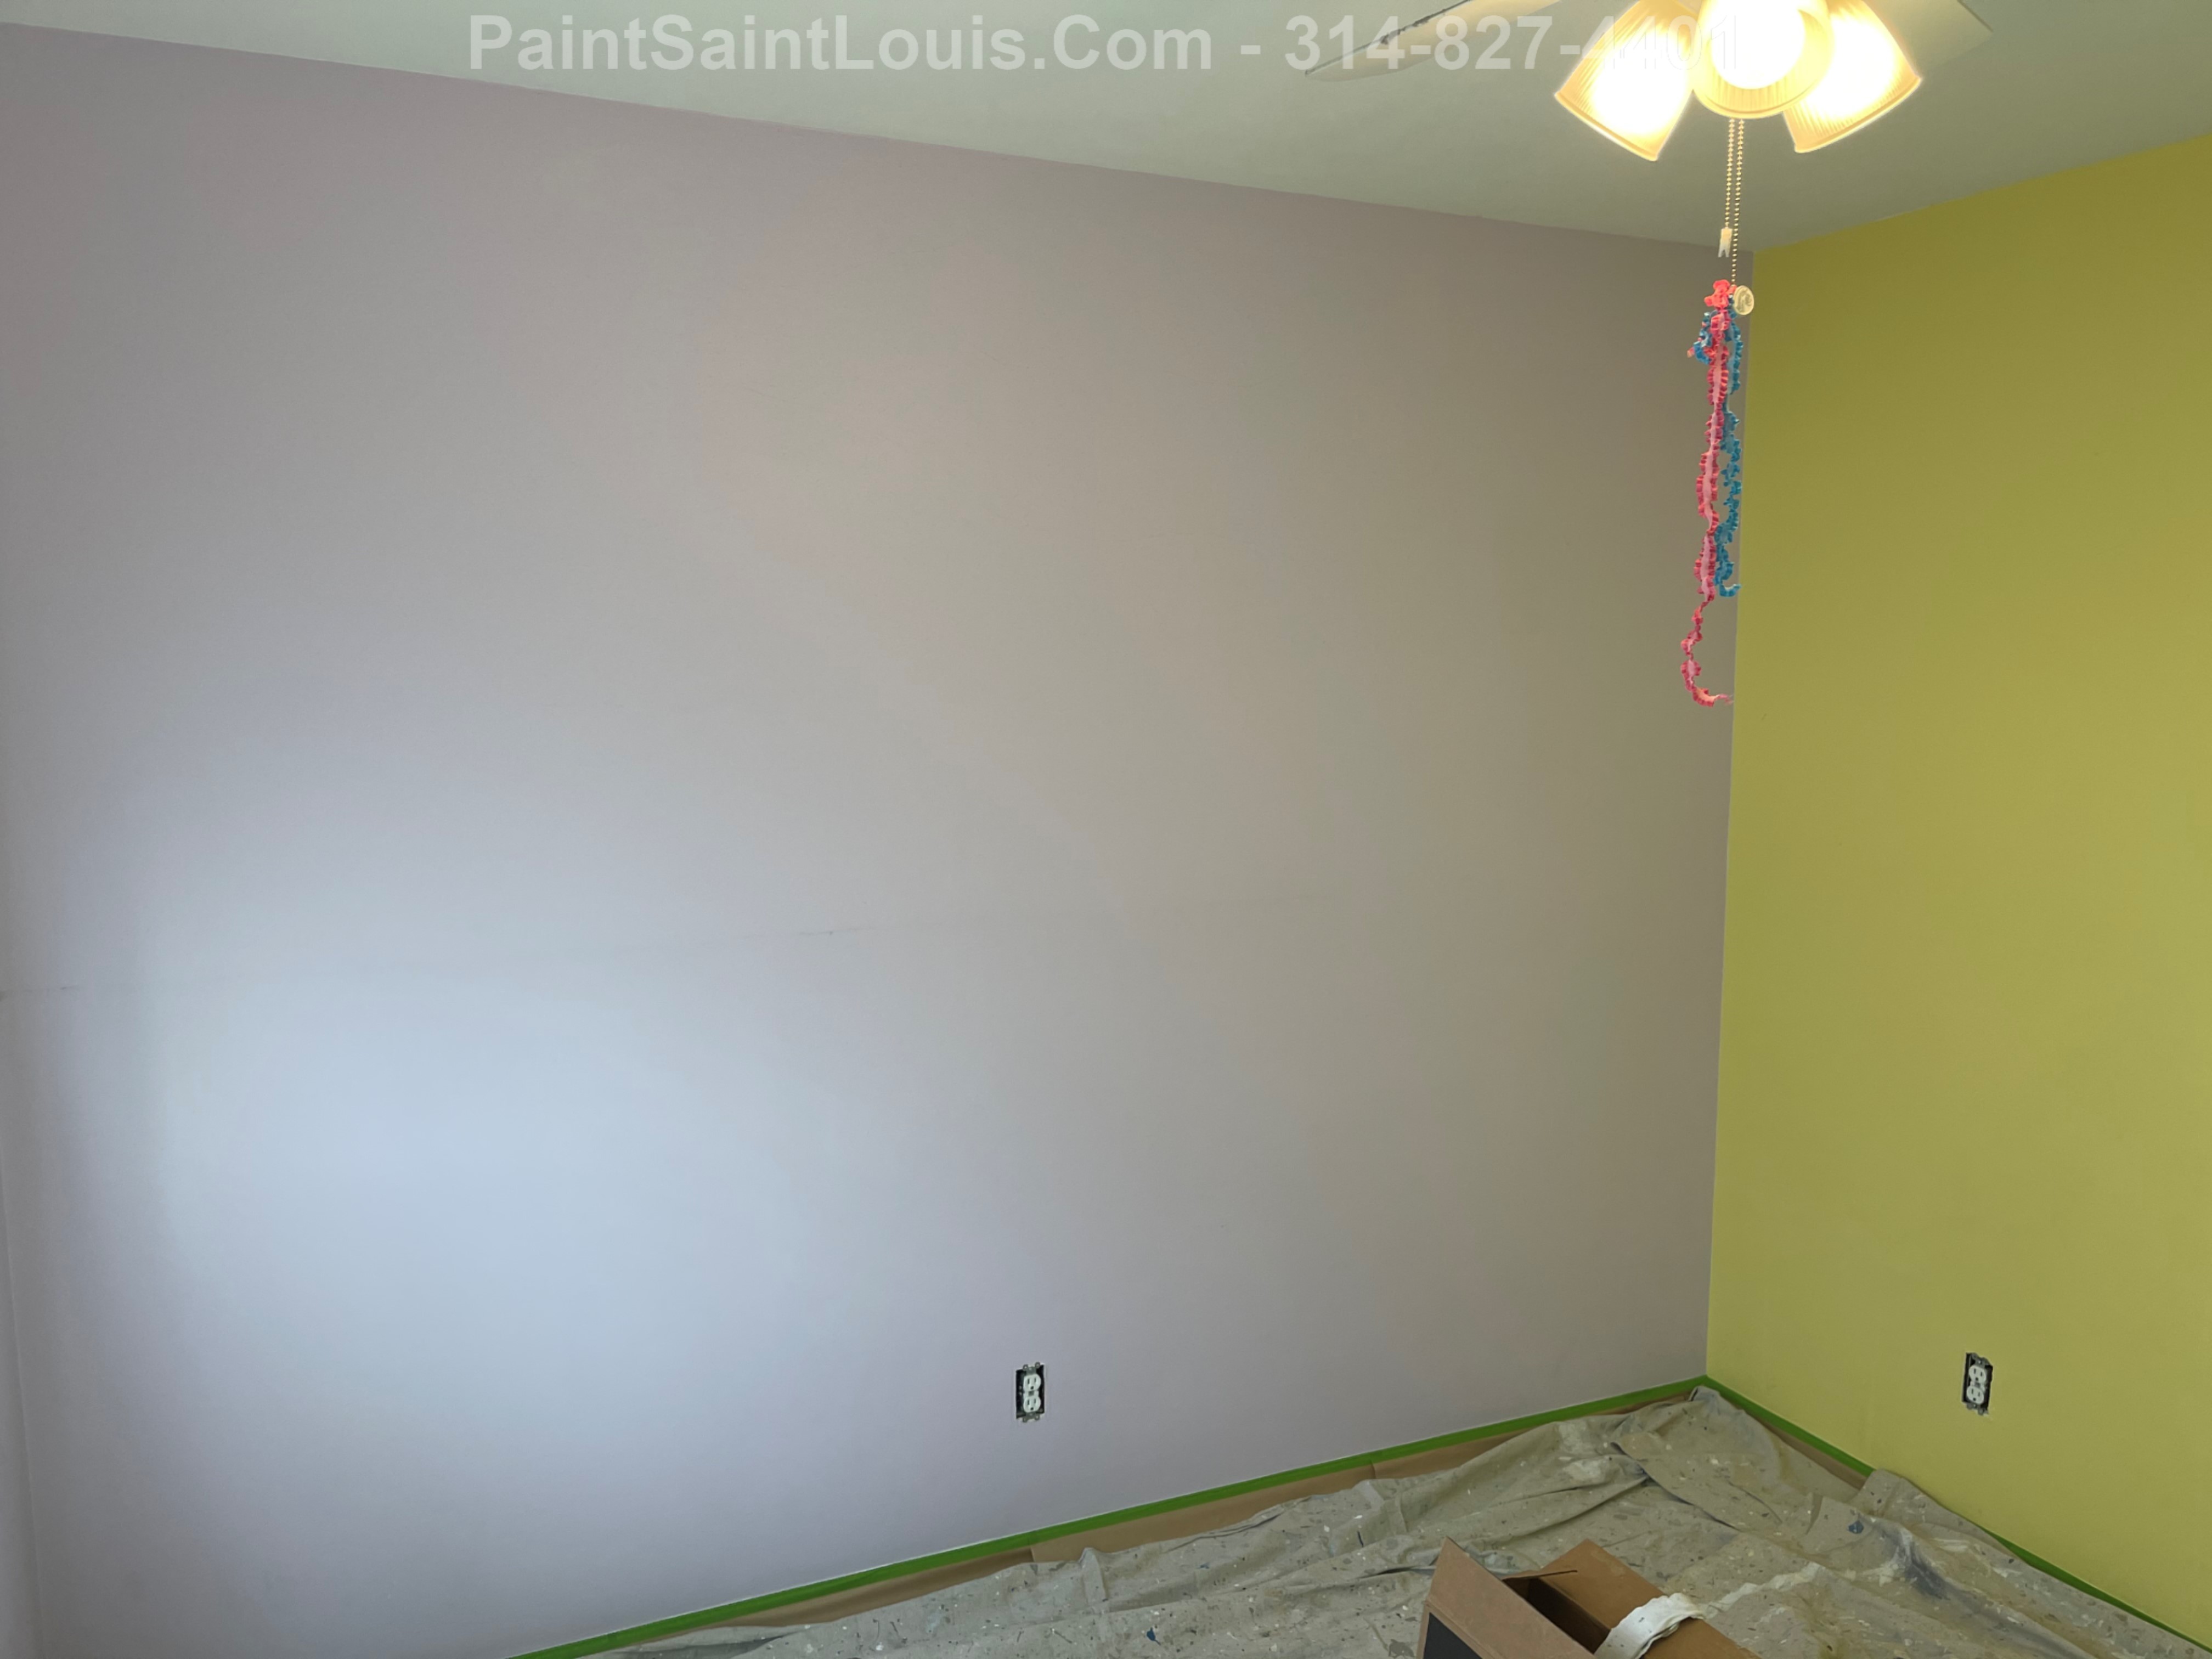
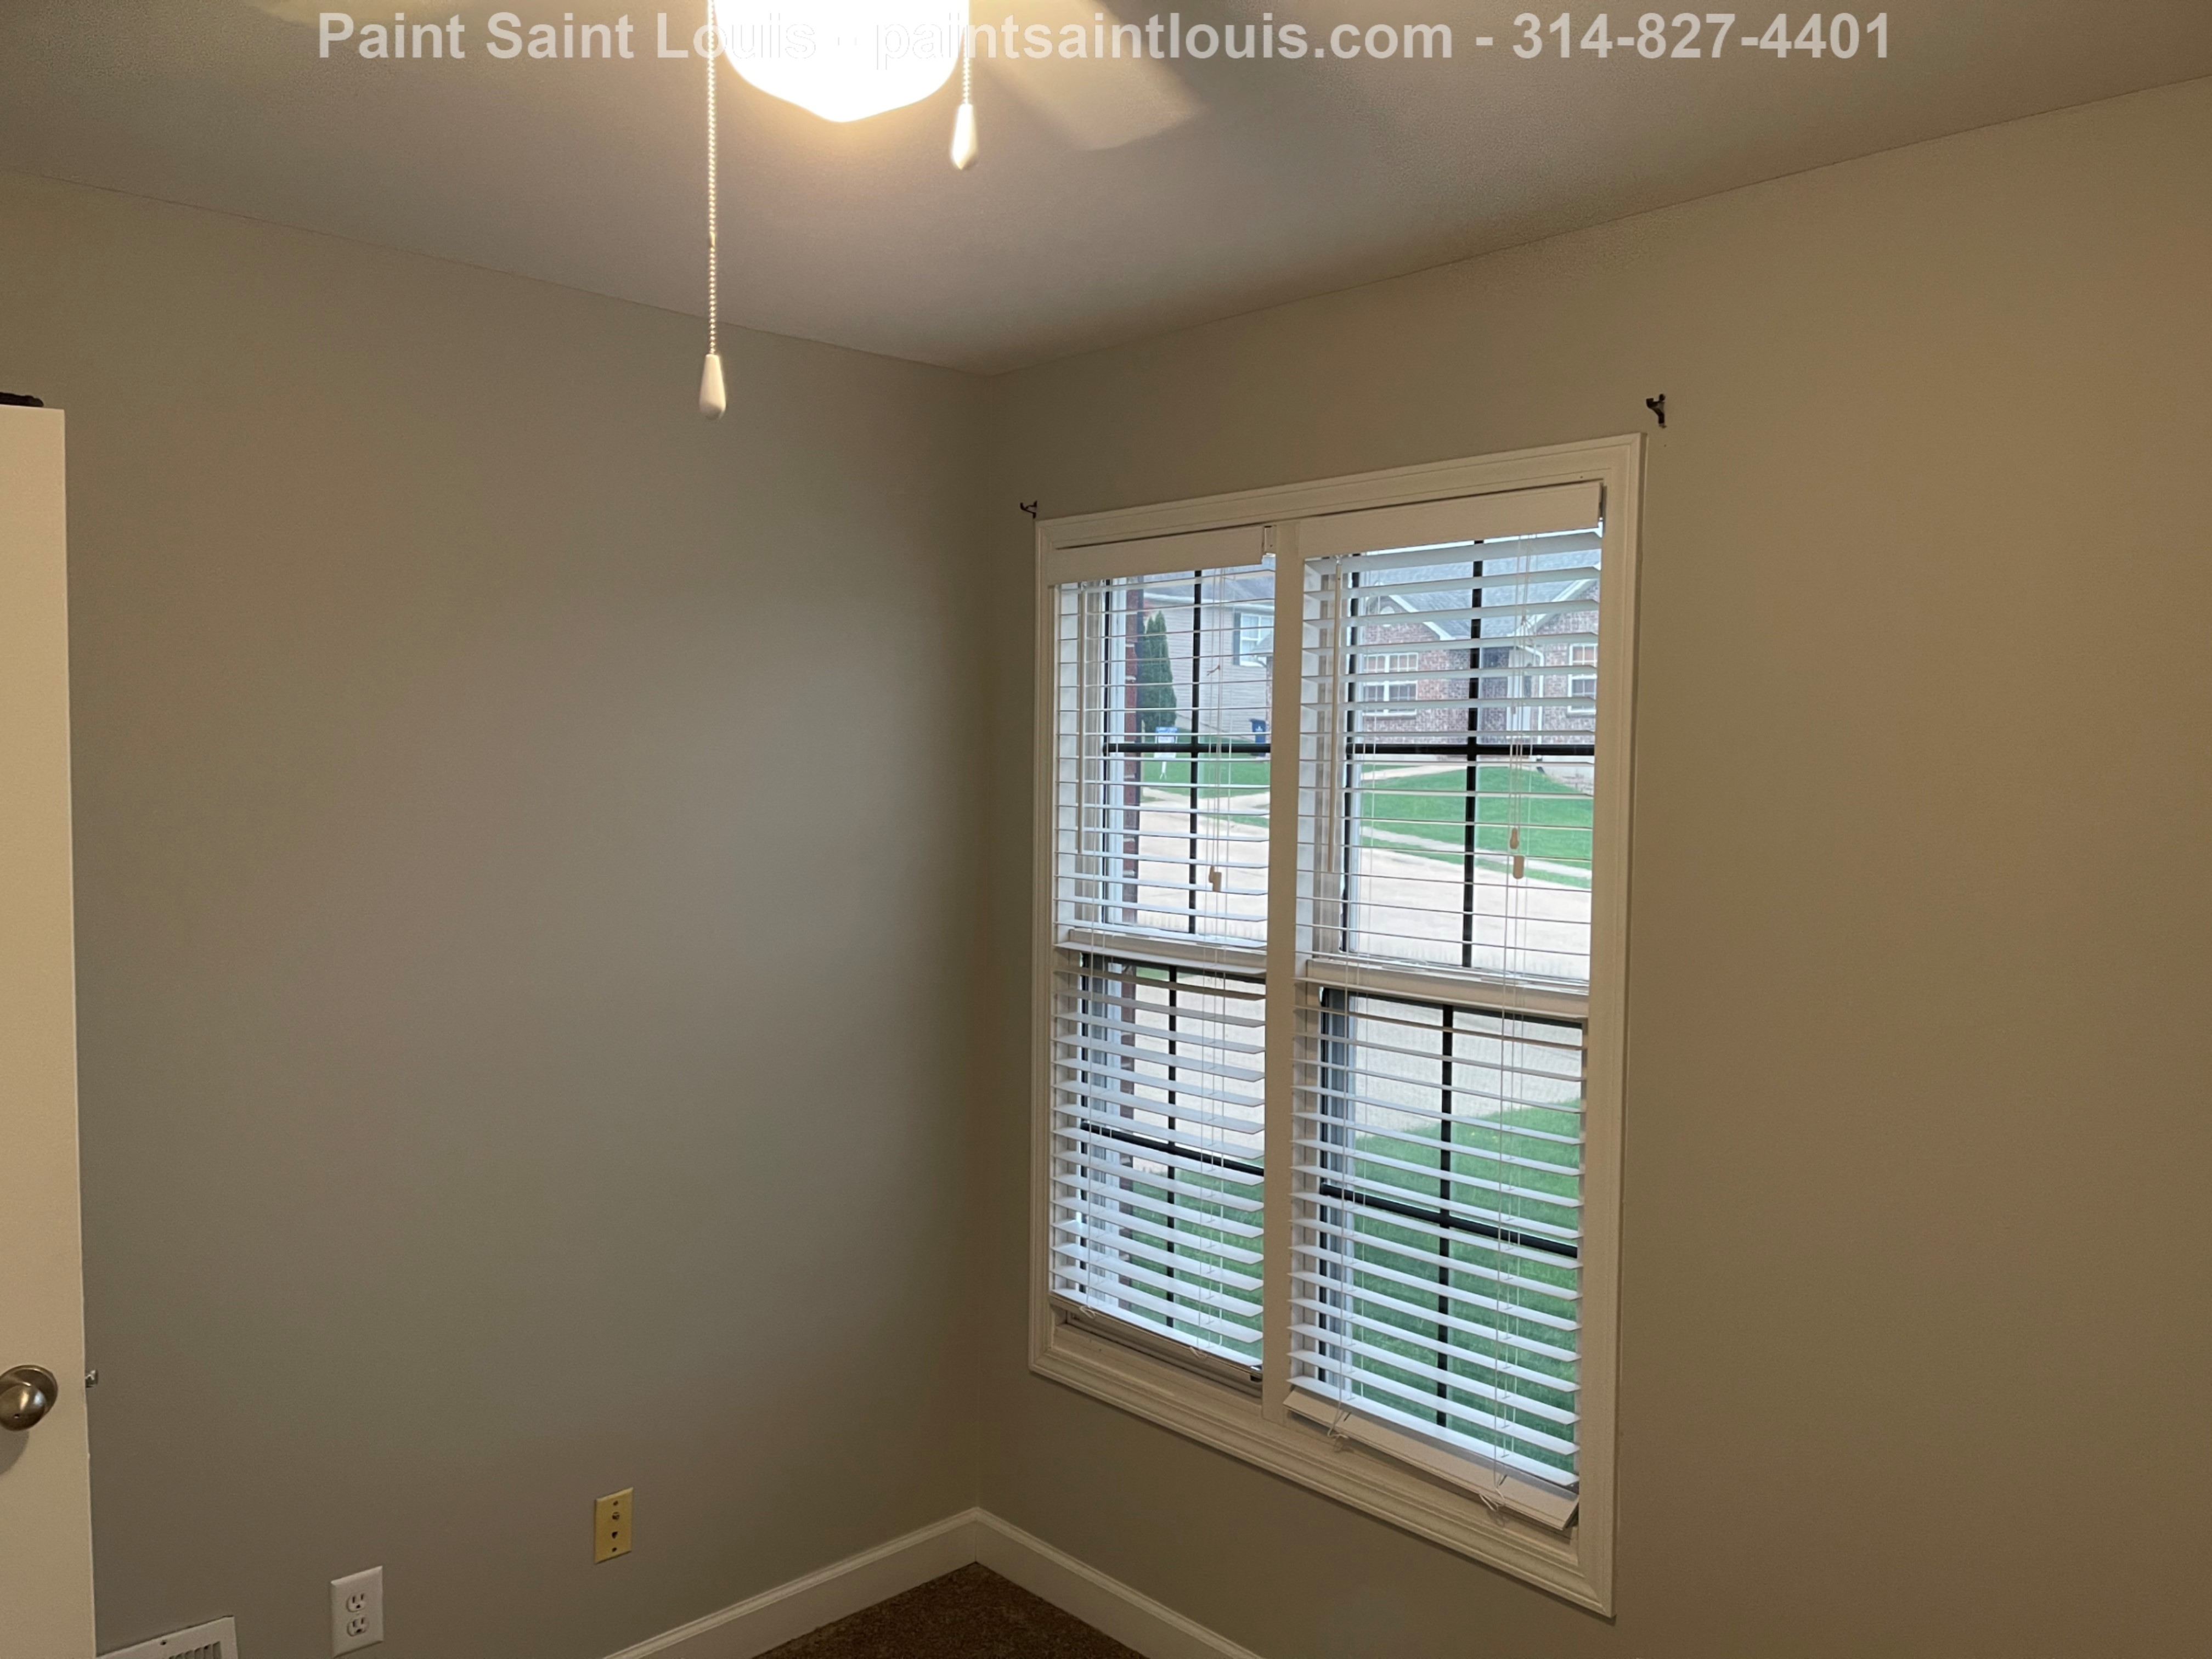
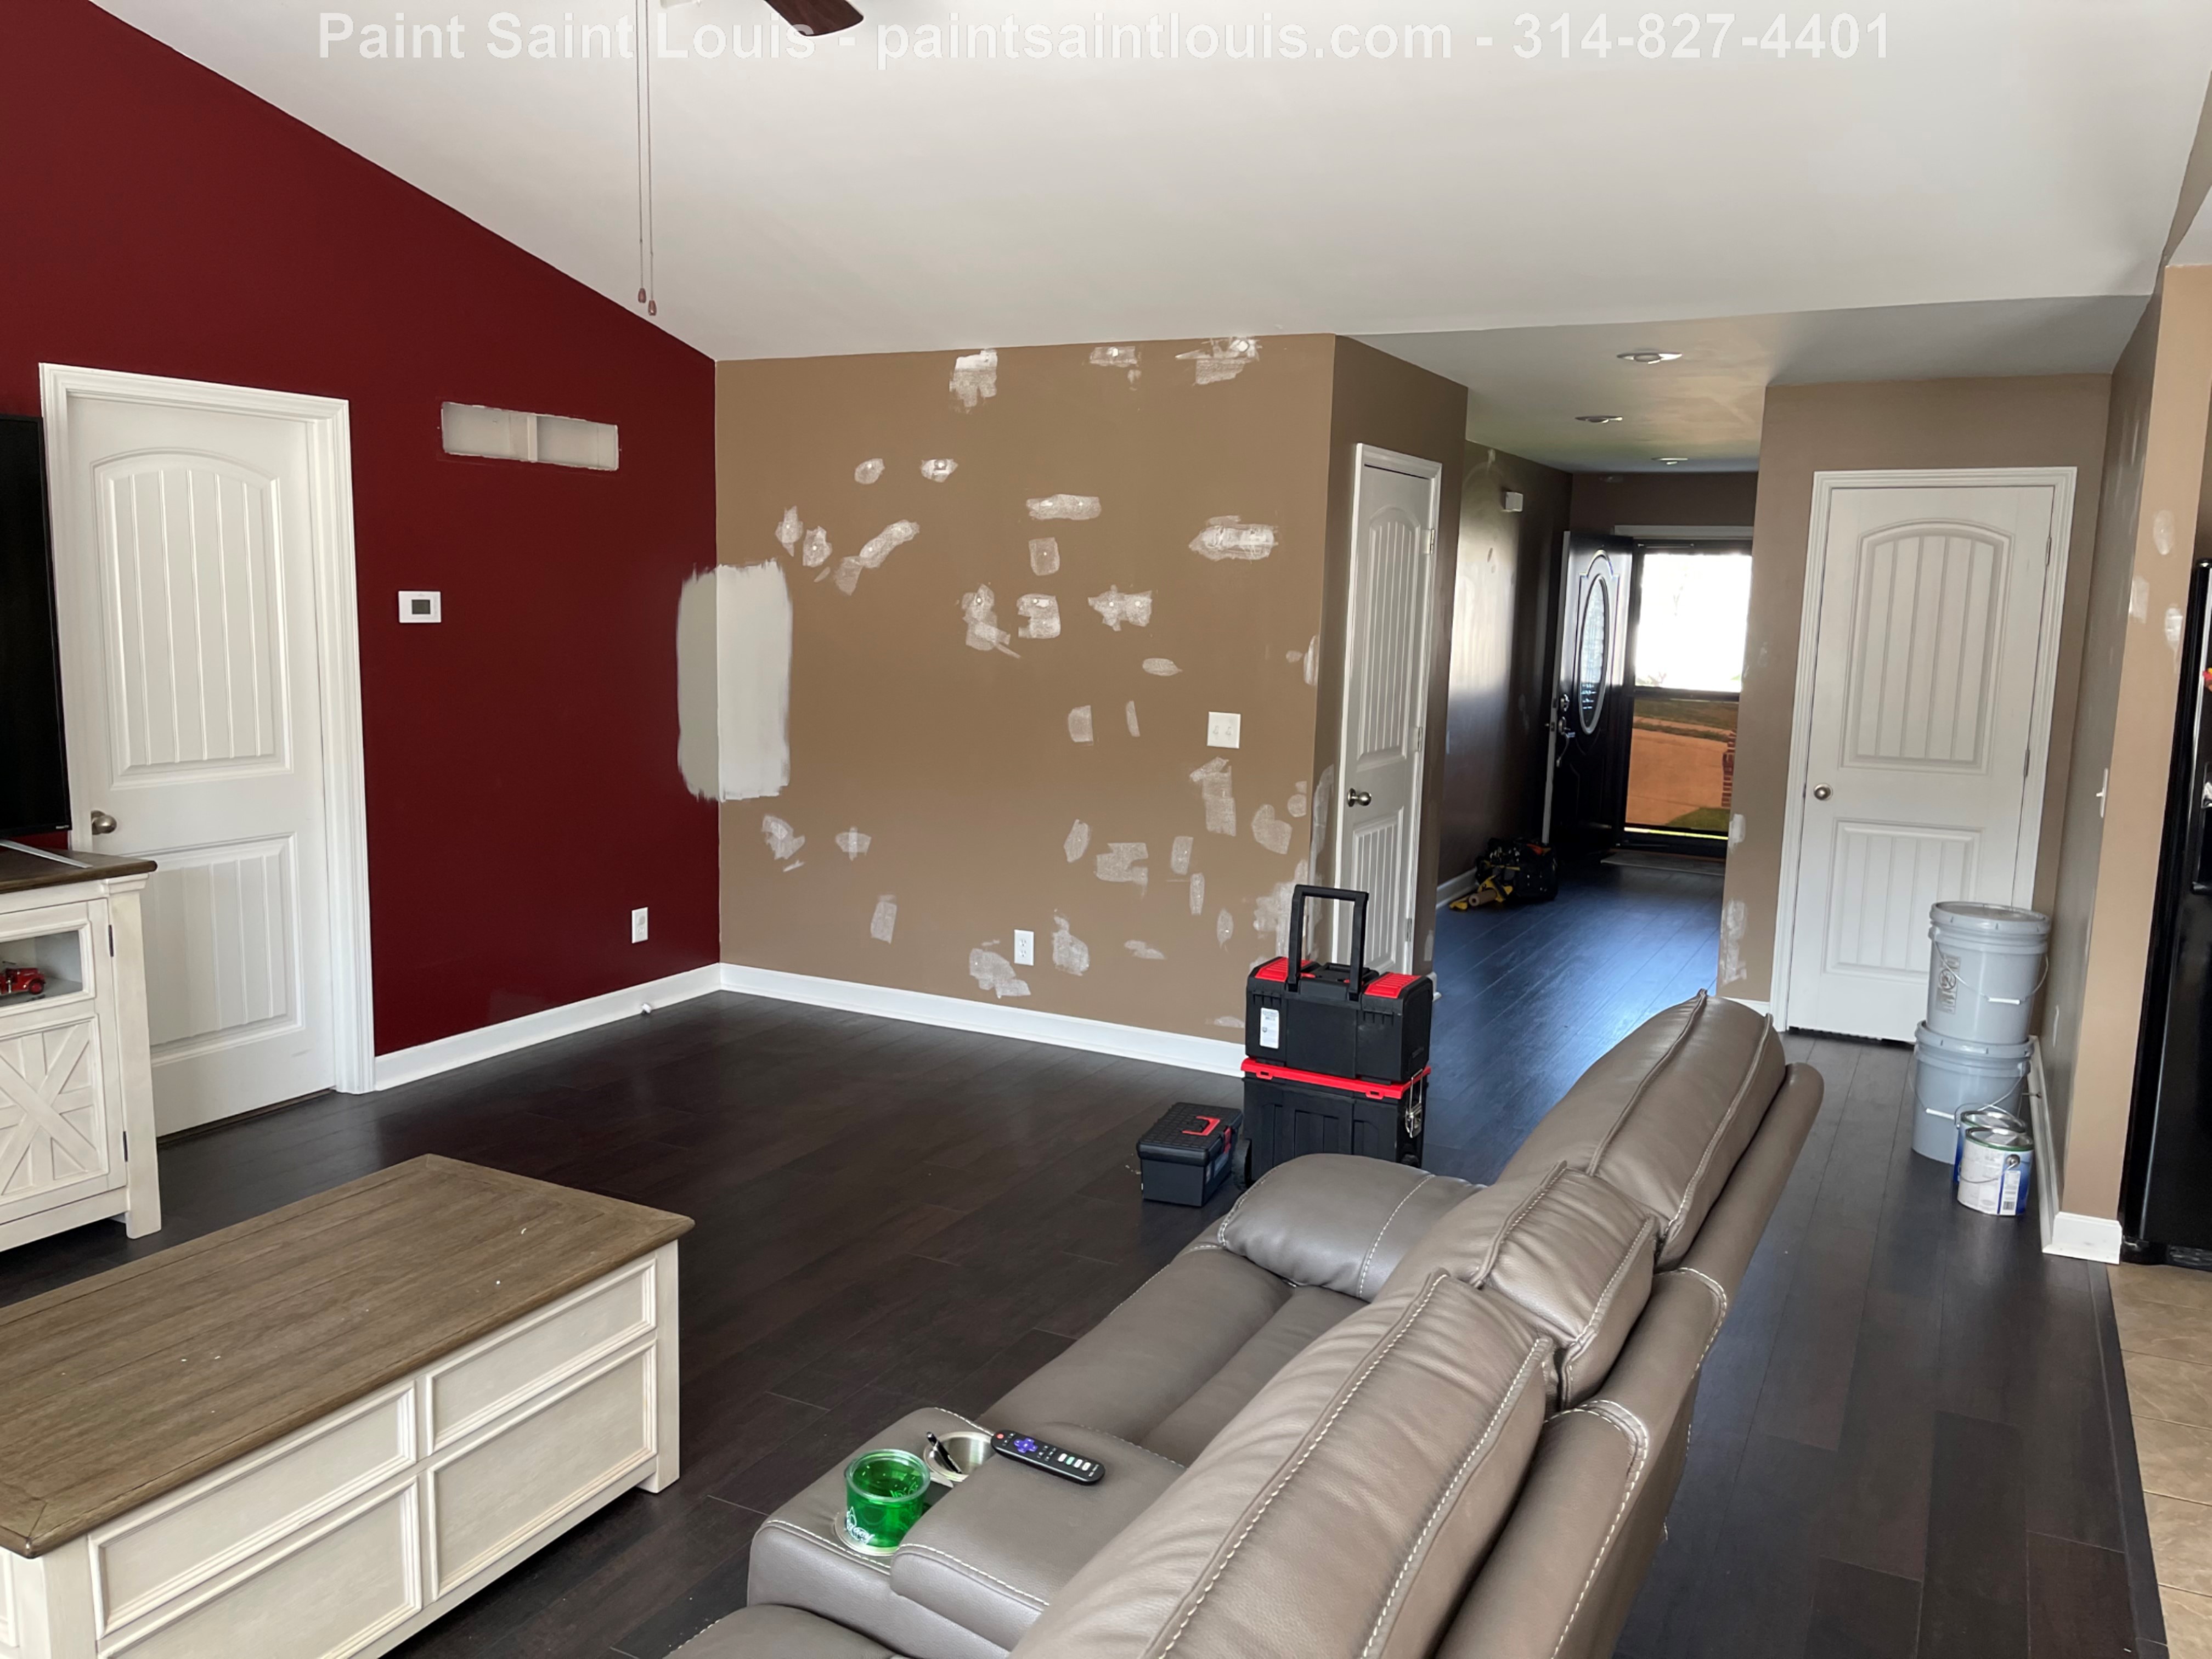
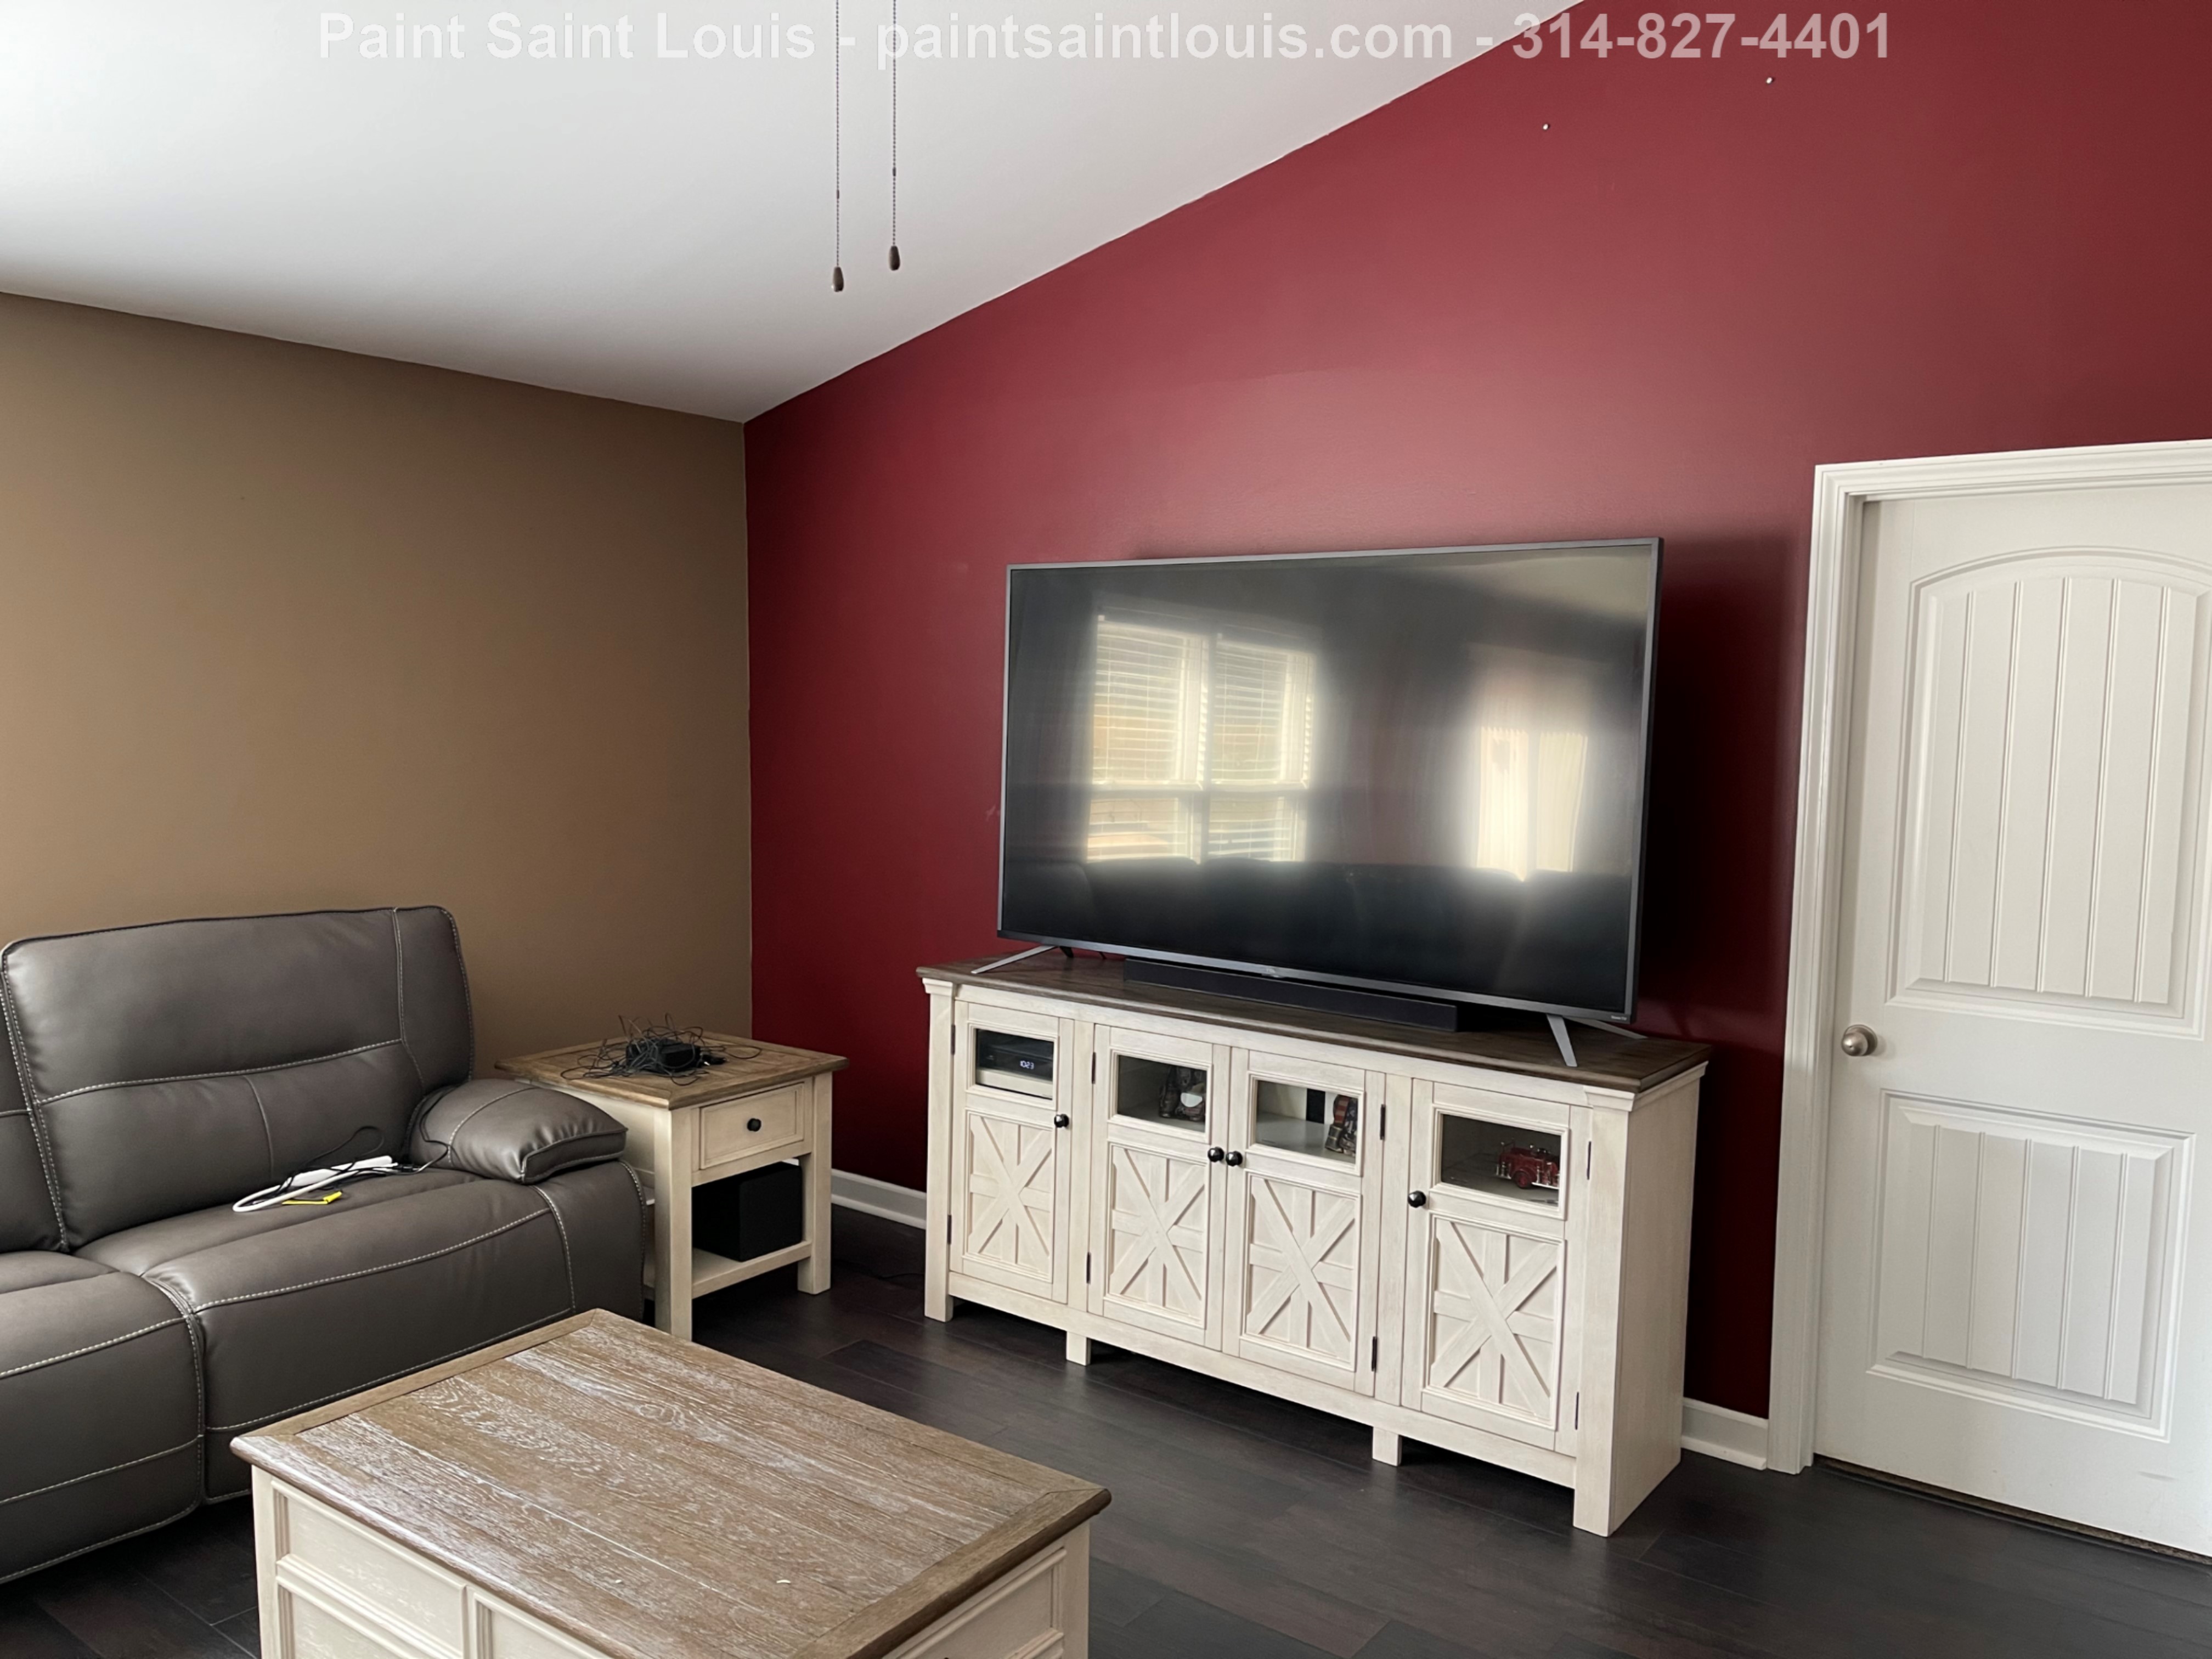
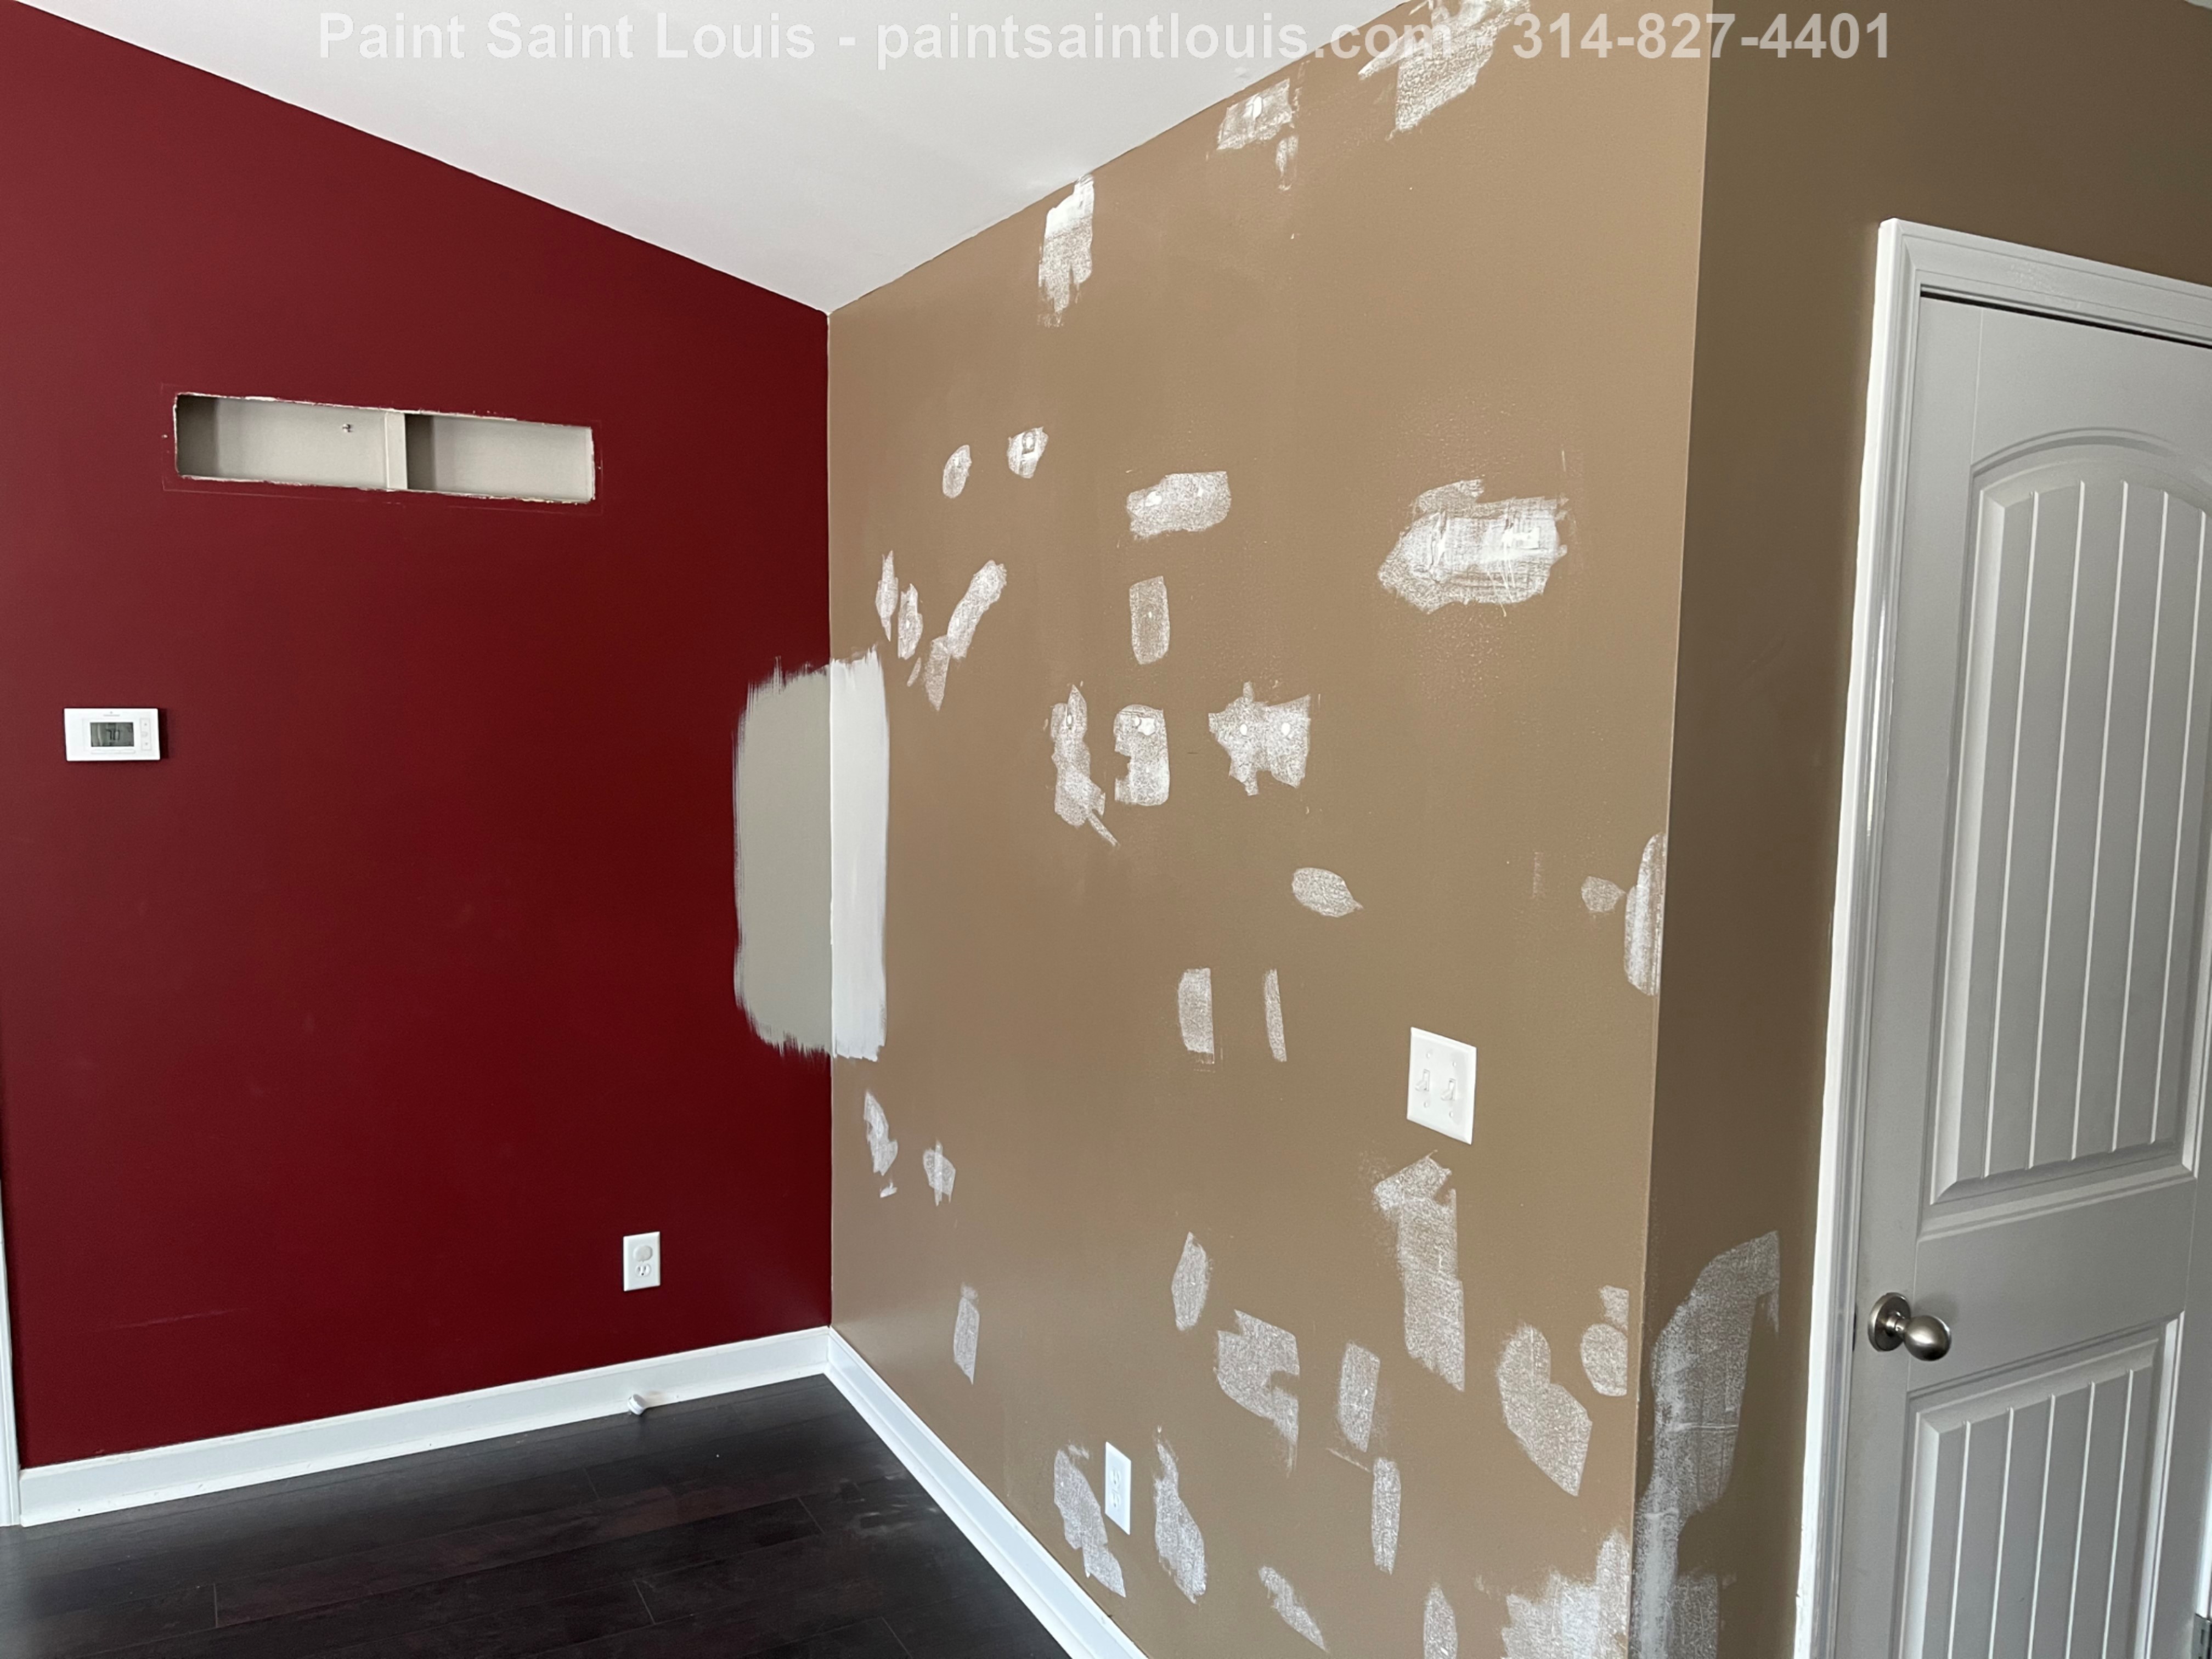
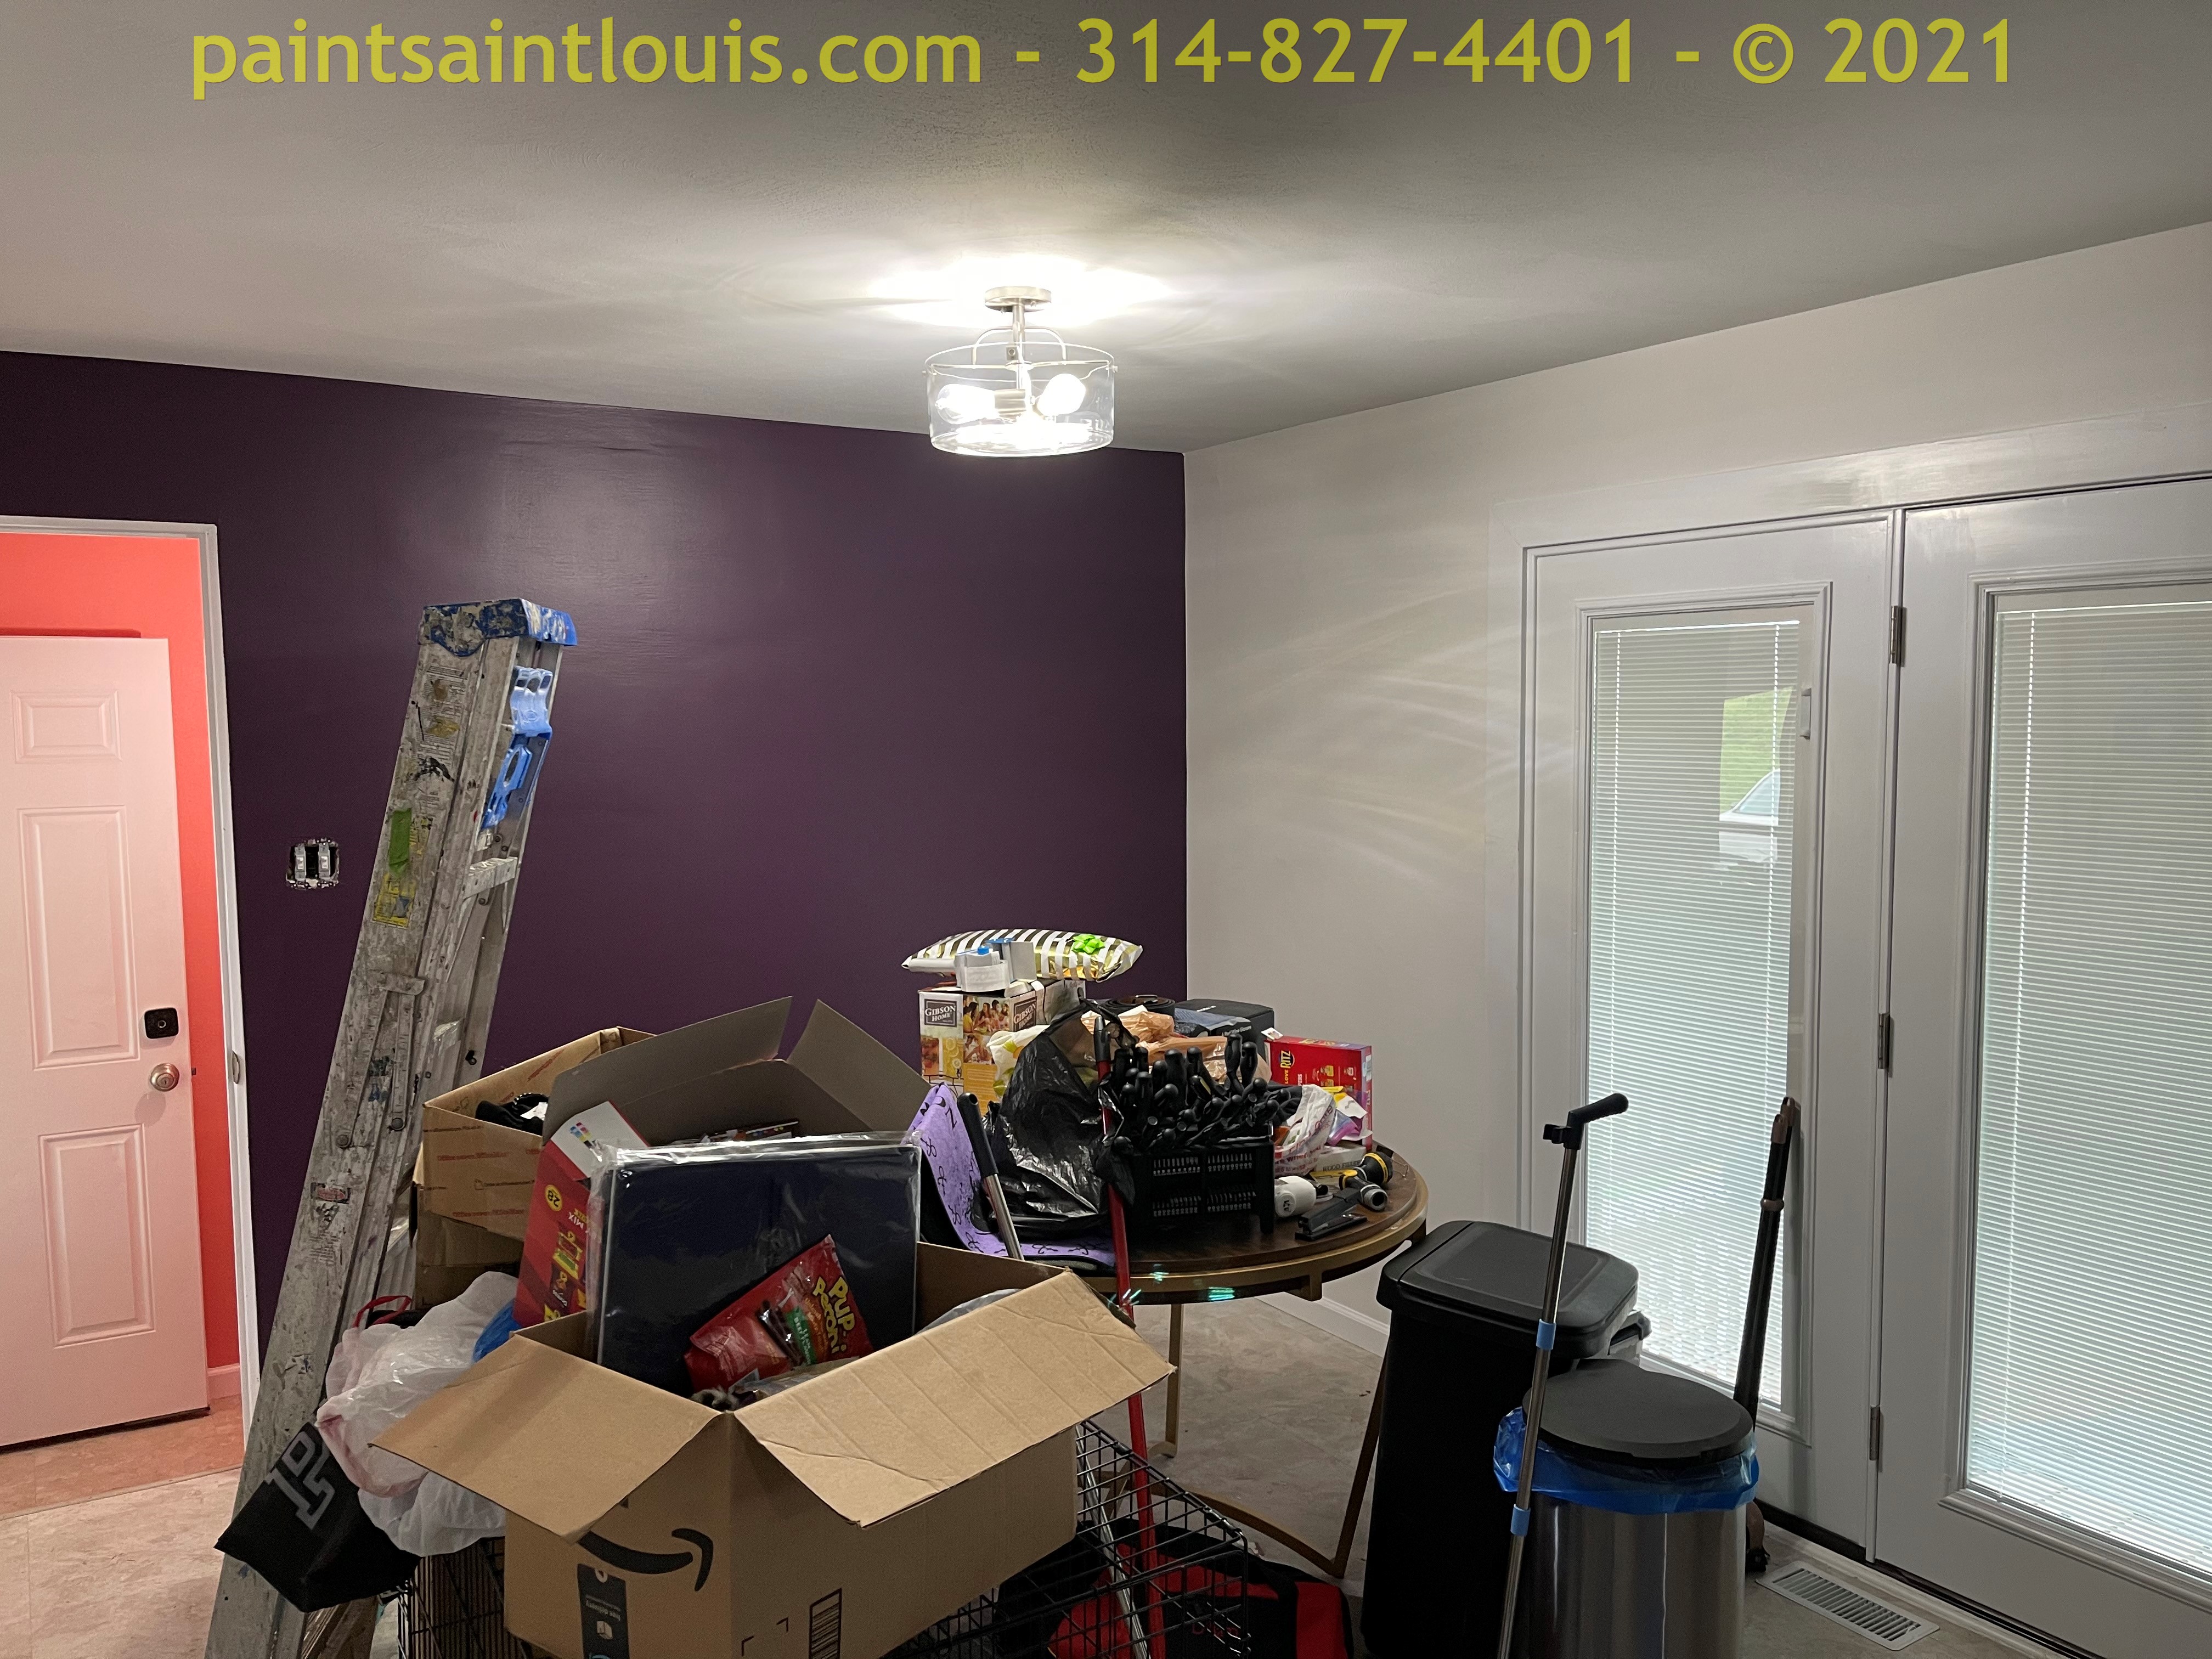
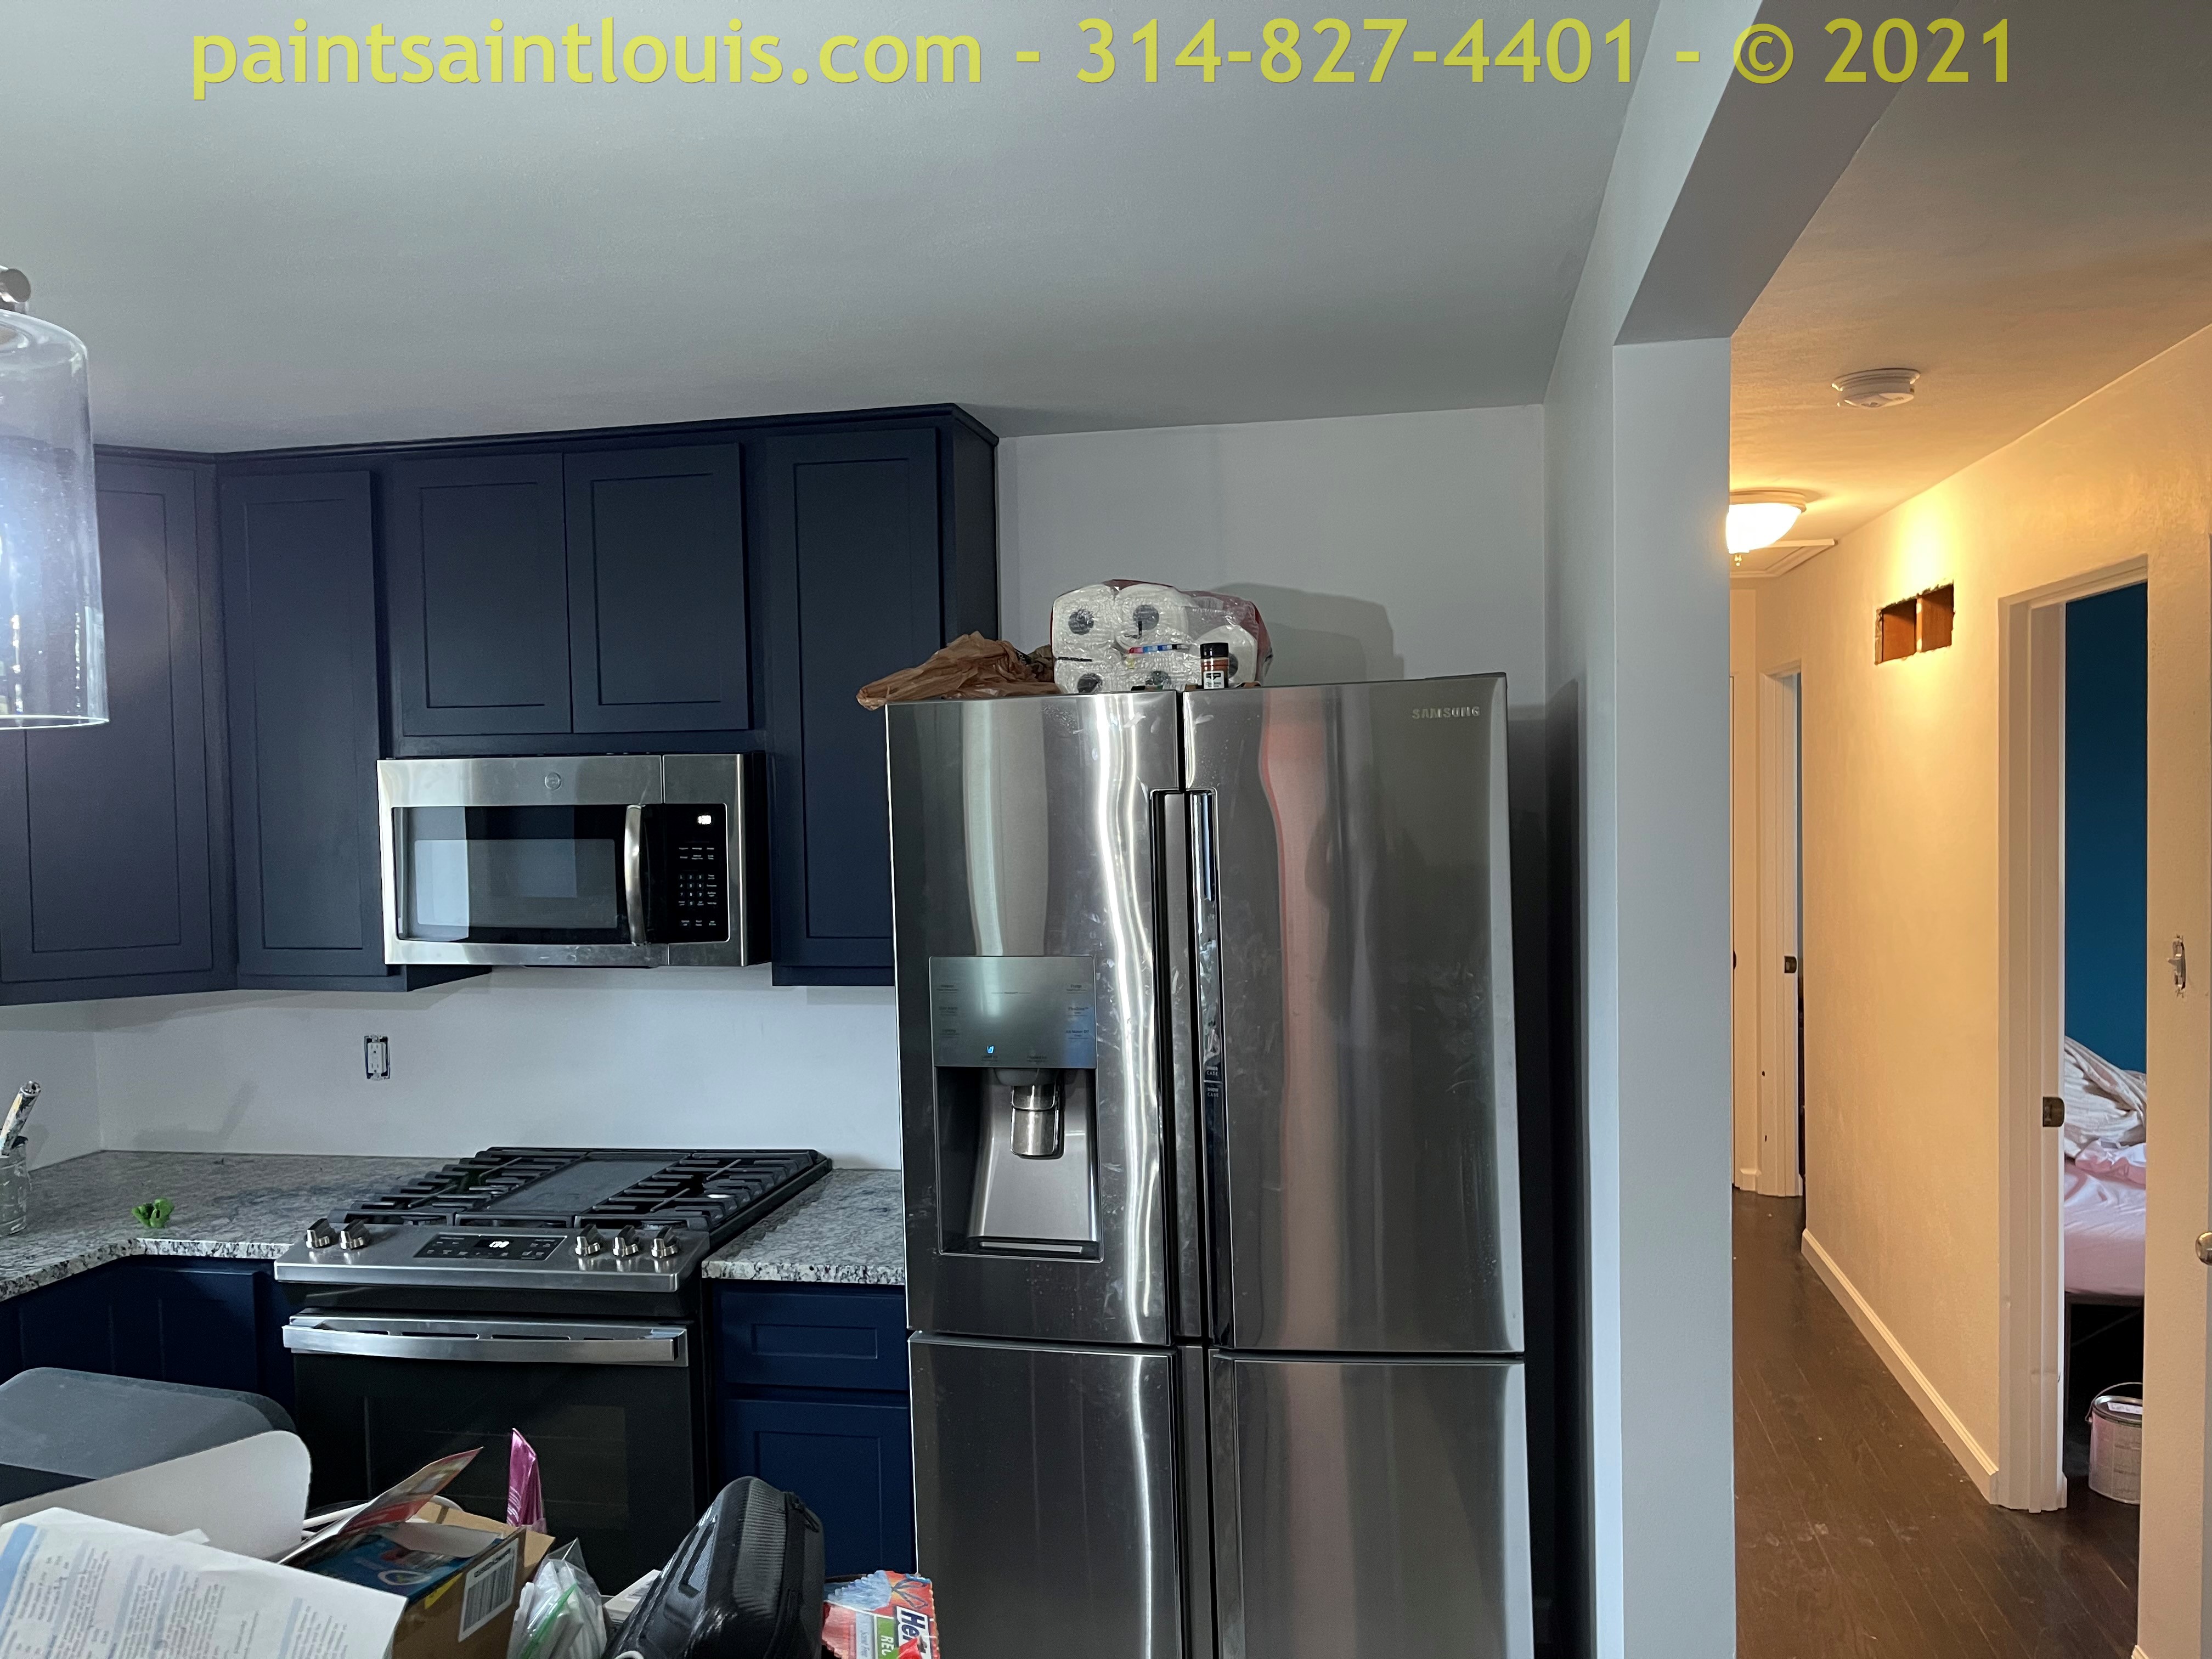
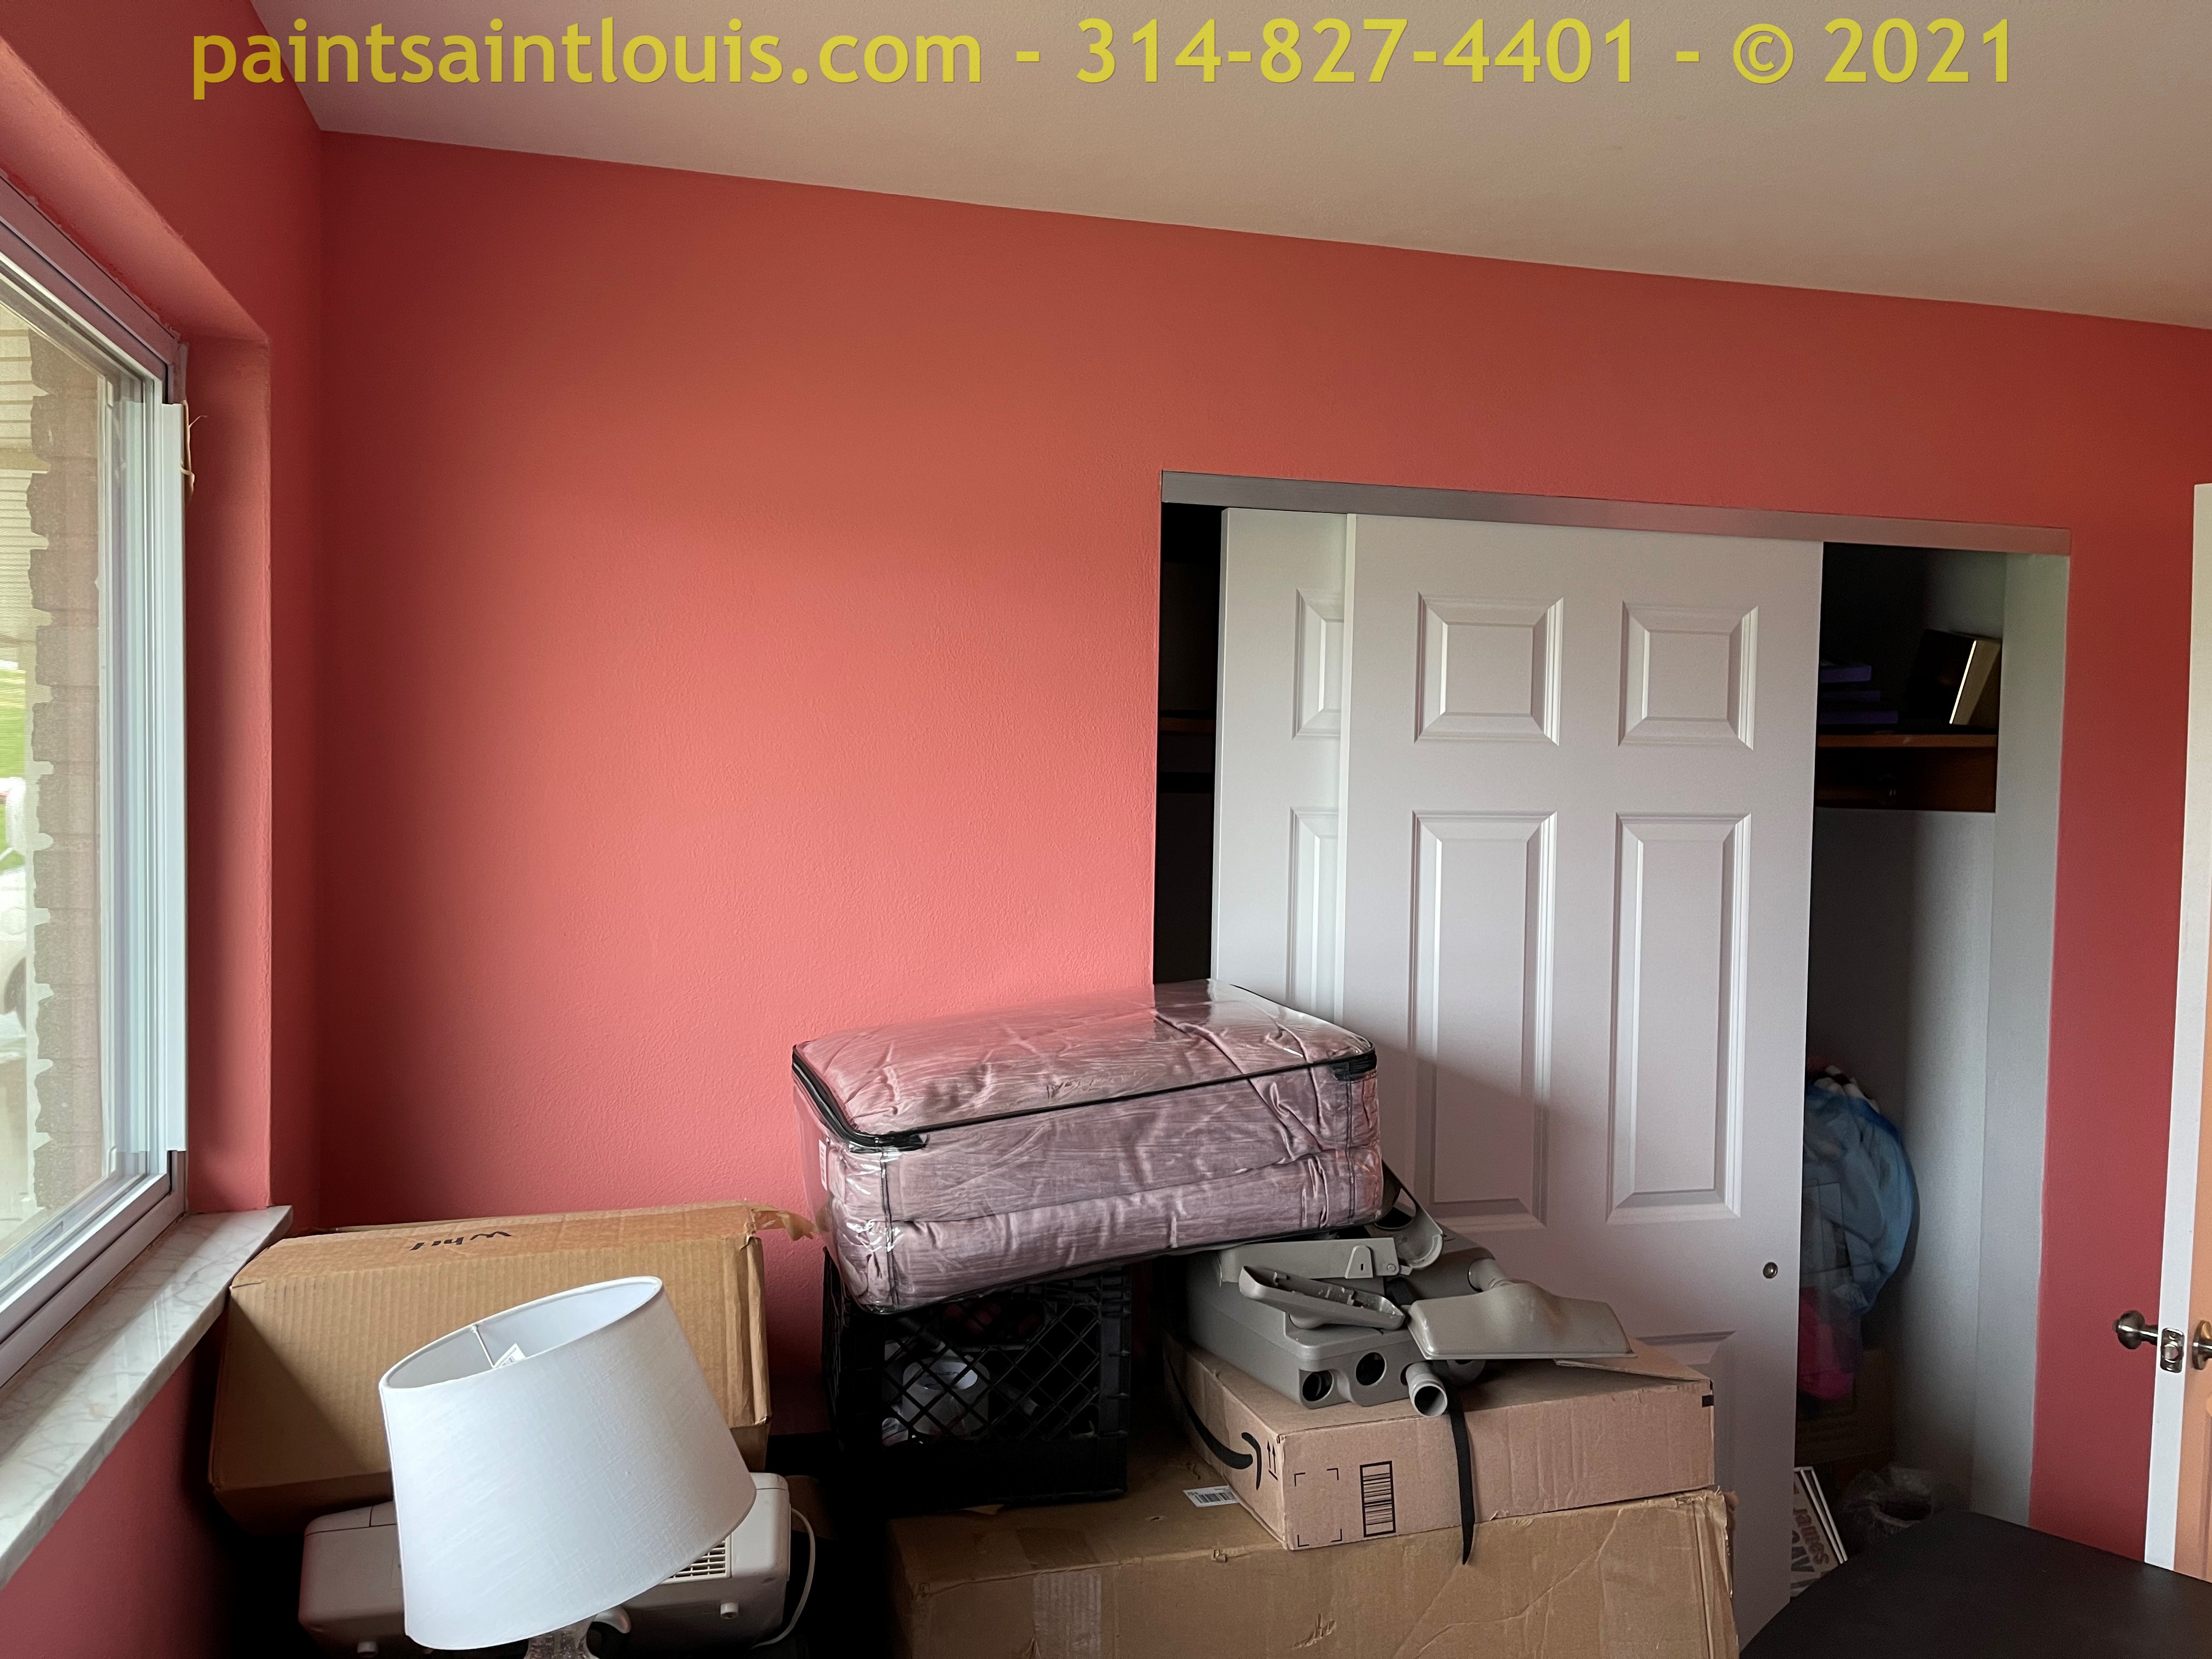
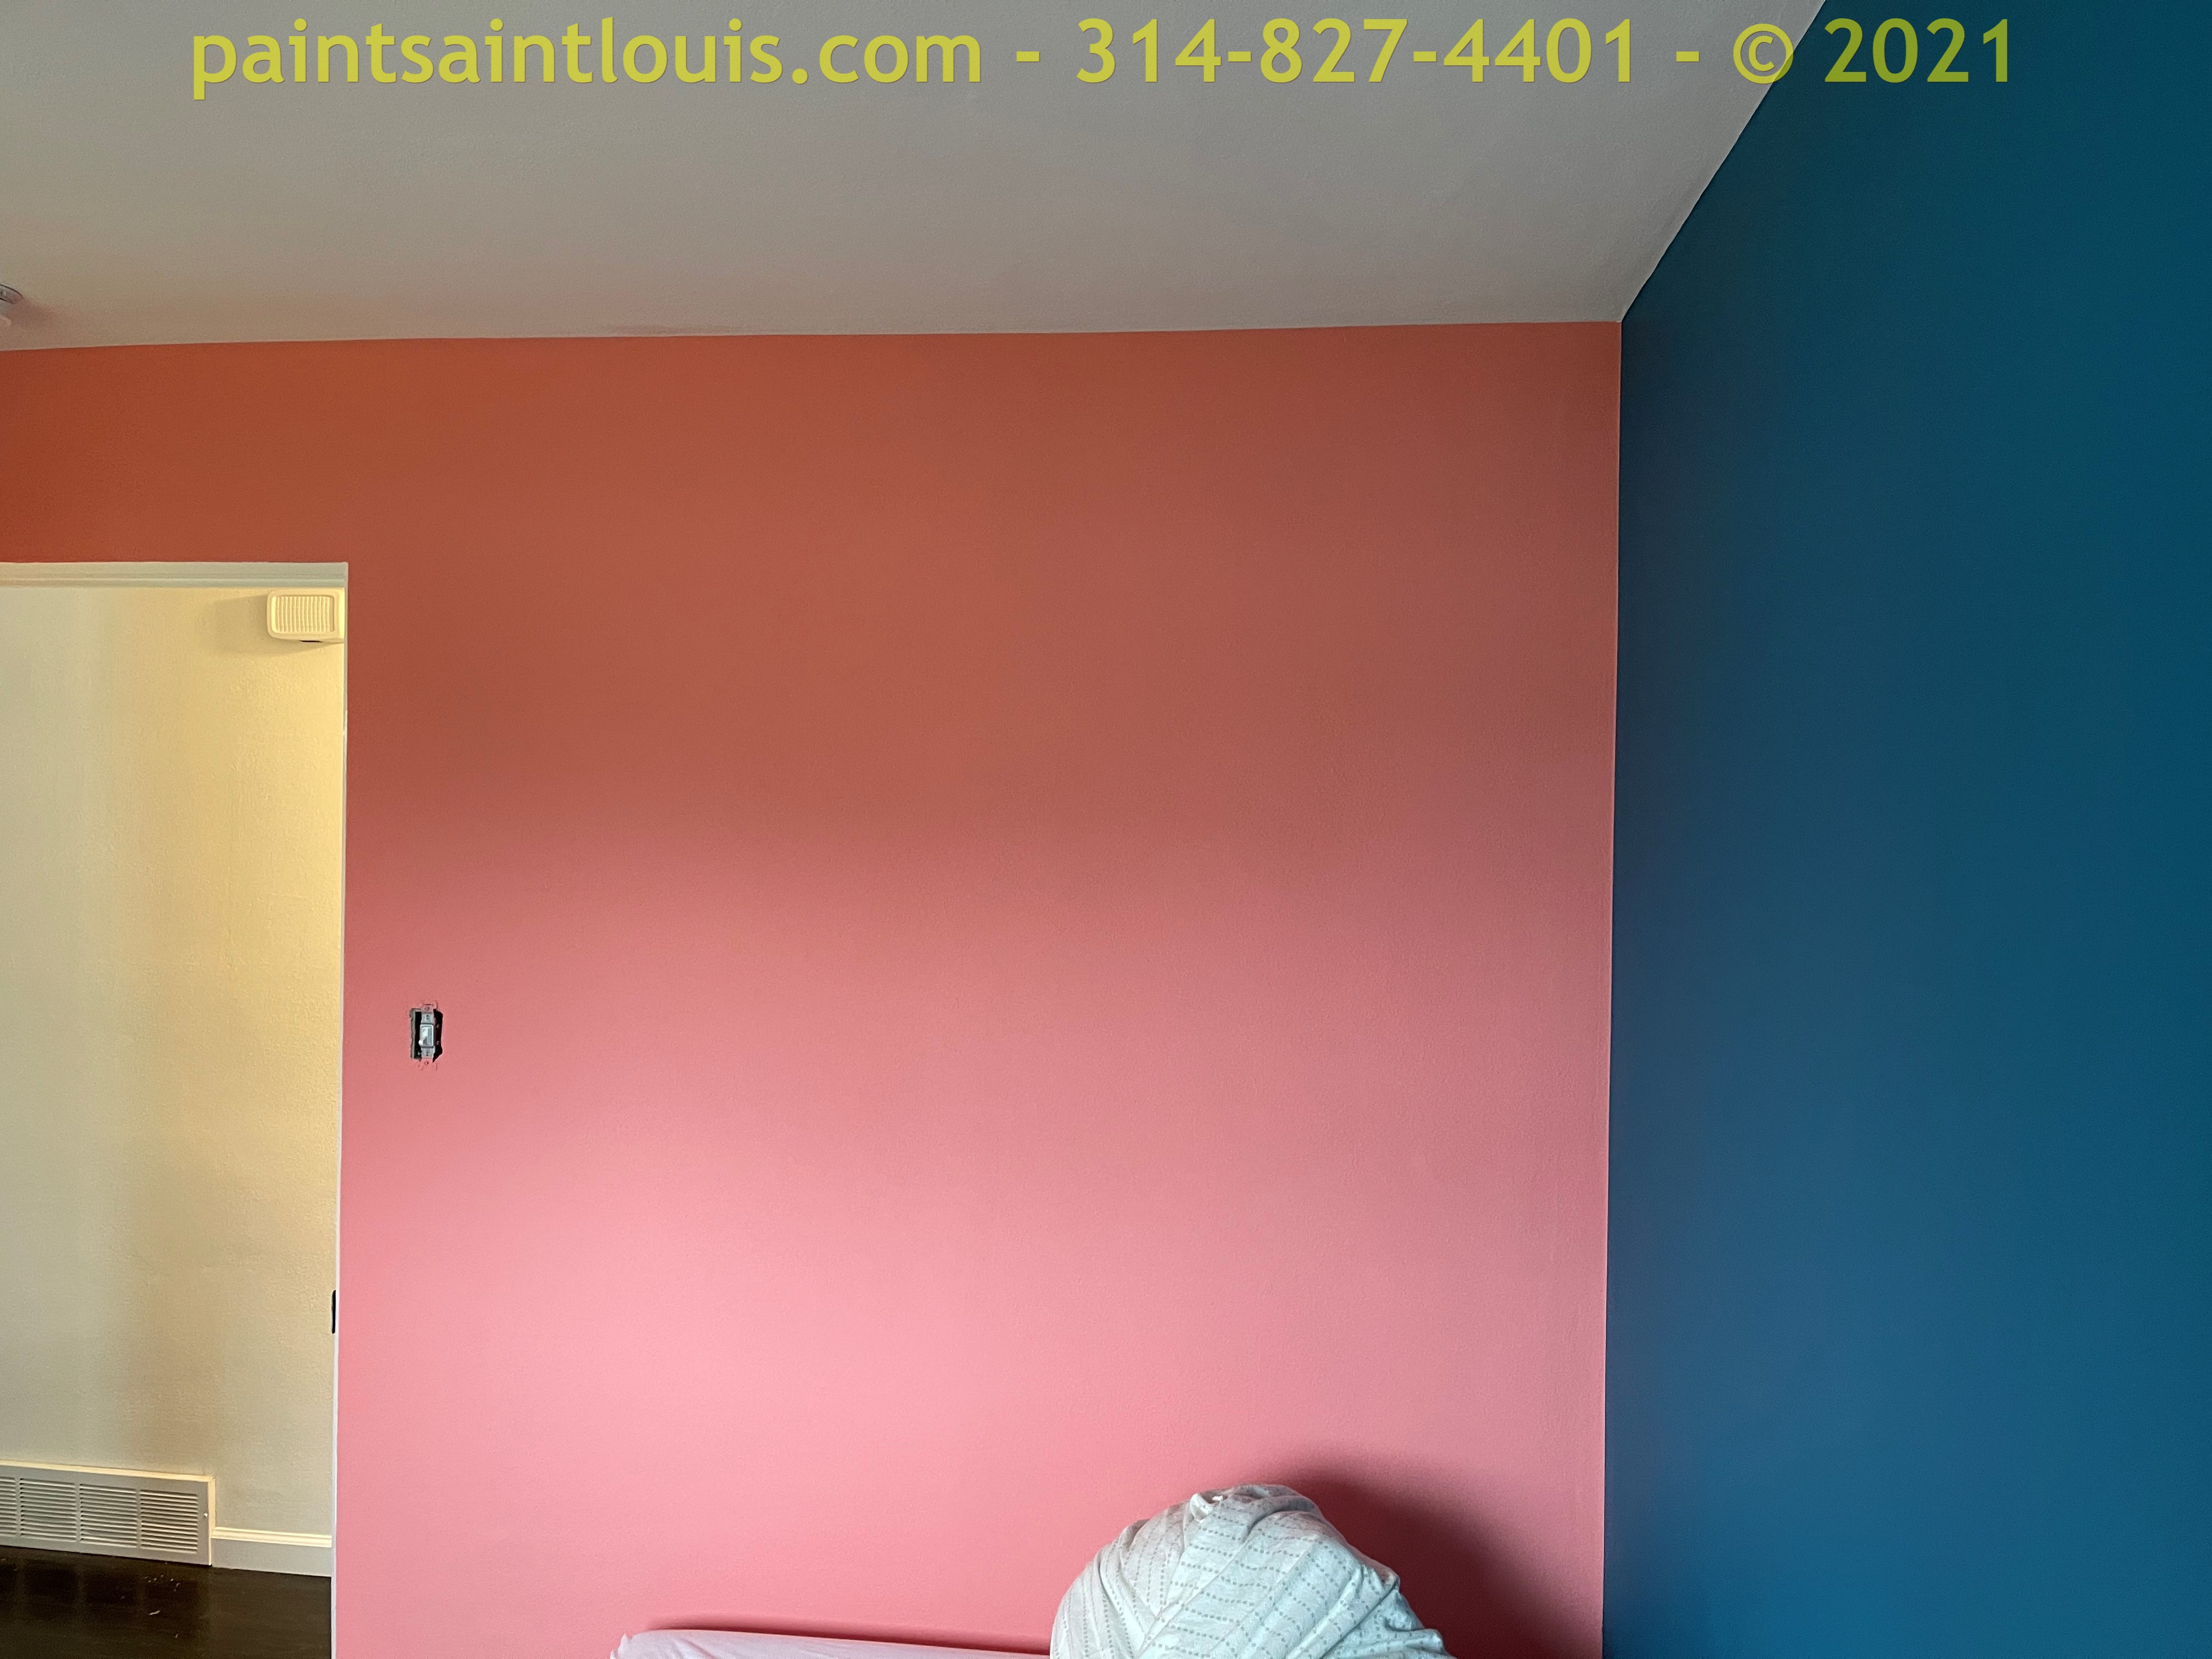
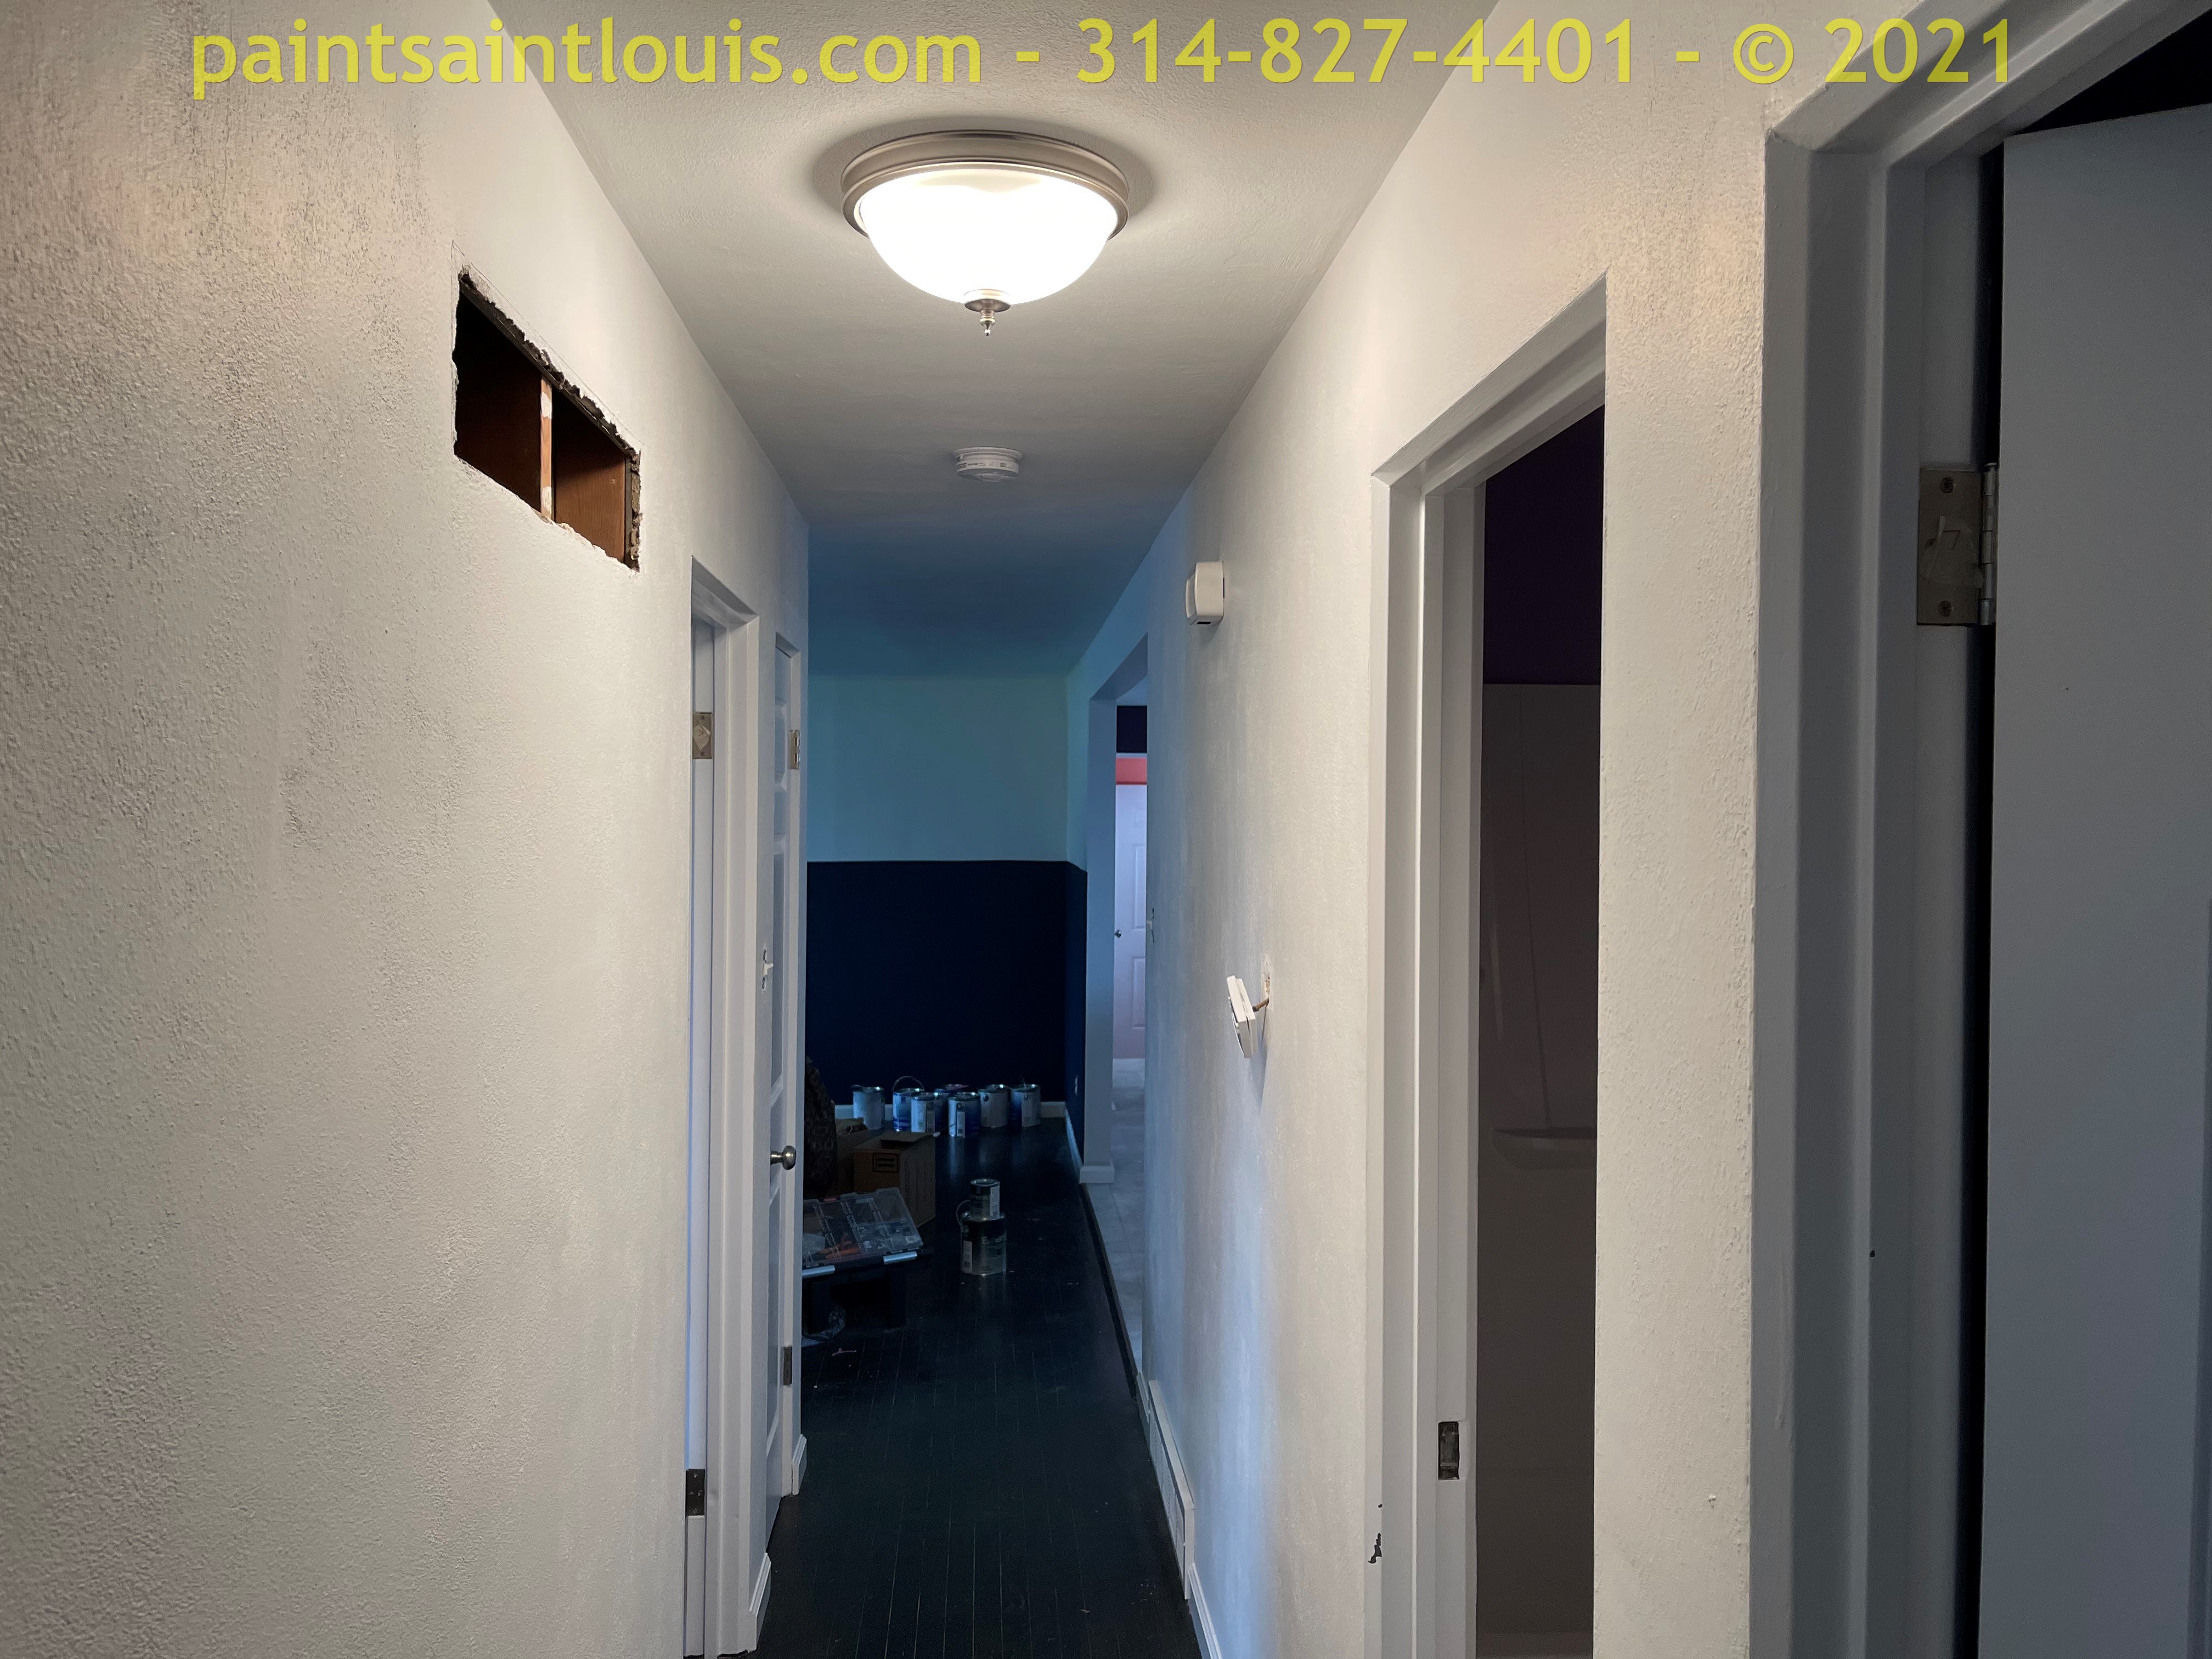
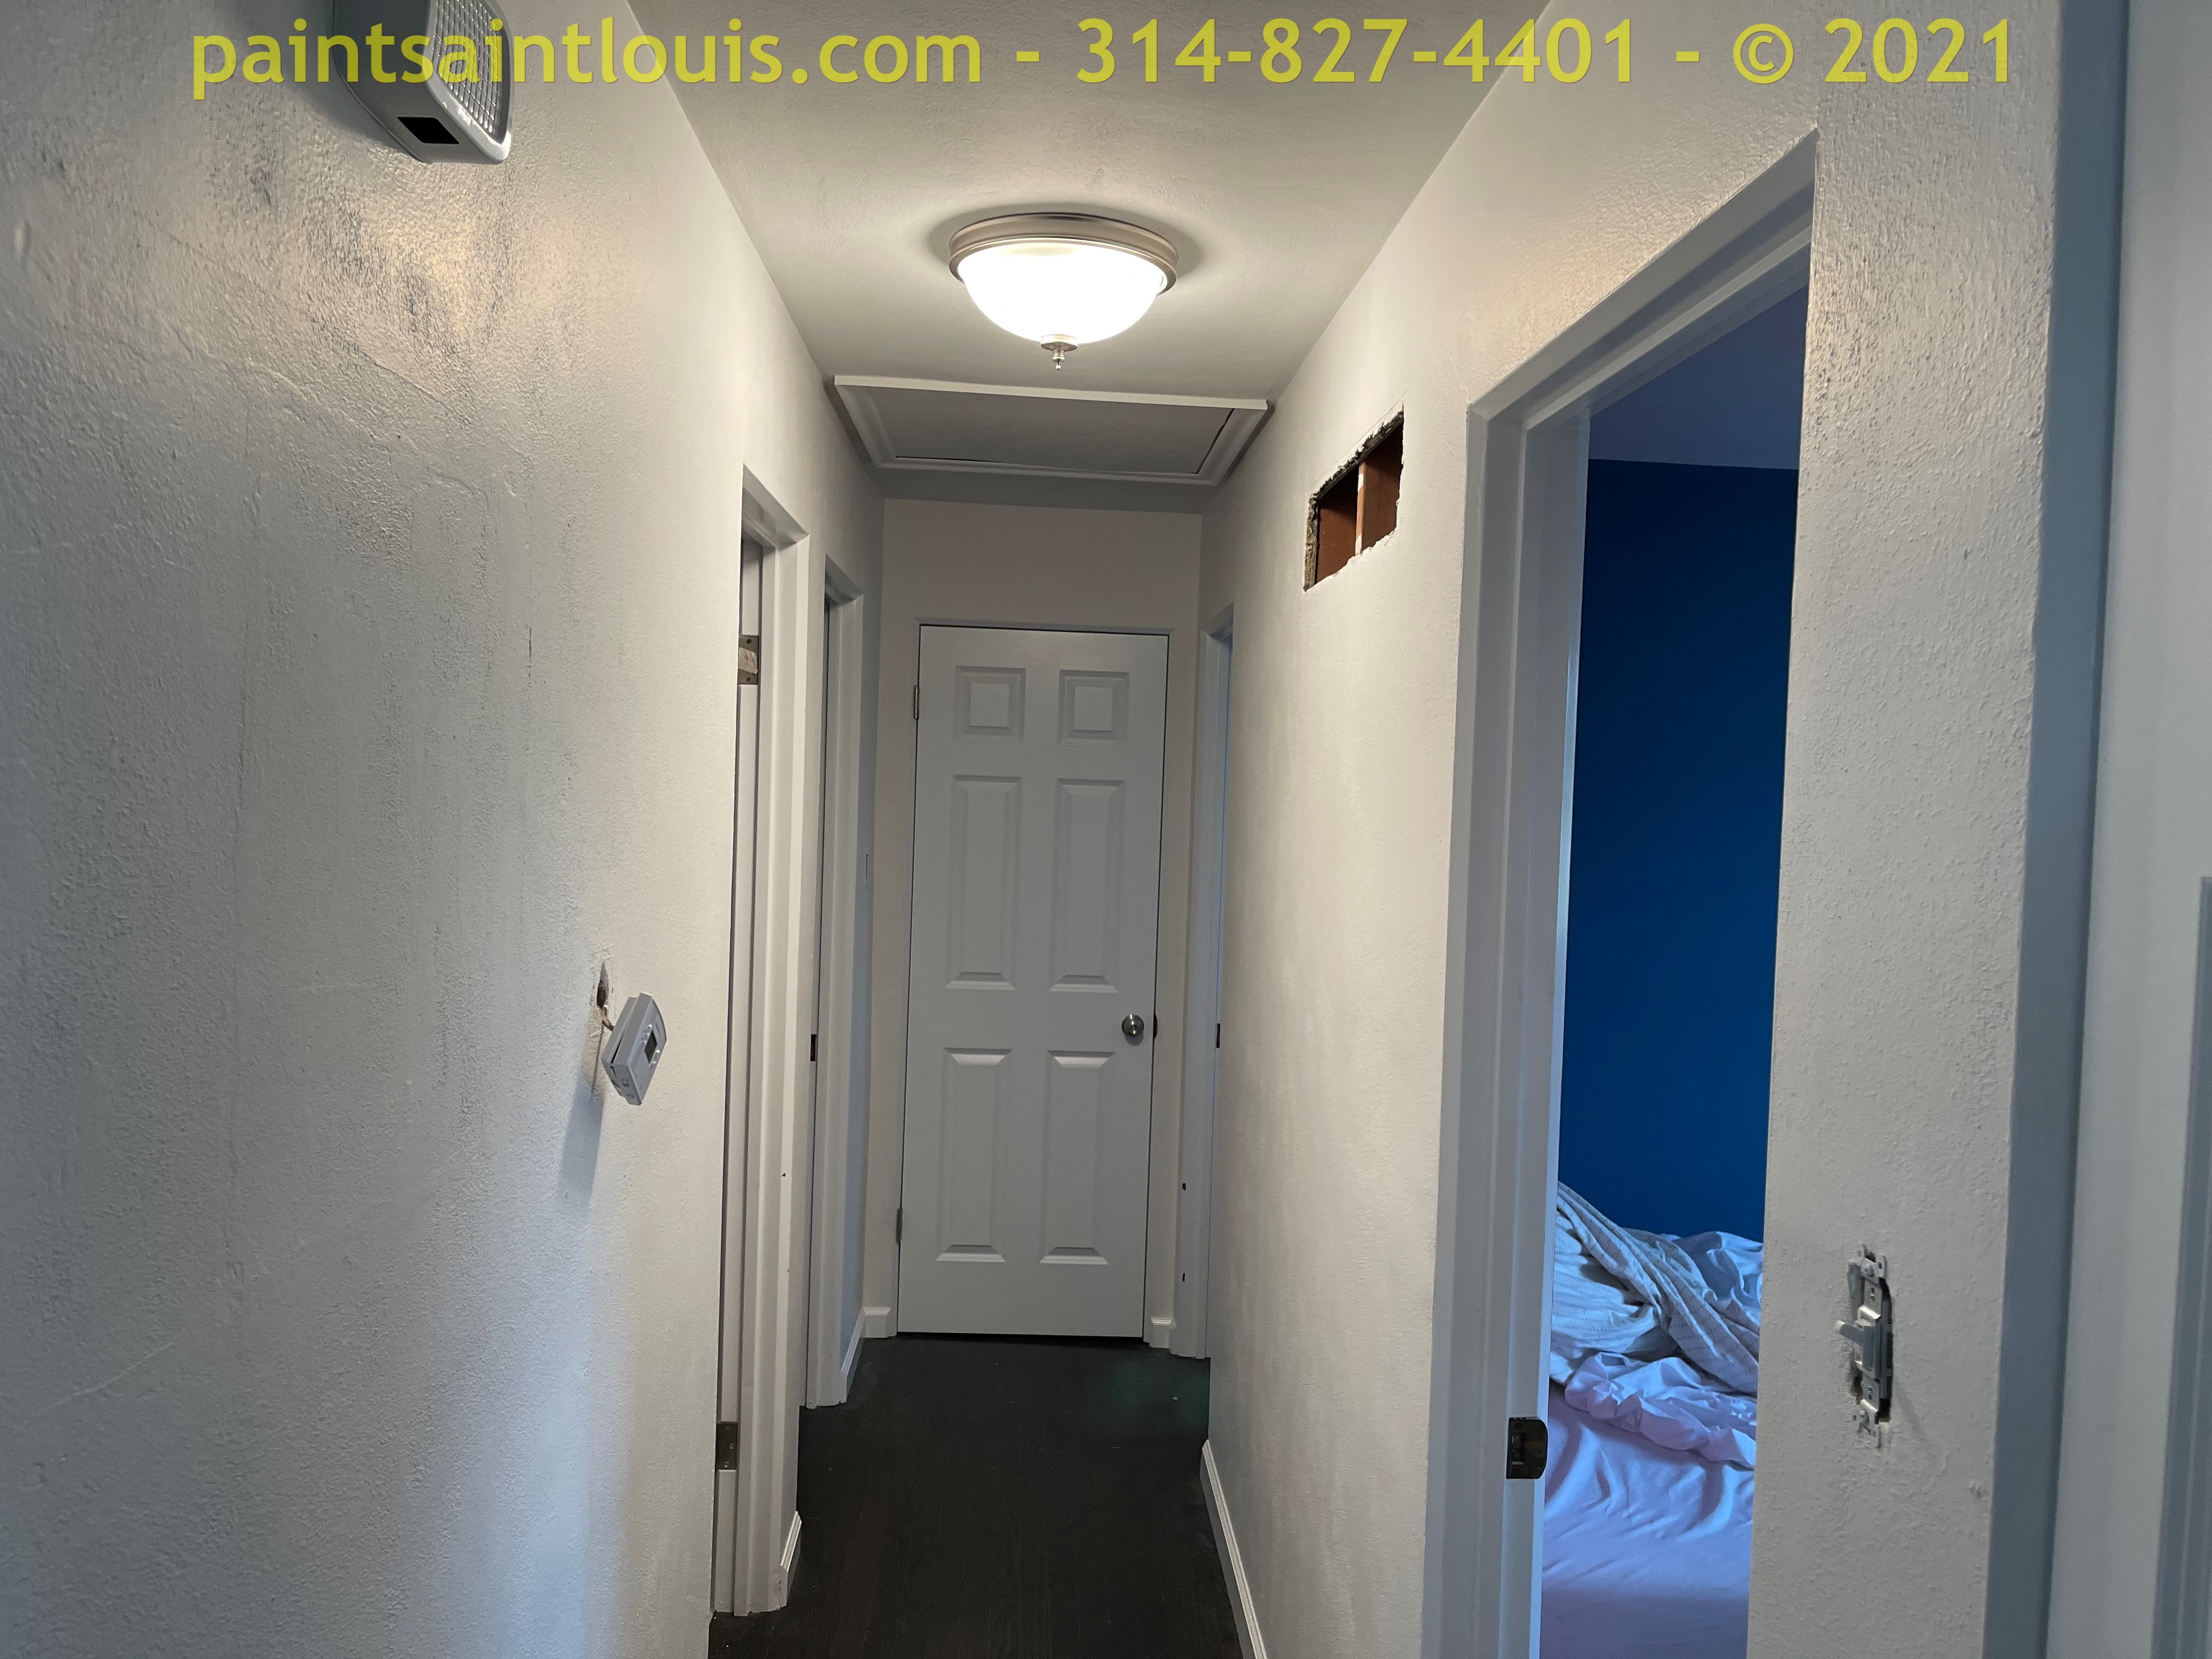
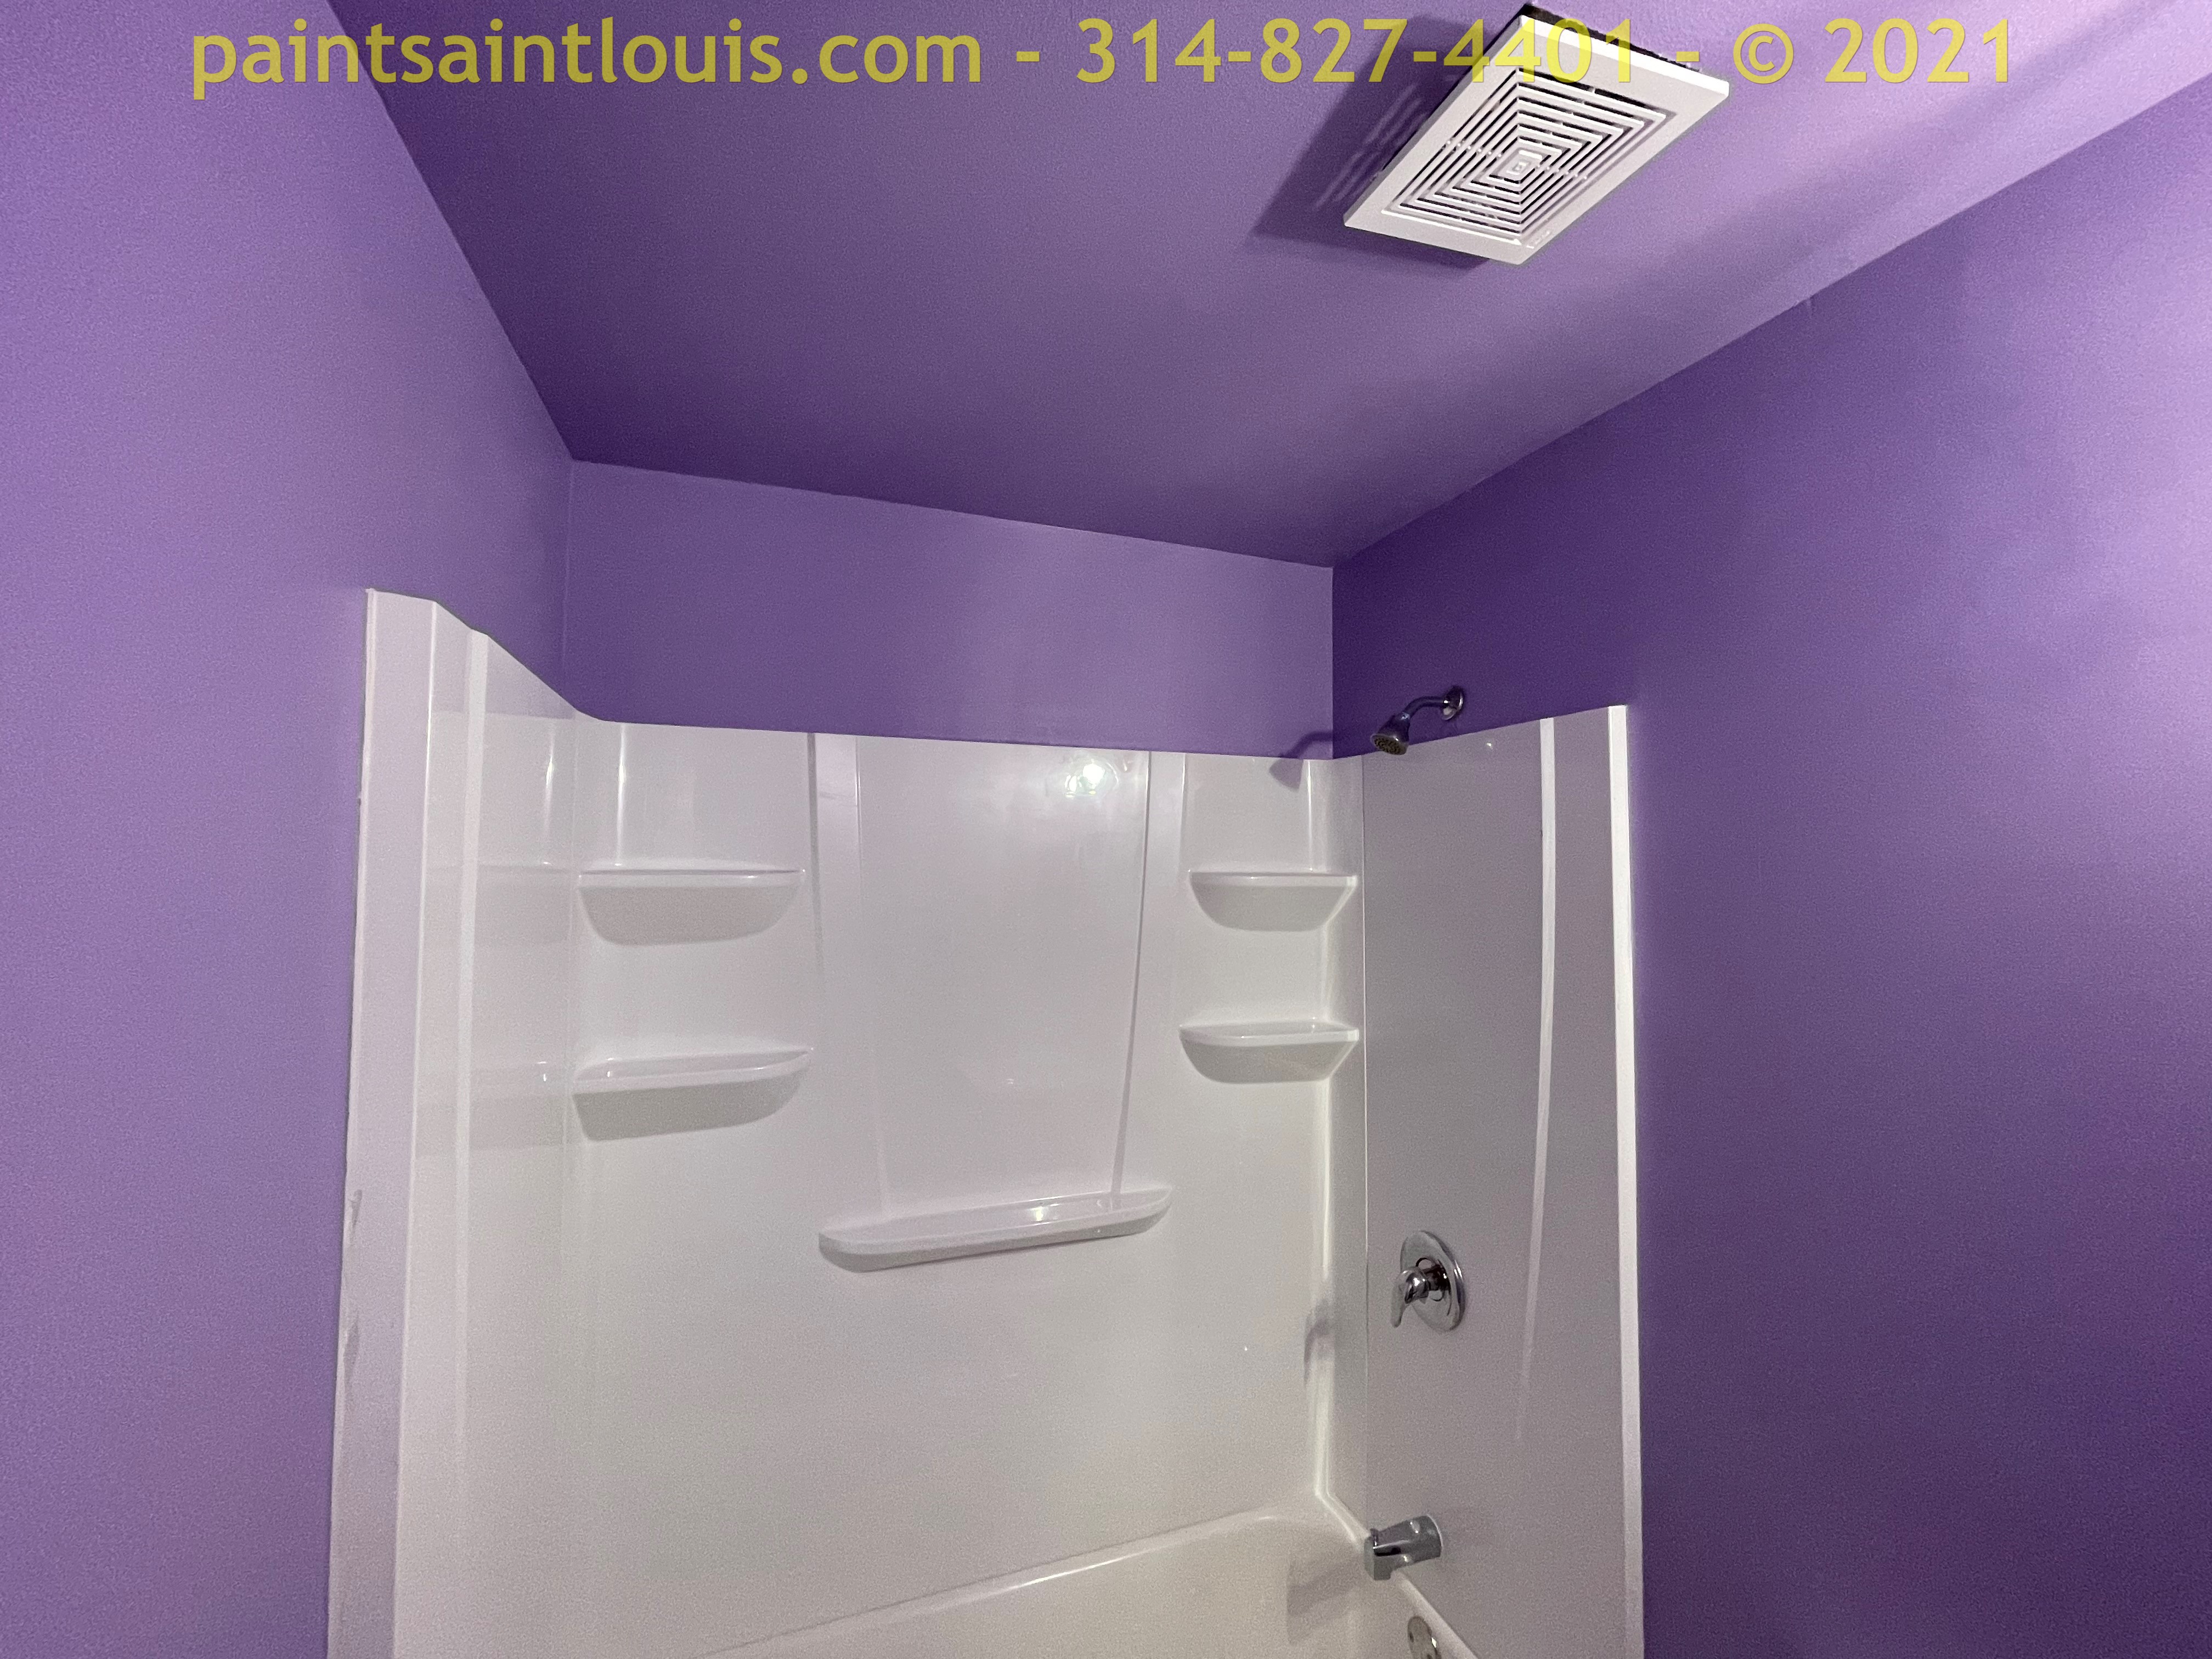
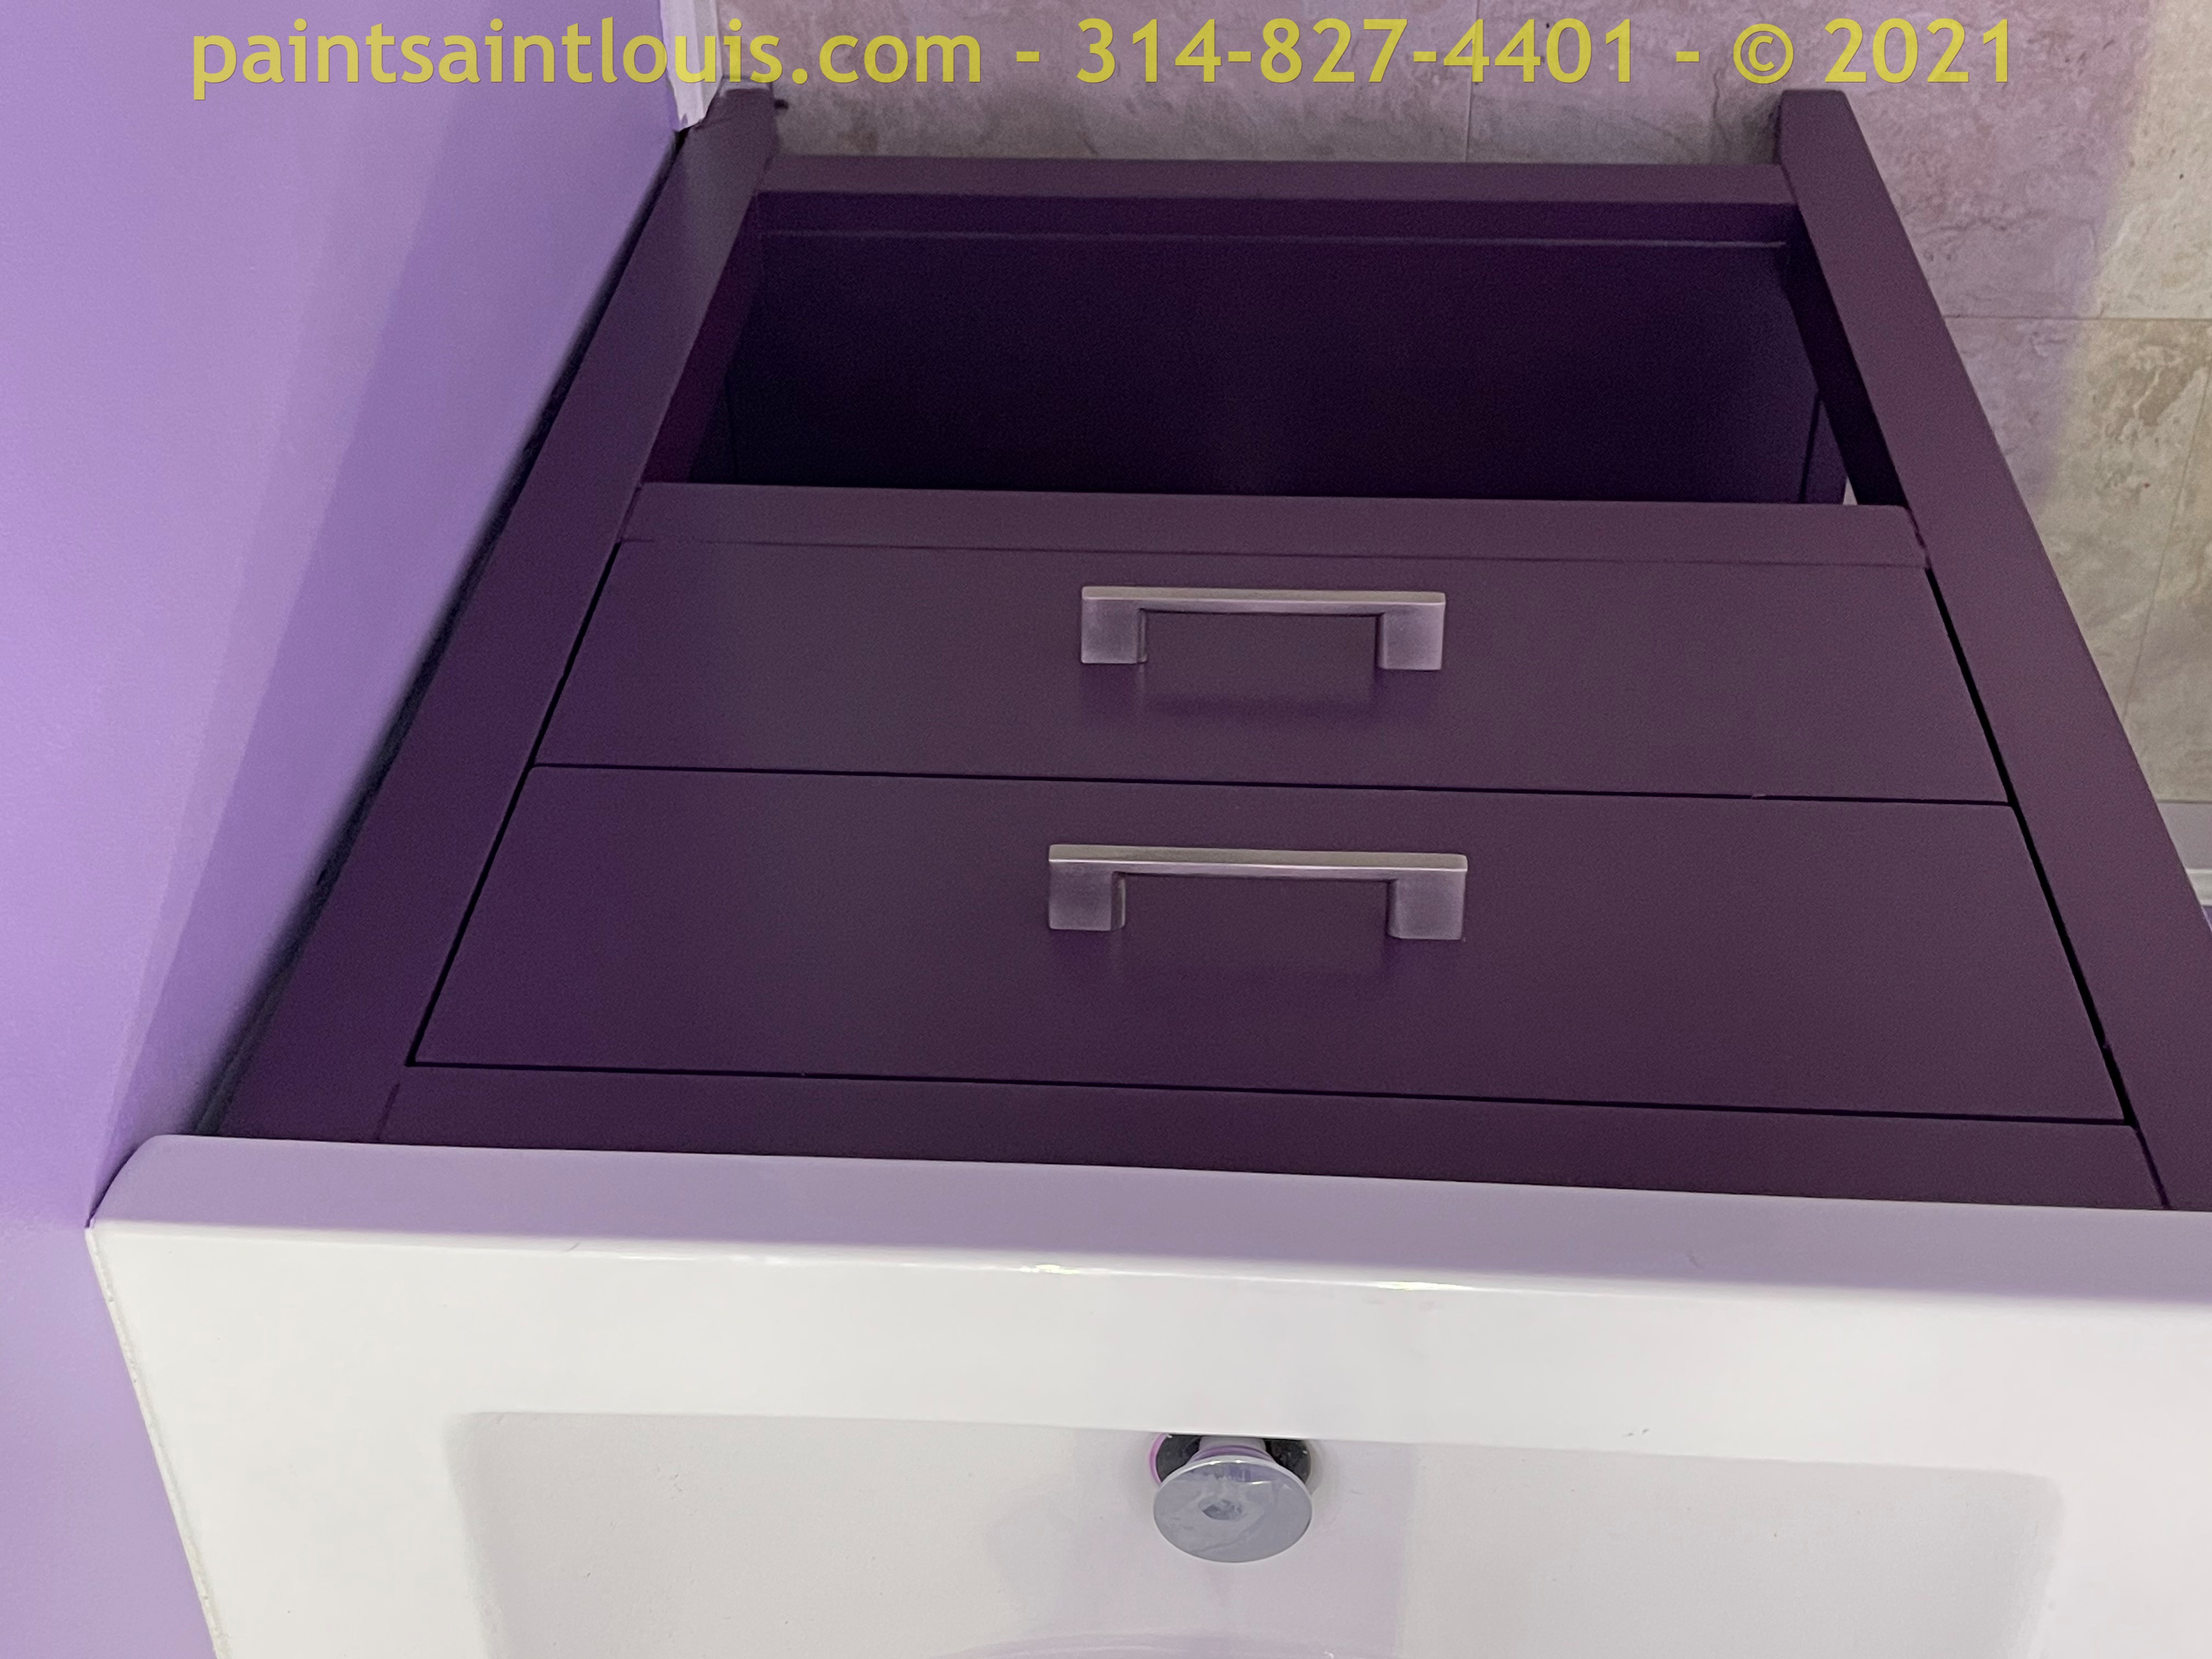
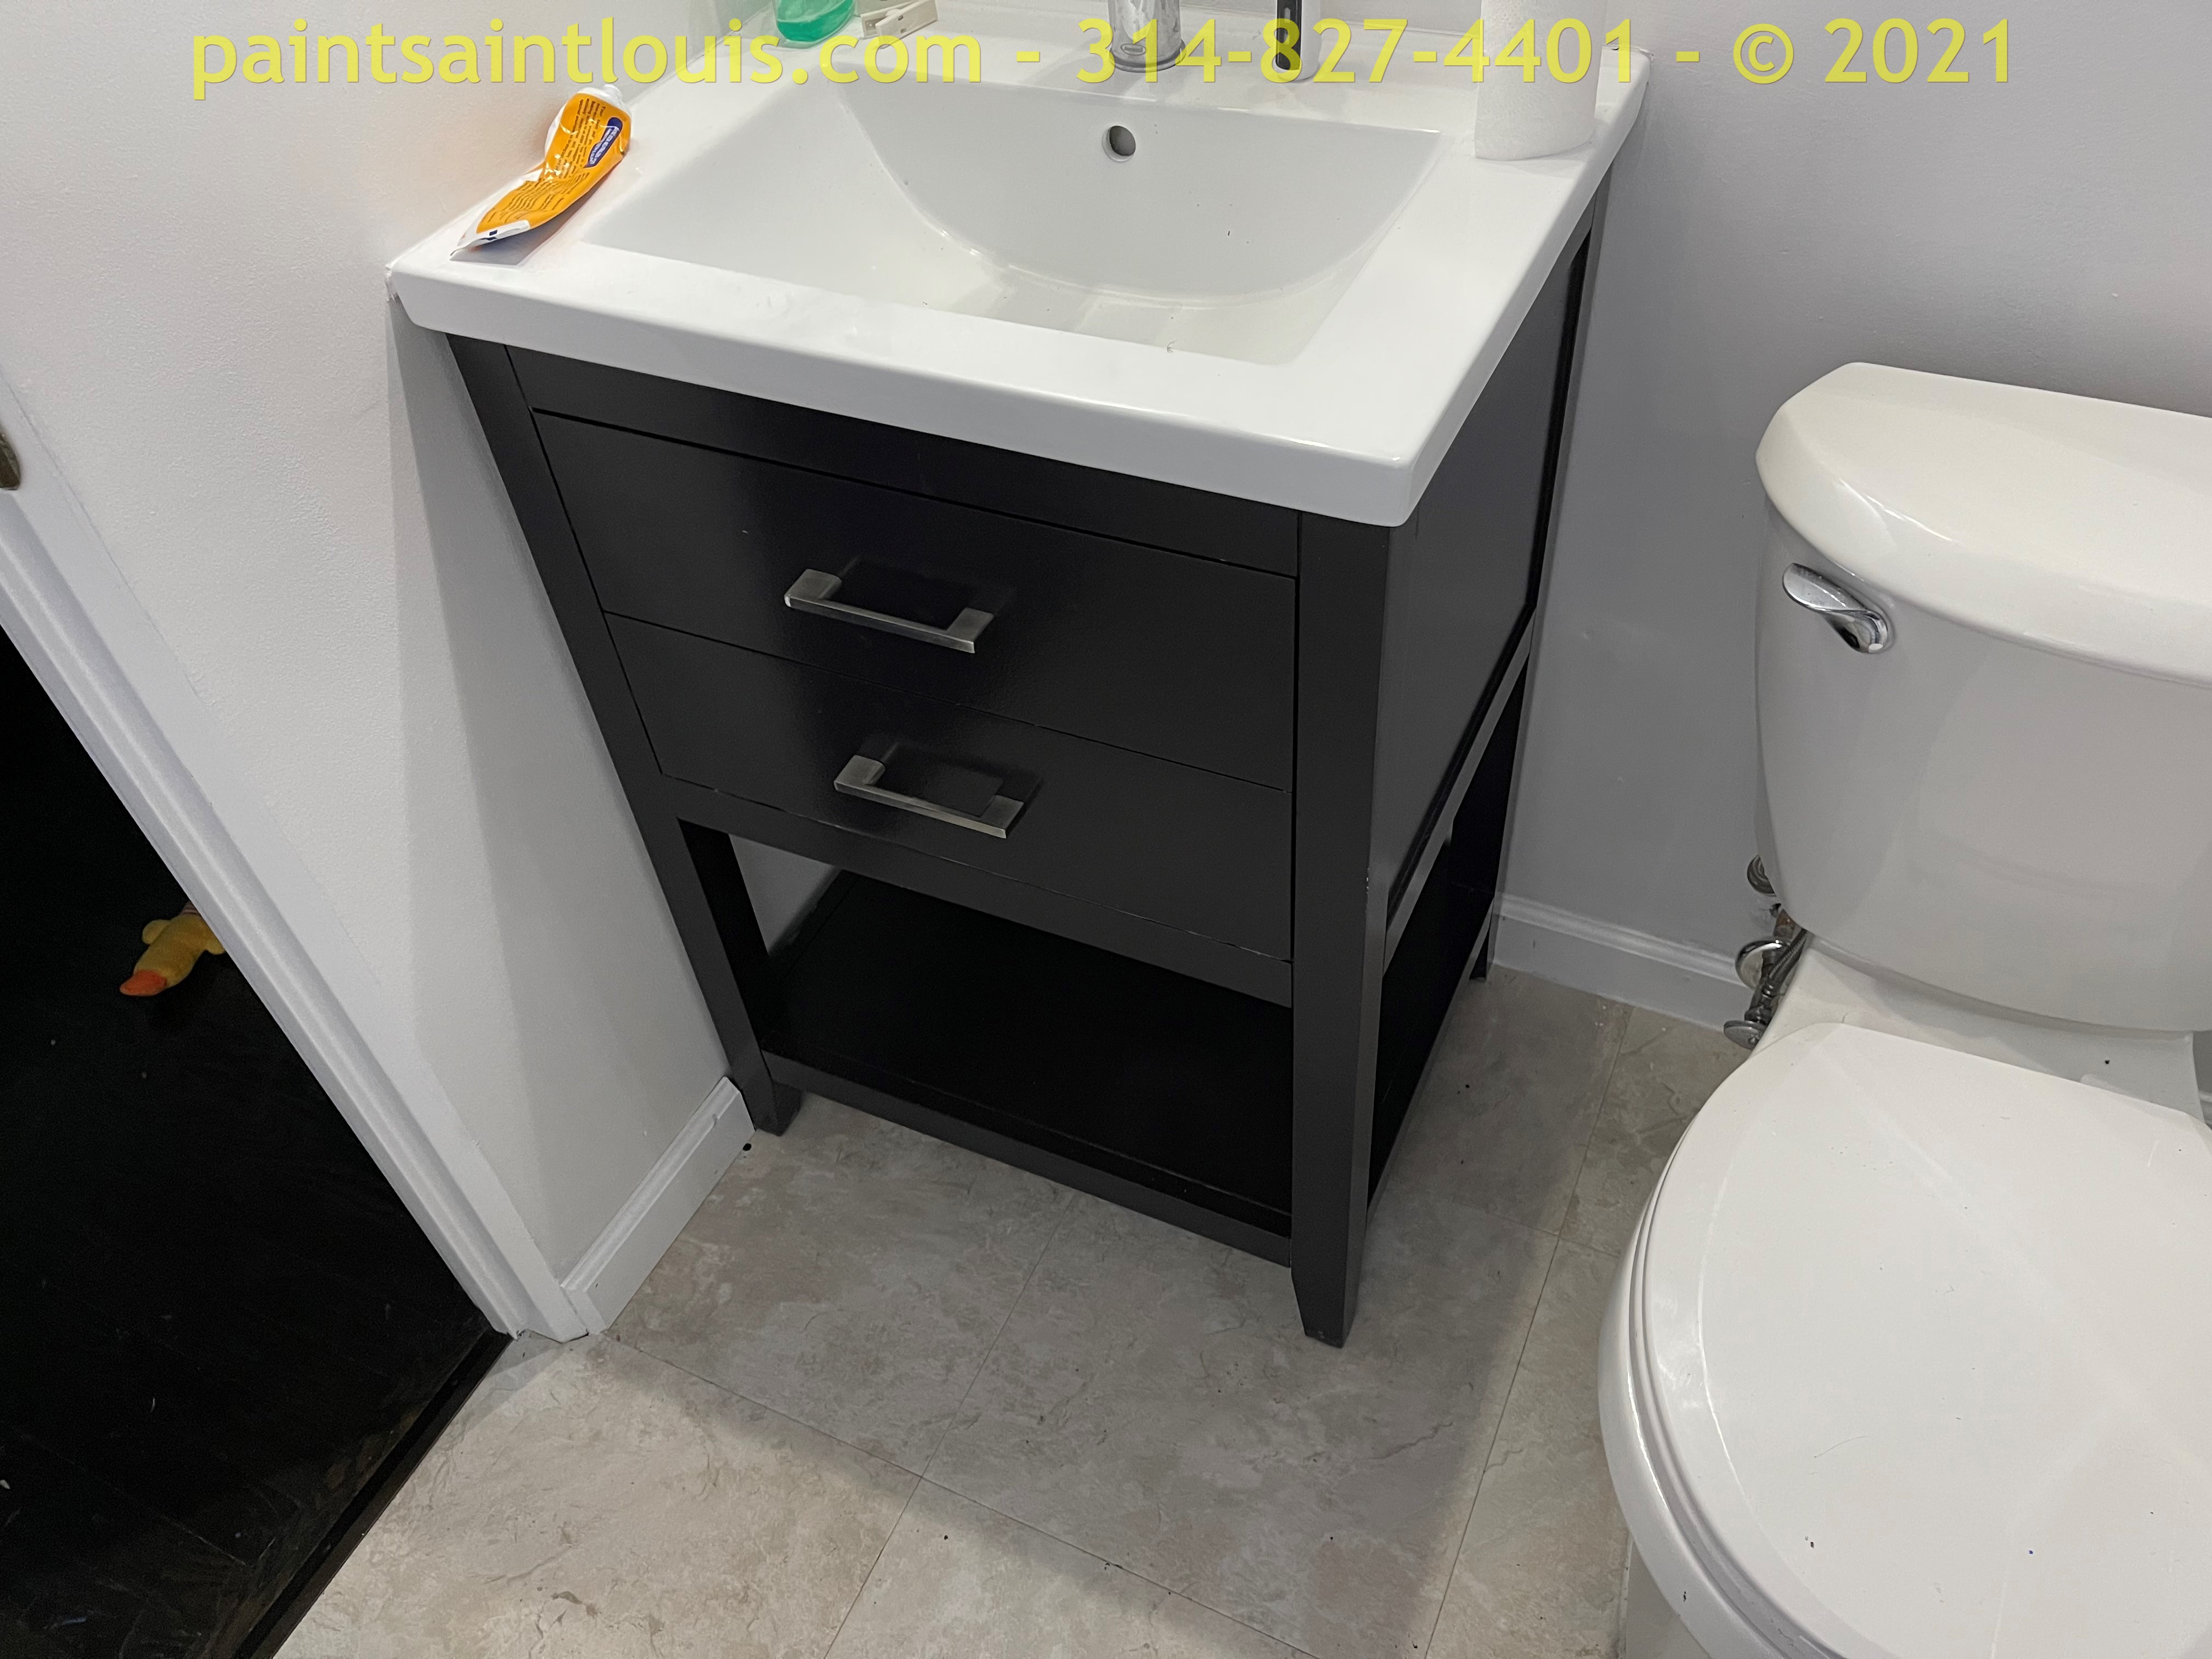
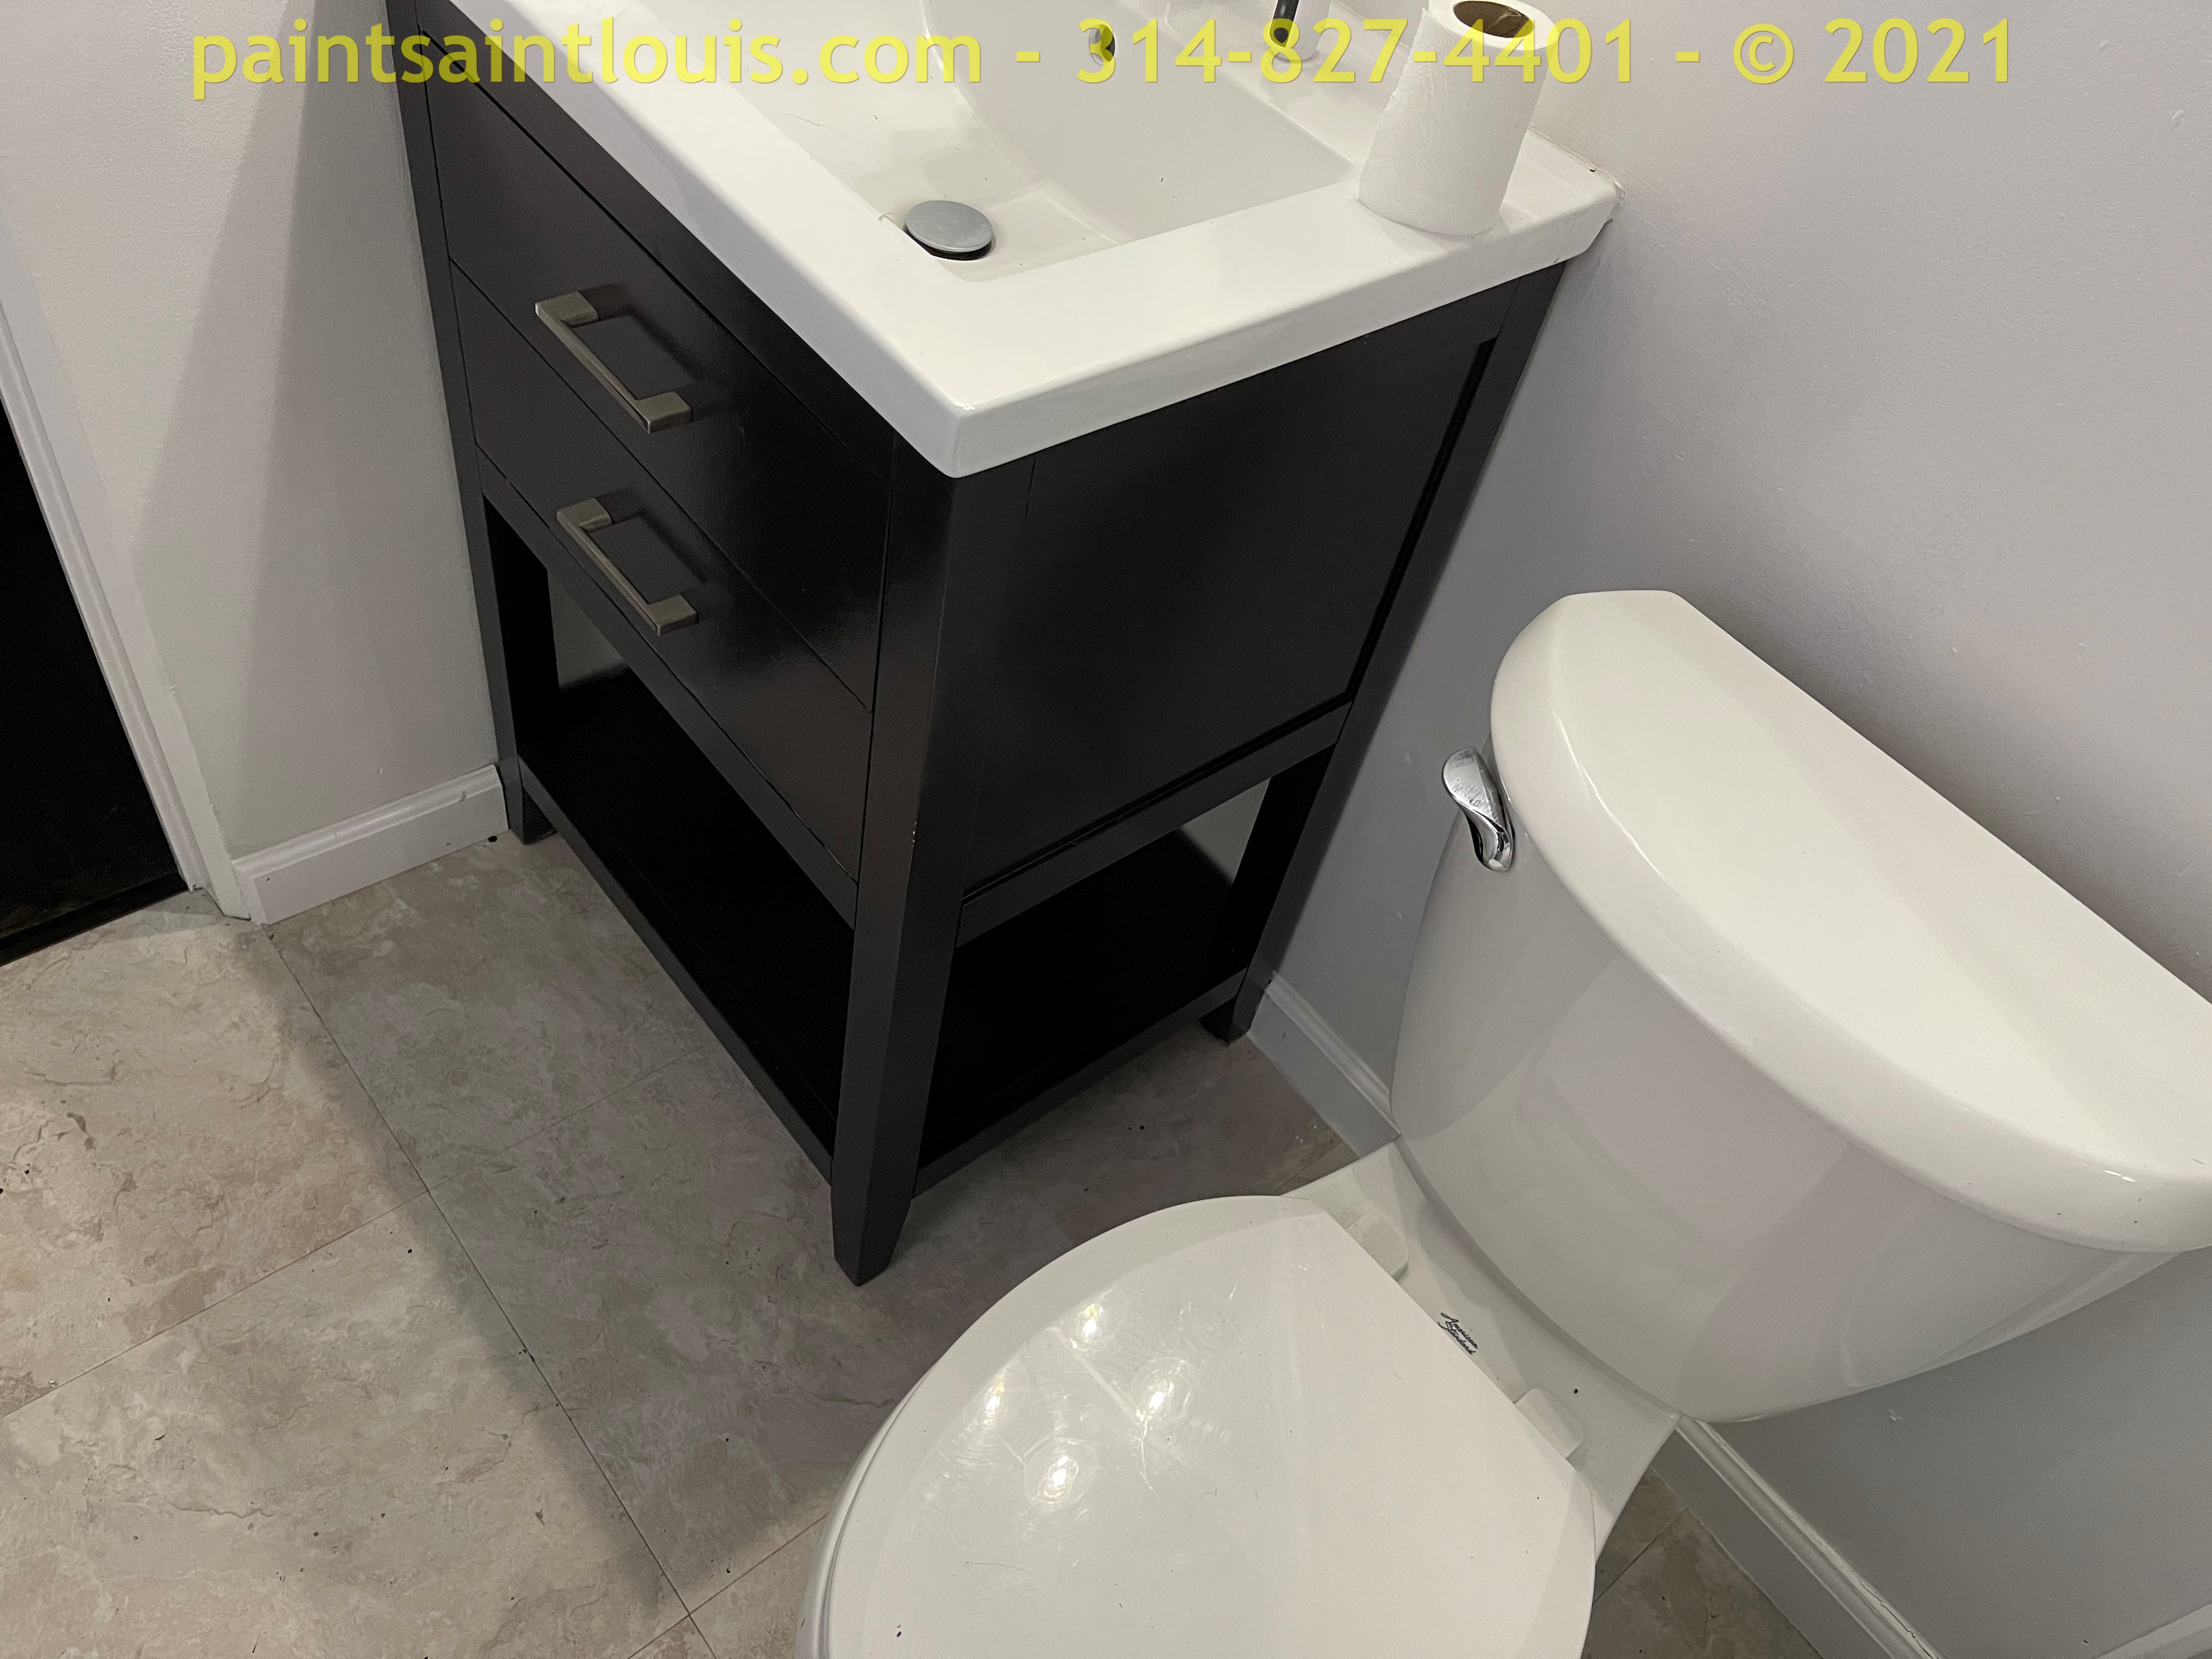
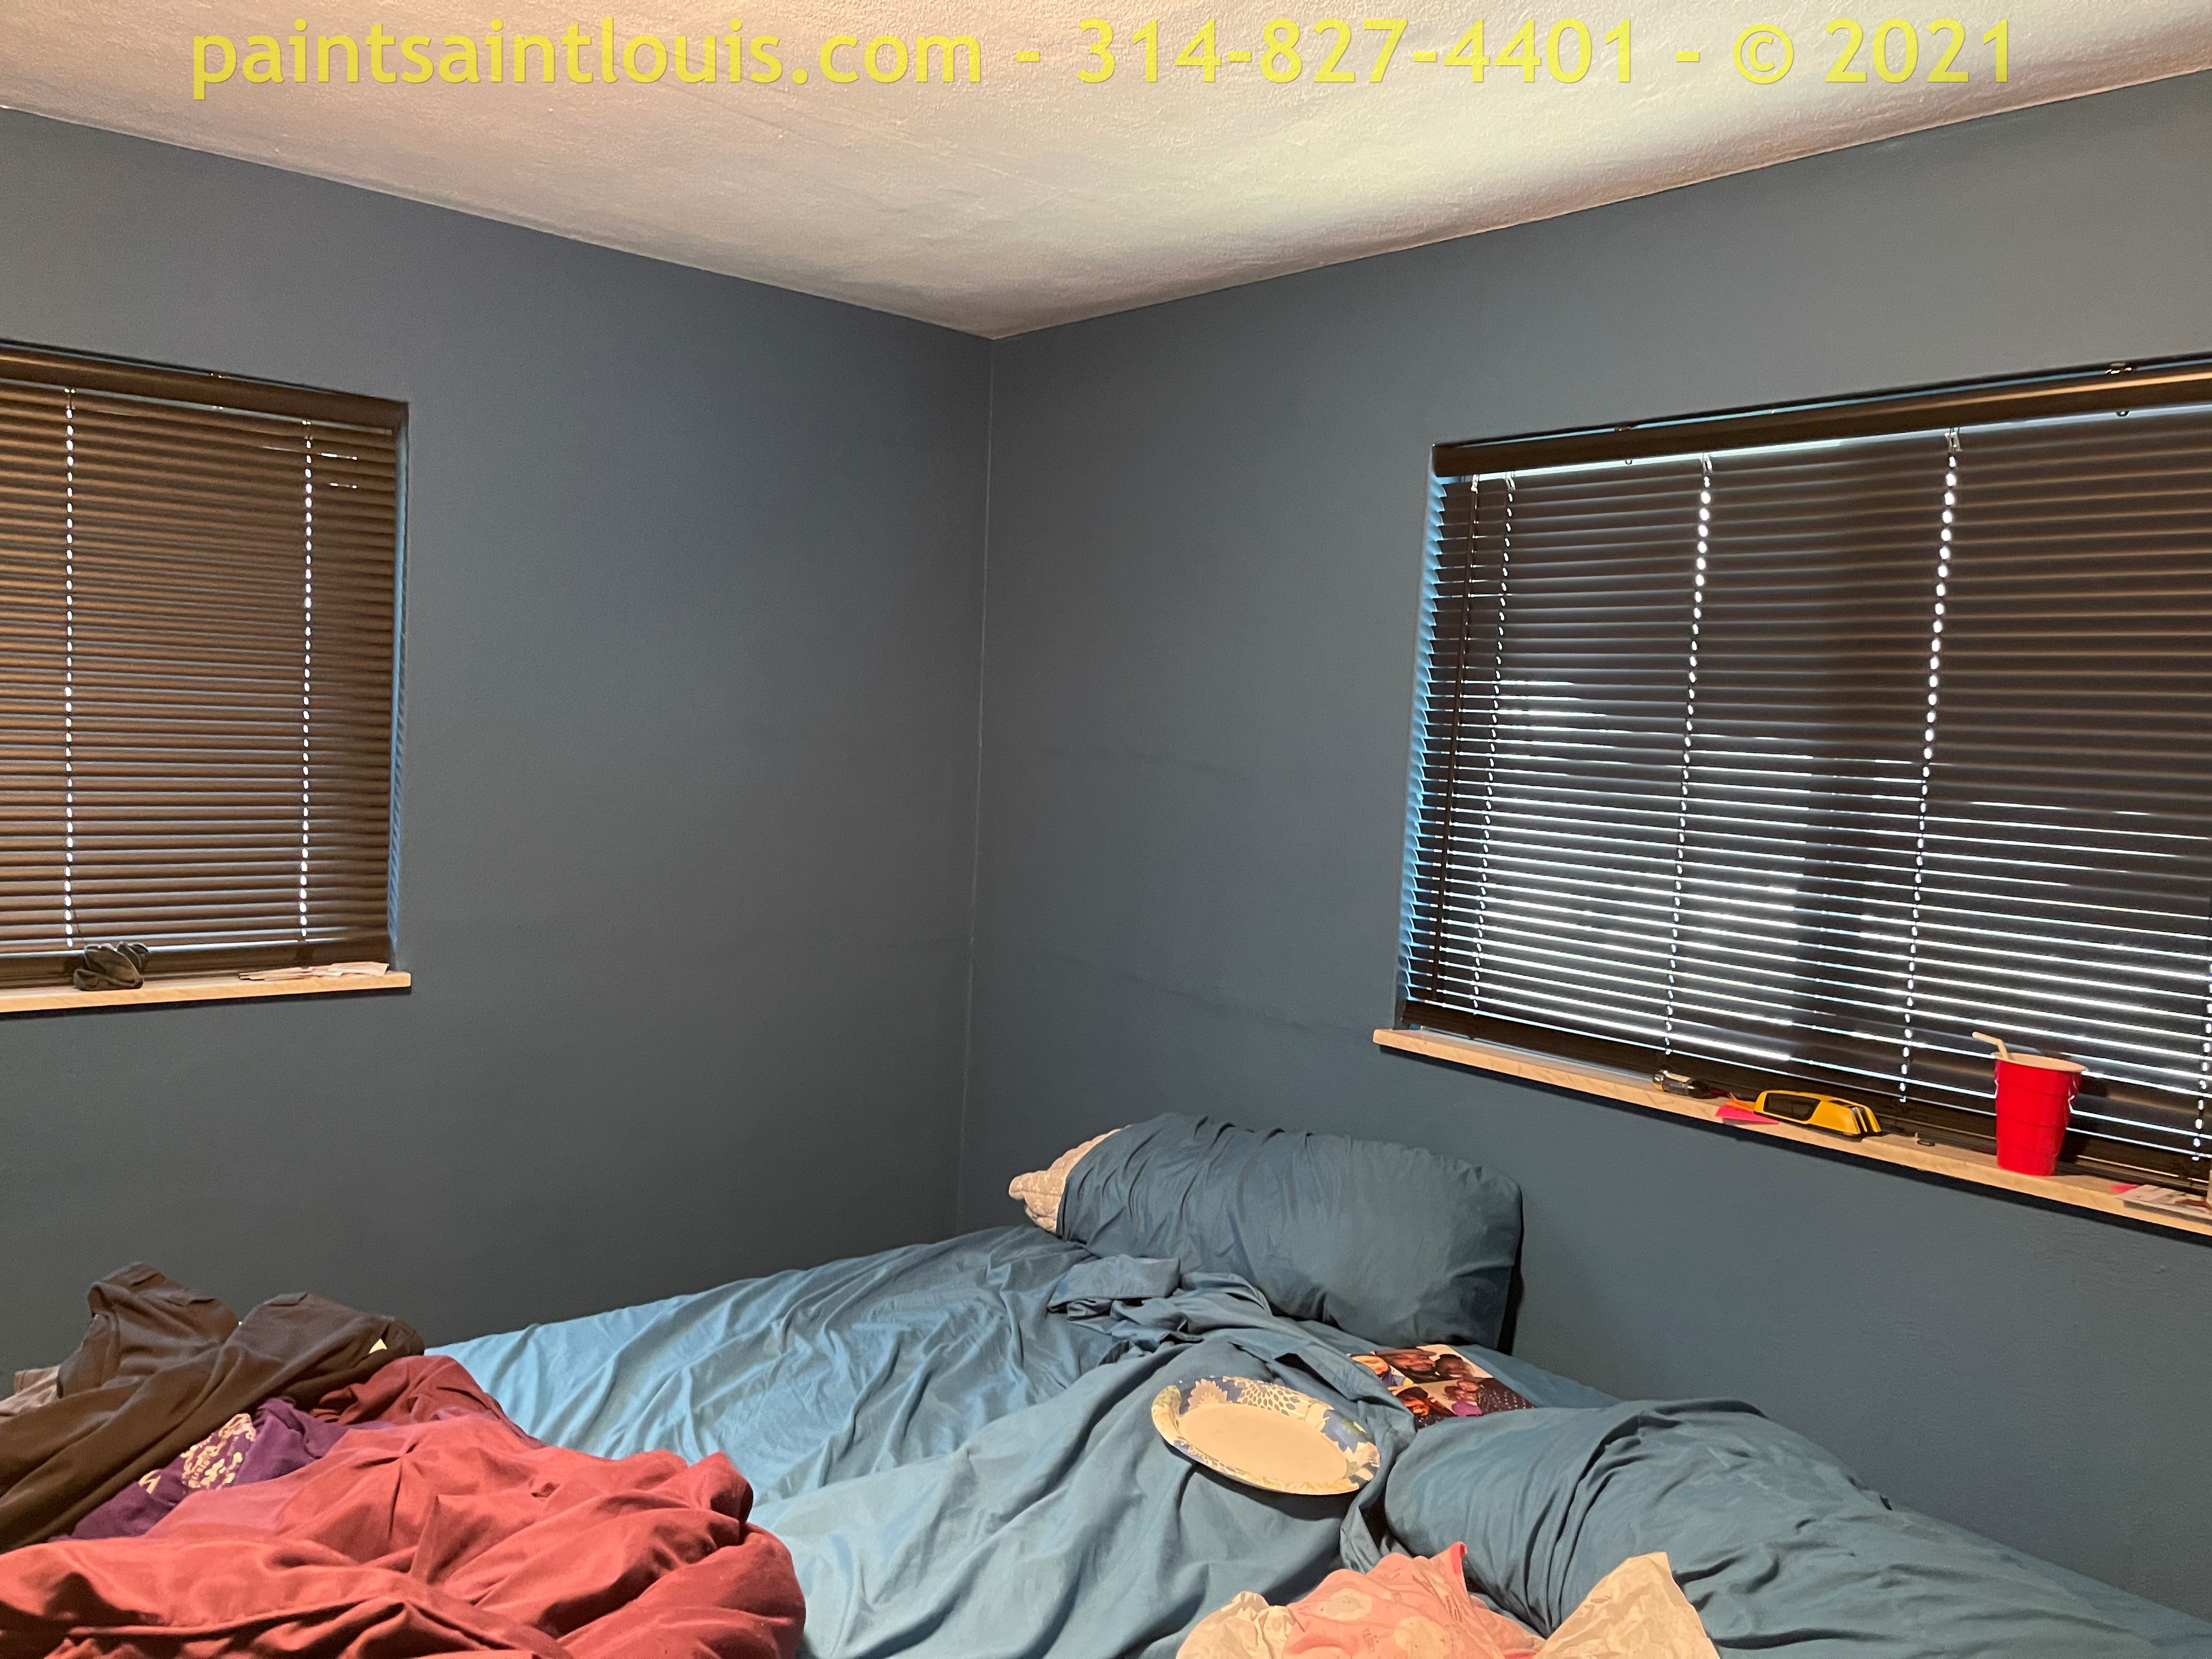
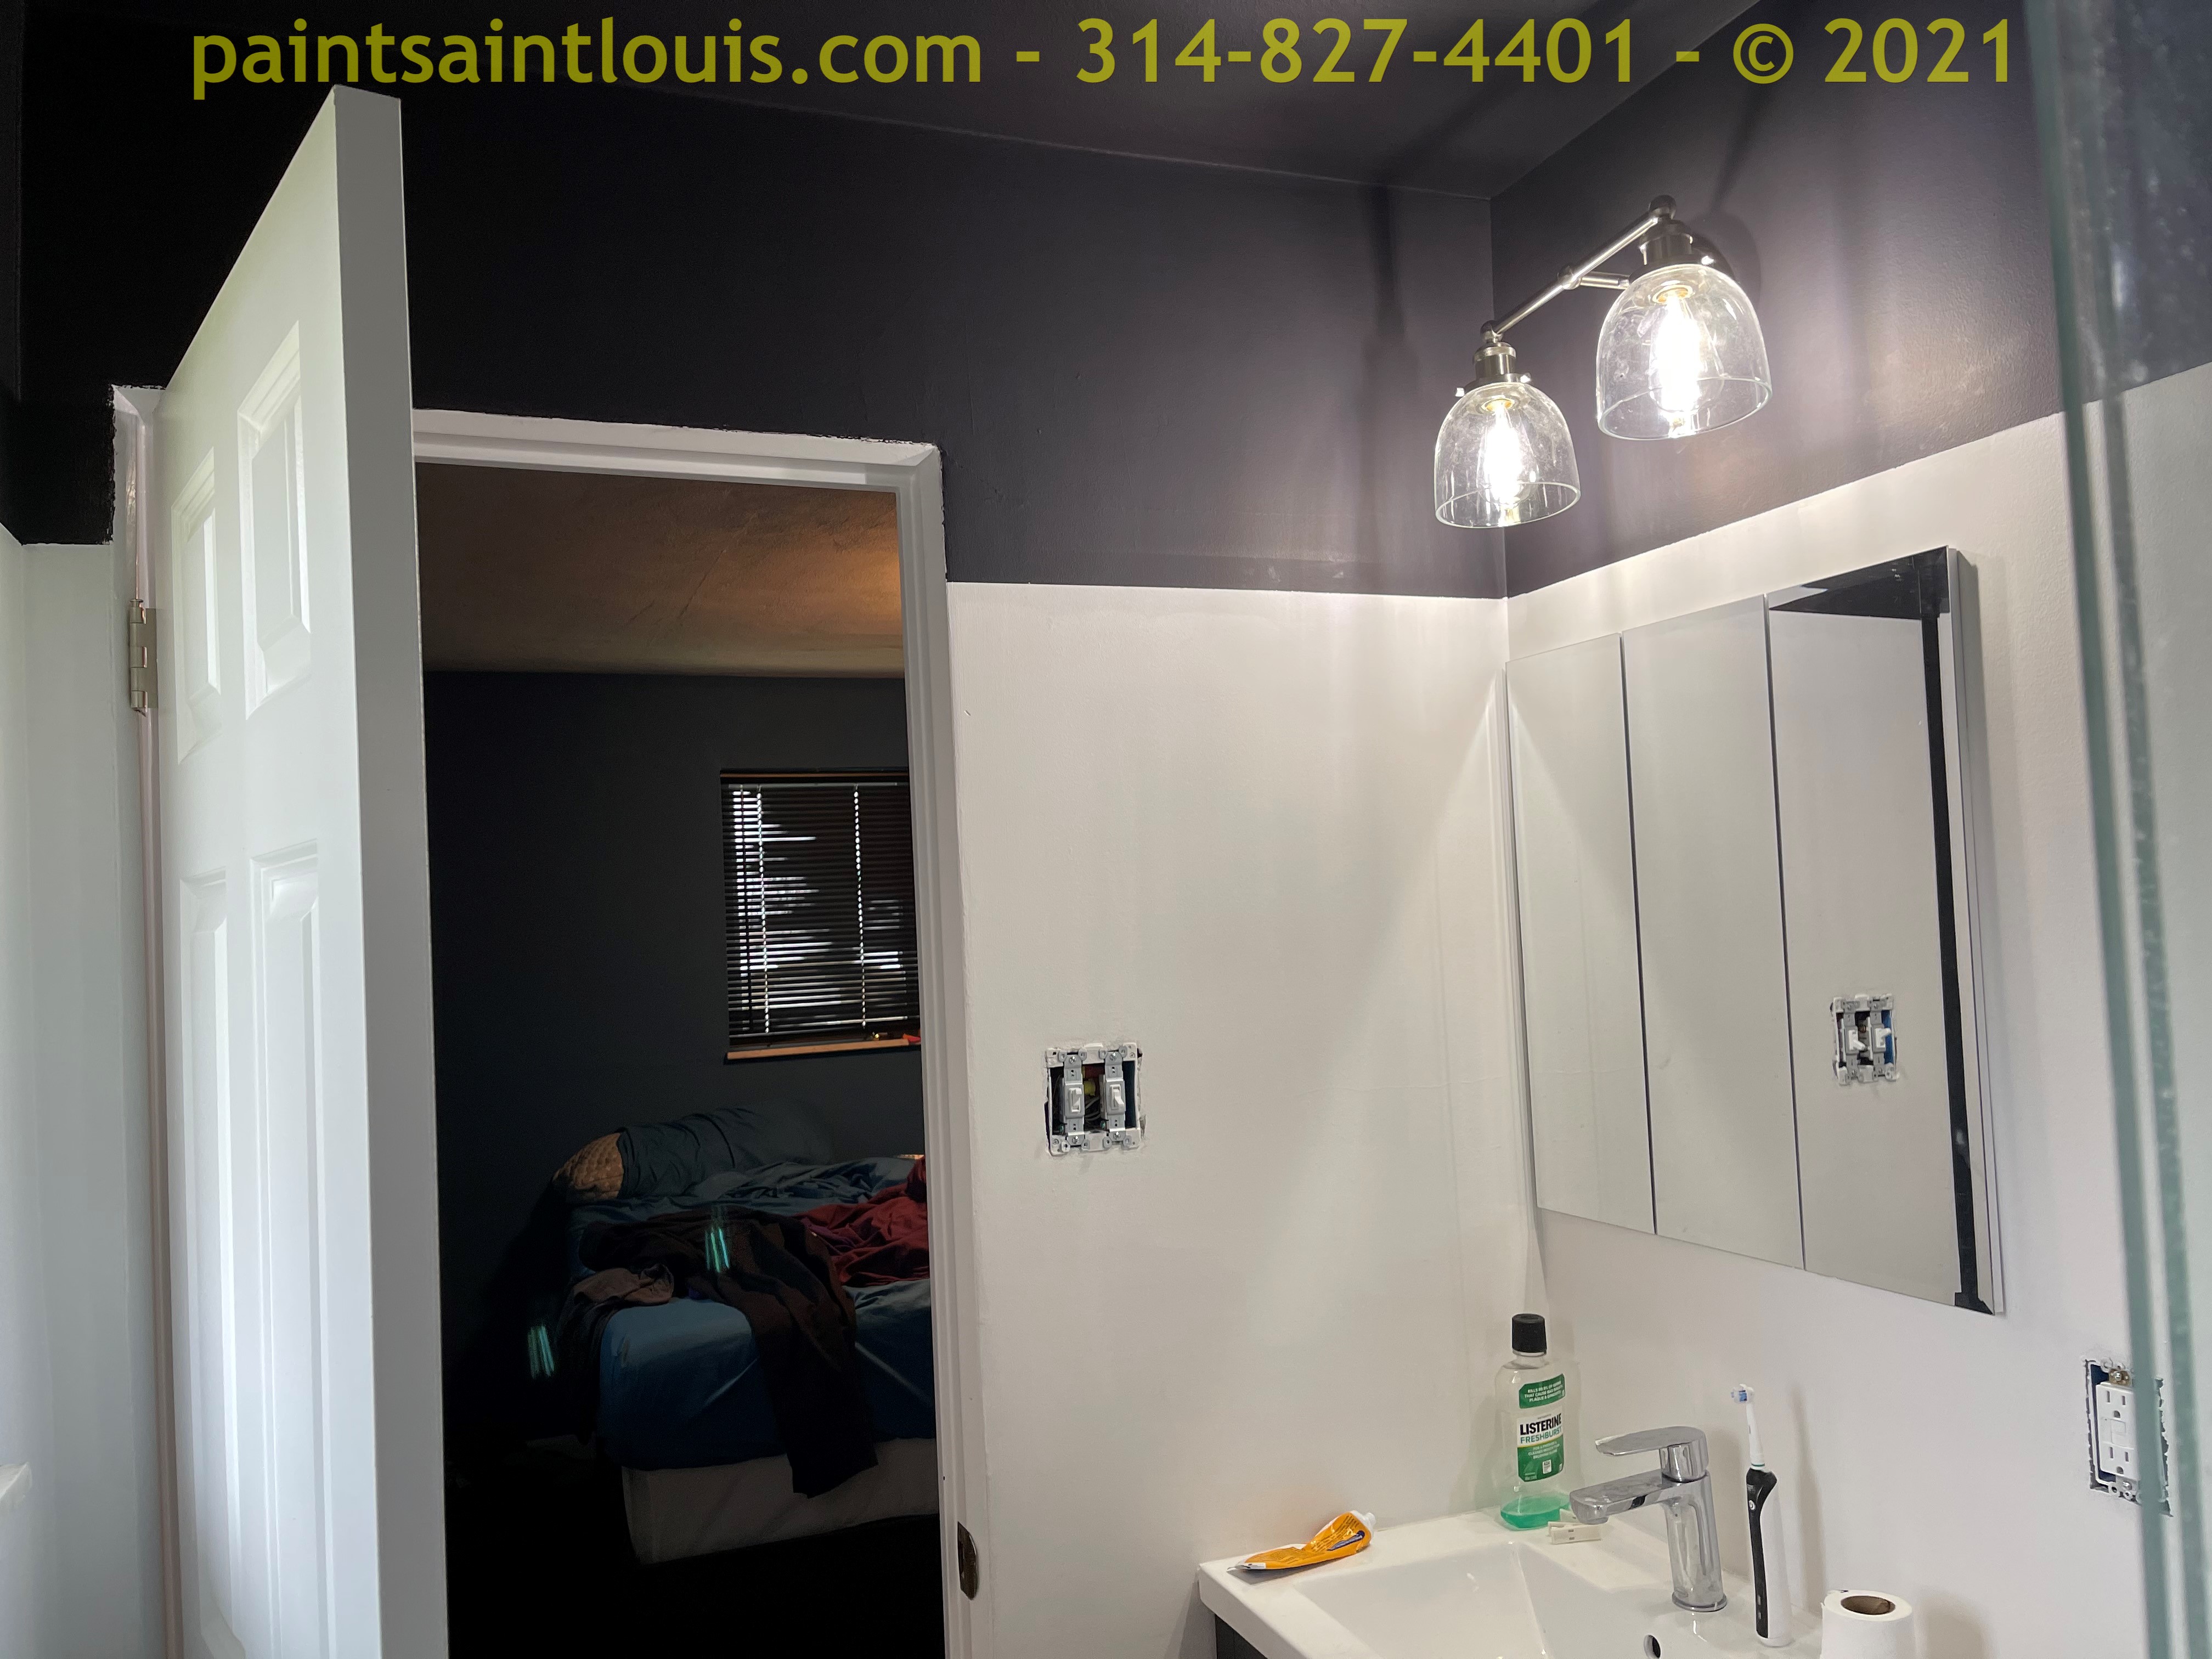
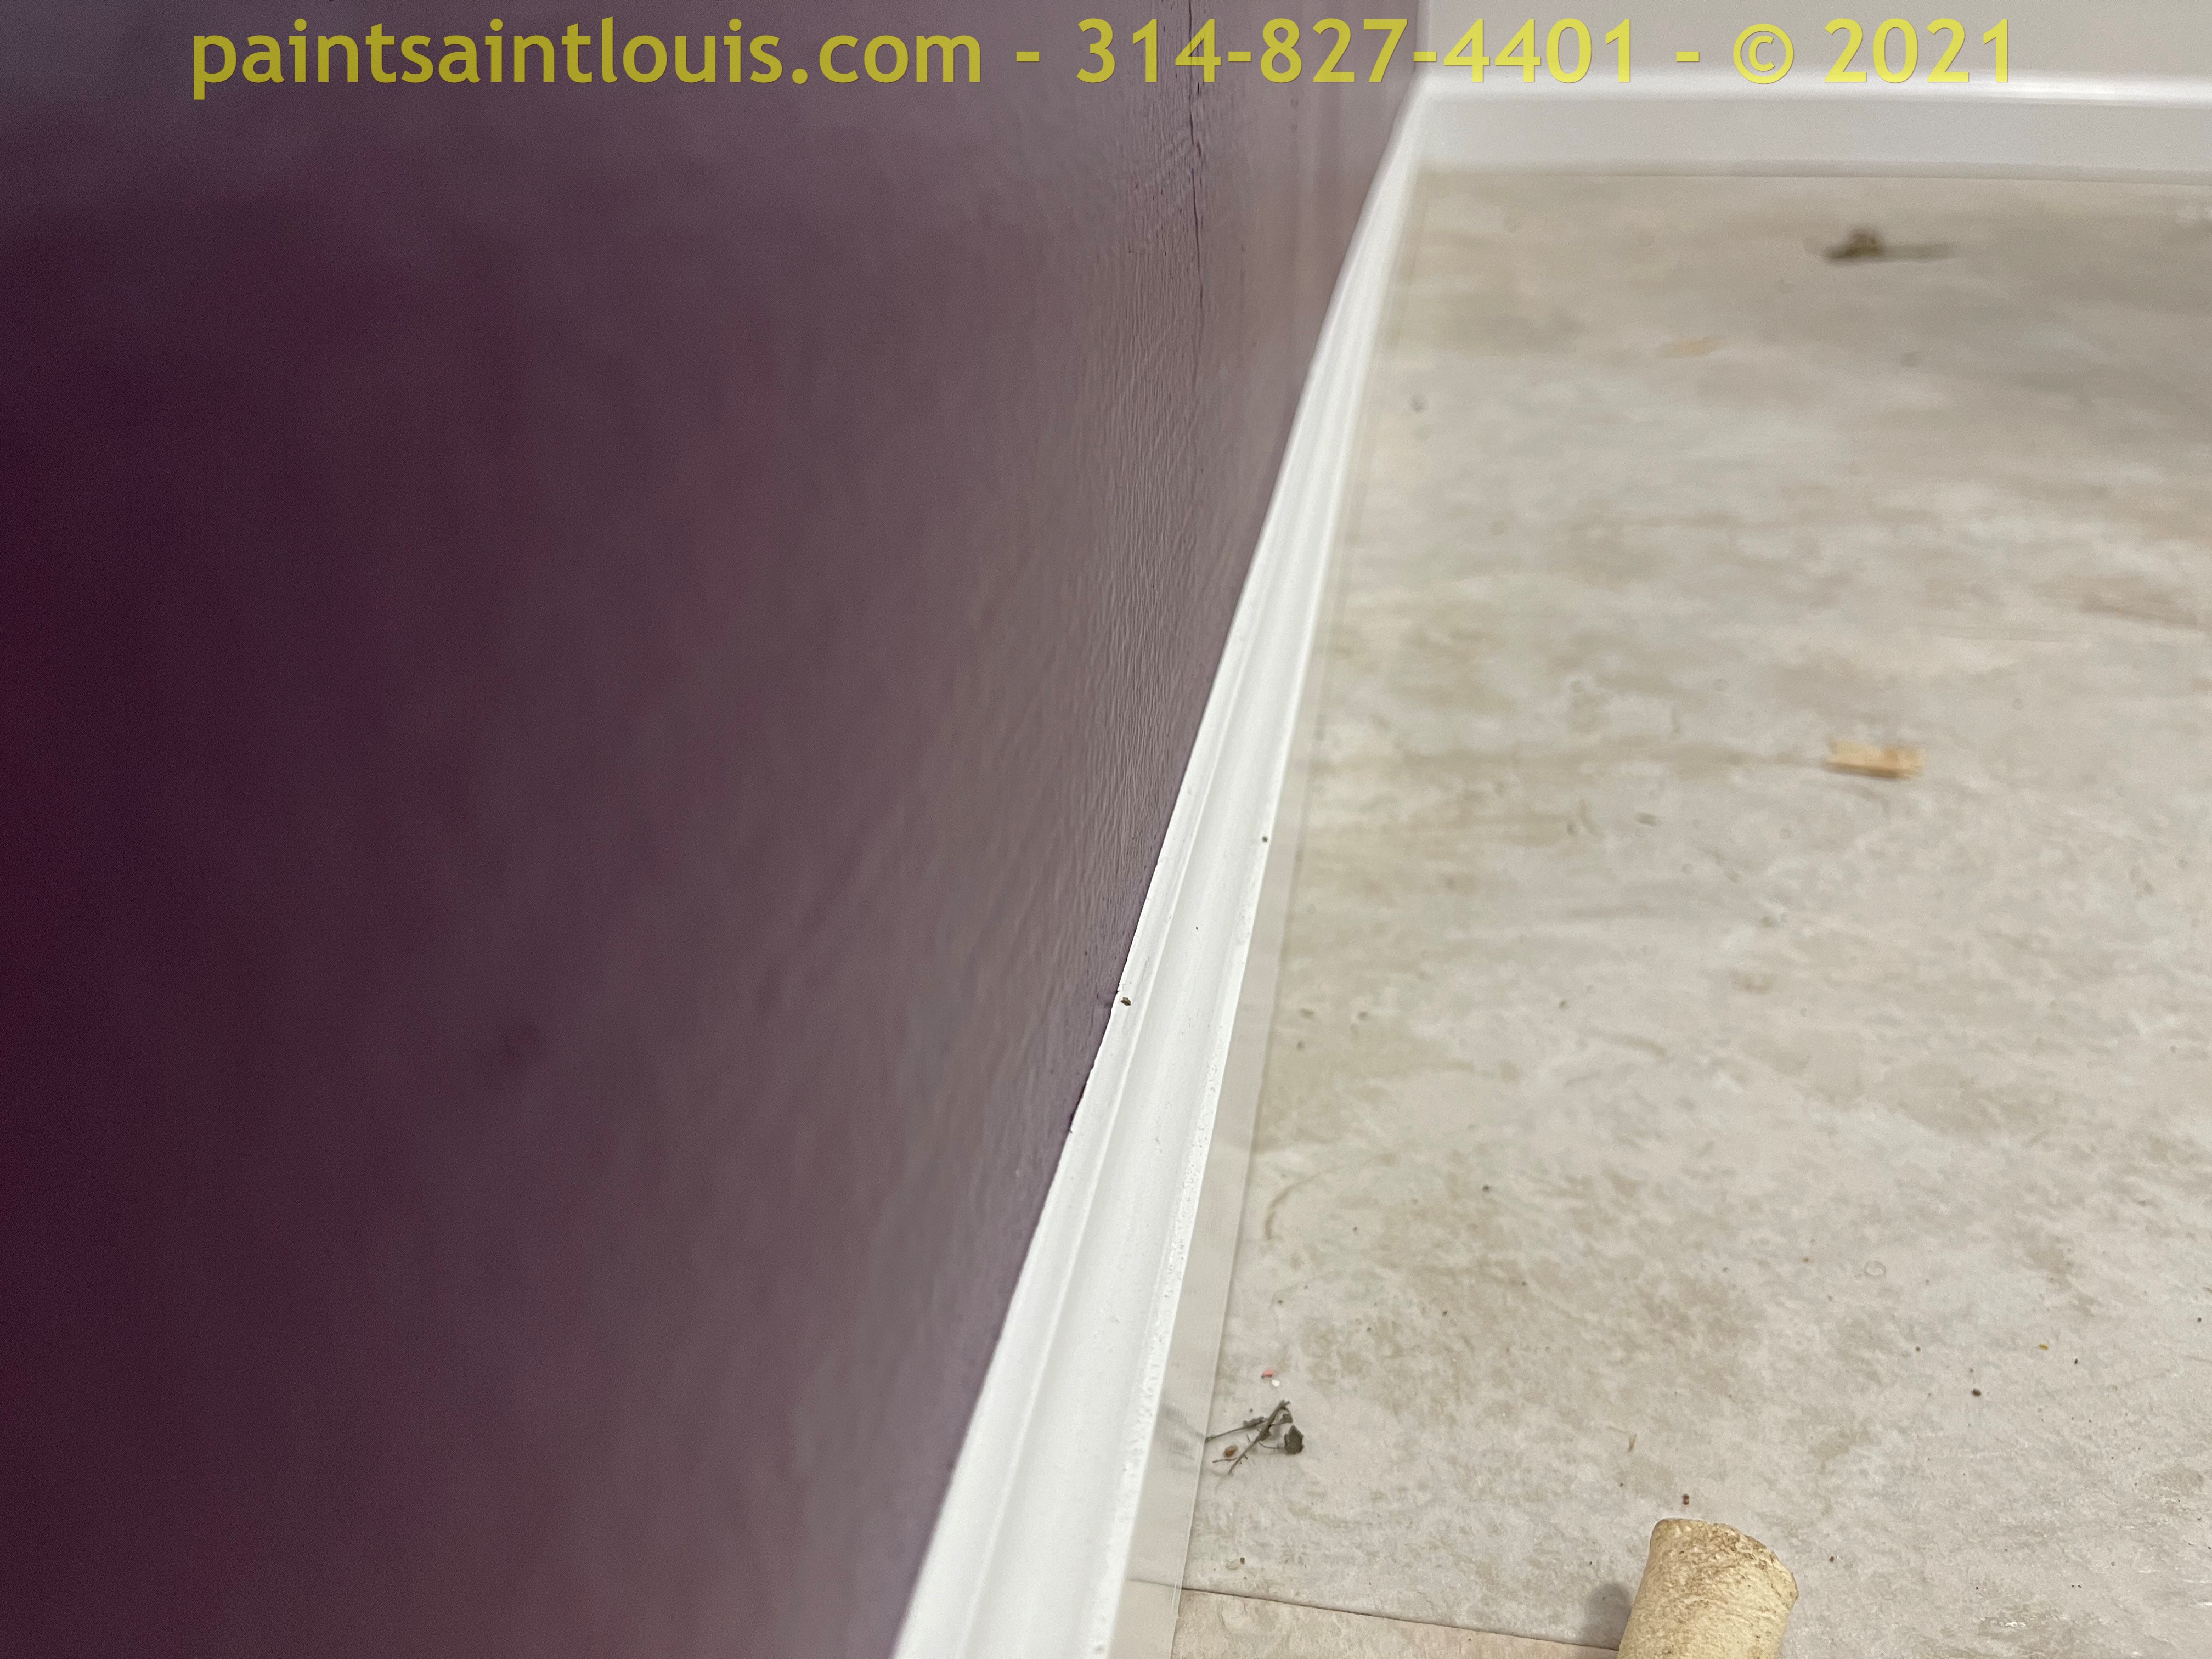
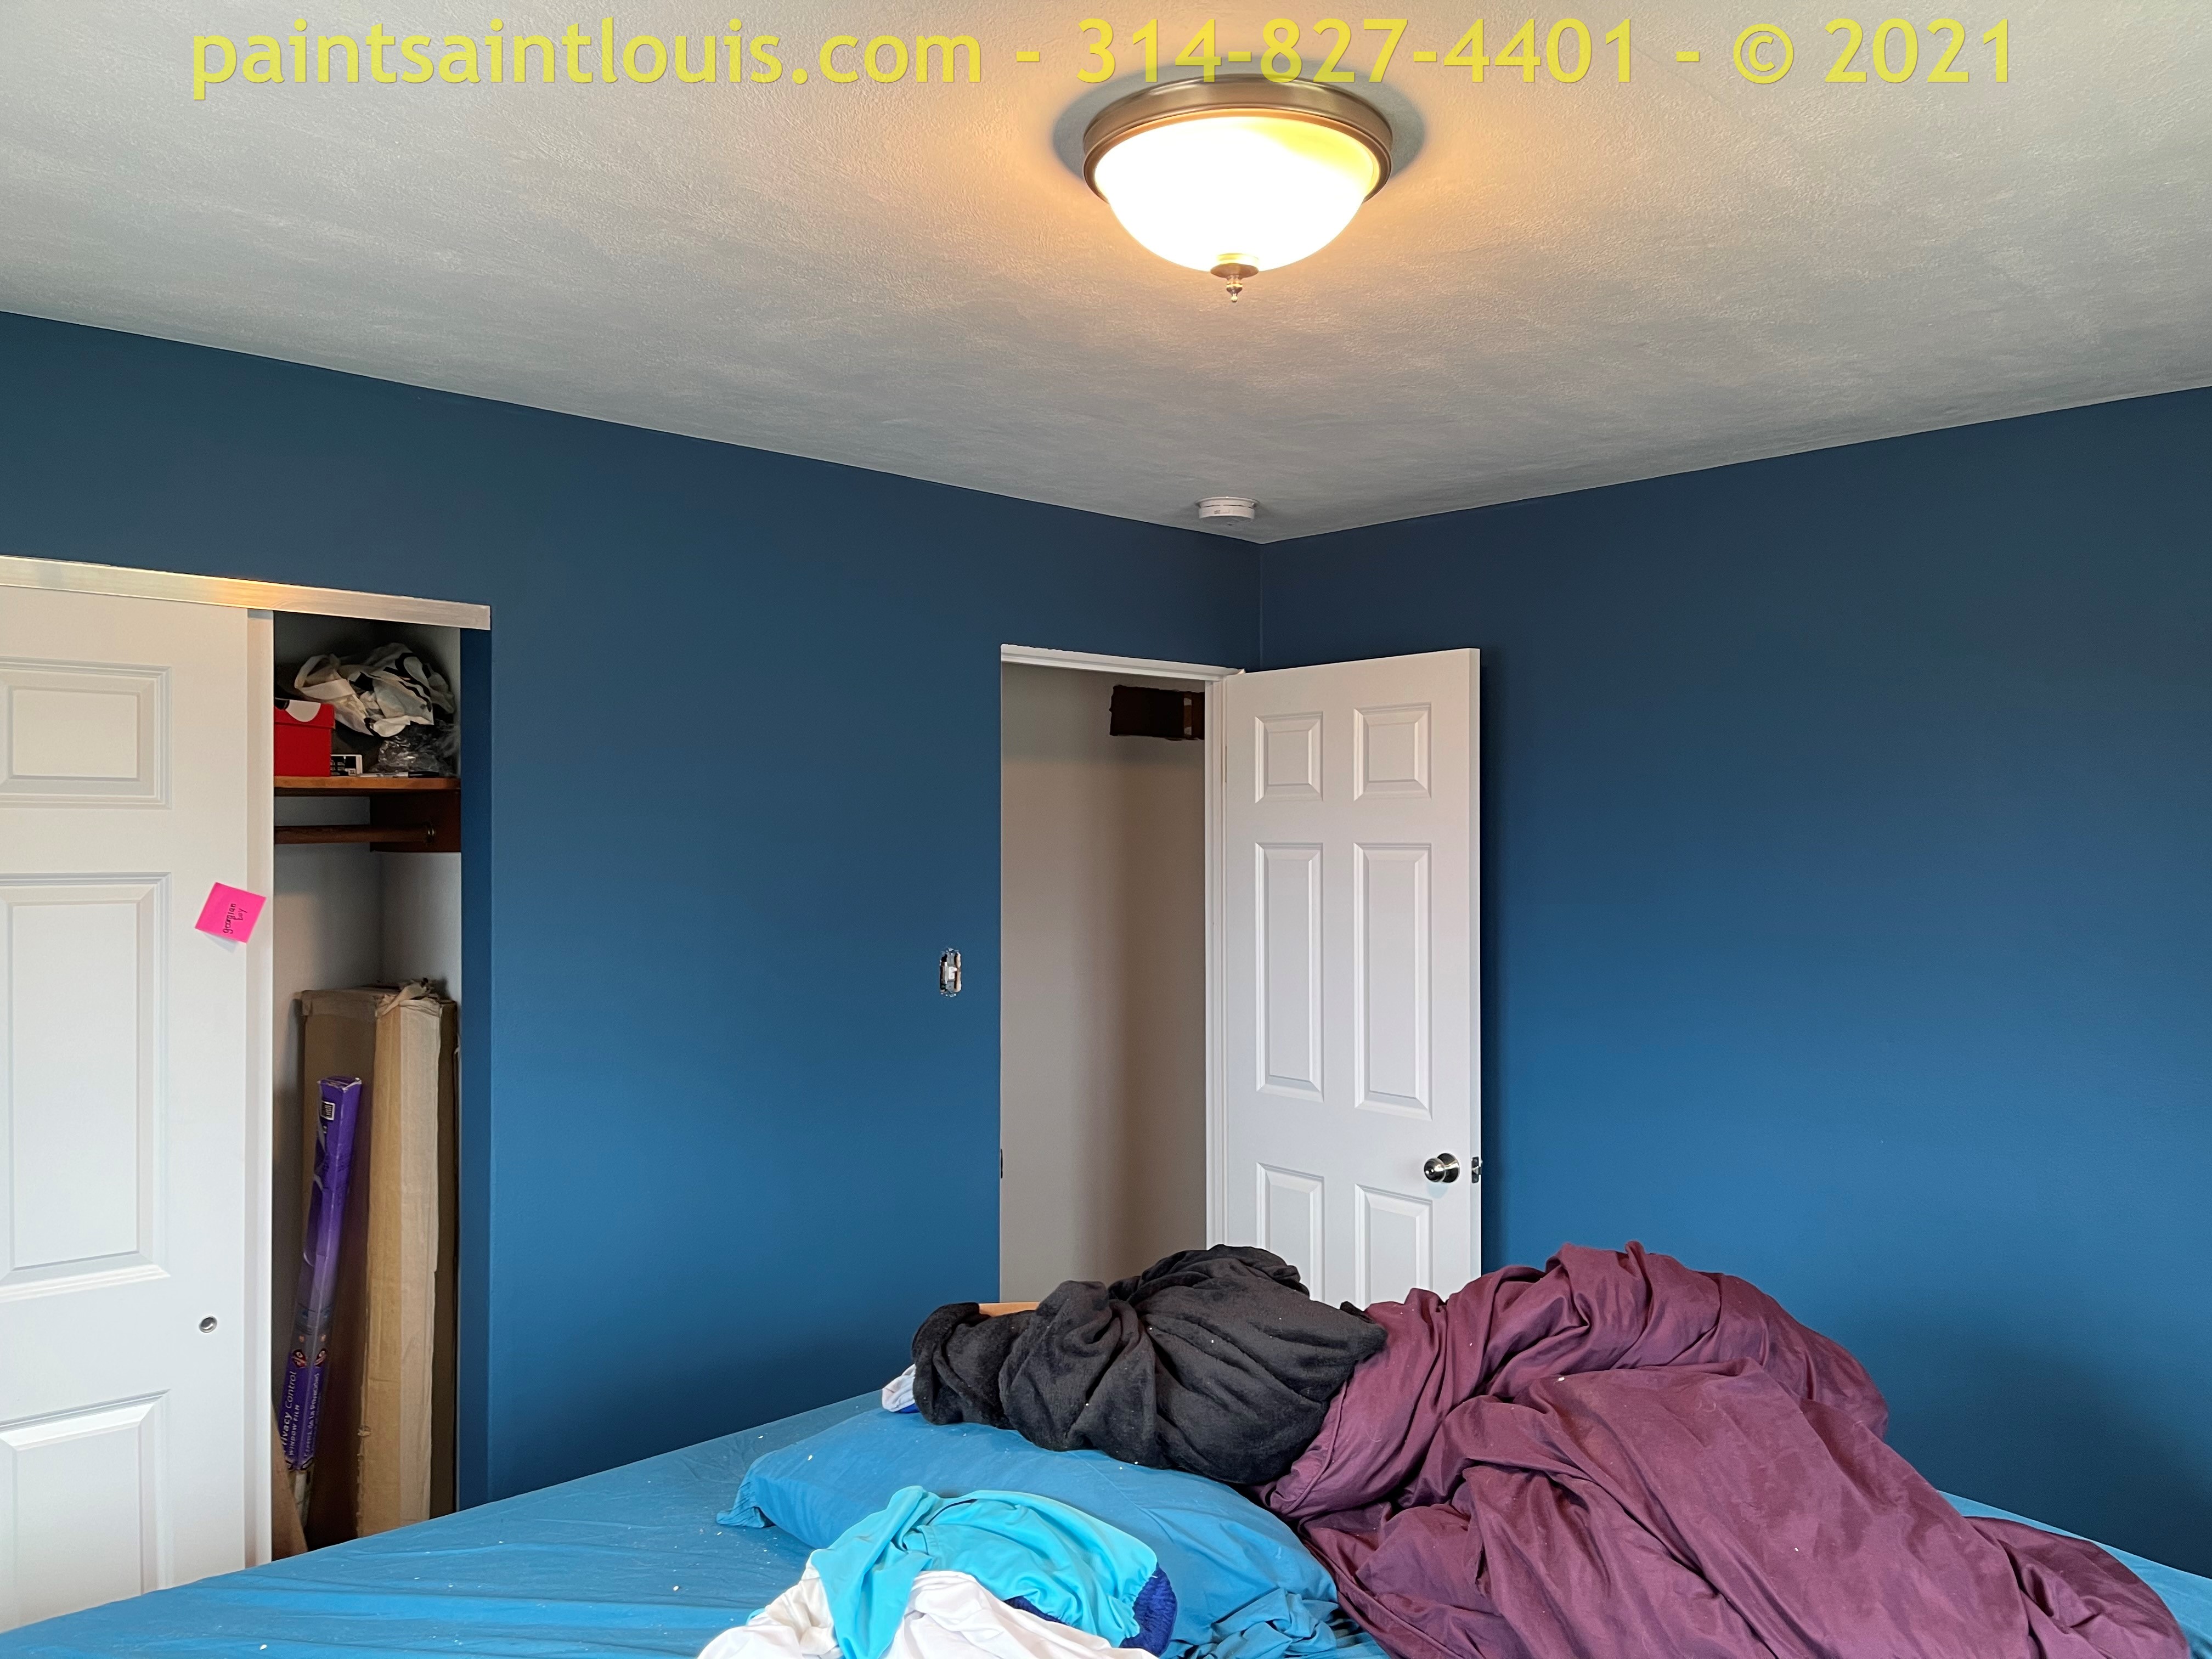
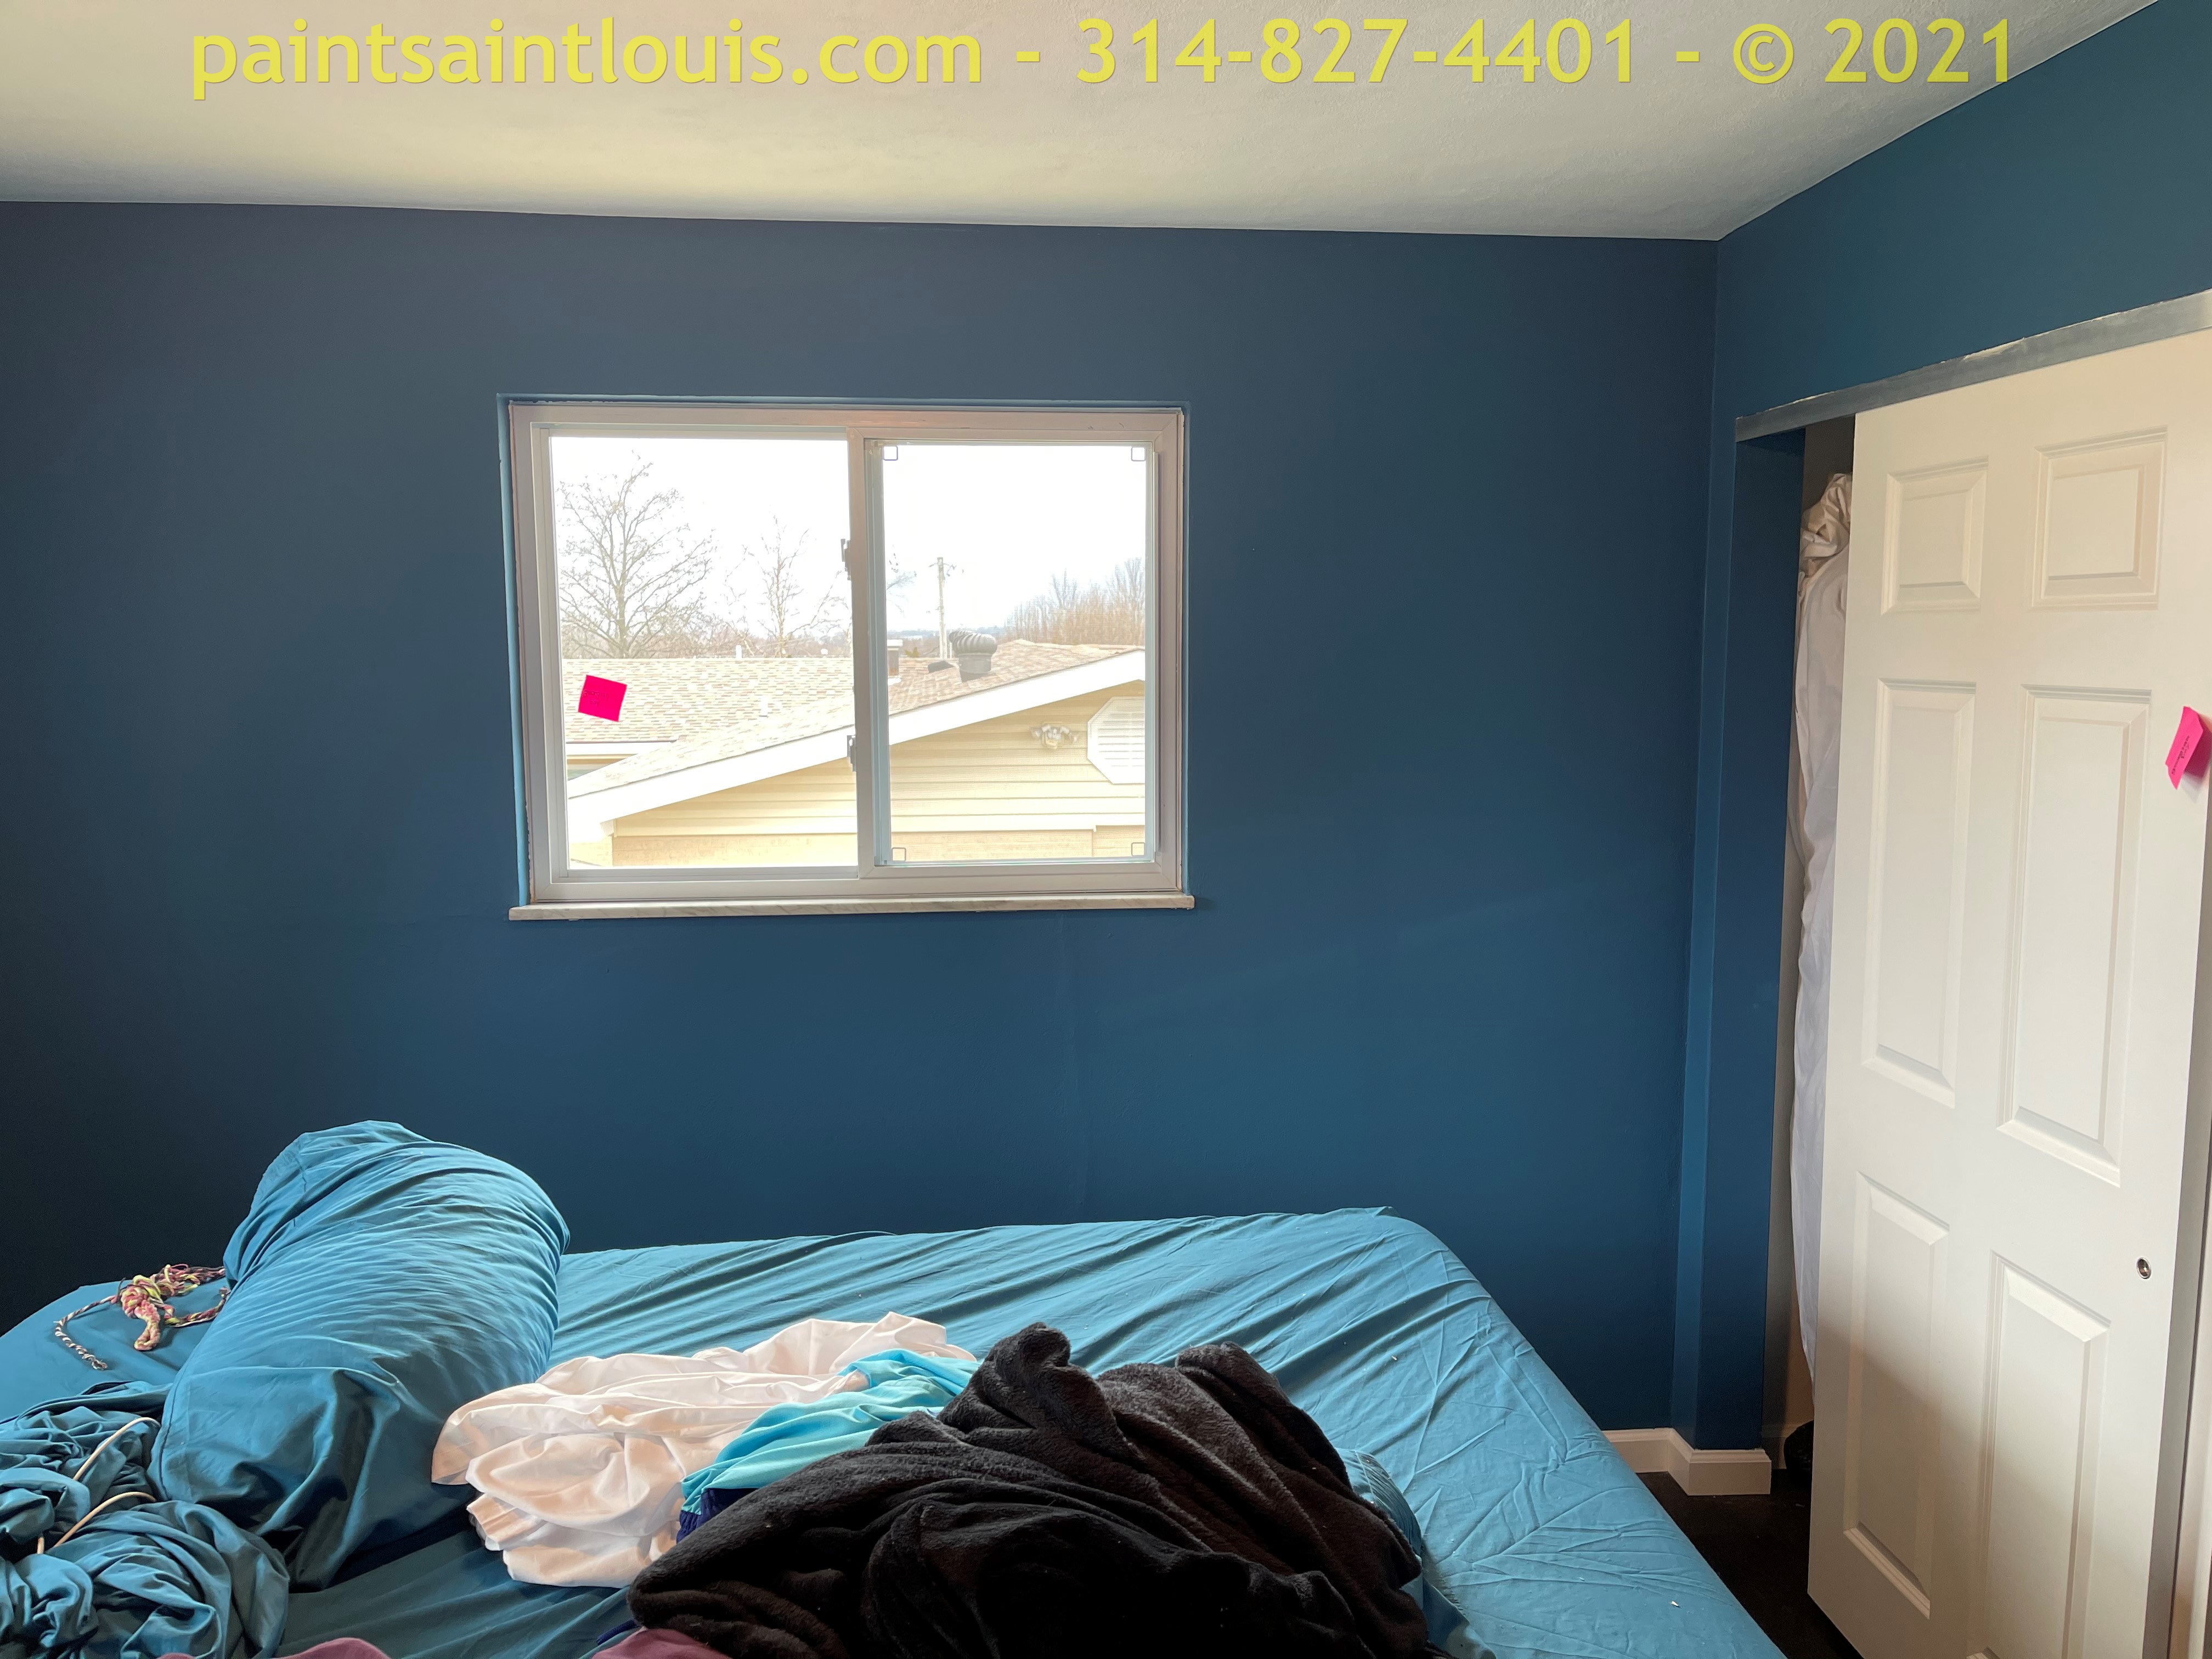
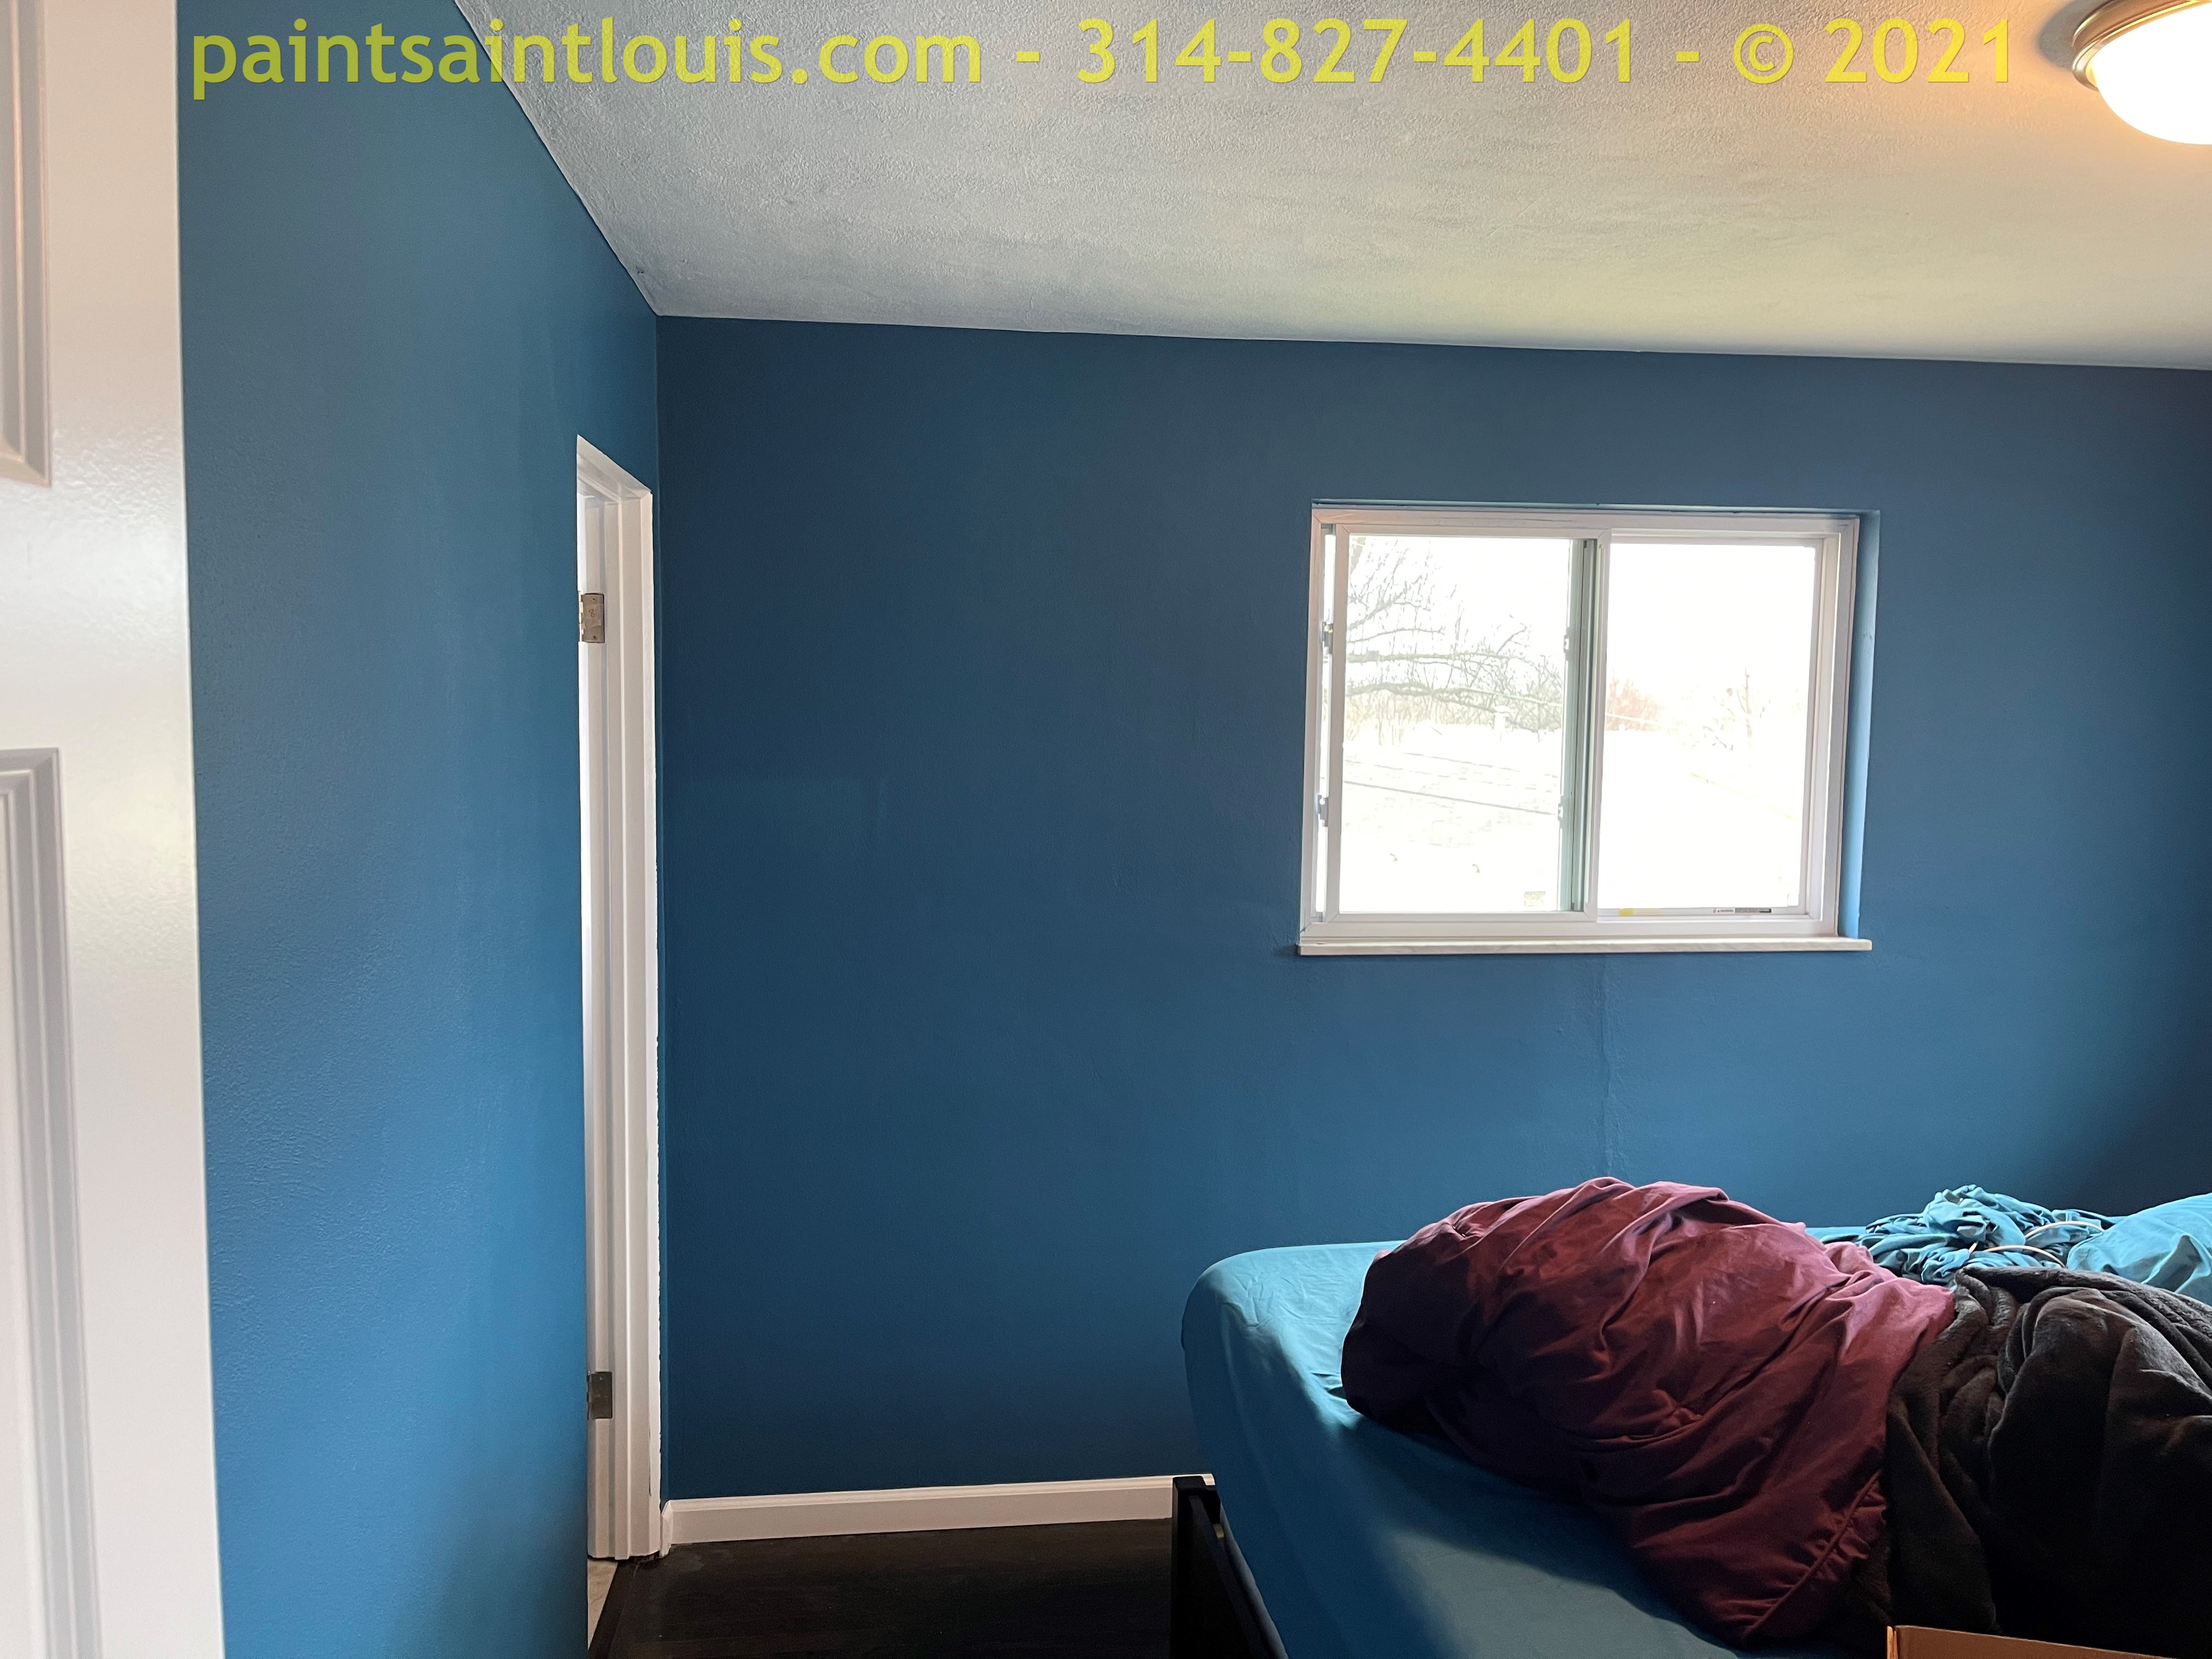
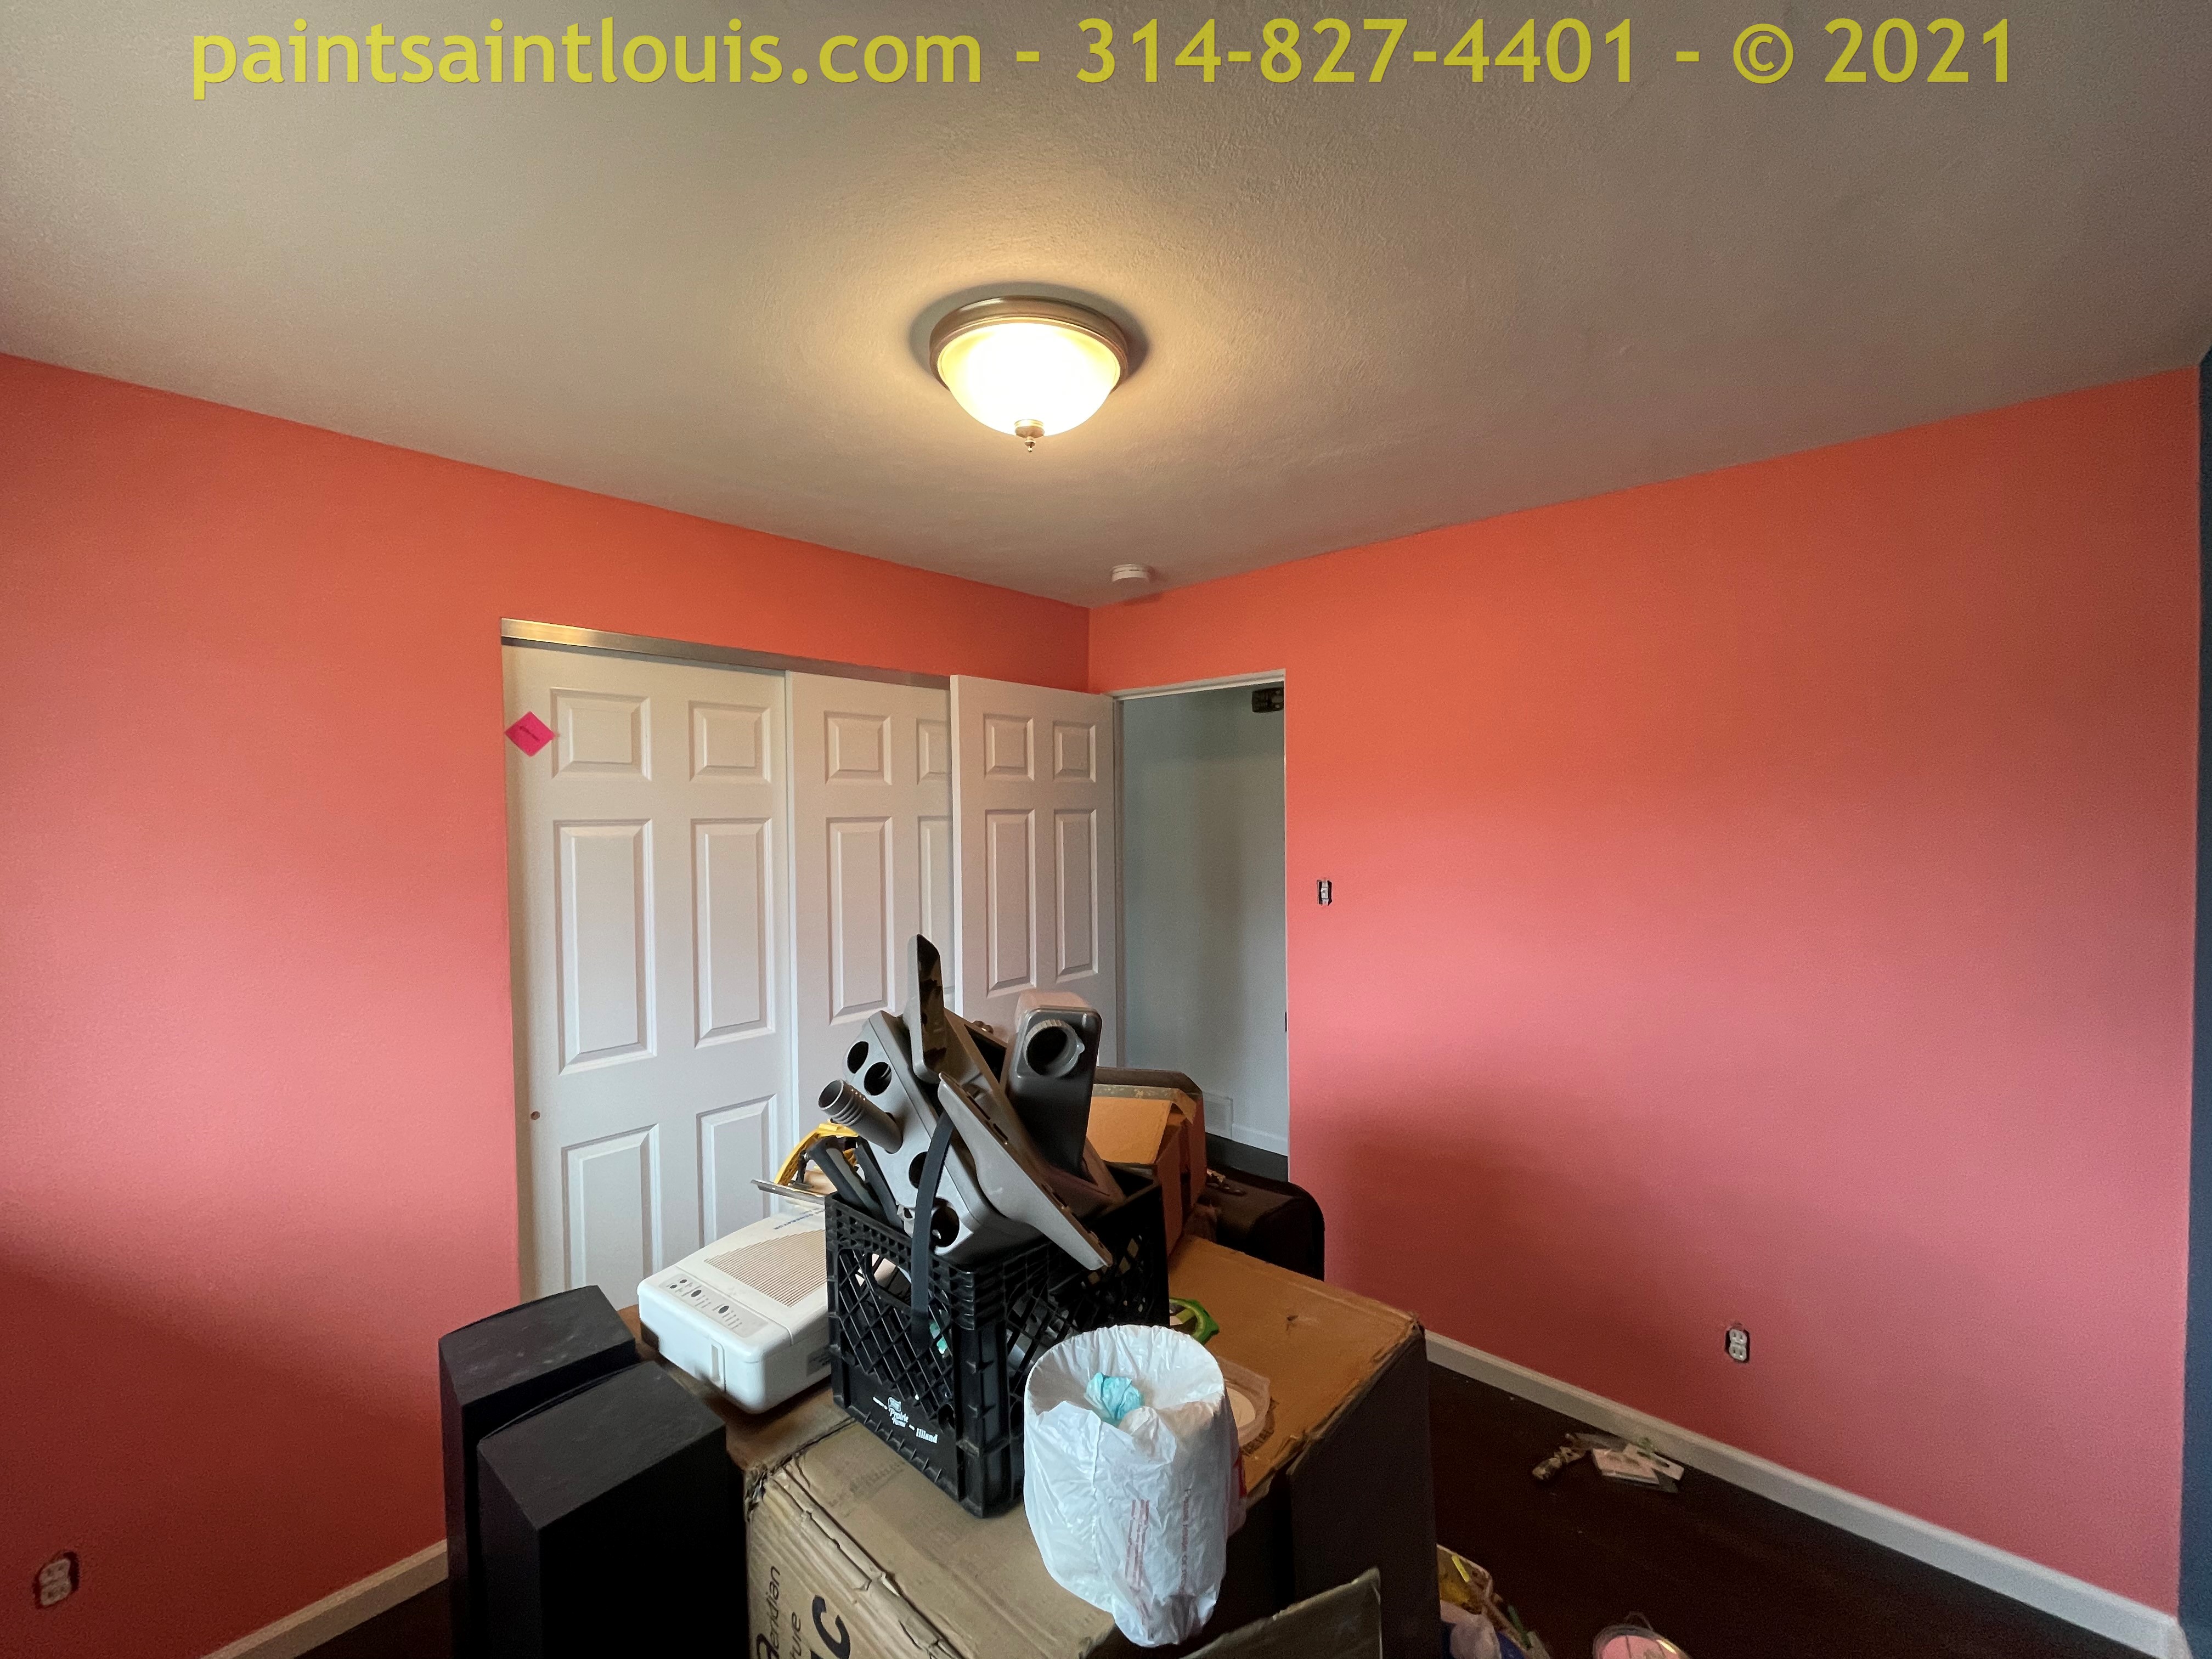
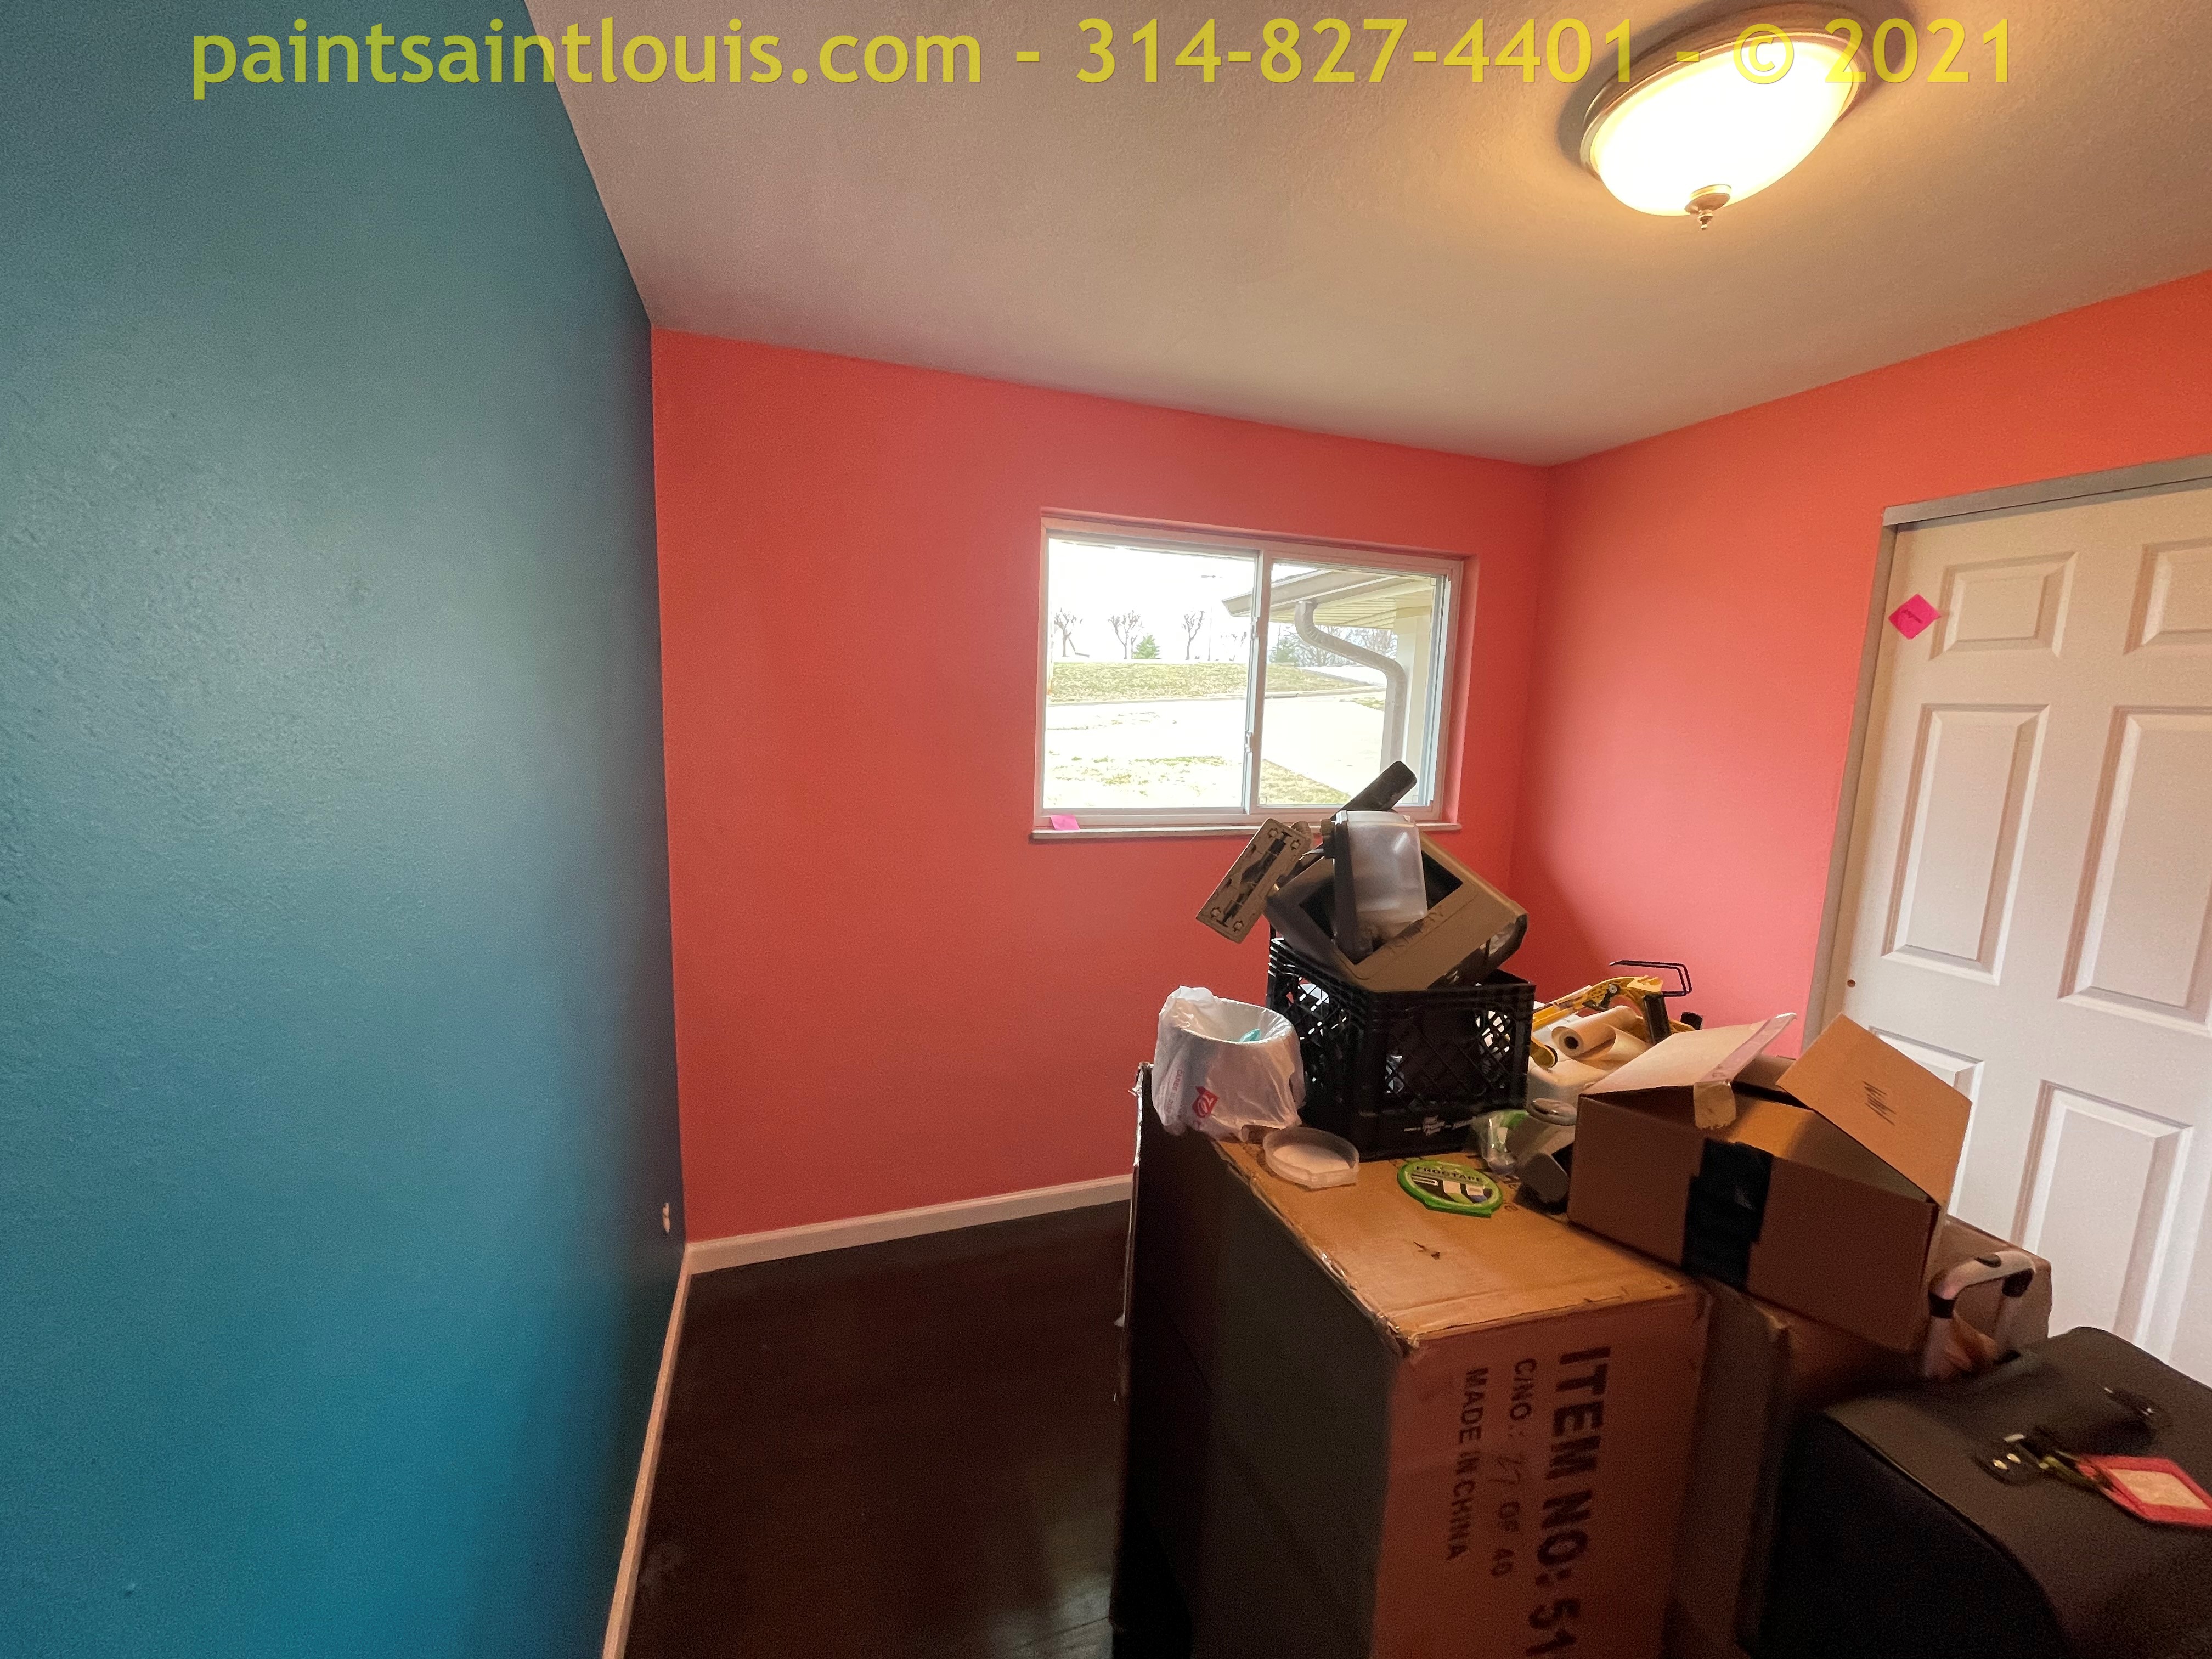
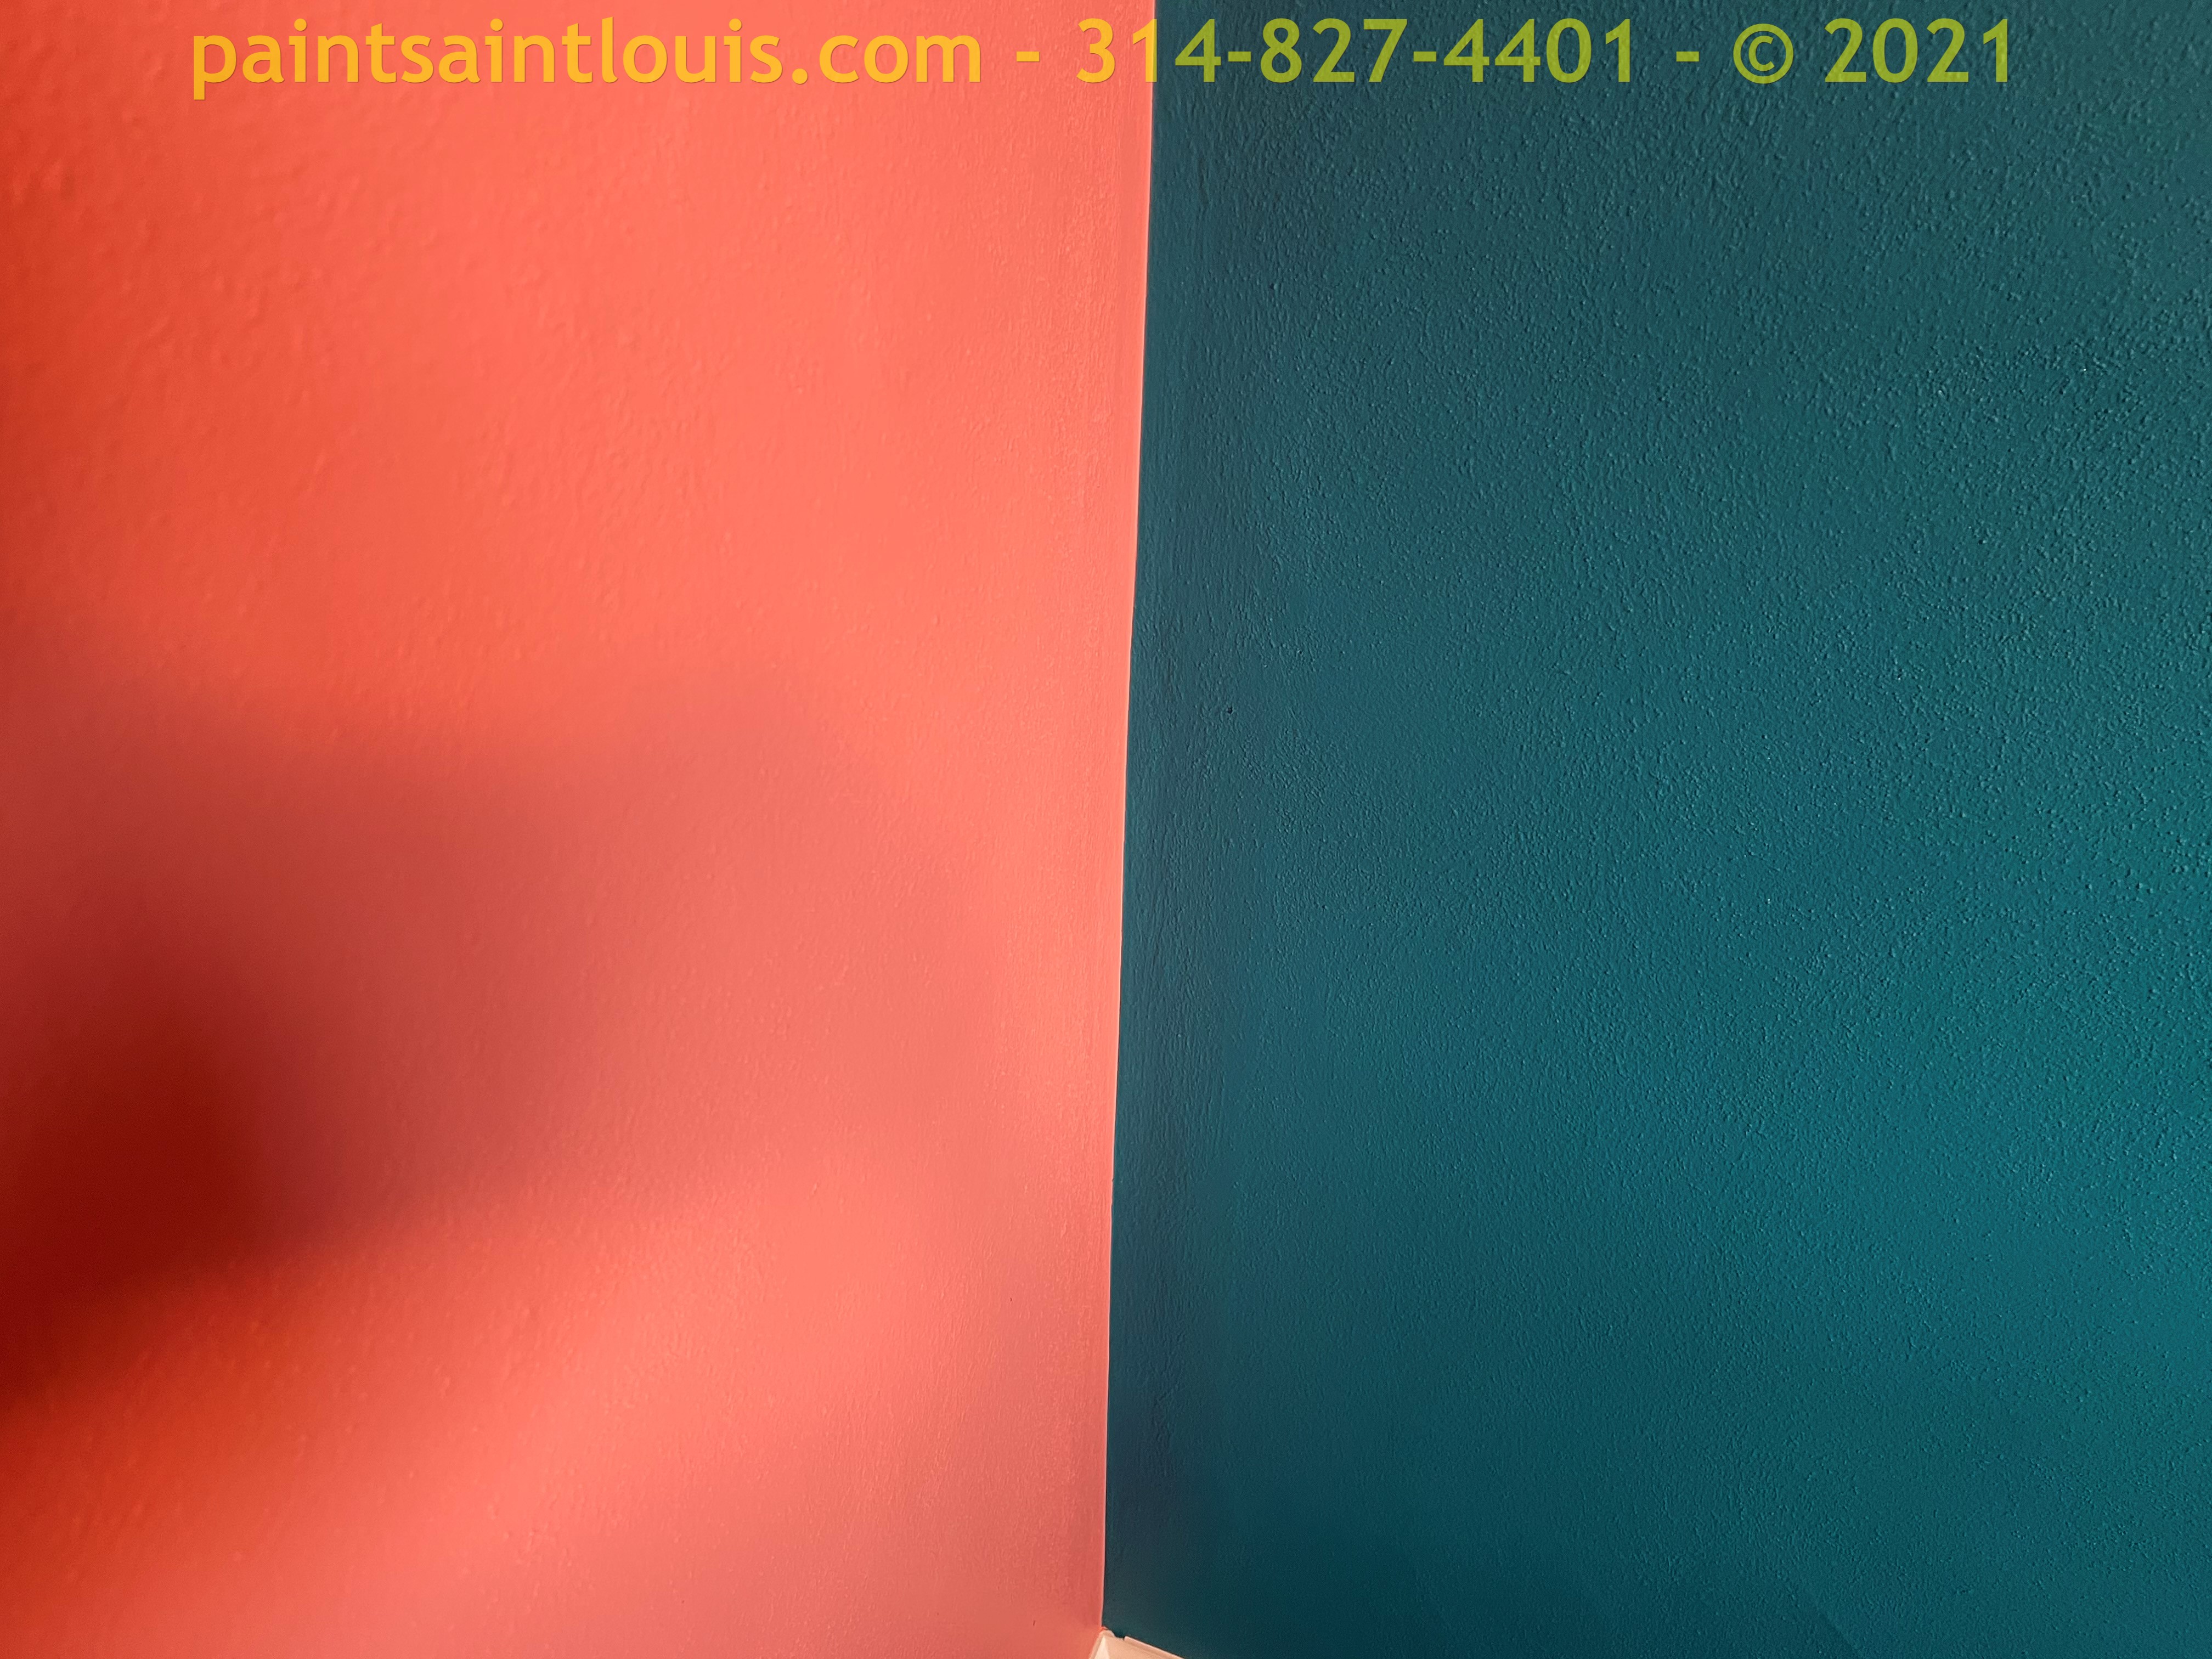
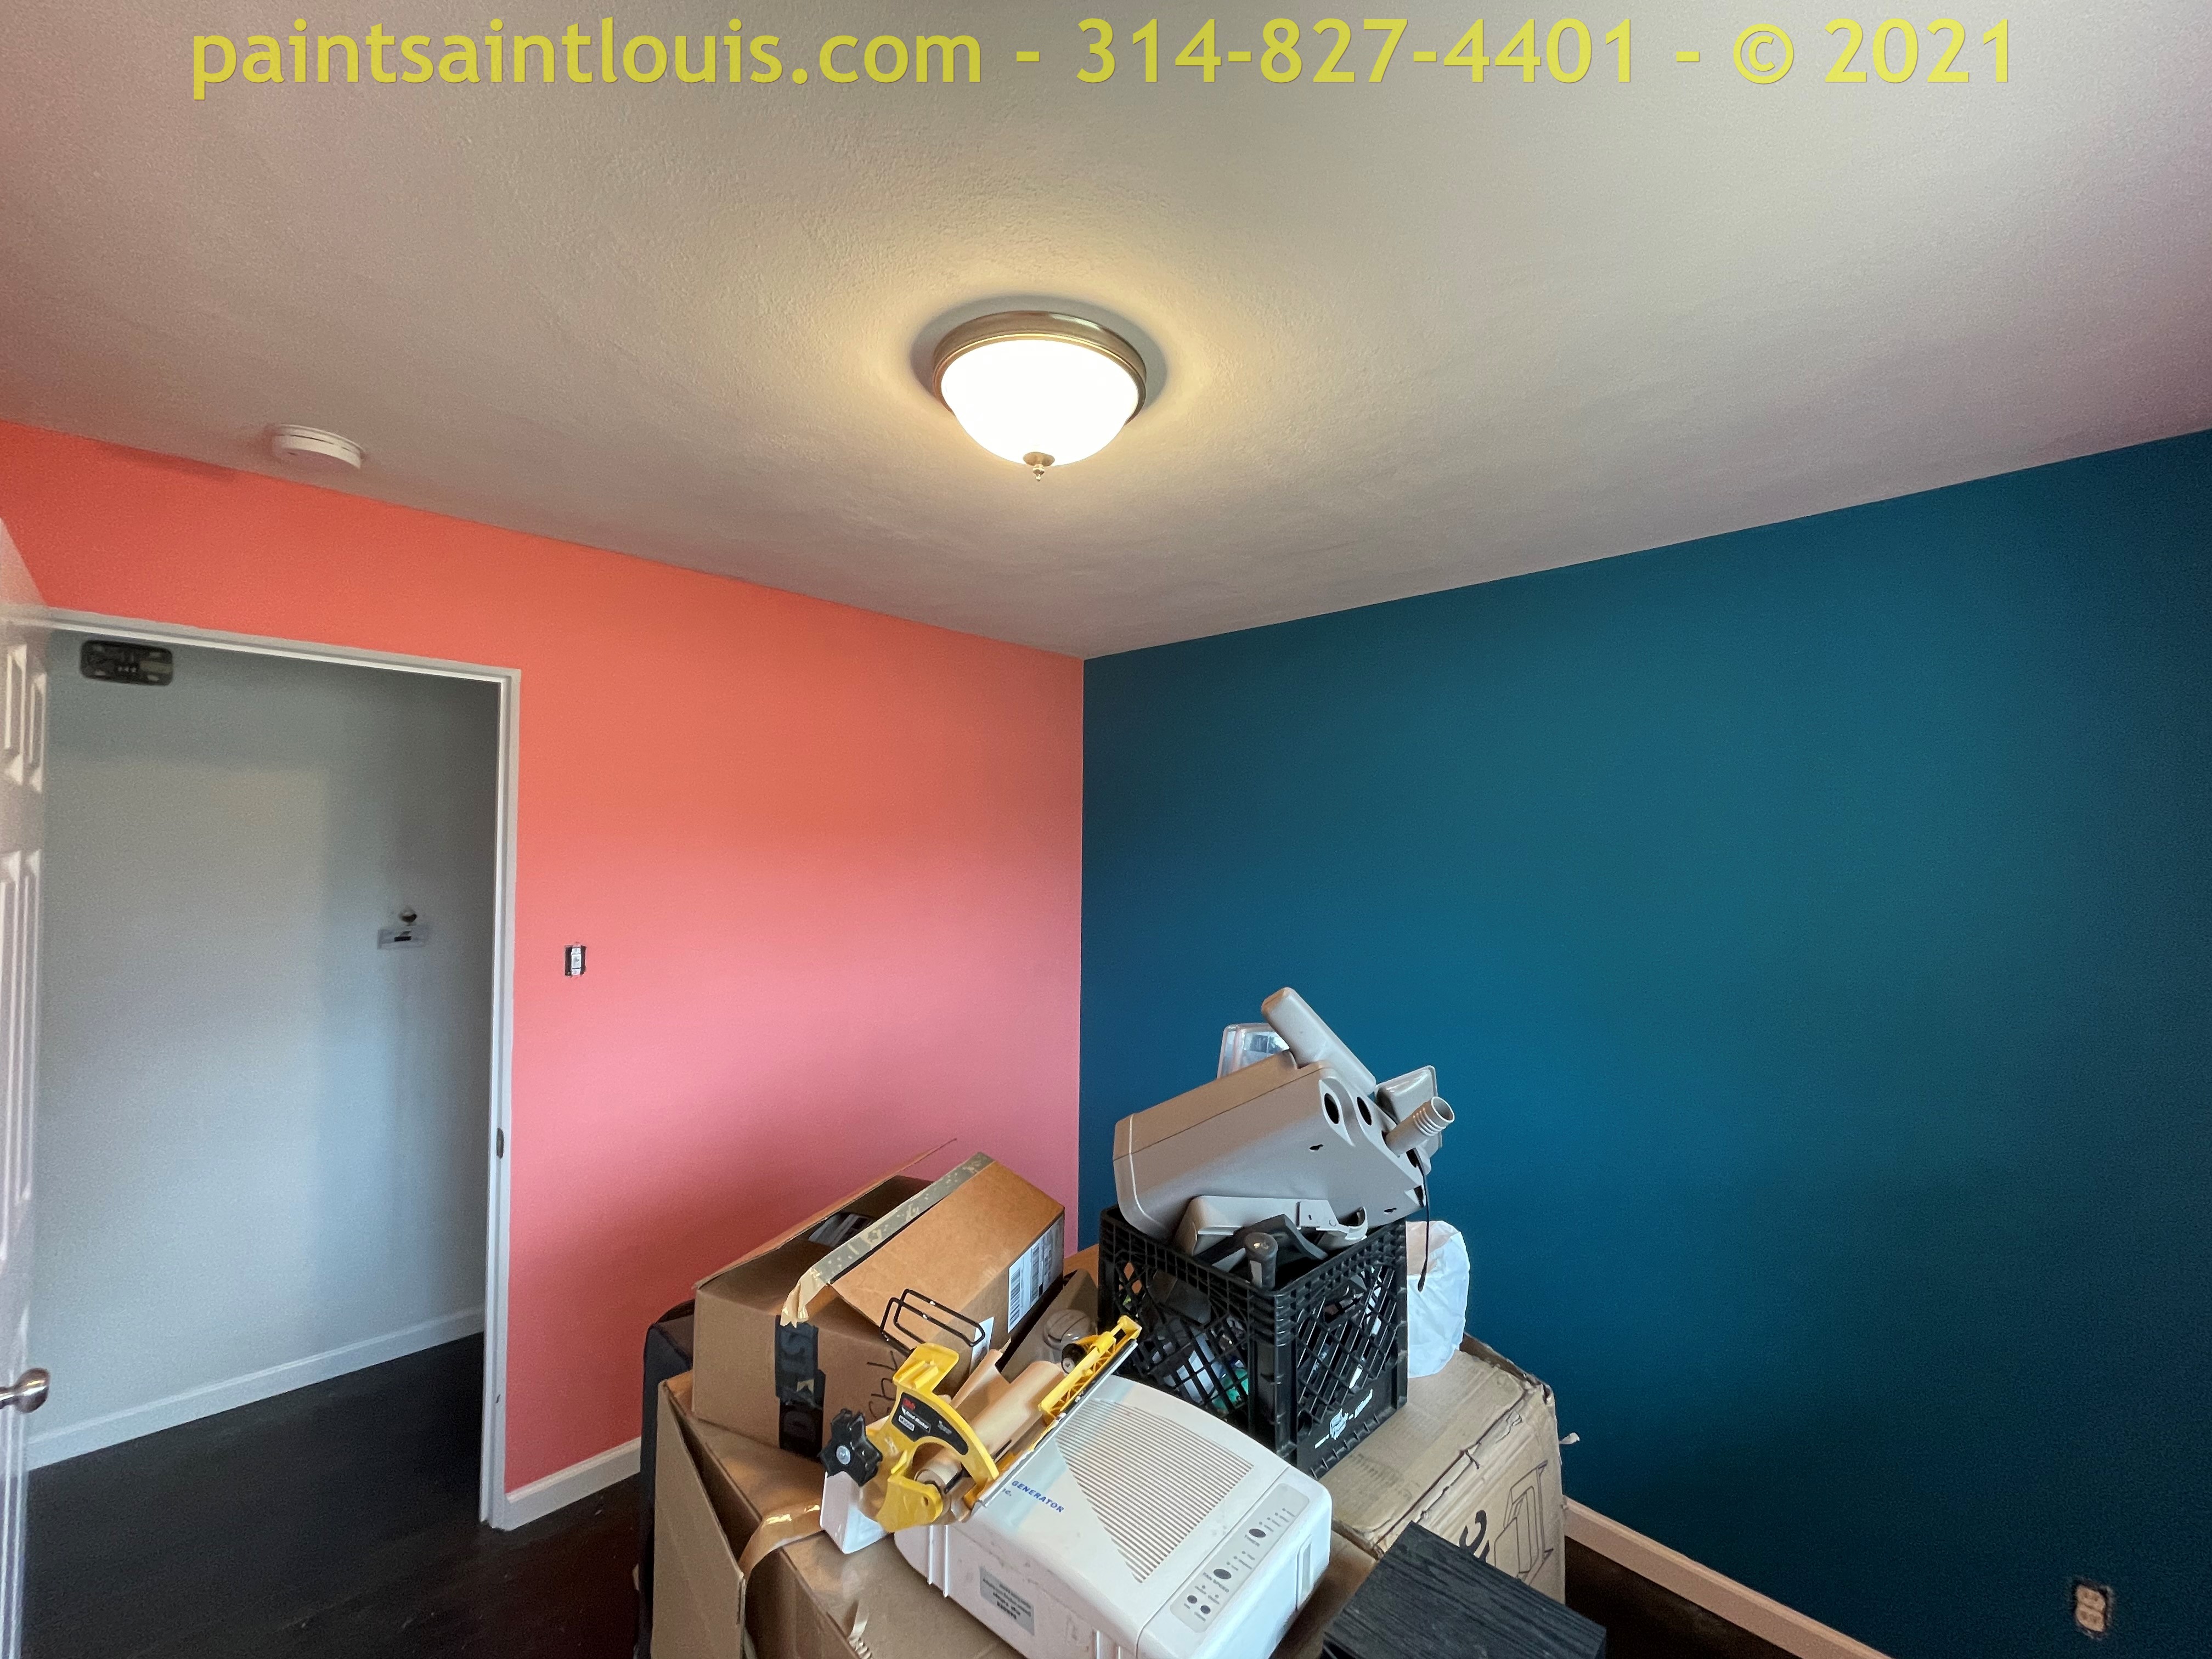
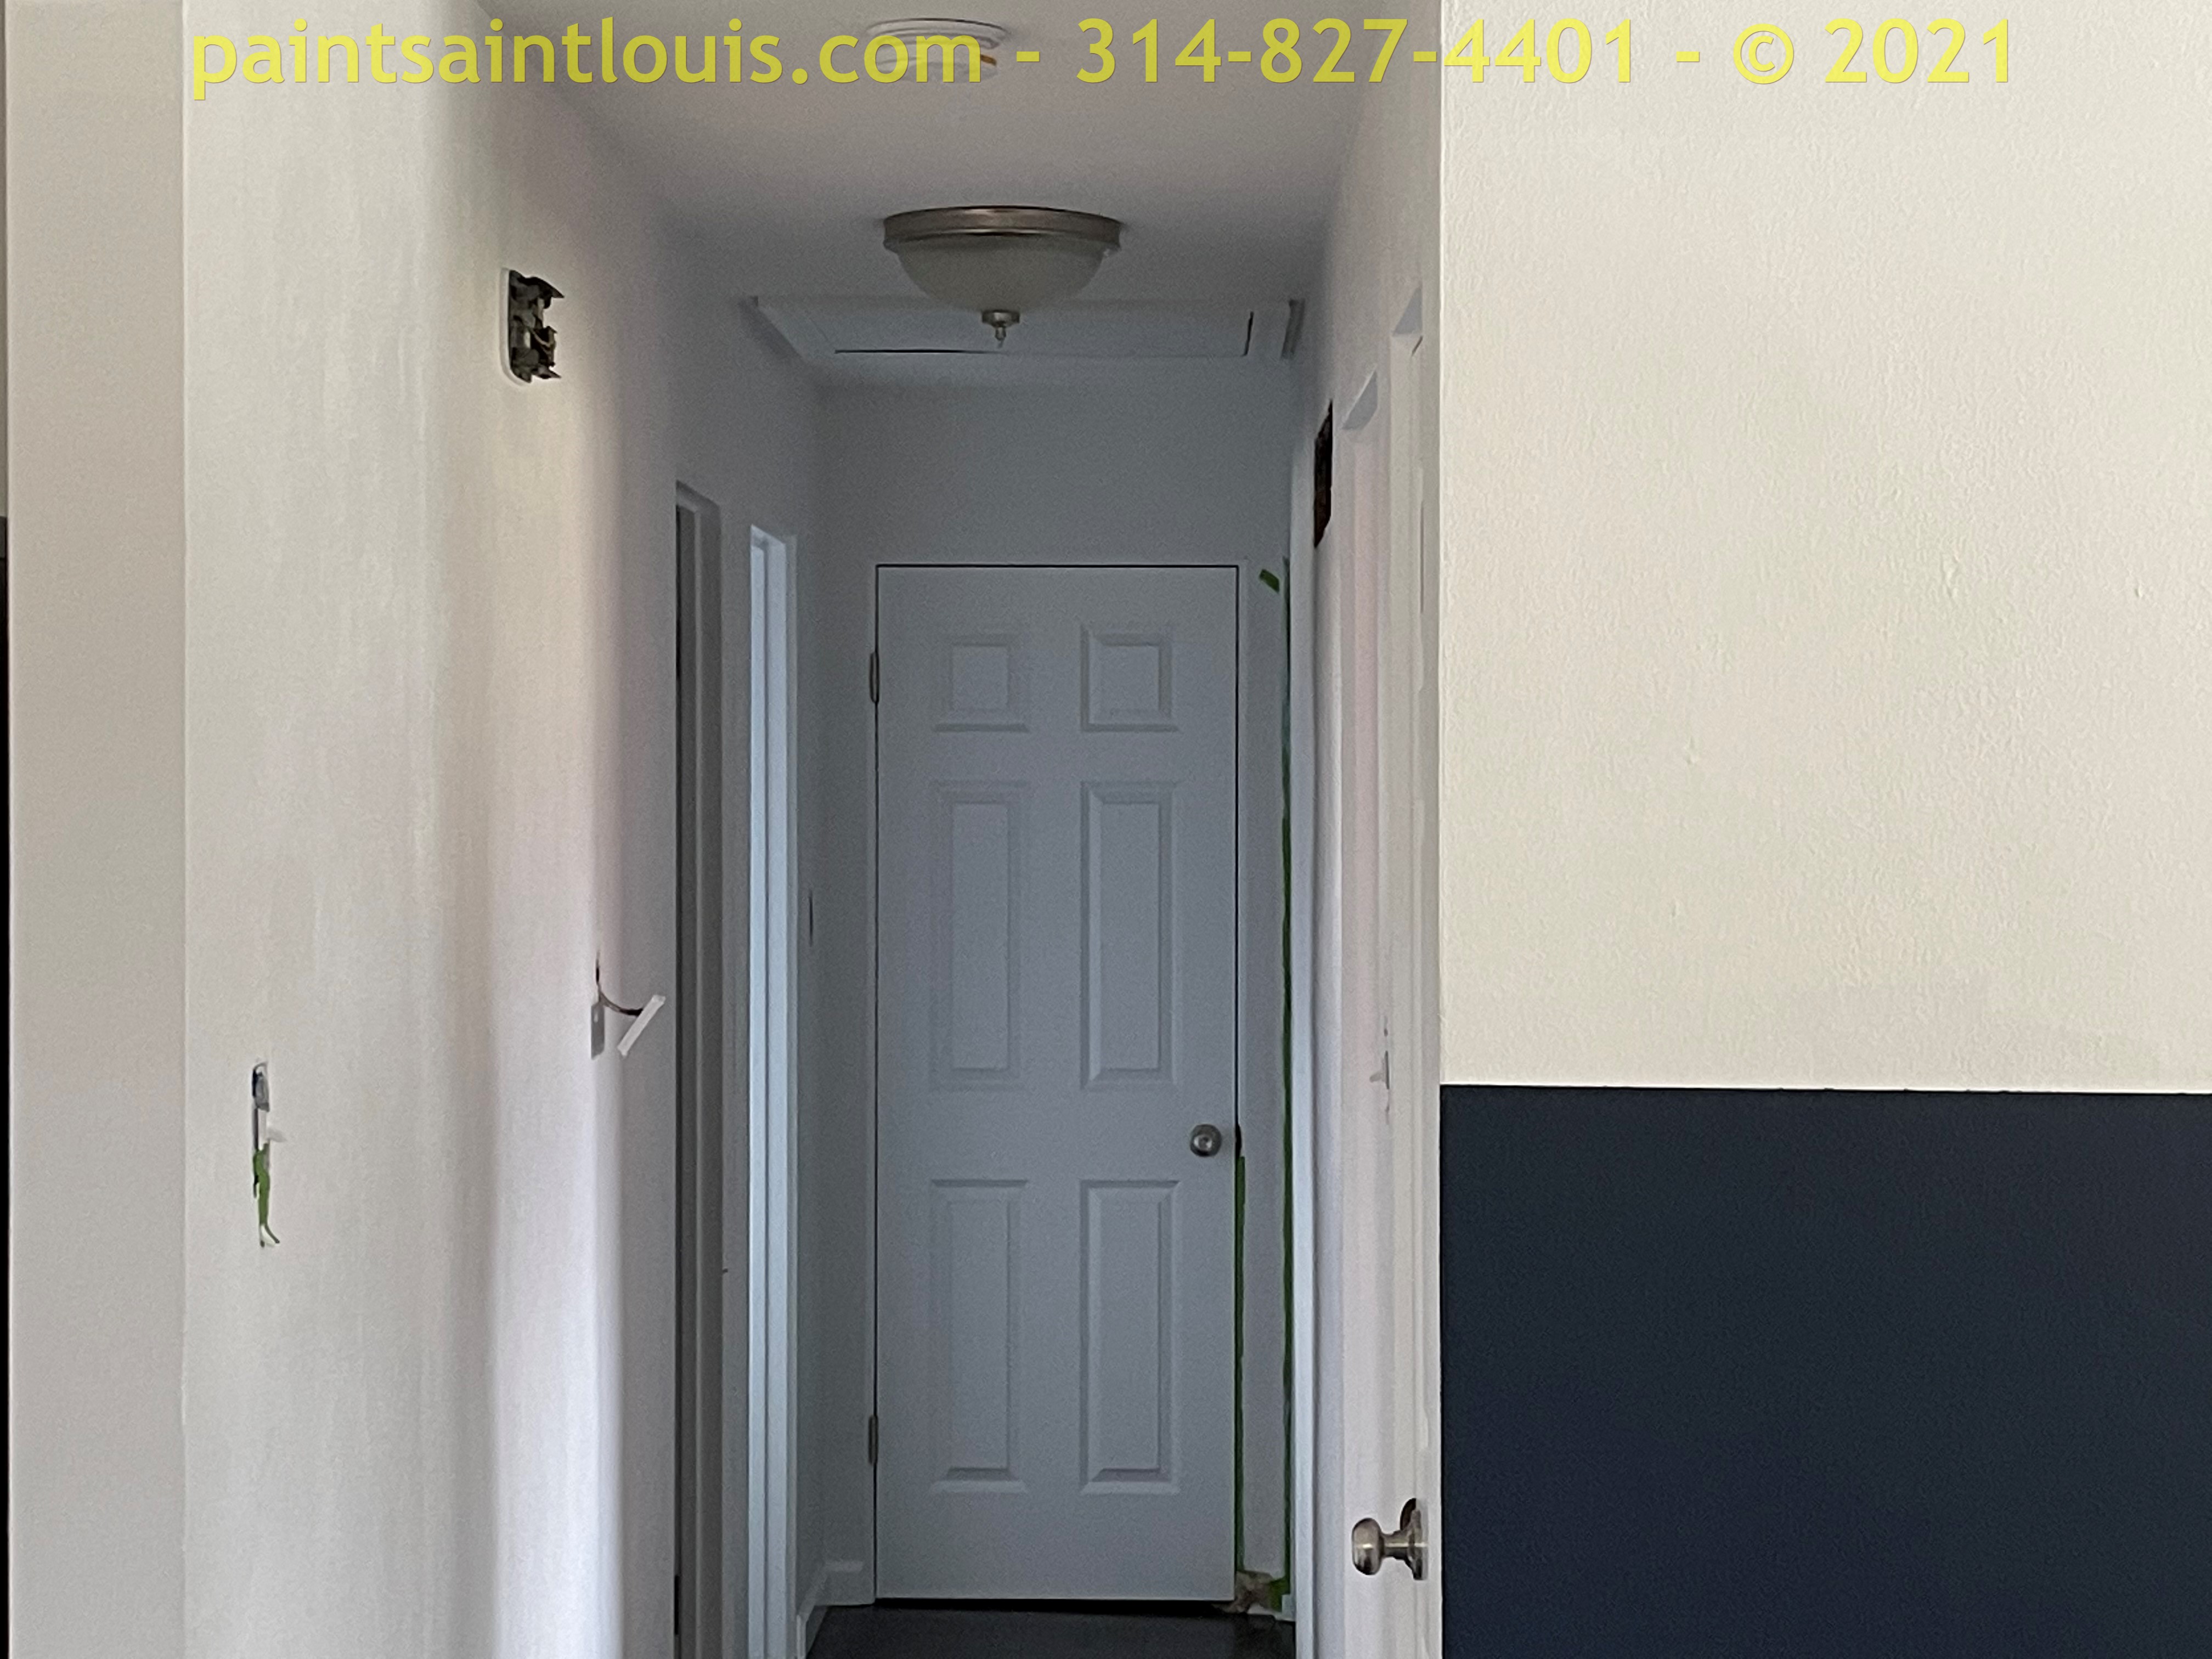
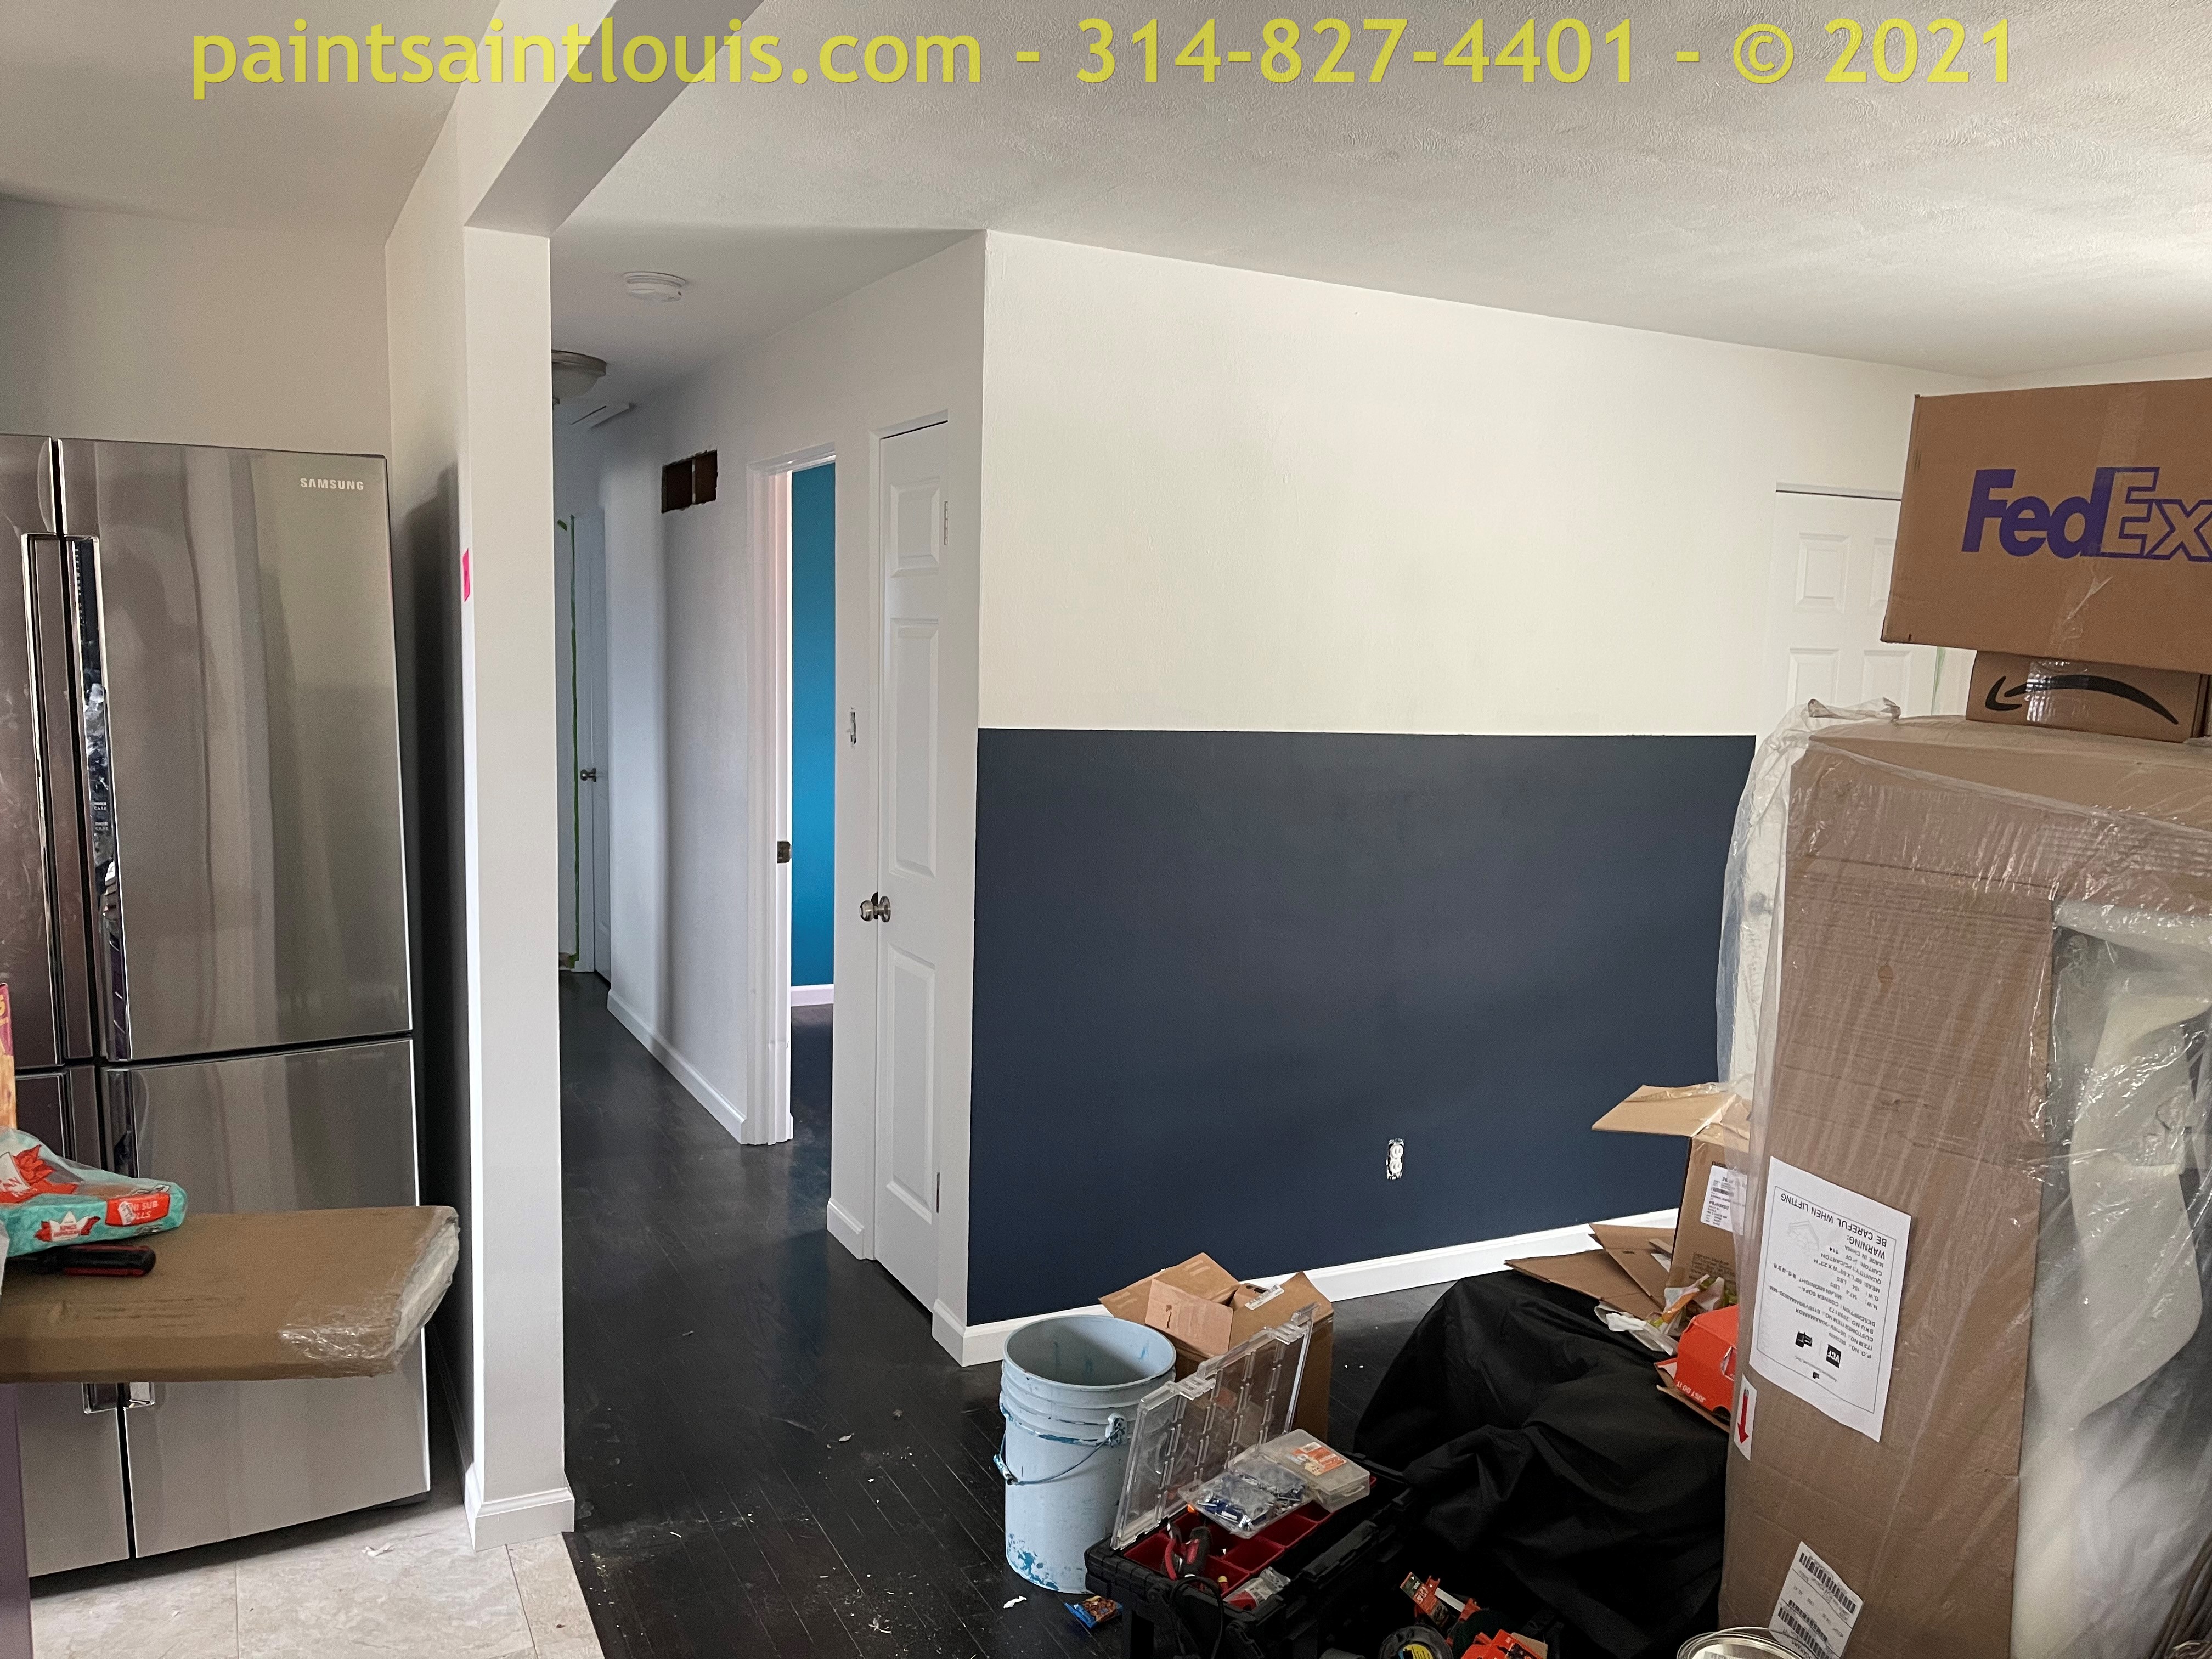
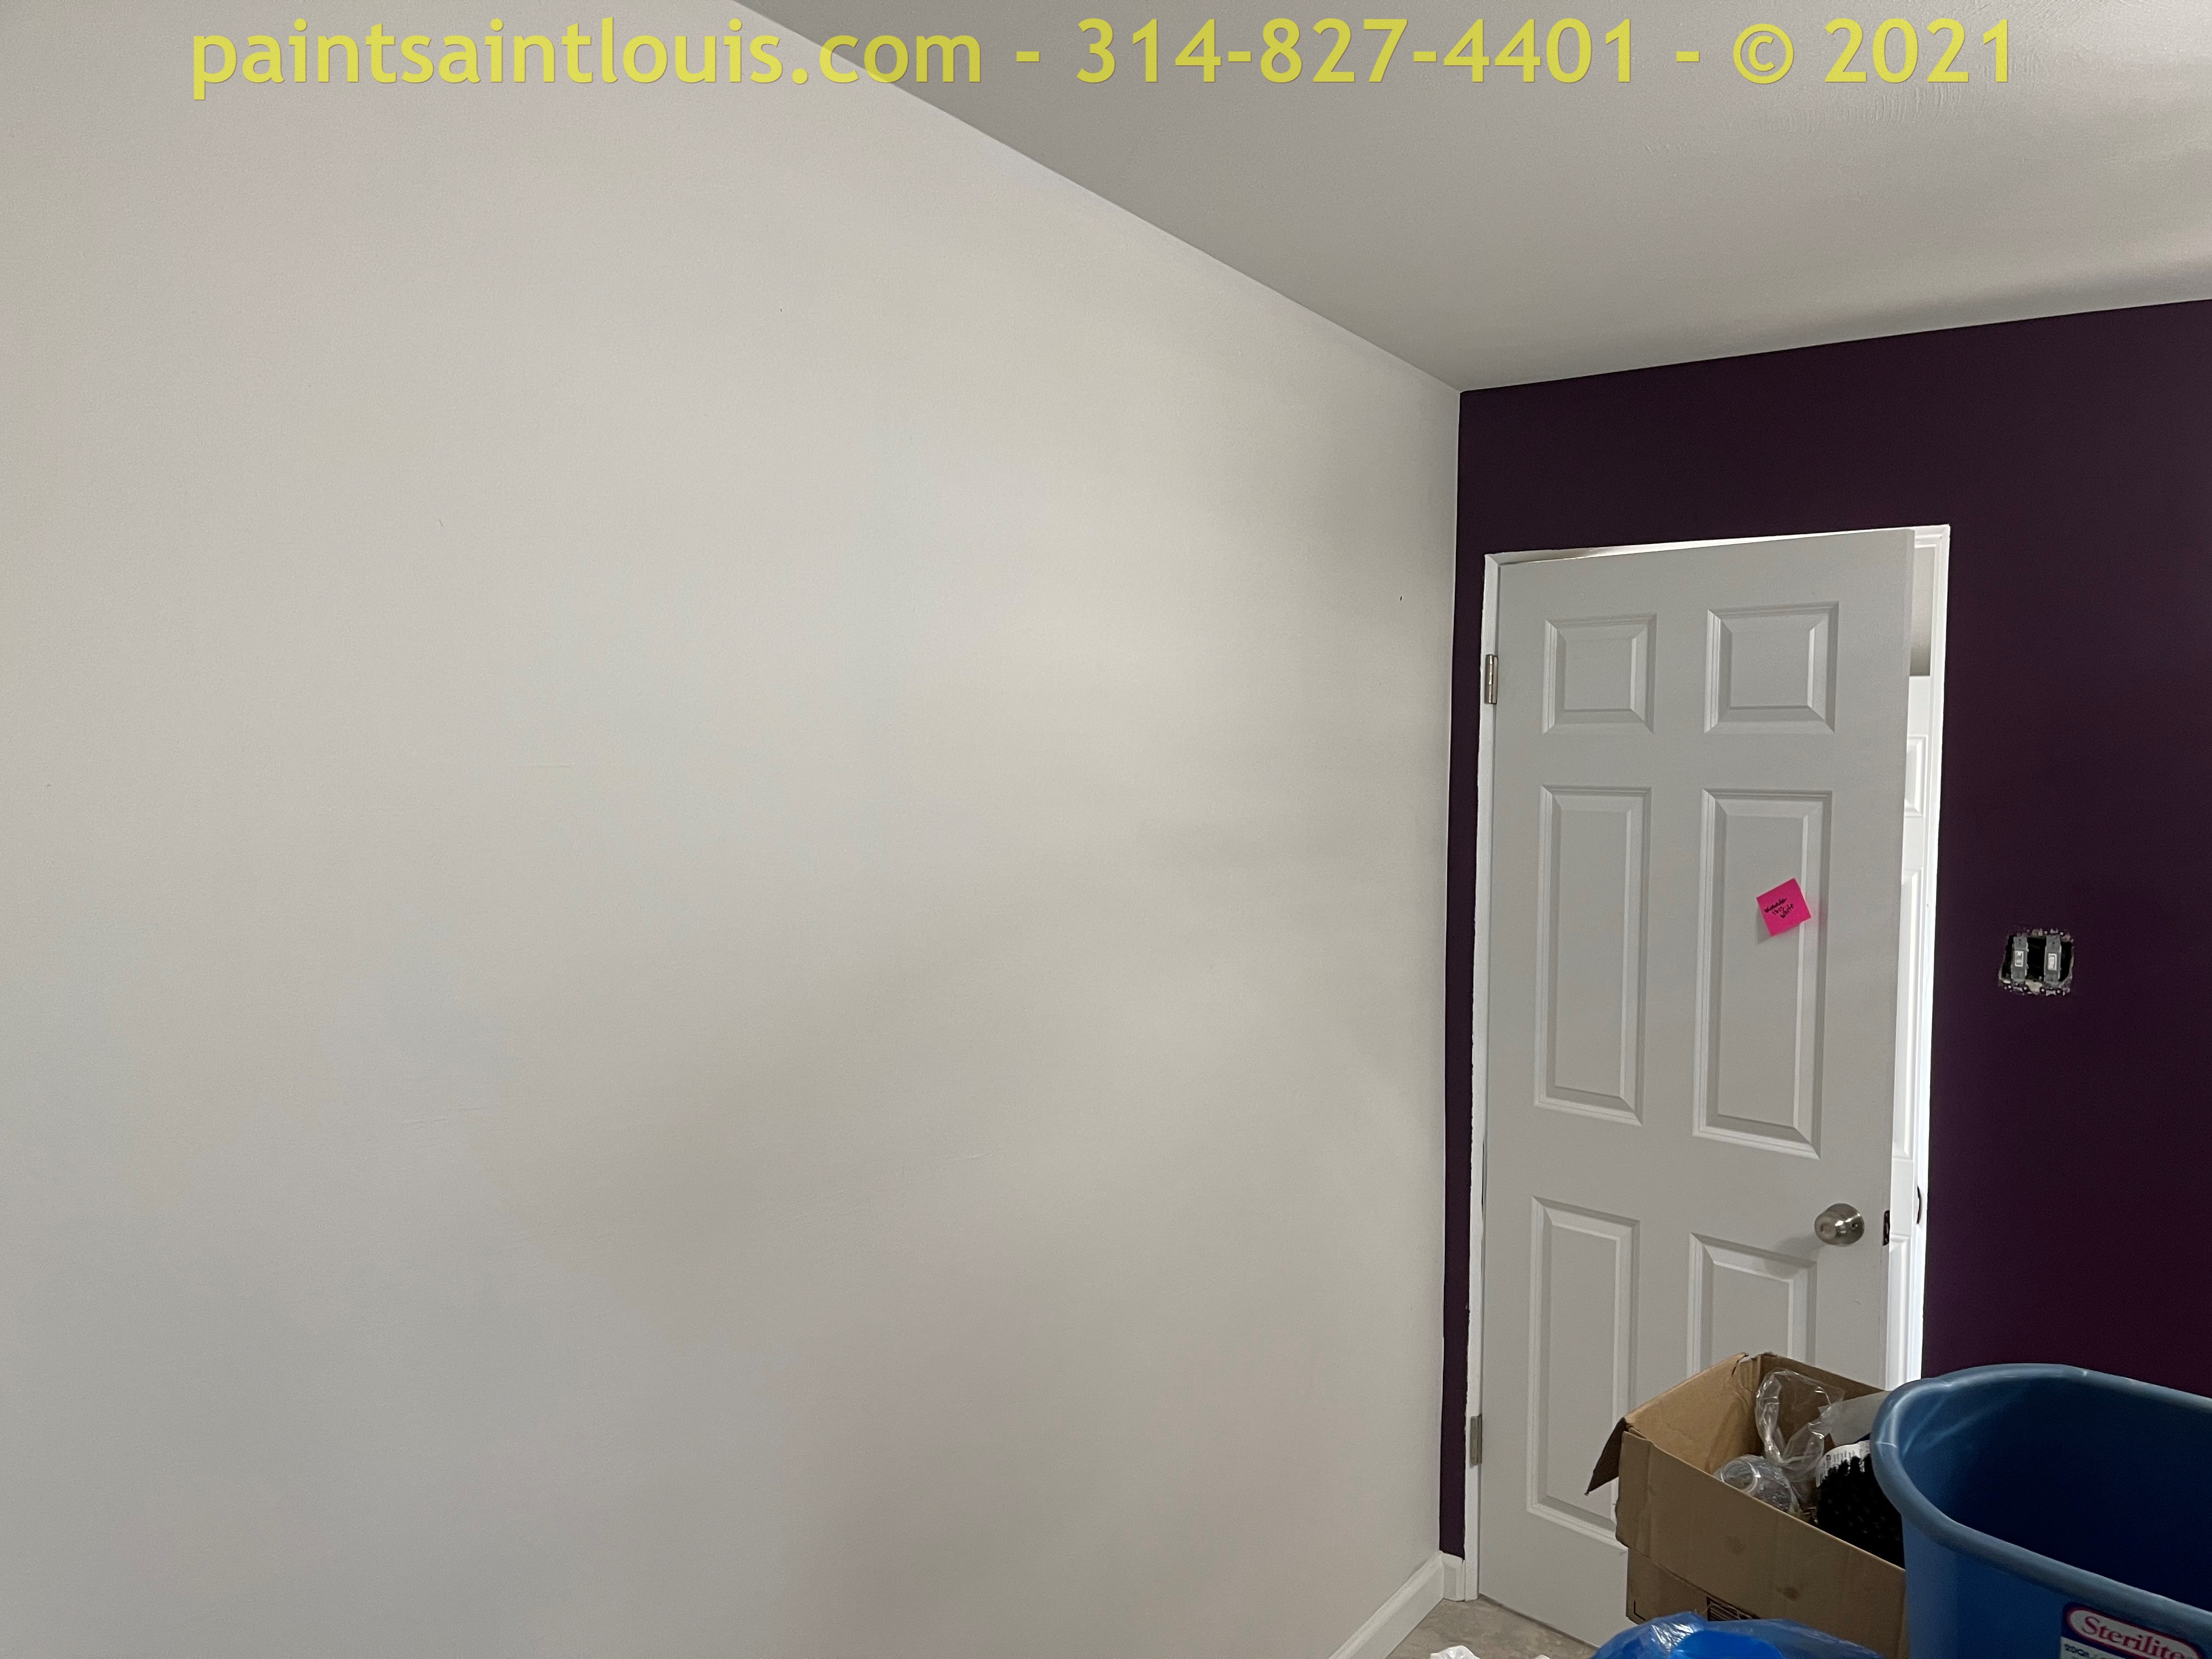
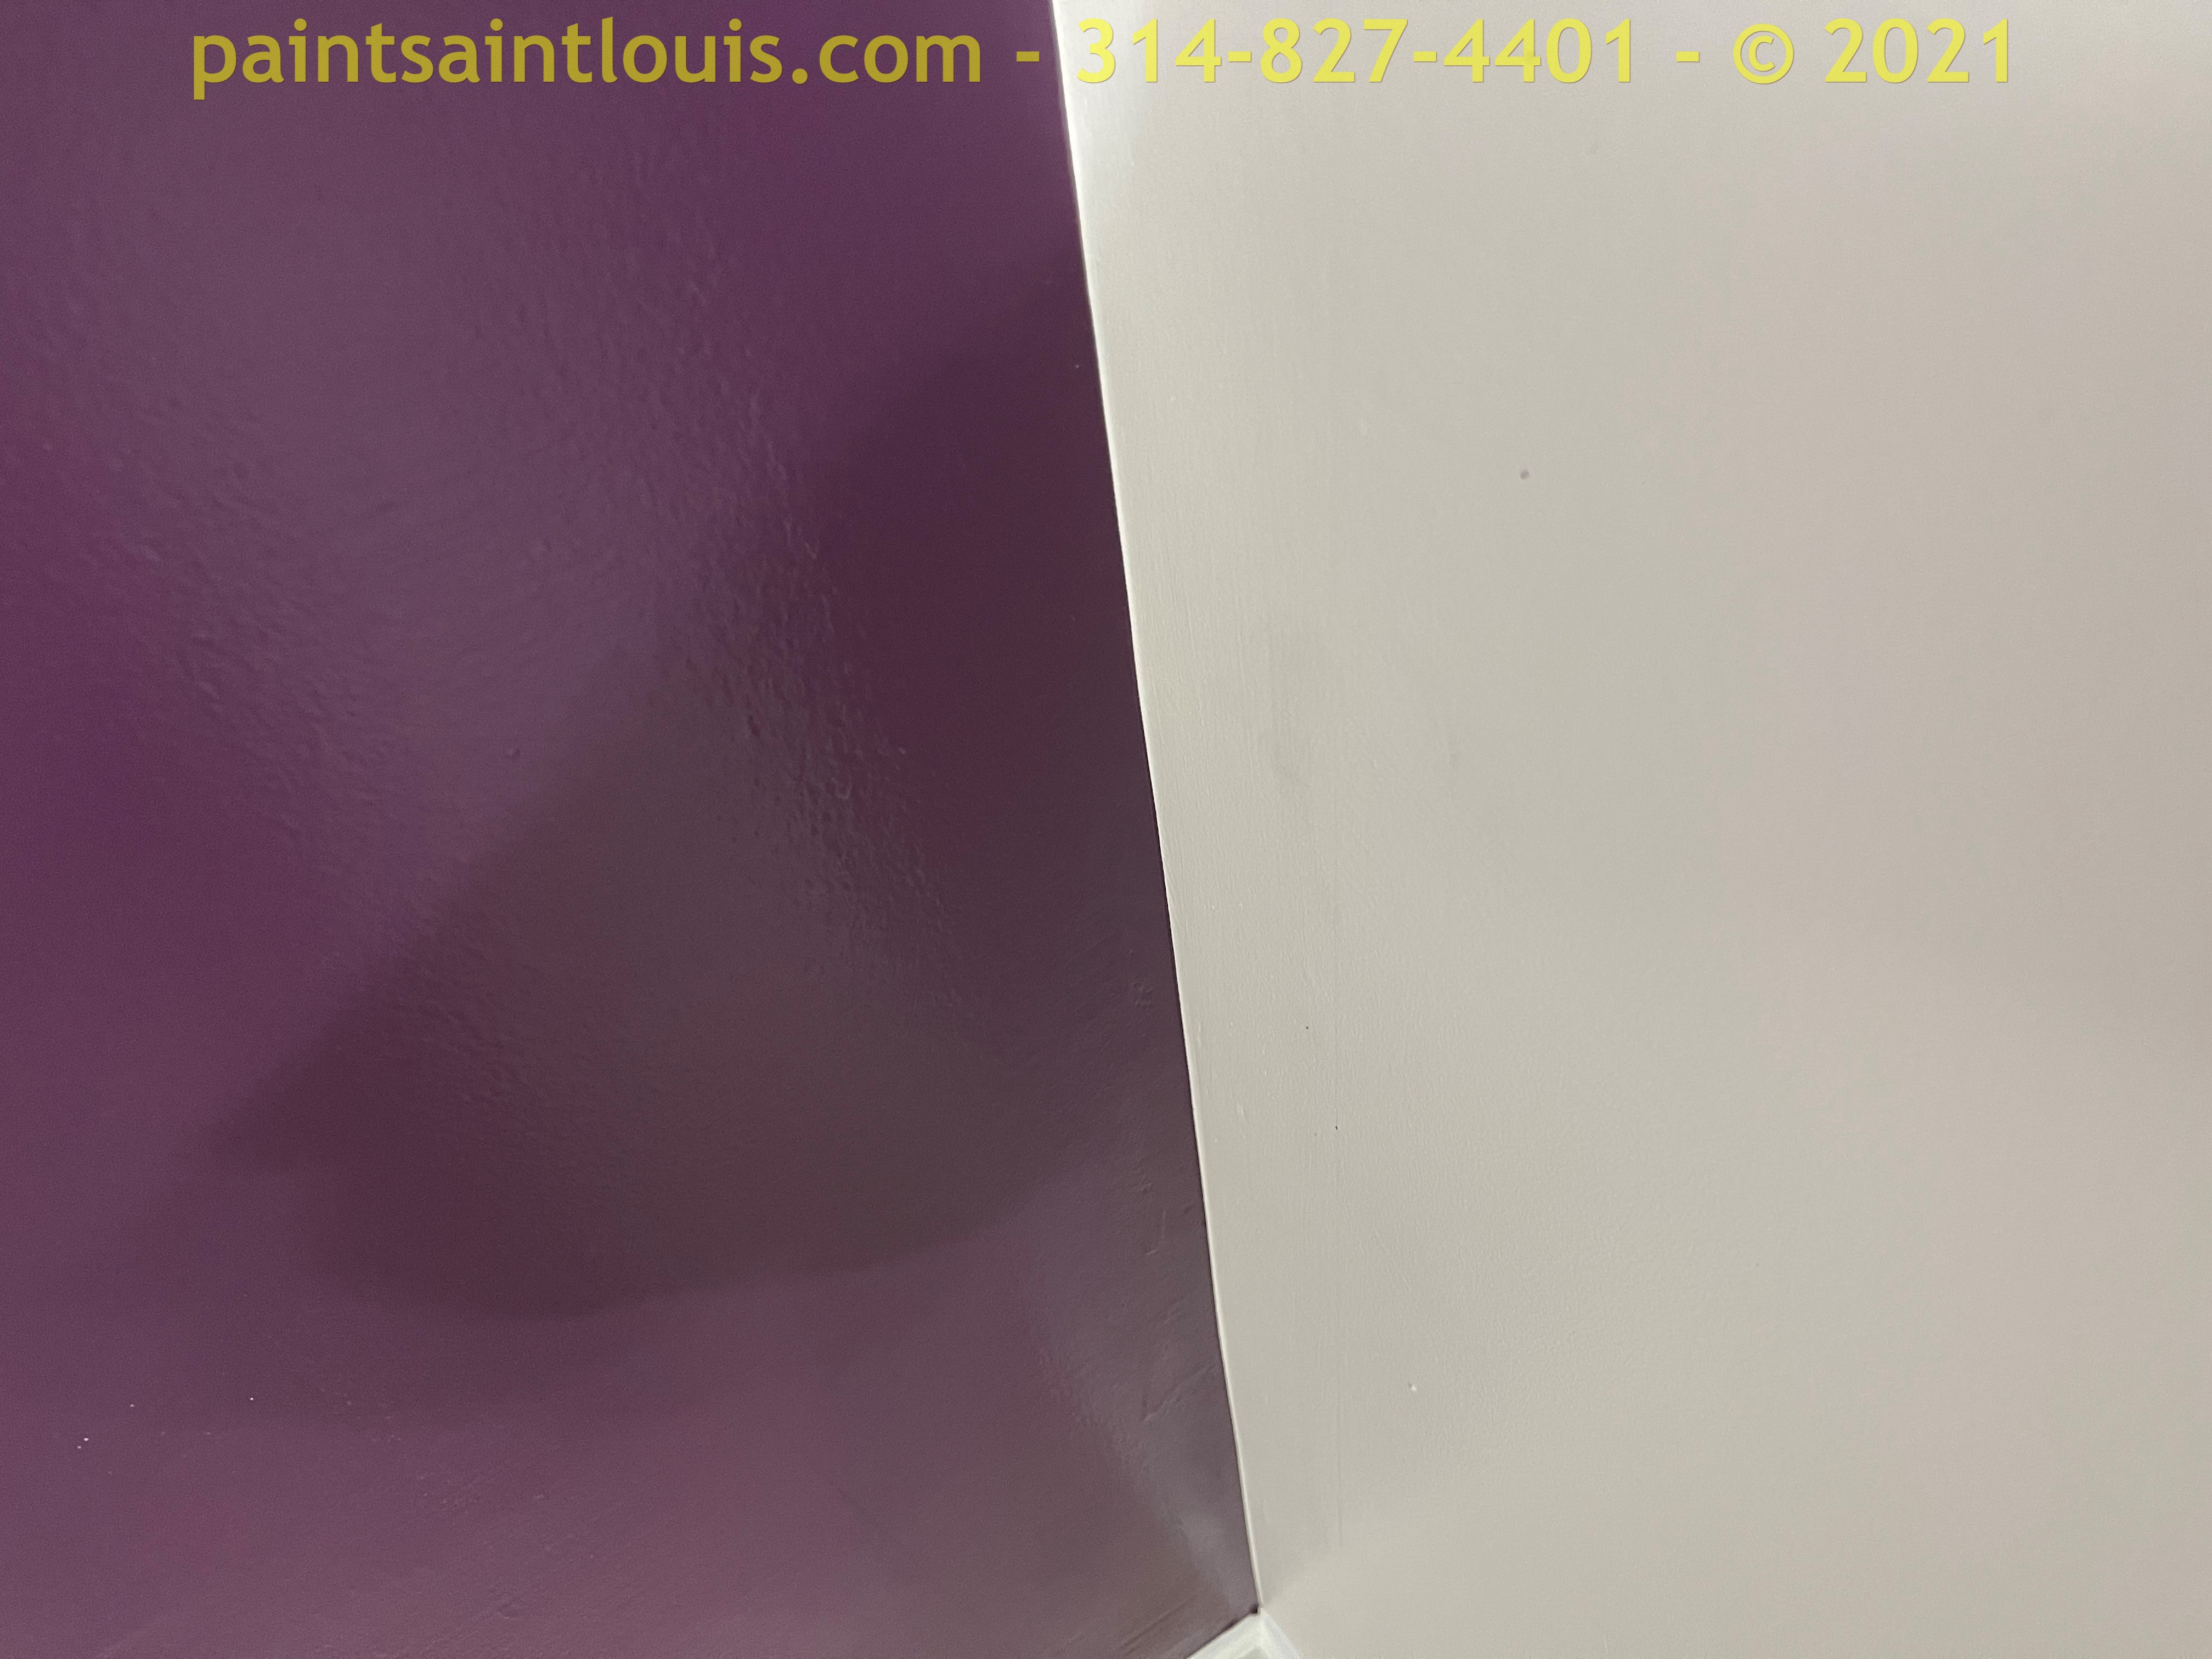
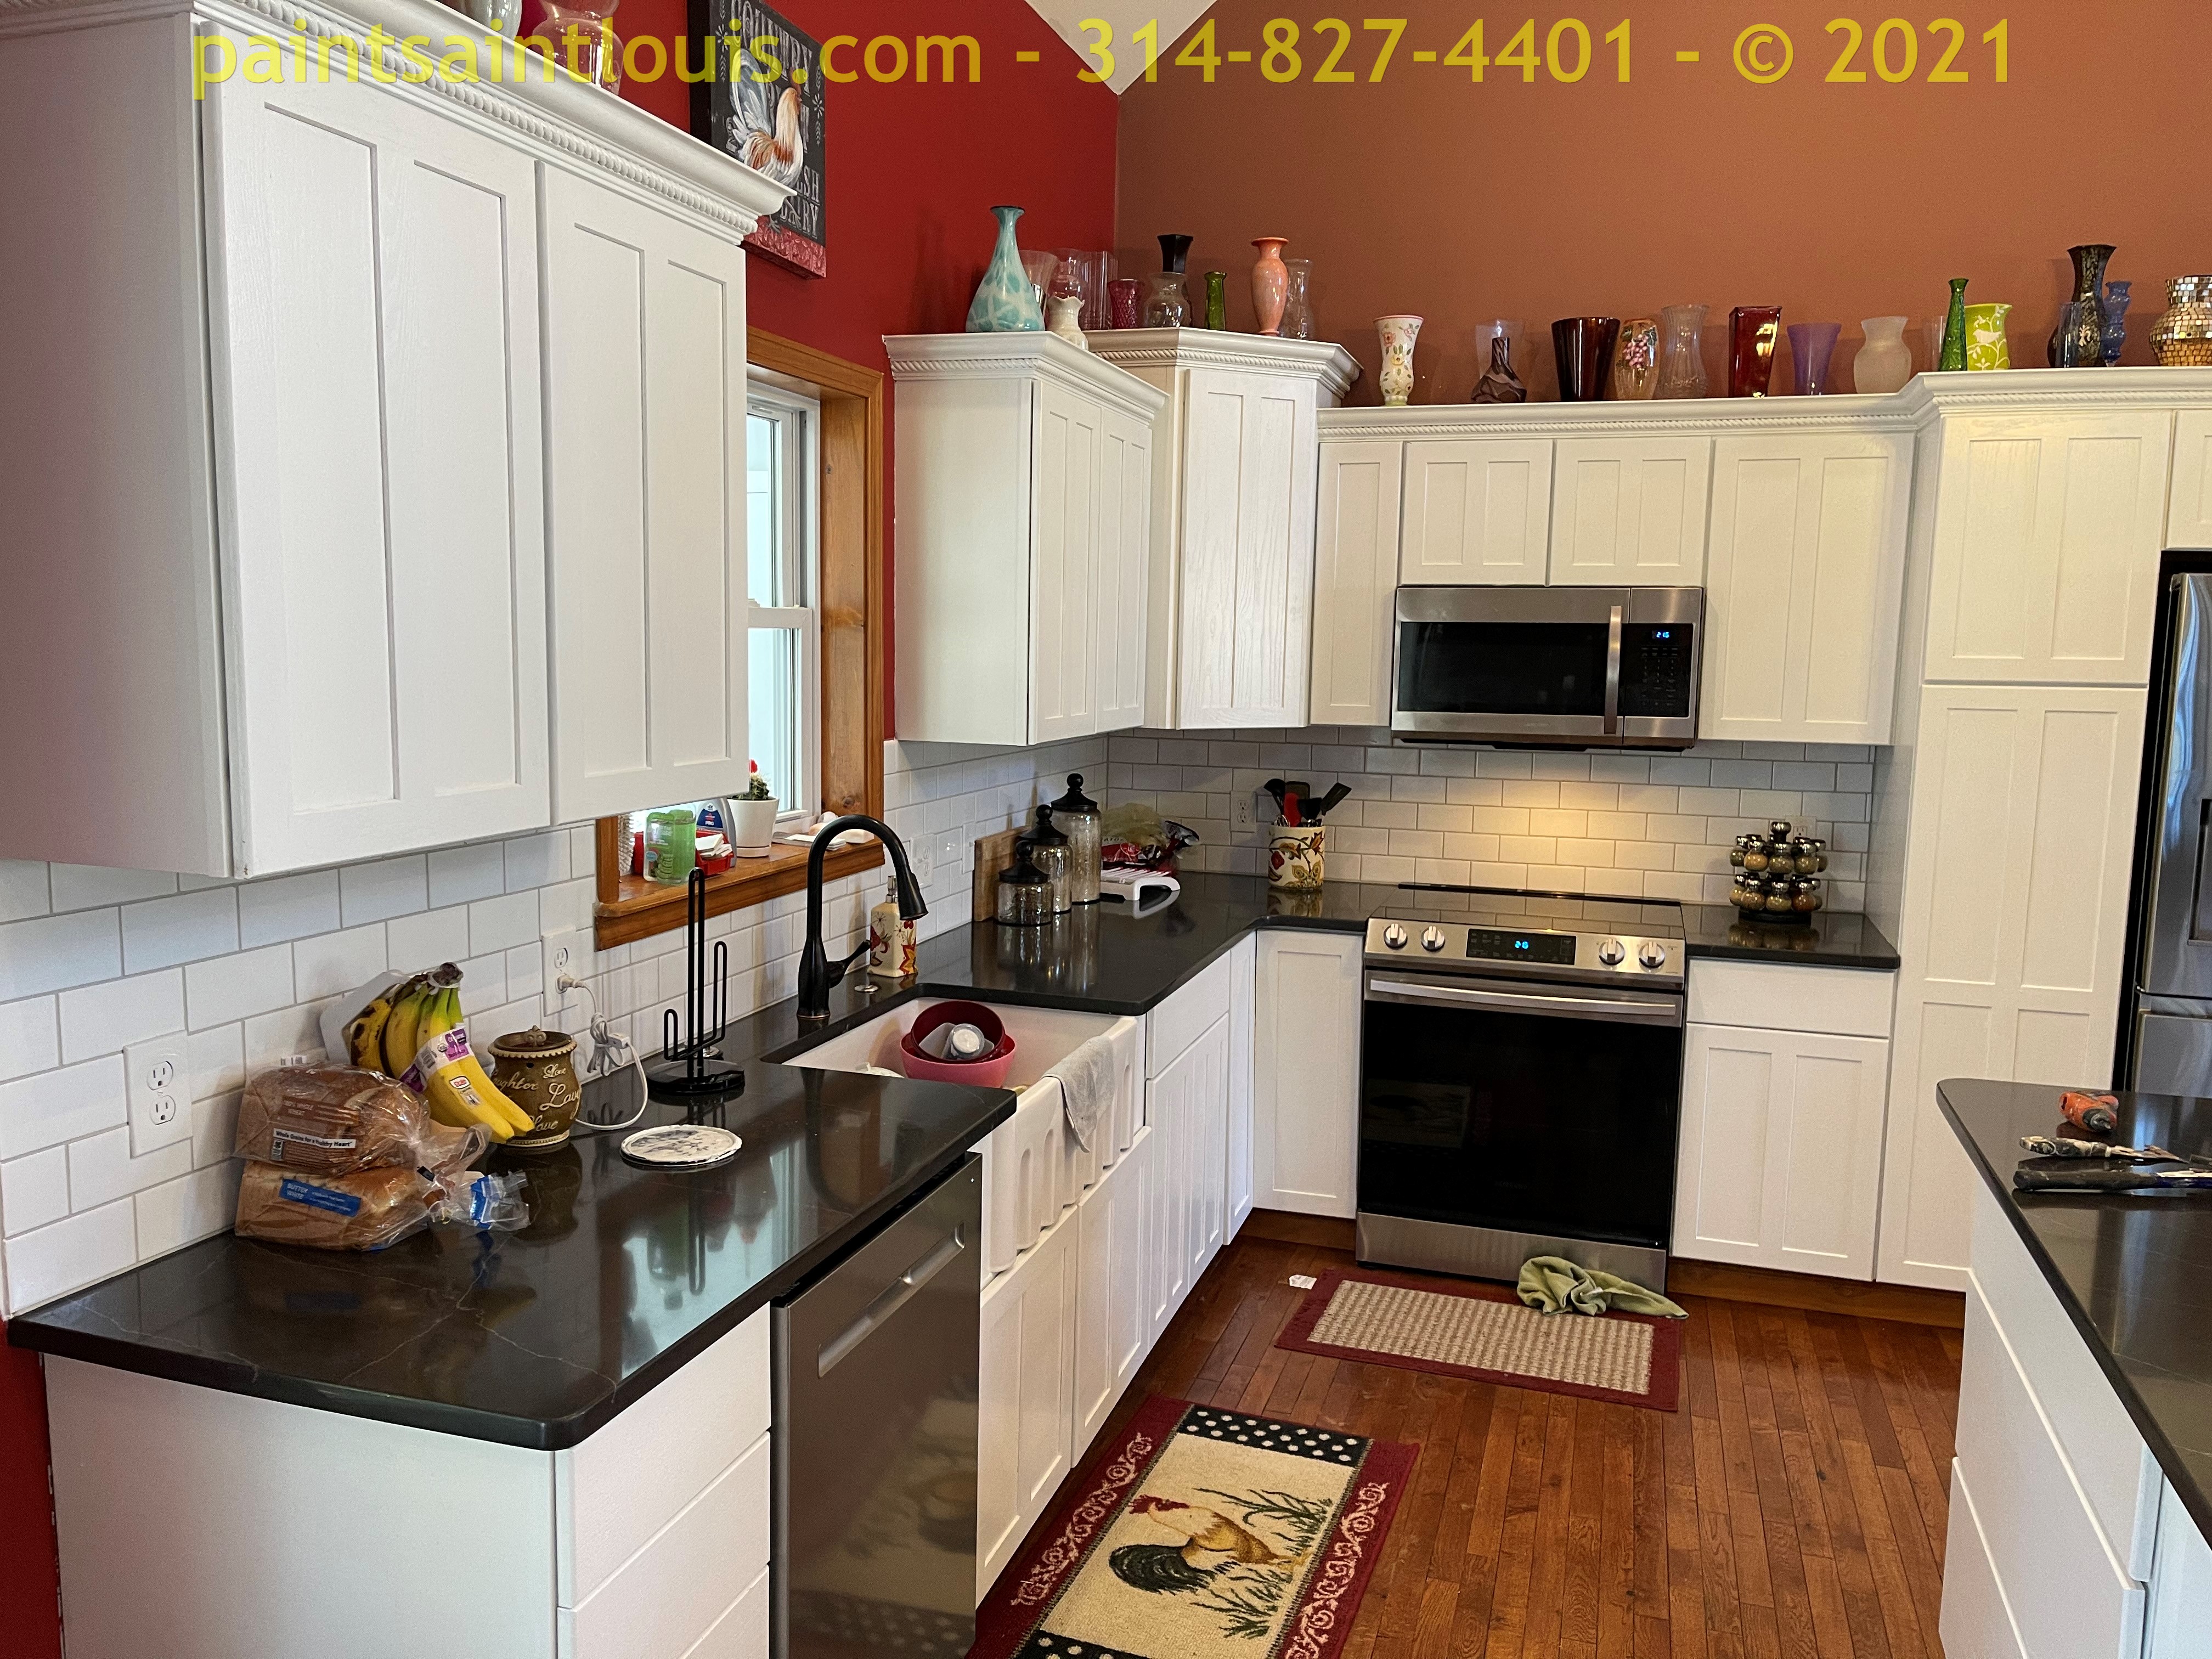
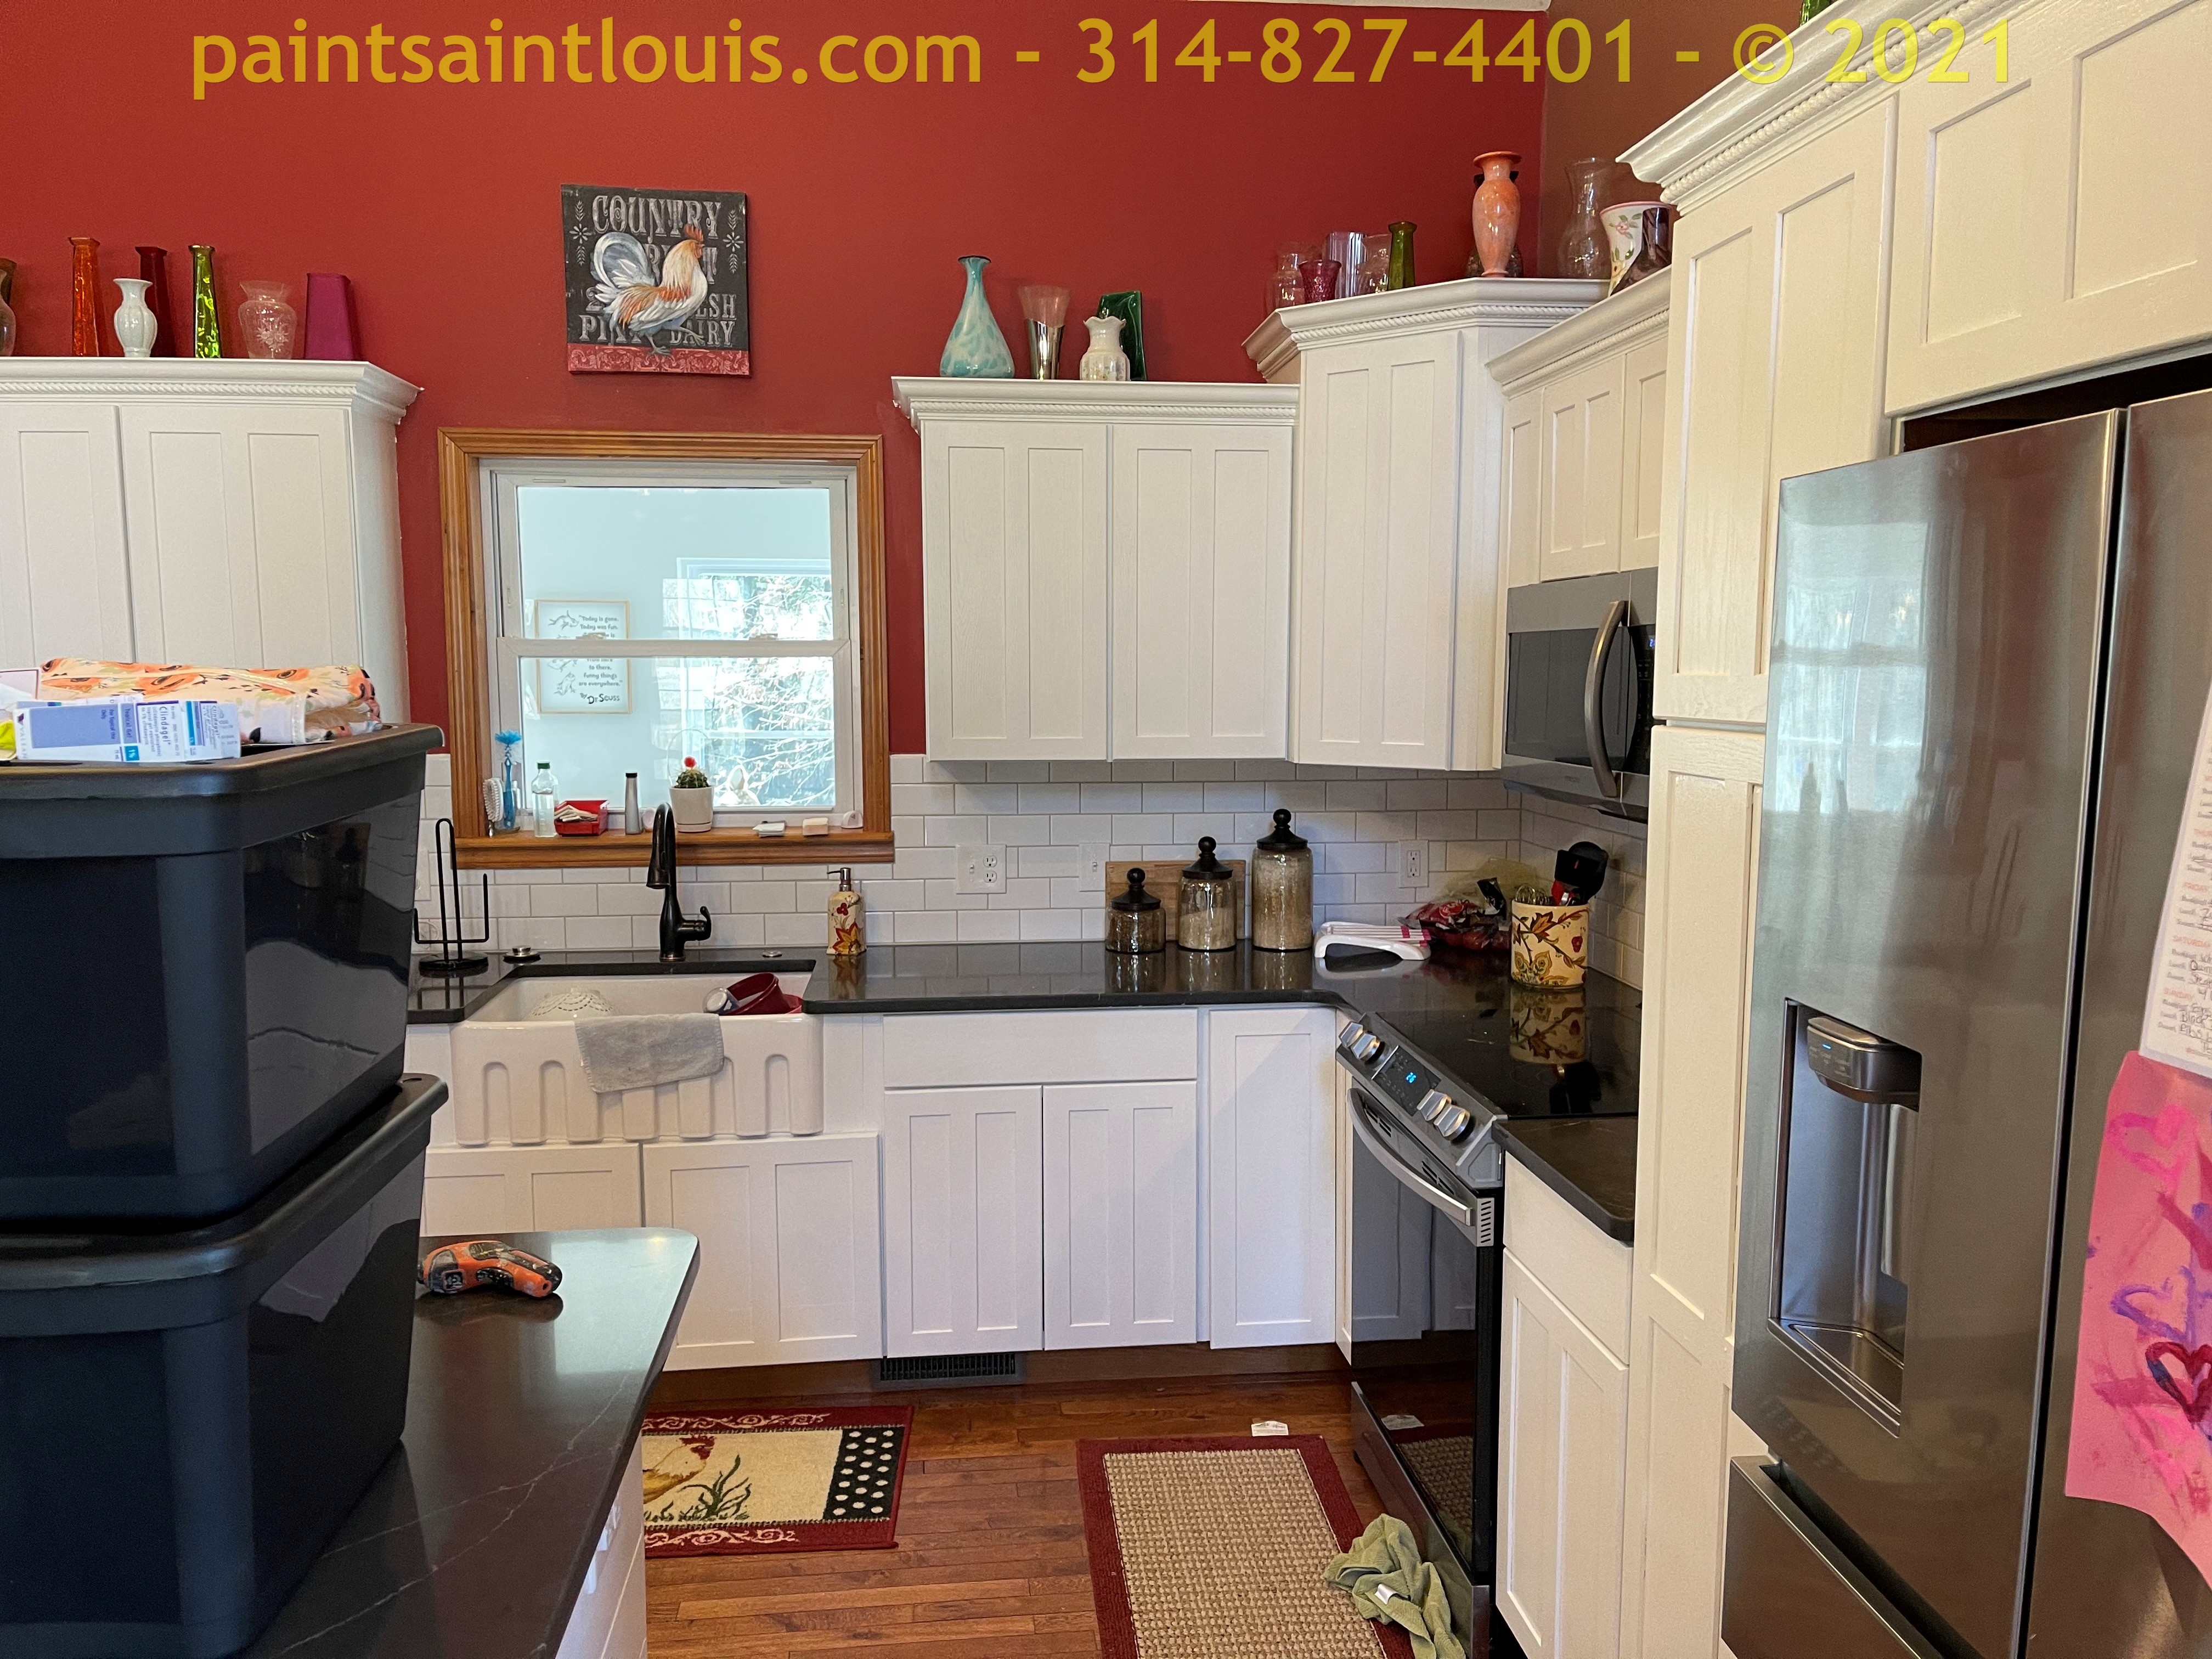
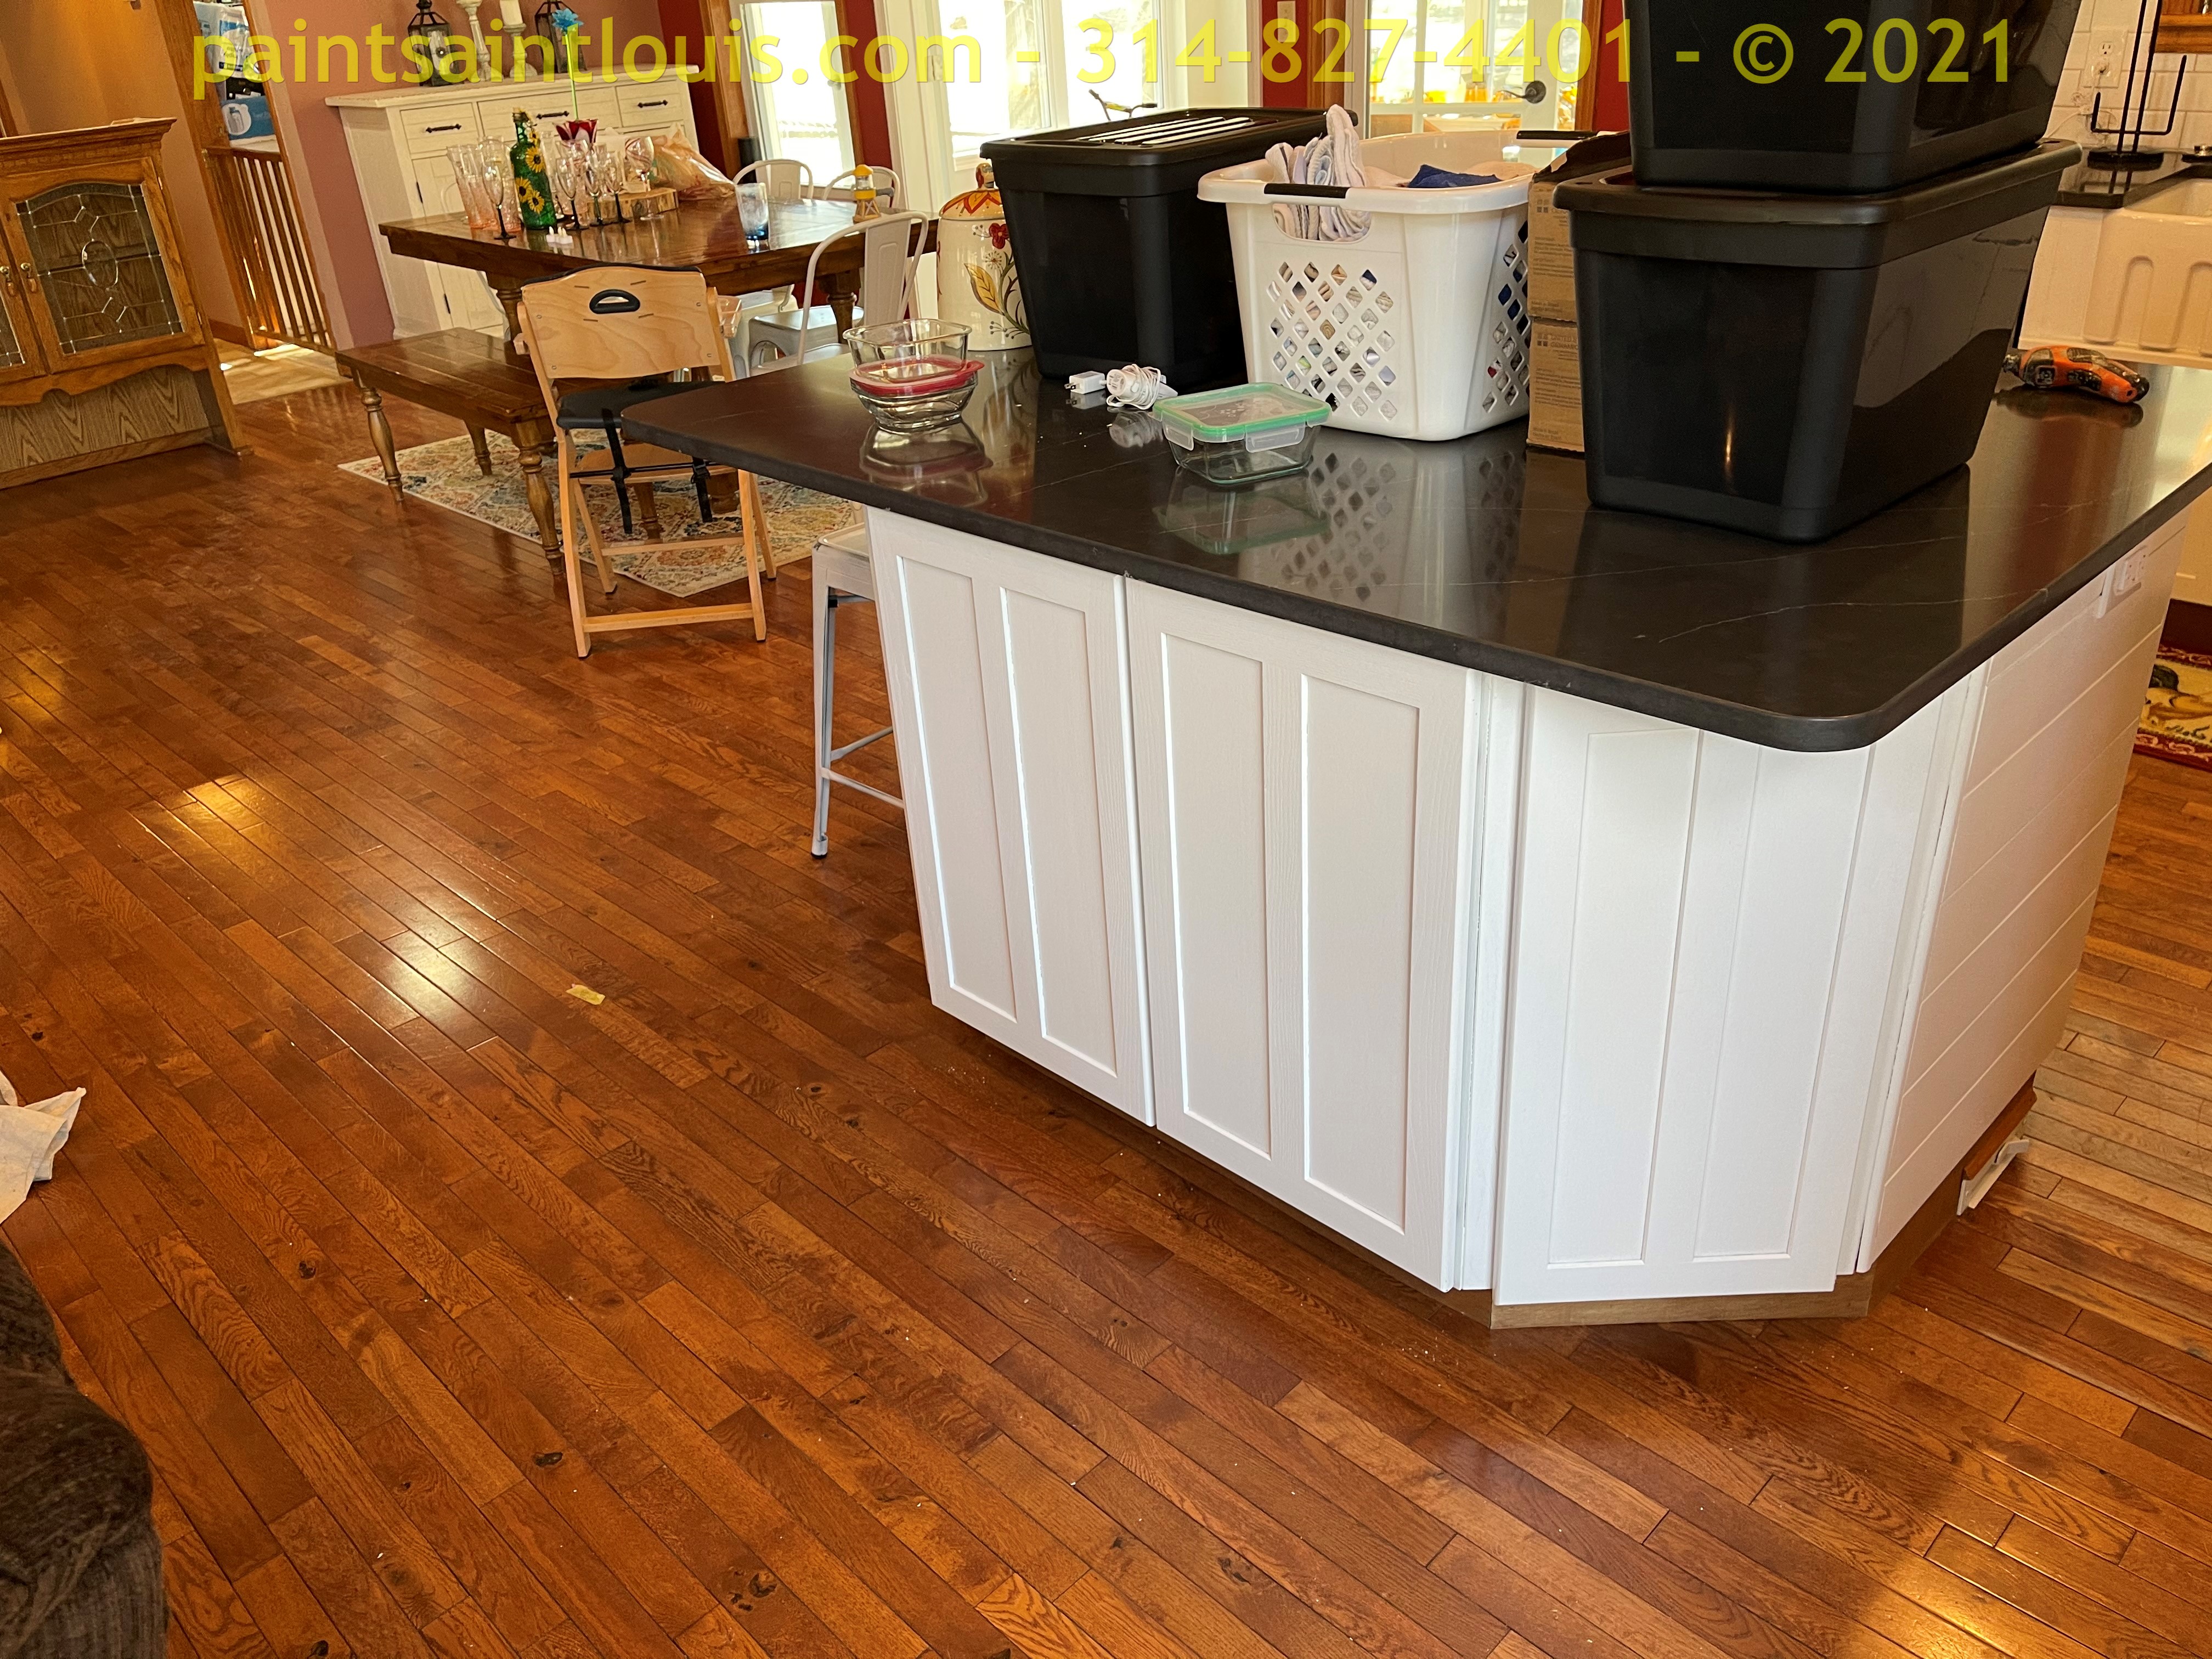
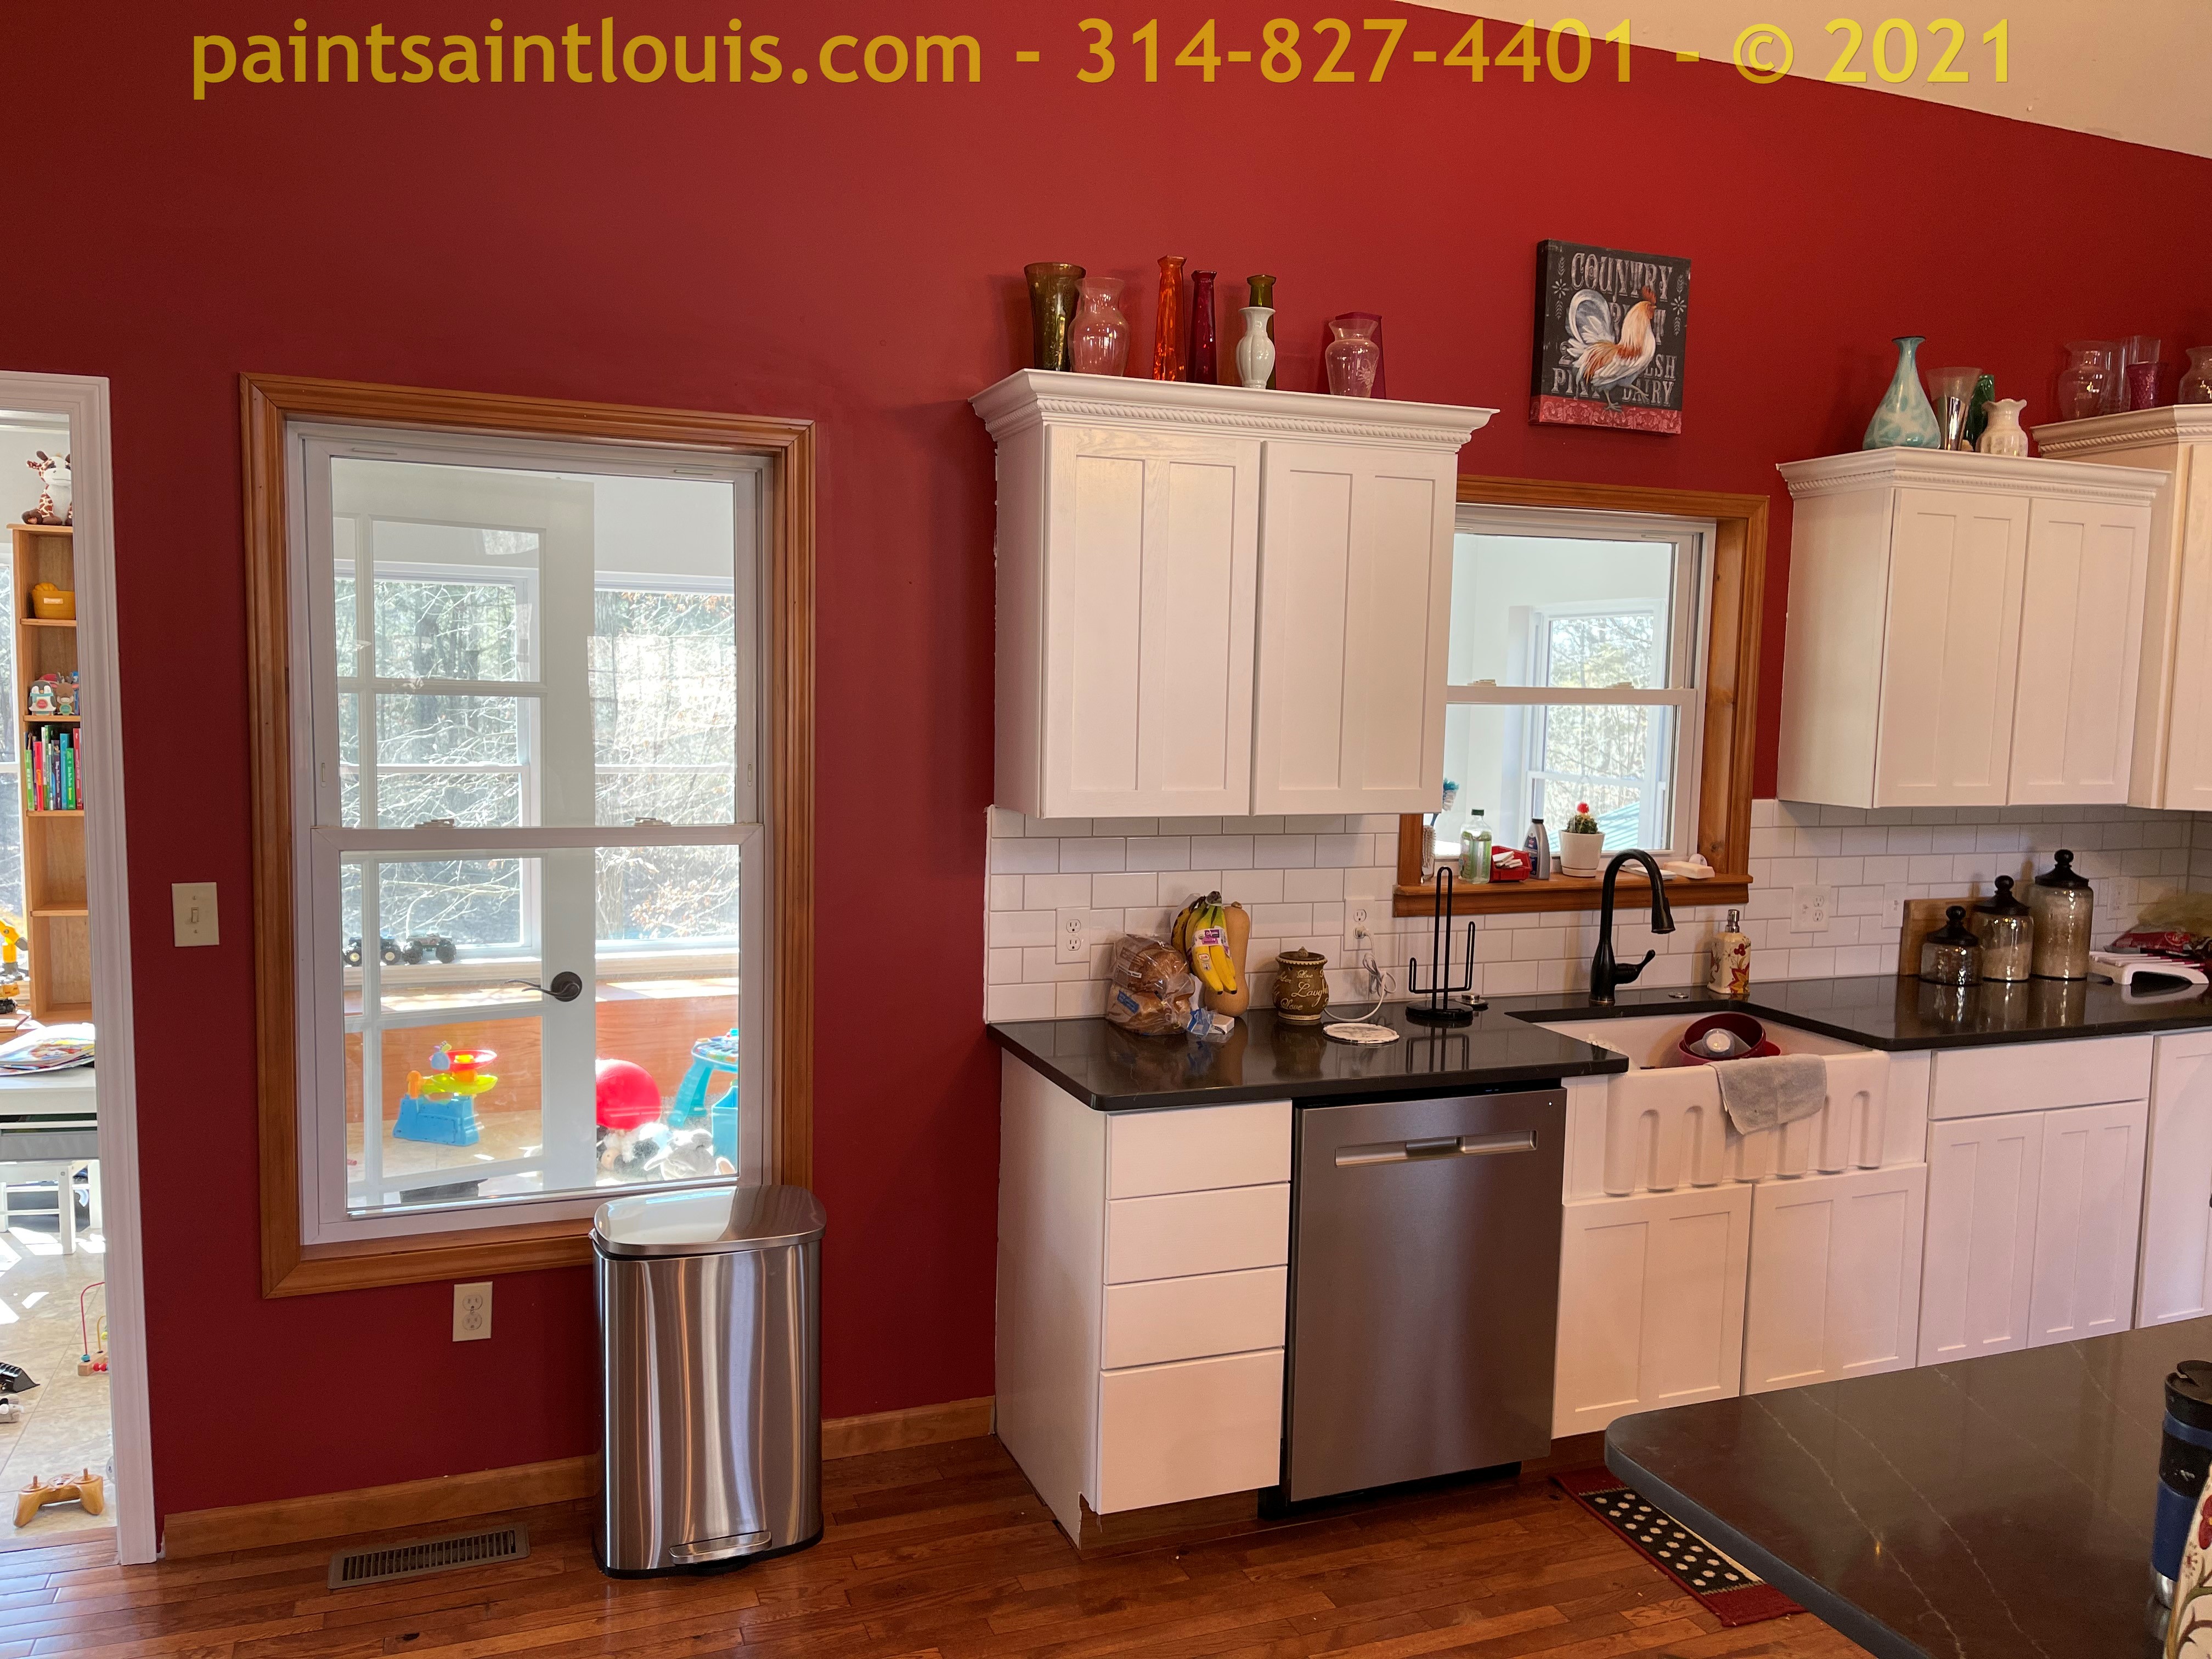
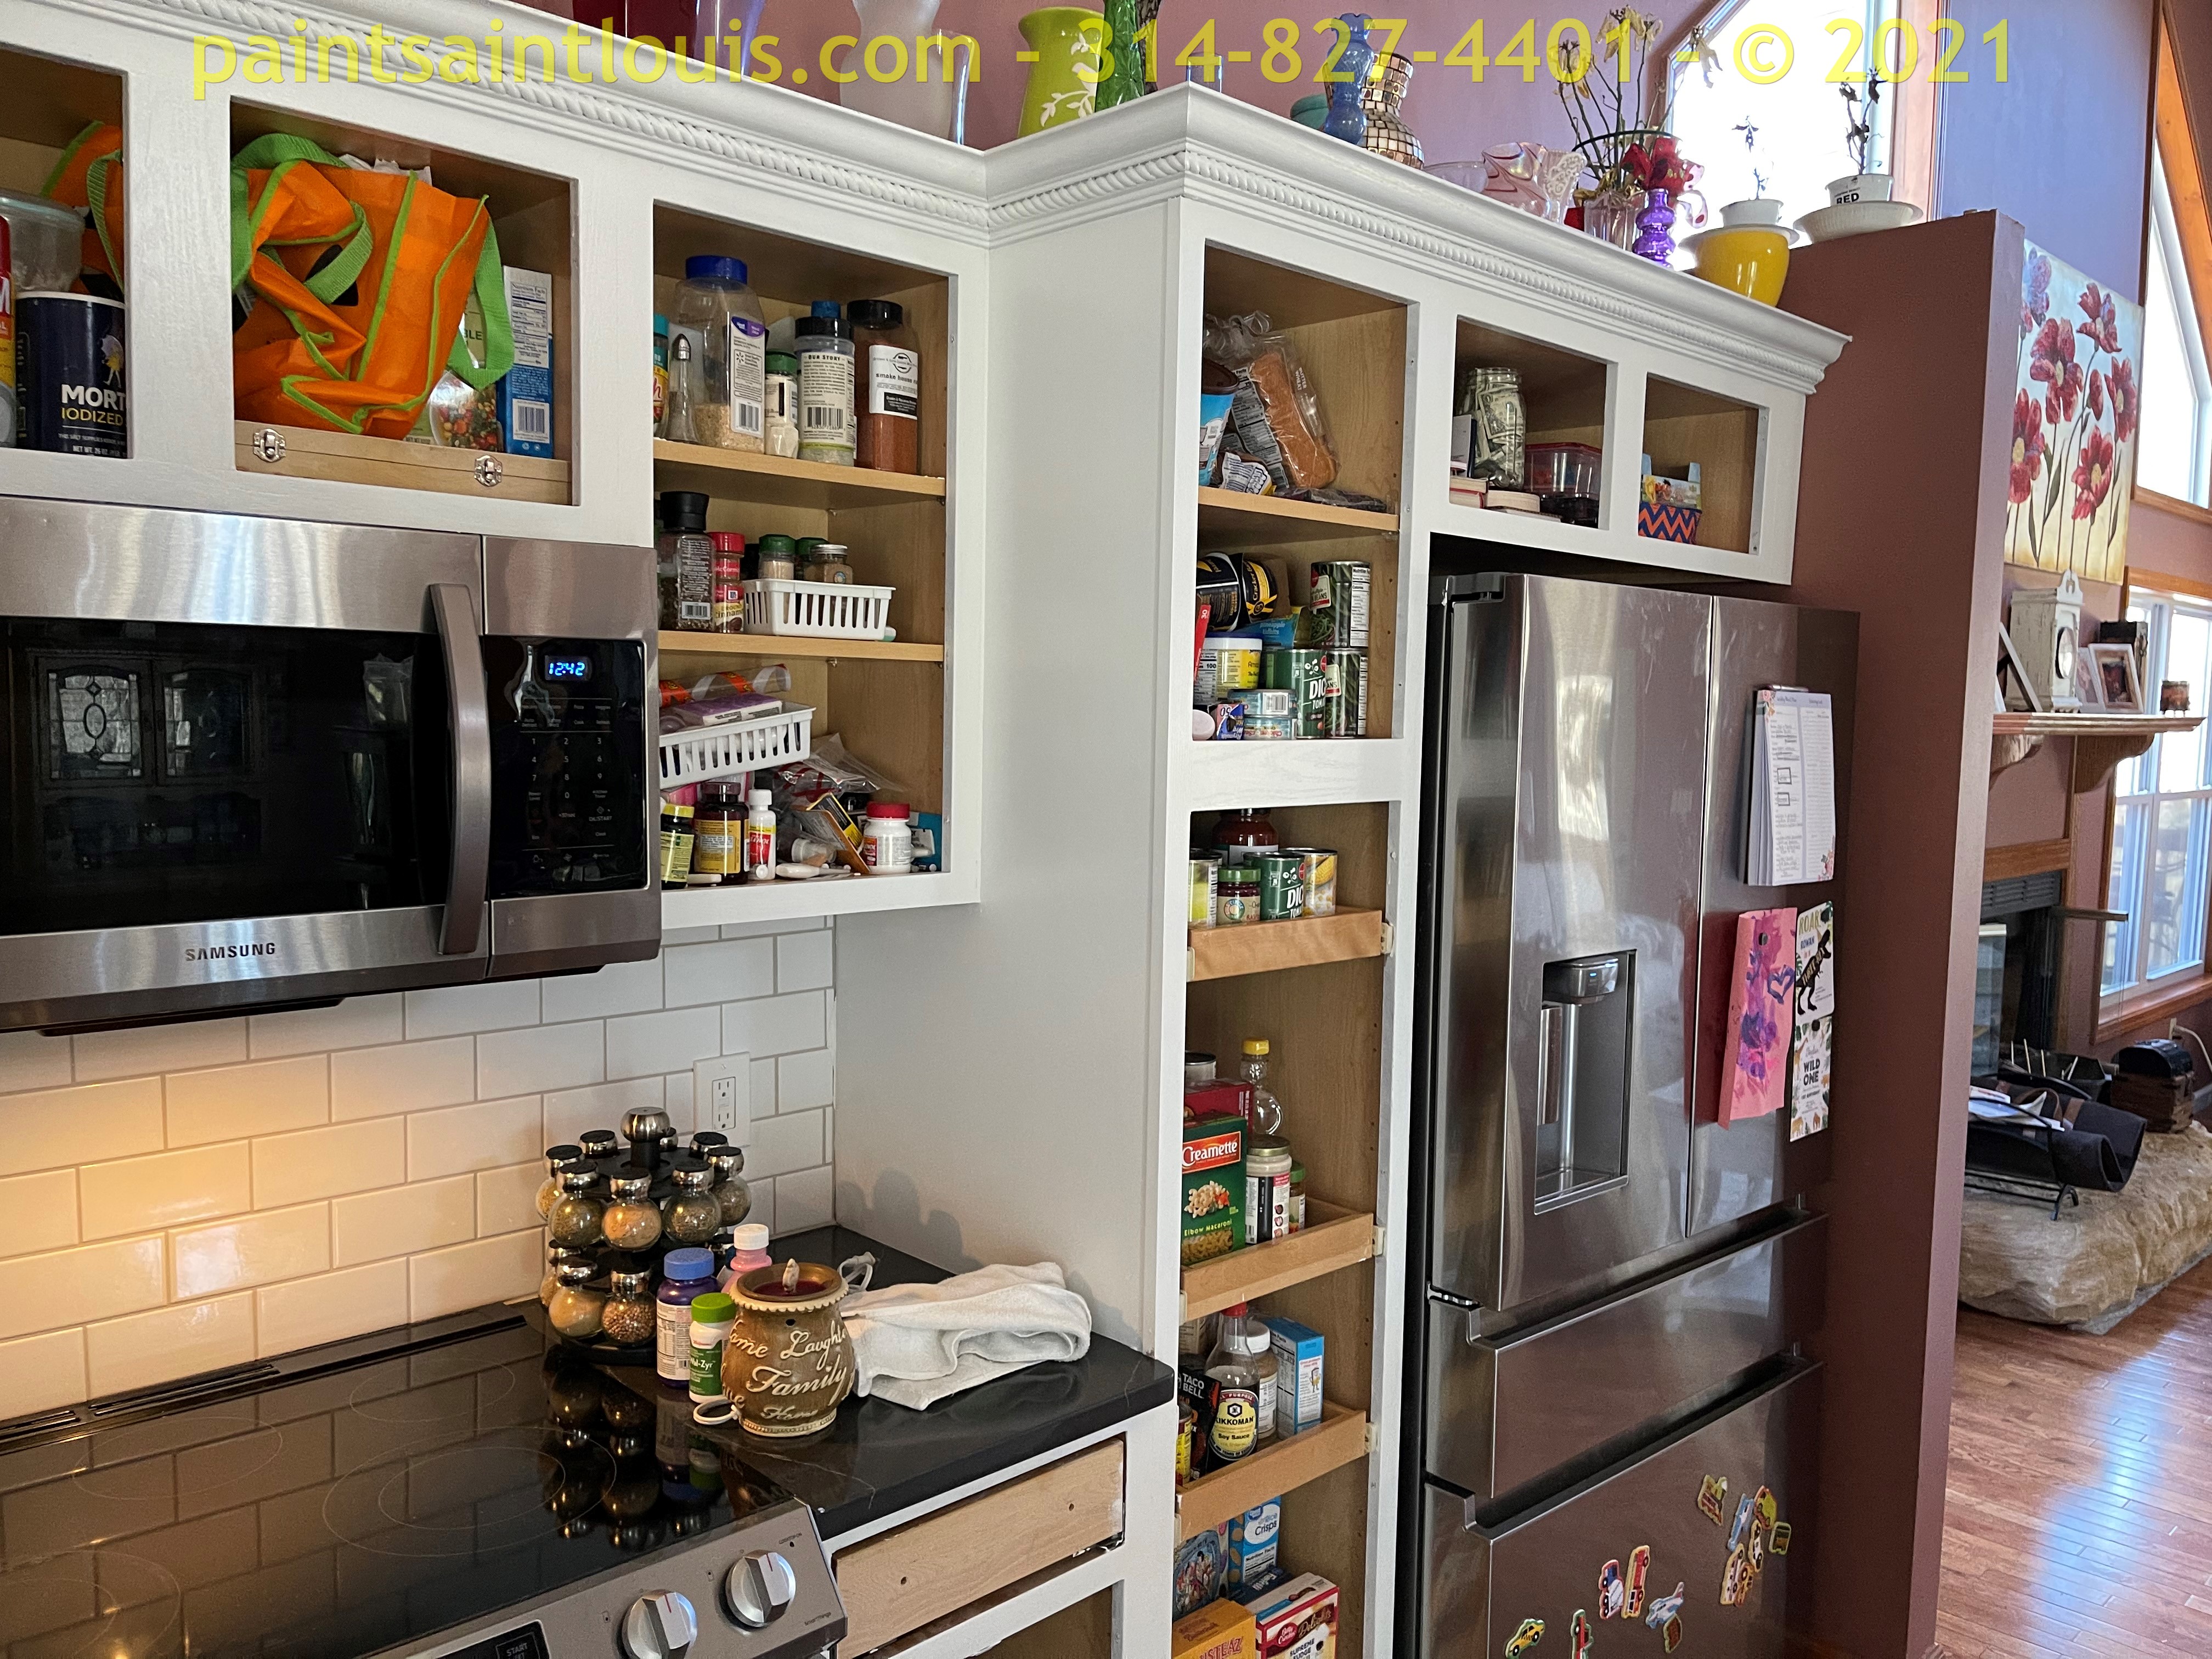
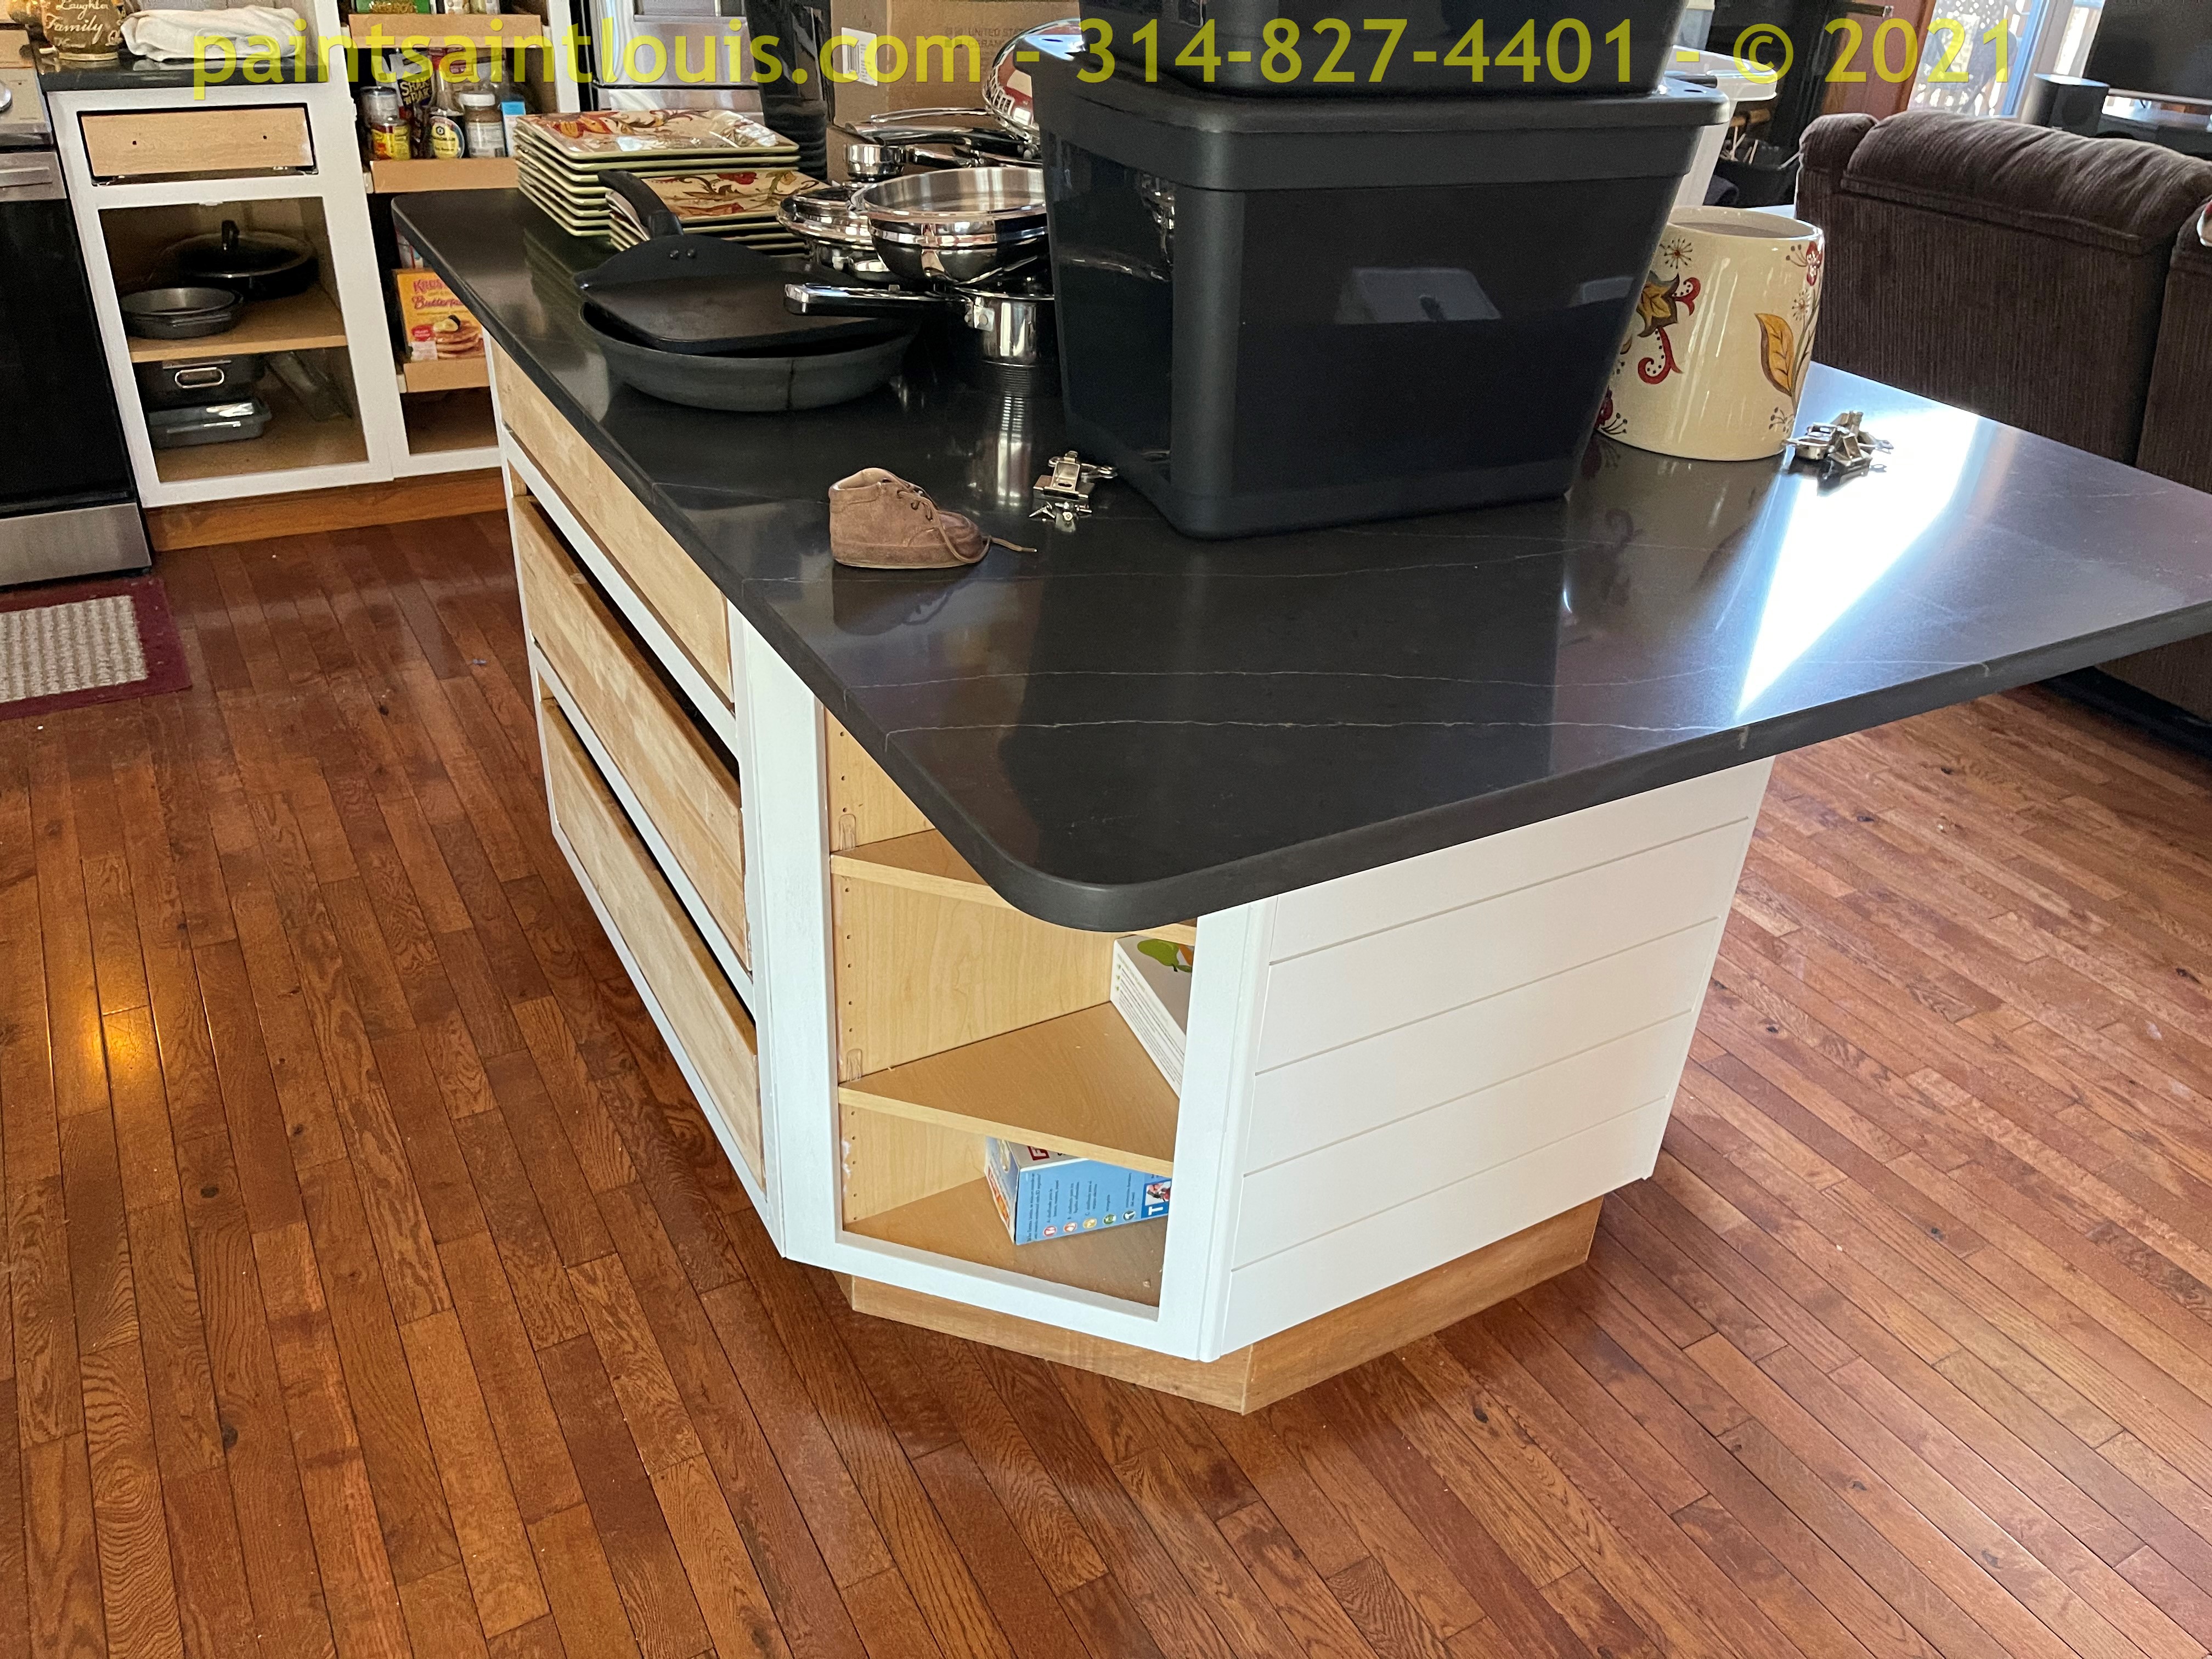
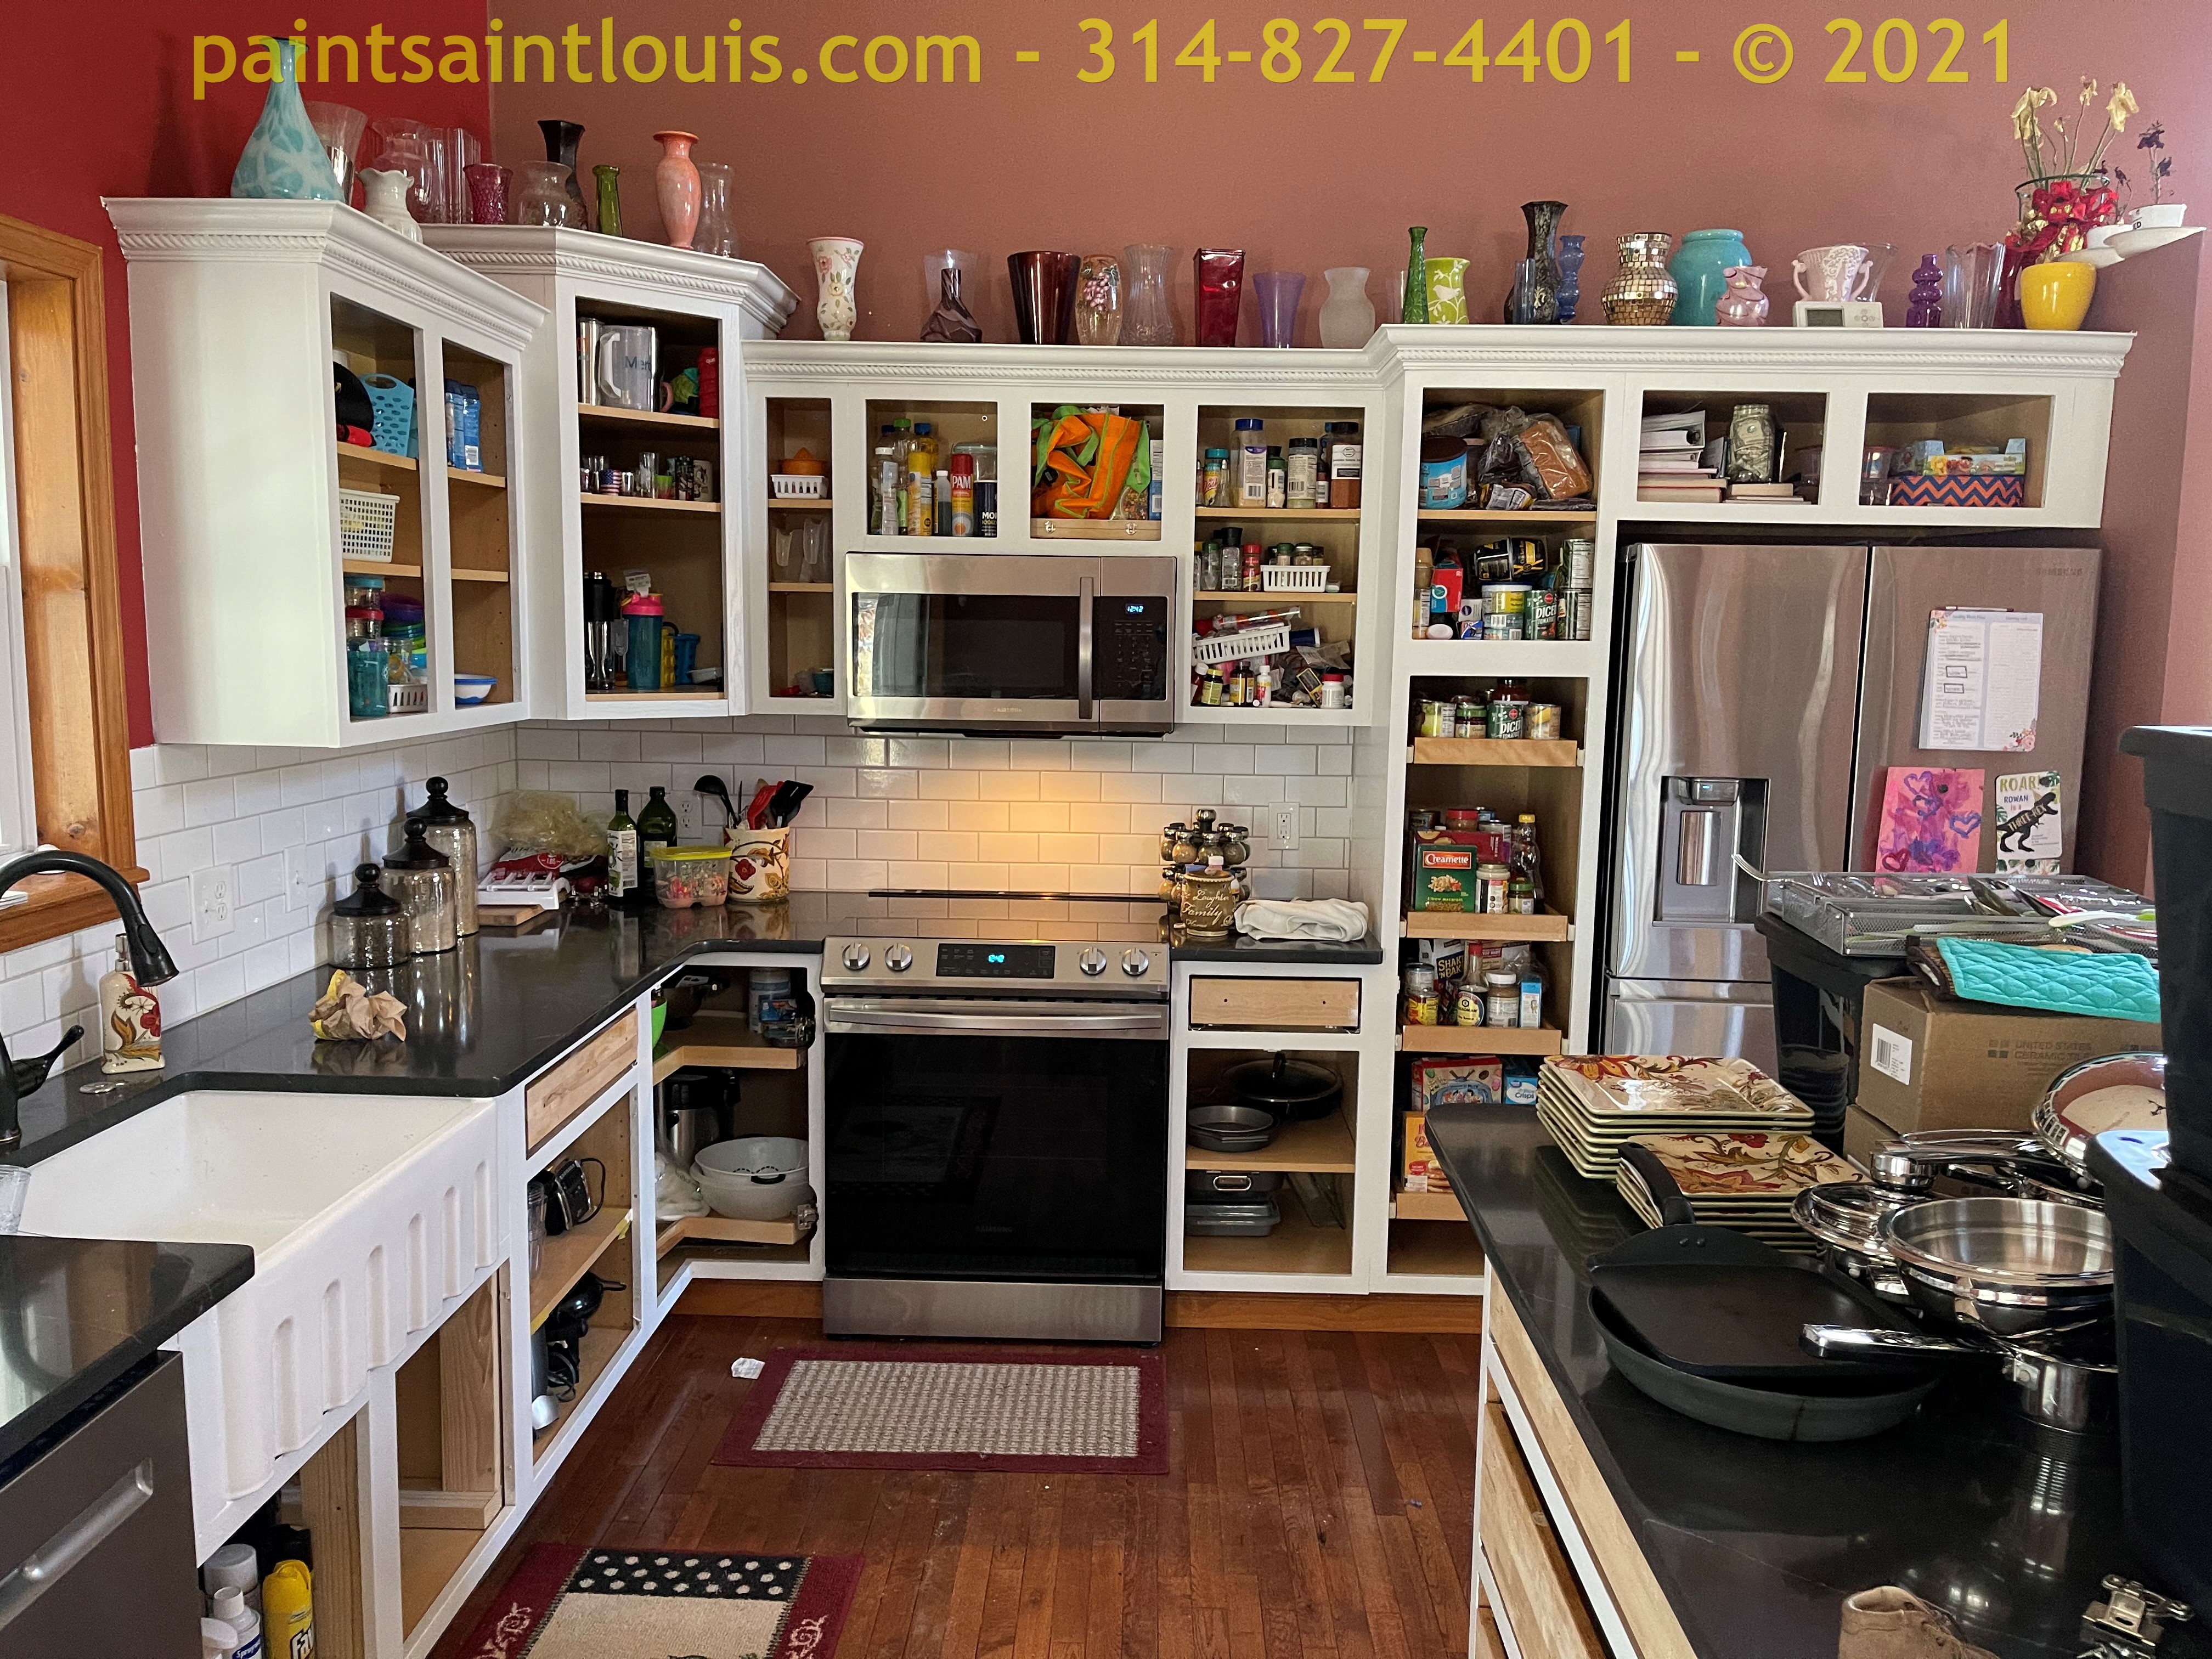
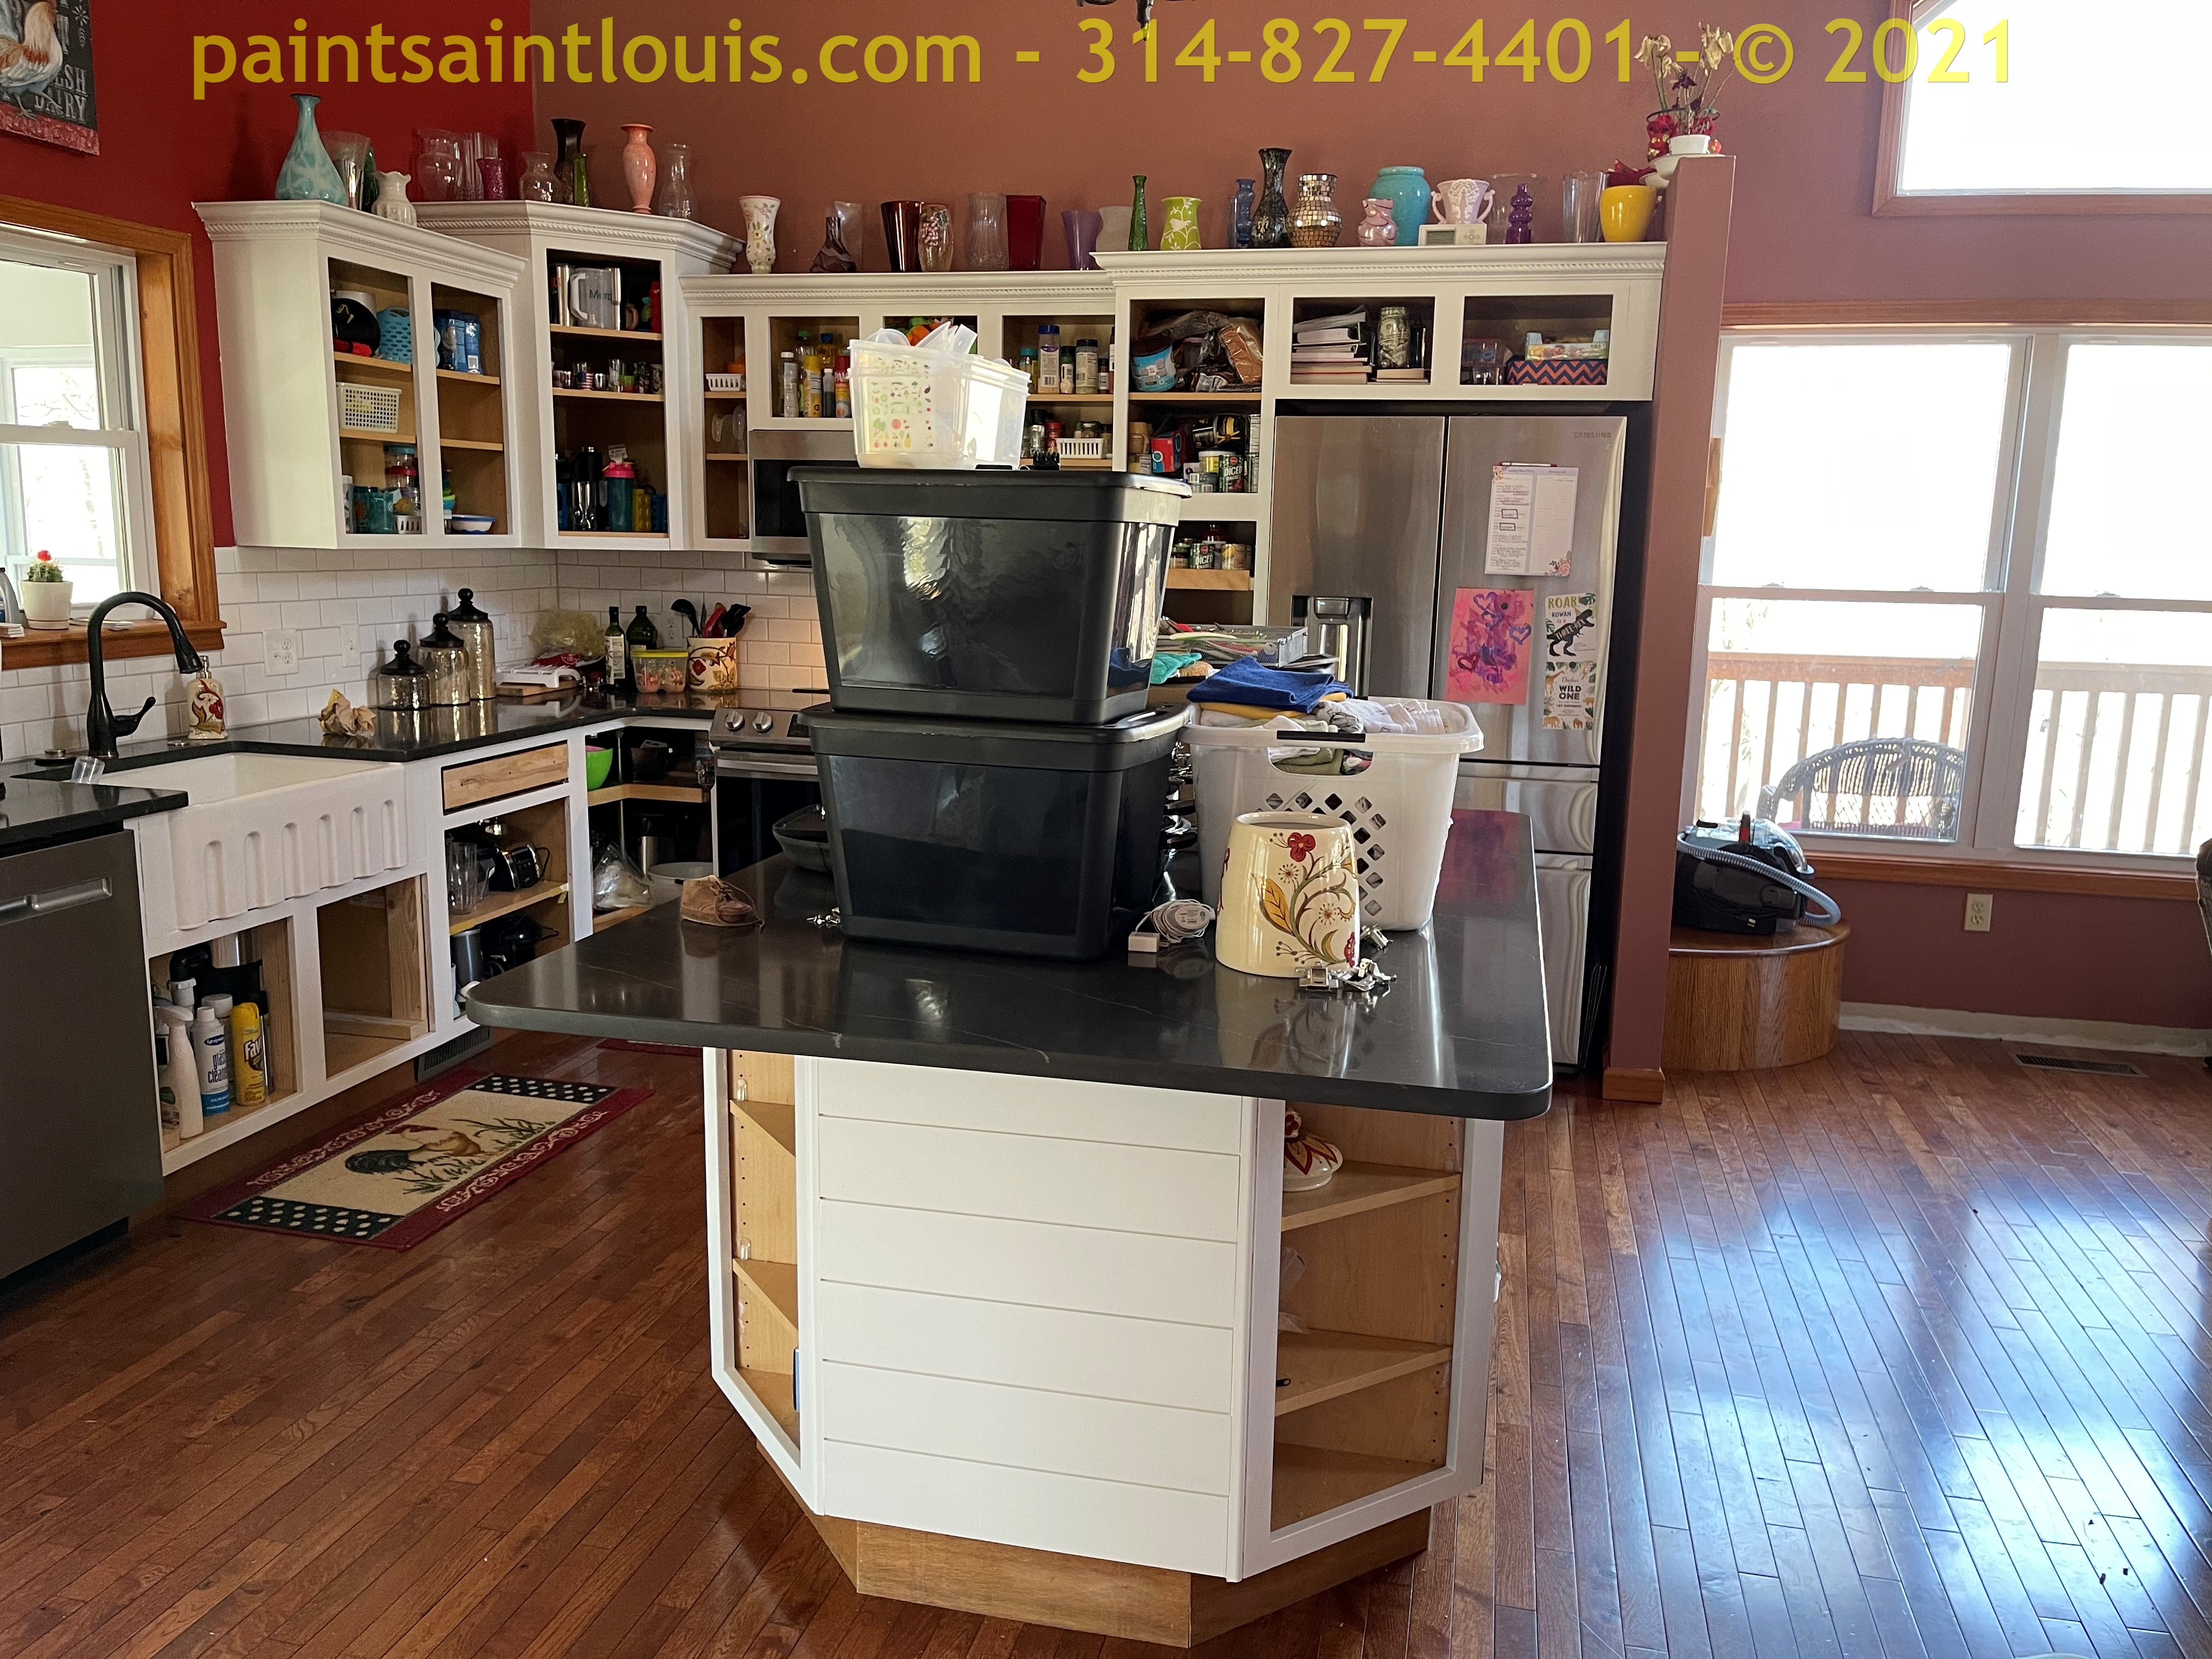
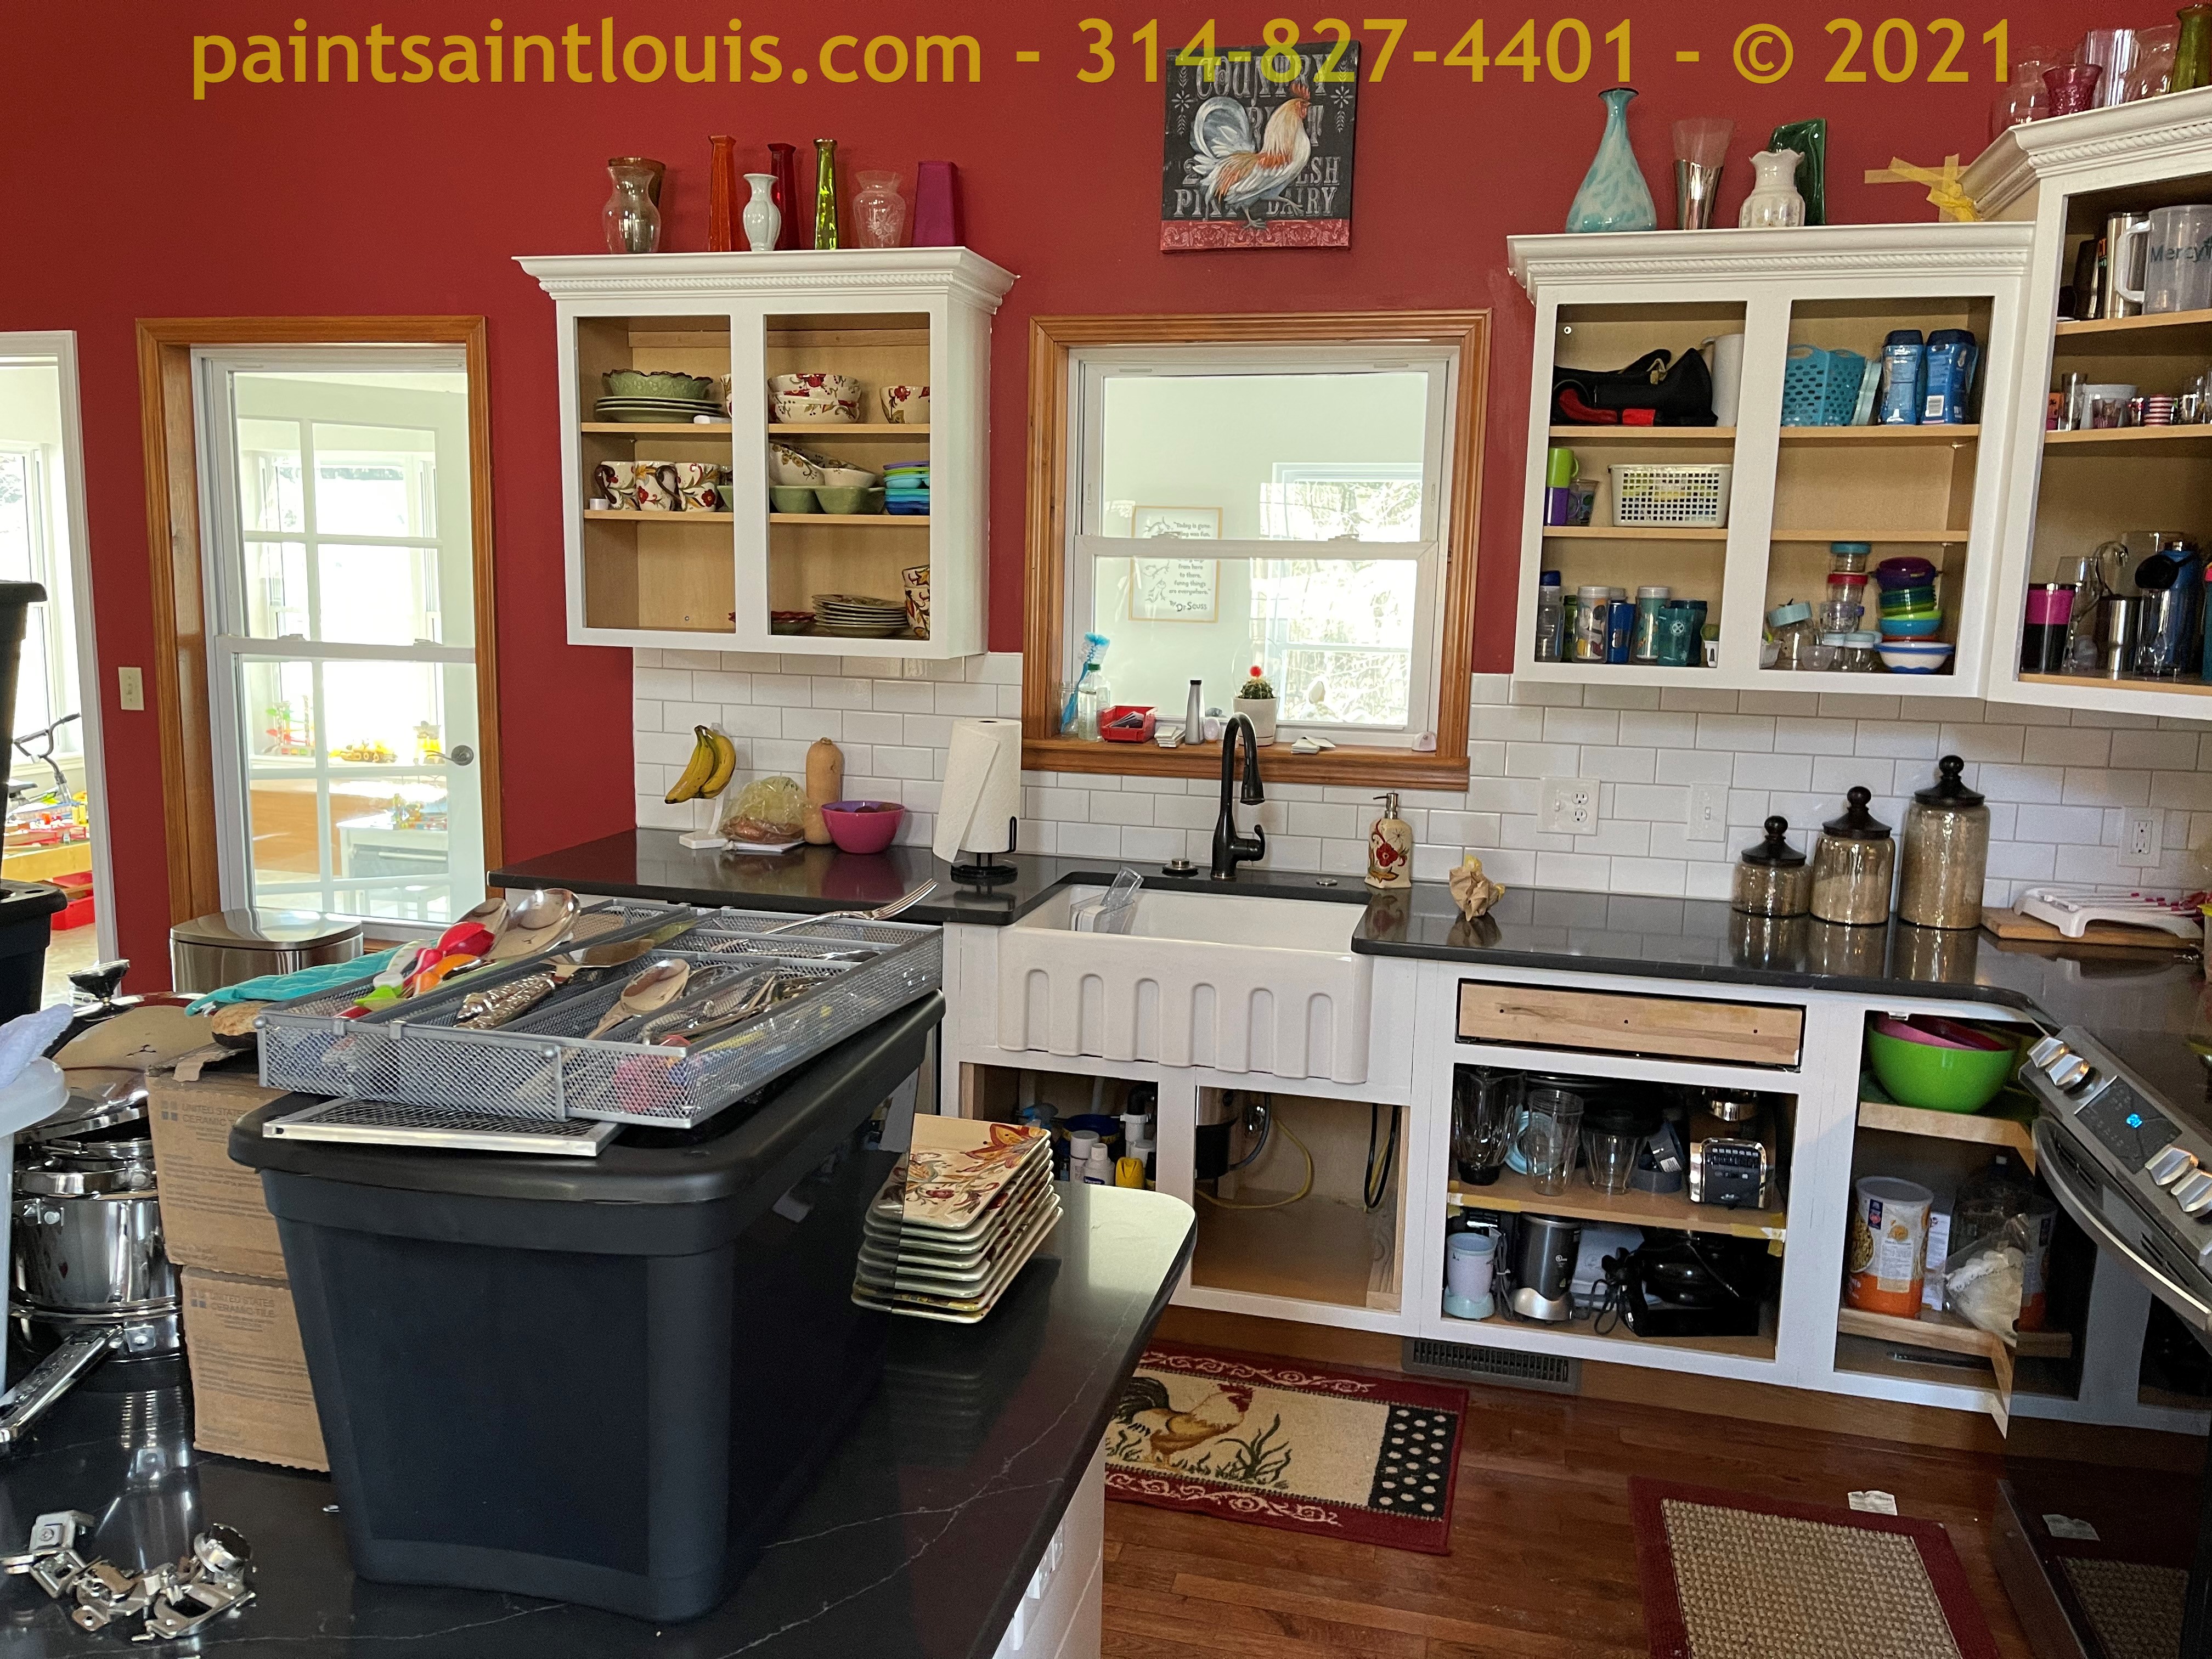
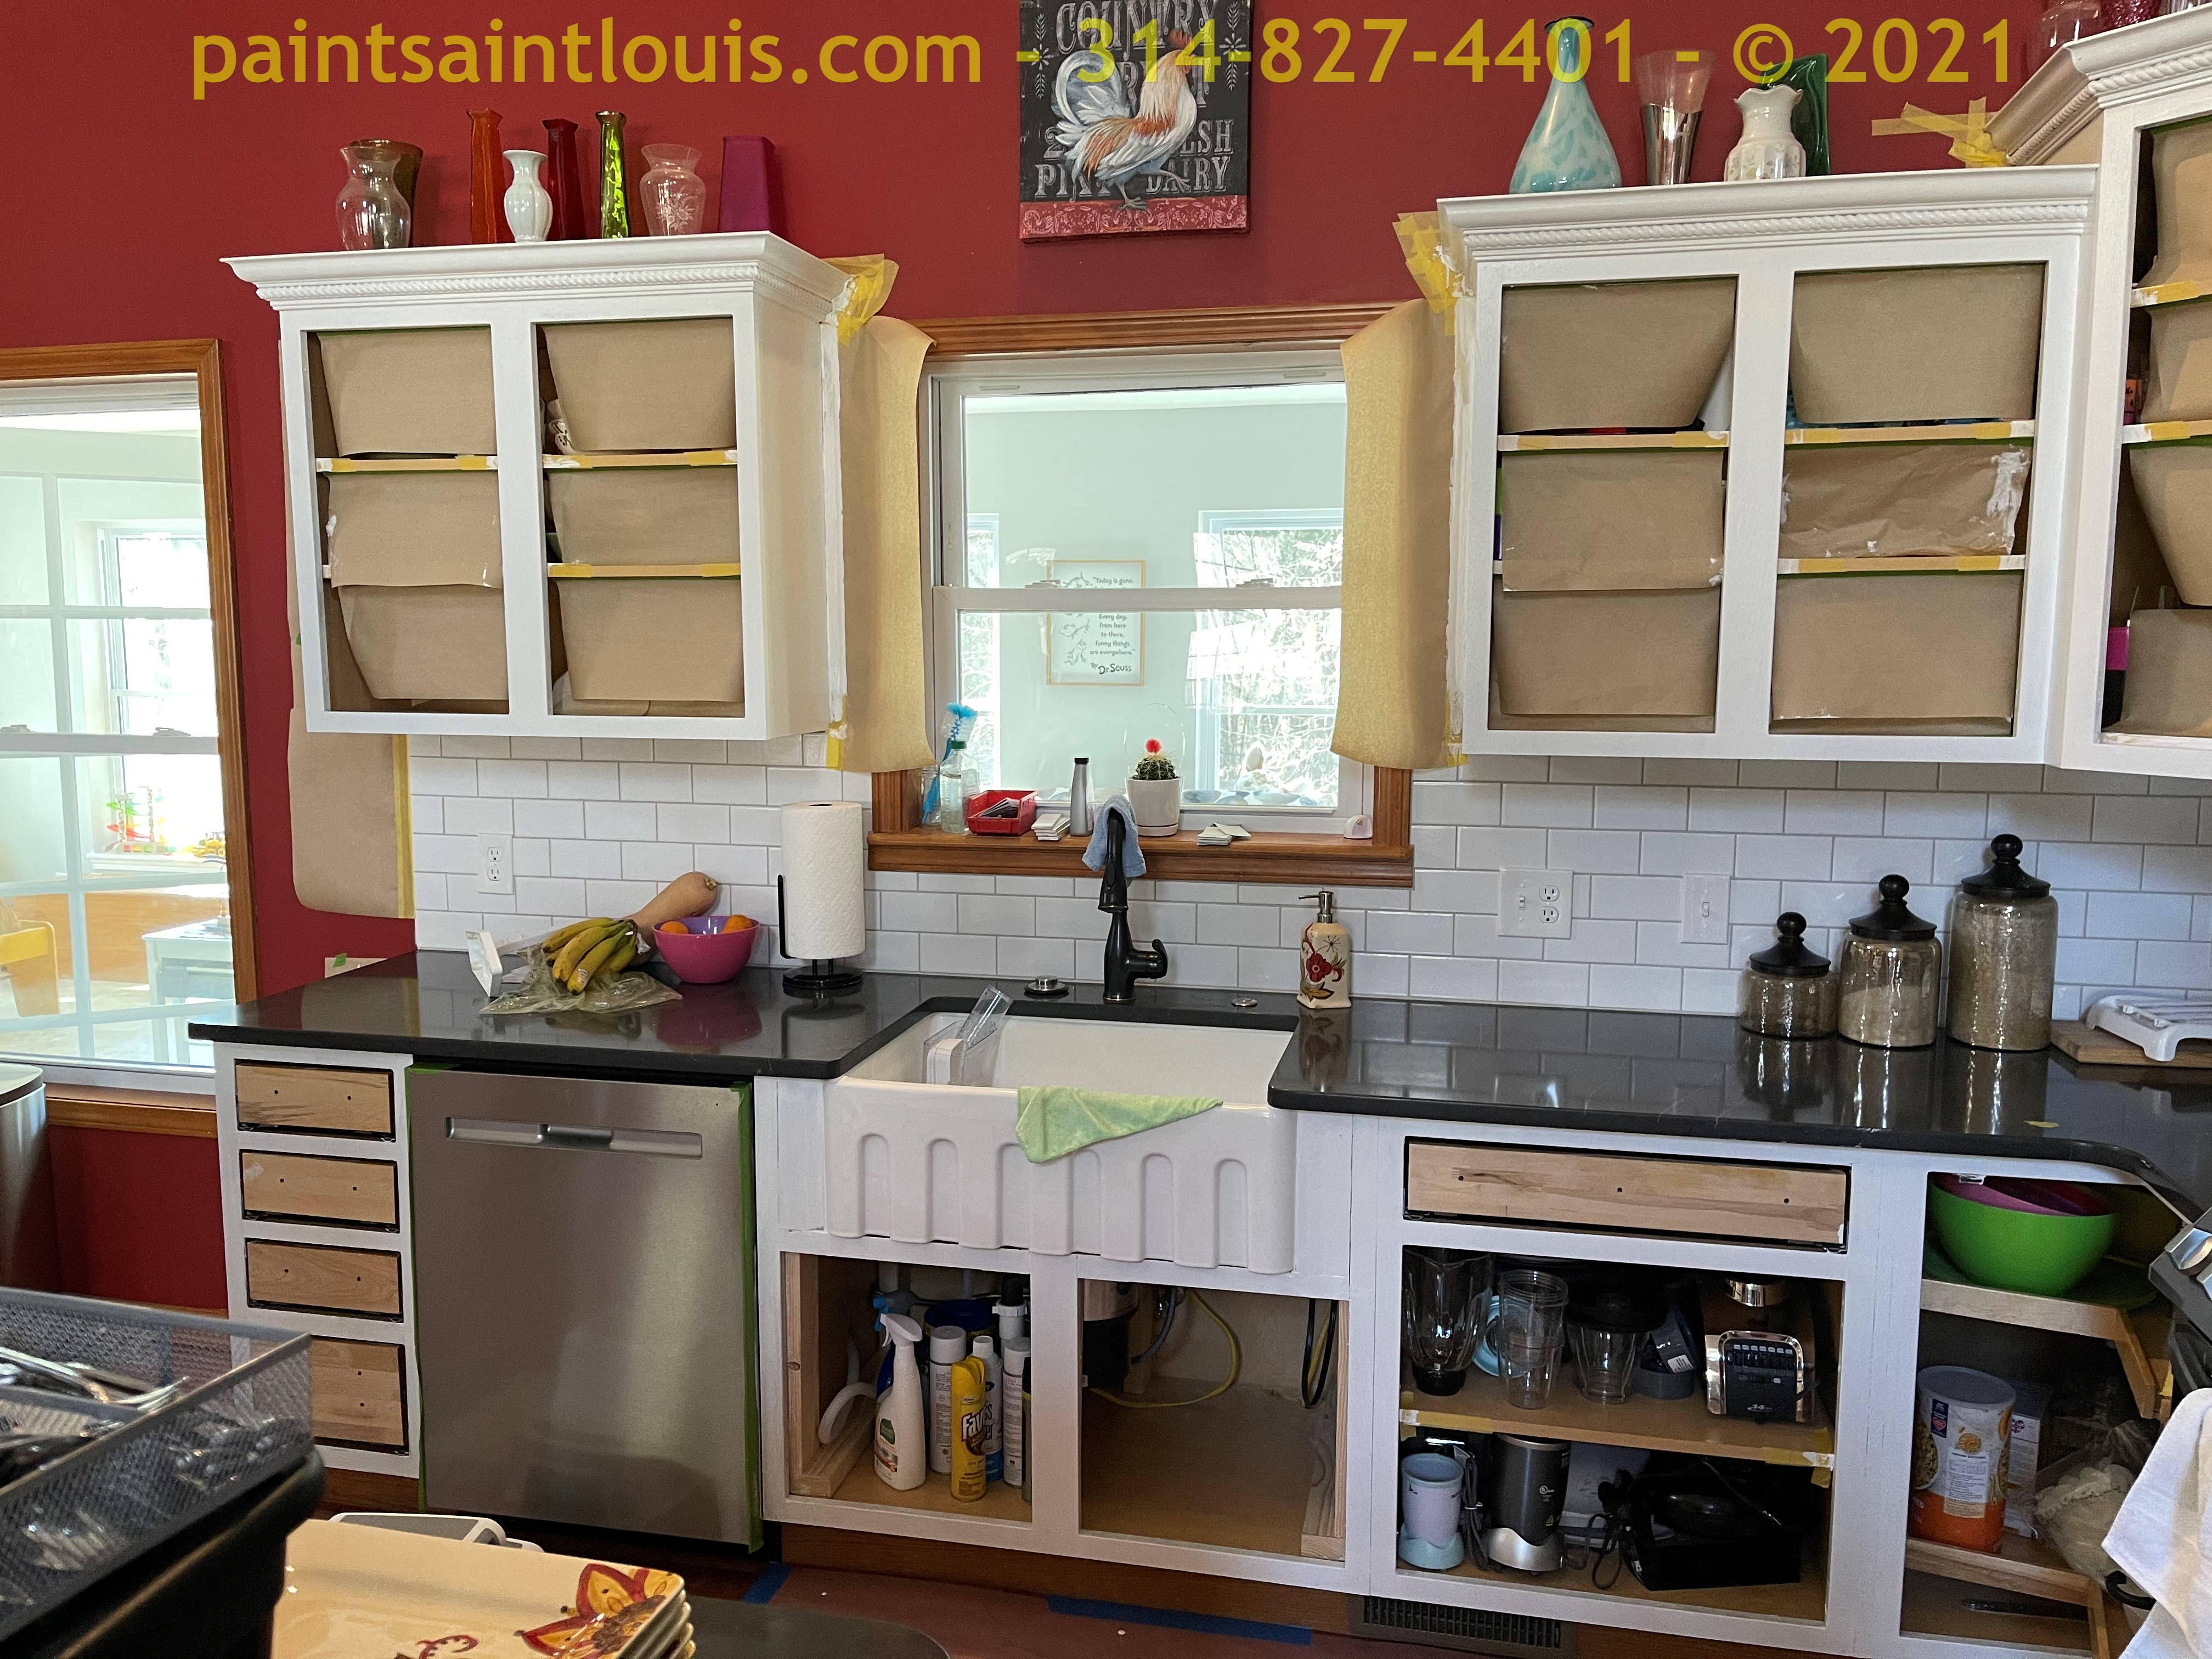
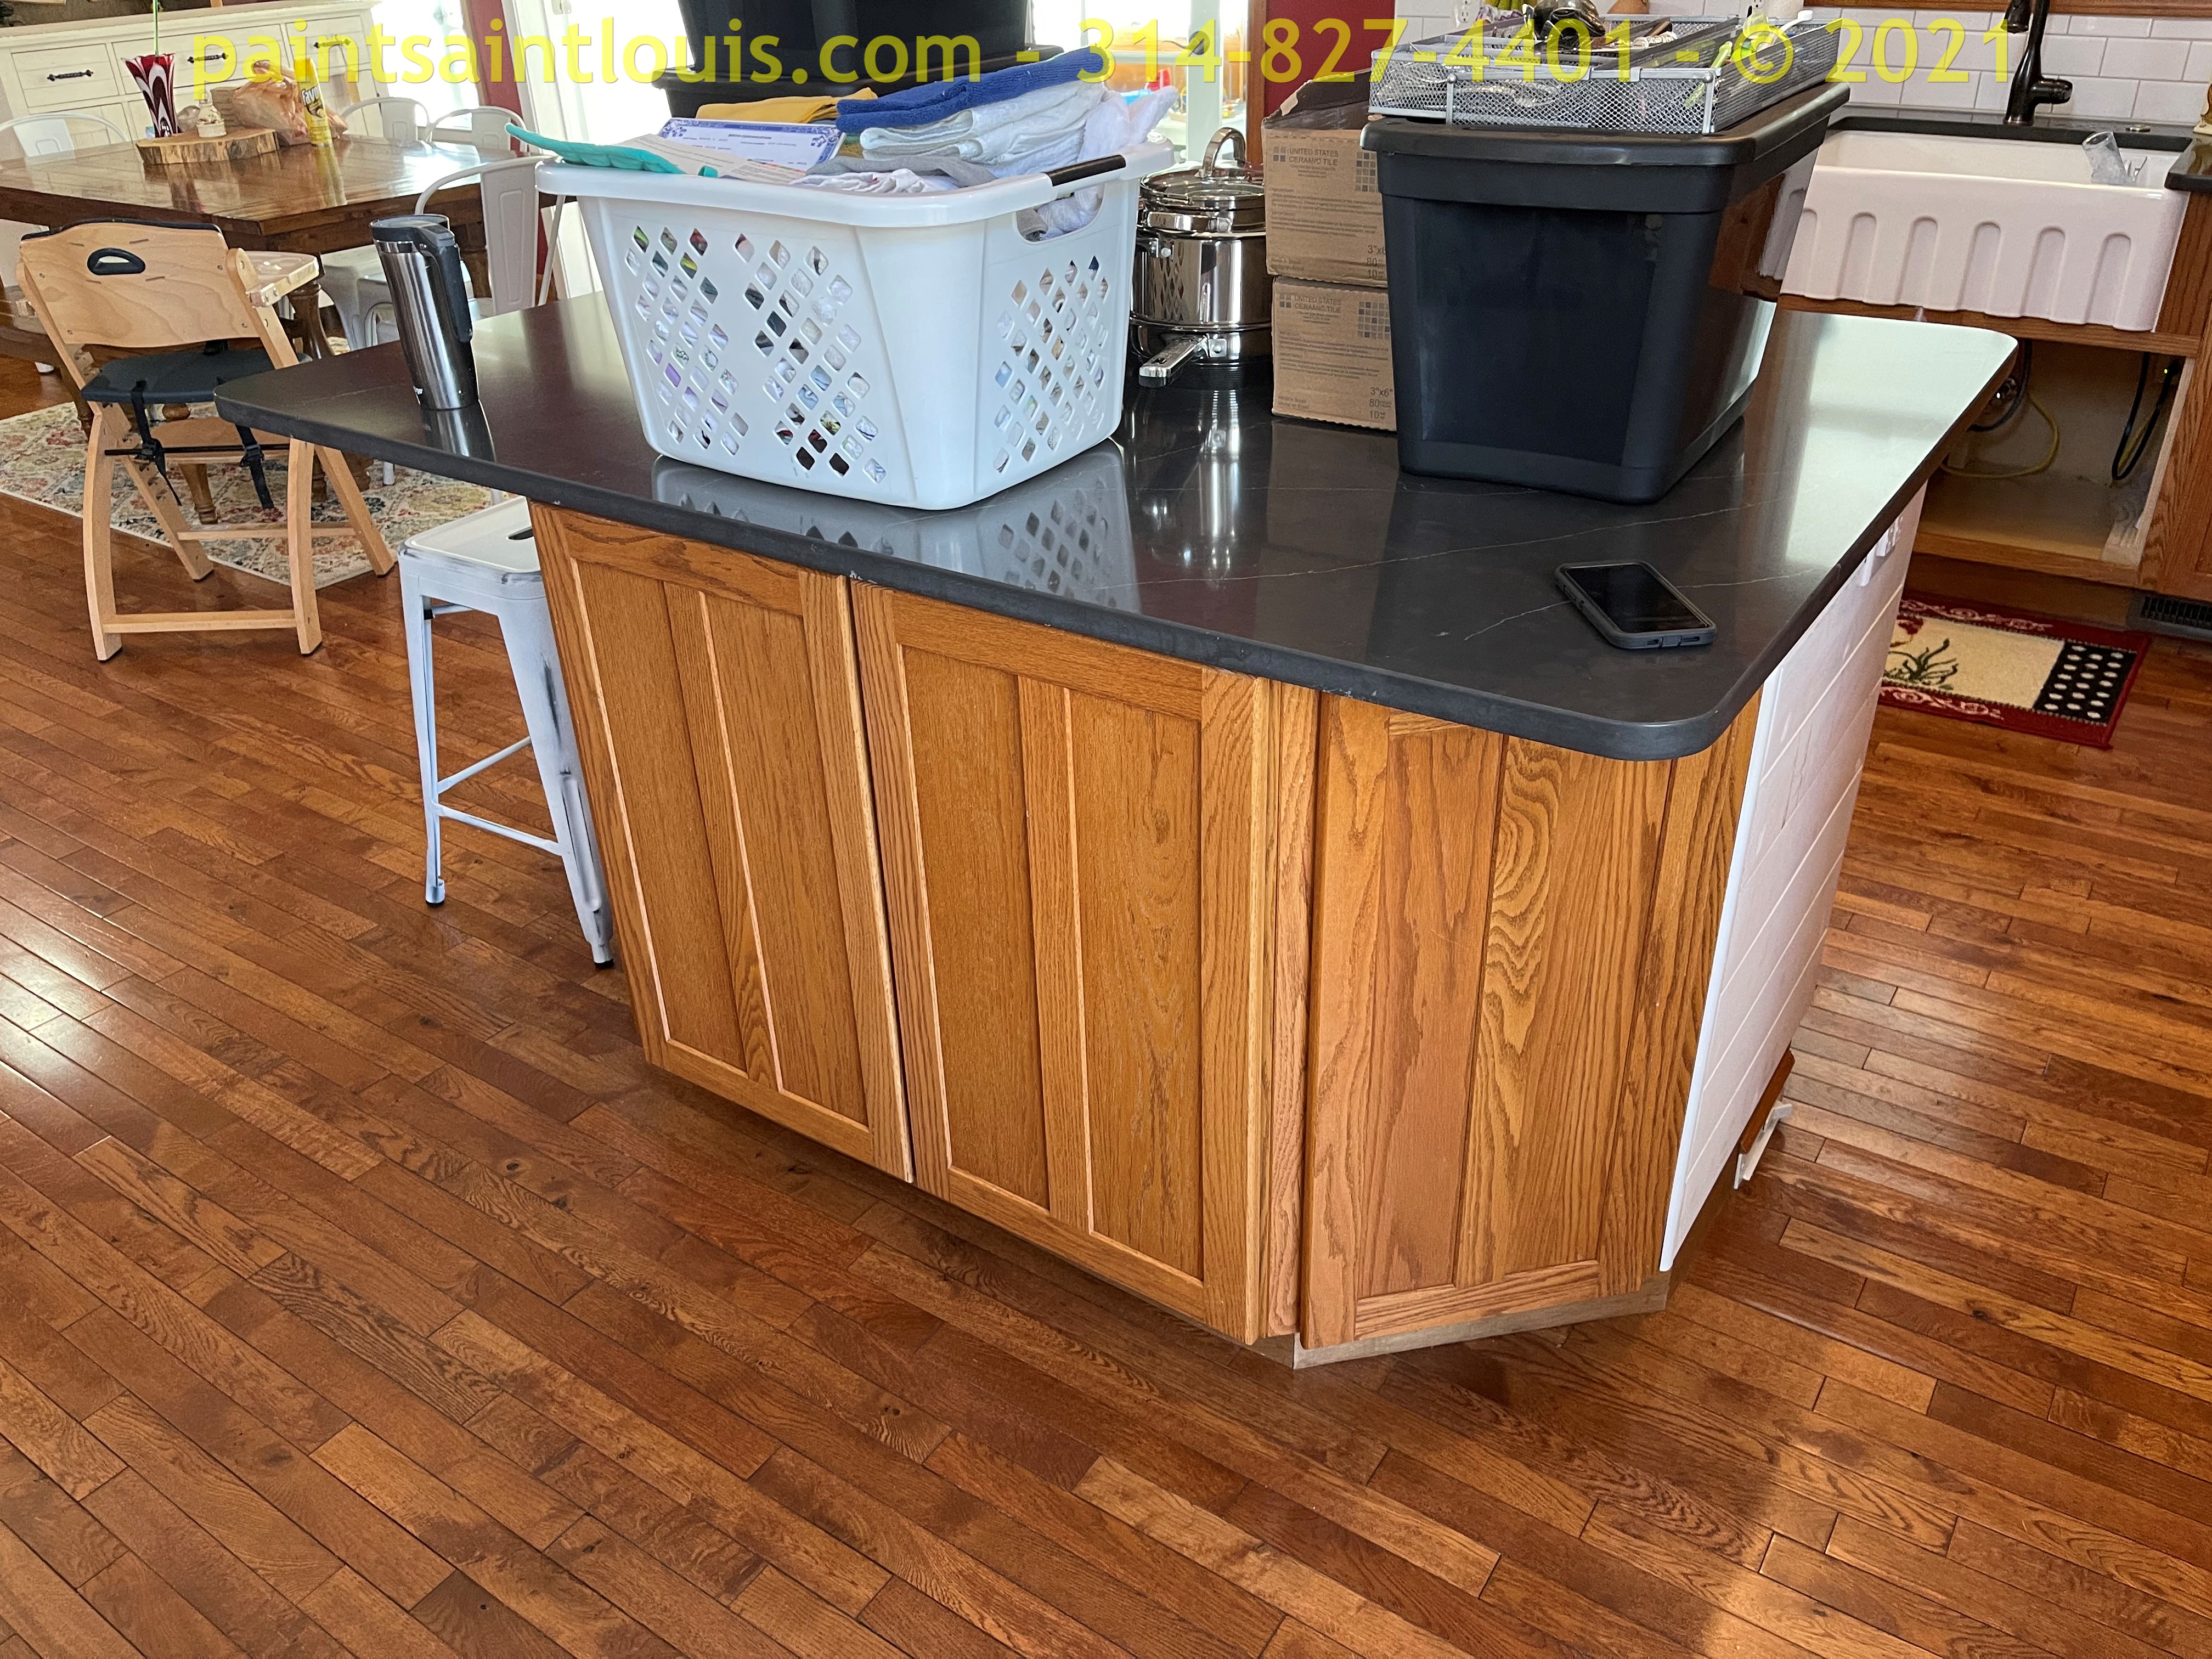
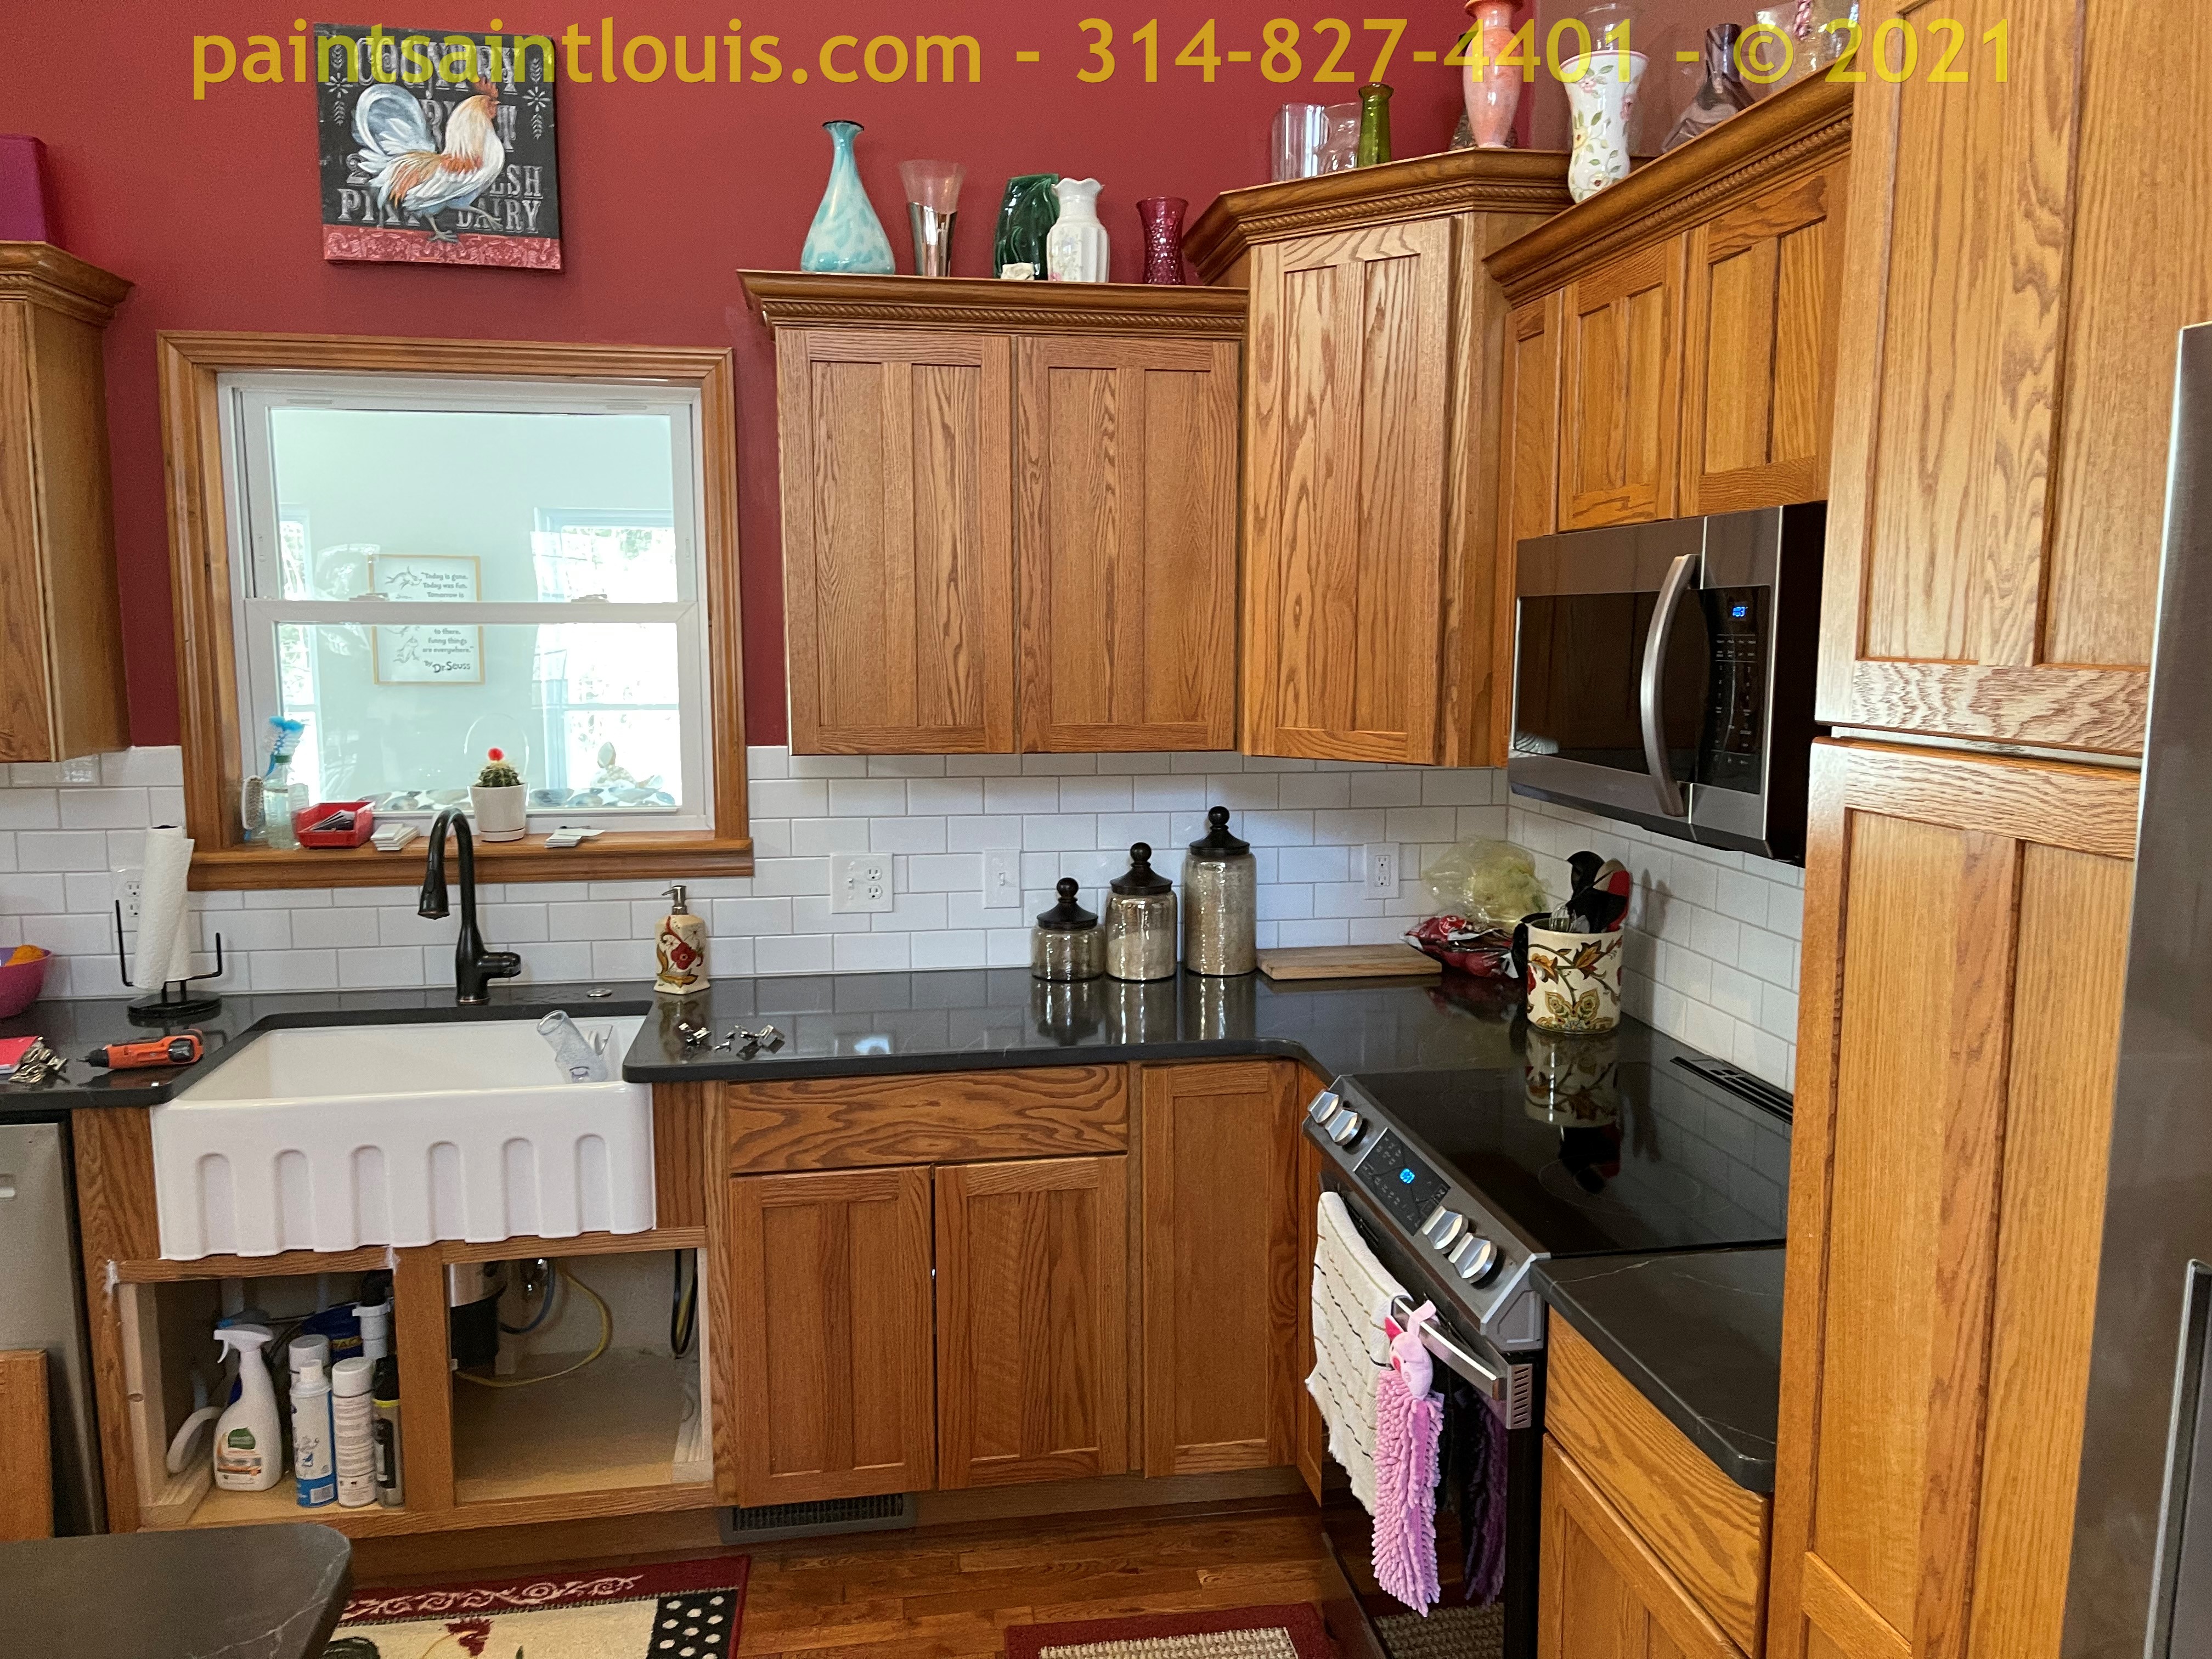
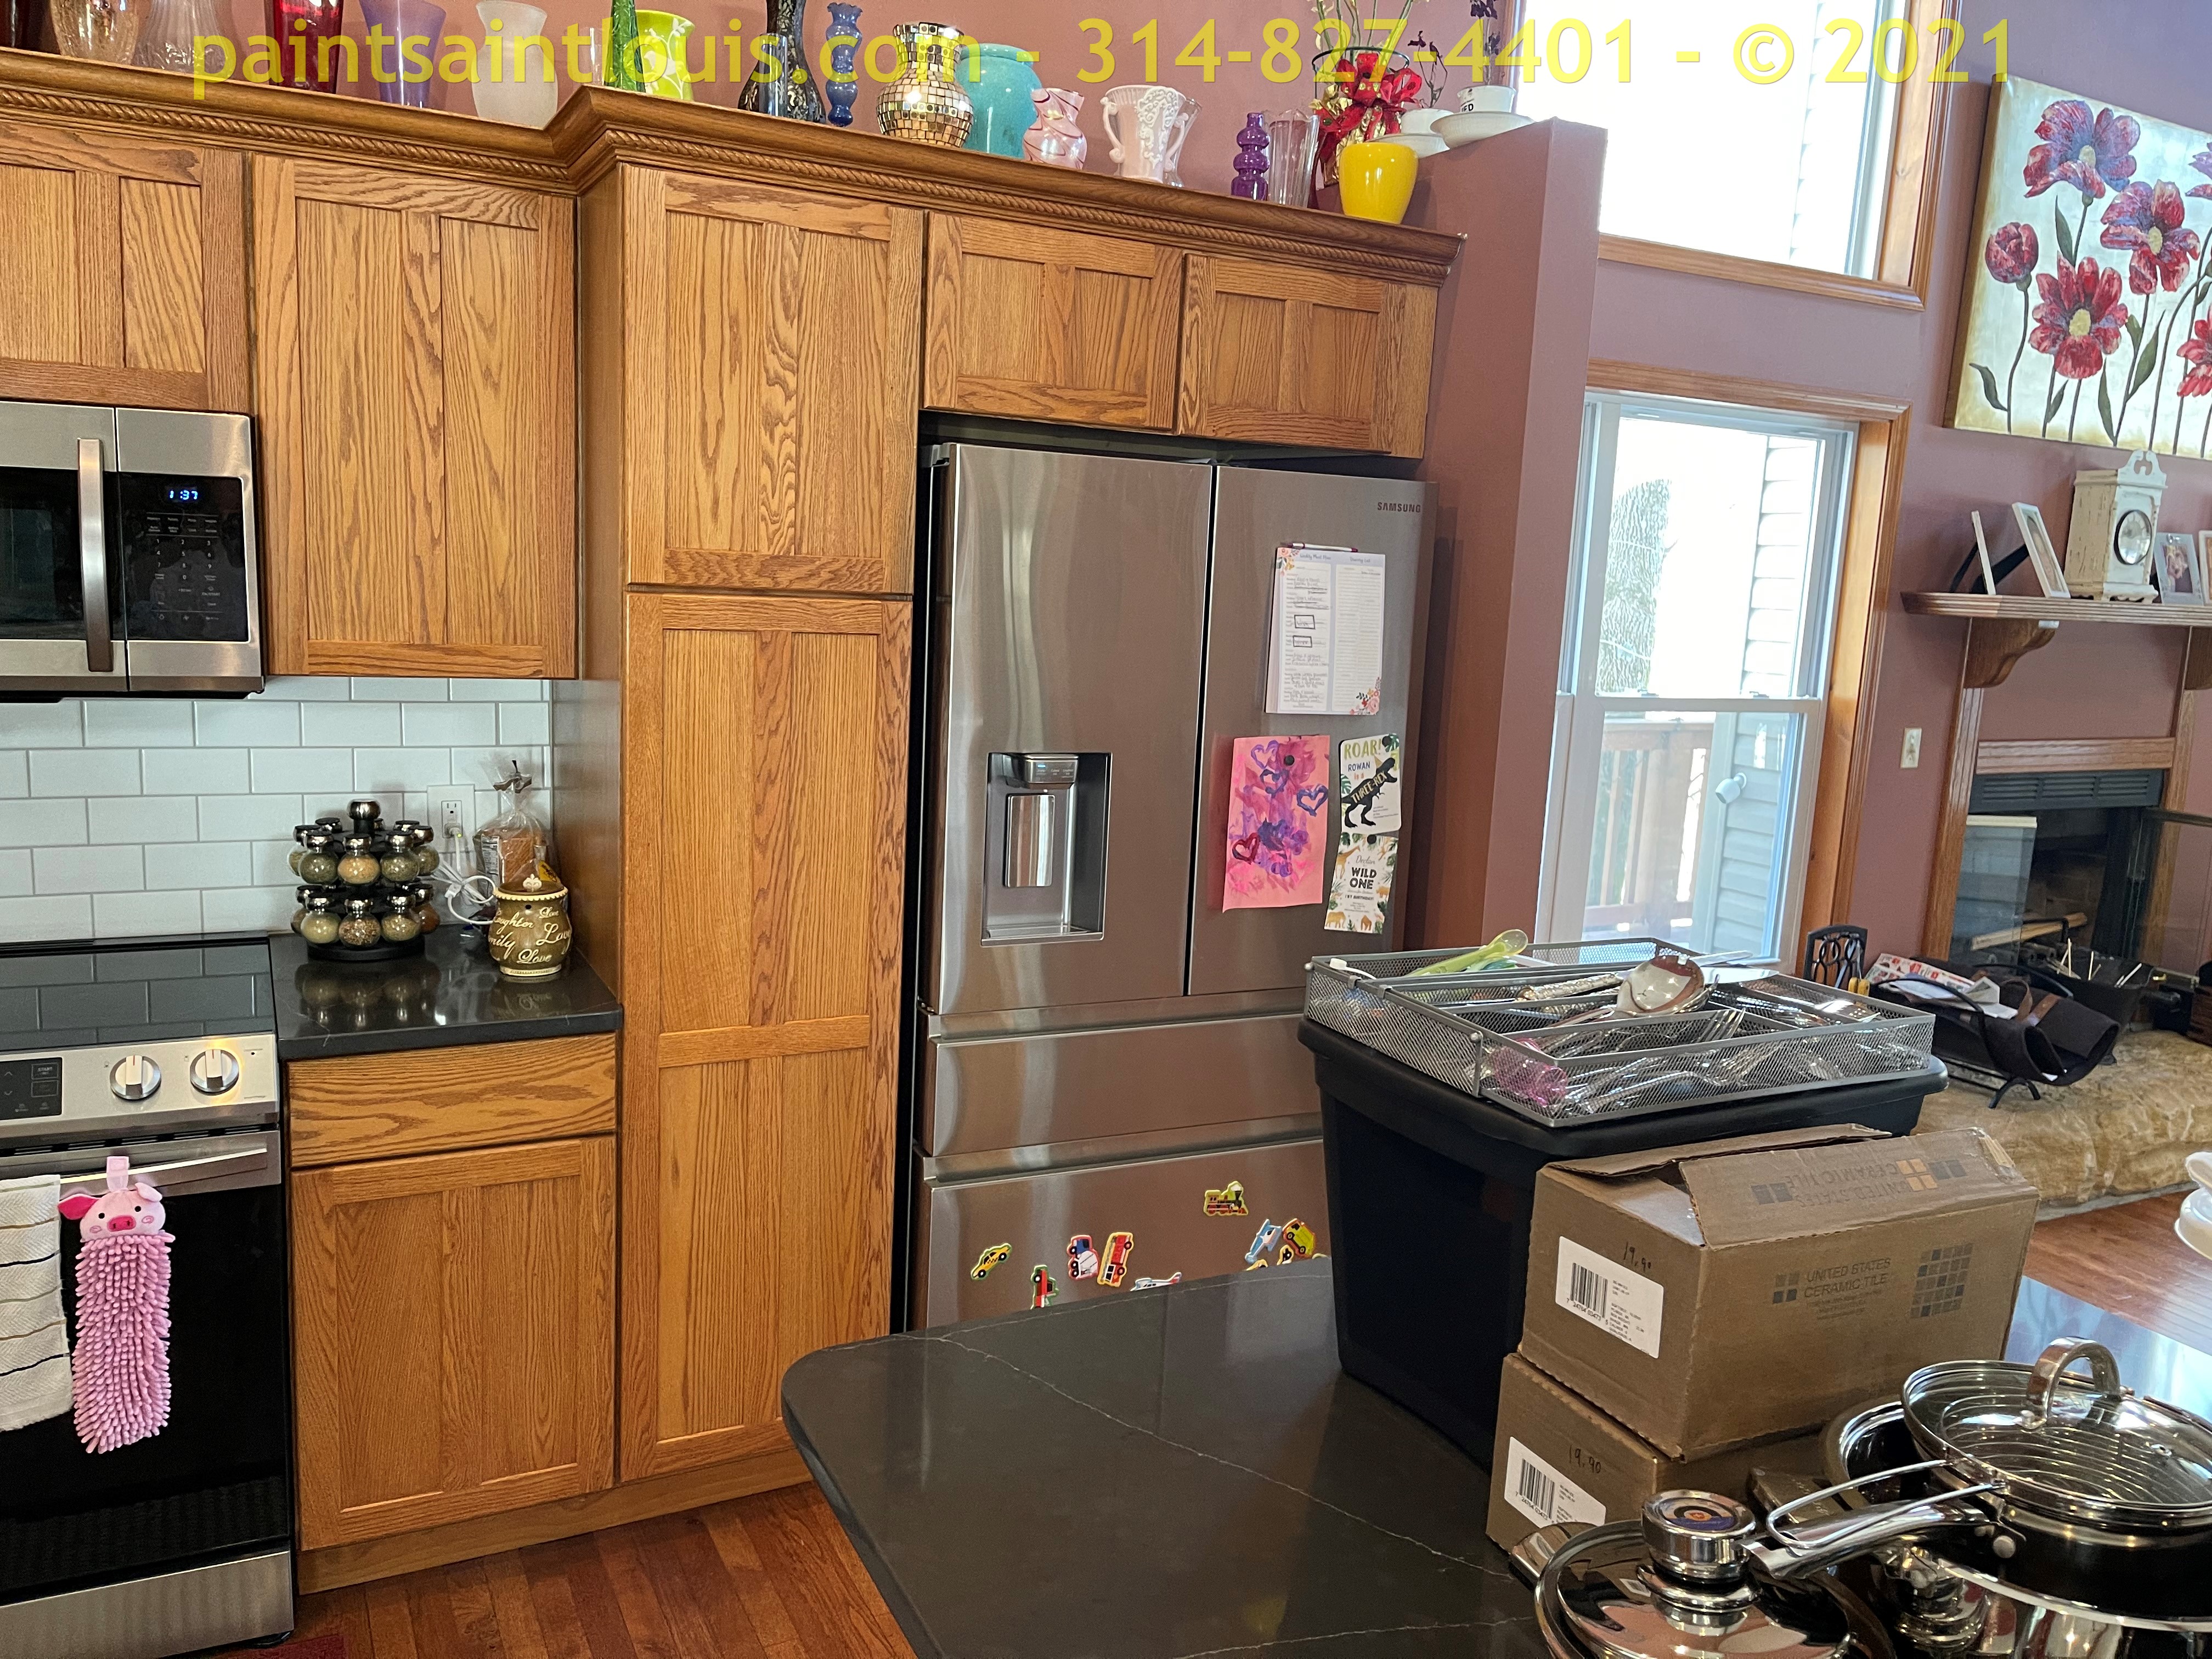
This was mostly a whole house repaint for these new homeowners in Maryland Heights, Missouri. Lots of bold colors and accents throughout. We also did a repaint of the kitchen cabinet doors after a botched prior paint job and painted both bathroom vanities. The cabinets had unfortunately been painted with the wrong paint and base primer and then laid outside to dry. That led to grit in the paint and a heavy stipple from using latex wall paint on cabinets. There was unfortunately nothing that could be done about the underlying issue that the wrong primer was used to bond to the cabinets so to save the homeowner some cash we advised in sanding down where possible and coating with our normal enamel urethane base paint. The two vanities were done entirely by us and came out with a nice smooth finish. 


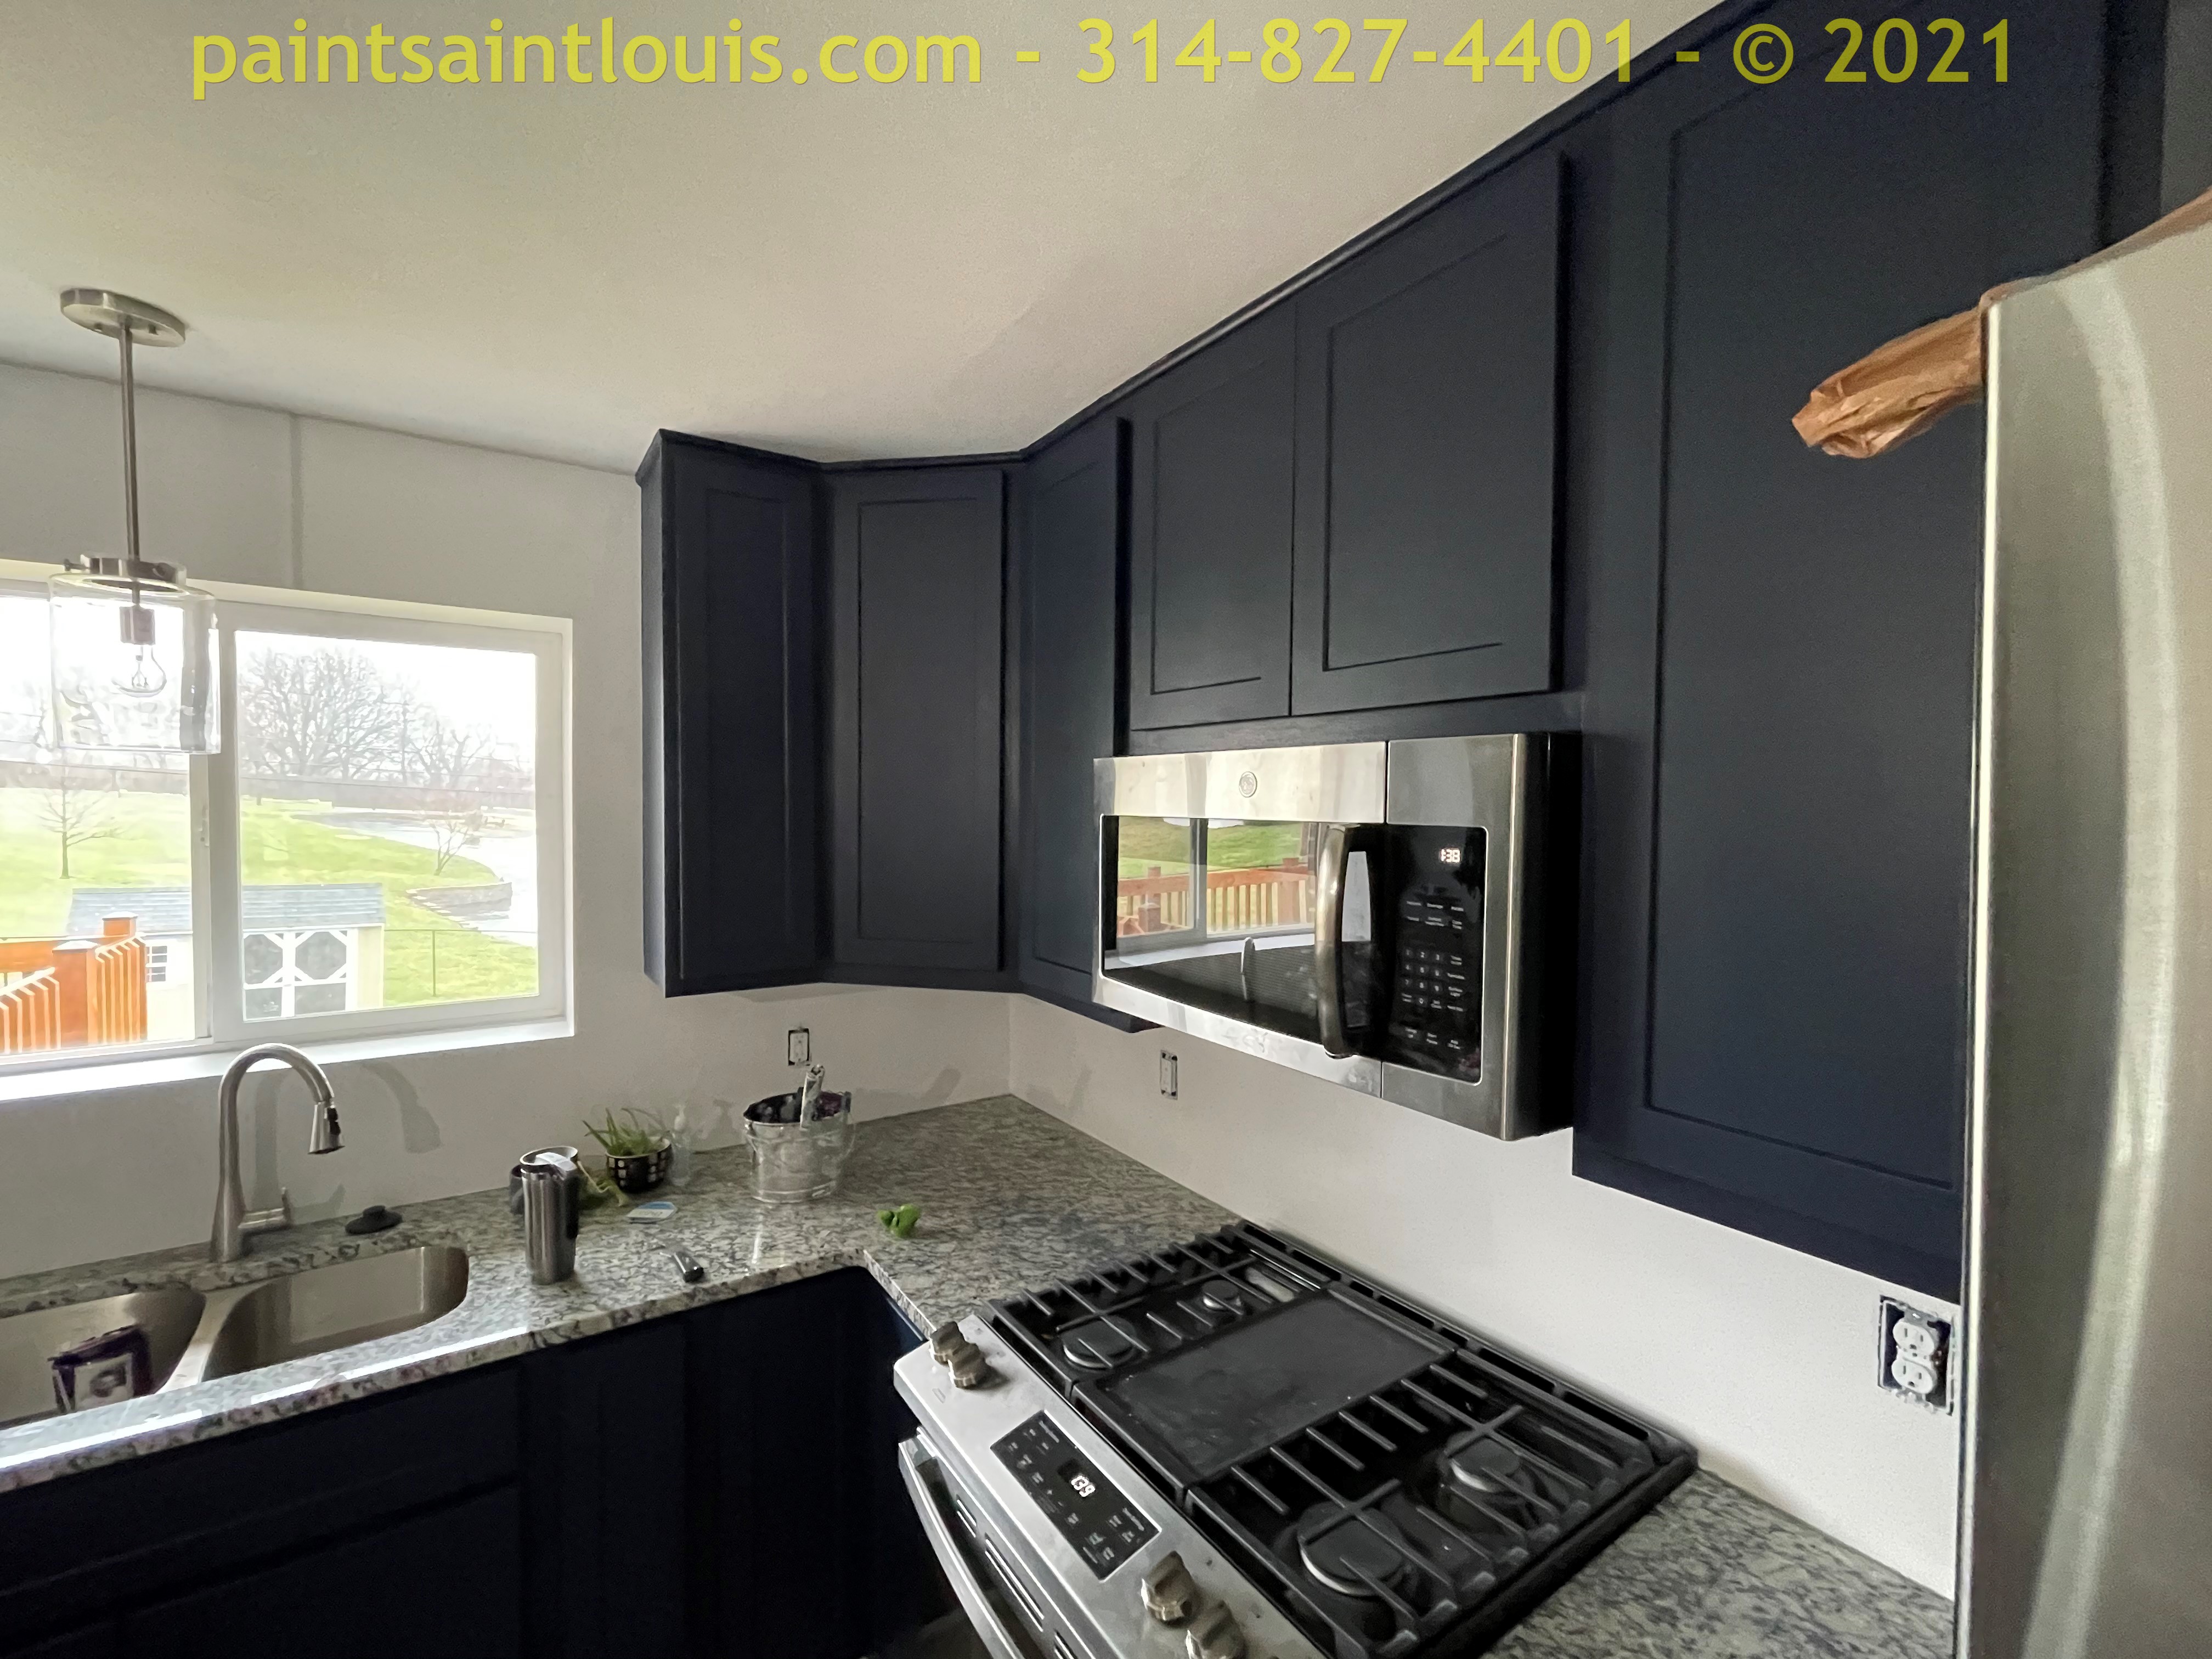

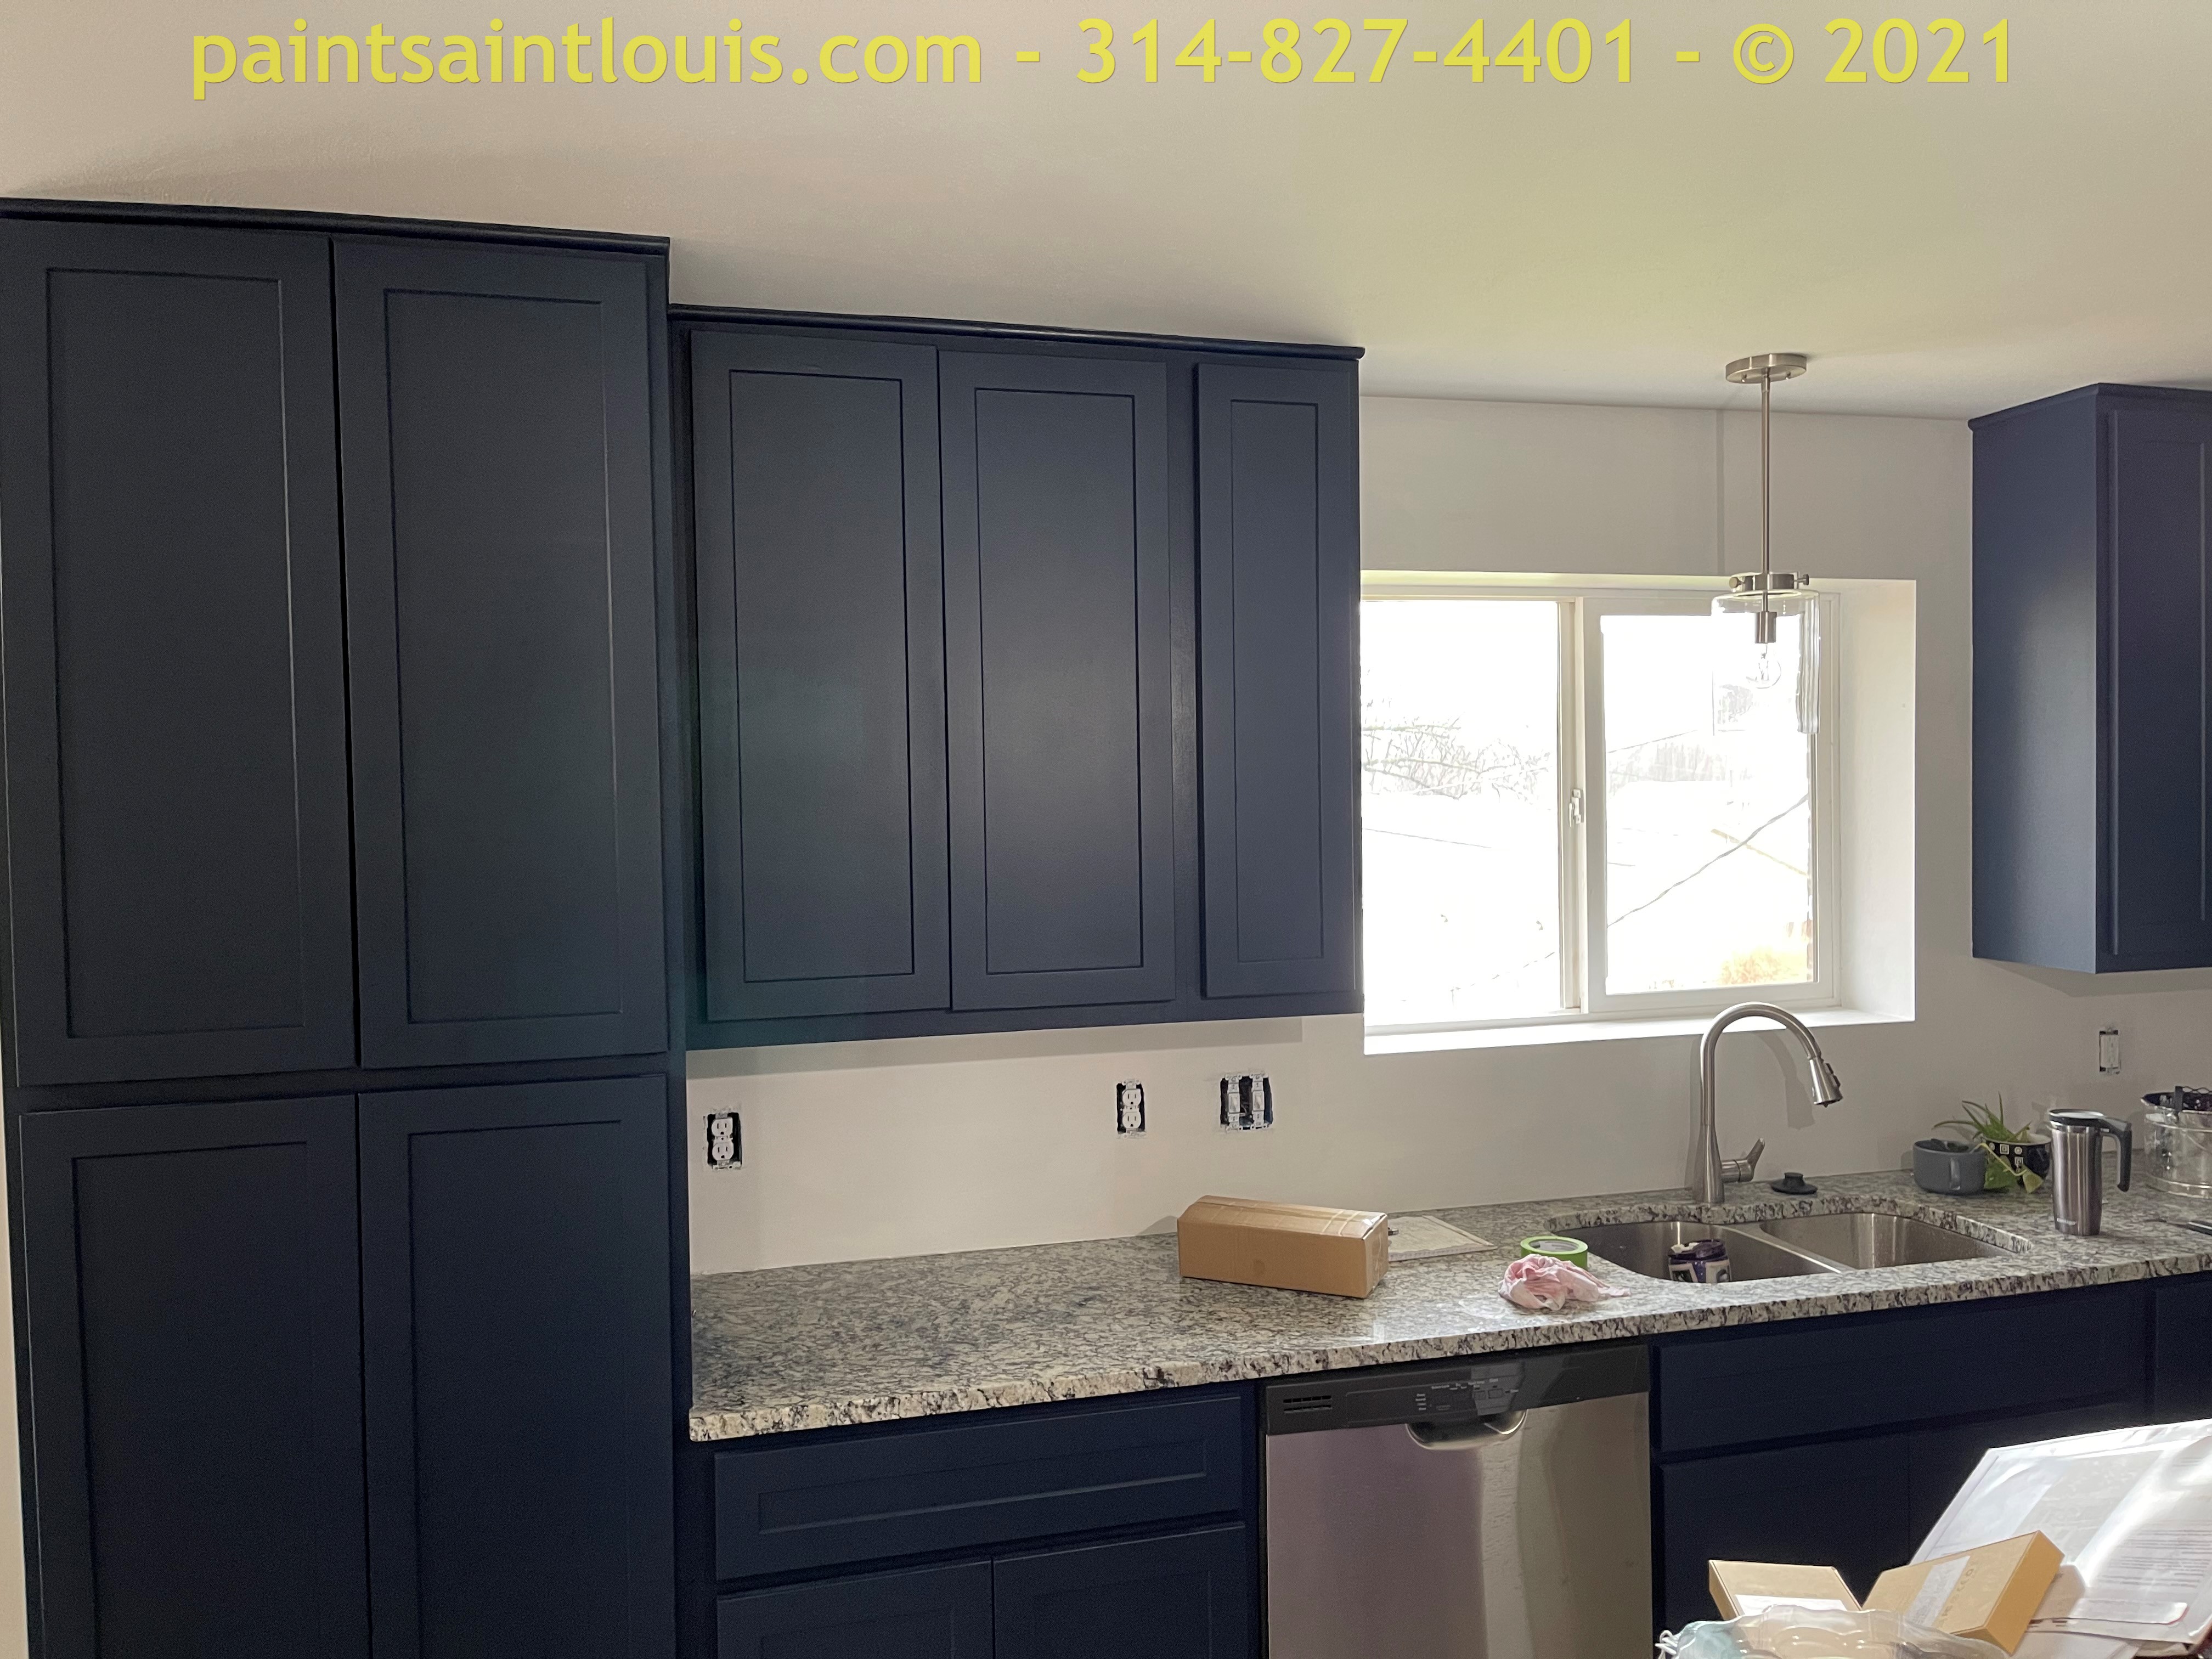
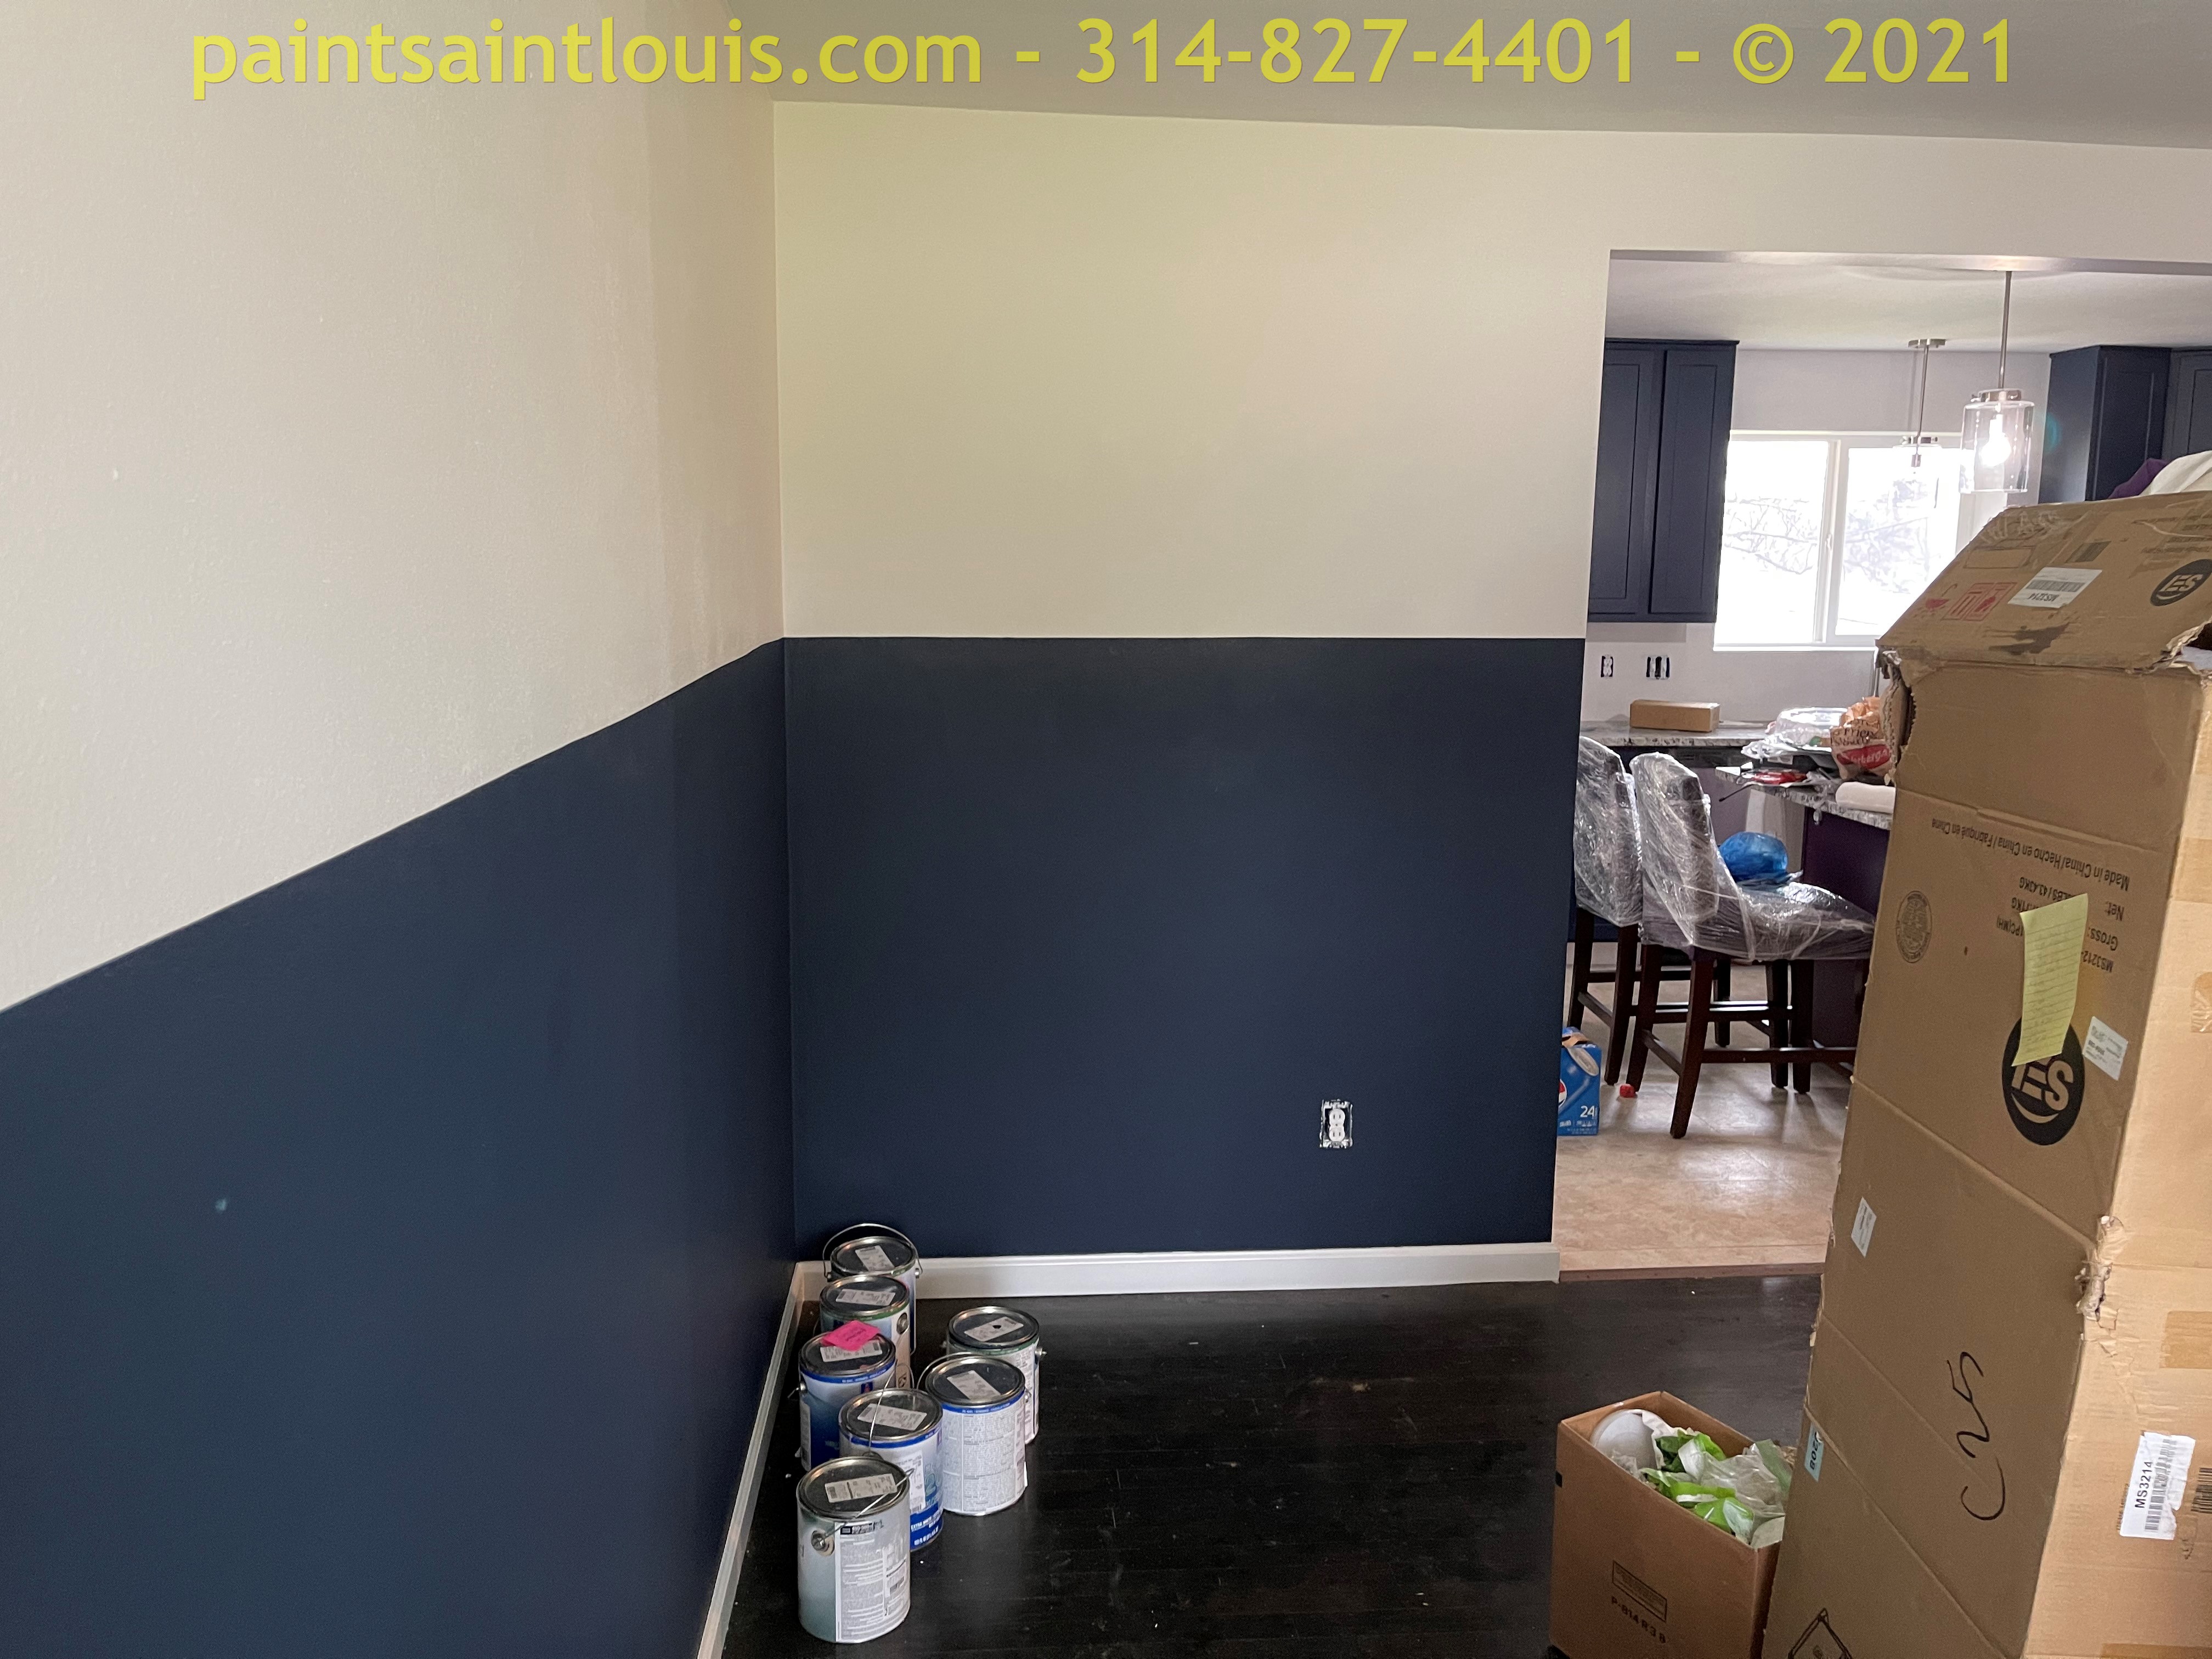


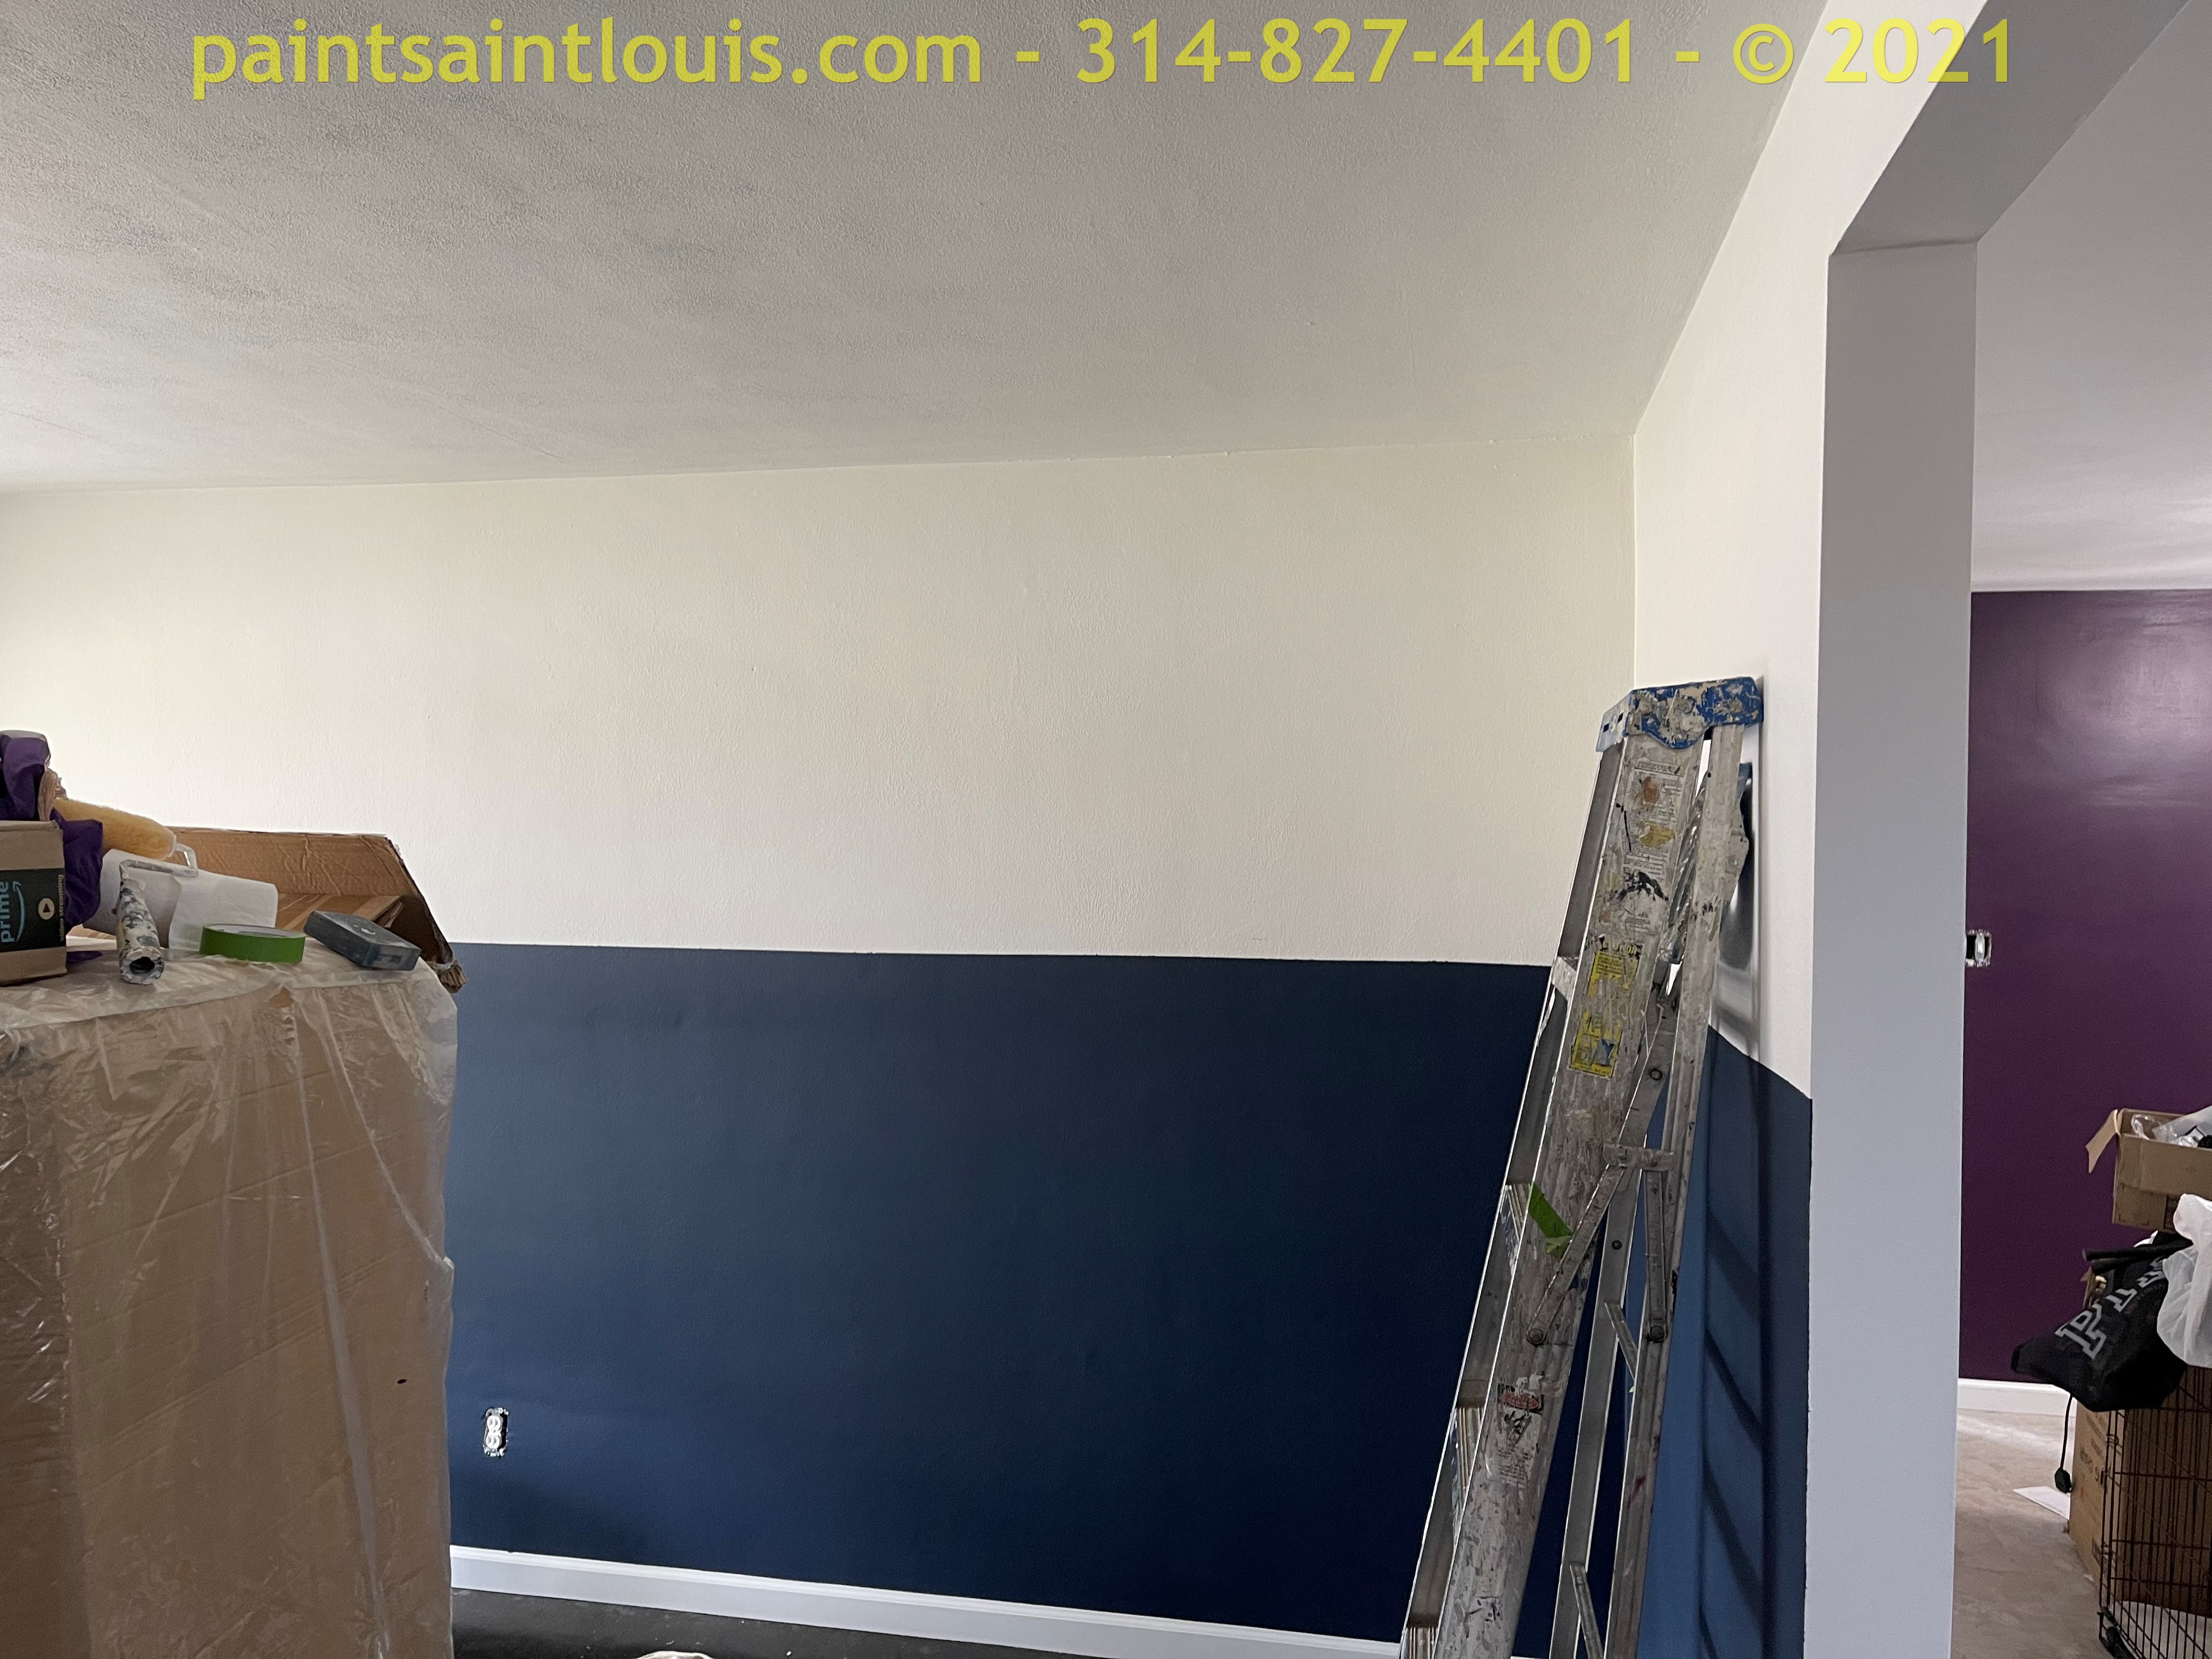
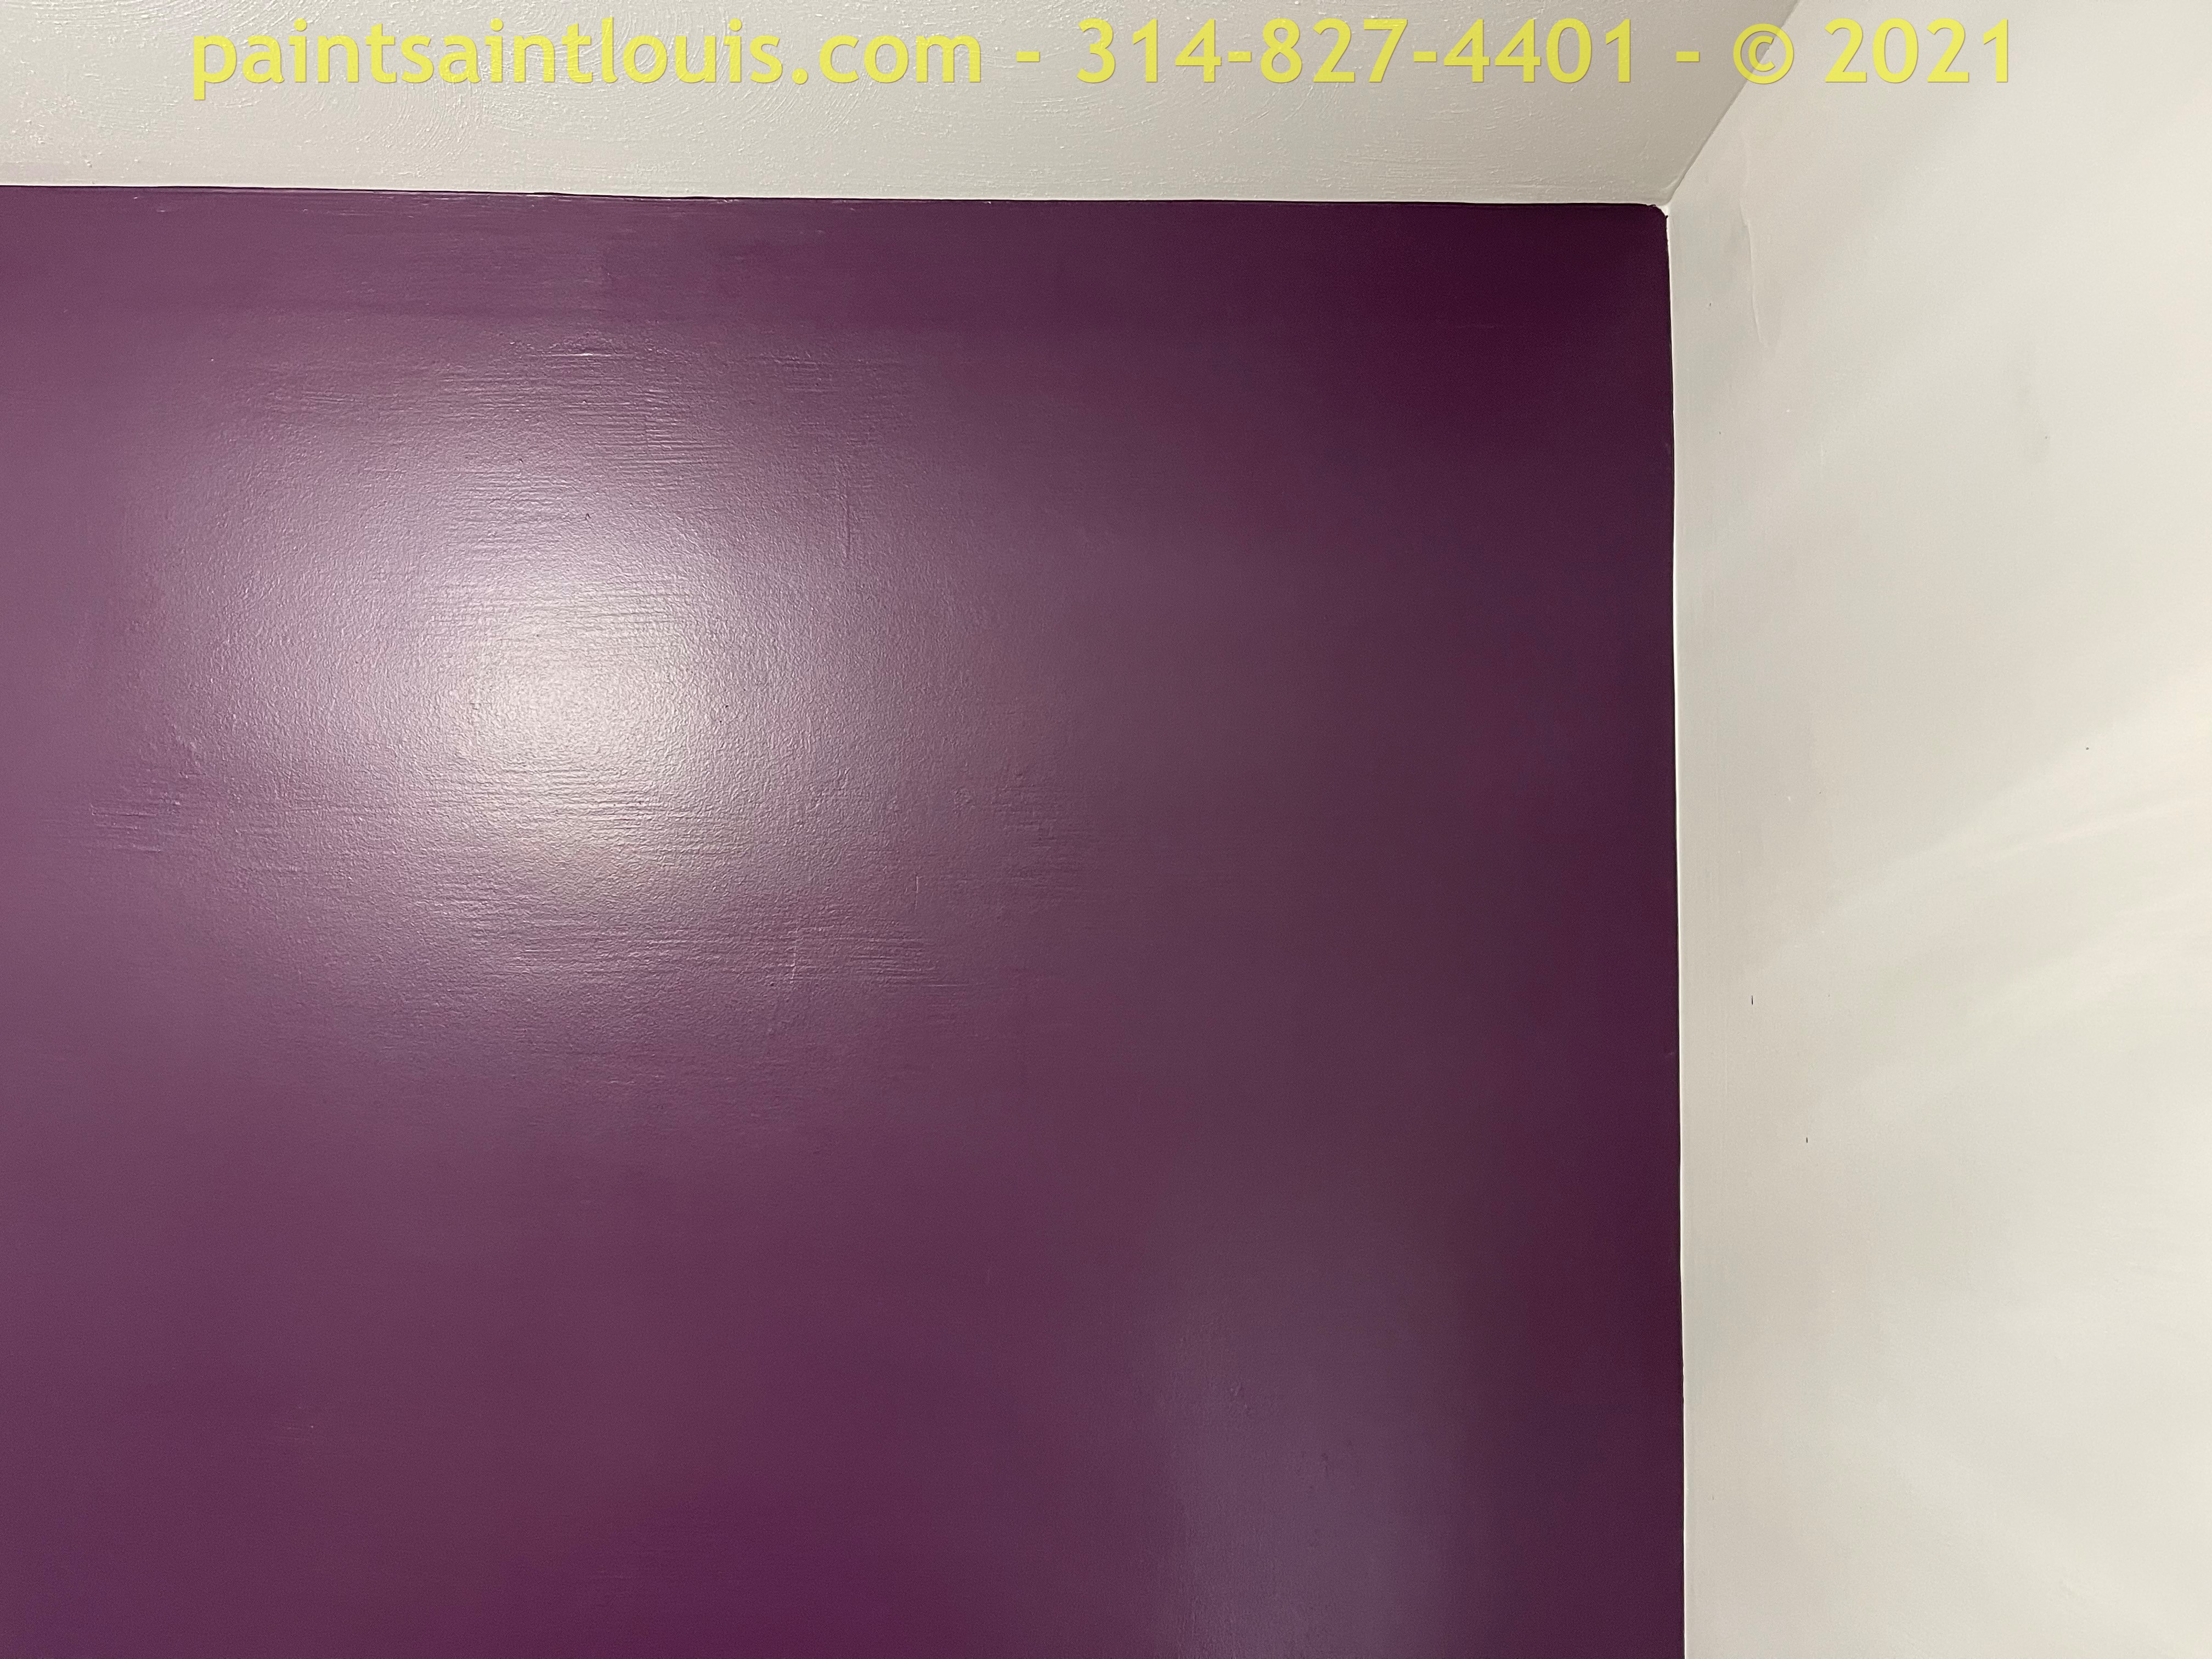
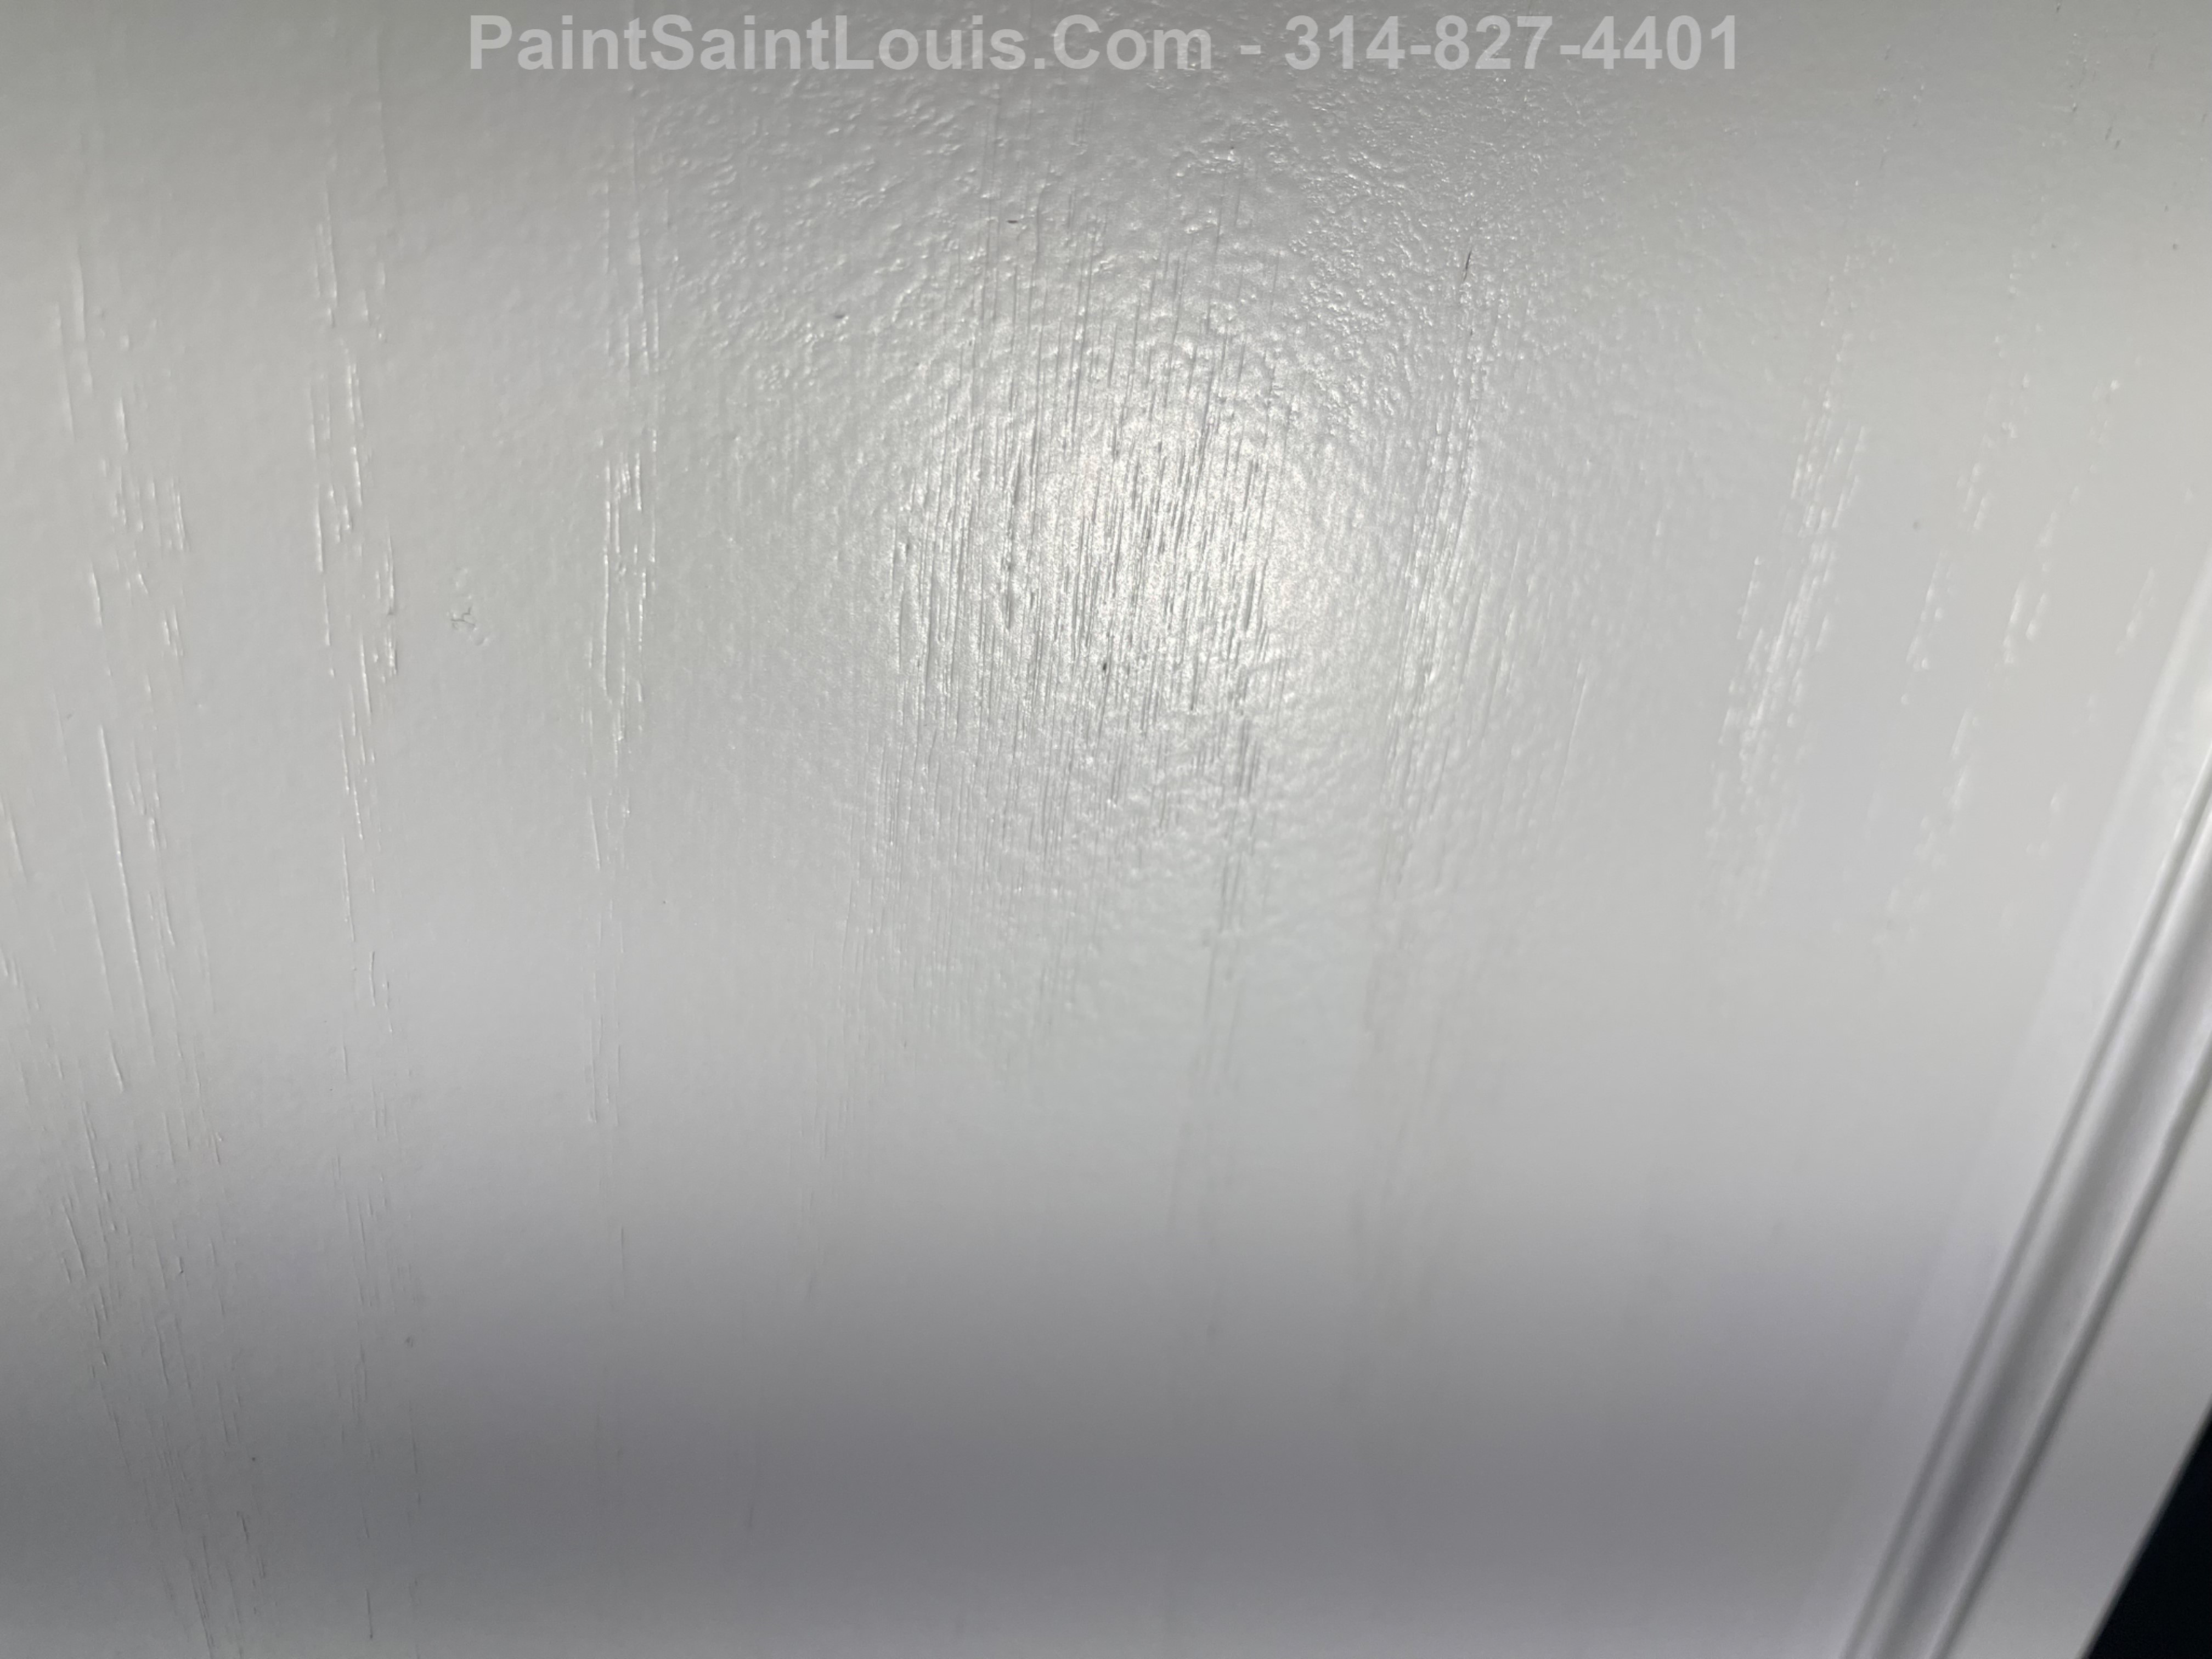
This is the cabinet condition when we got to the job. The owners were offered our cabinet services but decided to have someone else do them based on a cost factor. The end result is the cabinets are pretty much ruined because the base primer coat used was a normal multi-purpose primer which absolutely will not bond to laminated cabinet doors. This means the risk of peeling down the road is very high. The rest of the damage was caused by using normal latex wall paint instead of at least an enamel paint which is much more durable and can resist peeling. With the product we use having an additional urethane layer the customer had us apply a coat of it over what’s existing after the doors were sanded down as much as possible. The end result are smoother doors and a more consistent finish however it is only a hope the enamel will lock down firm enough to keep the underlying layers intact.
https://www.paintsaintlouis.com


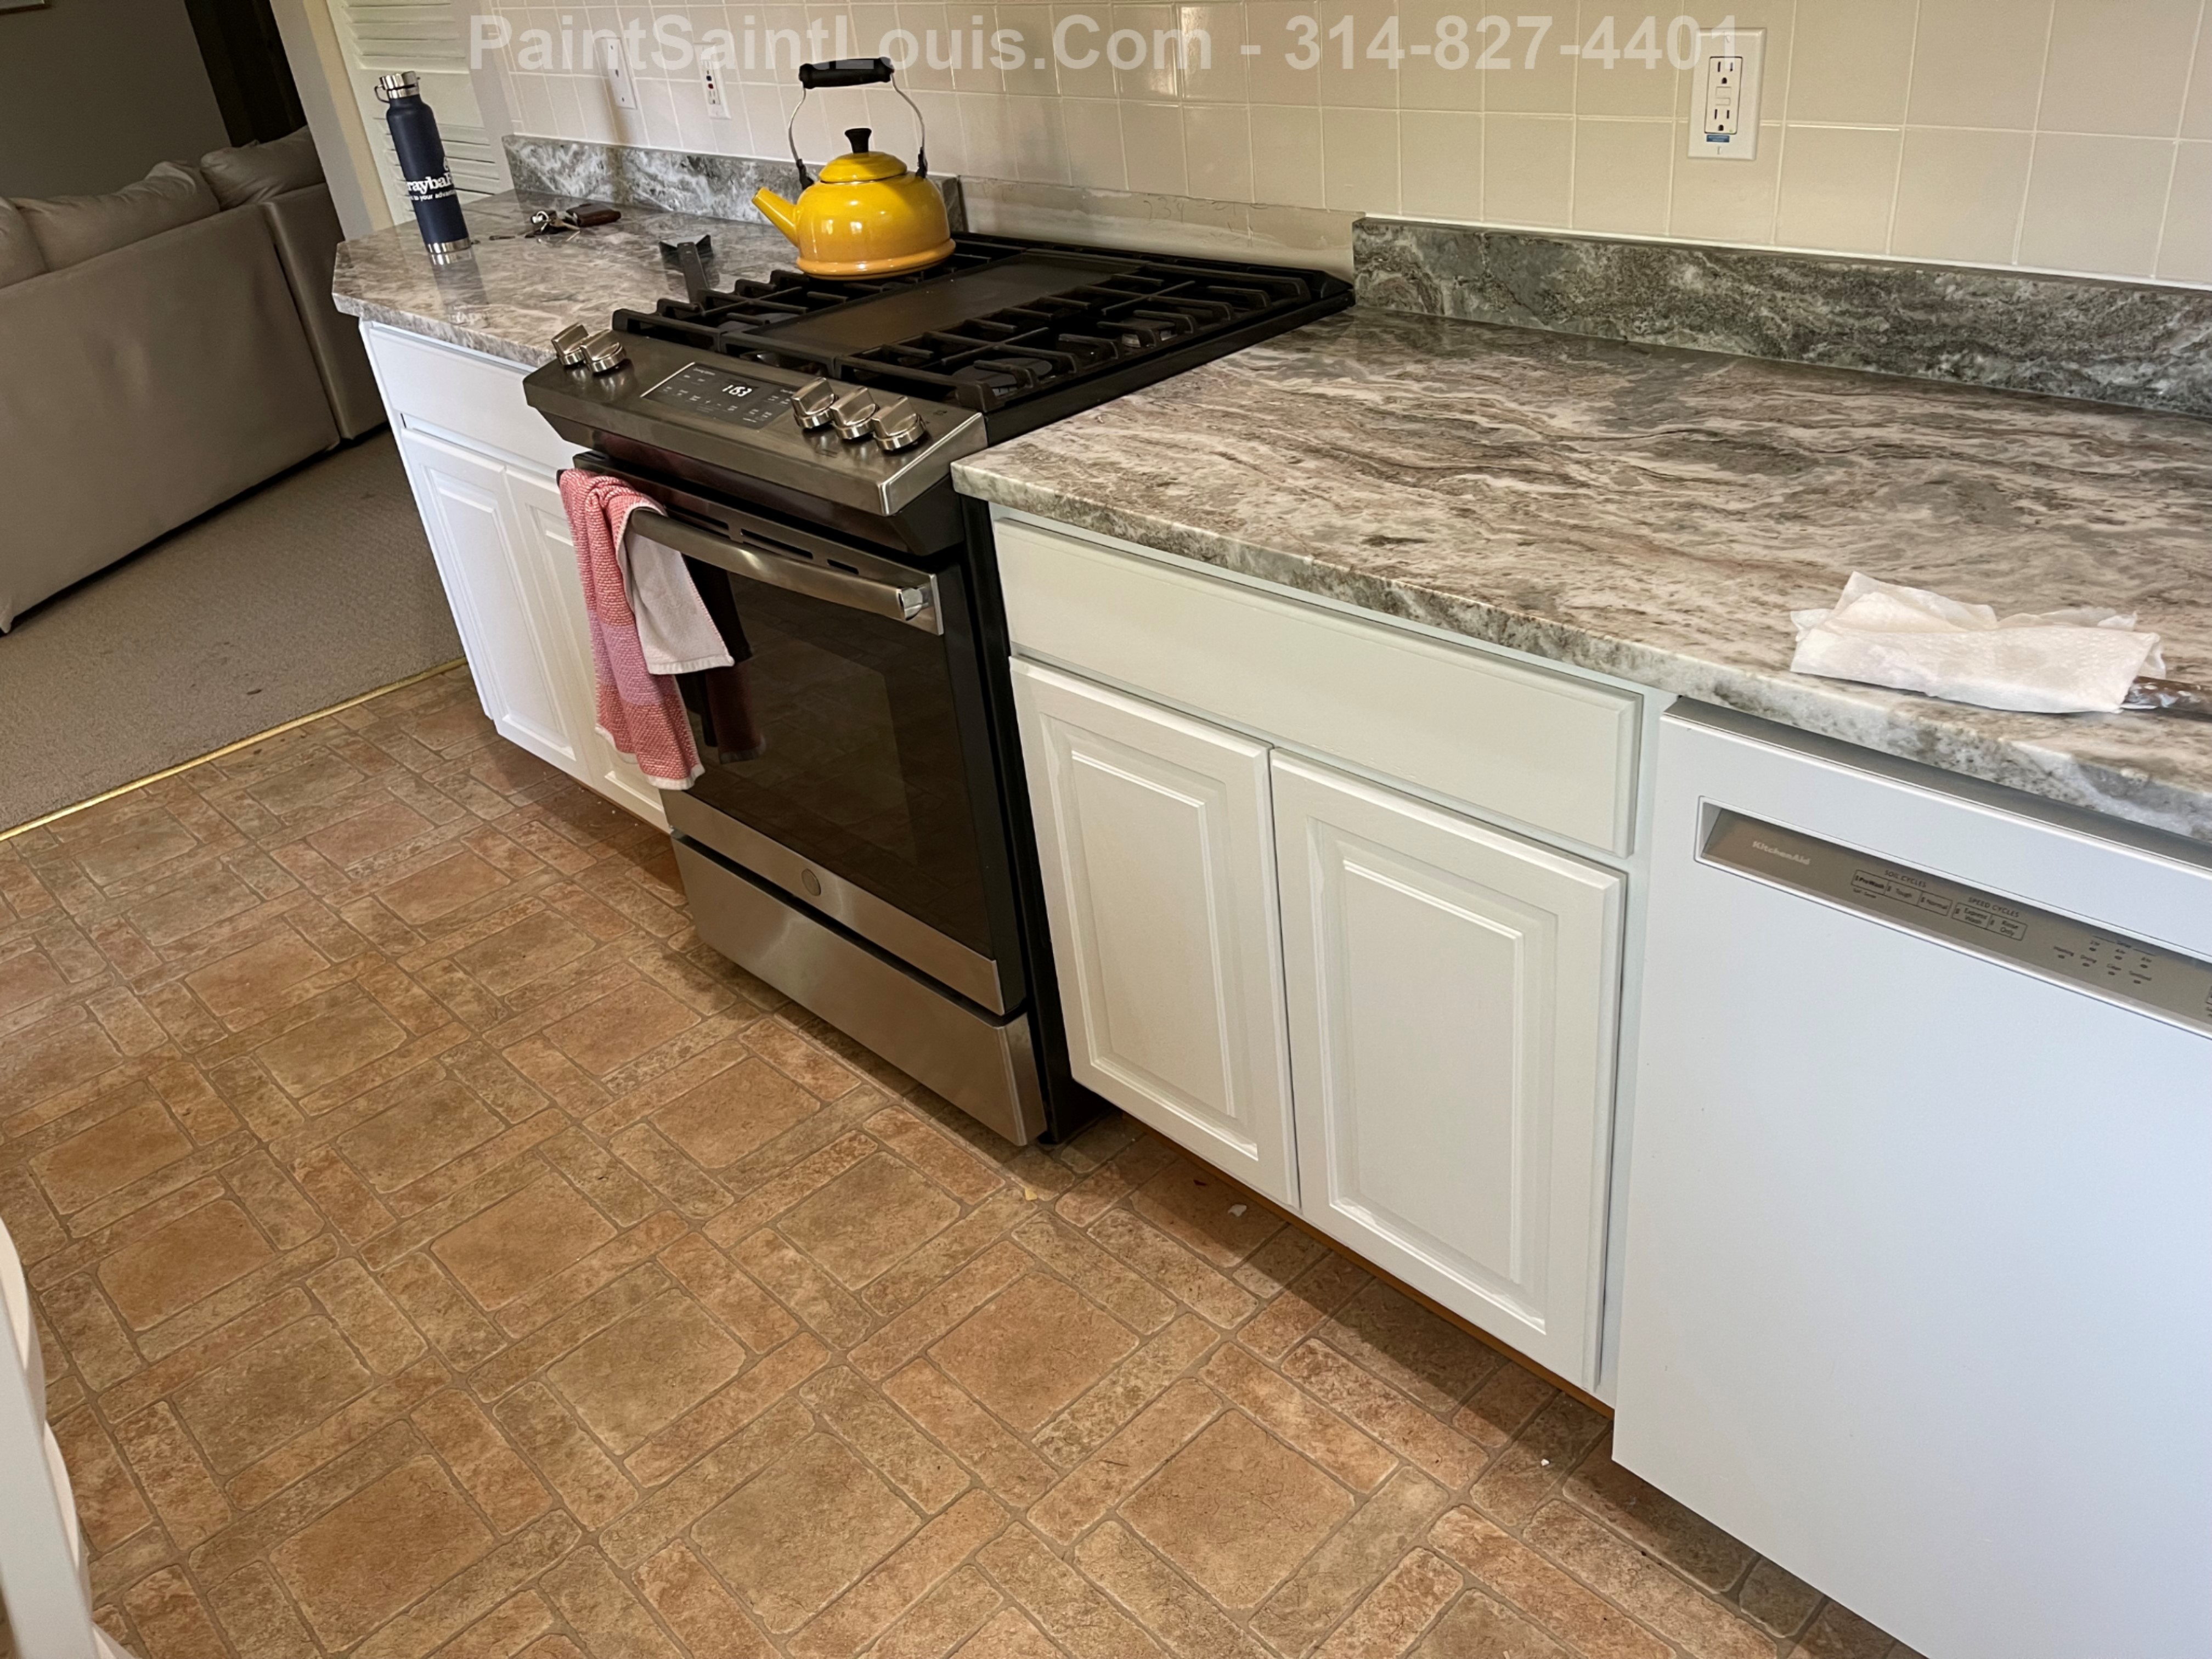
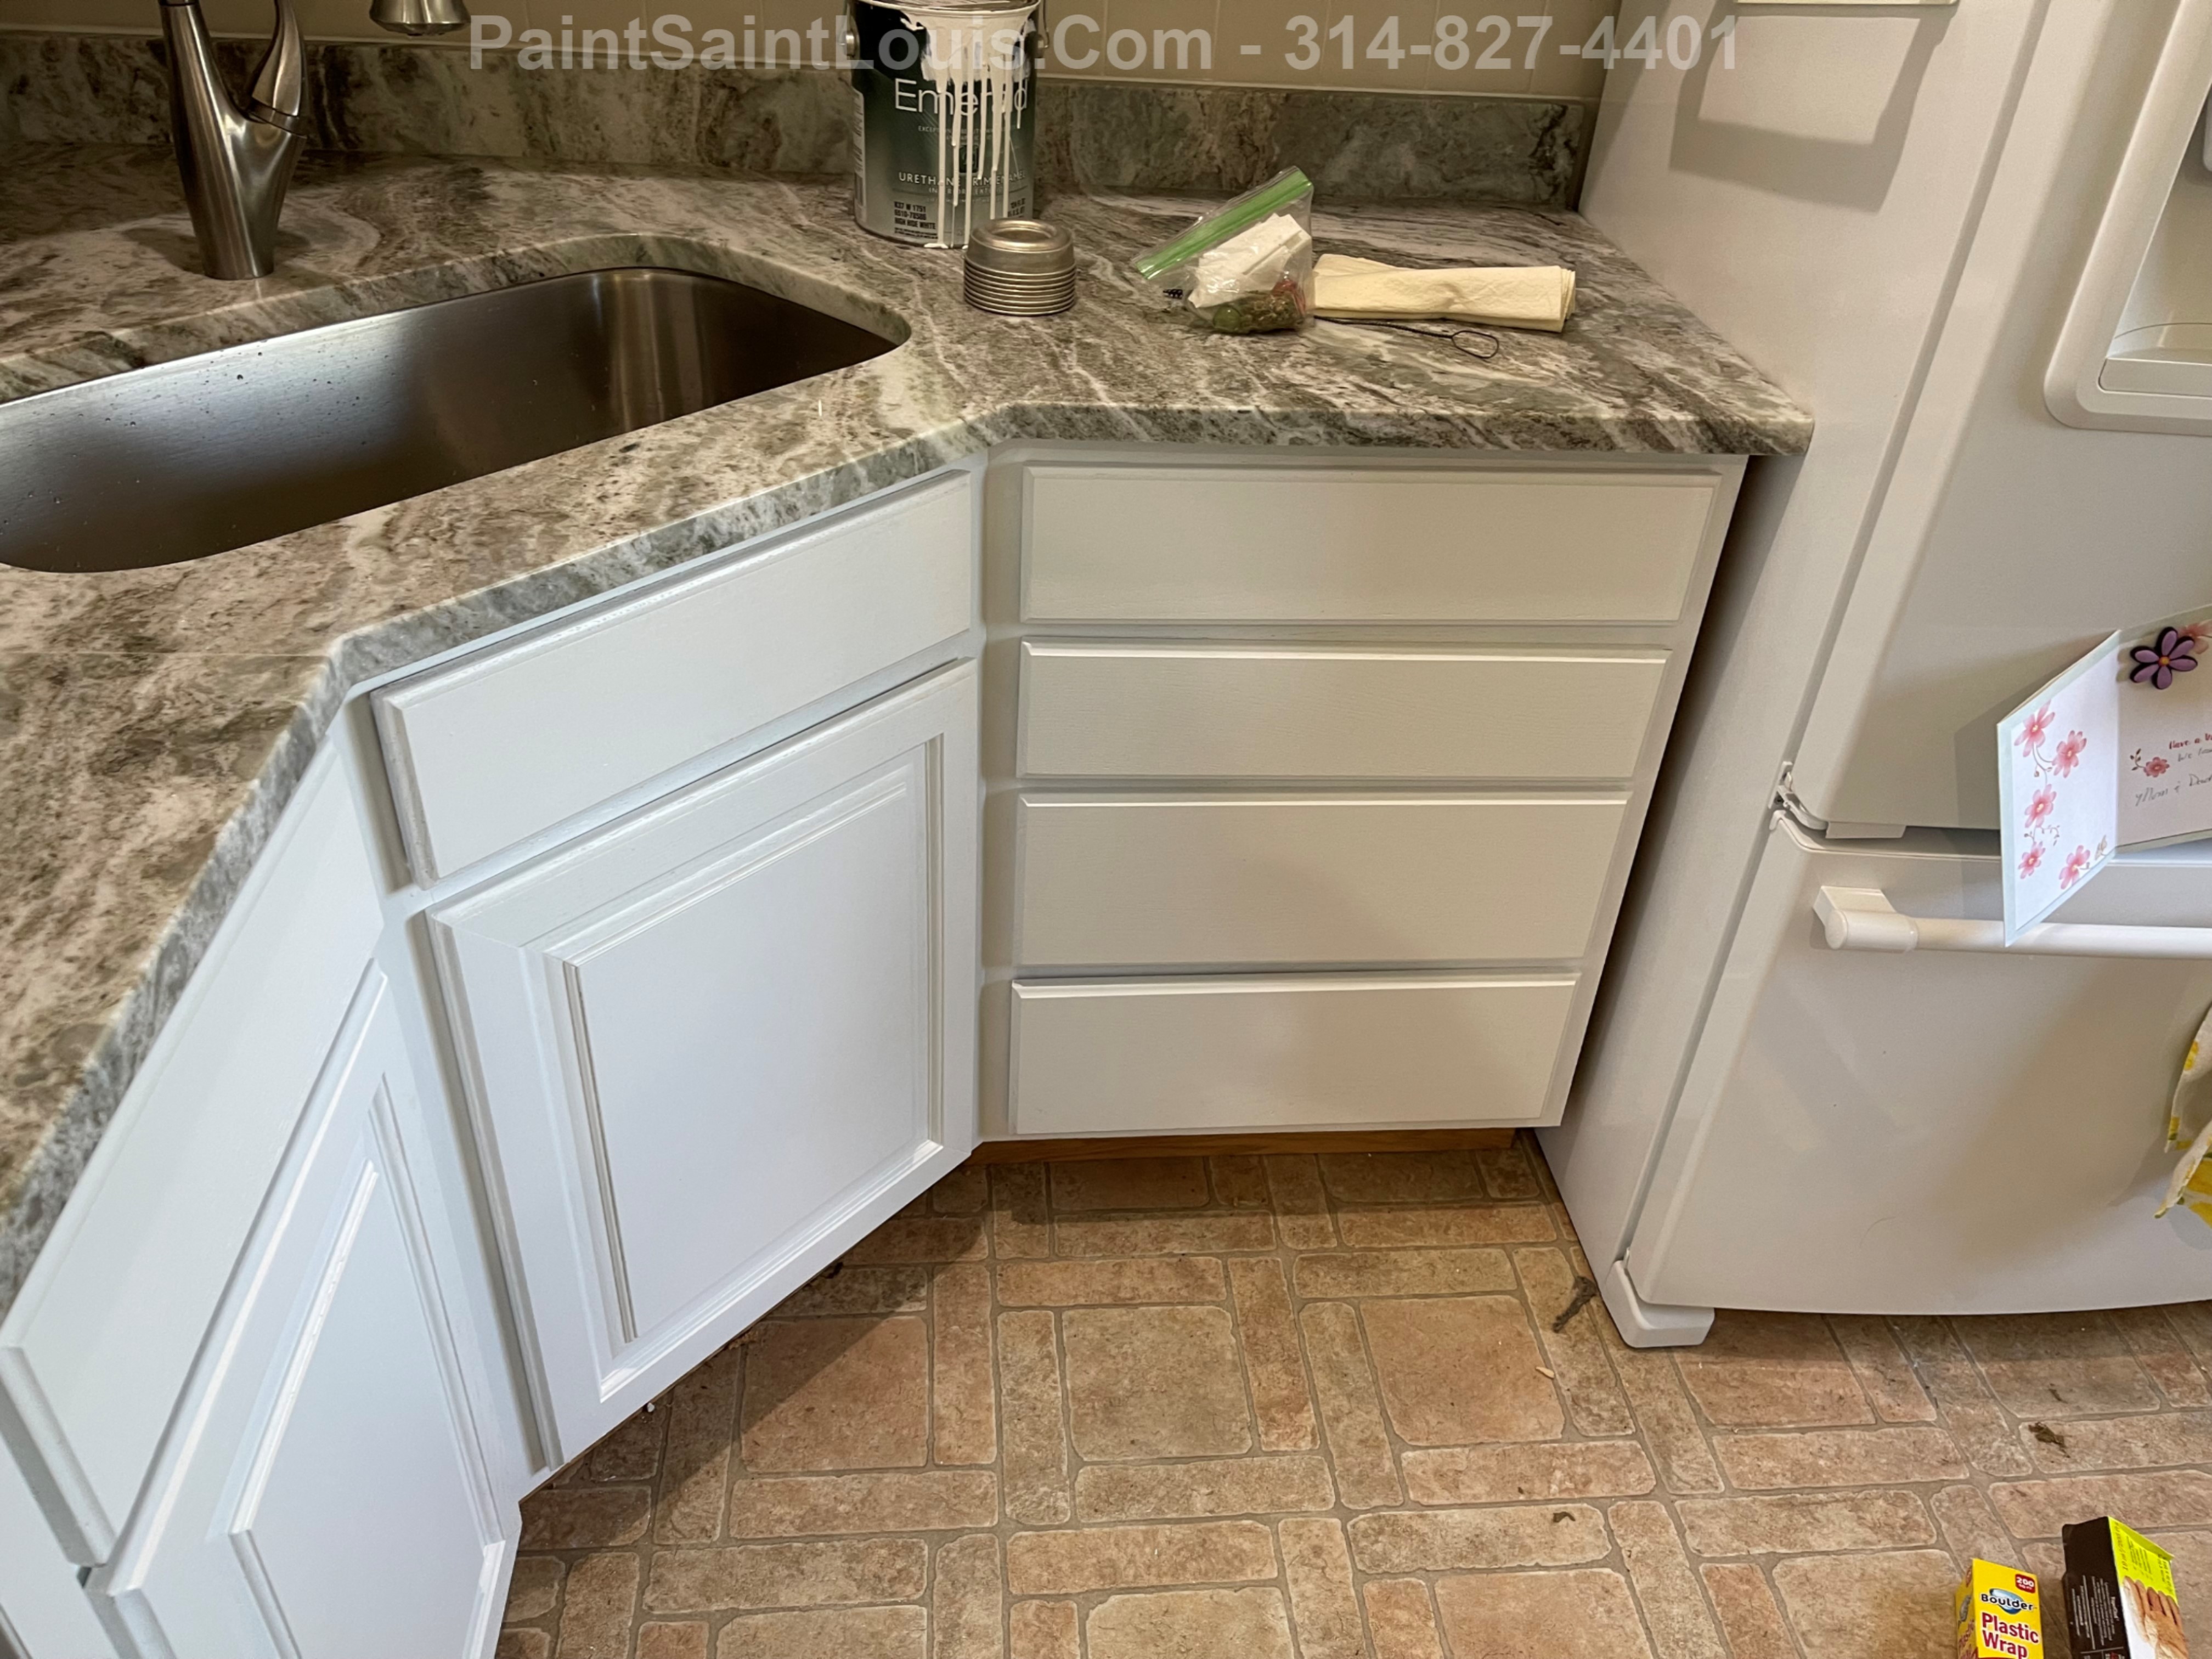
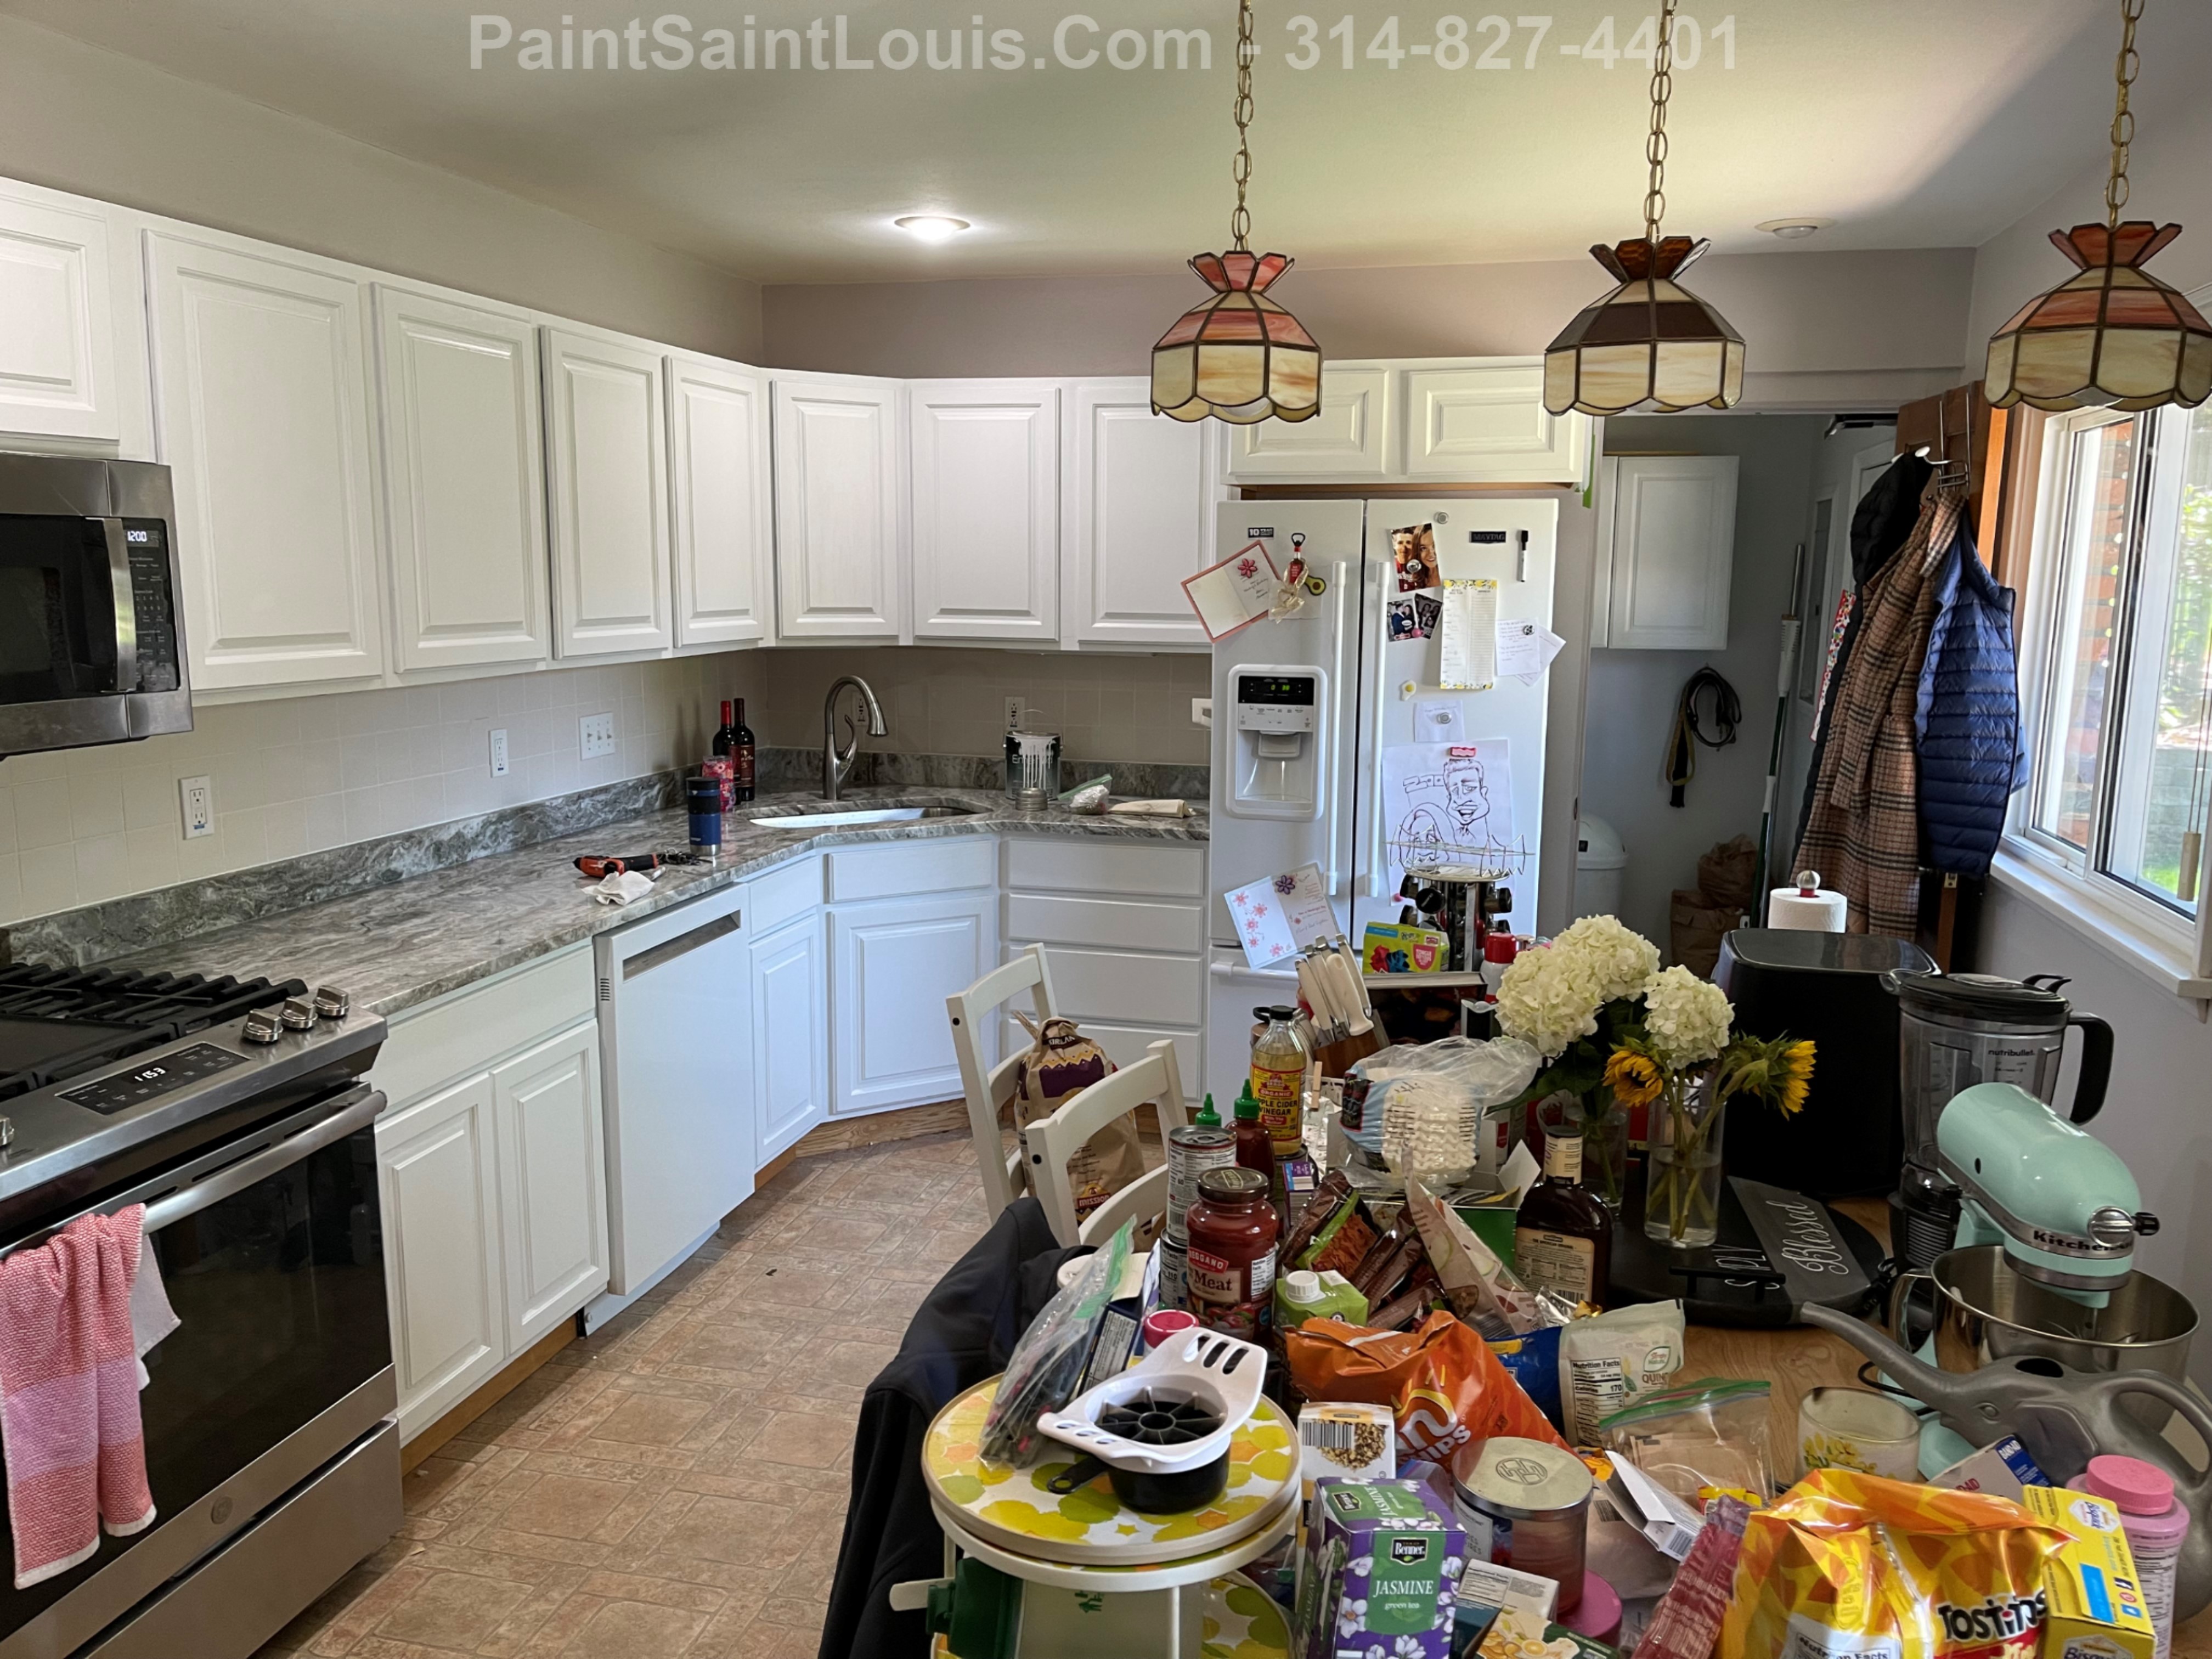
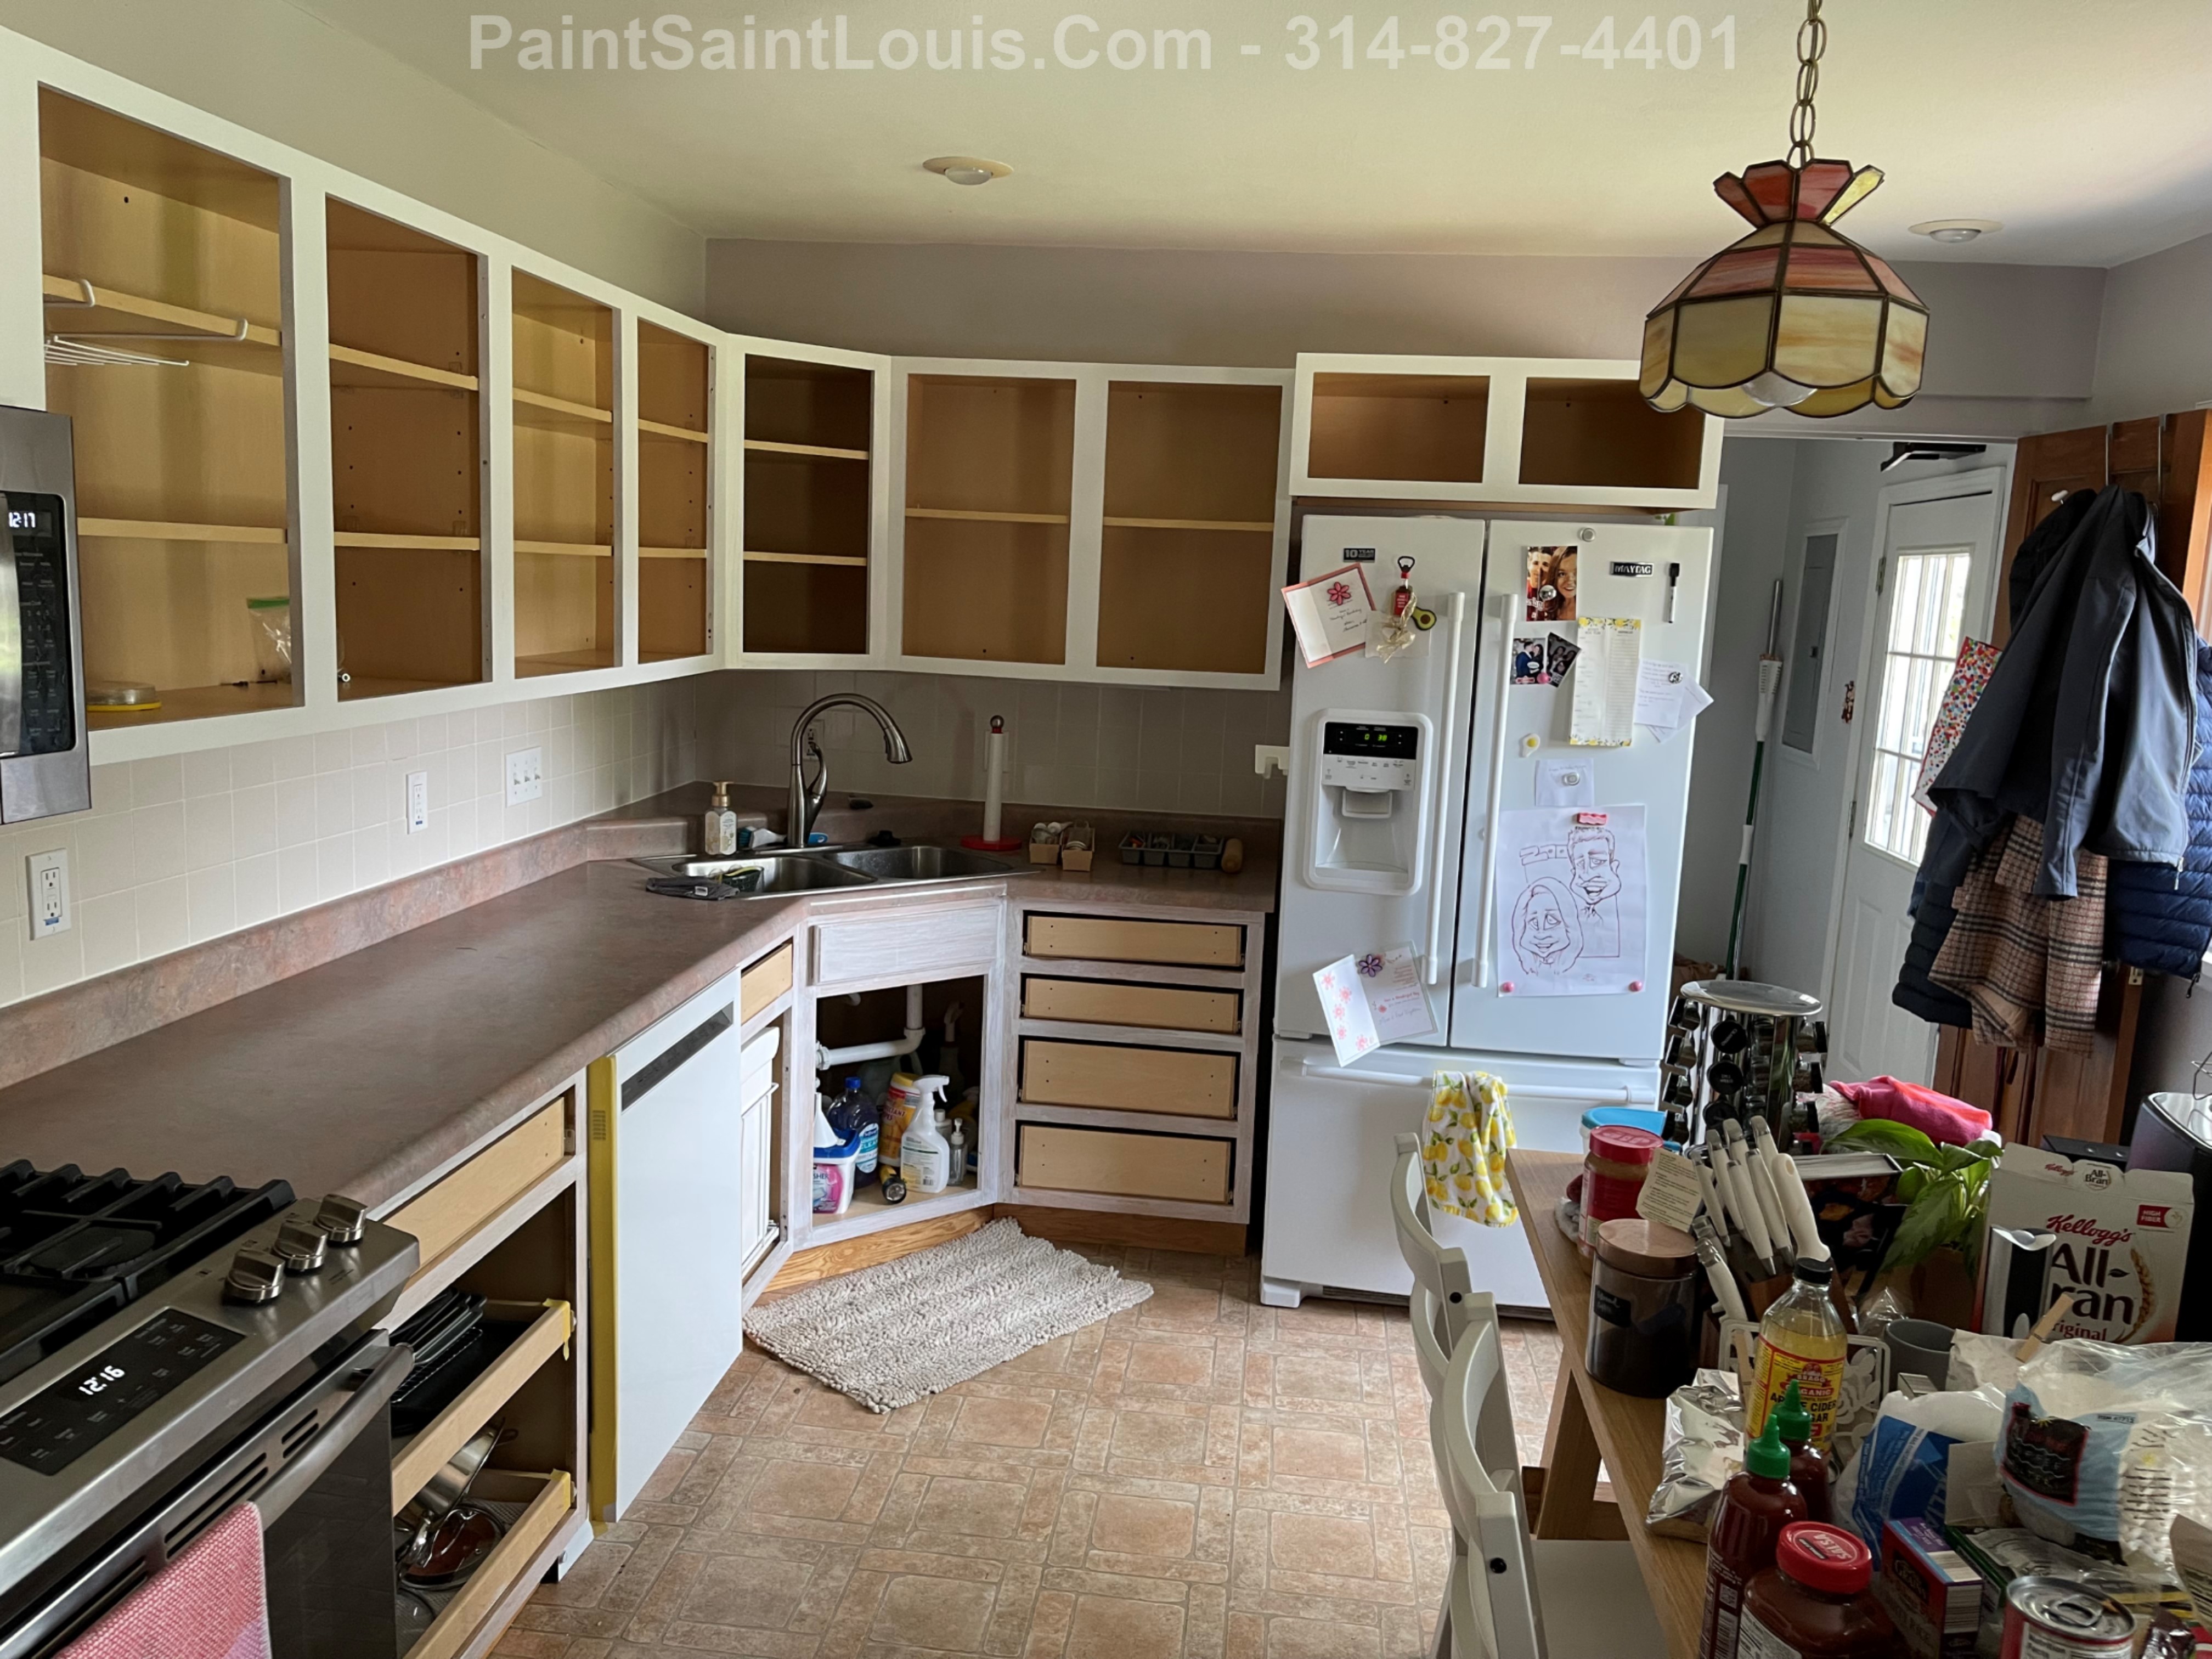
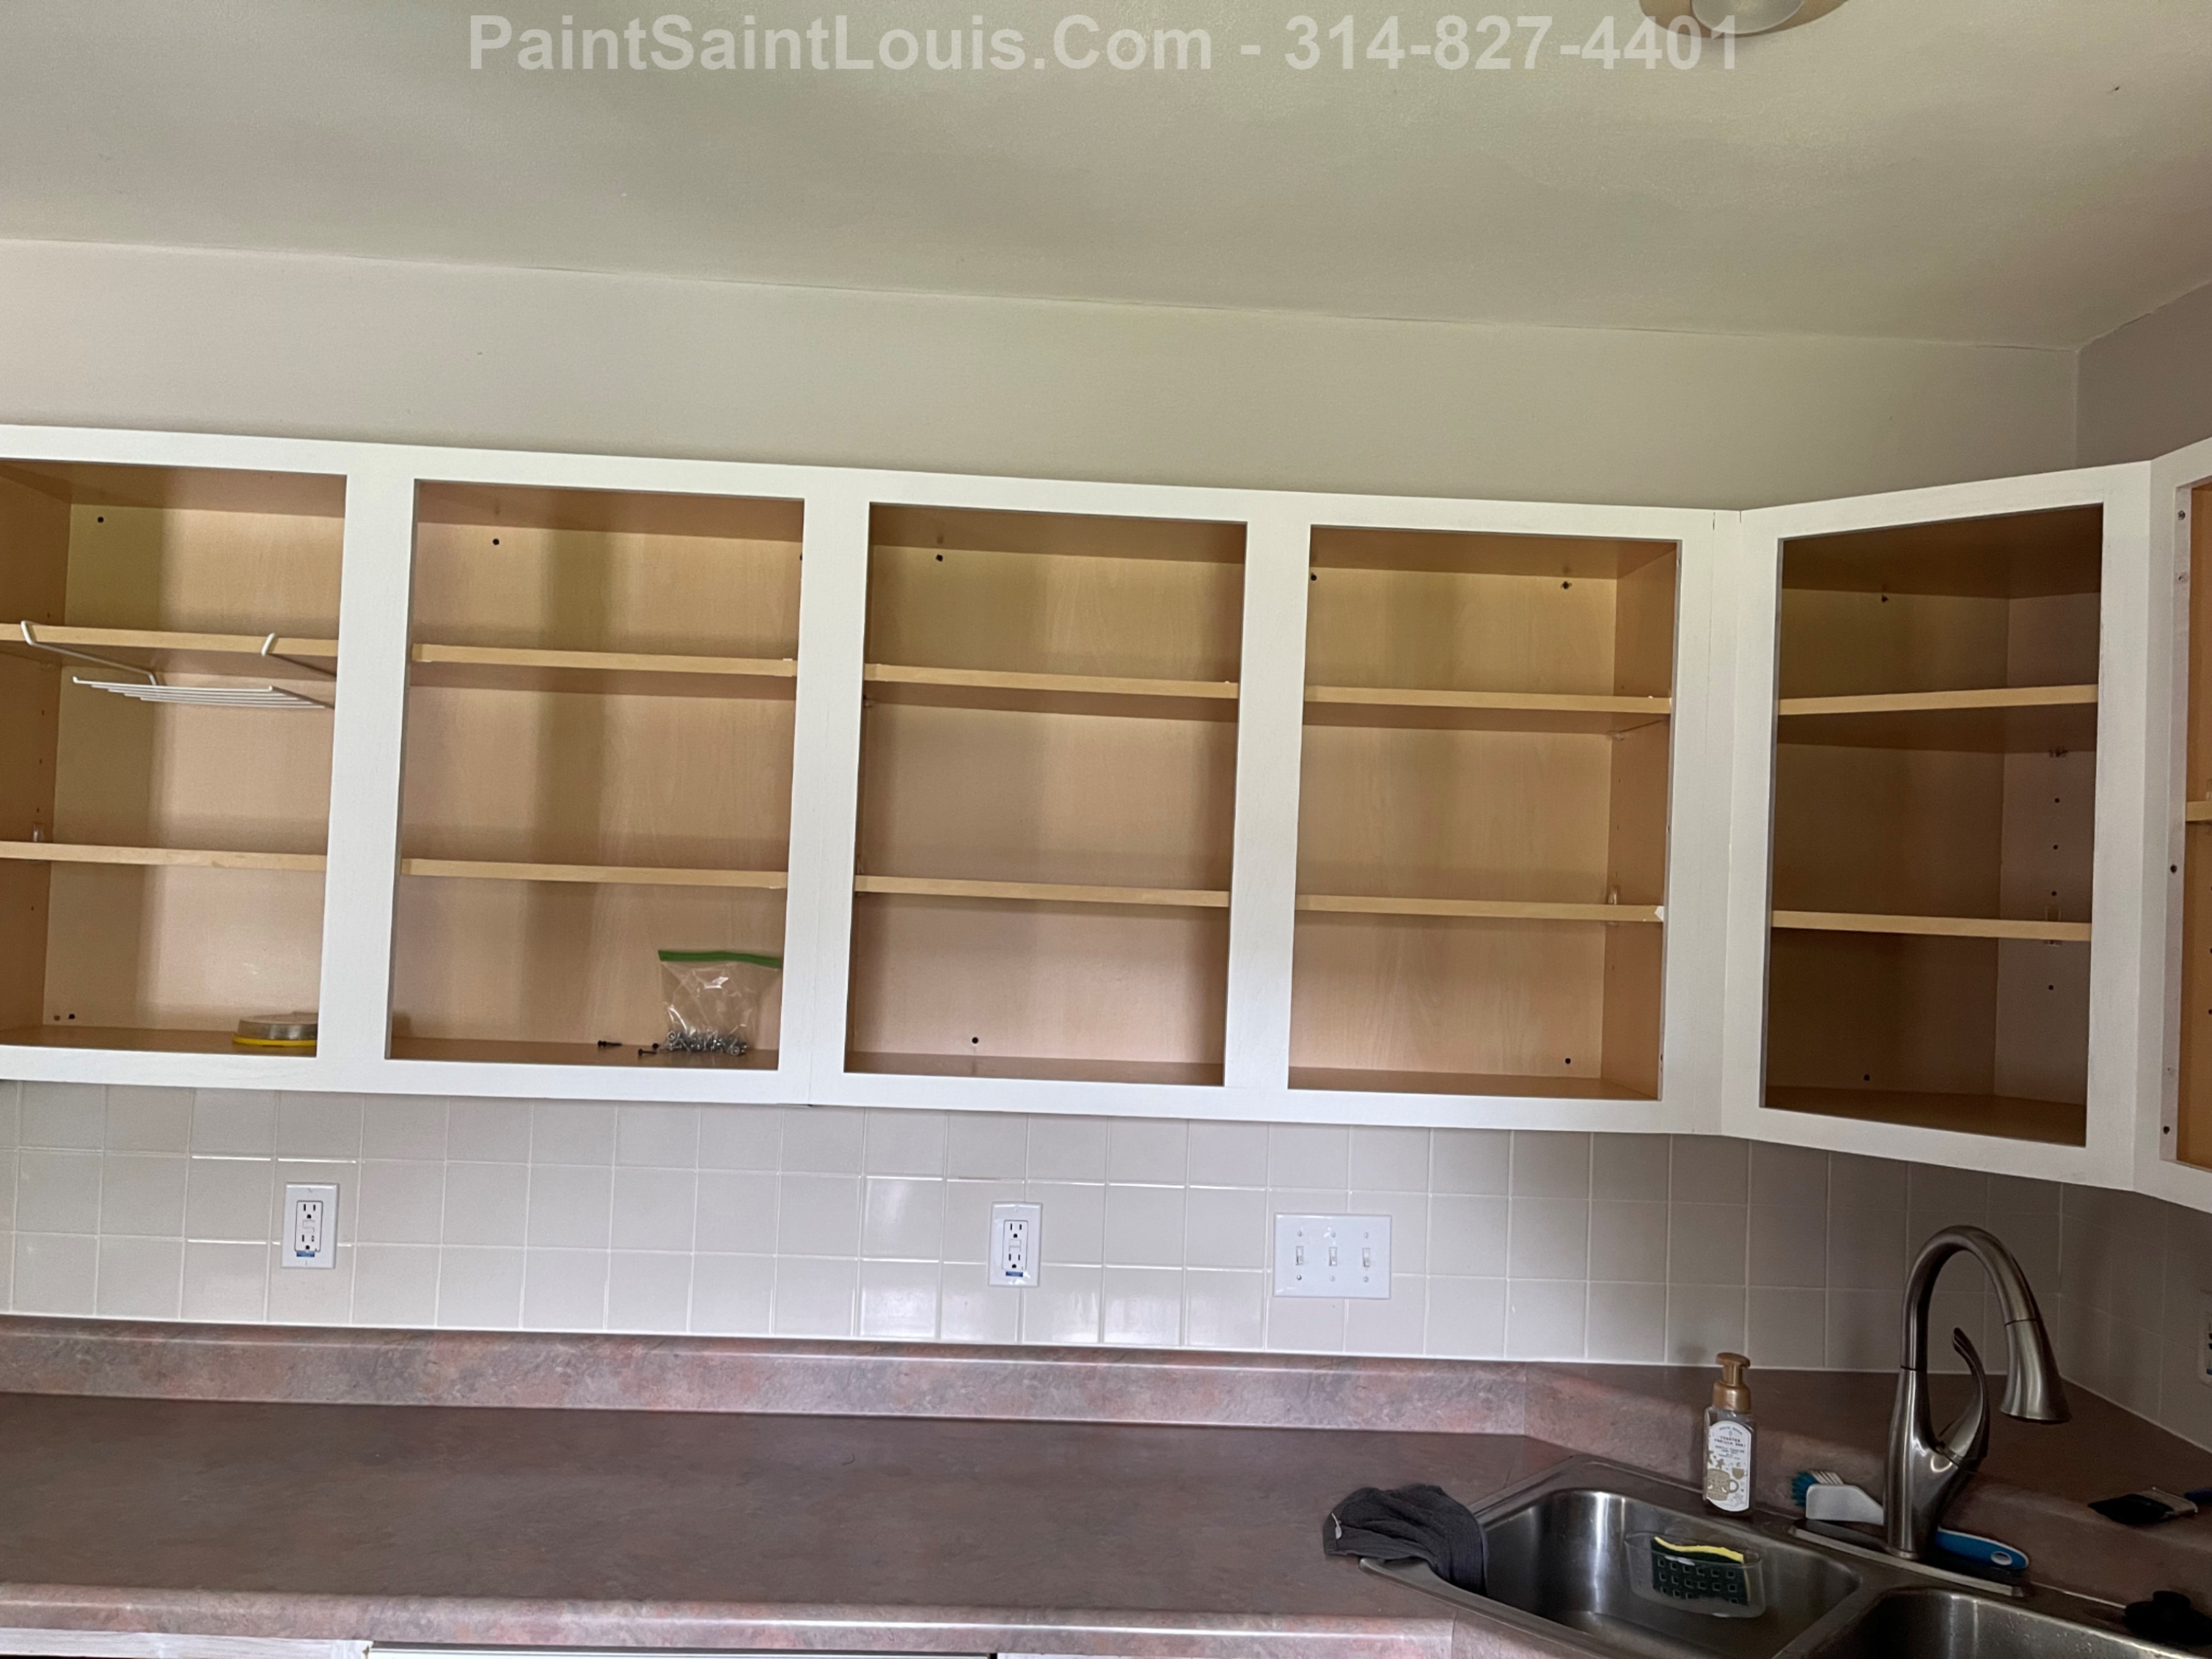
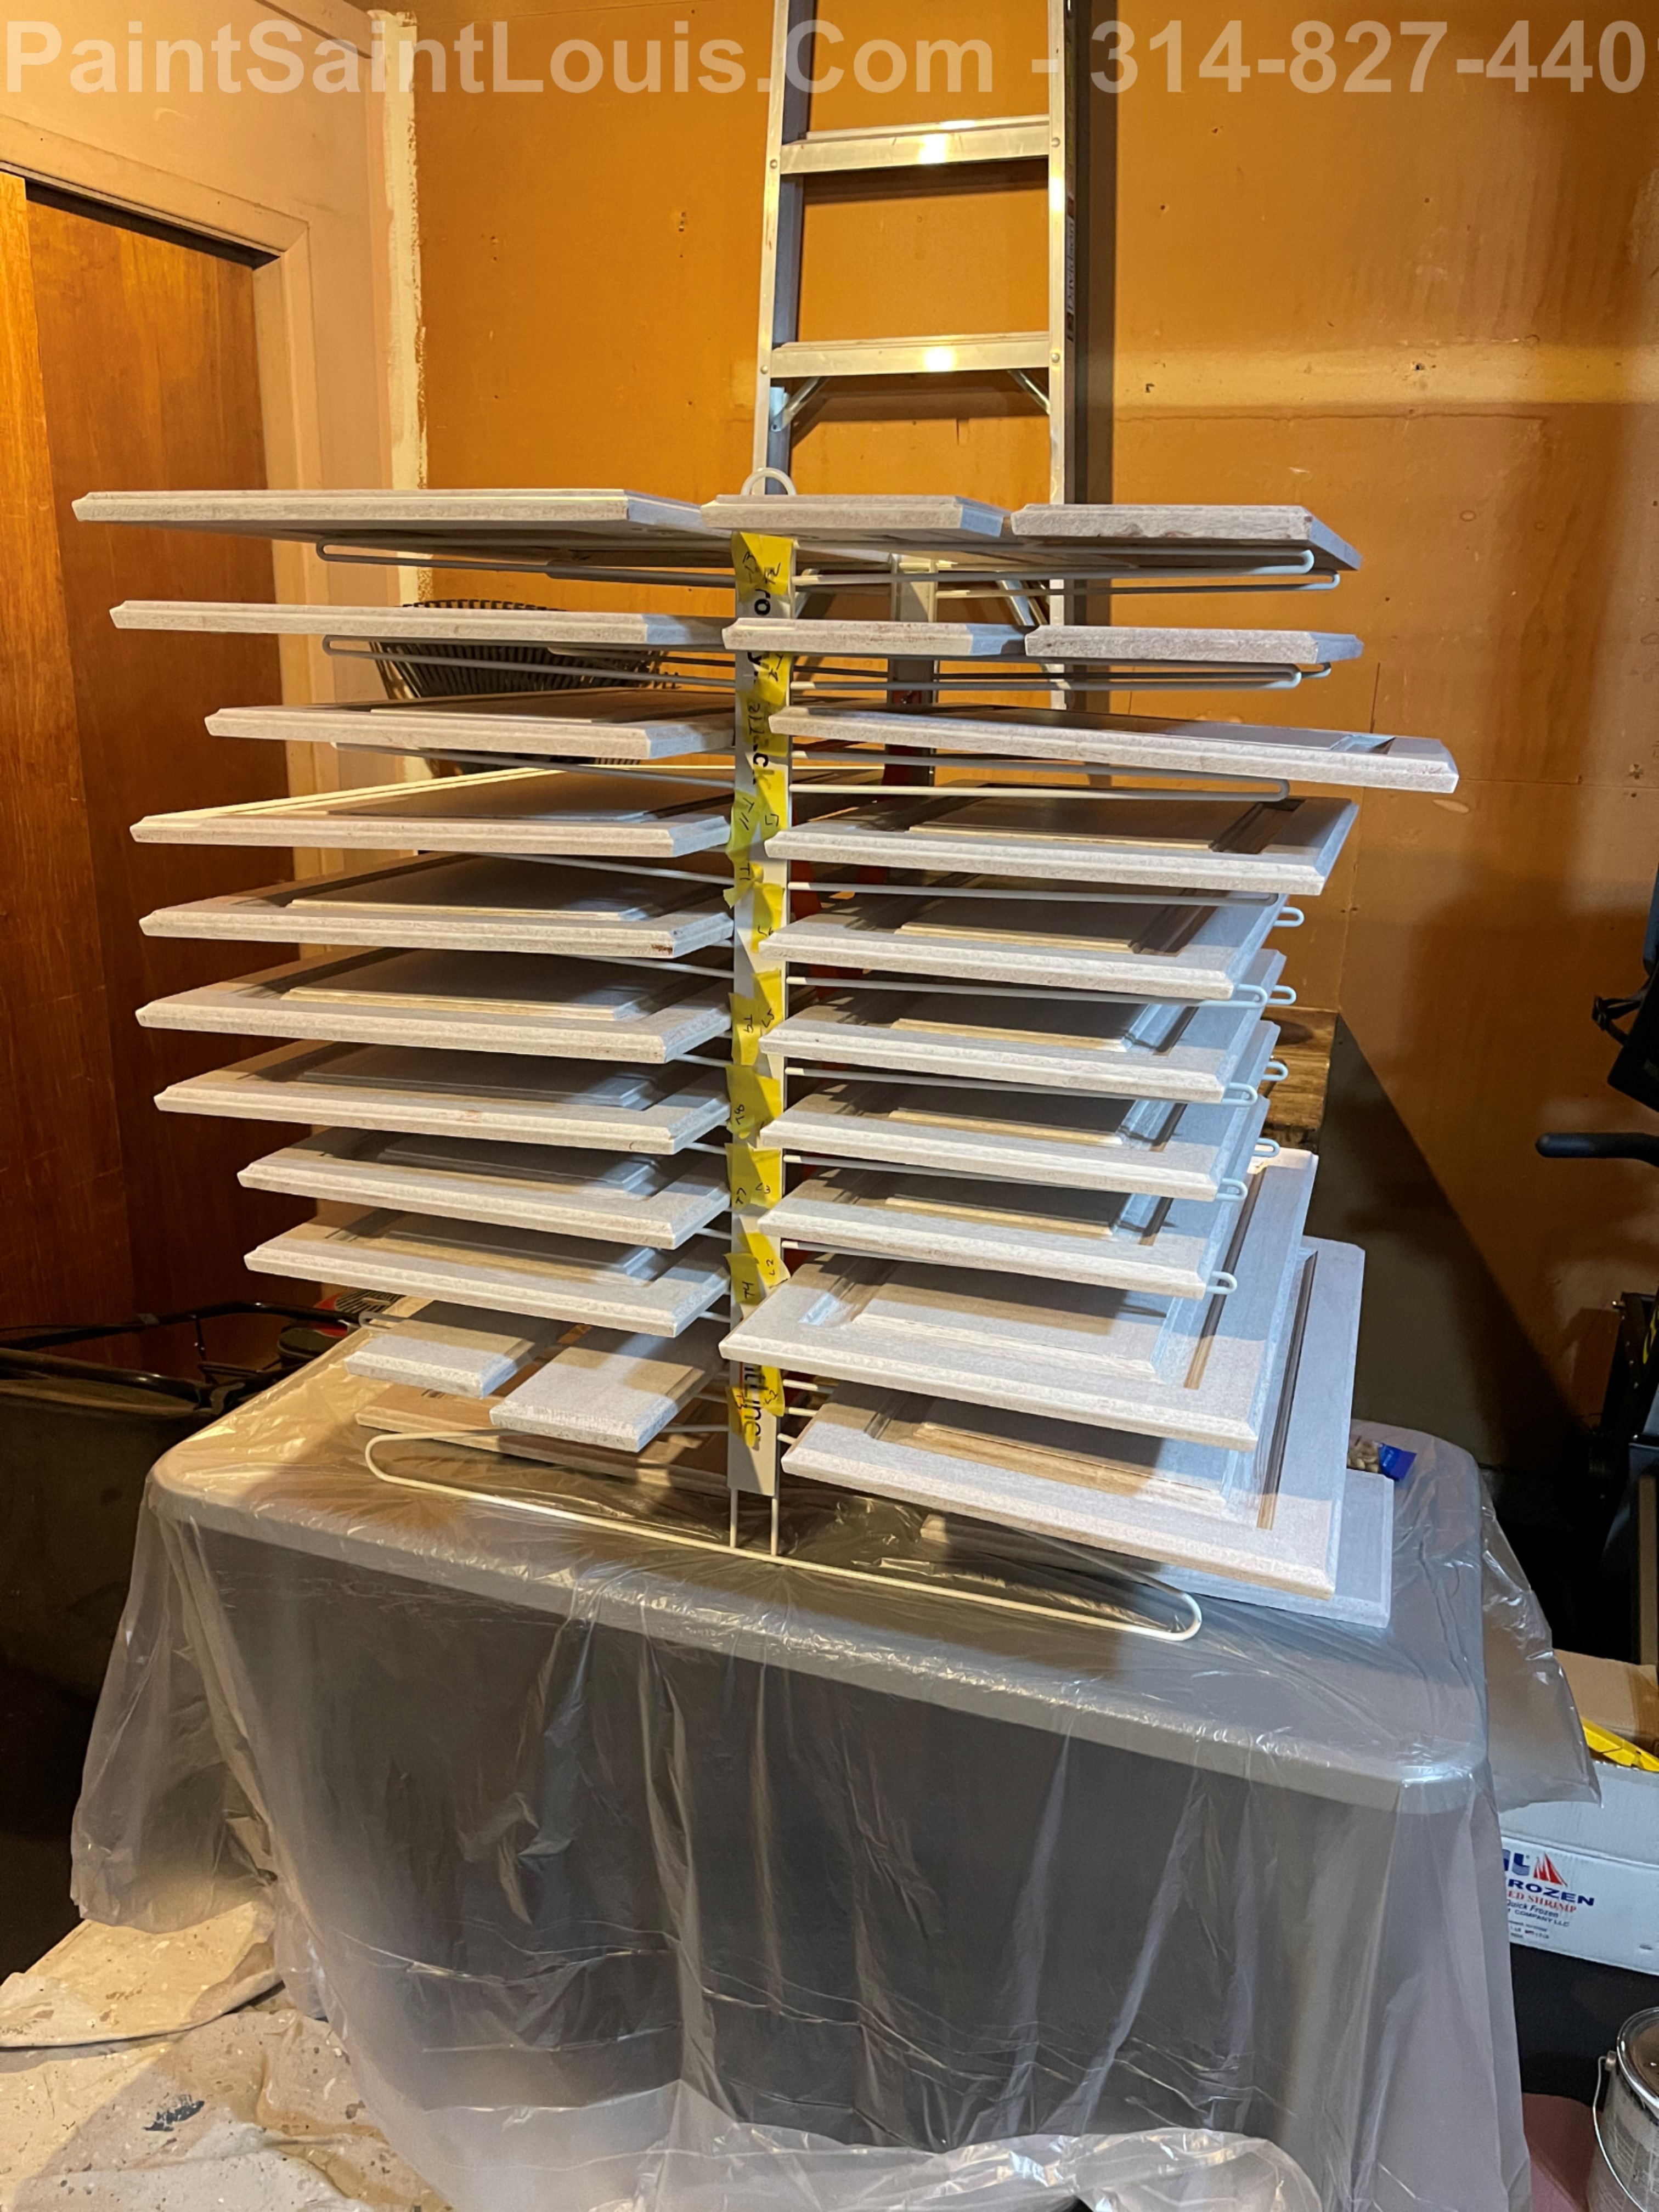
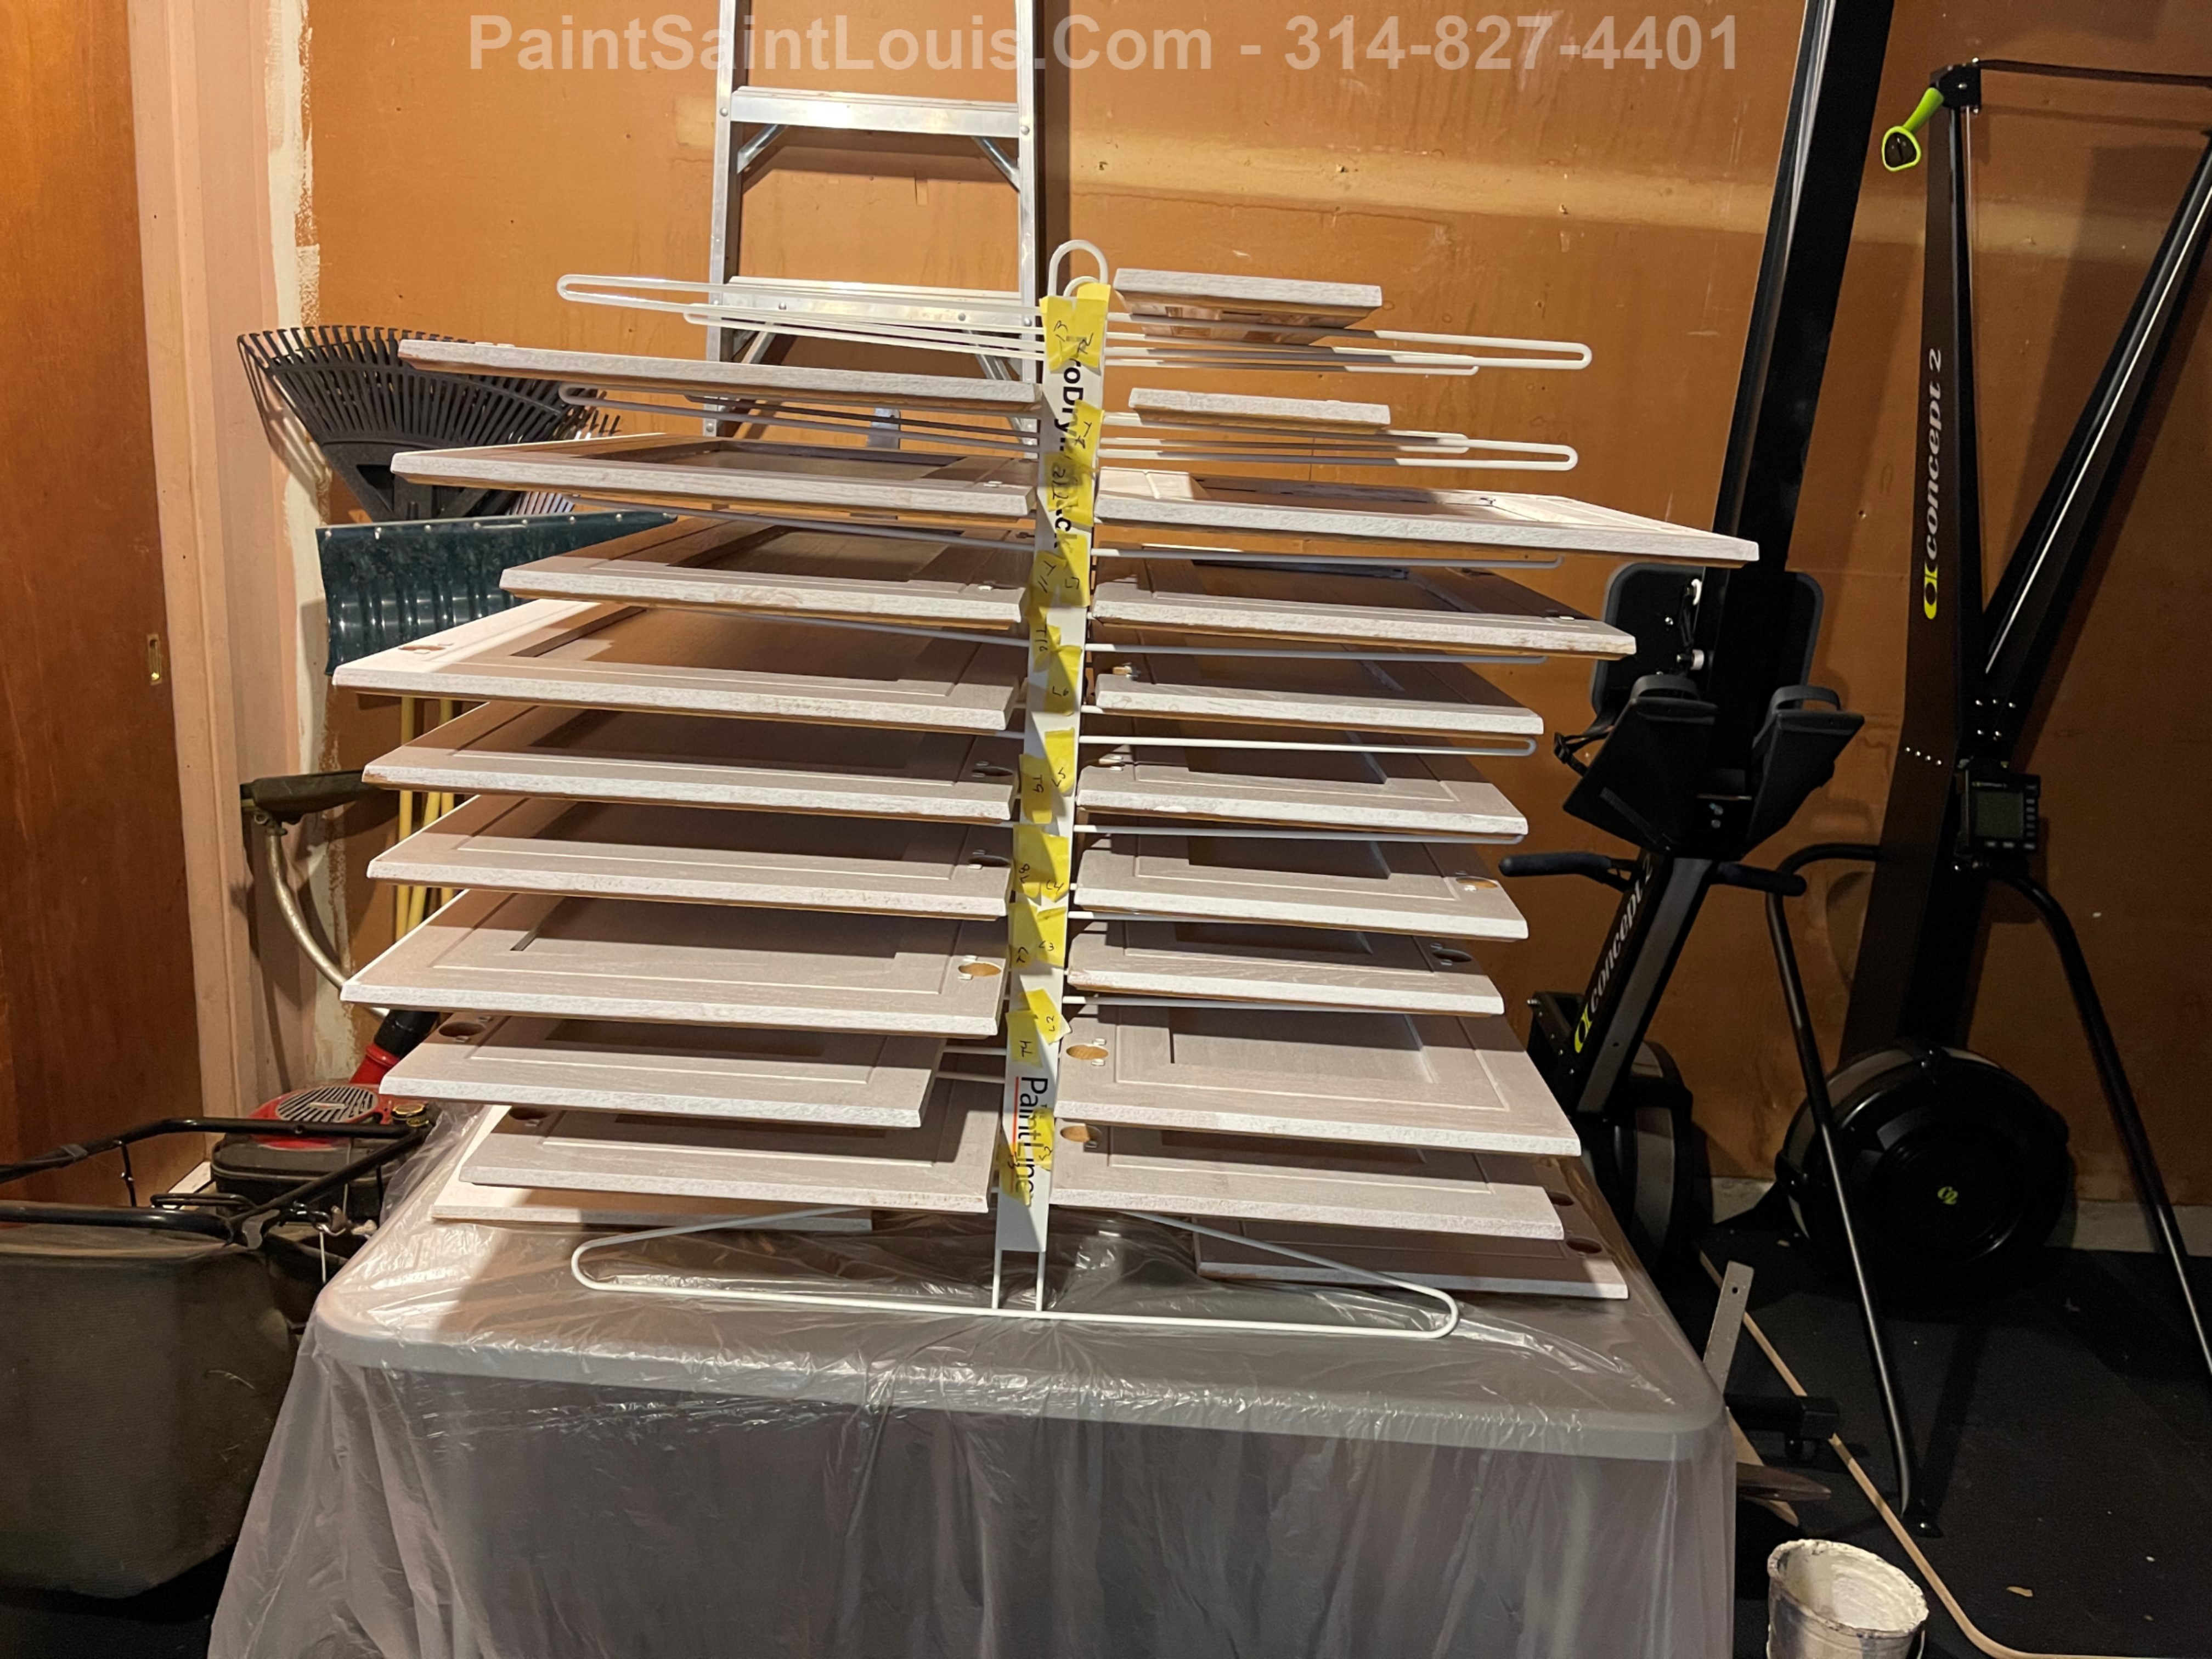
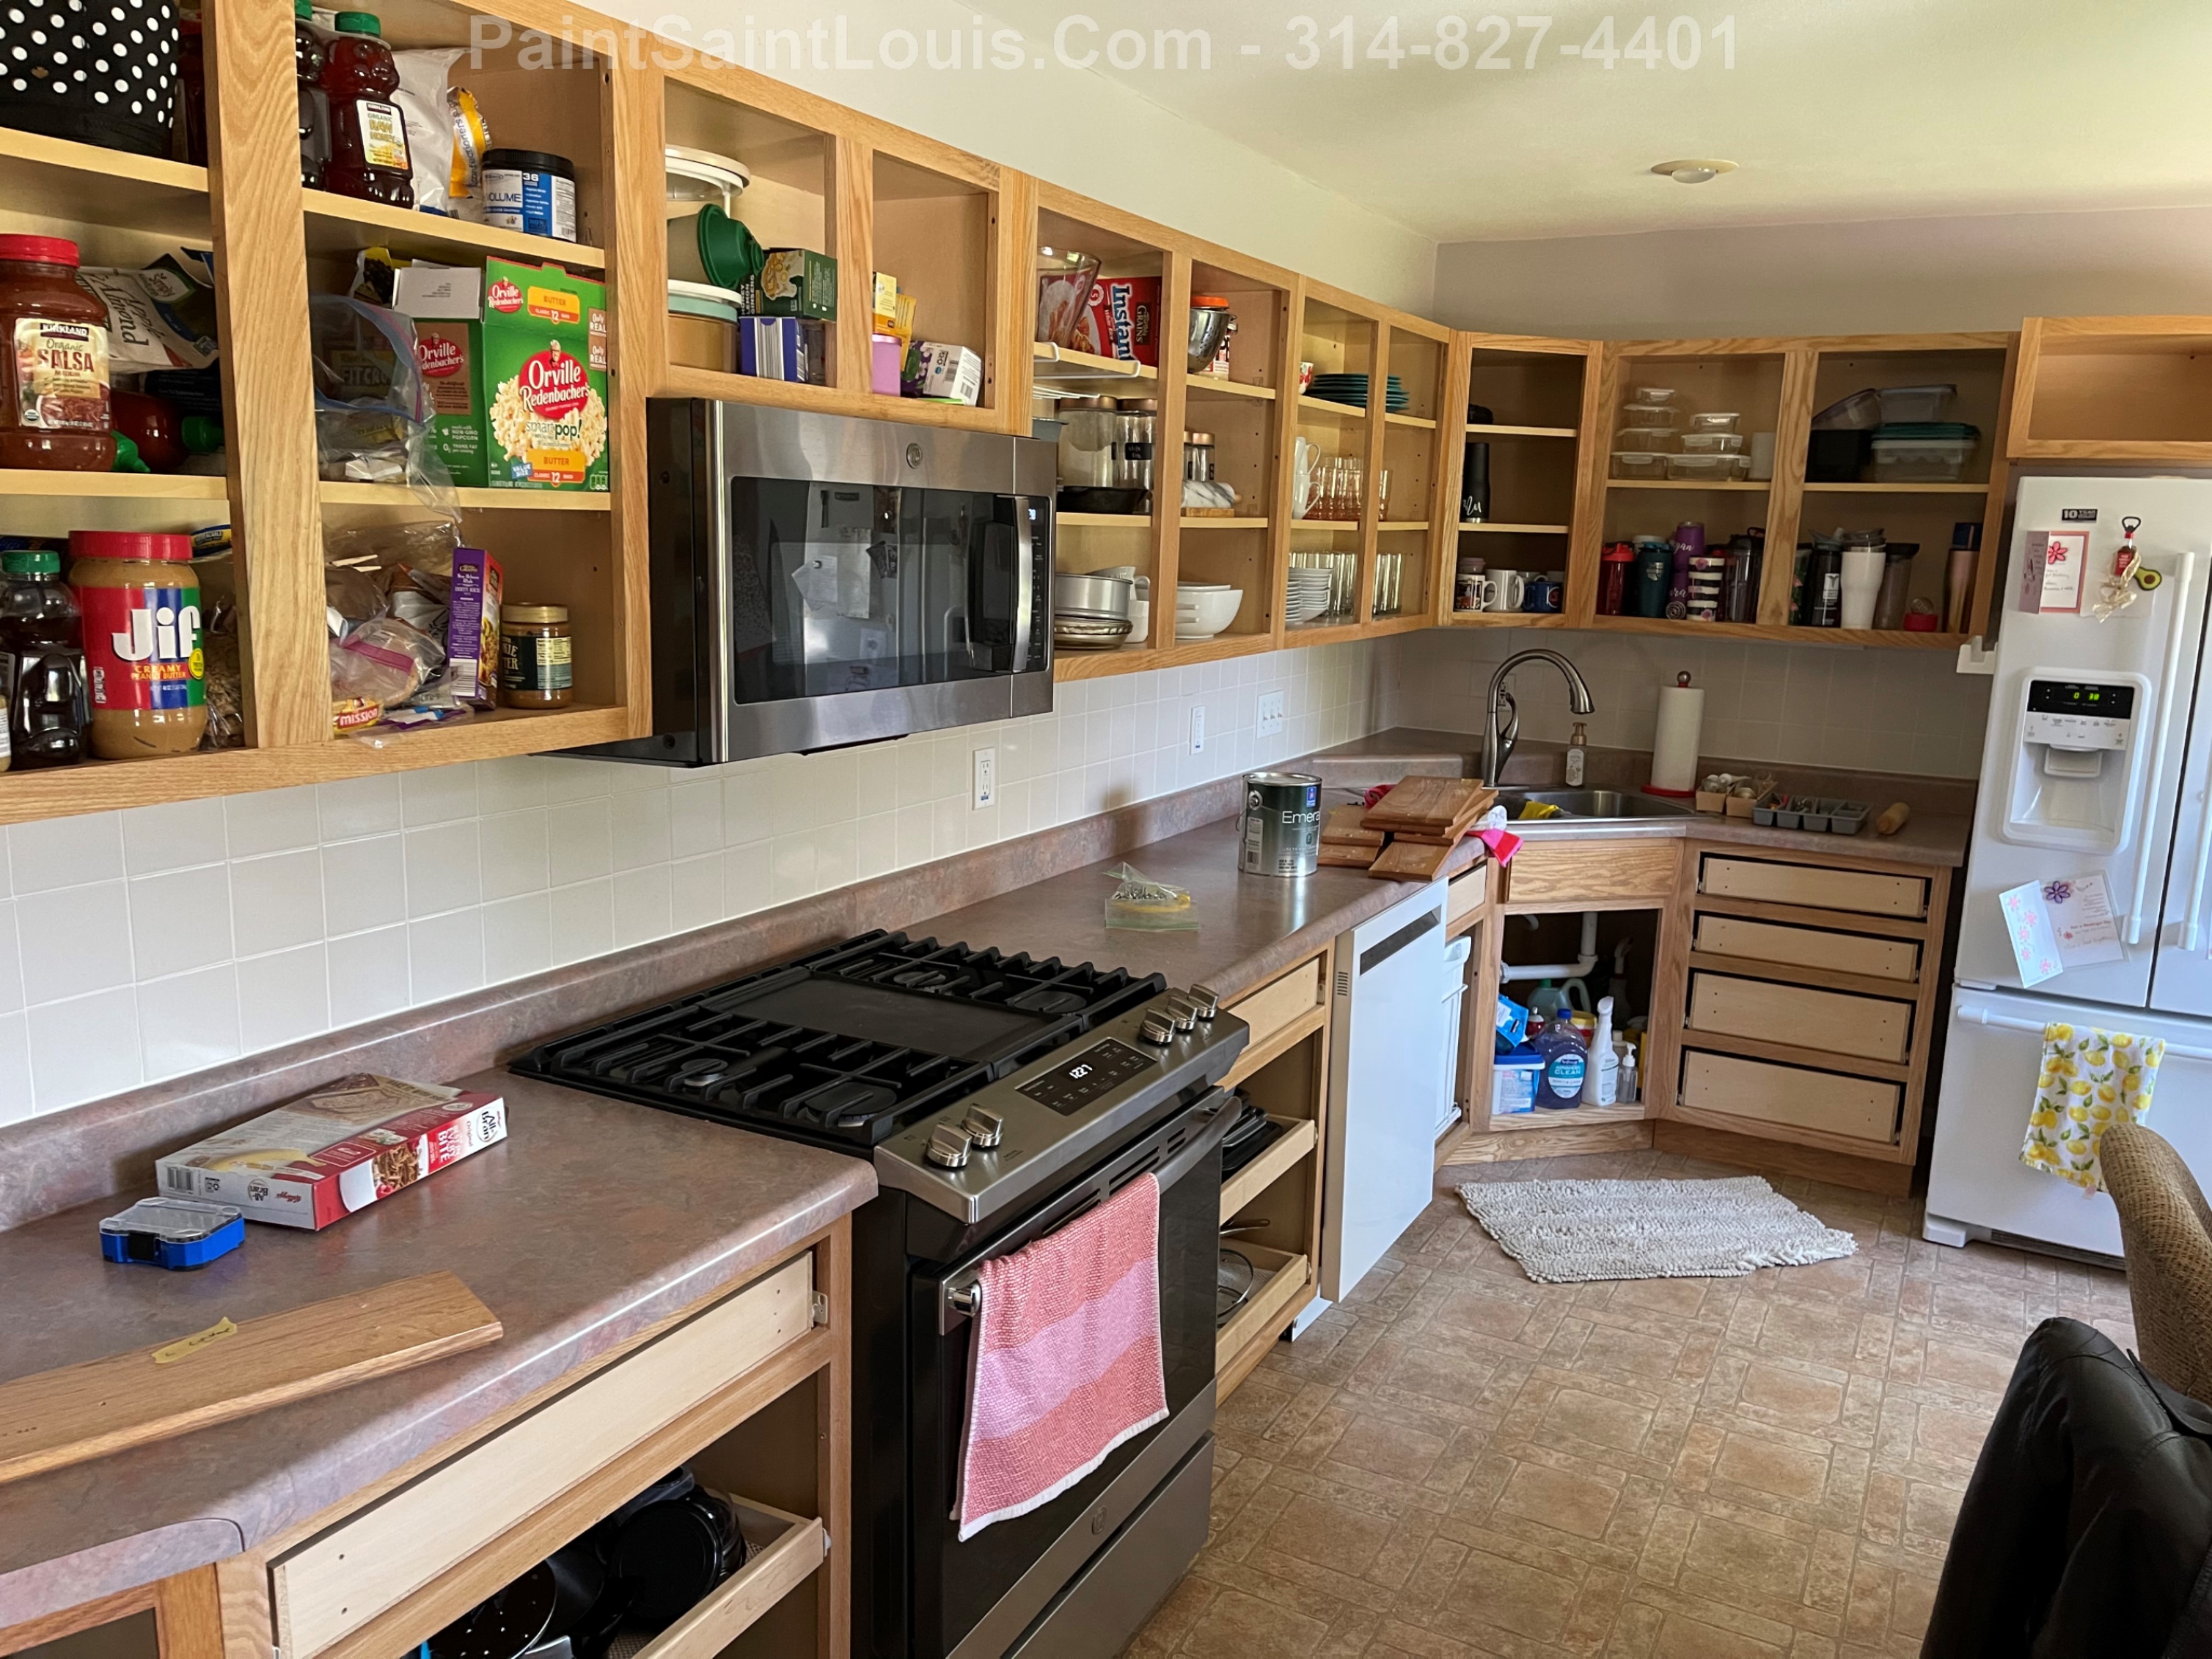
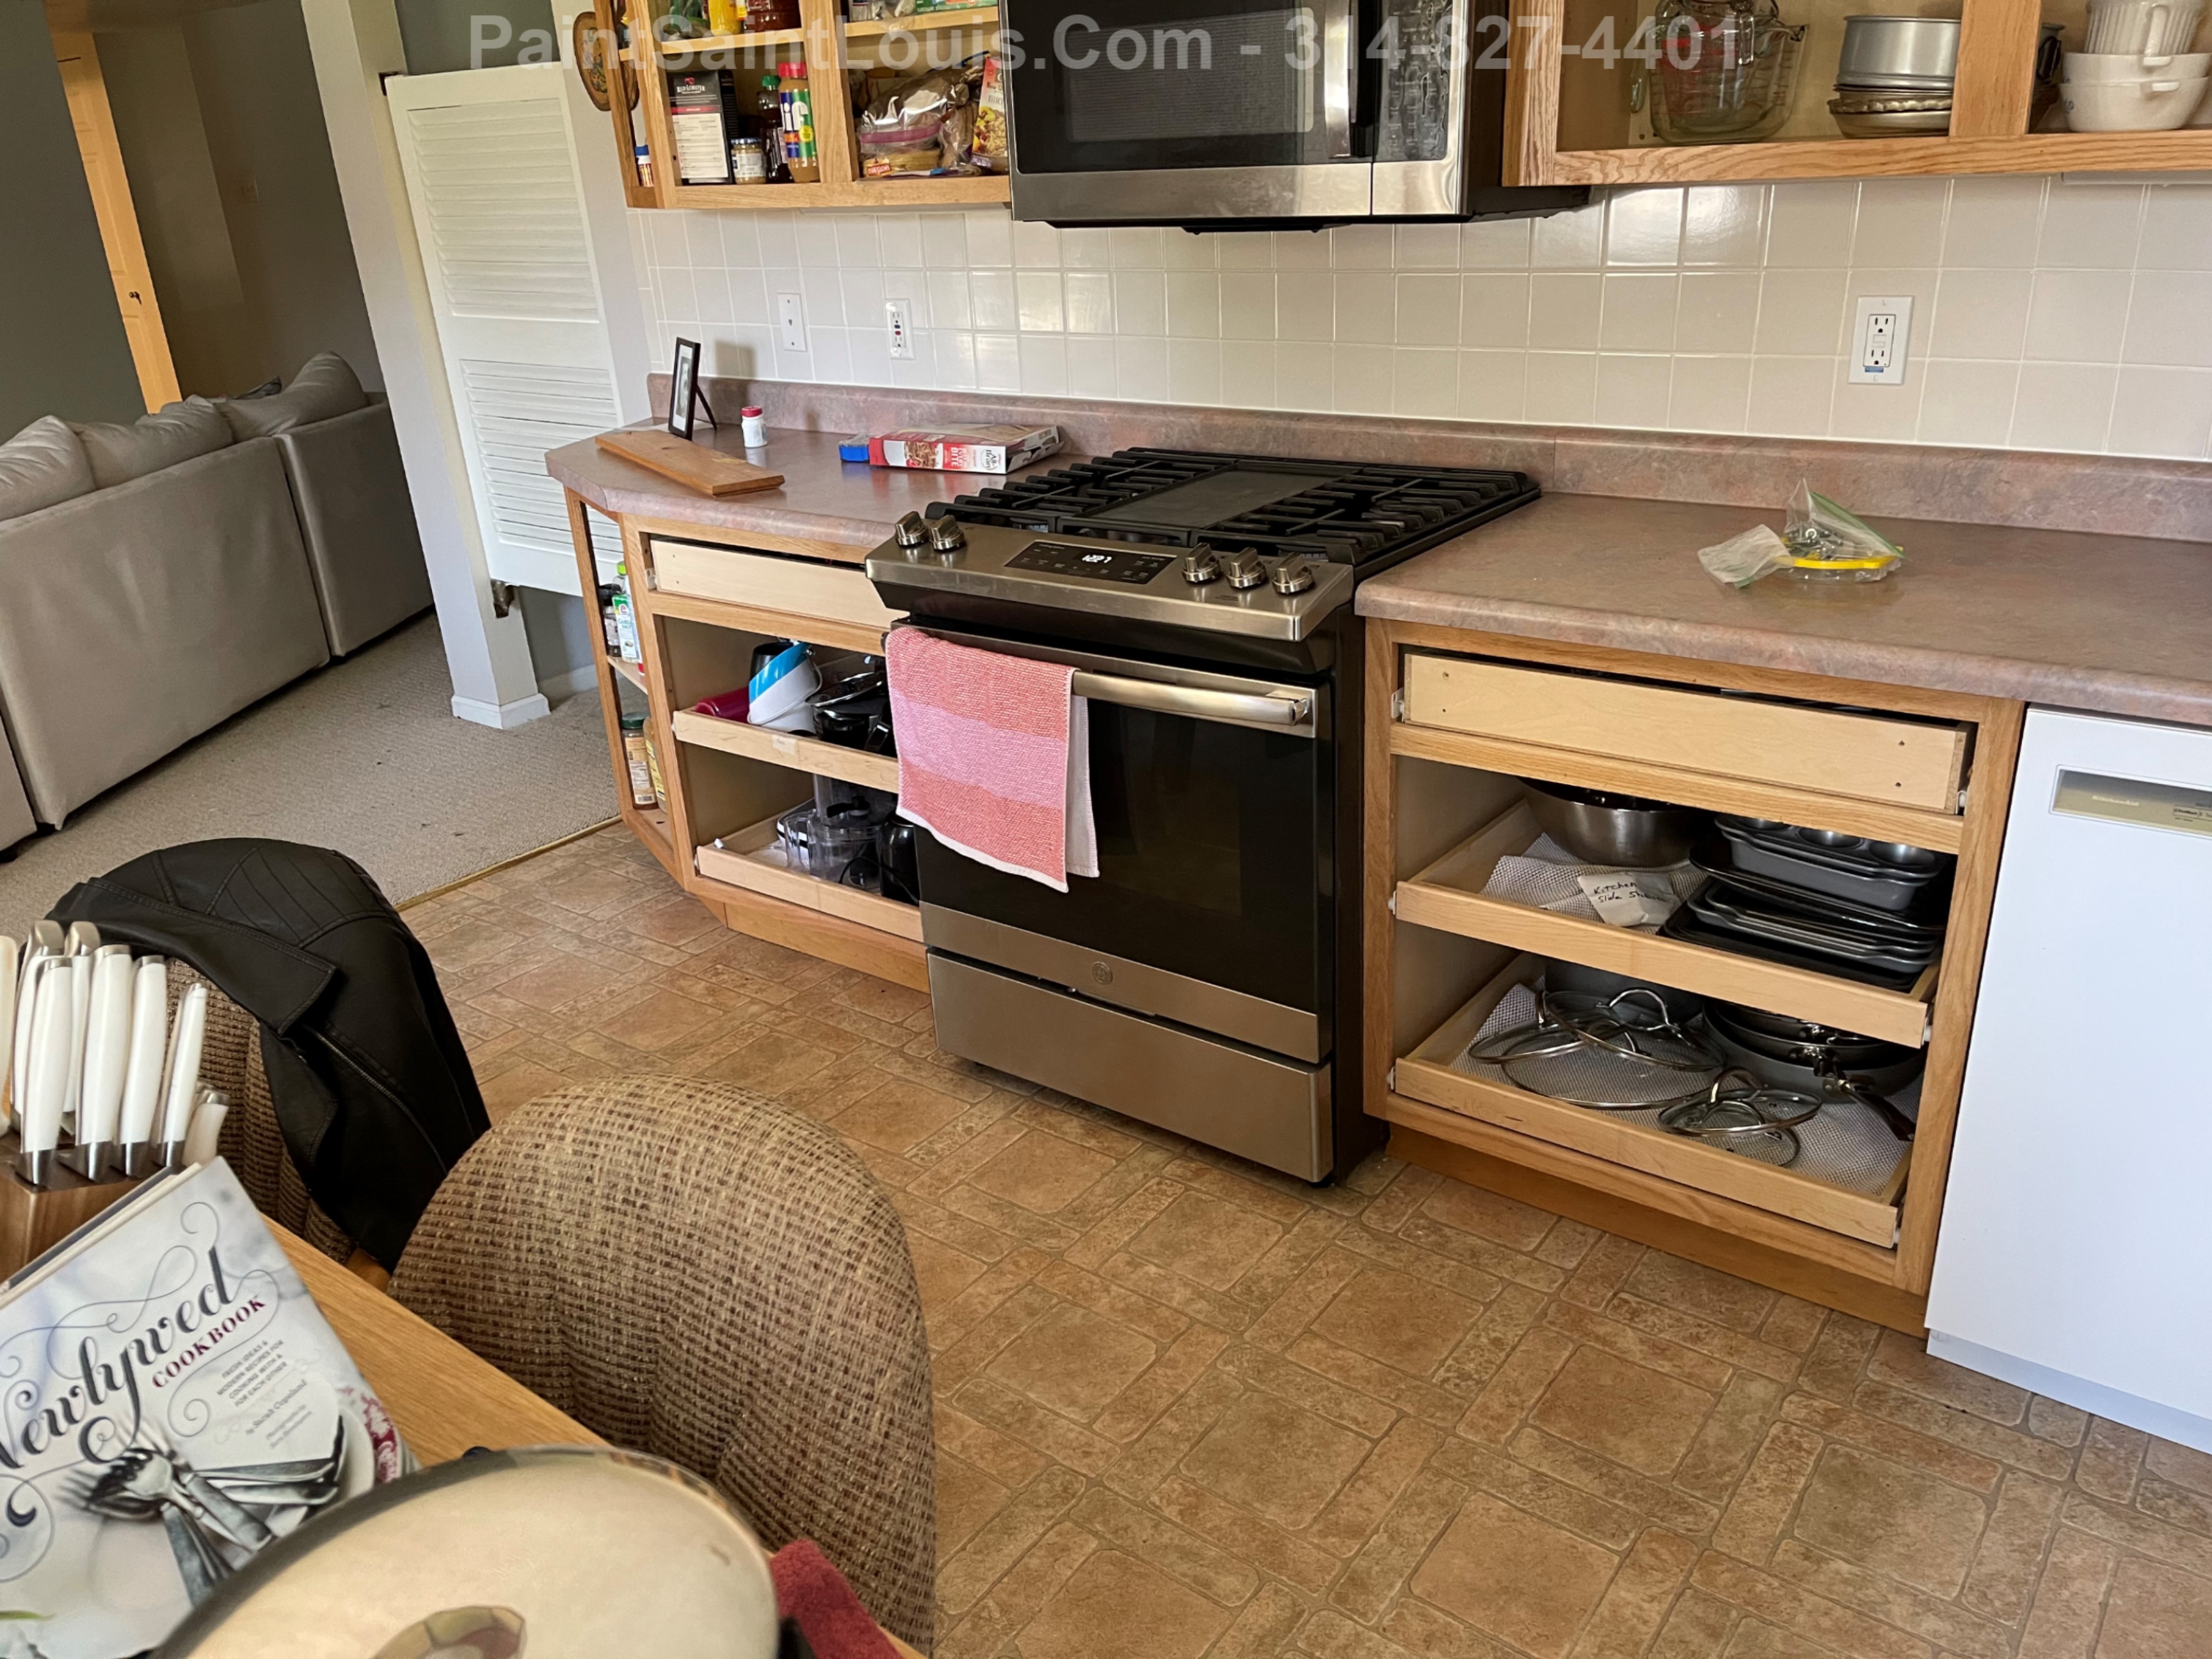
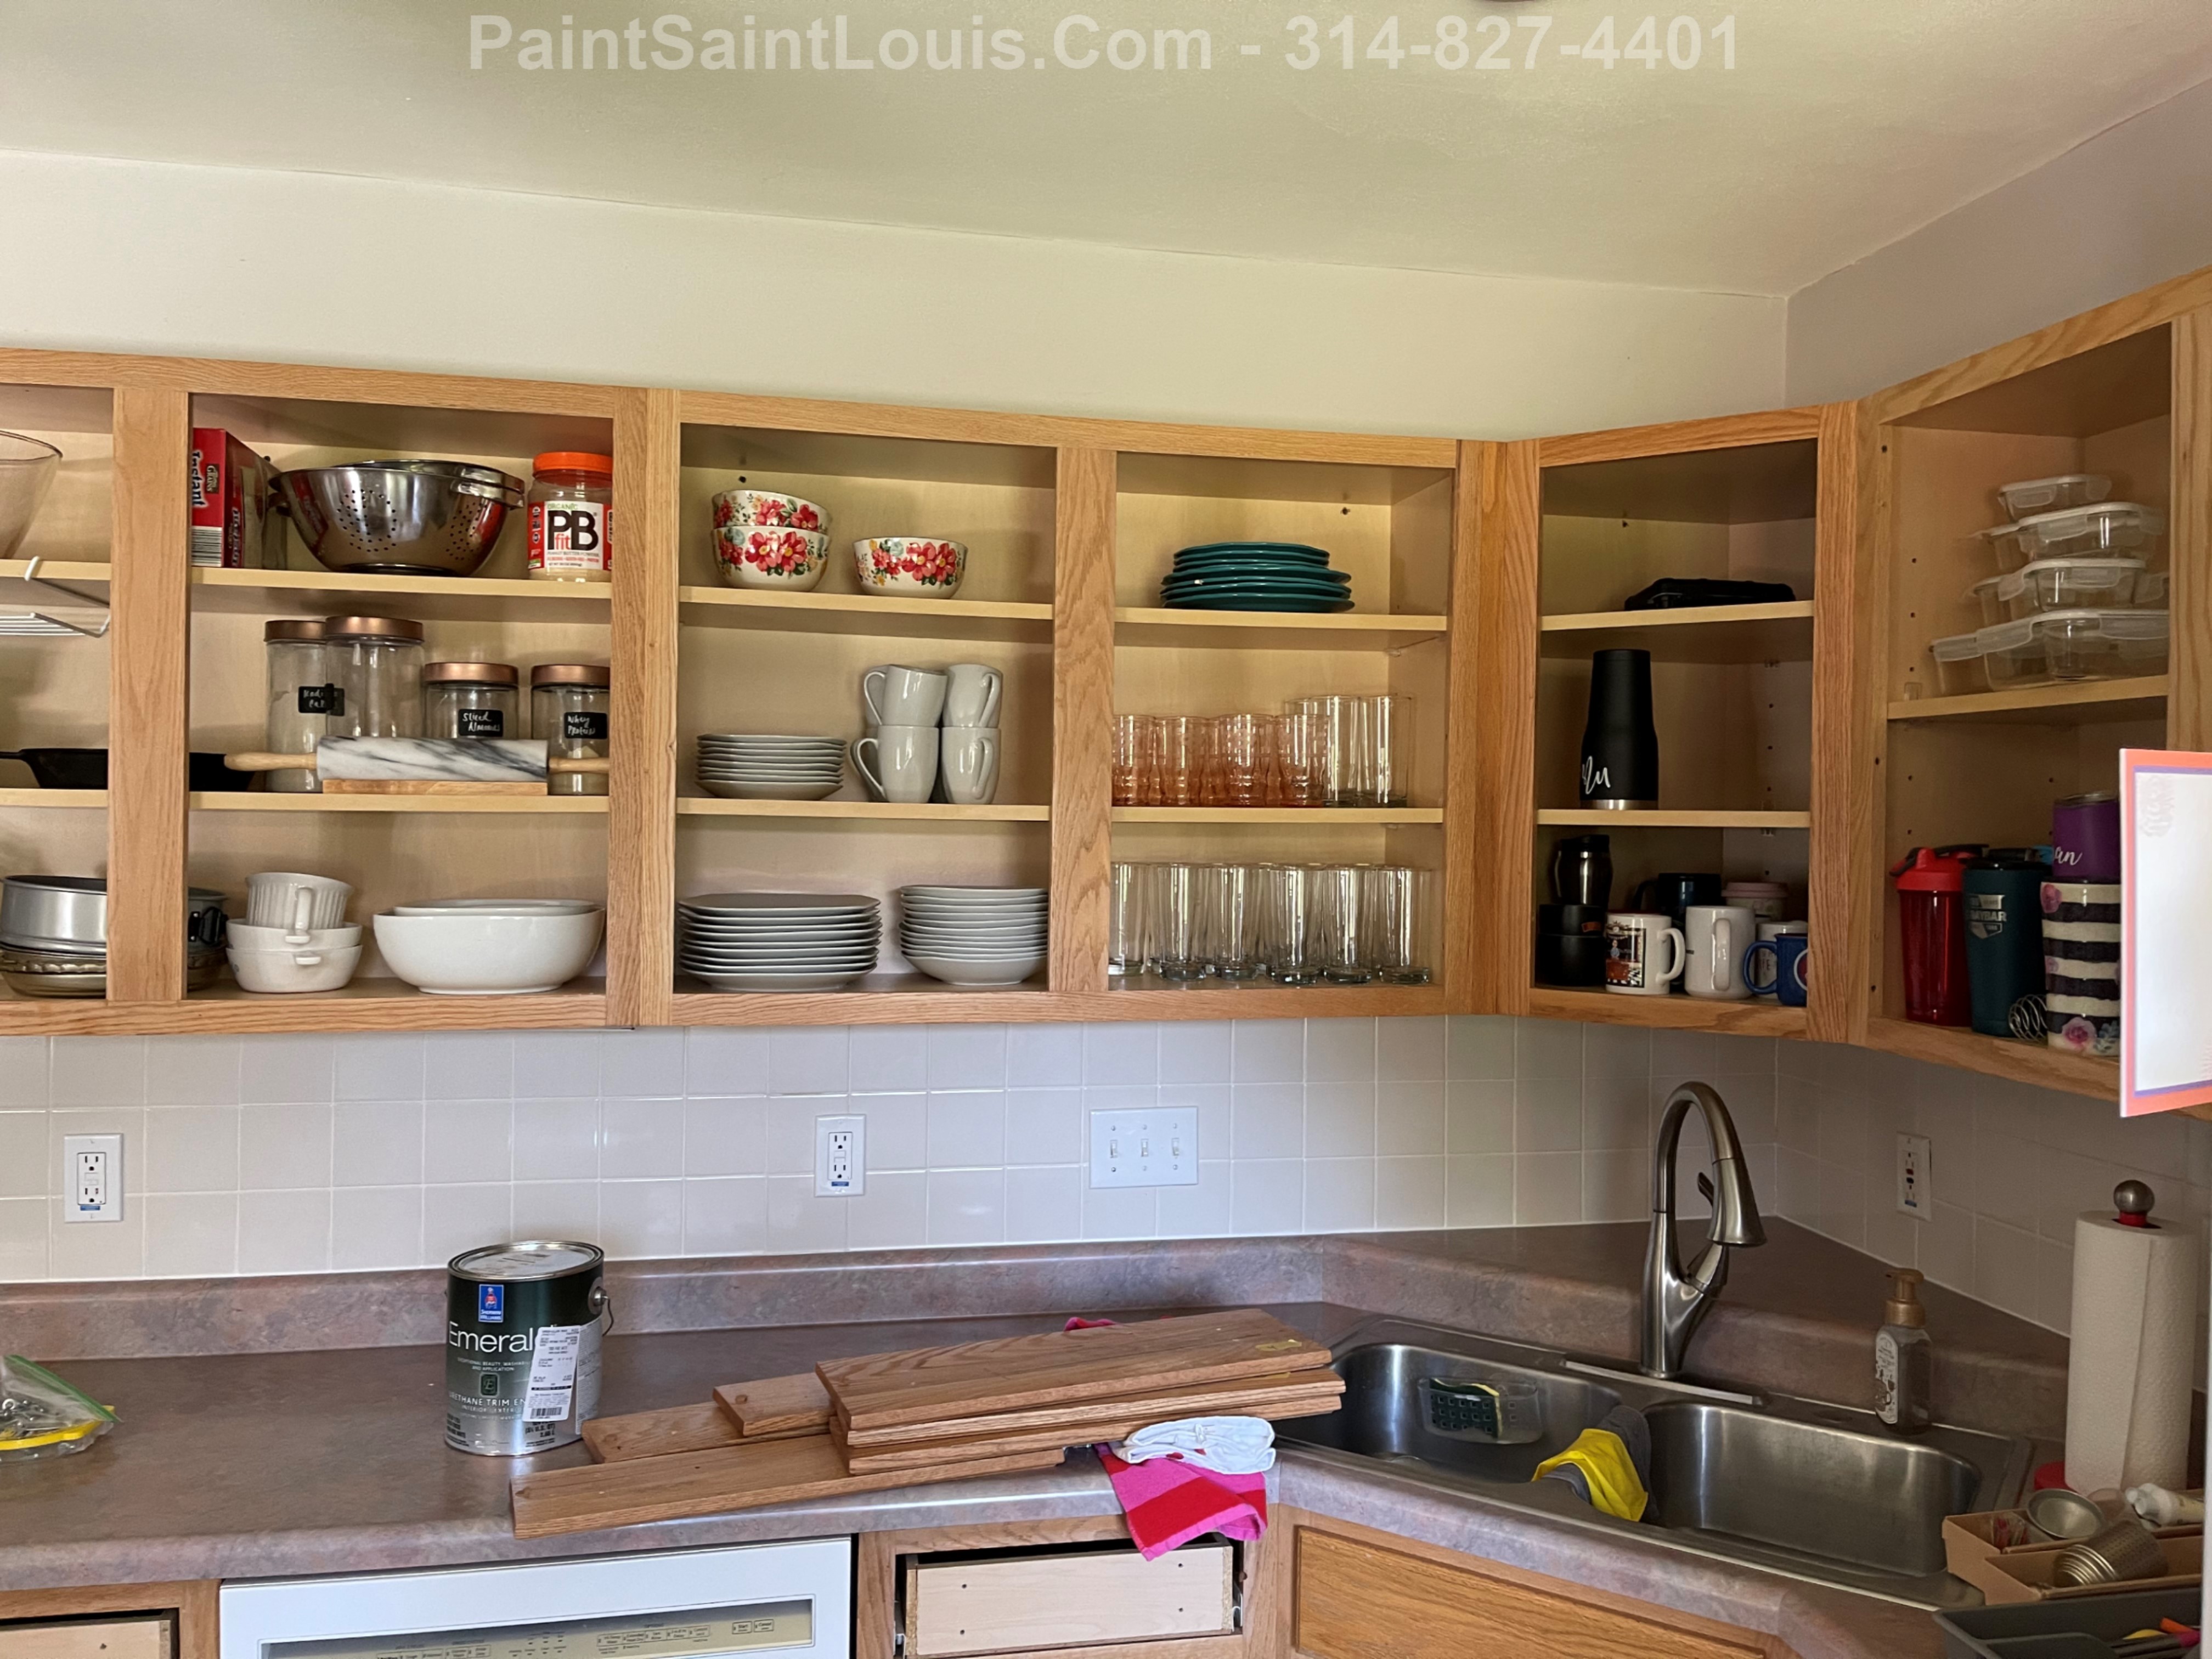
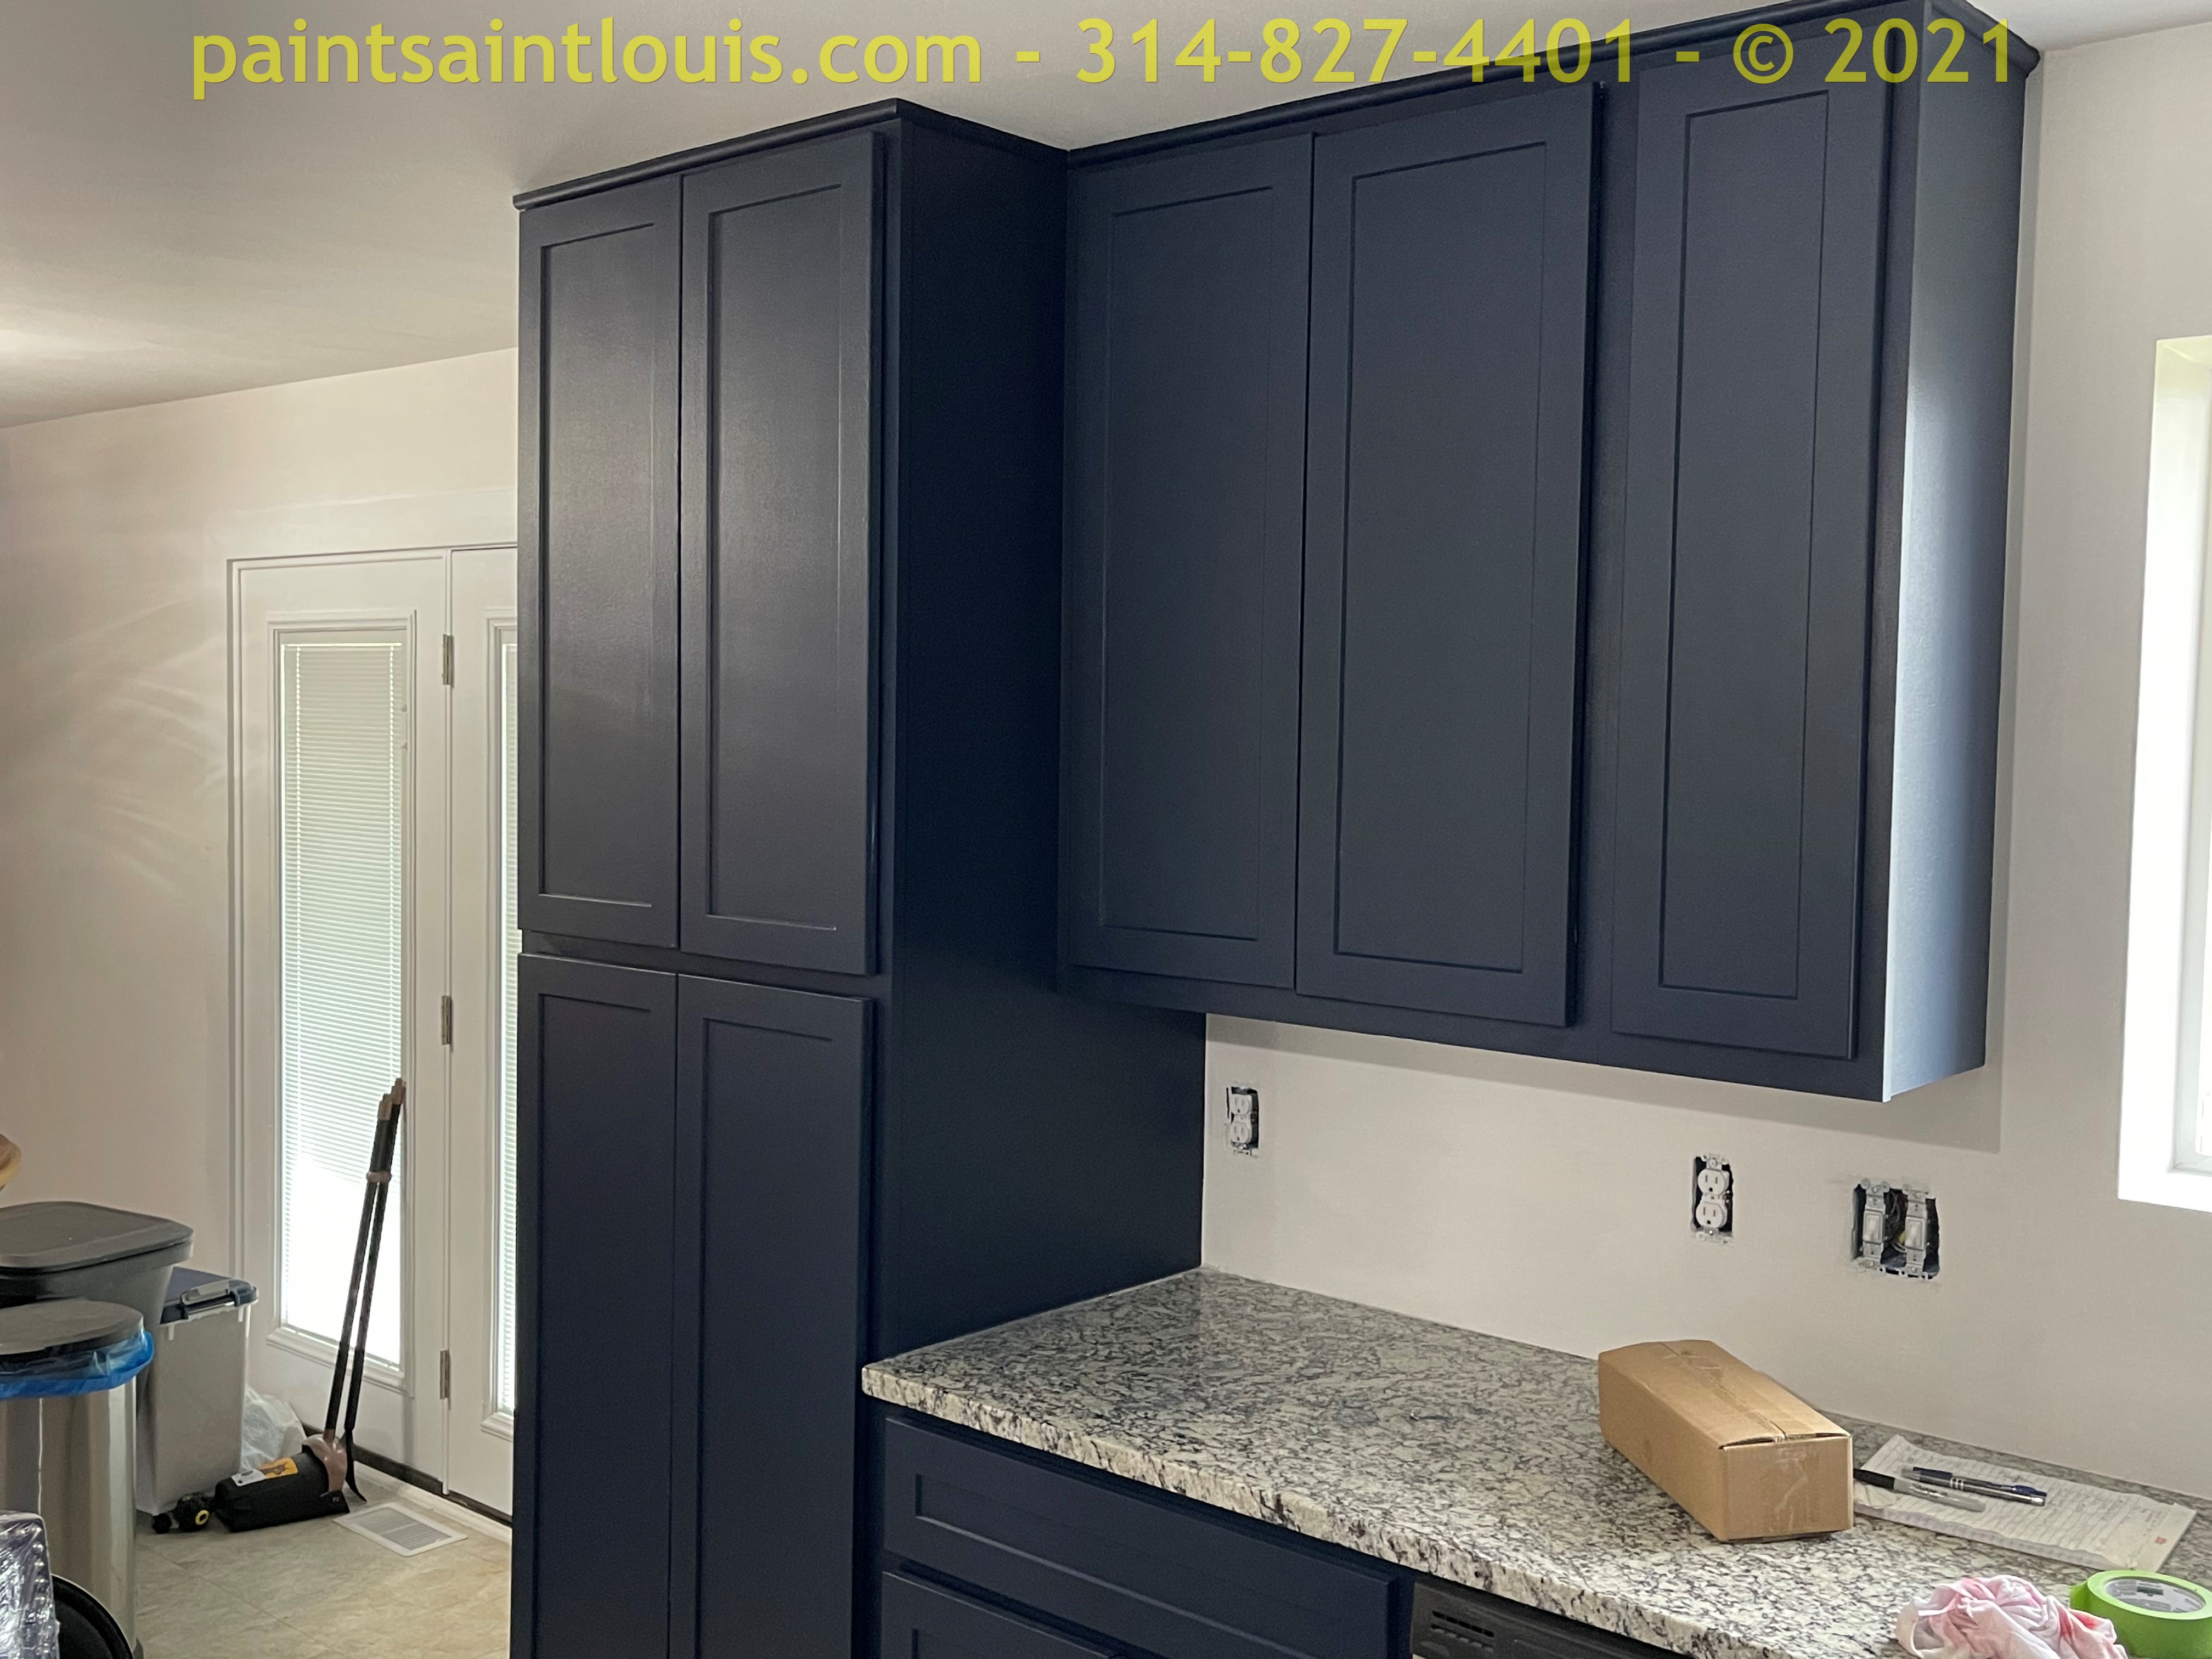
Cabinet repaint in De Soto, MO. These are always fun transformations.. in this case taking medium depth stained wood cabinets to a nice fresh white surface. As is the normal process for these we pulled all the doors and drawer panels, did a degloss, applied the usual primer and then applied three topcoats of Emerald urethane enamel. Let them dry over the weekend and remounted them. Since this paint has an amazing leveling ability this was done with a brush and a special super smooth small roller – nothing was sprayed. If you are thinking of refreshing the look of your kitchen and want painted cabinets give us a call to discuss. There are literally over a thousand colors to choose from as almost any color you could paint on a wall can be done with cabinets and some customers are opting for a tuxedo style paint which is a different color on the upper and lower cabinets.
https://paintsaintlouis.com/cabinet-painting-stained-woodwork/


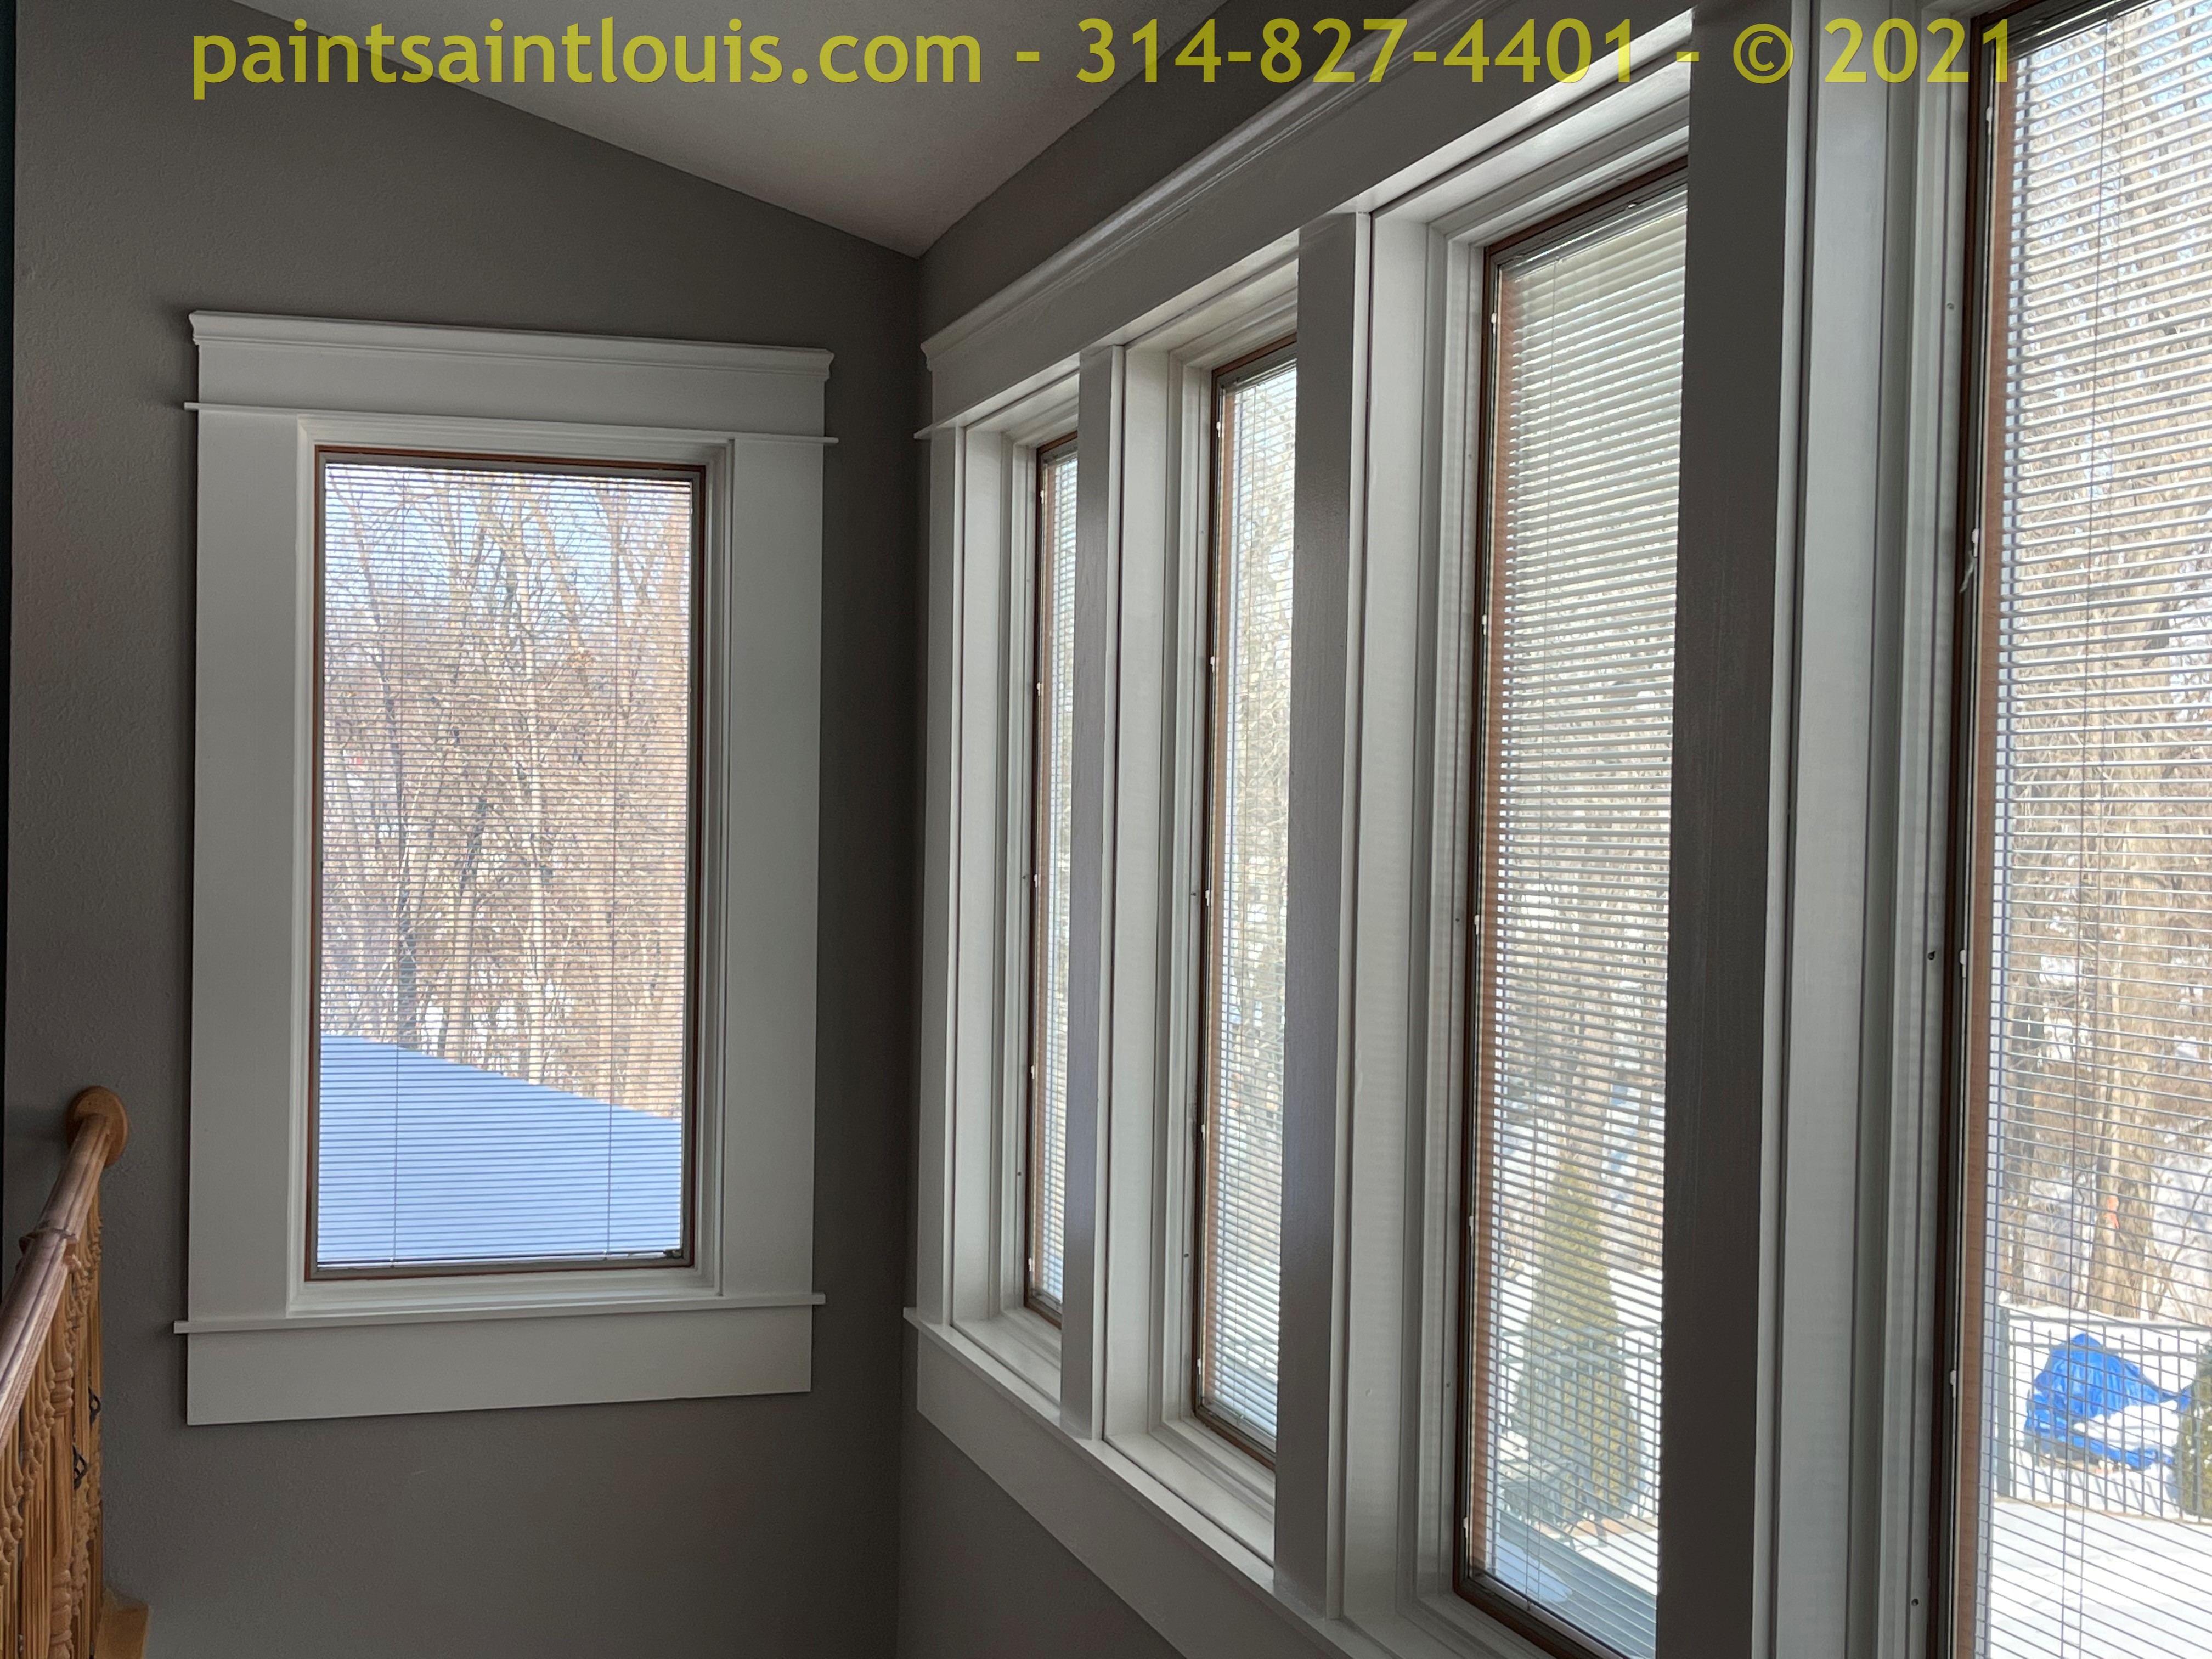
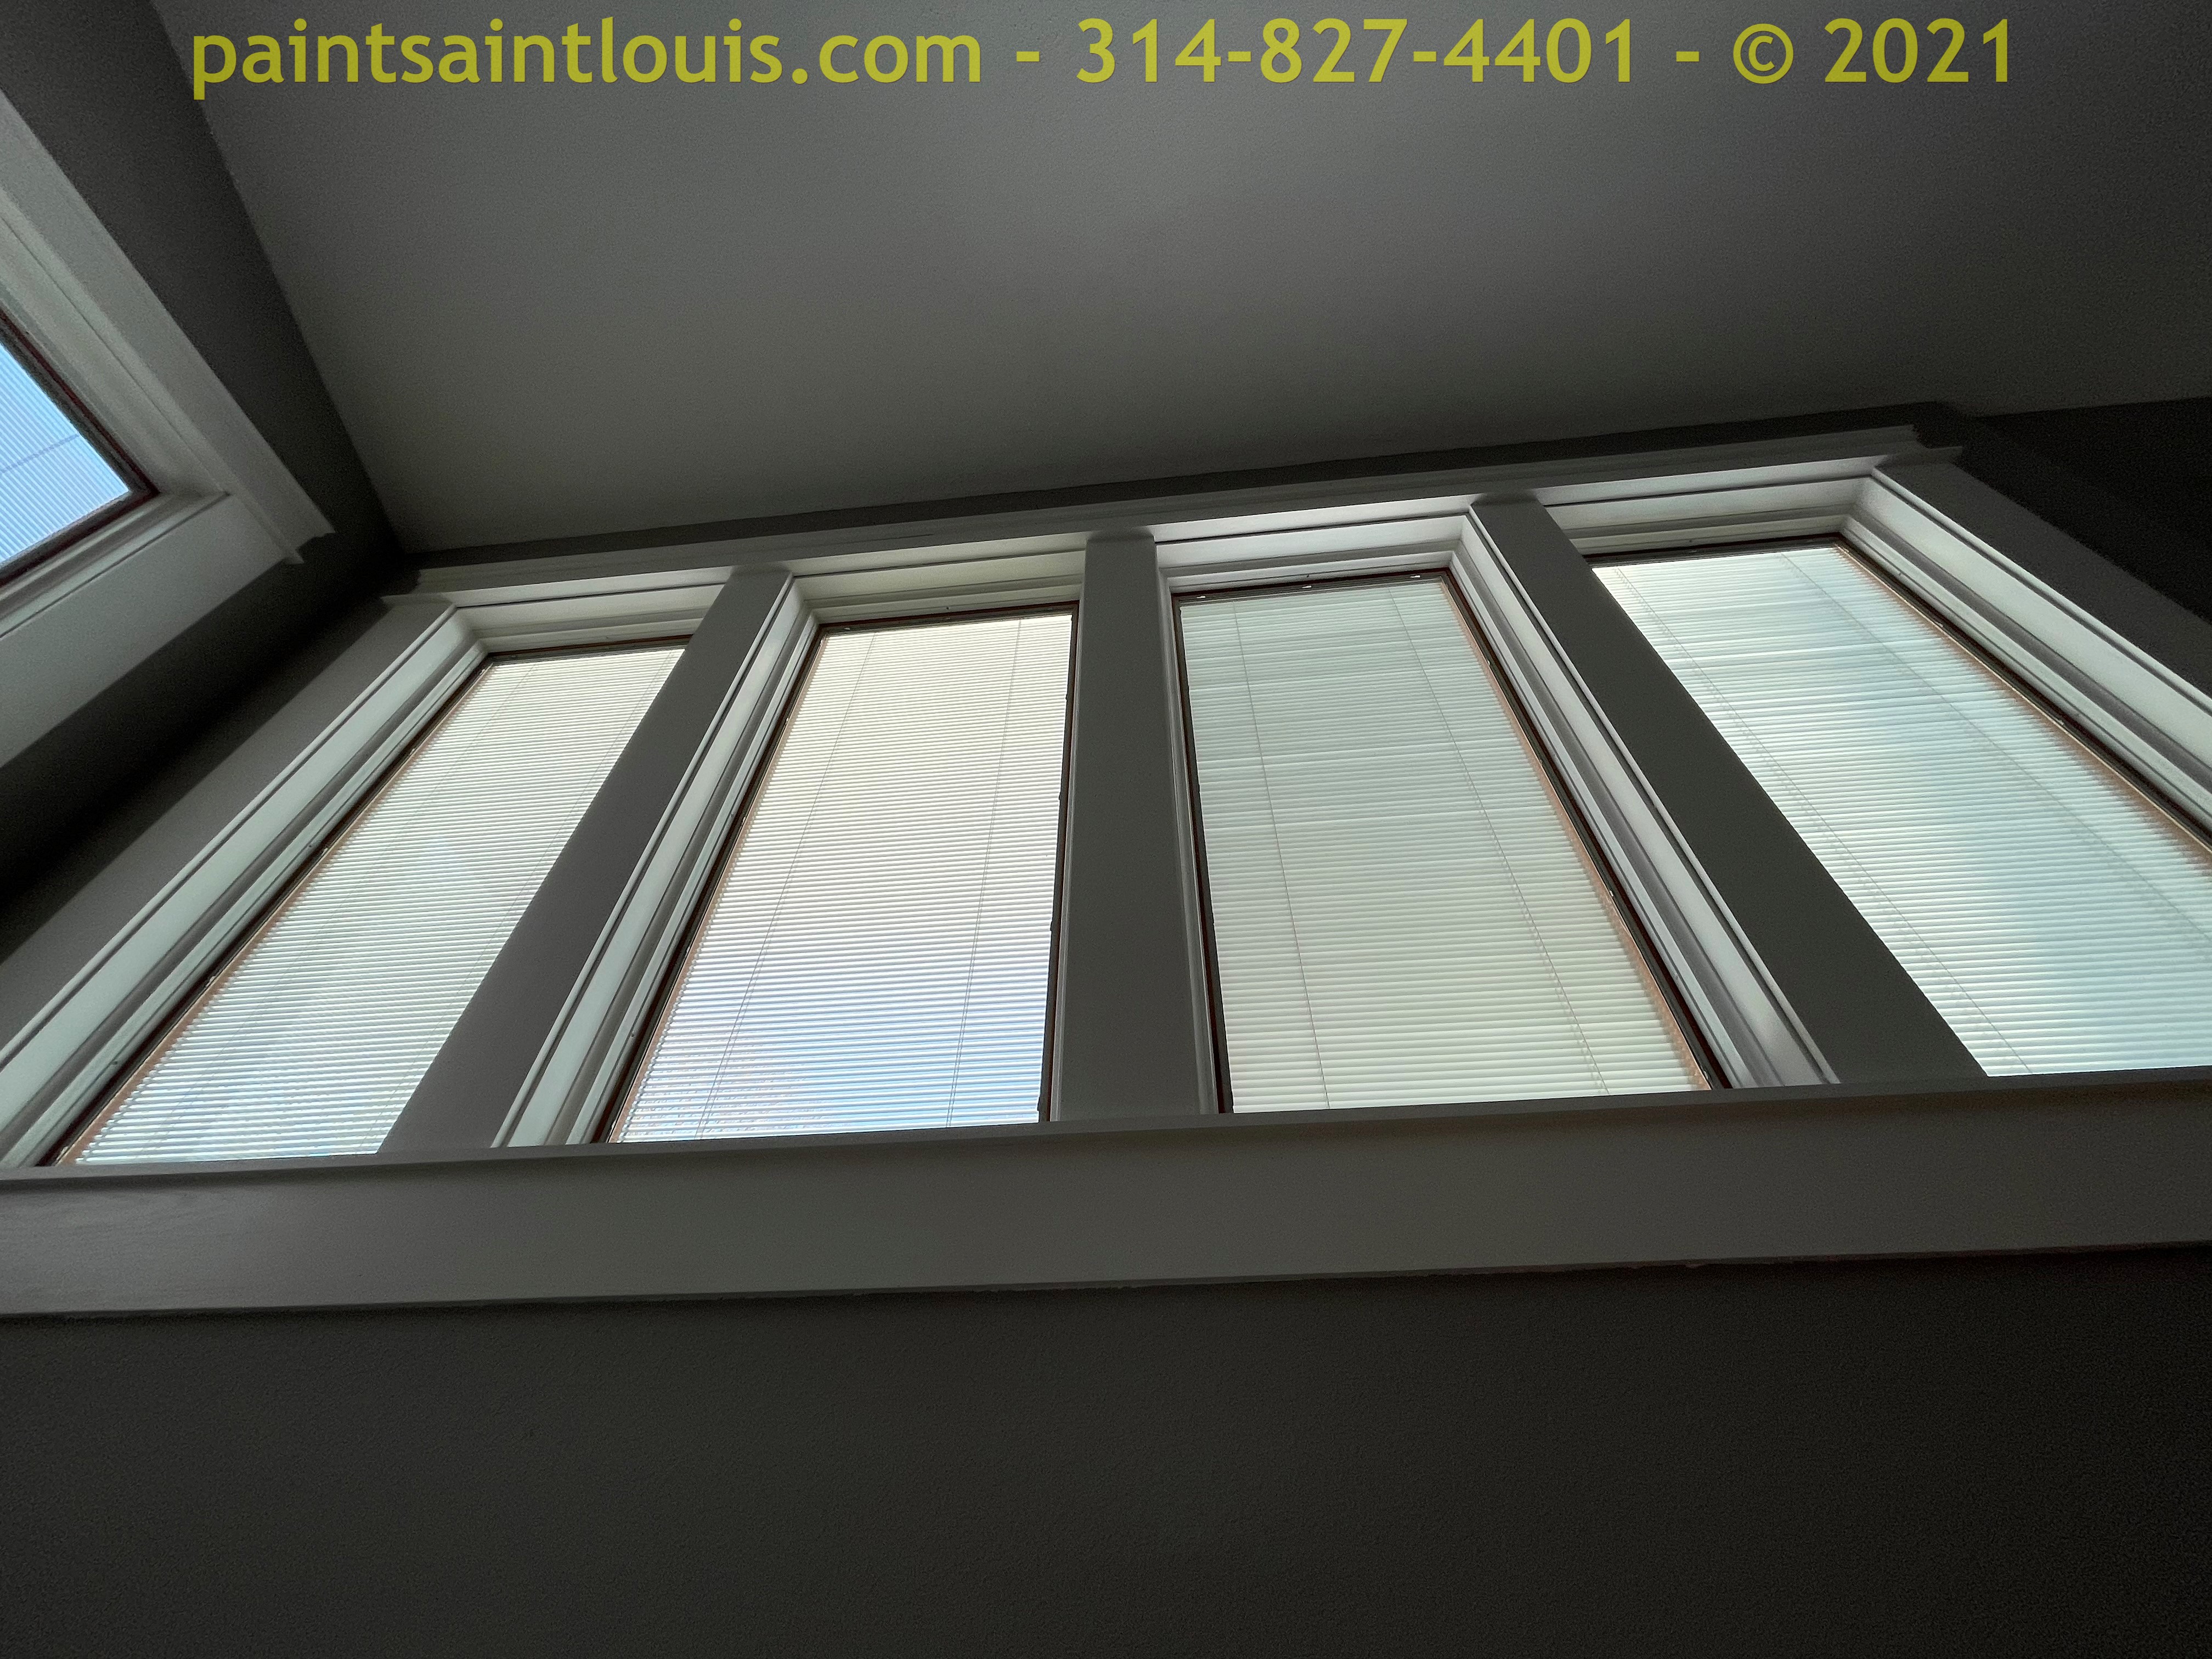
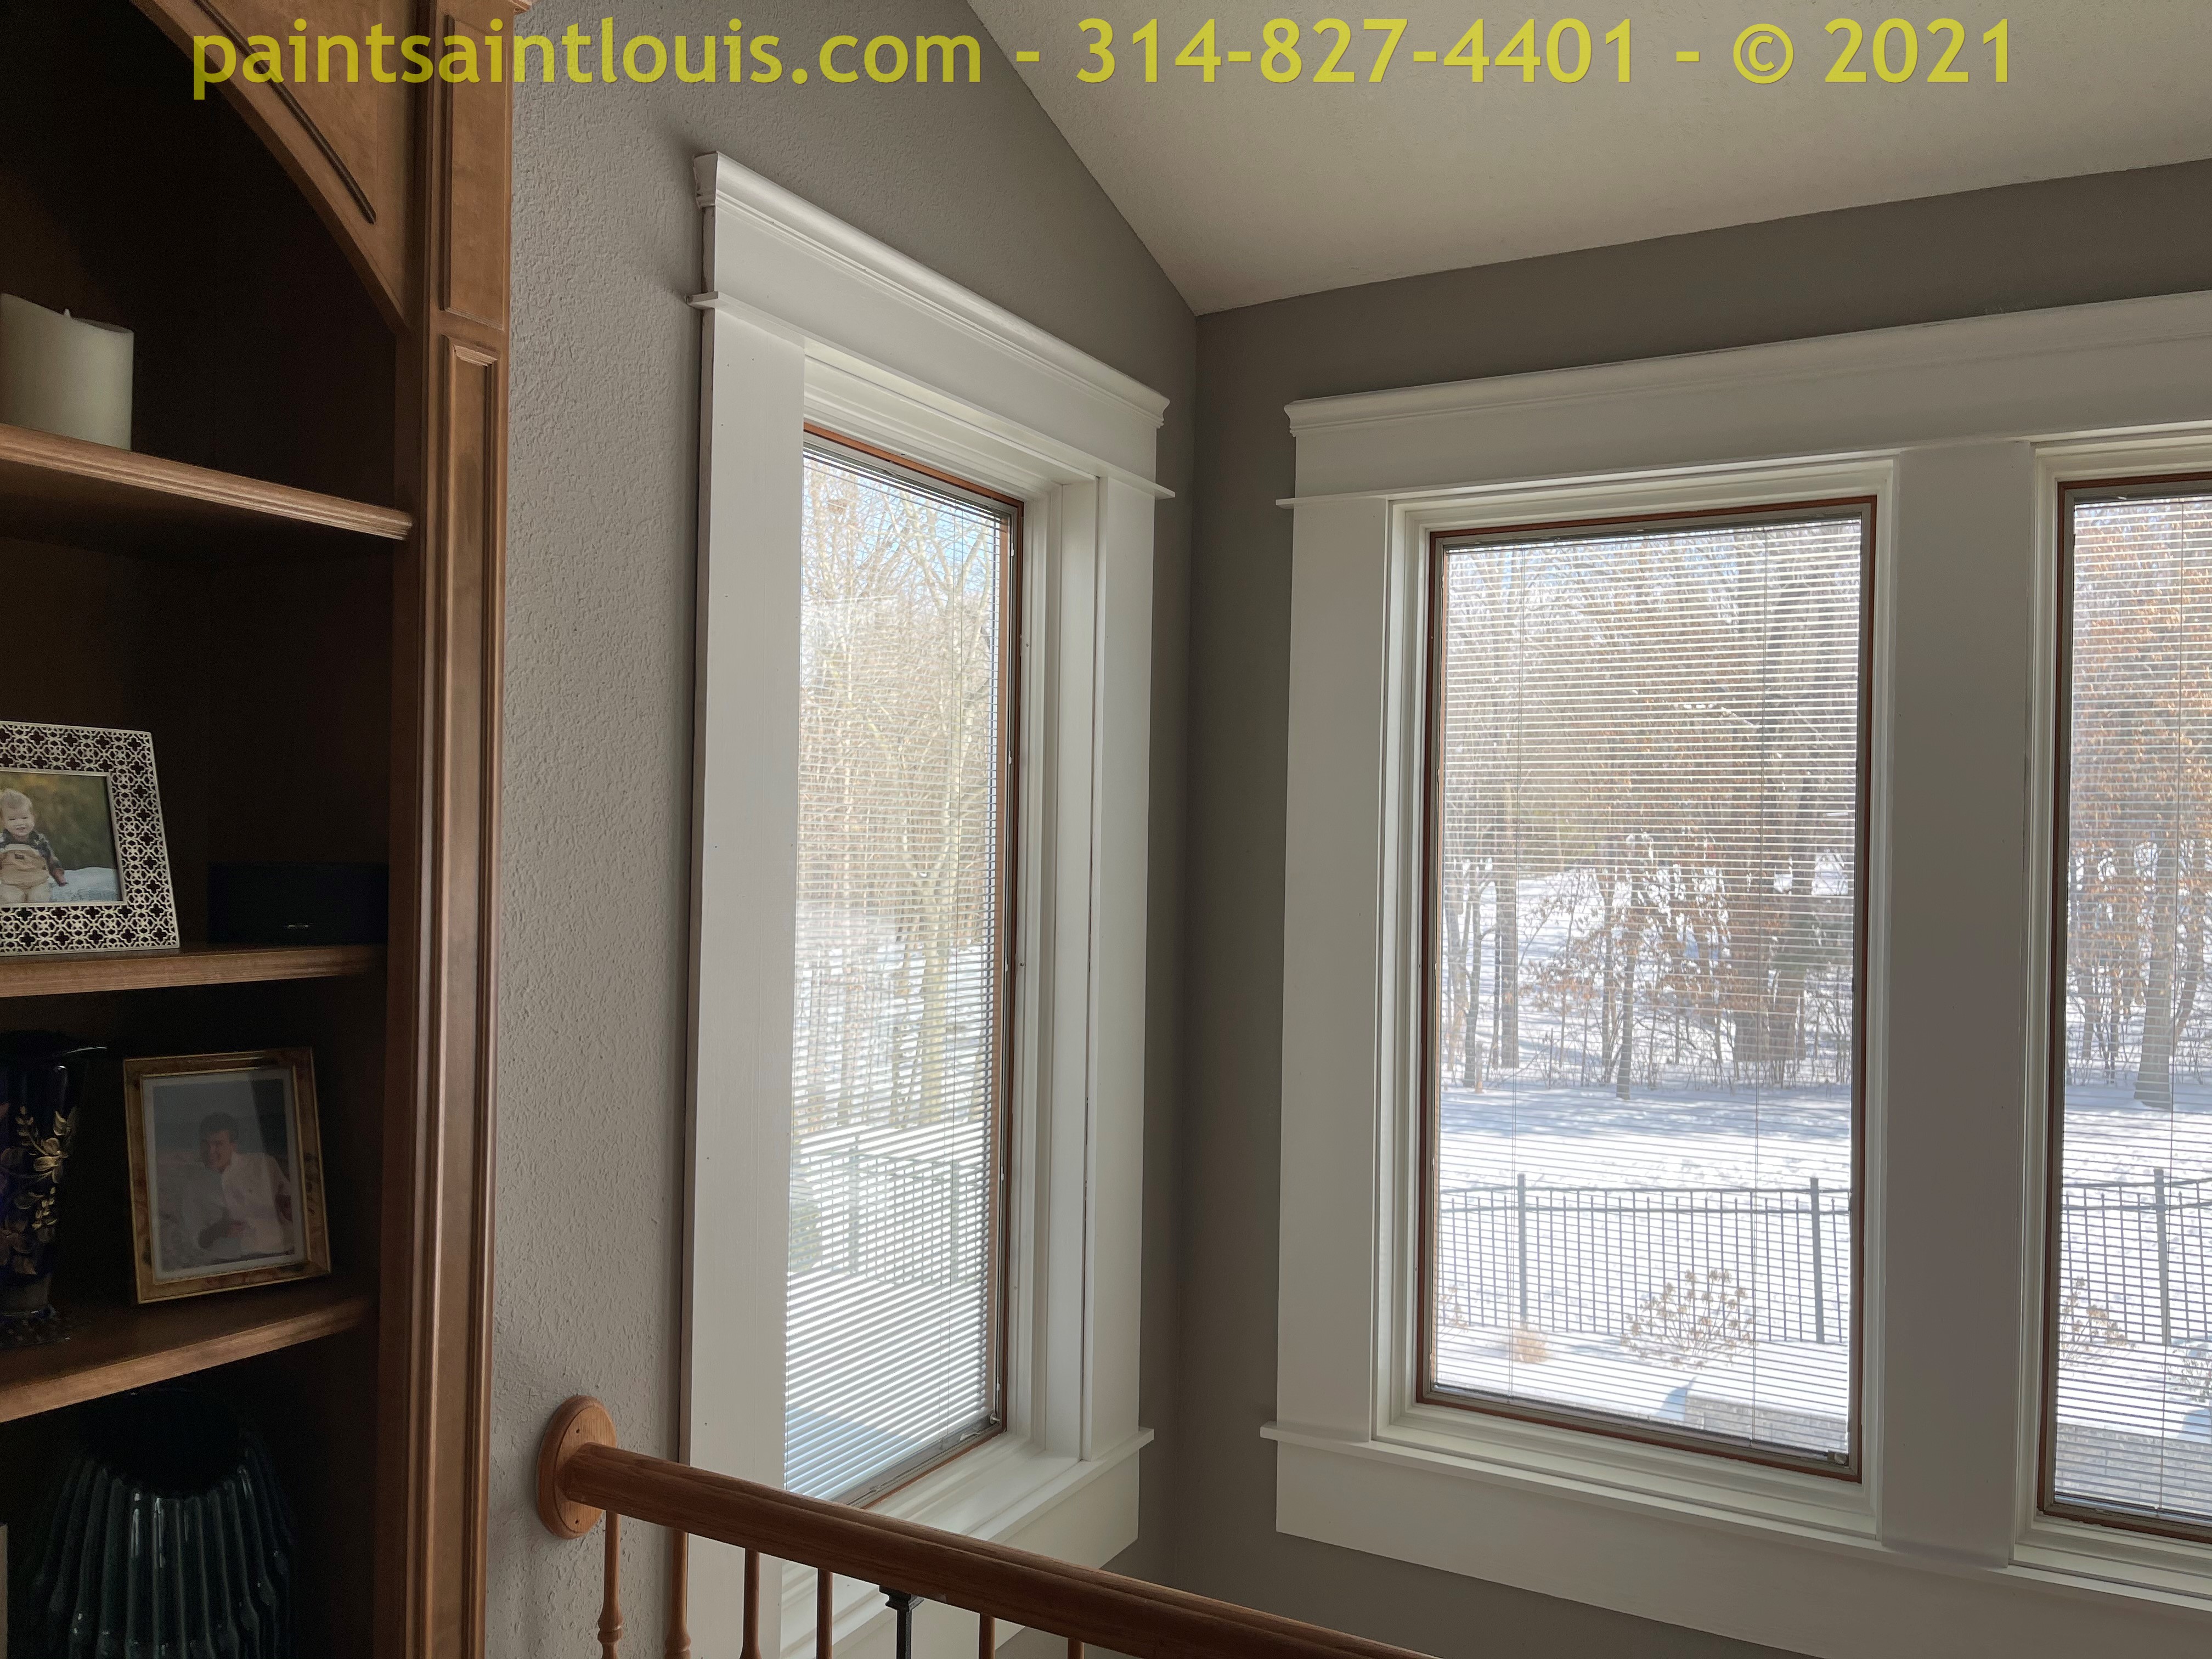
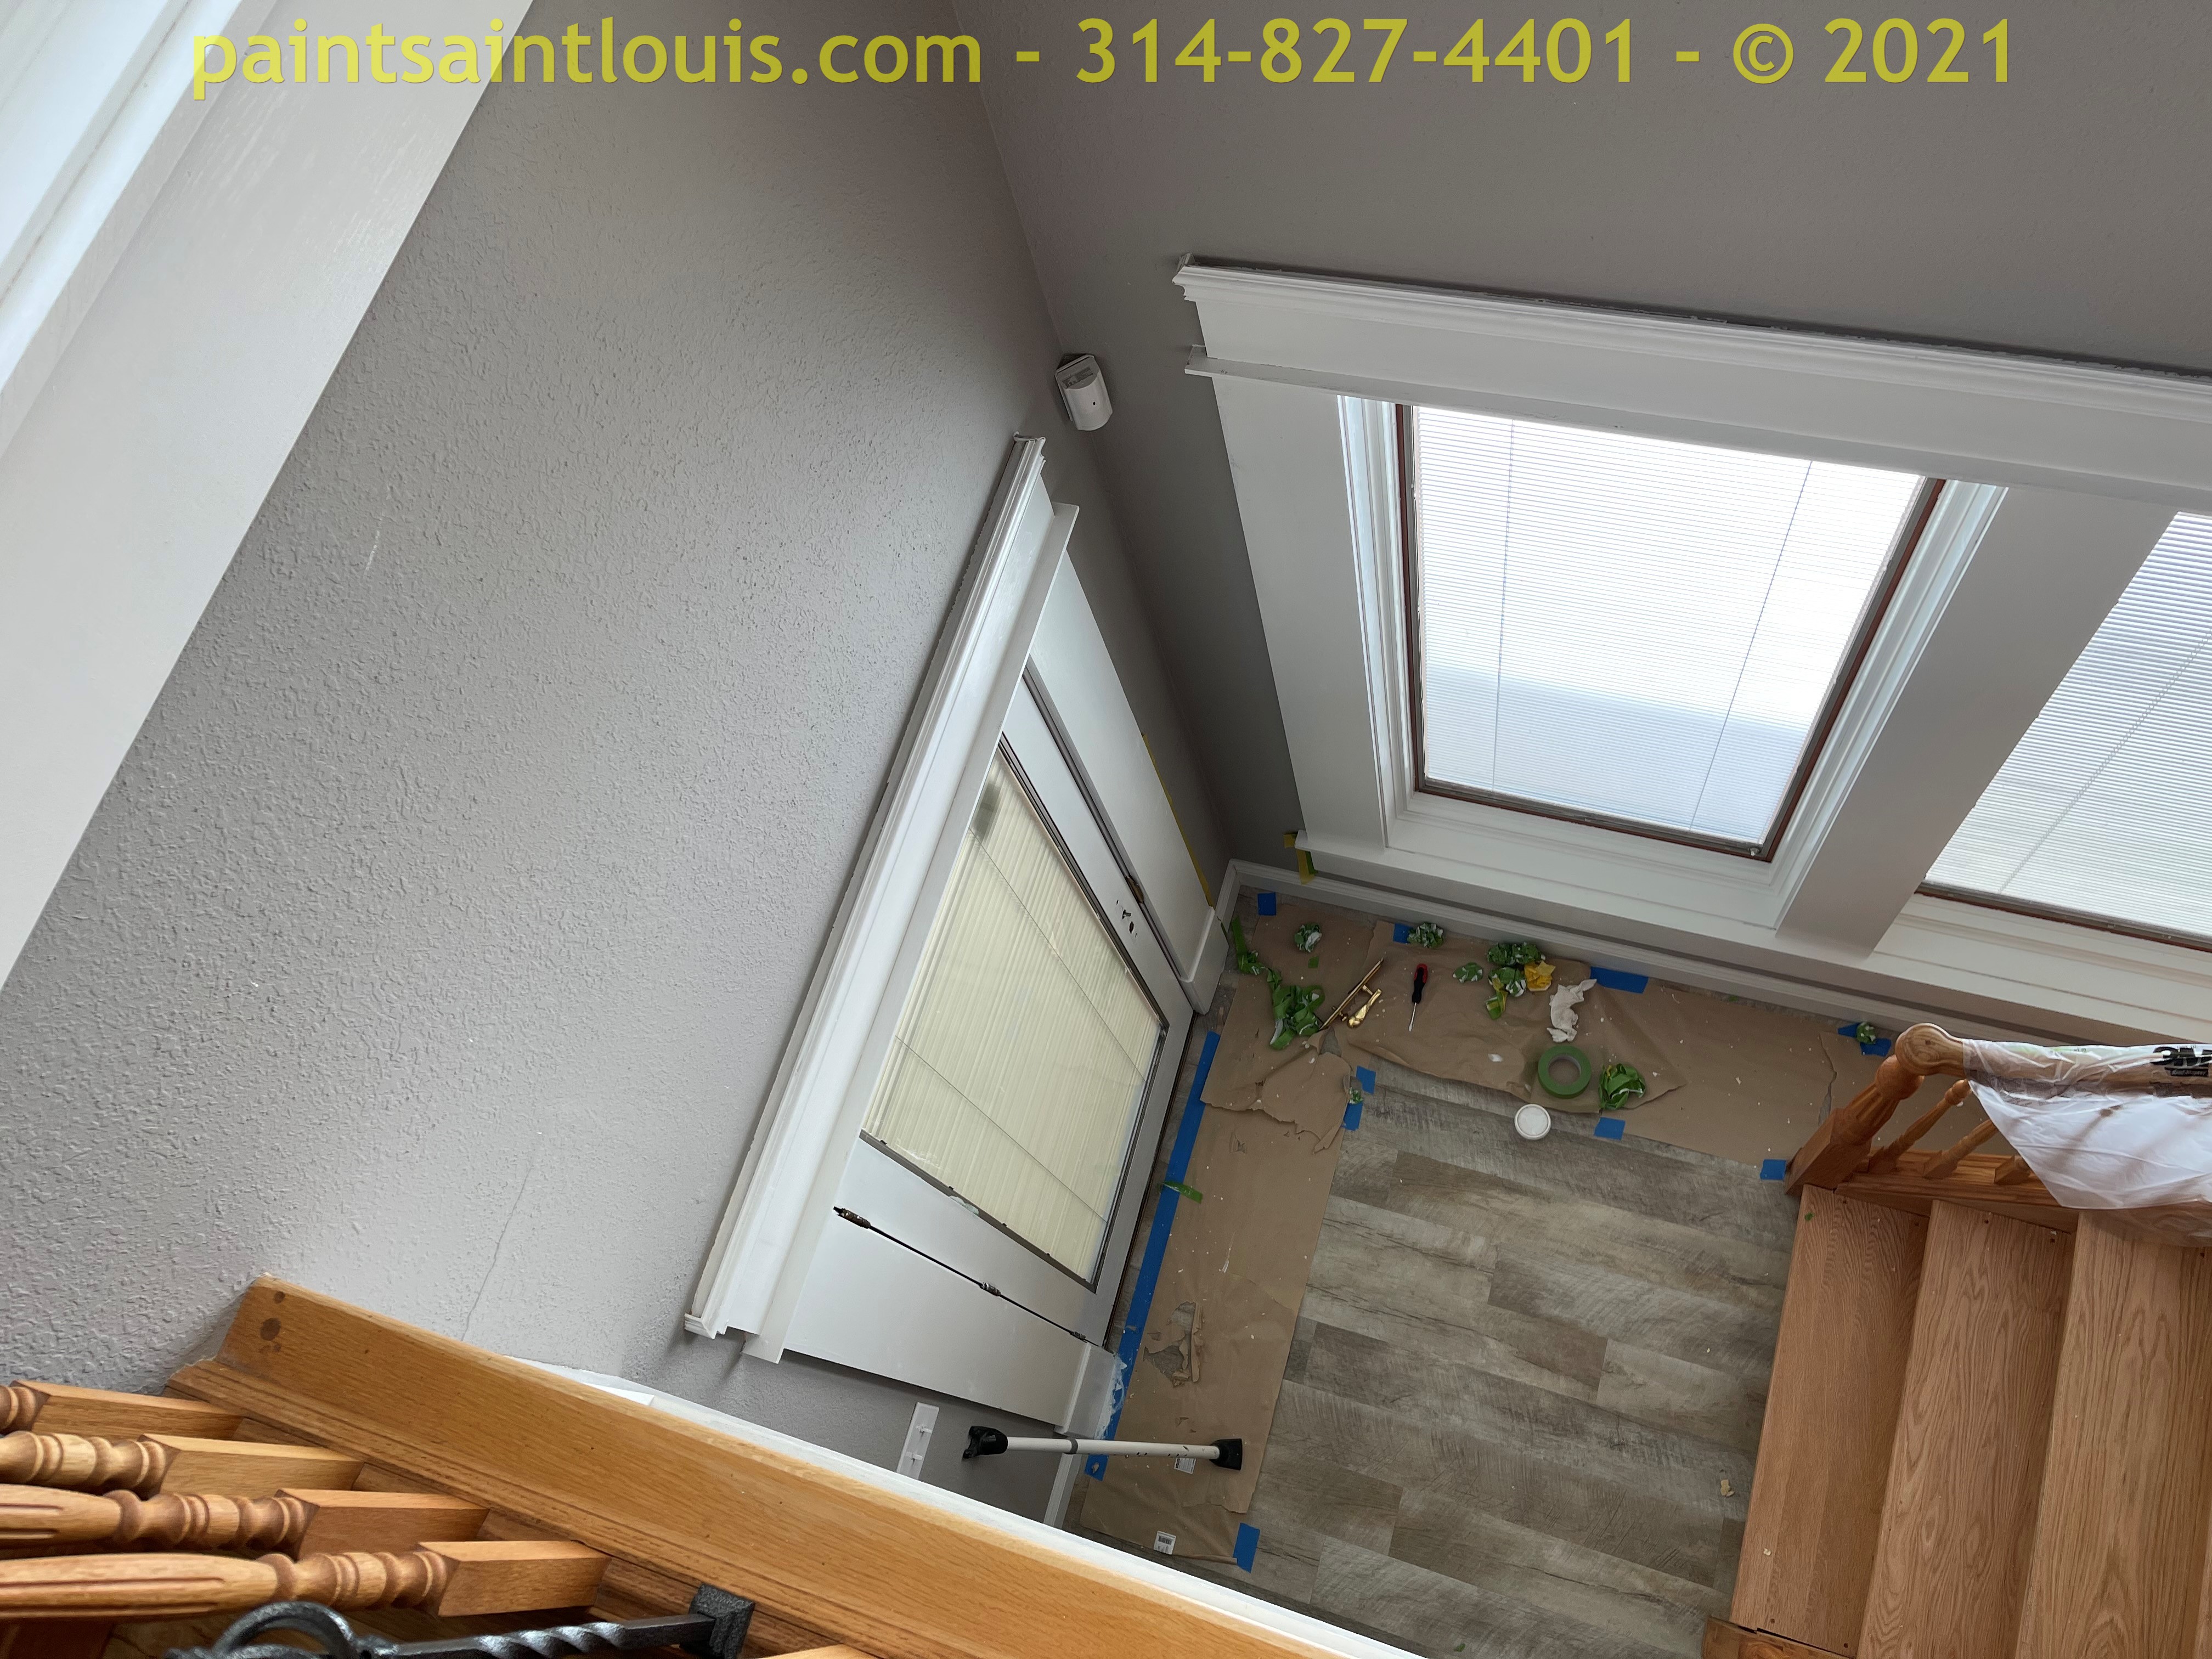
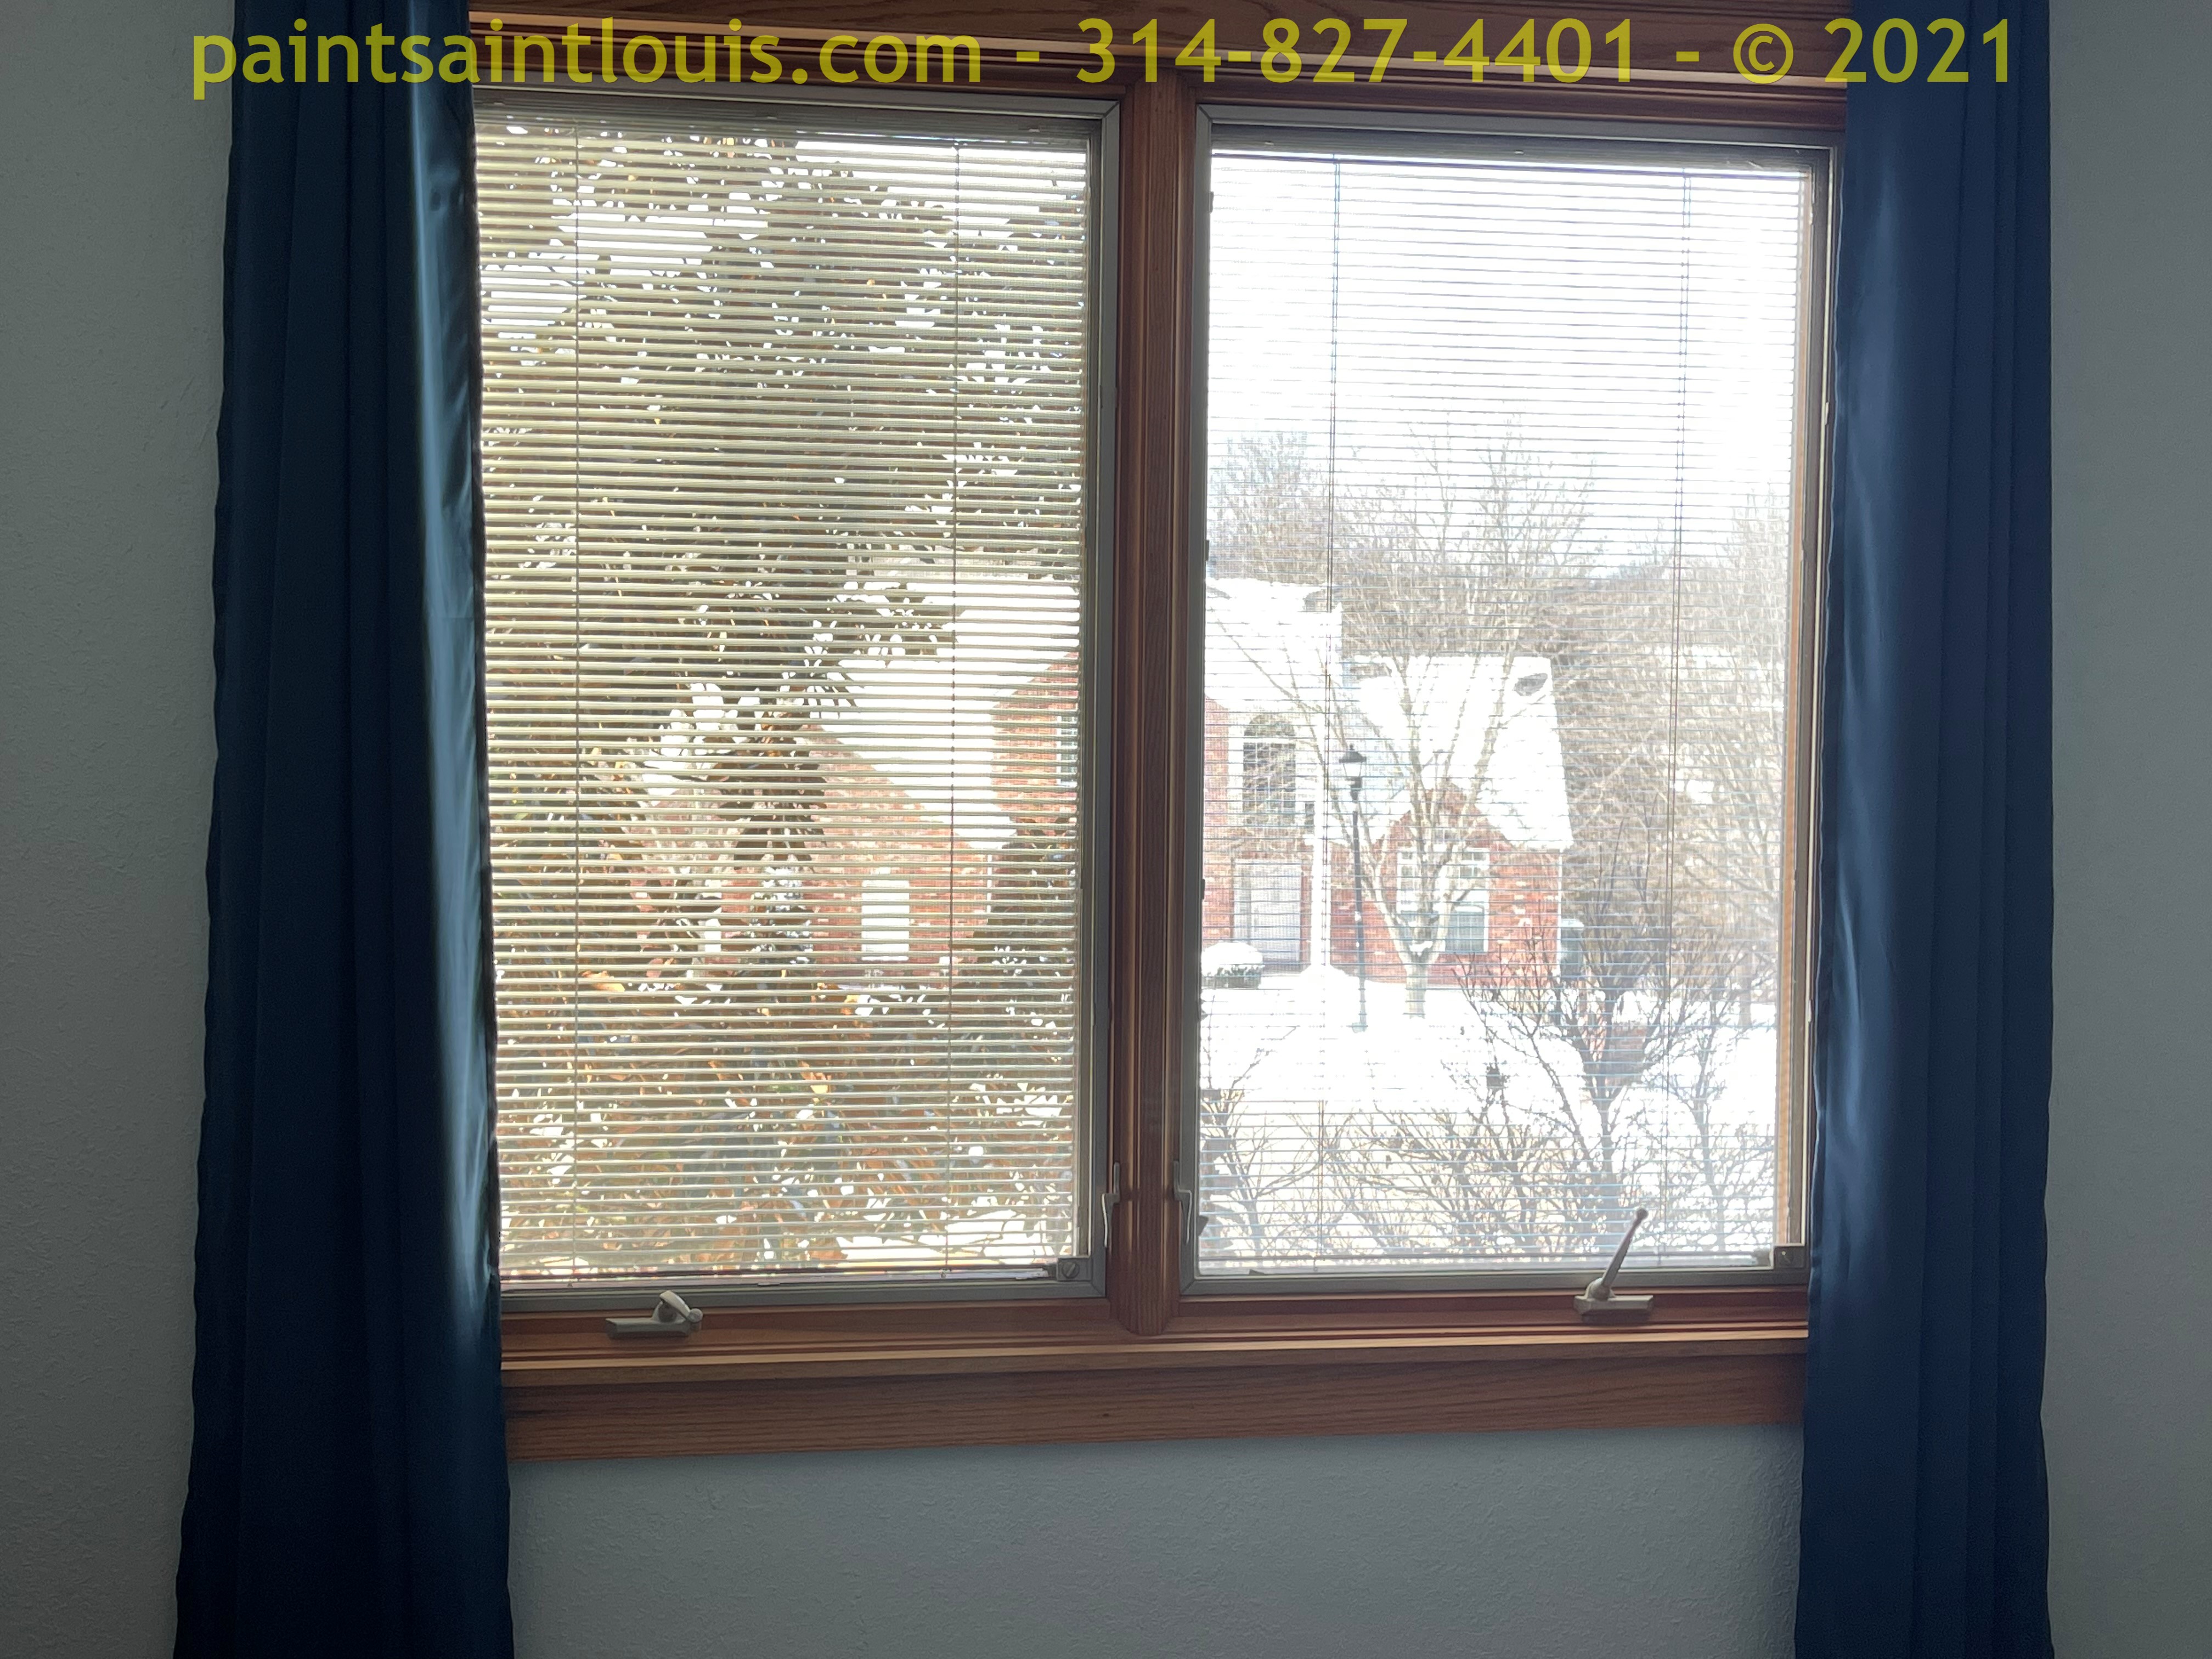
Fenton, MO – Took wood to a painted surface on this two story atrium. Windows and frames were primed then three coats of paint supplied.
The walls were *not* painted. The final picture is what the original woodwork looked in another room which may be painted later.


Following a slow but proven process will give your cabinets a new look and life and the finish will last for years to come and when combined with upgraded hardware you can enjoy the look of new cabinets for a fraction of the cost you would spend replacing them.
Unfortunately for homeowners, the cost of cabinet painting is not as straightforward as one might expect. Popular websites that quote the cost of cabinet painting tend to be all over the map at best, and inaccurate at worst. For example, Thumbtack quotes a price range of $1,200 to $7,000. Similarly, Angie’s List provides a range of $1,200 to $6,000. However, for many cabinet painting jobs, the lower end of this range would barely cover the cost of a quality paint, primer, and necessary sundries. HomeAdvisor presents a much narrower price range, $1,662 to $3,780. With all of the different information available, it’s easy to see how consumers may become confused.
For most cabinet repaints there is a base price of $900 which is an absolute minimum cost. This is due to the length of time required for our cabinet painting process and even doing a very small set requires the same time span as an average size set. For cabinets we typically start pricing at $75 a door and $25 a drawer which includes a degloss, light sand, bond primer application and up to three coats of enamel urethane paint and is generally a seven to nine day process when done properly.
The price includes what would be considered standard – removing the doors and hardware, one coat of primer on entire door surface, facing, sides and any exposed backs of cabinet boxes and the front plate of drawers and under sink plates then applying up to three coats of top coat, remounting the hardware and rehanging the doors then checking for any needed touchups. It does NOT include the cost of paint or primer however material costs on most cabinet repaint jobs will usually end up in the $100 range.
For more information on cabinet painting: https://paintsaintlouis.com/cabinet-painting-stained-woodwork/
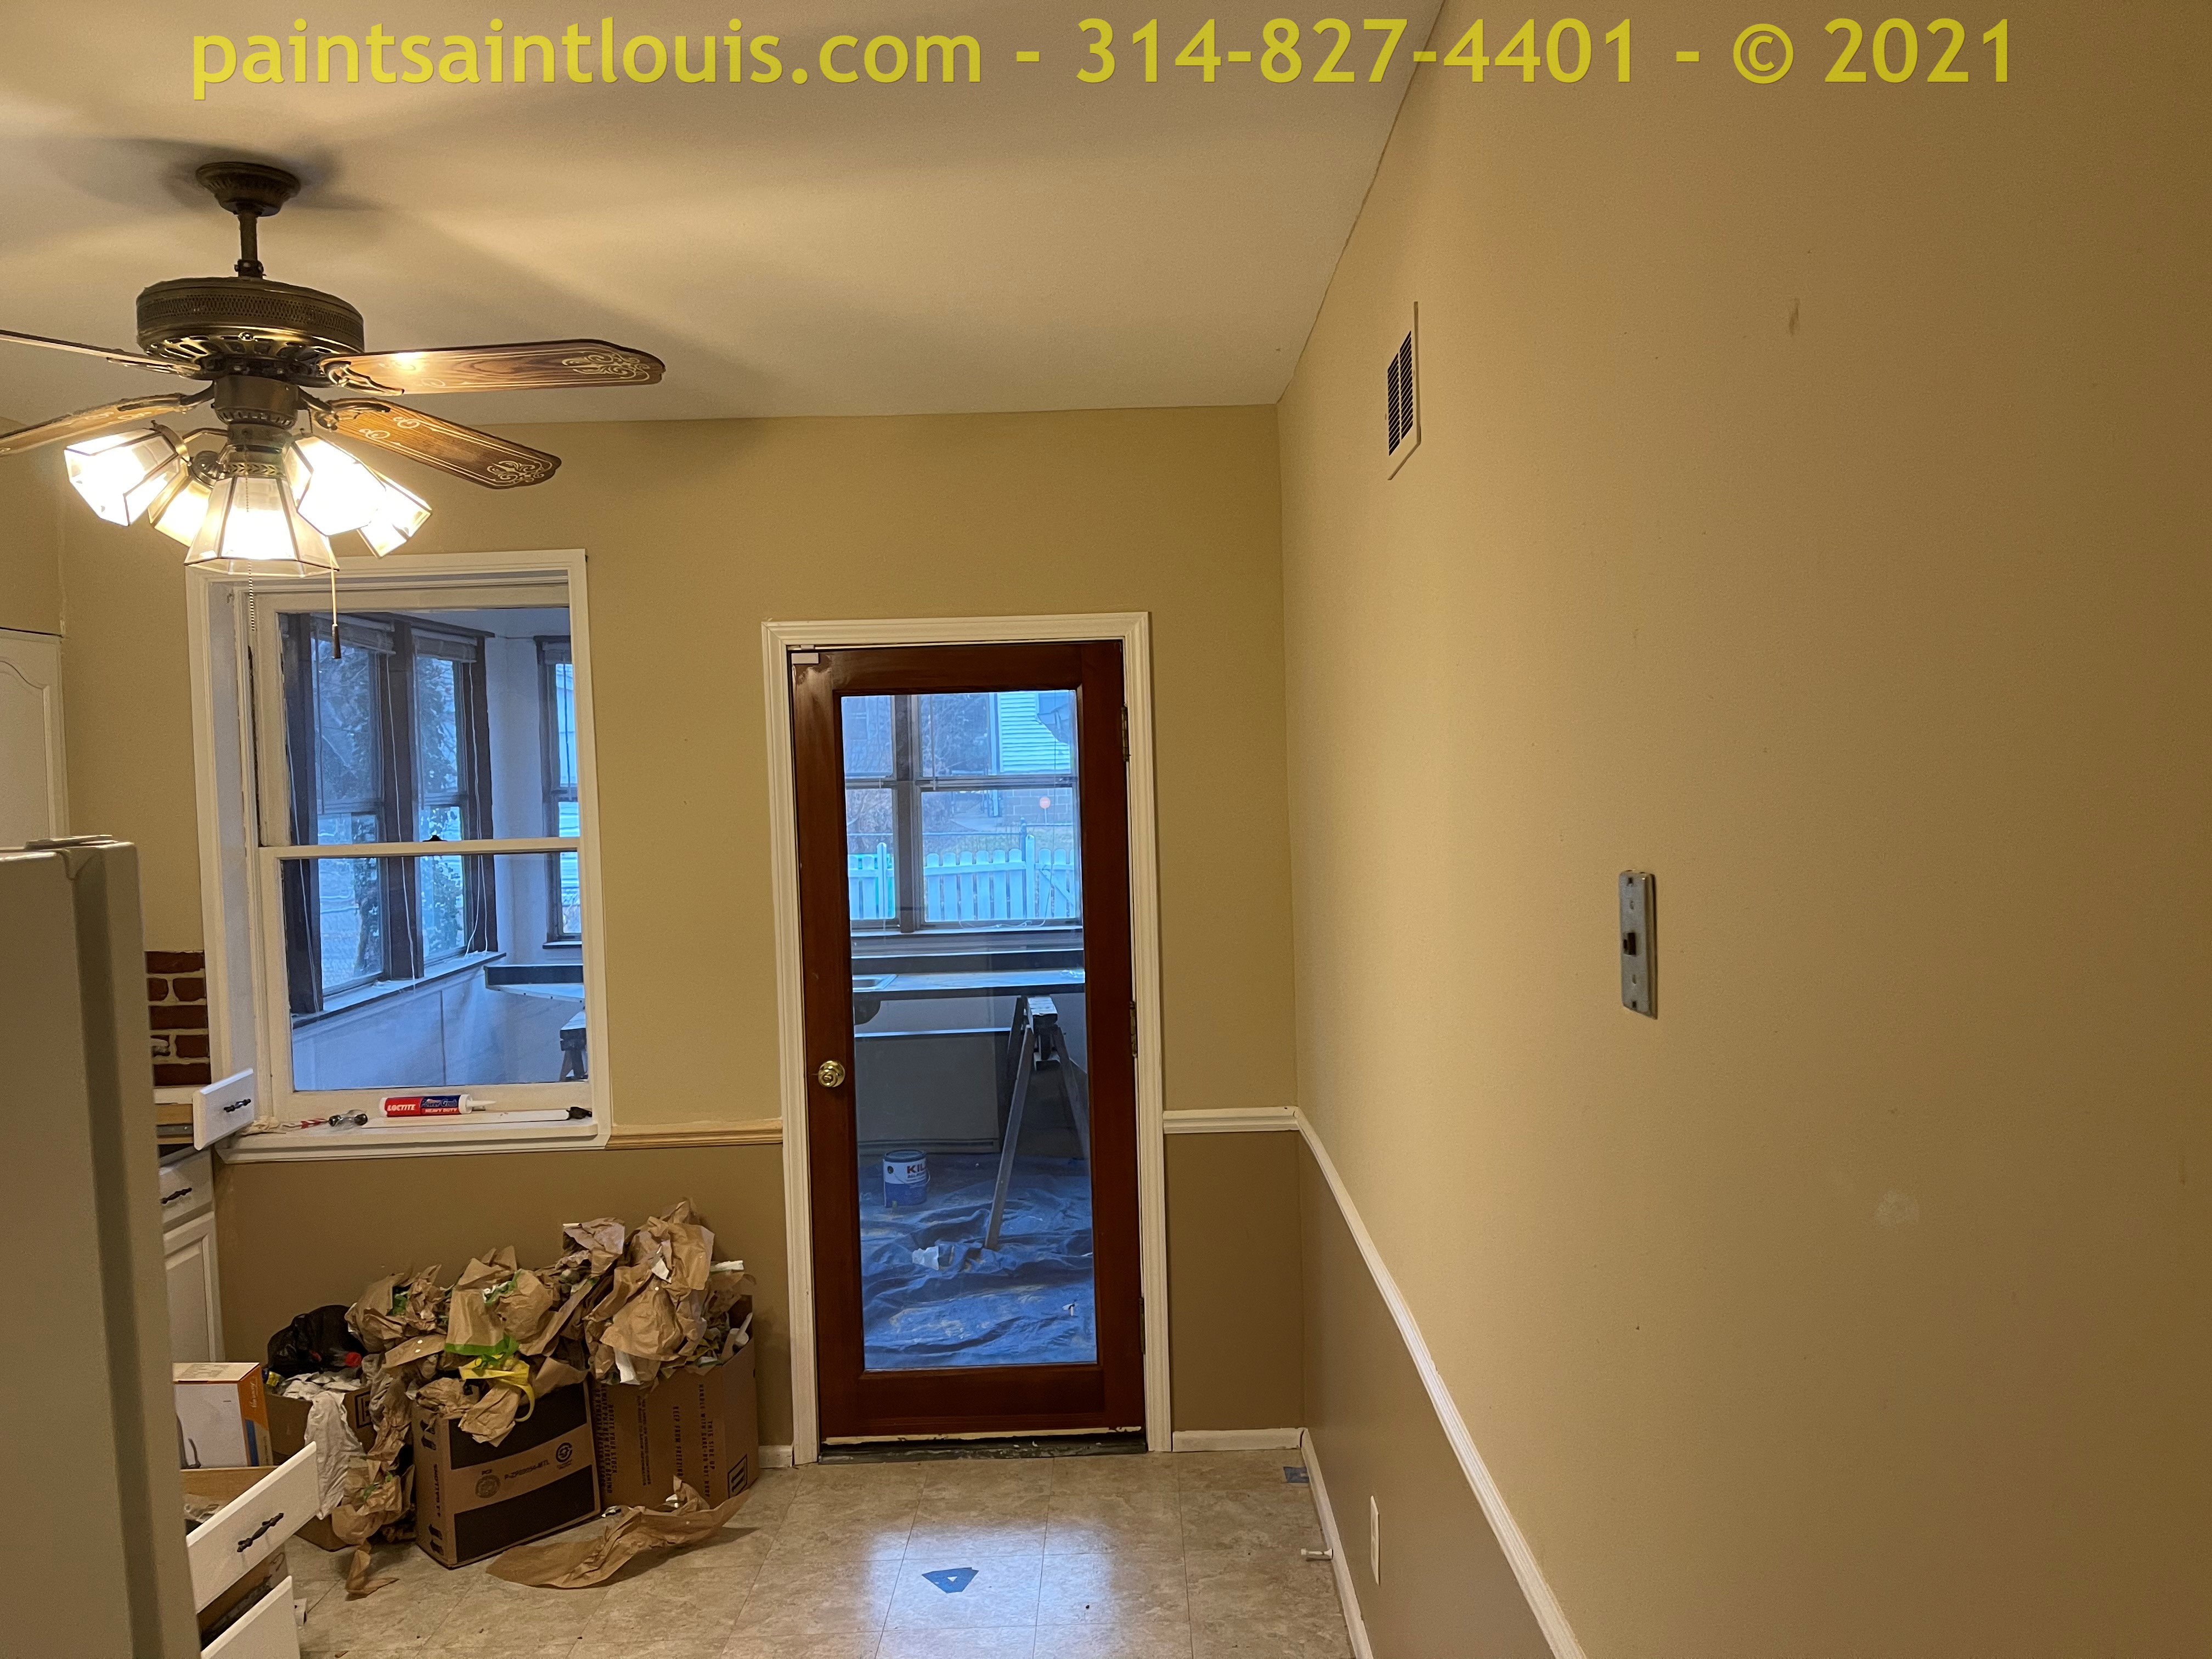
Interior Painting in St. Louis Hills.