Portfolio

IMG_0860.jpg

OFallon (MO) – January 2021

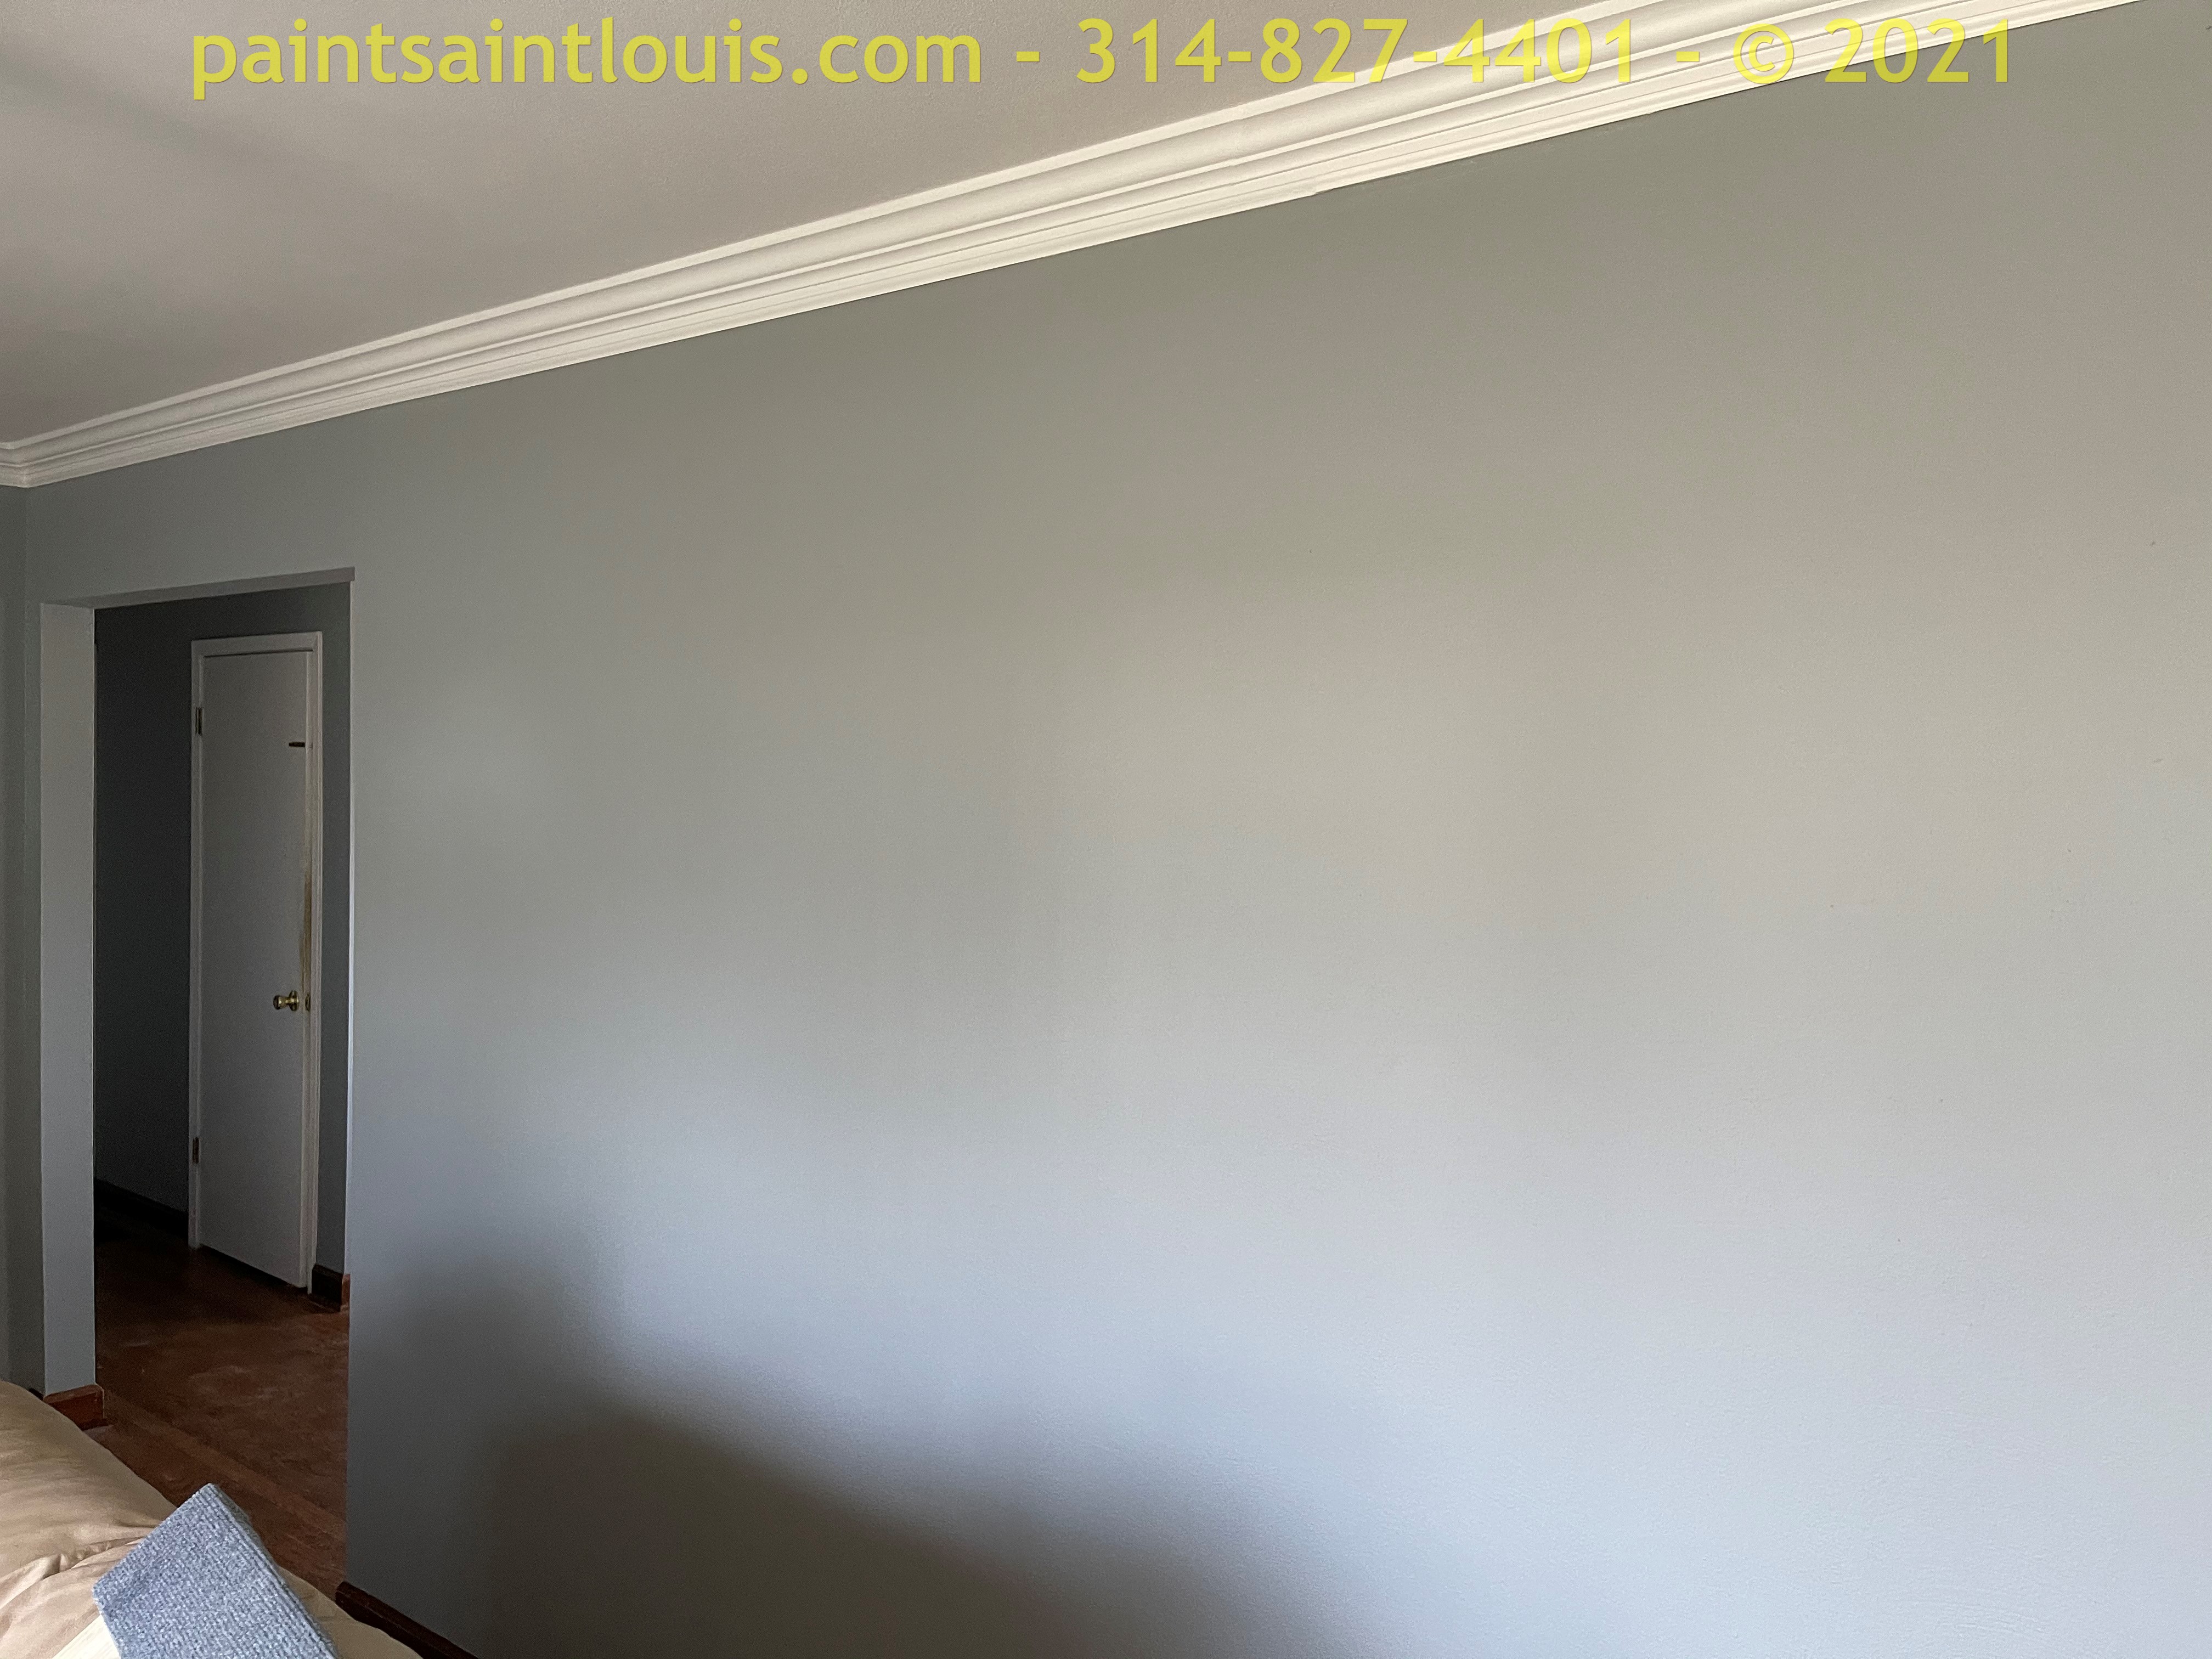
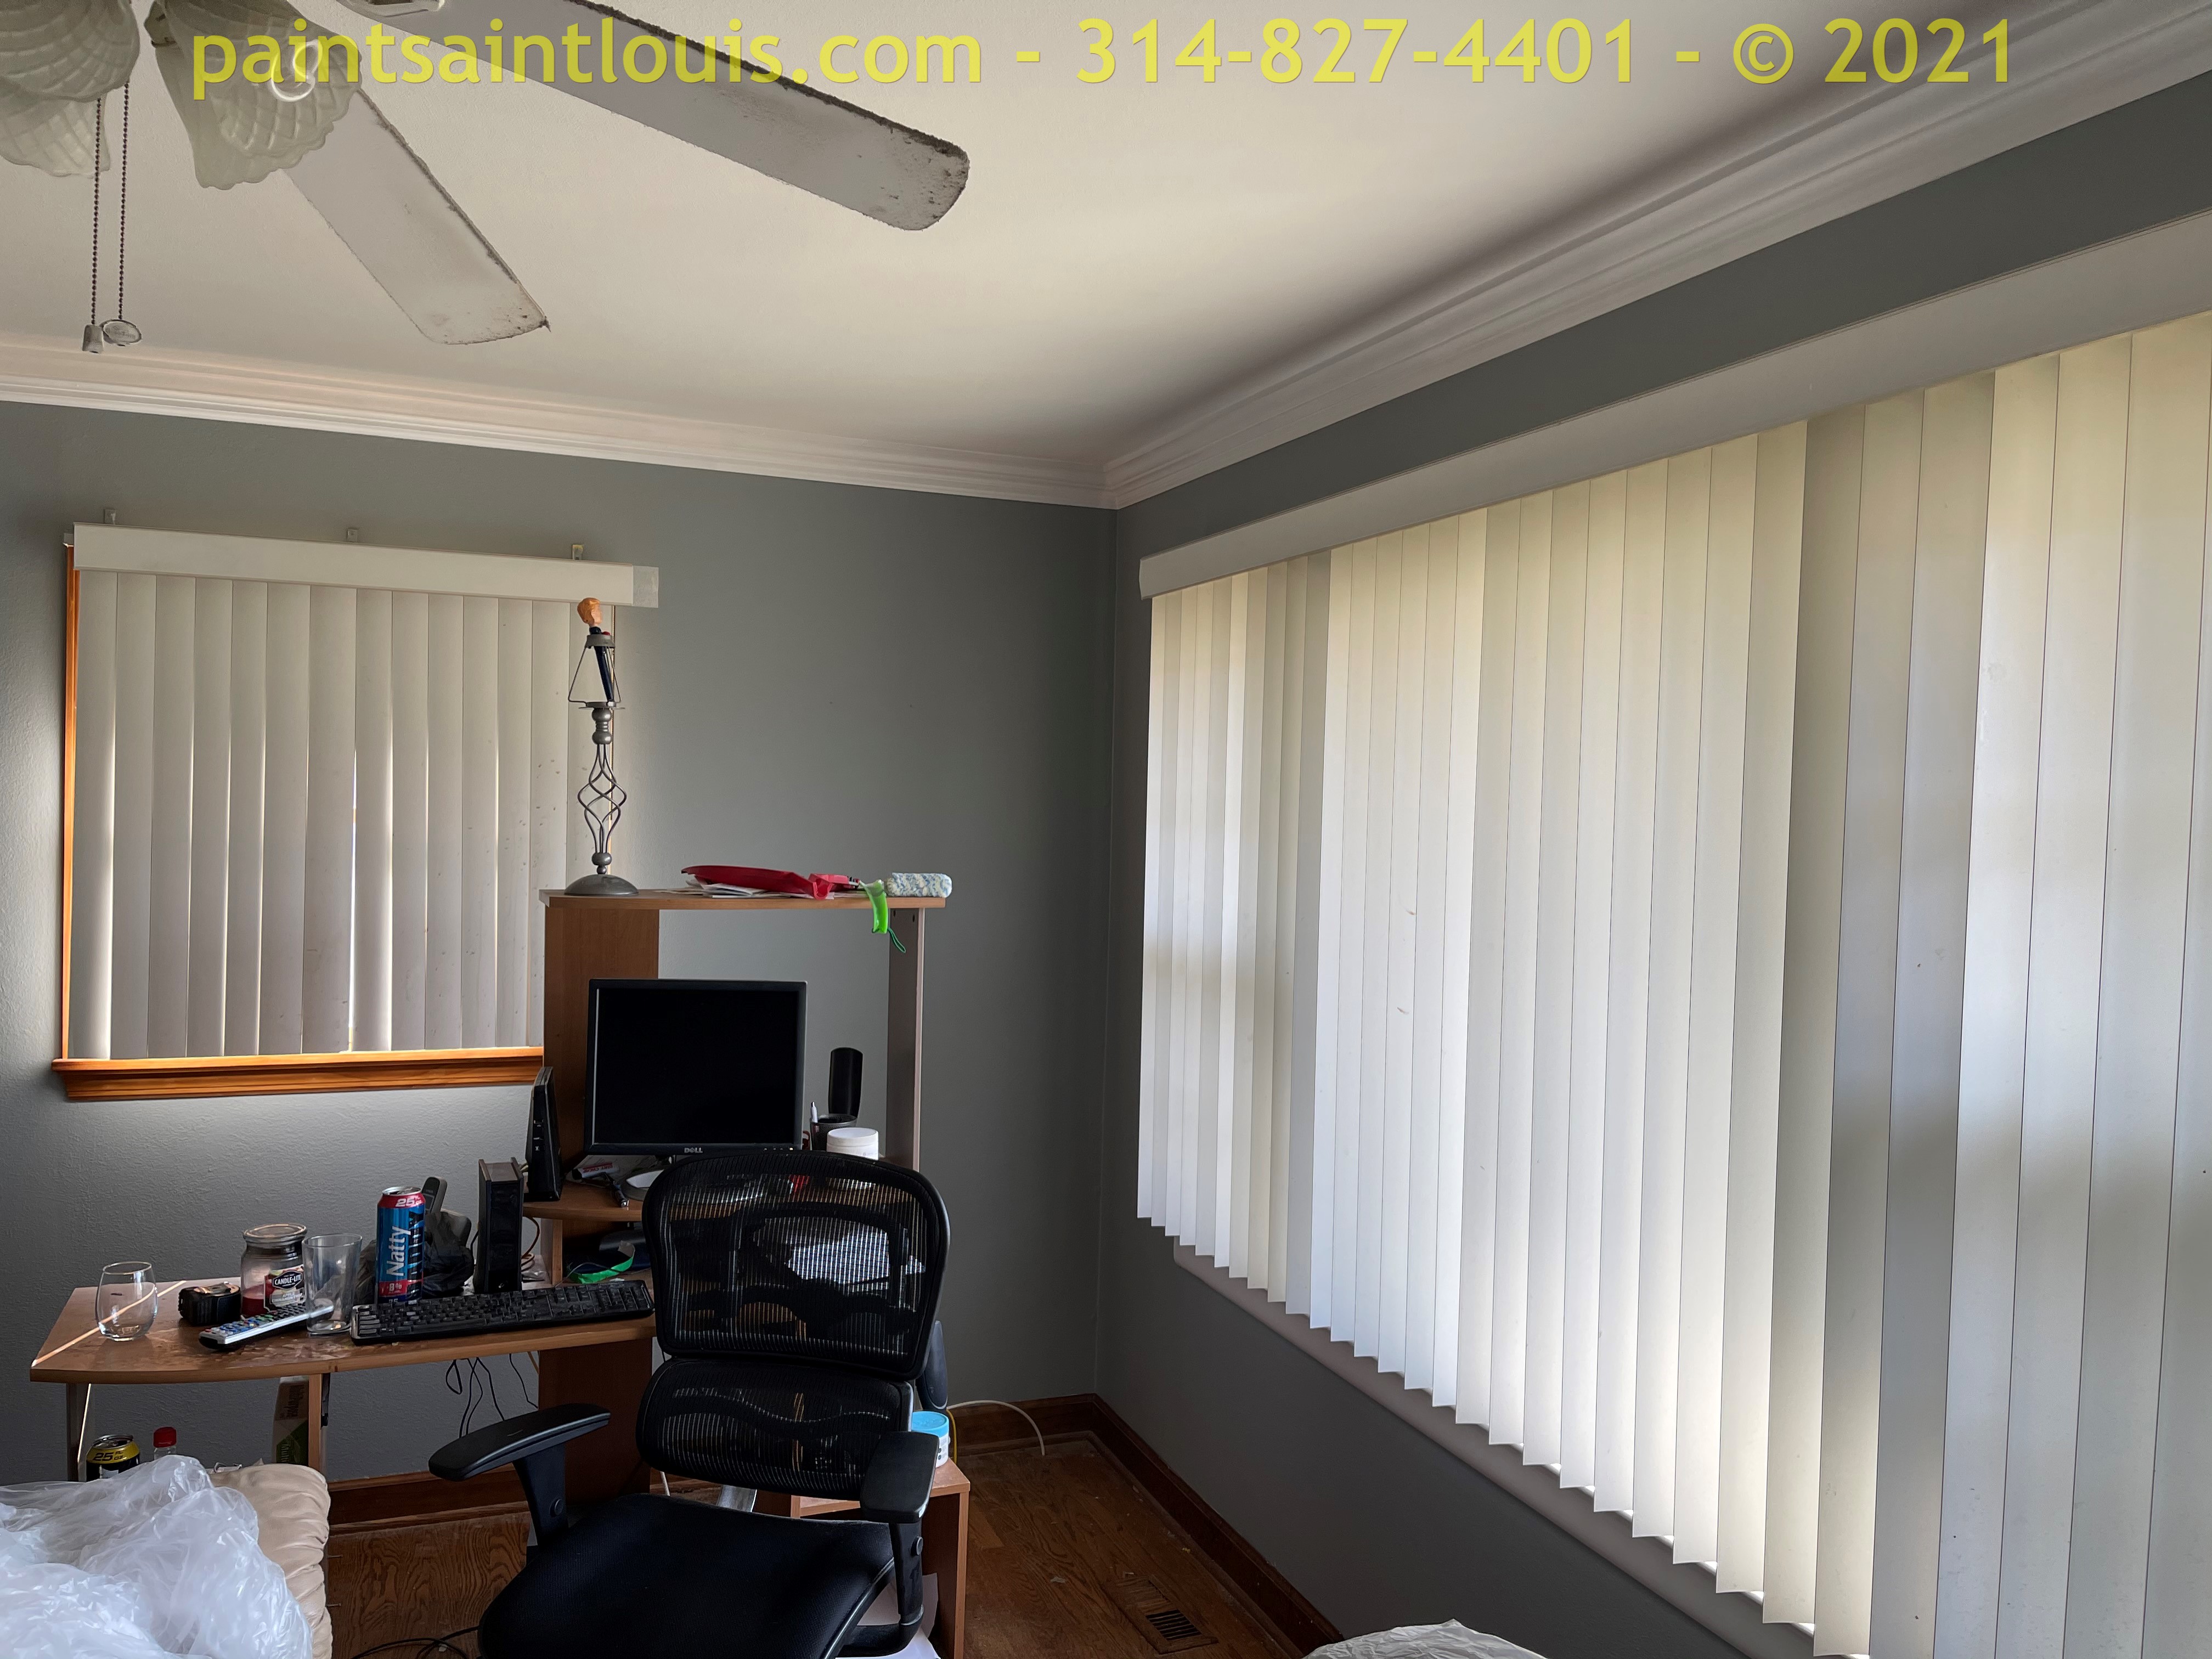
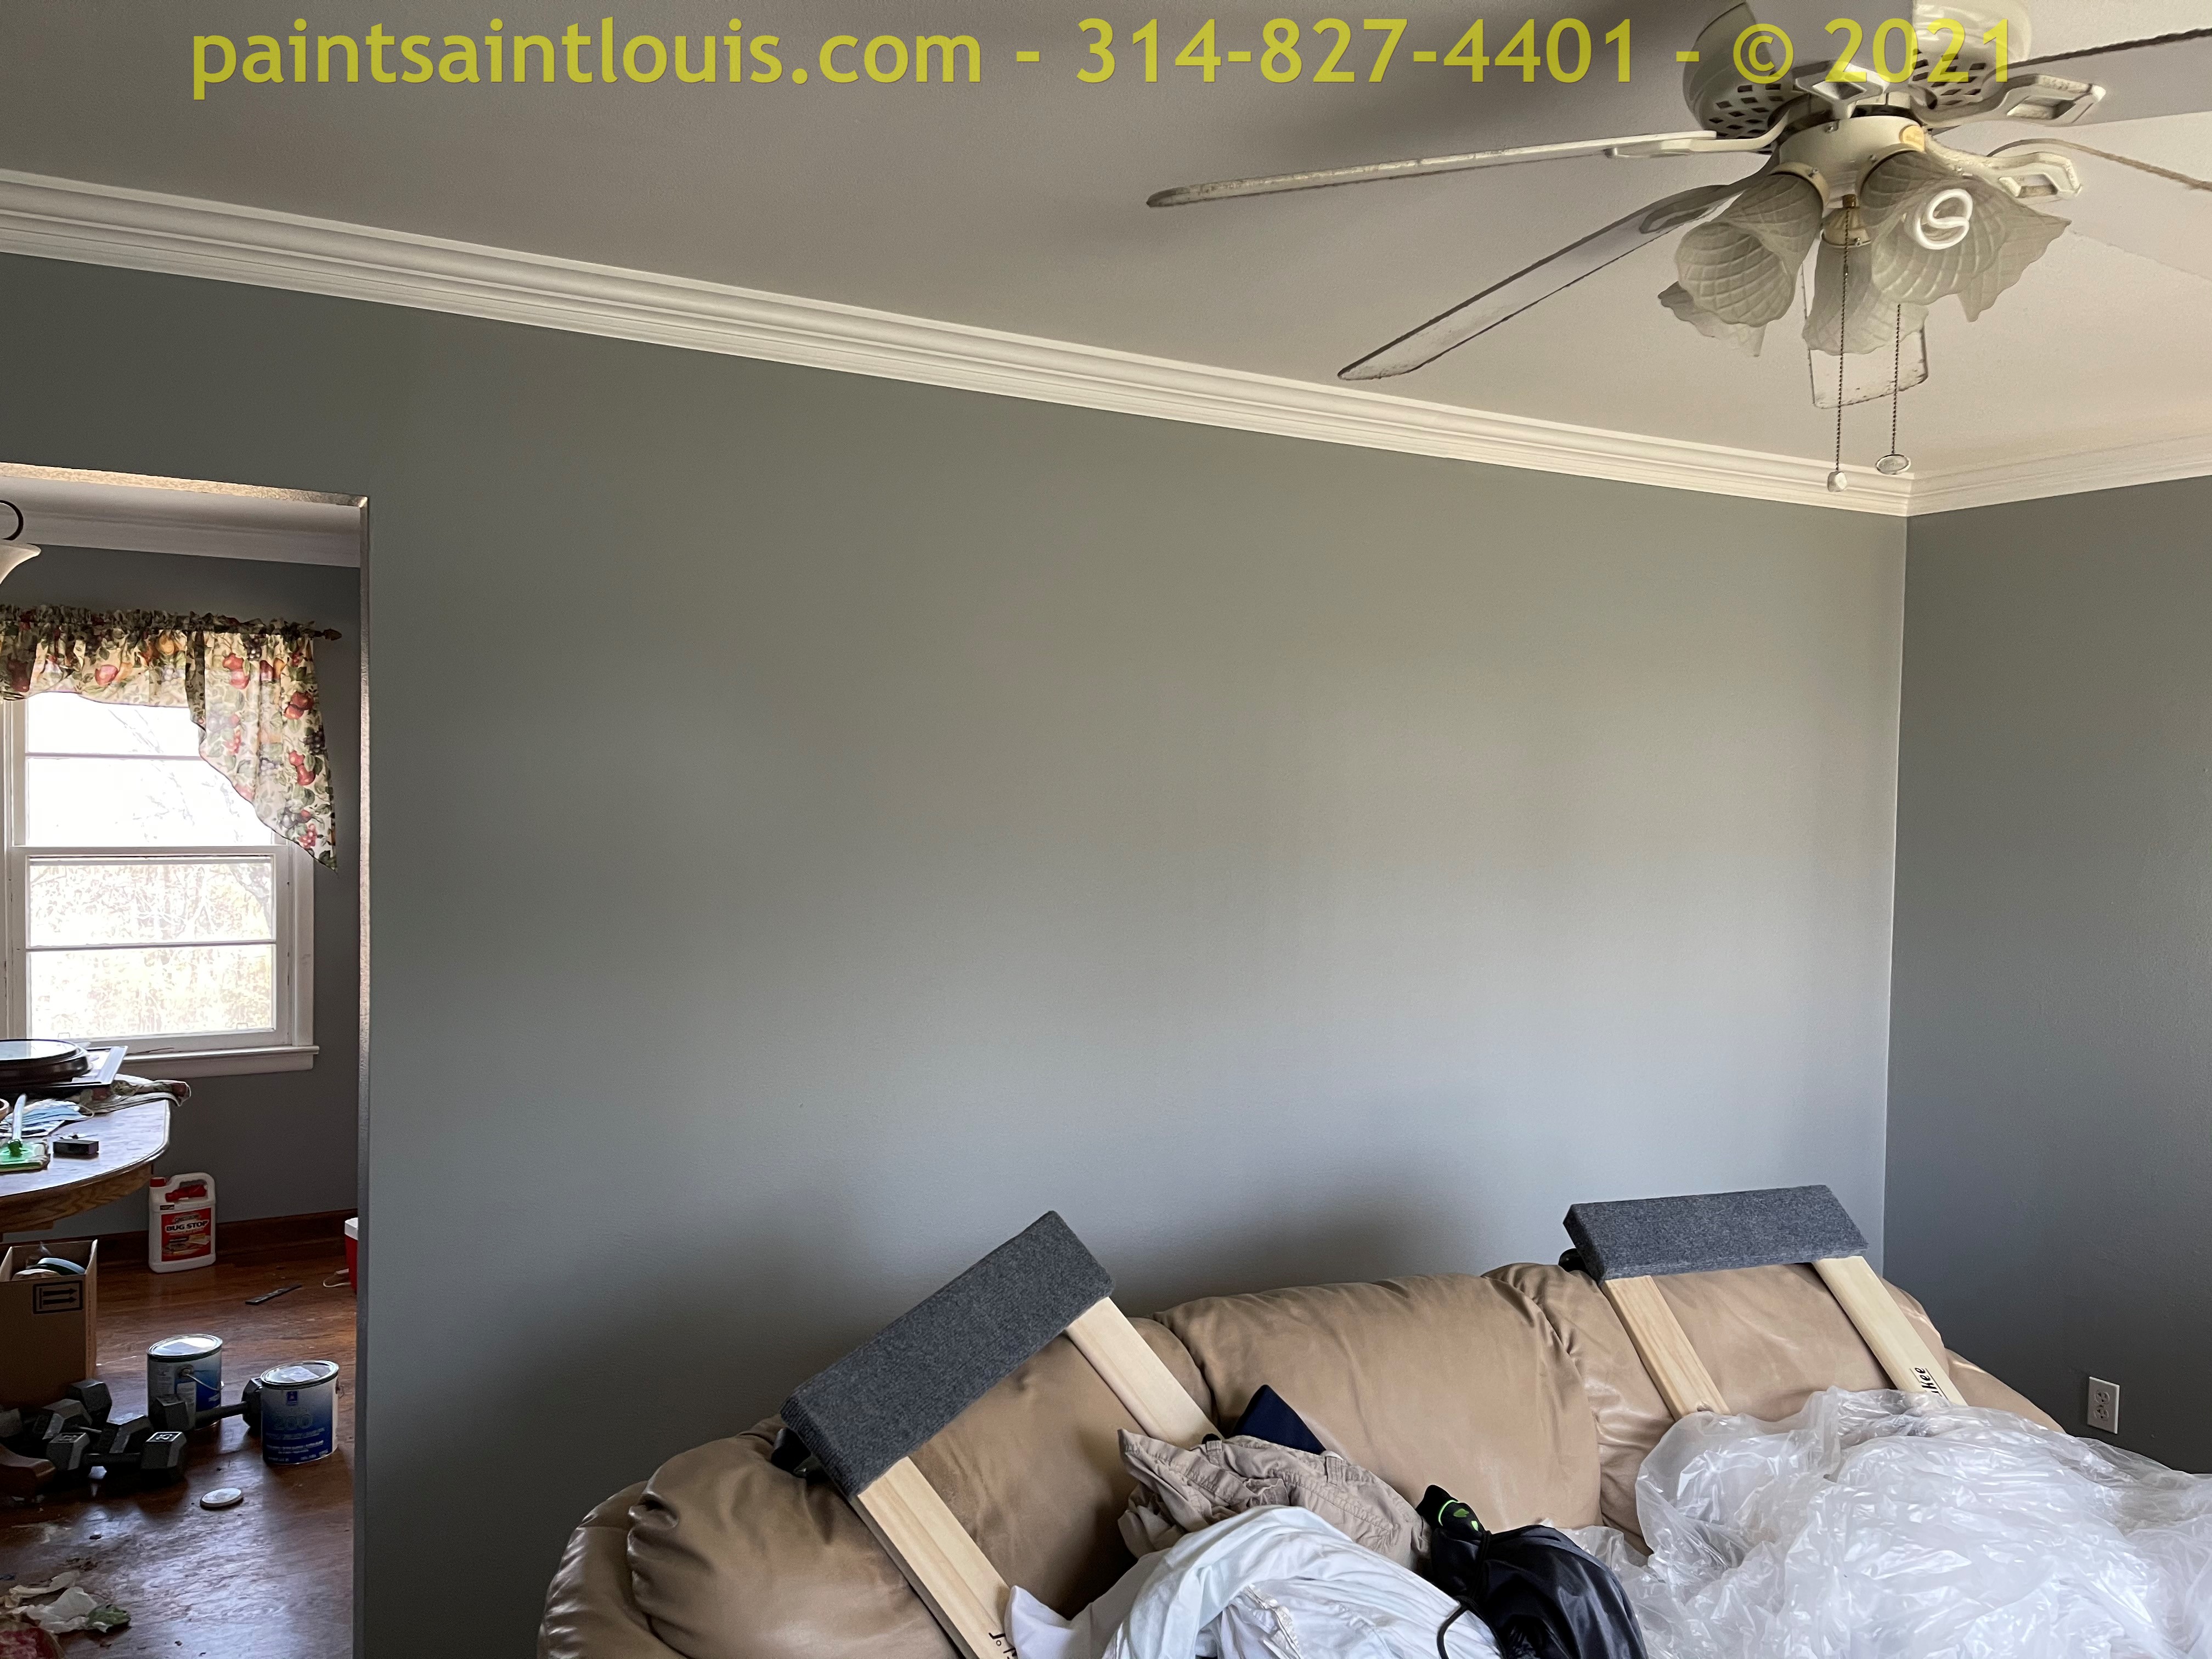
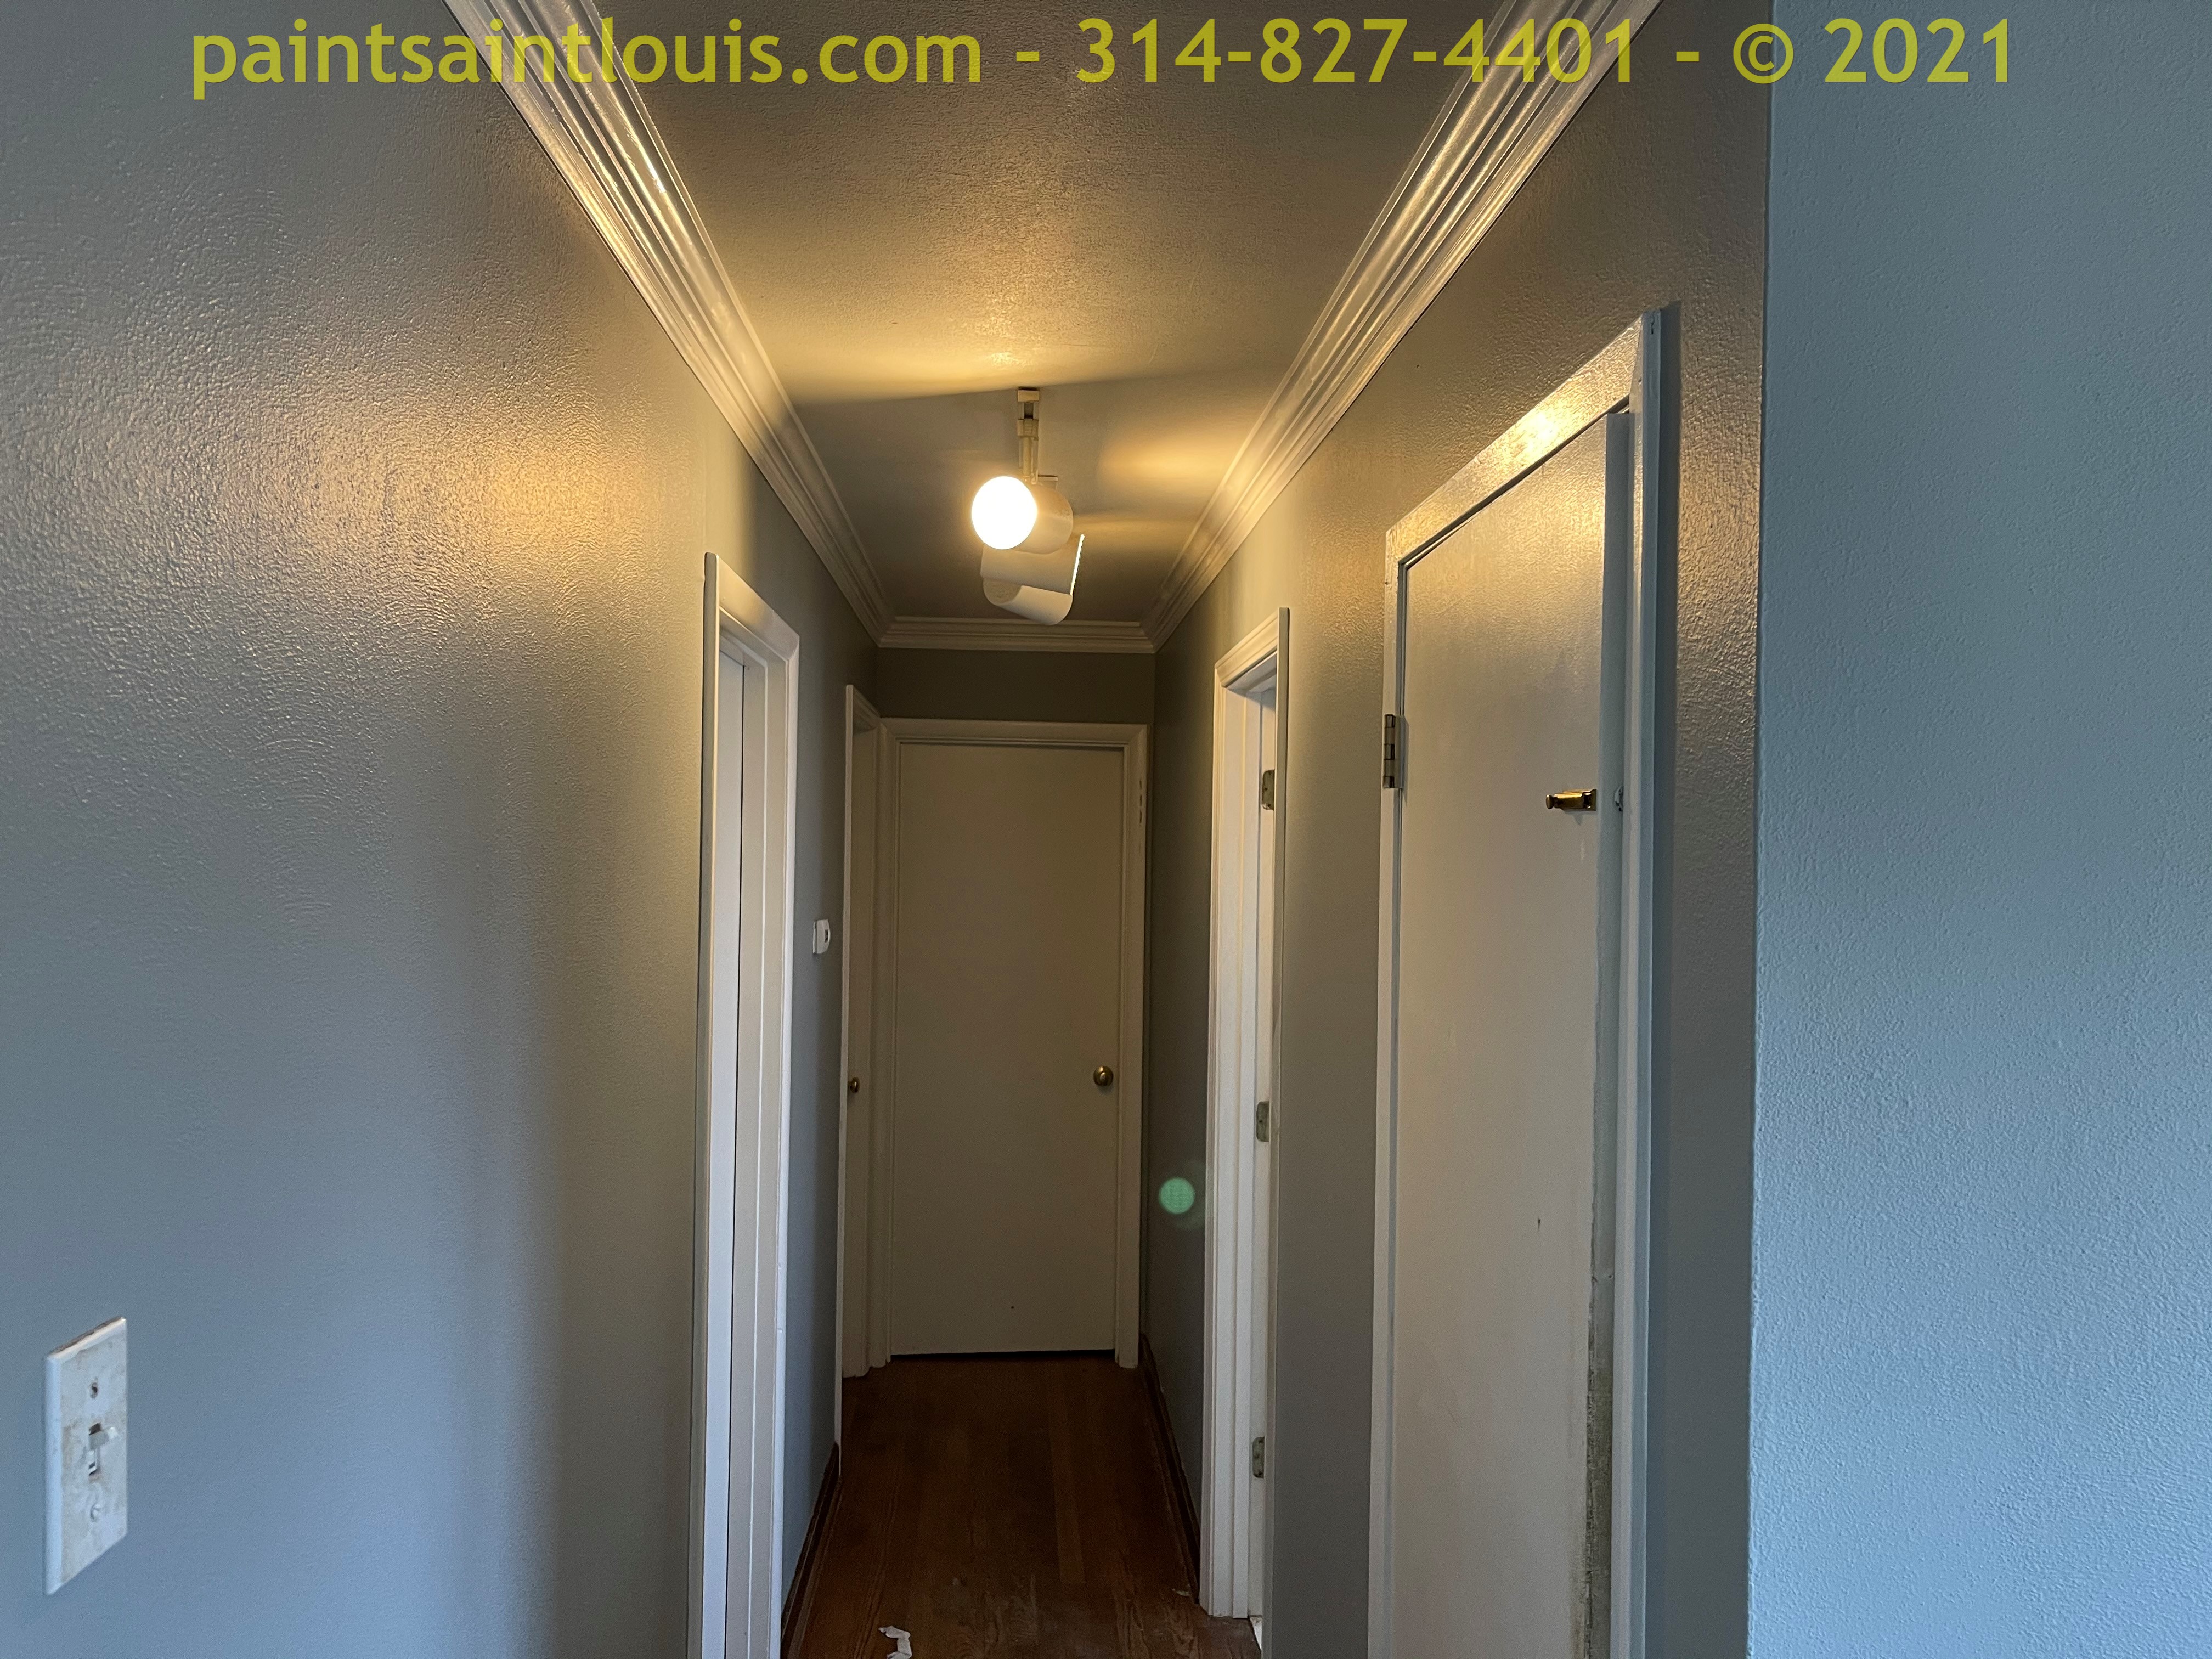
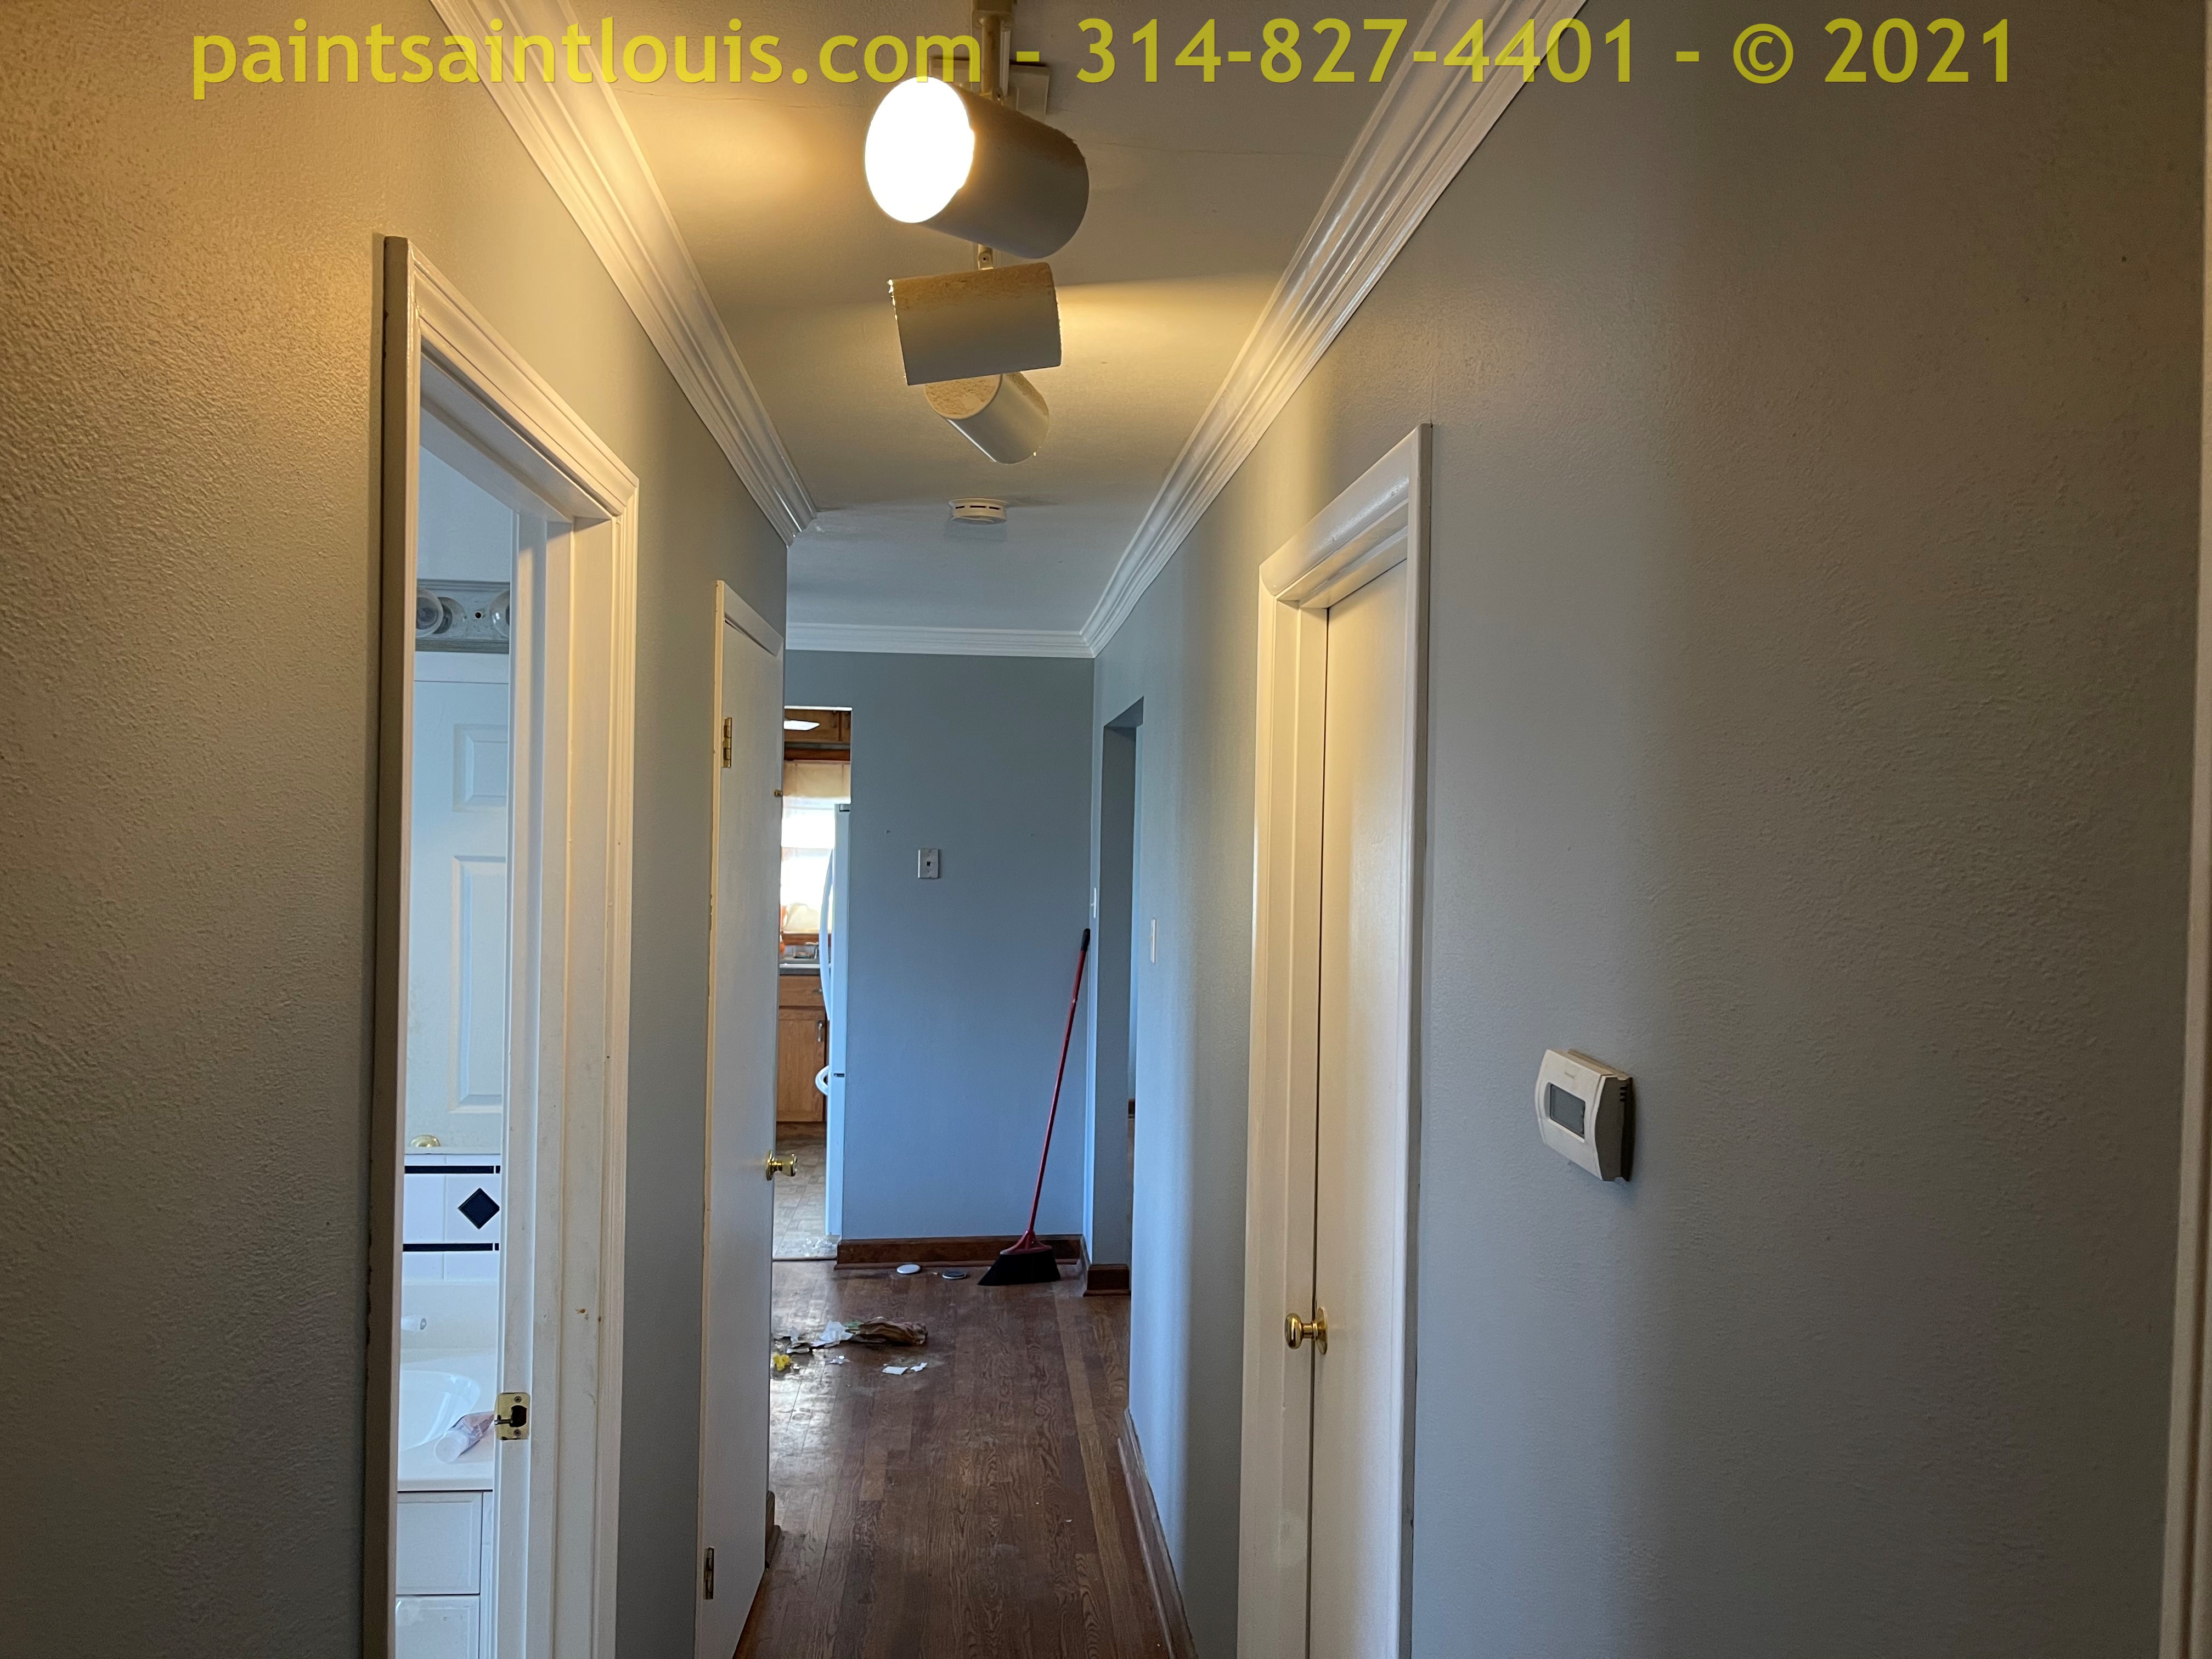
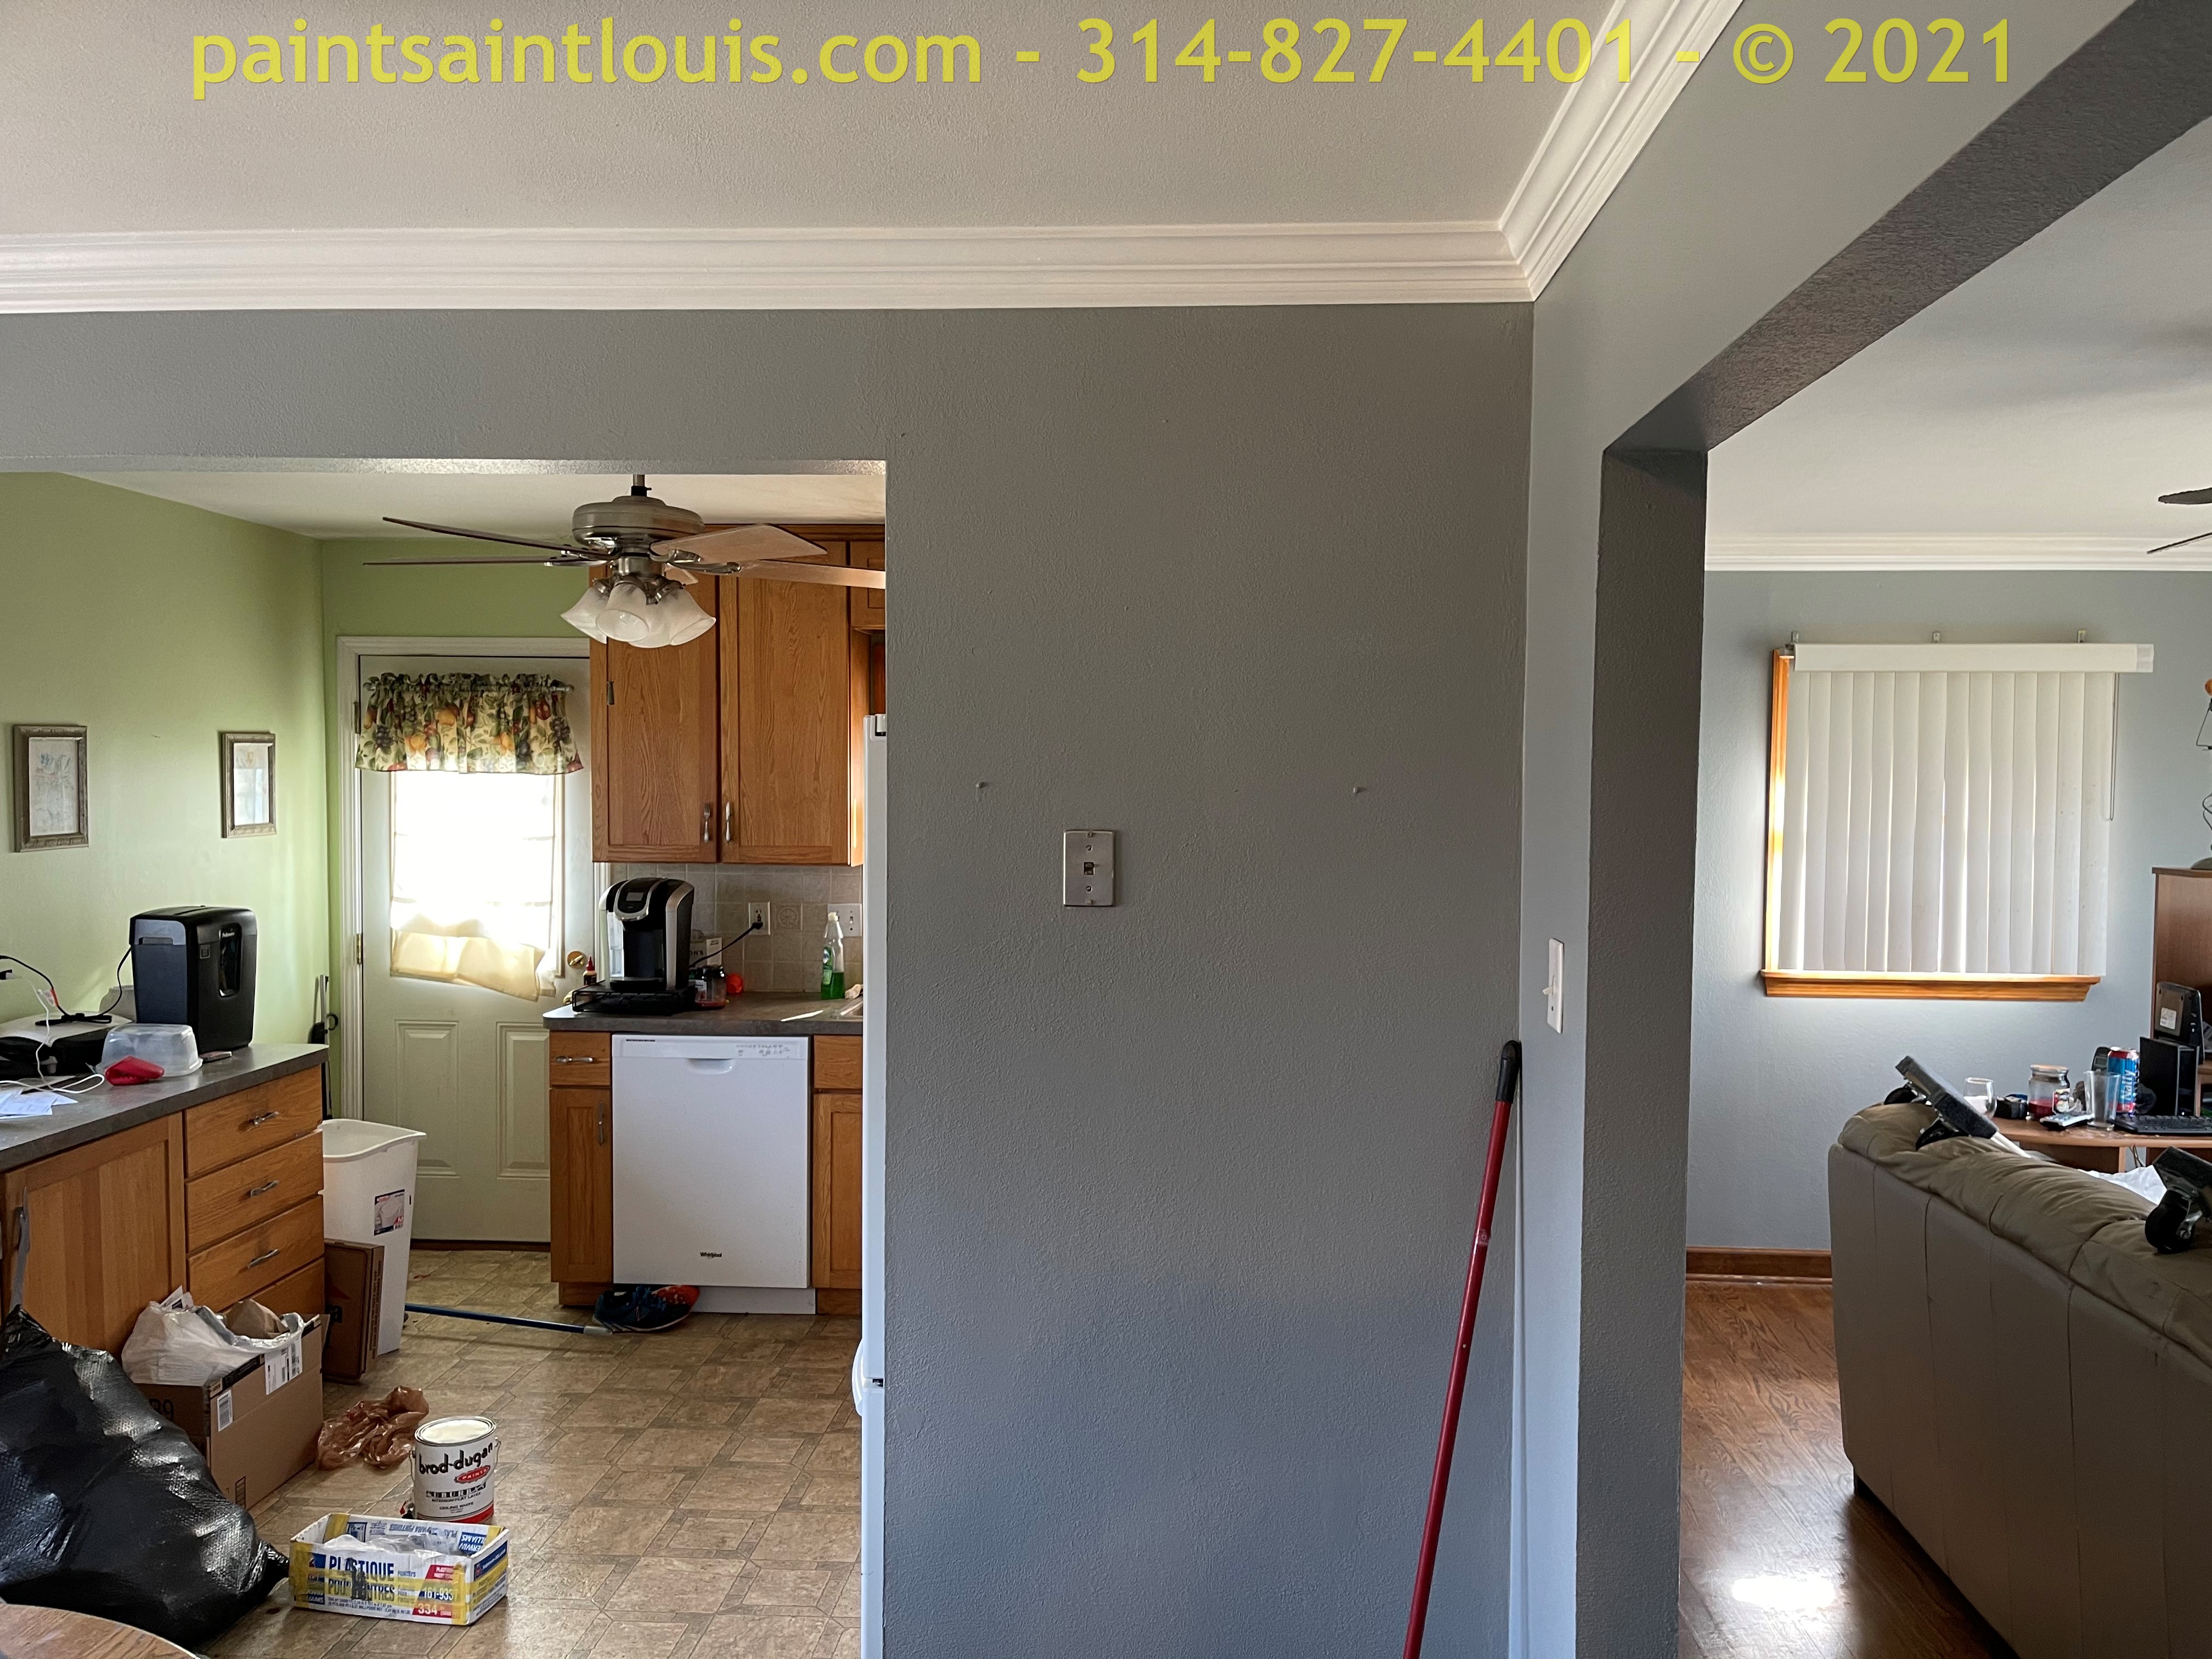
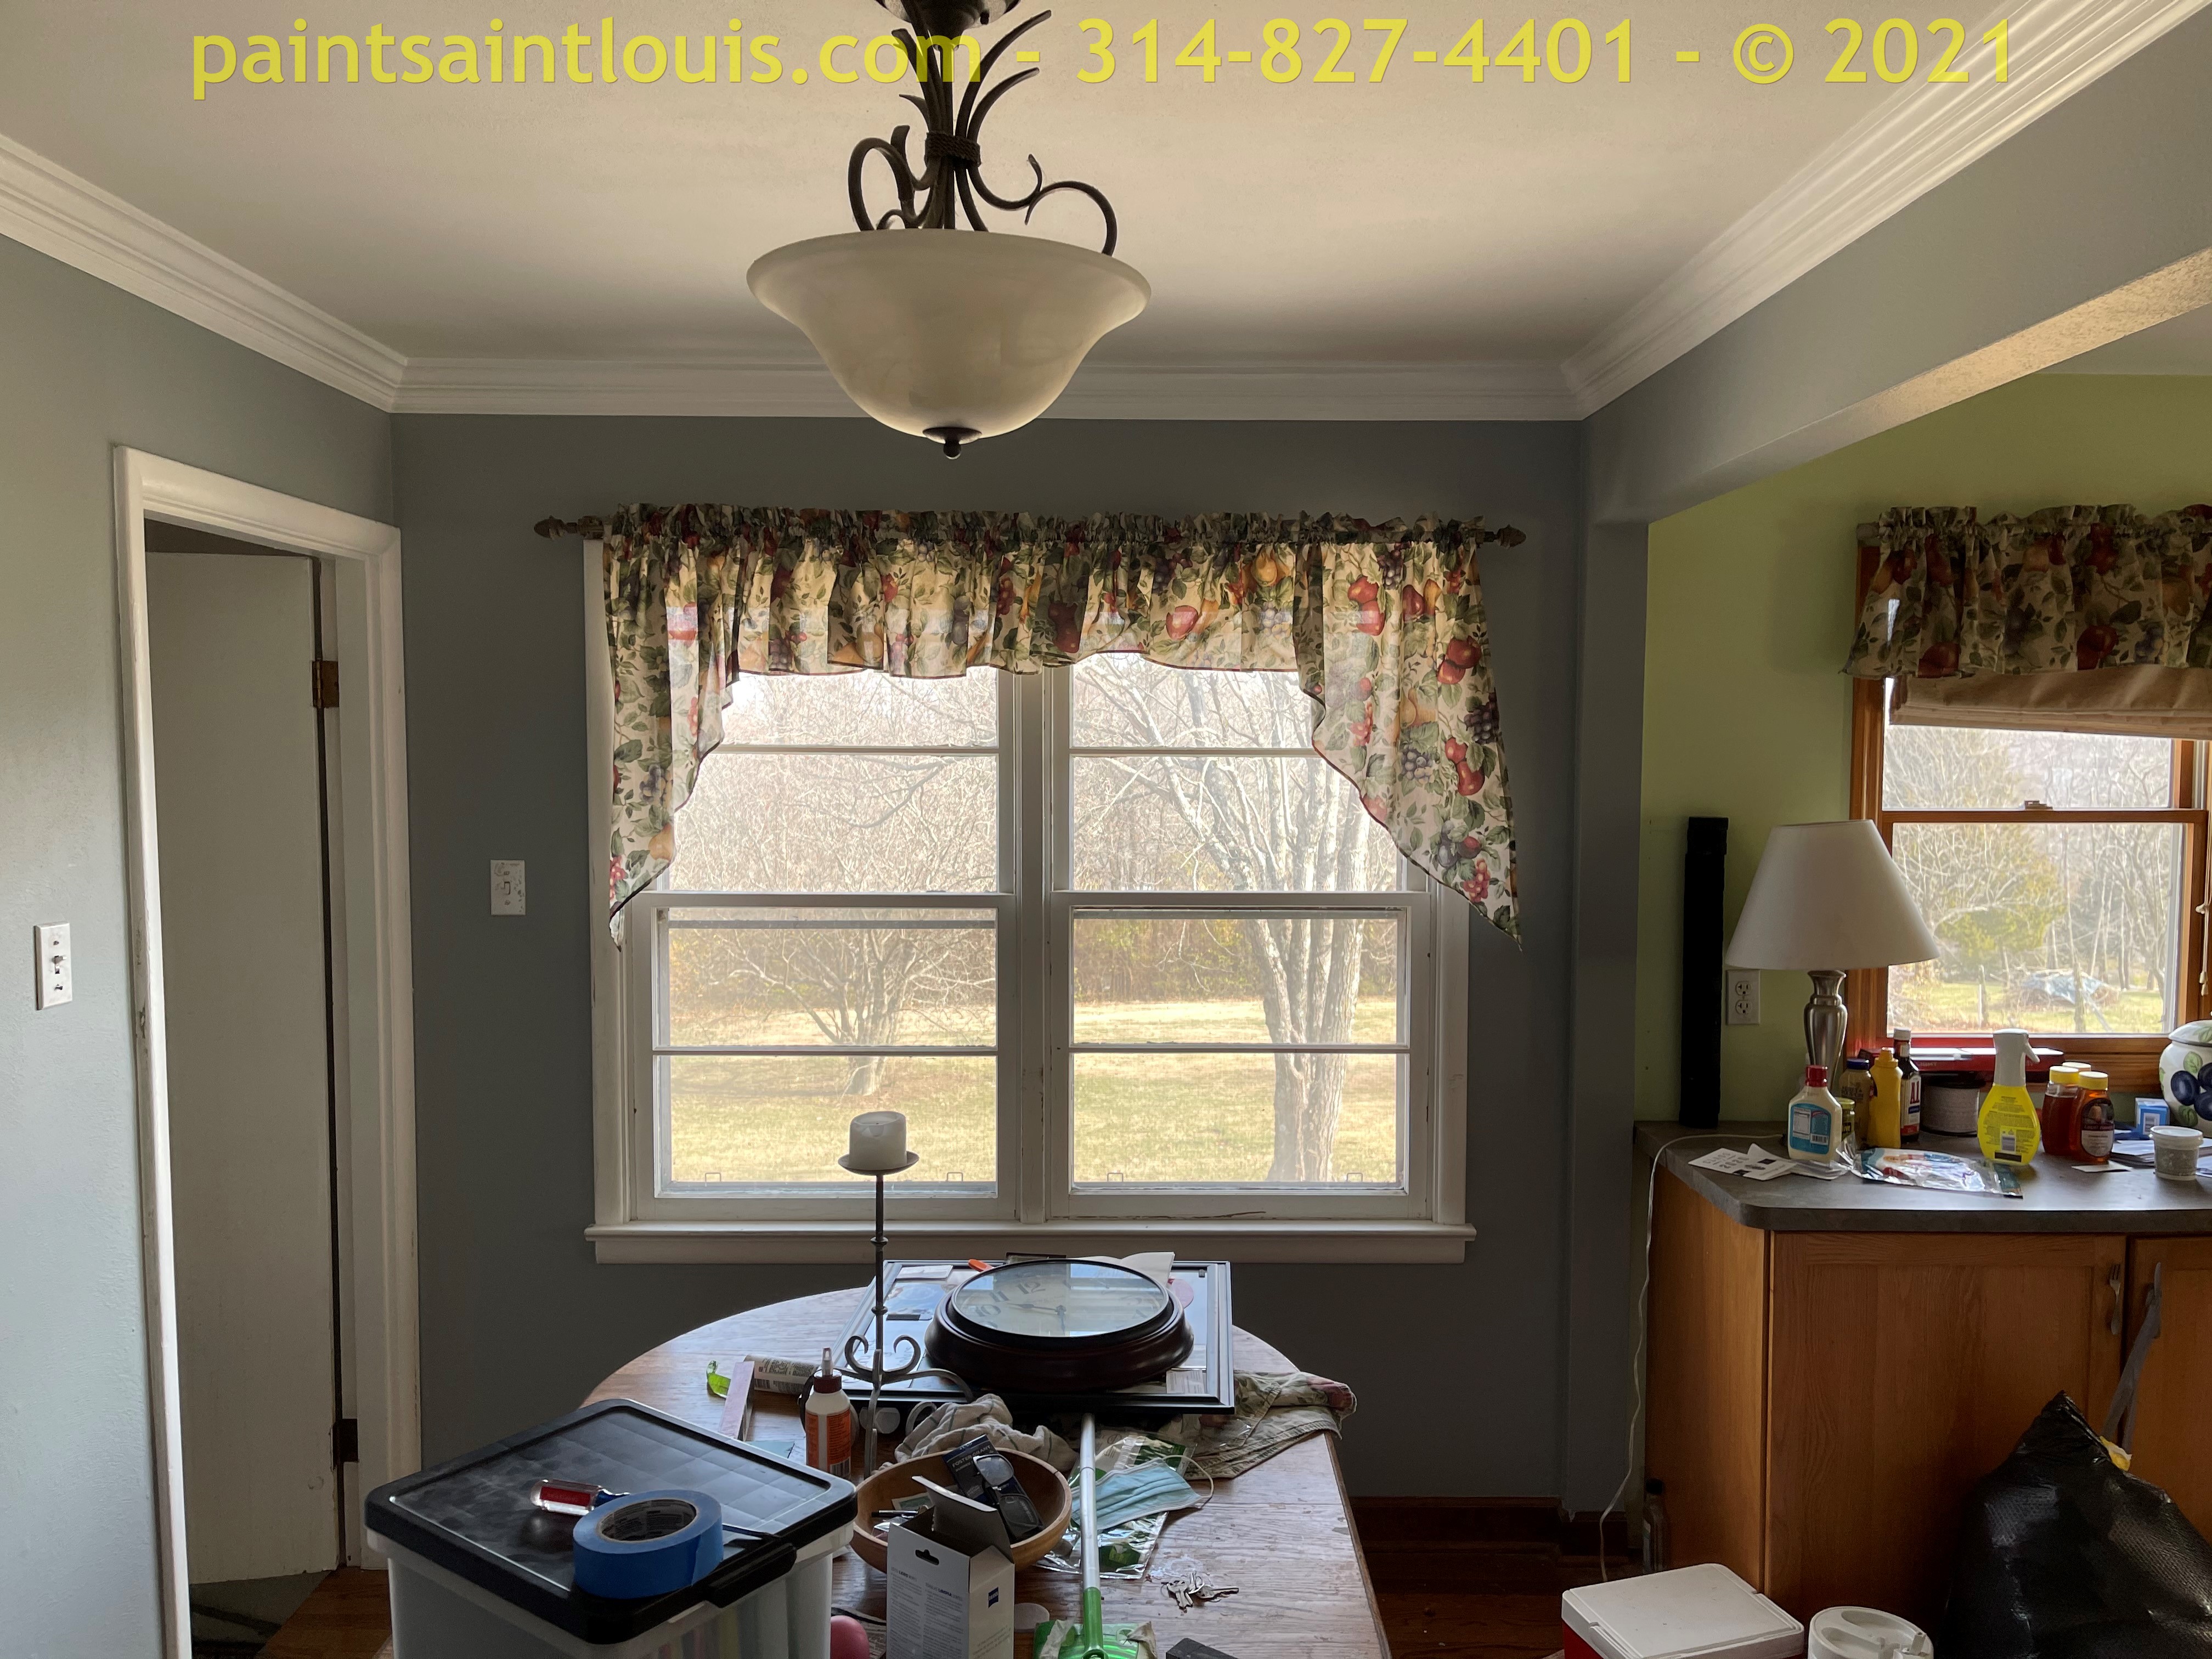
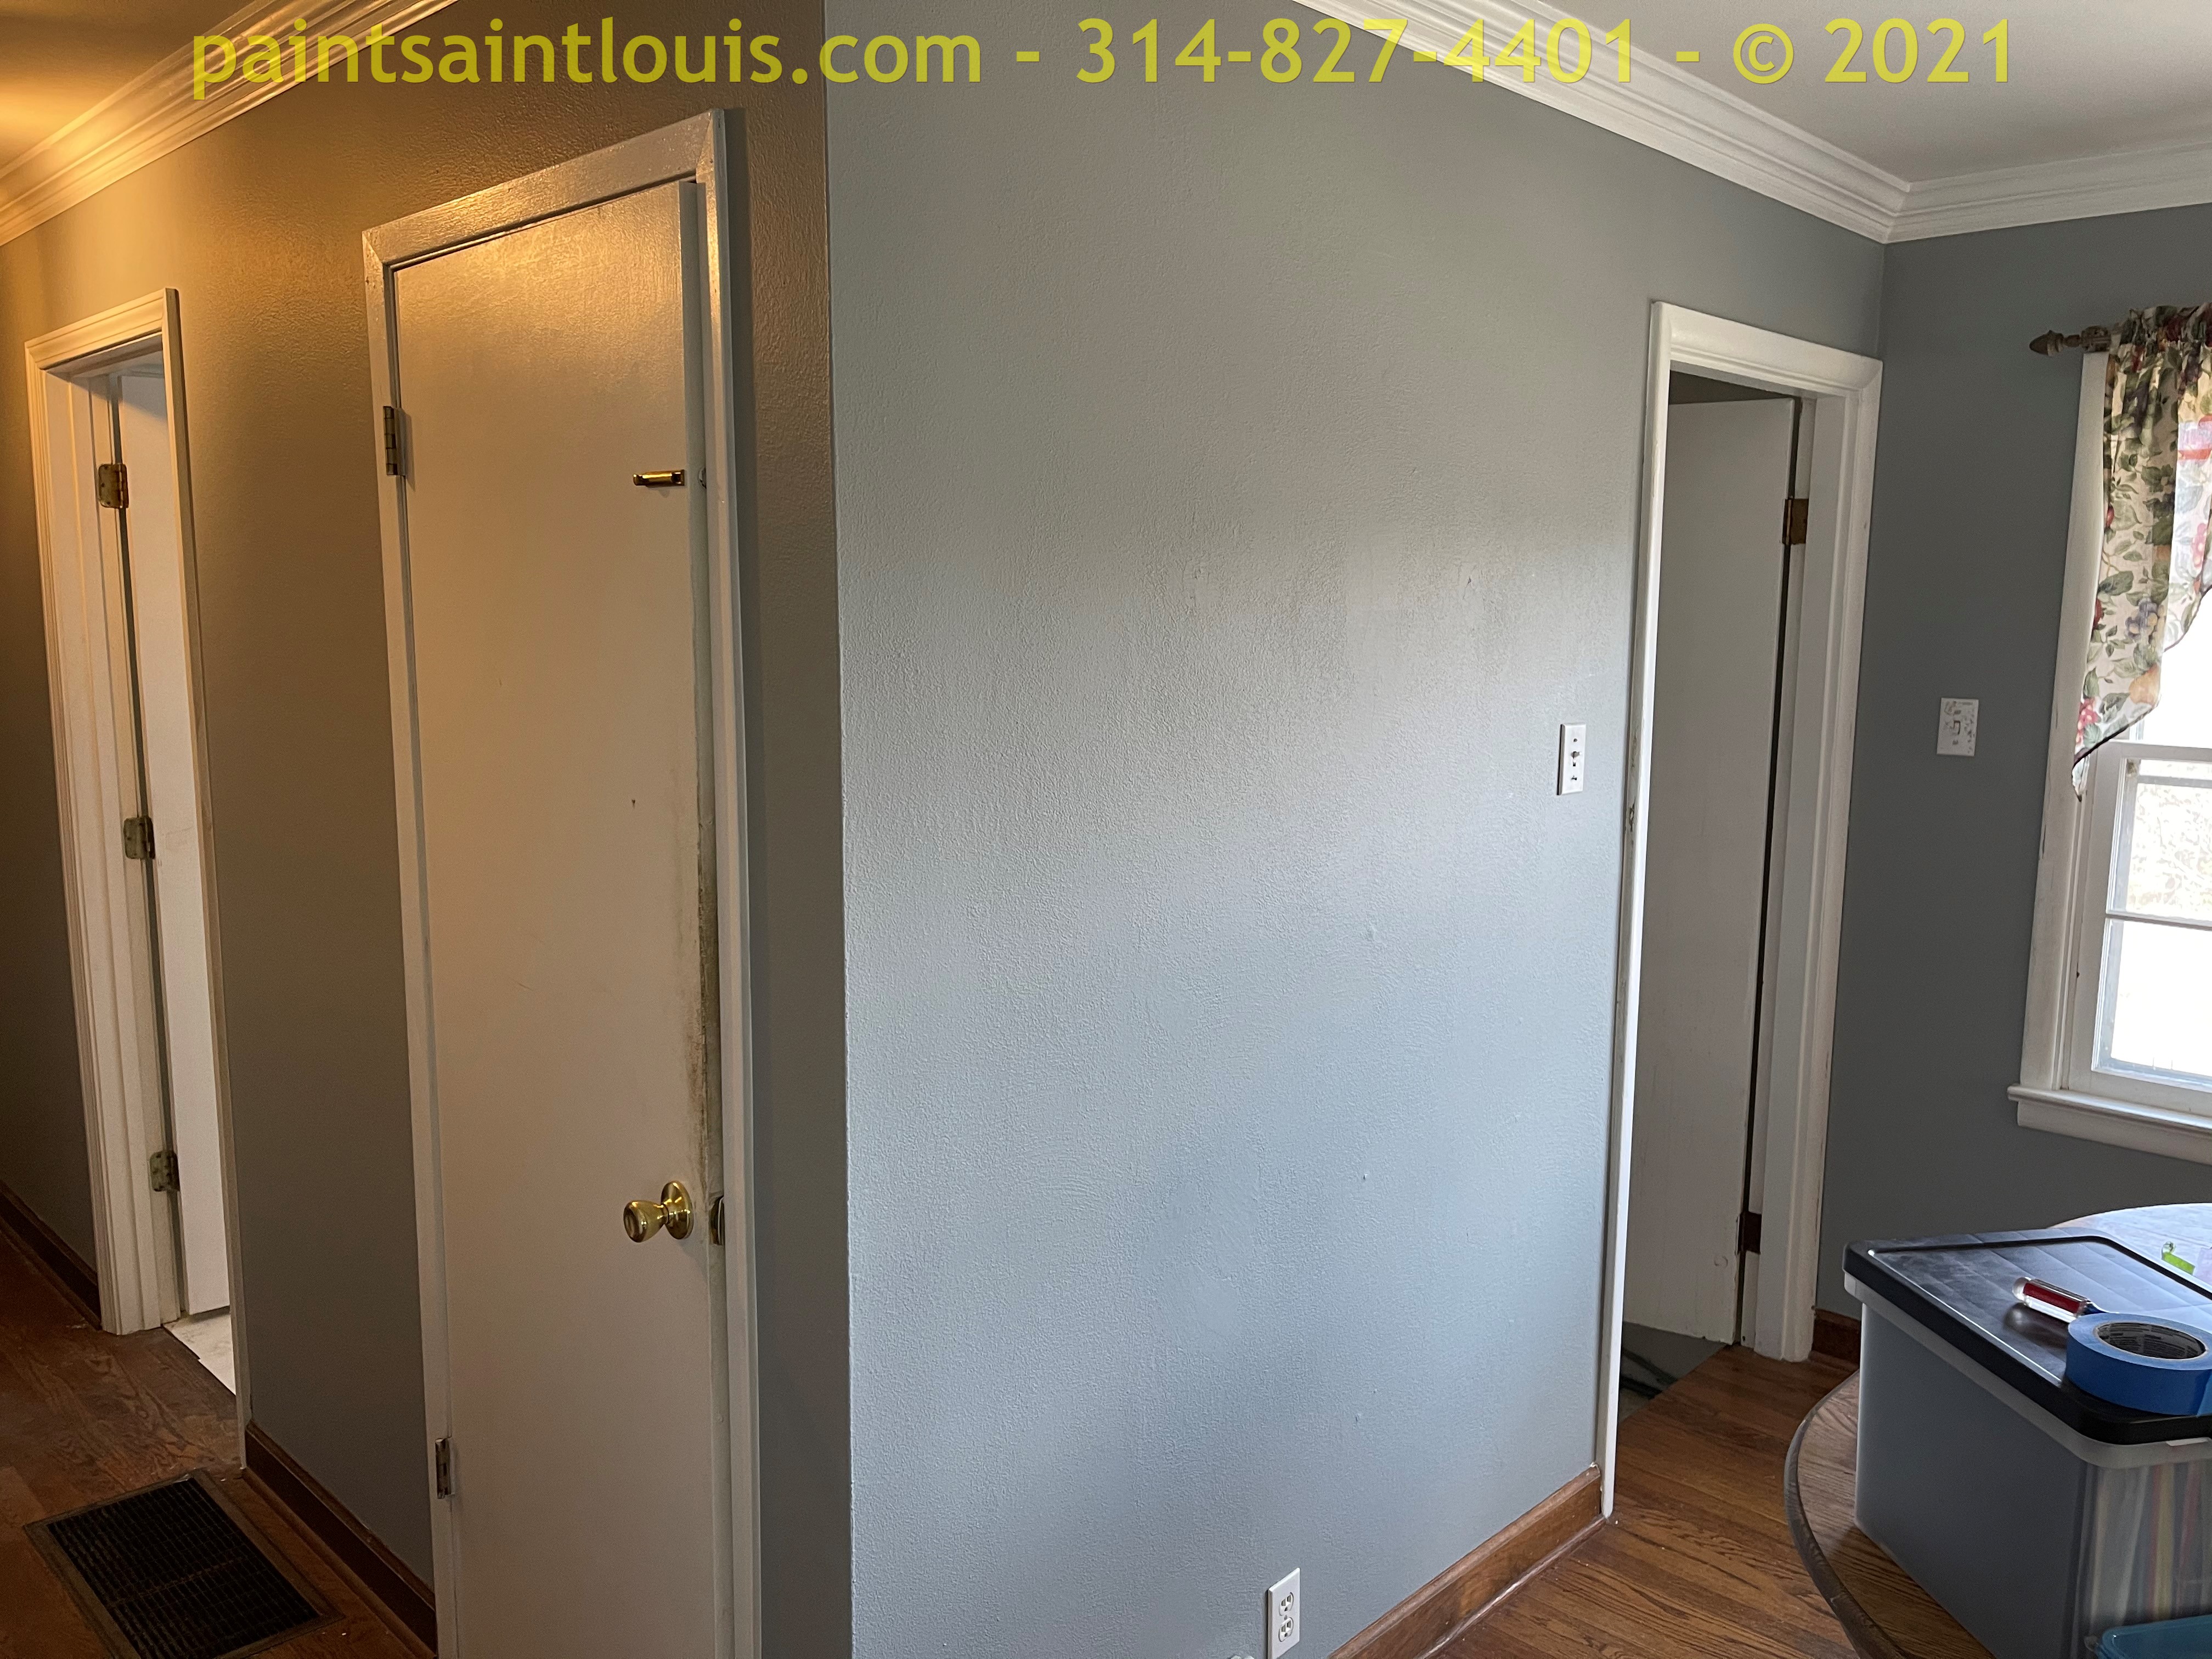
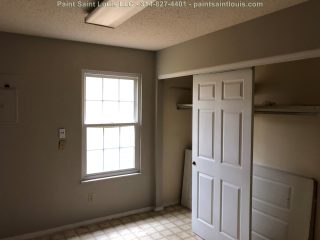
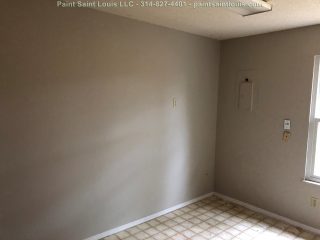
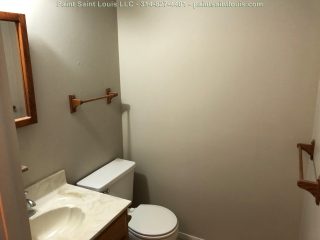
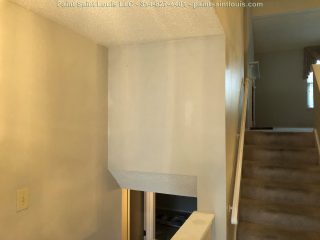
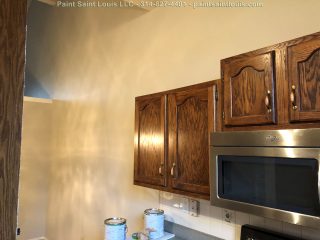
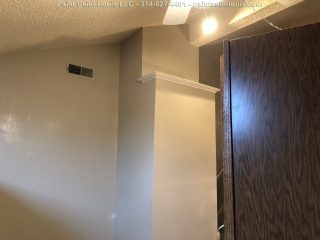
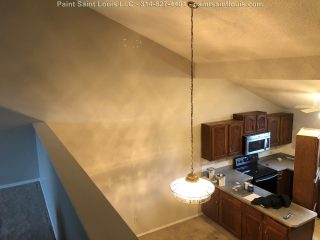
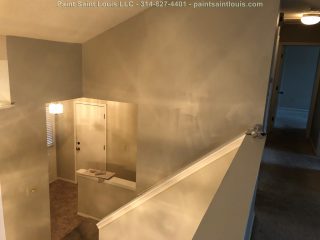
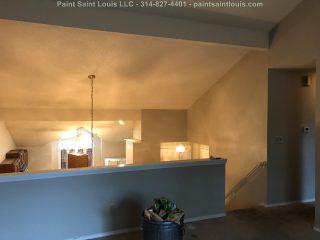
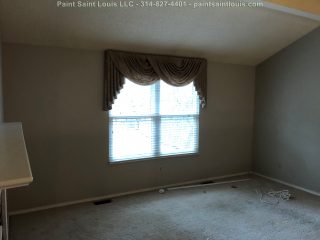
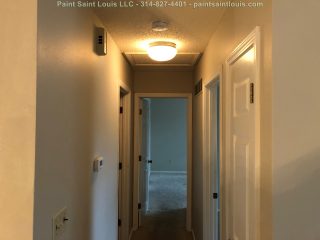
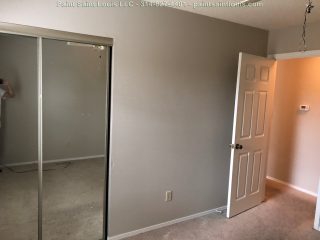
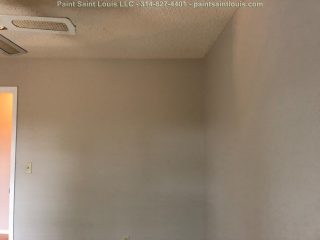
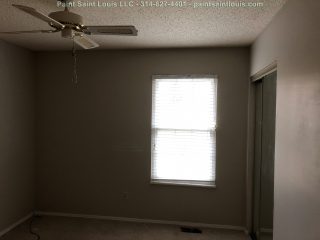
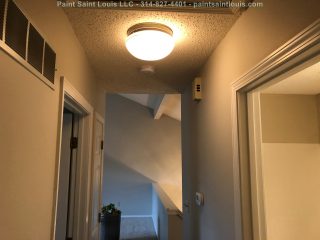
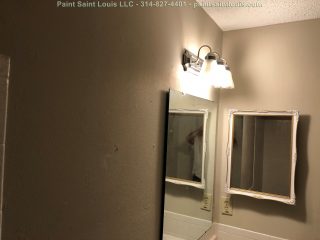
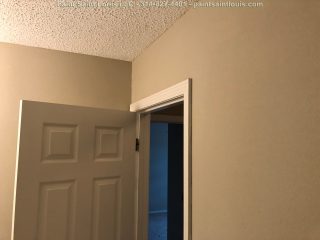
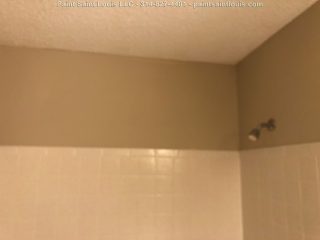
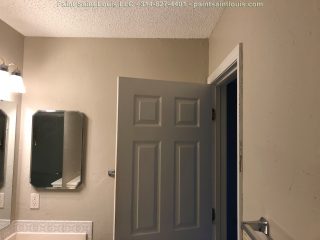
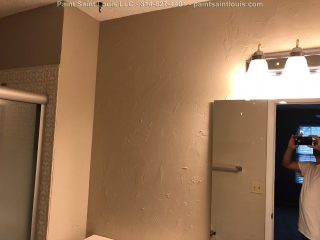
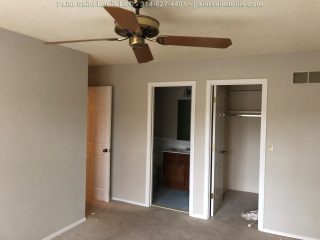
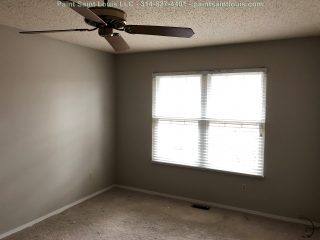
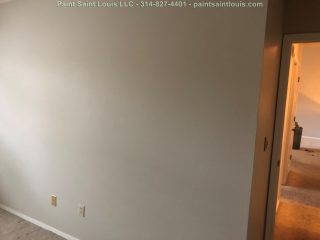
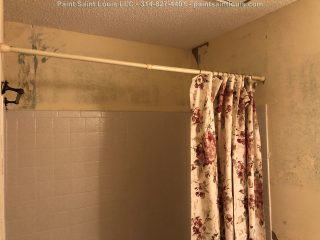
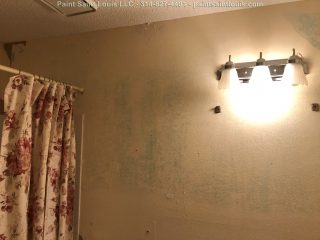
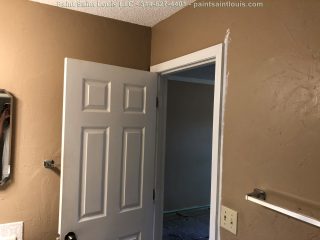
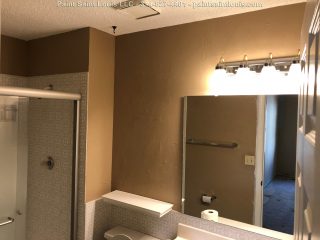
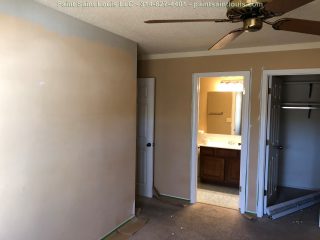
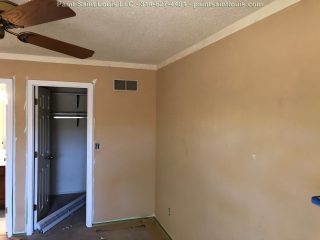
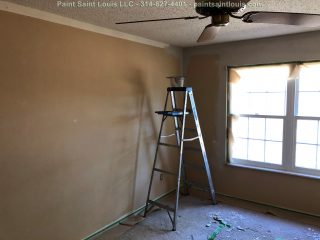
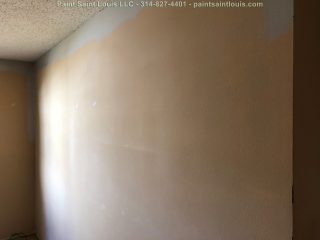
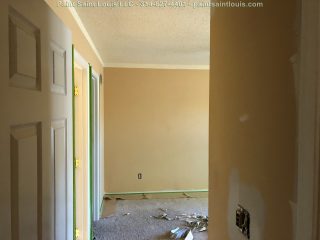
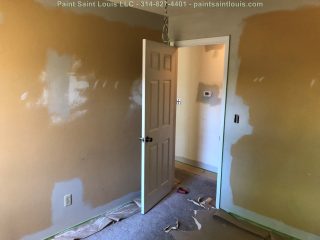
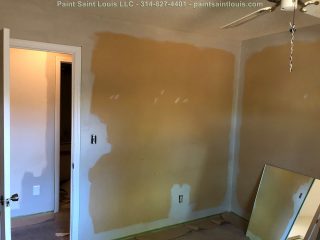
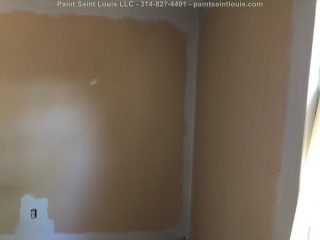
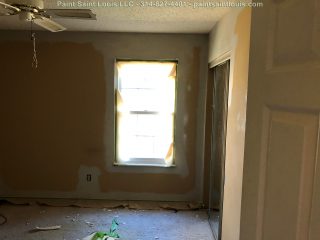
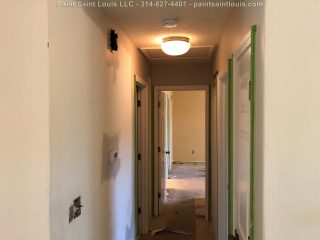
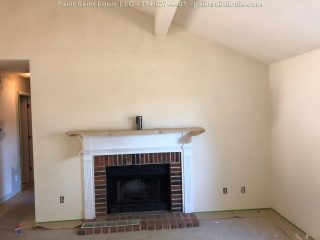
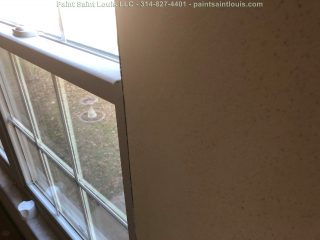
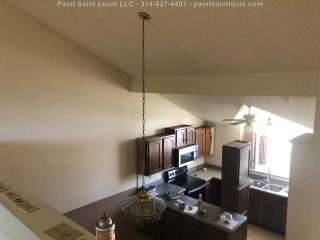
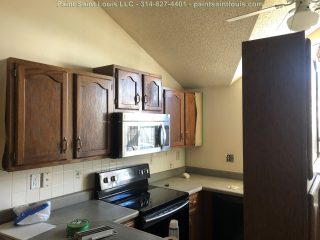
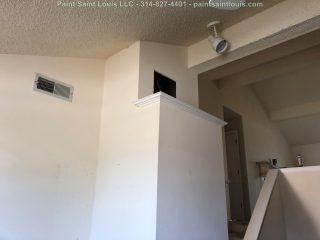
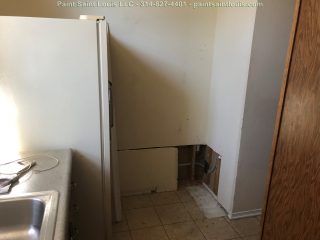
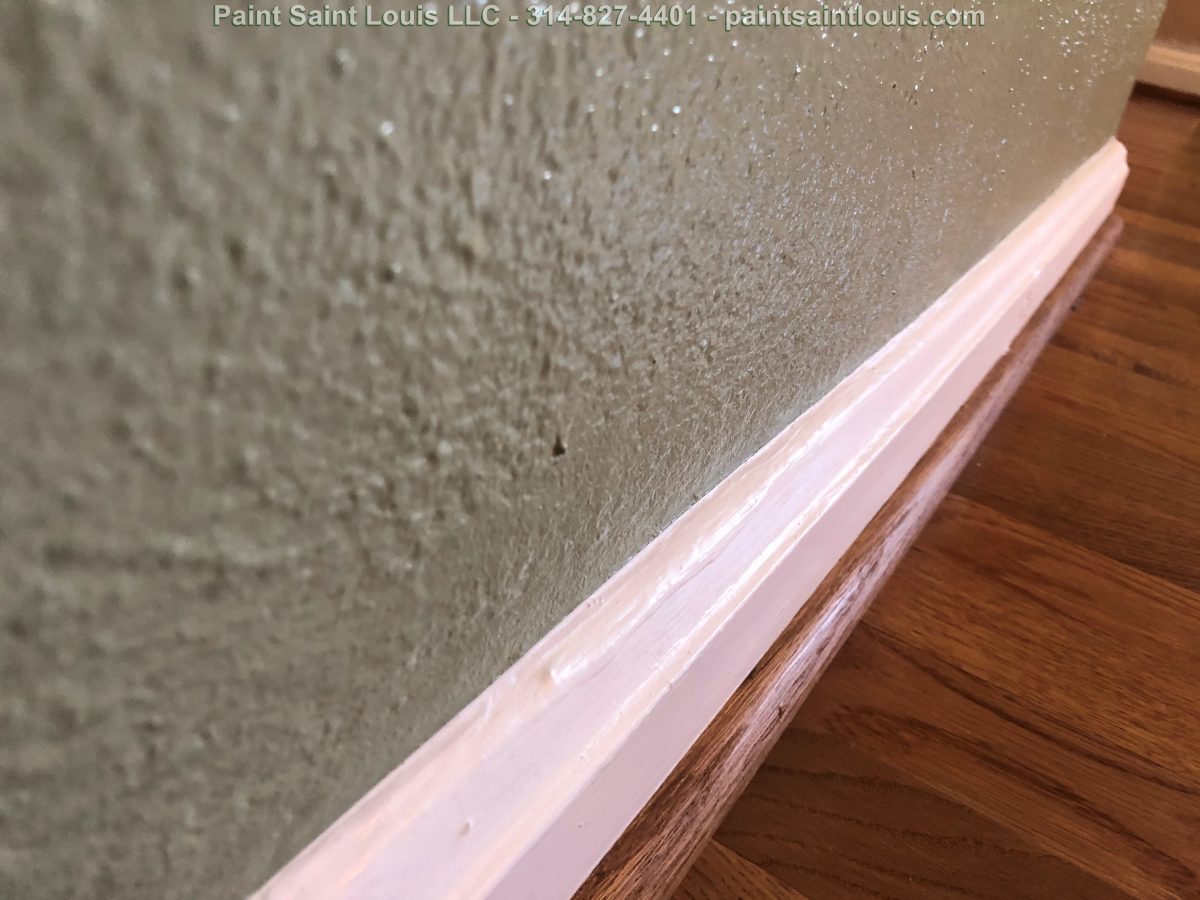
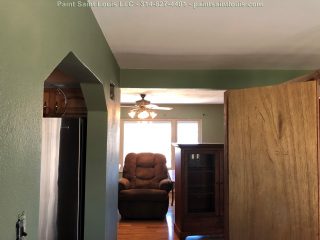
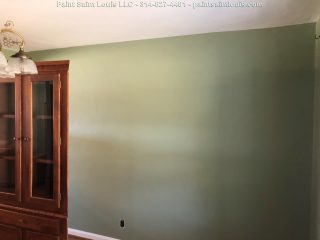
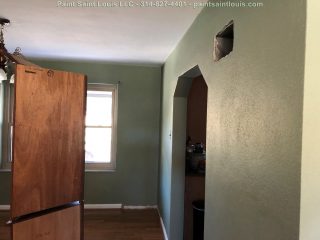
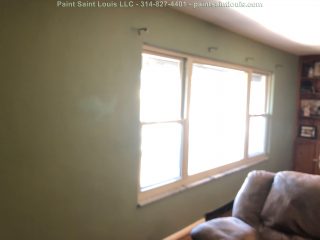
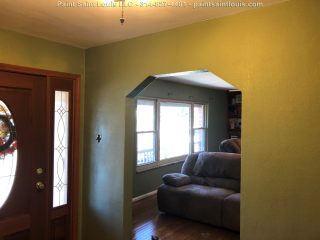
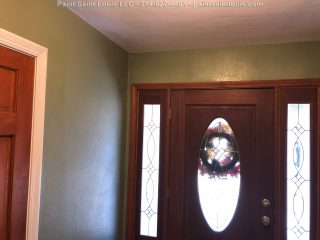
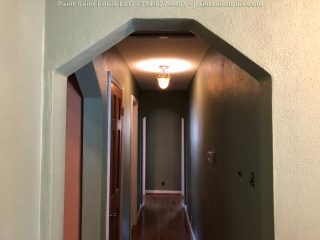
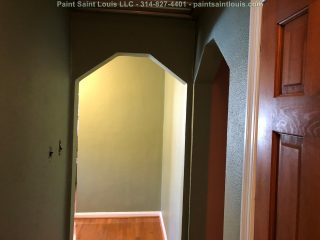
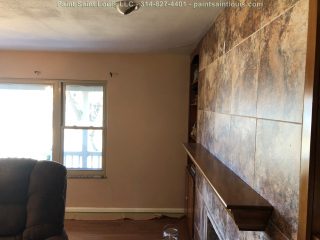
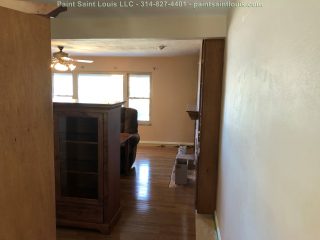
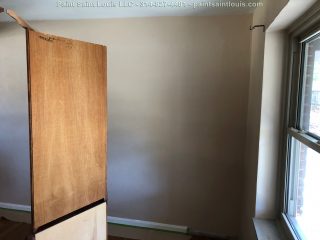
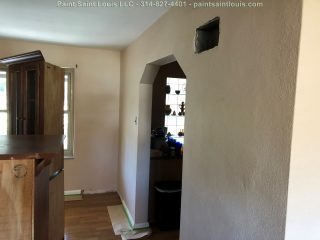
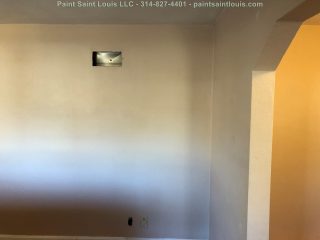
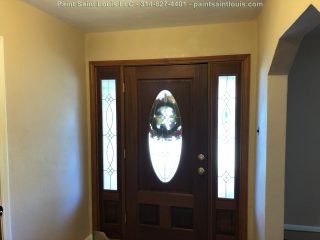
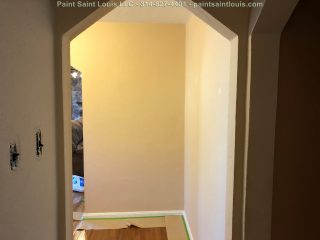
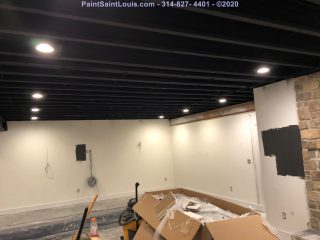
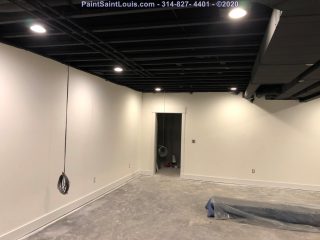
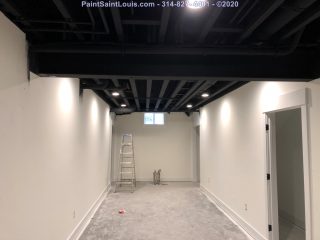
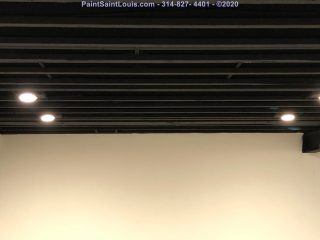
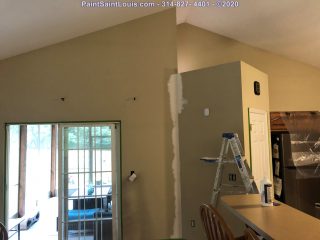
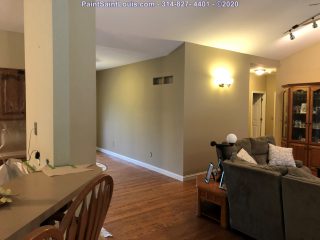
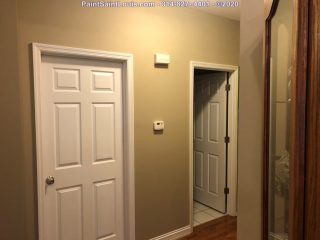
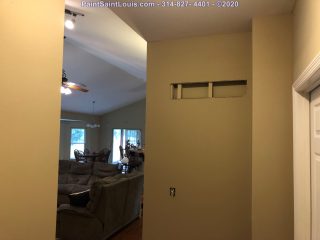
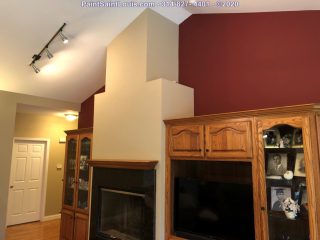
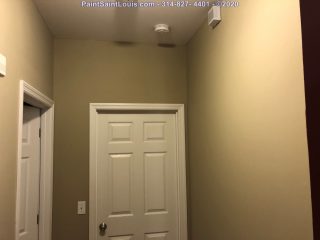
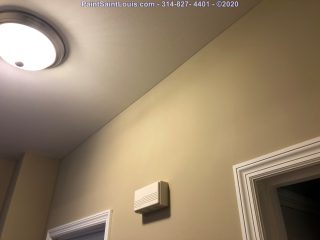
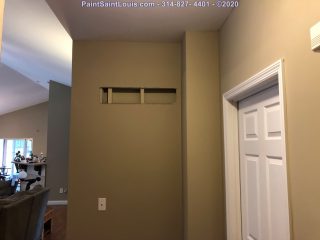
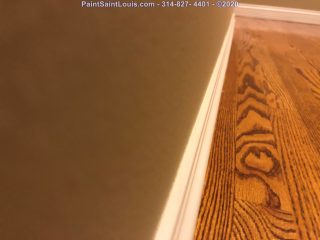
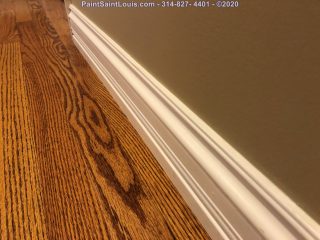
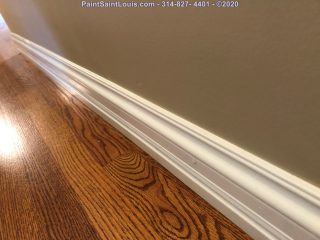
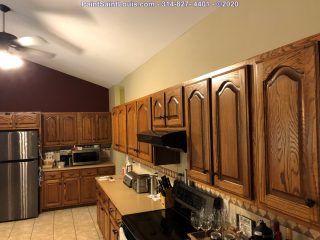
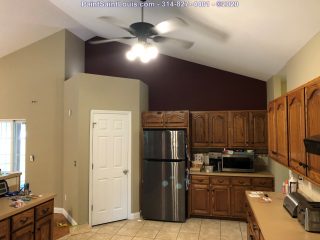
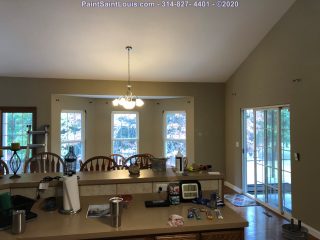
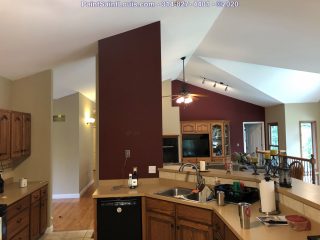
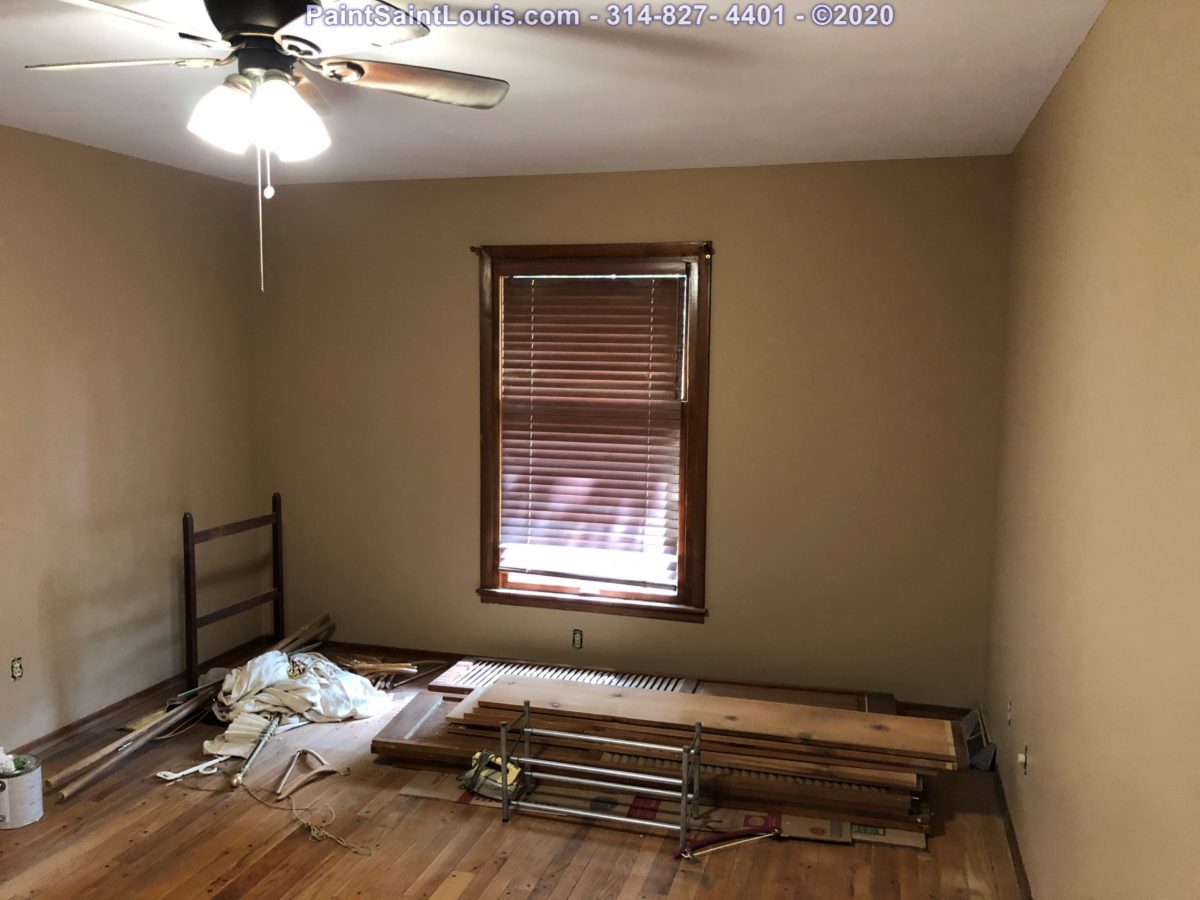
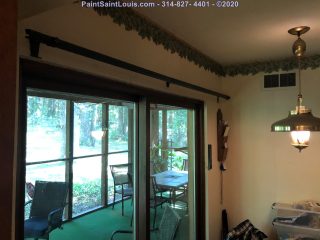
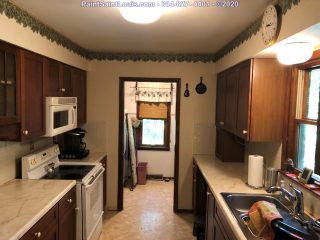
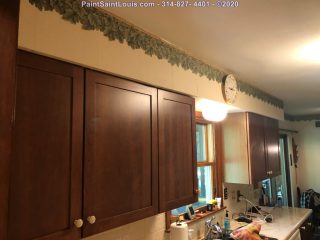
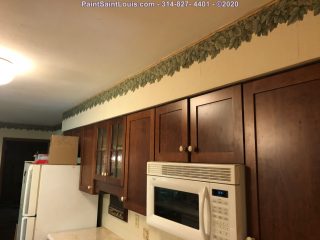
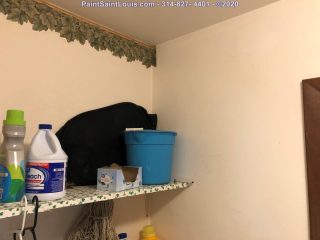
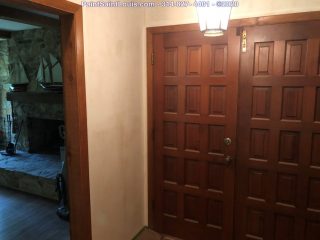
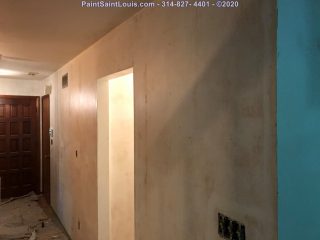
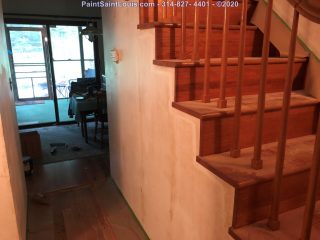
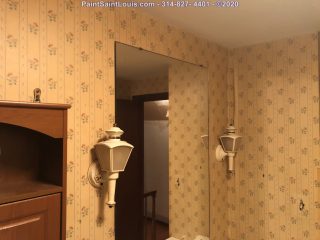
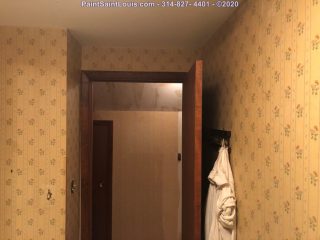
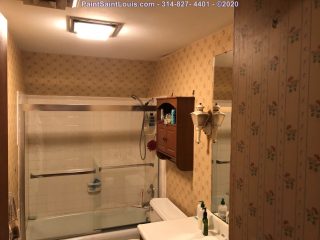
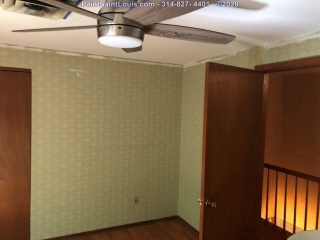
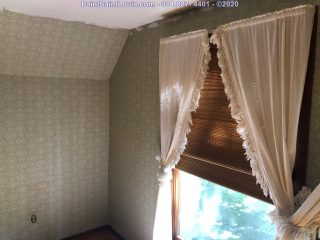
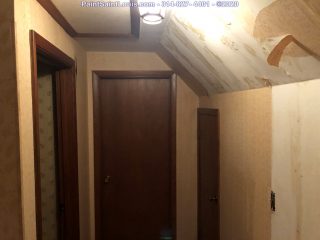
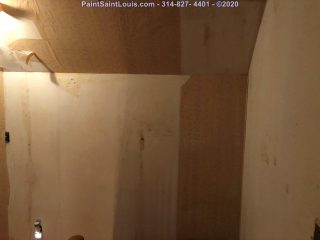
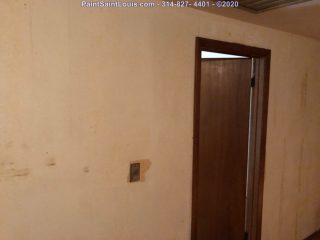
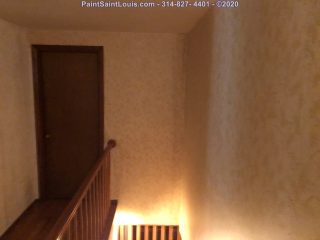
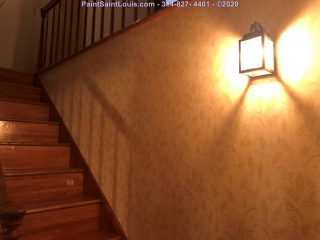
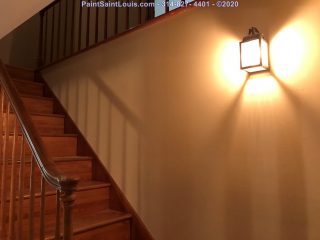
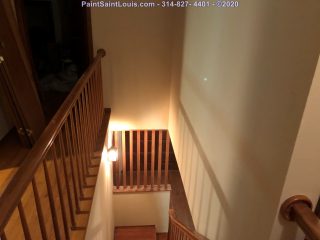
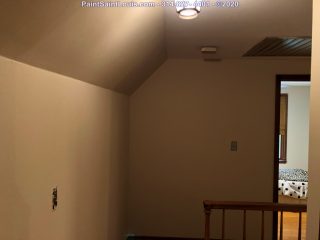
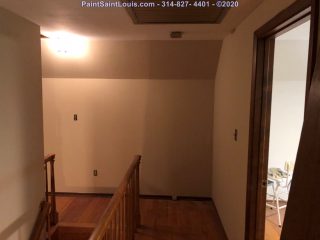
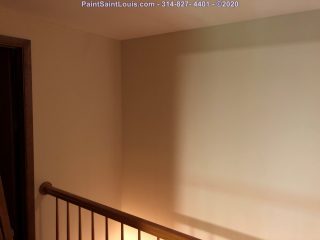
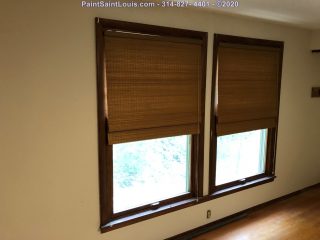
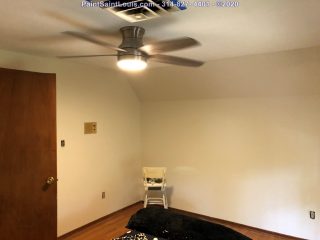
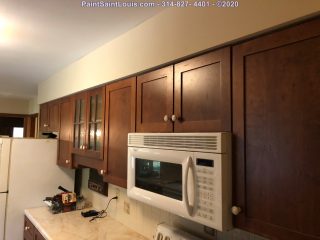
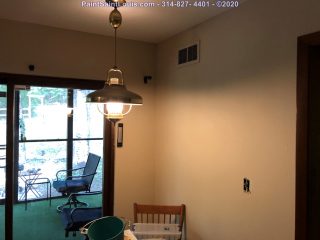
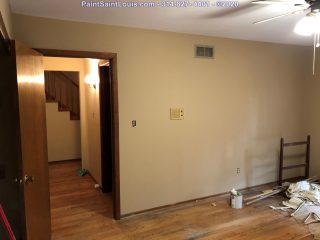
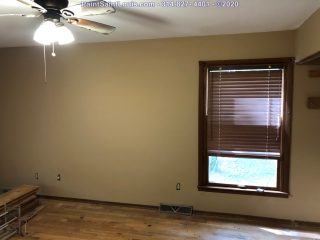
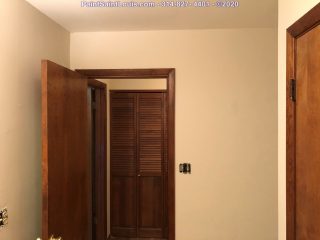
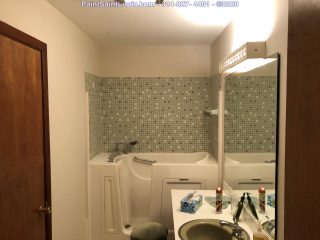
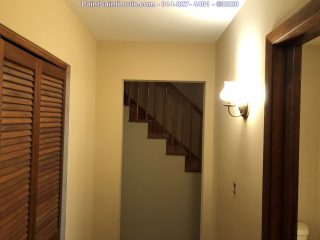
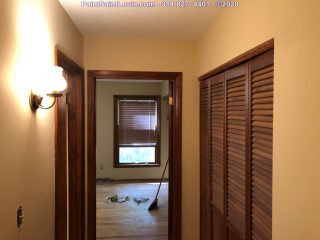
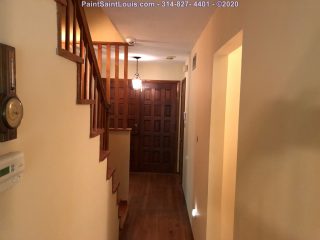
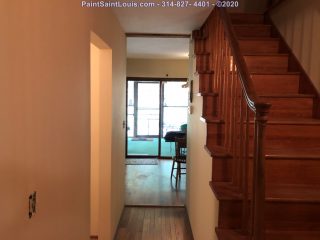
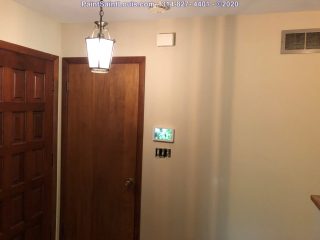
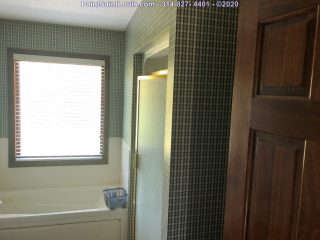
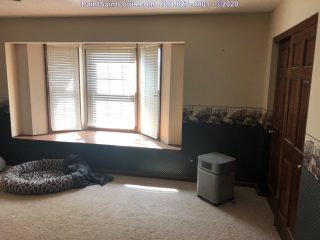
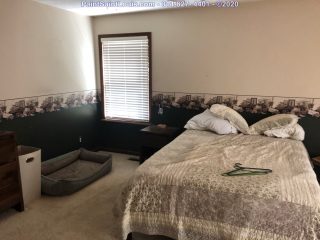
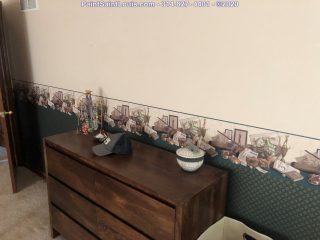
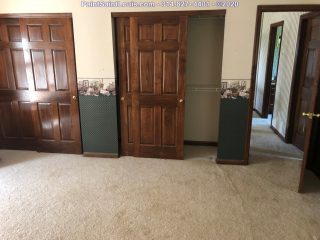
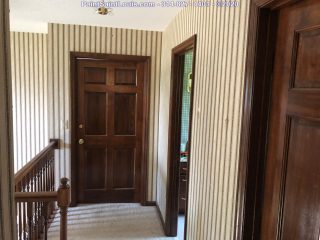
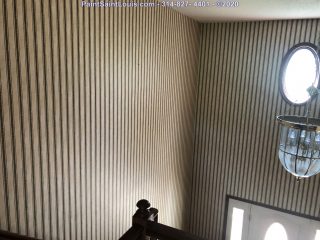
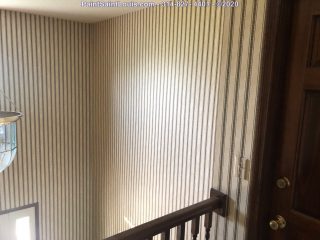
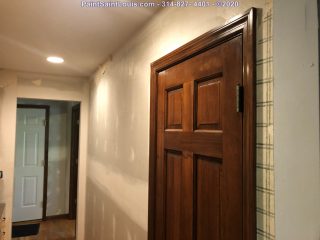
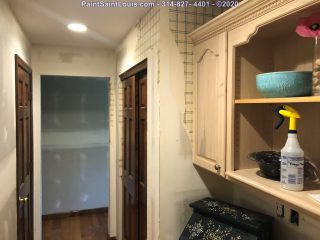
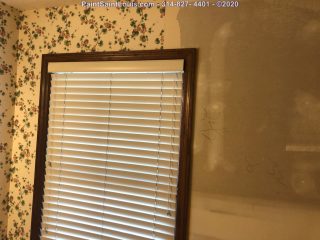
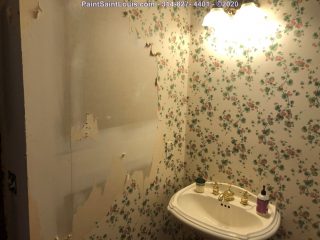
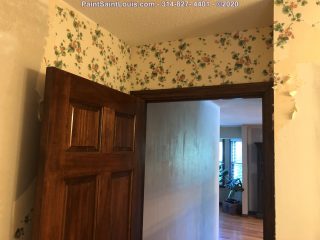
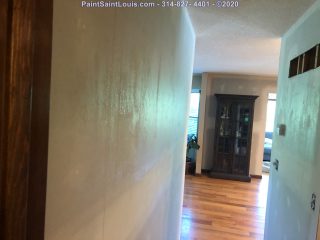
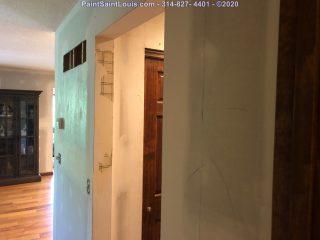
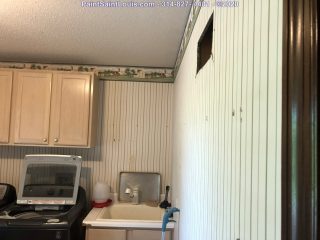
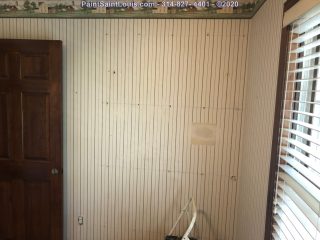
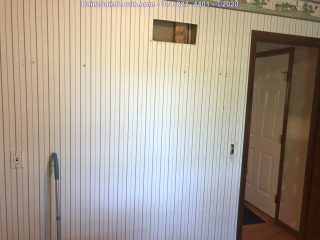
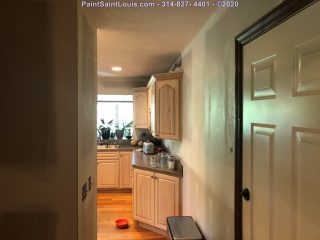
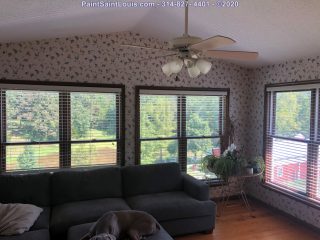
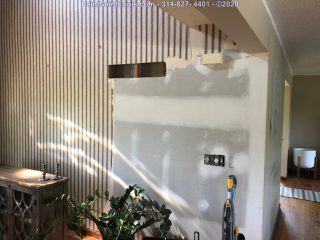
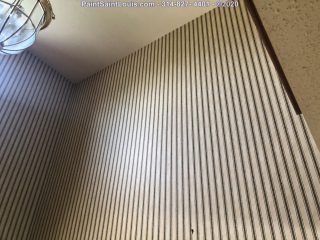
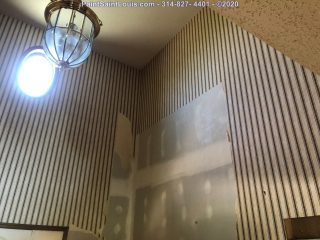
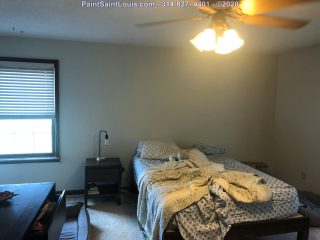
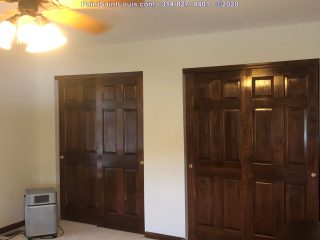
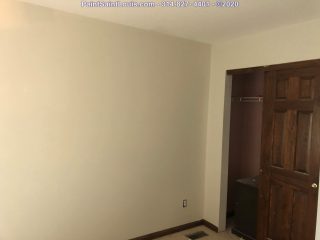
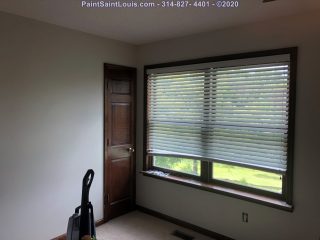
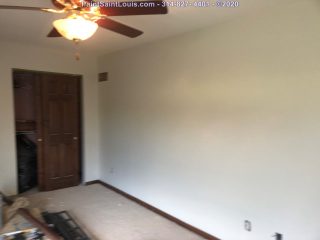
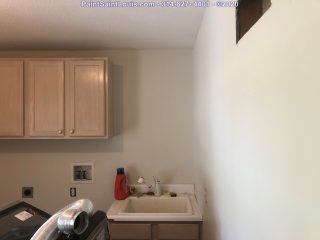
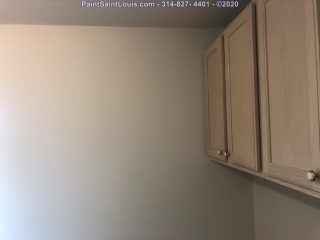
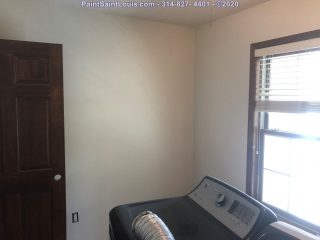
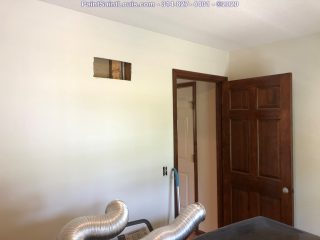
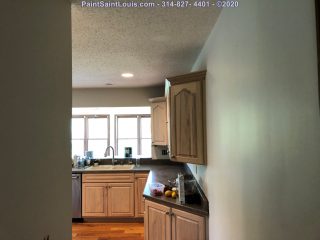
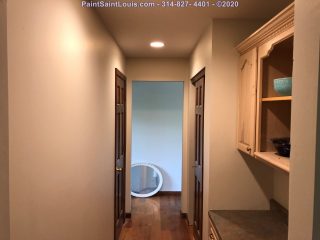
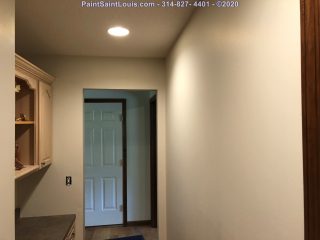
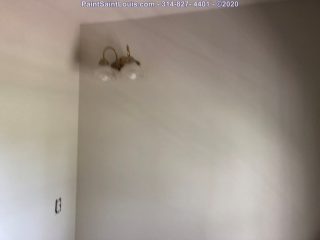
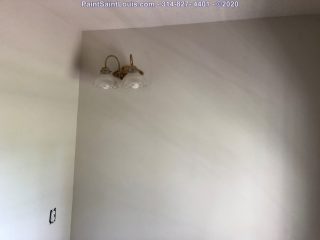
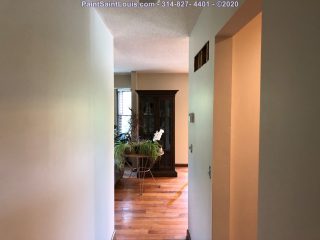
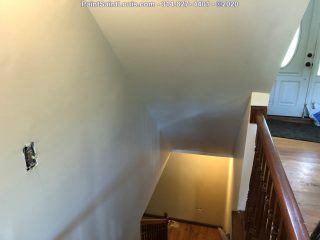
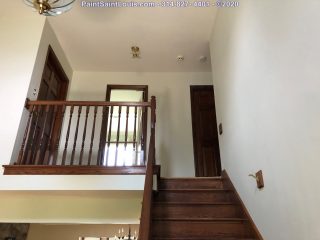
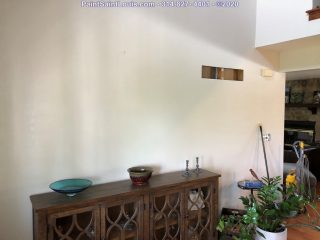
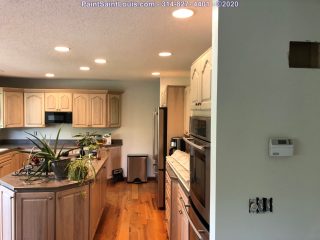
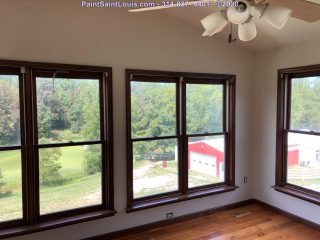
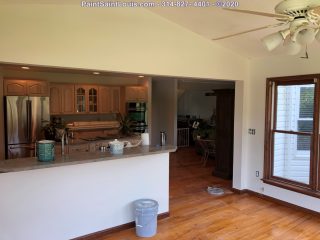
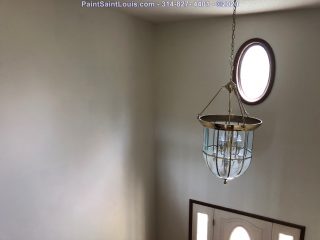
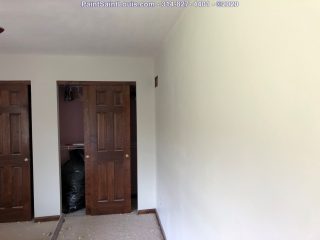
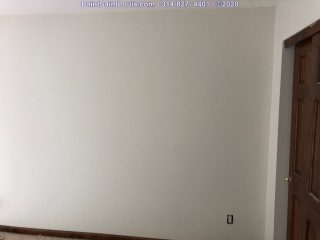
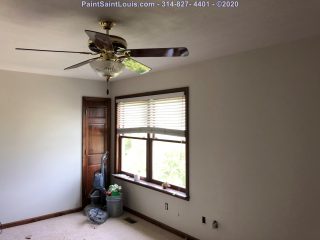
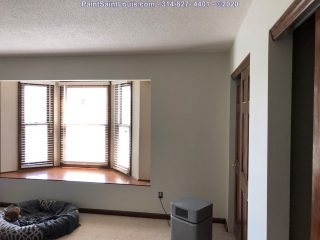
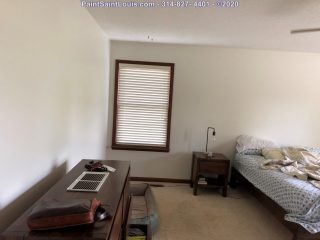
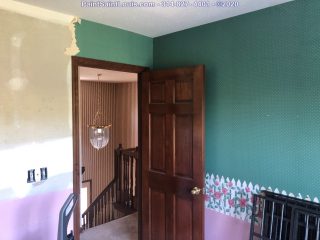
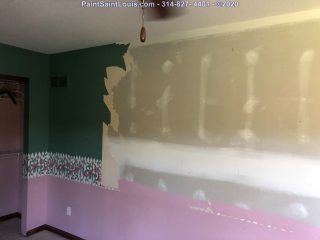
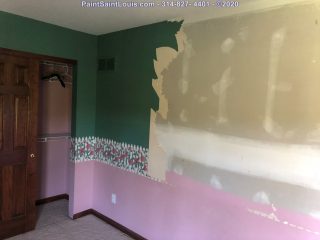
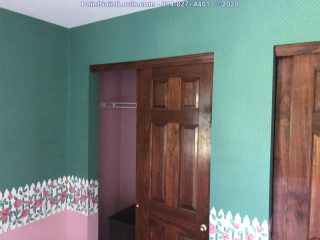
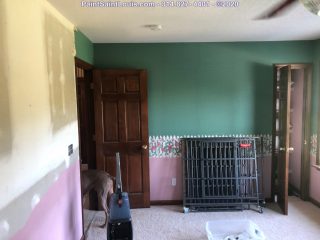
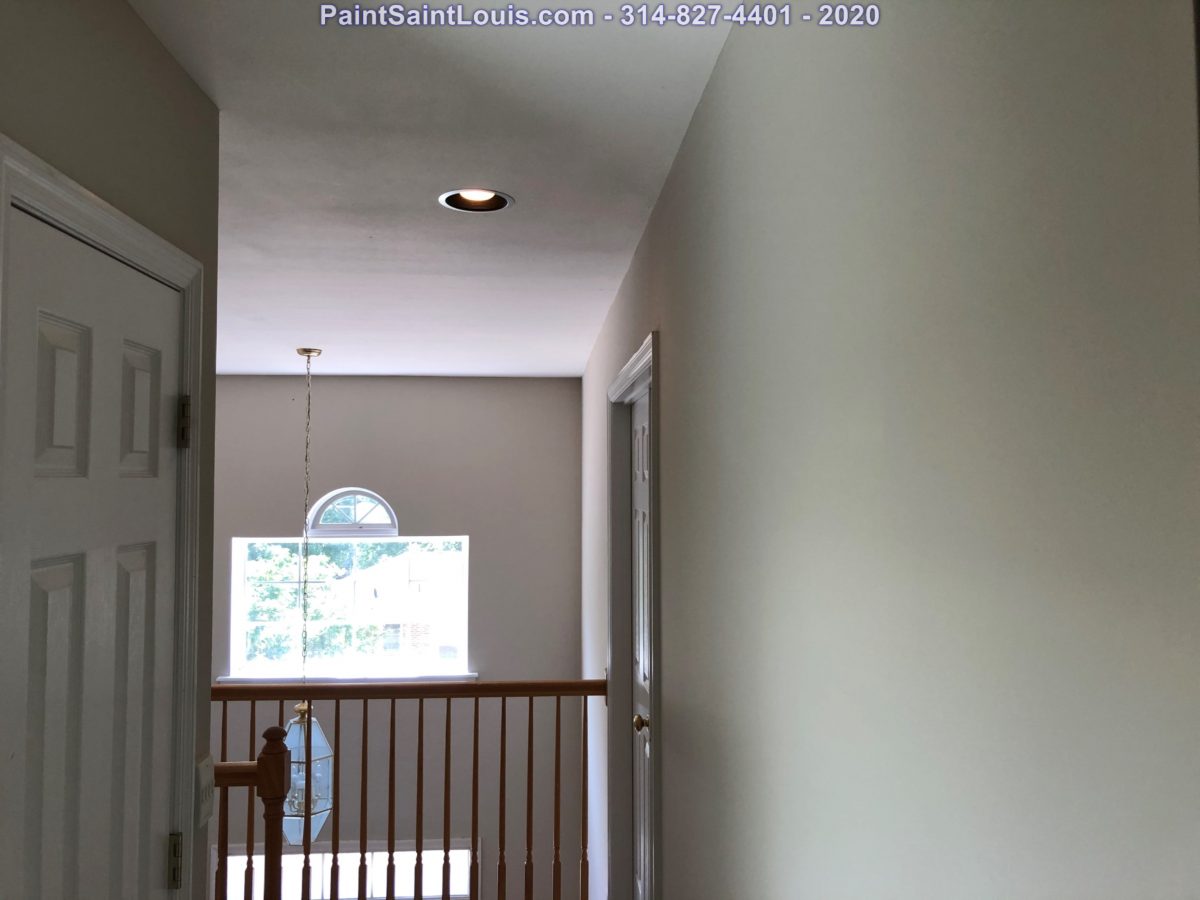
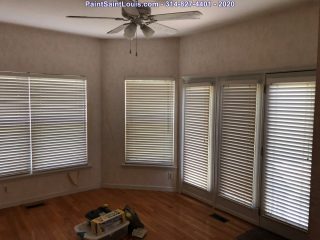
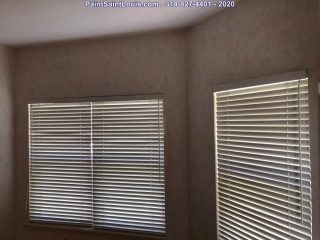
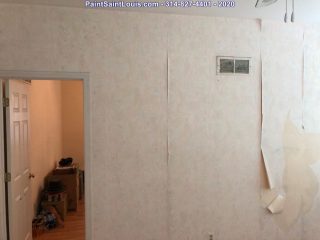
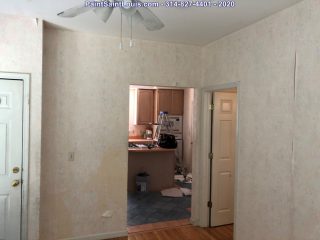
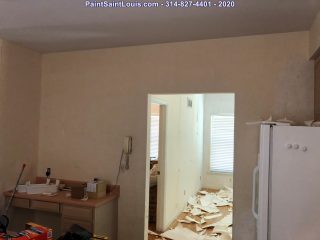
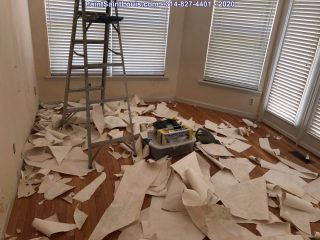
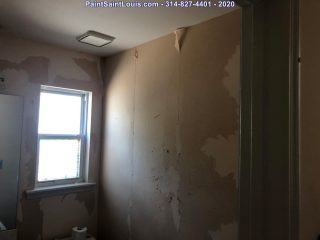
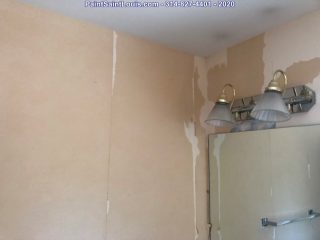
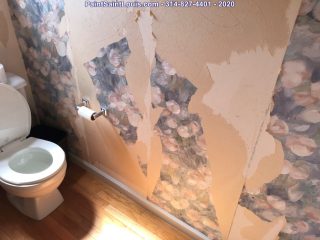
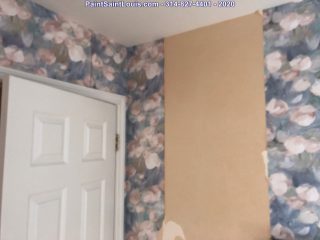
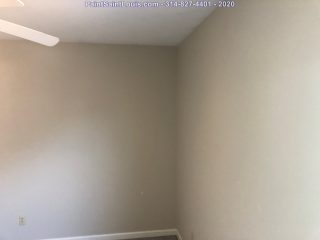
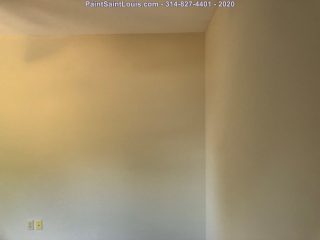
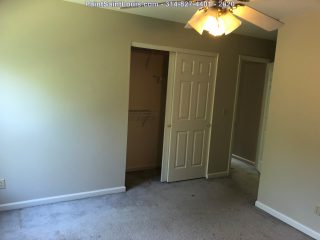
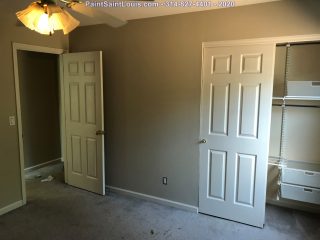
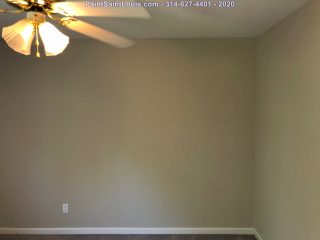
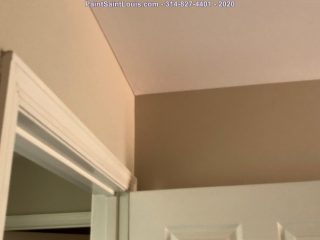
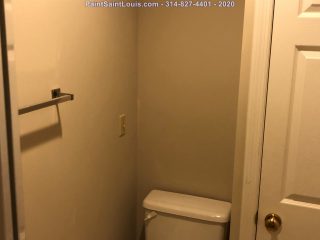
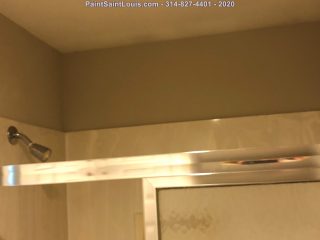
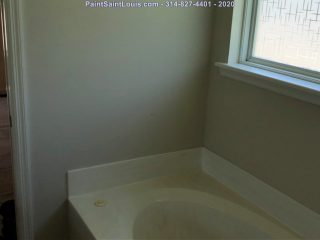
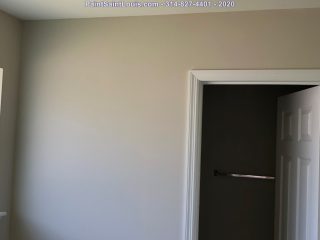
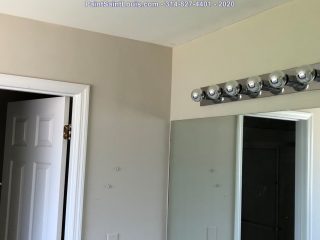
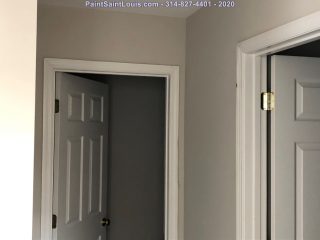
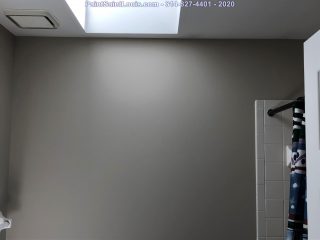
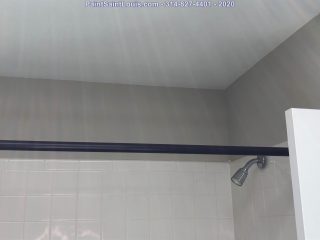
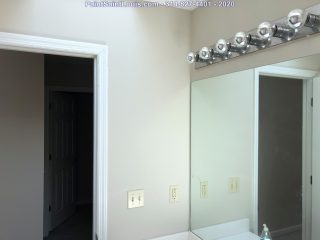
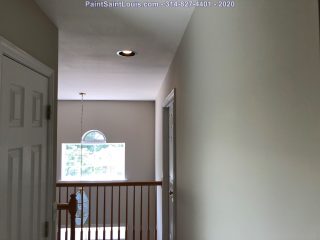
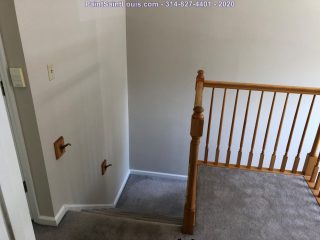
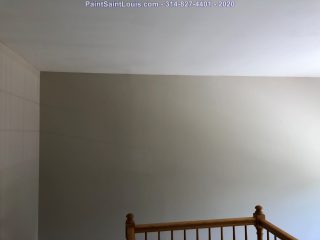
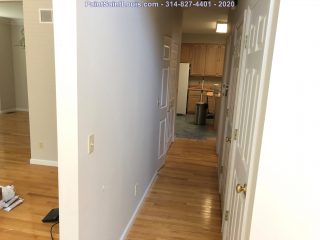
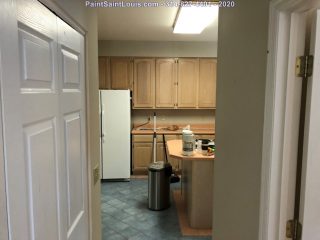
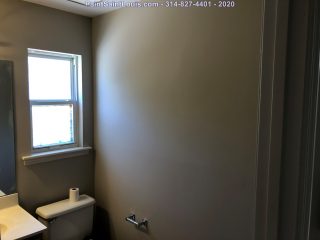
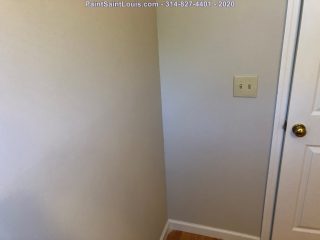
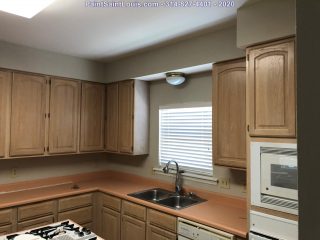
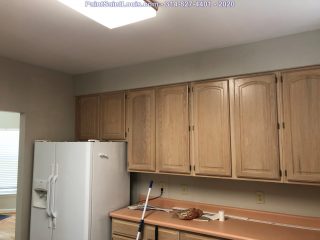
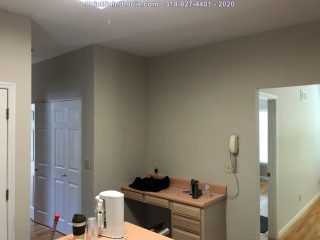
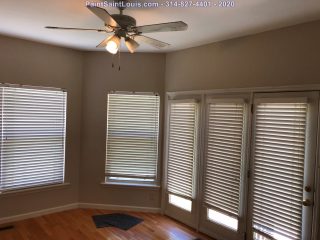
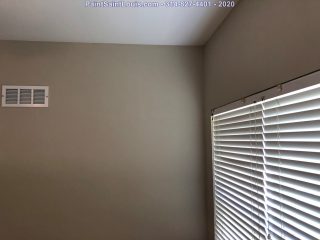
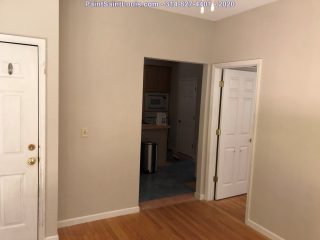
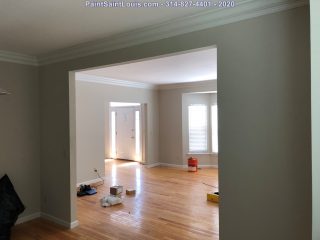
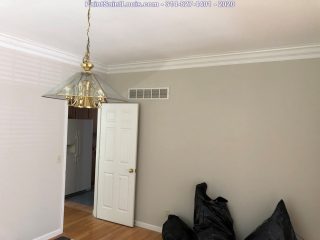
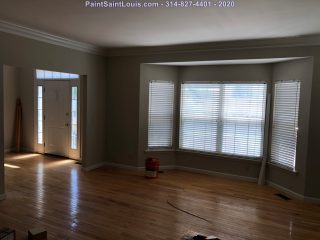
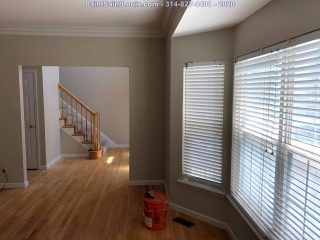
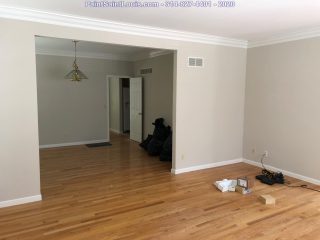
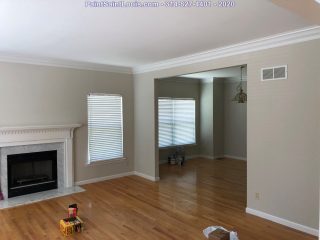
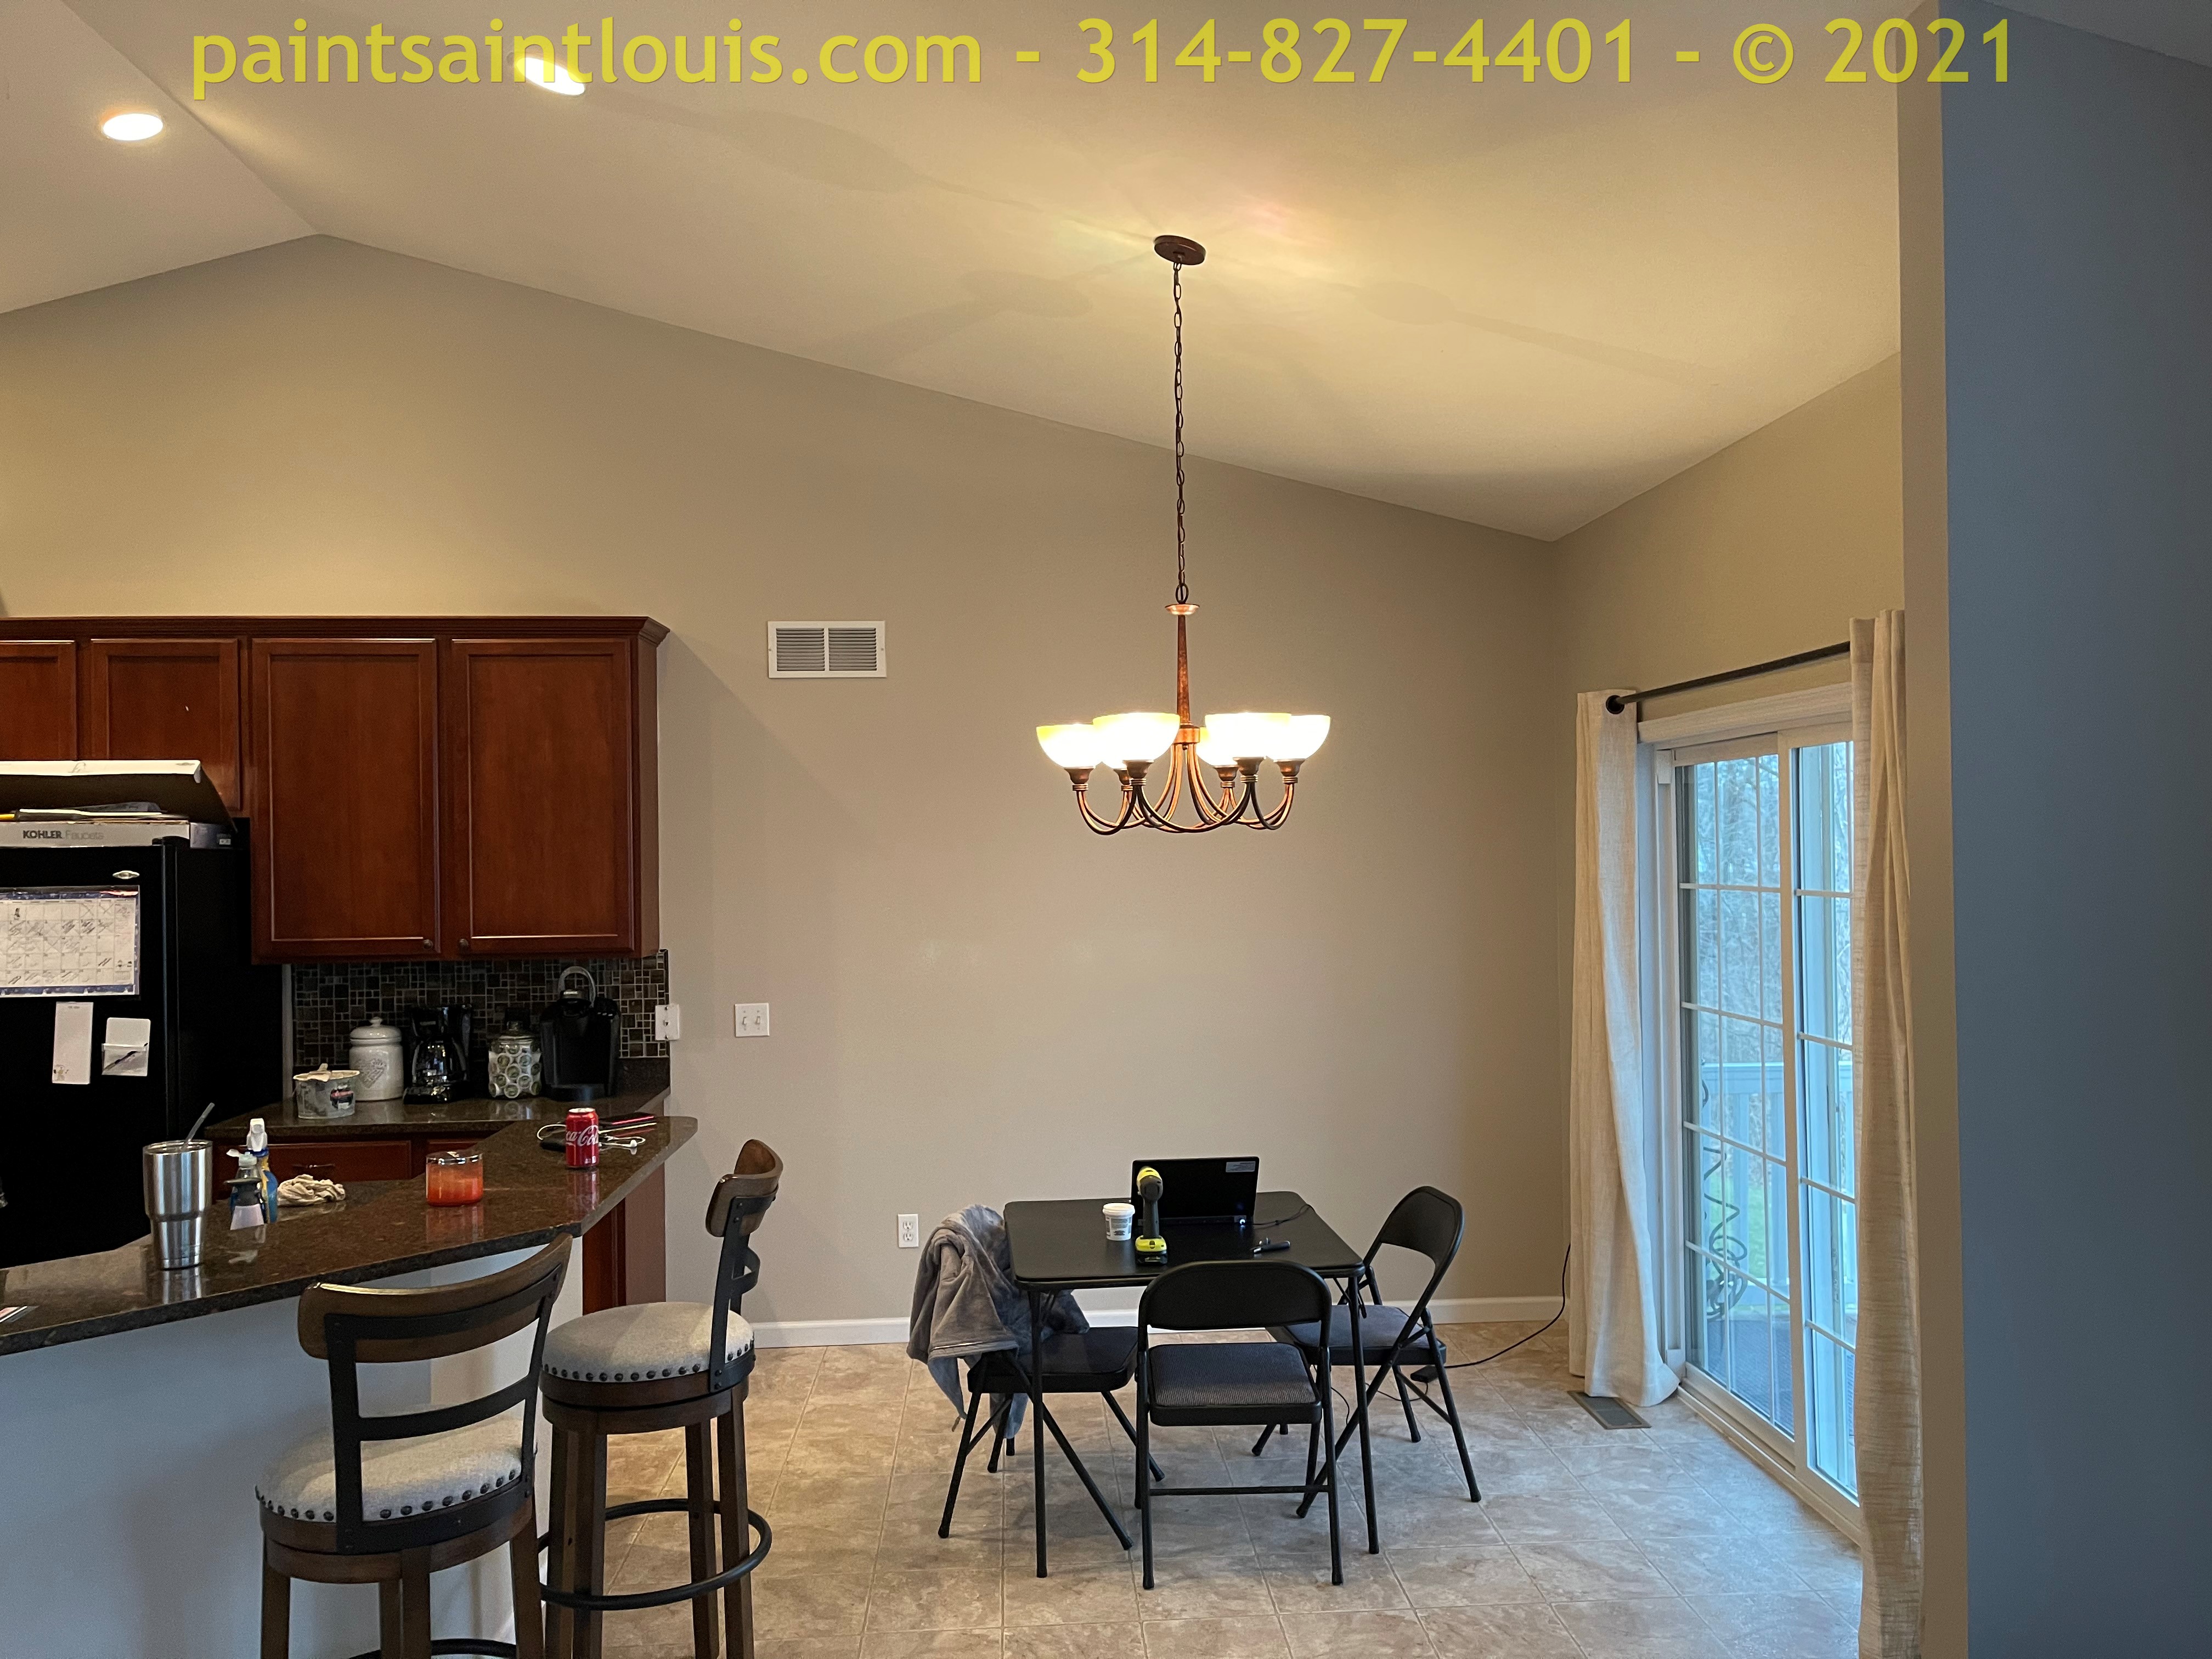
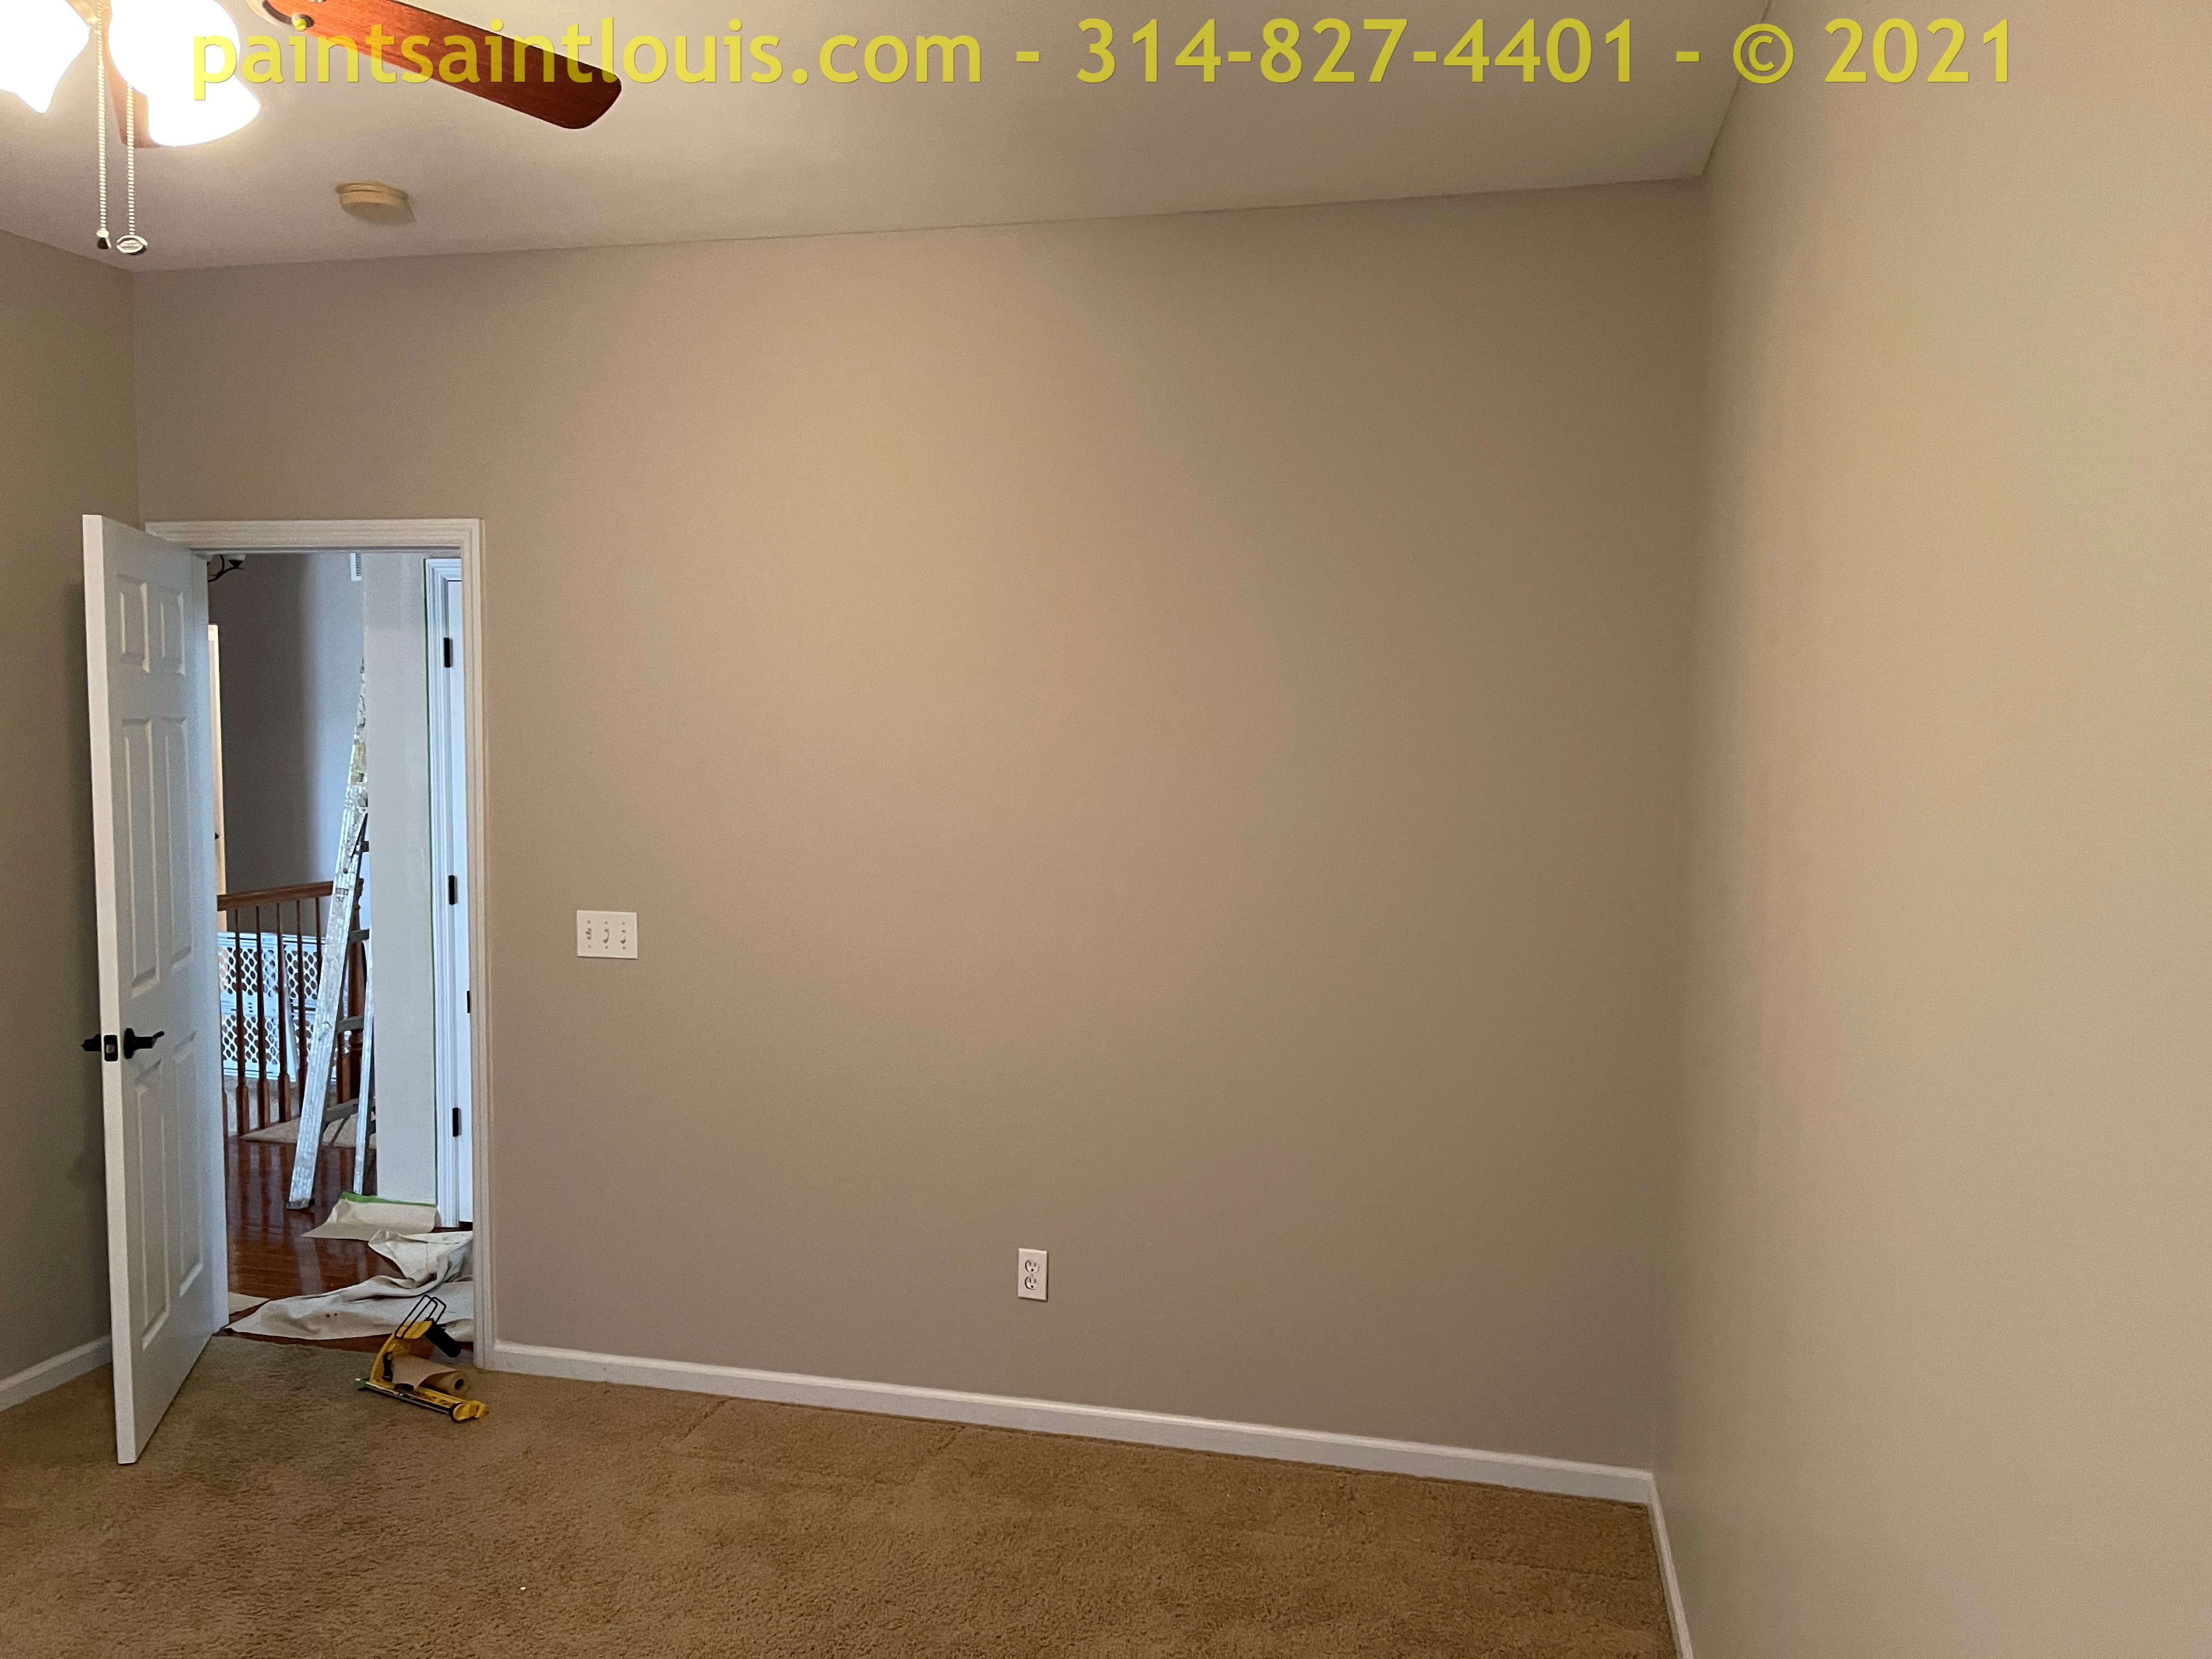
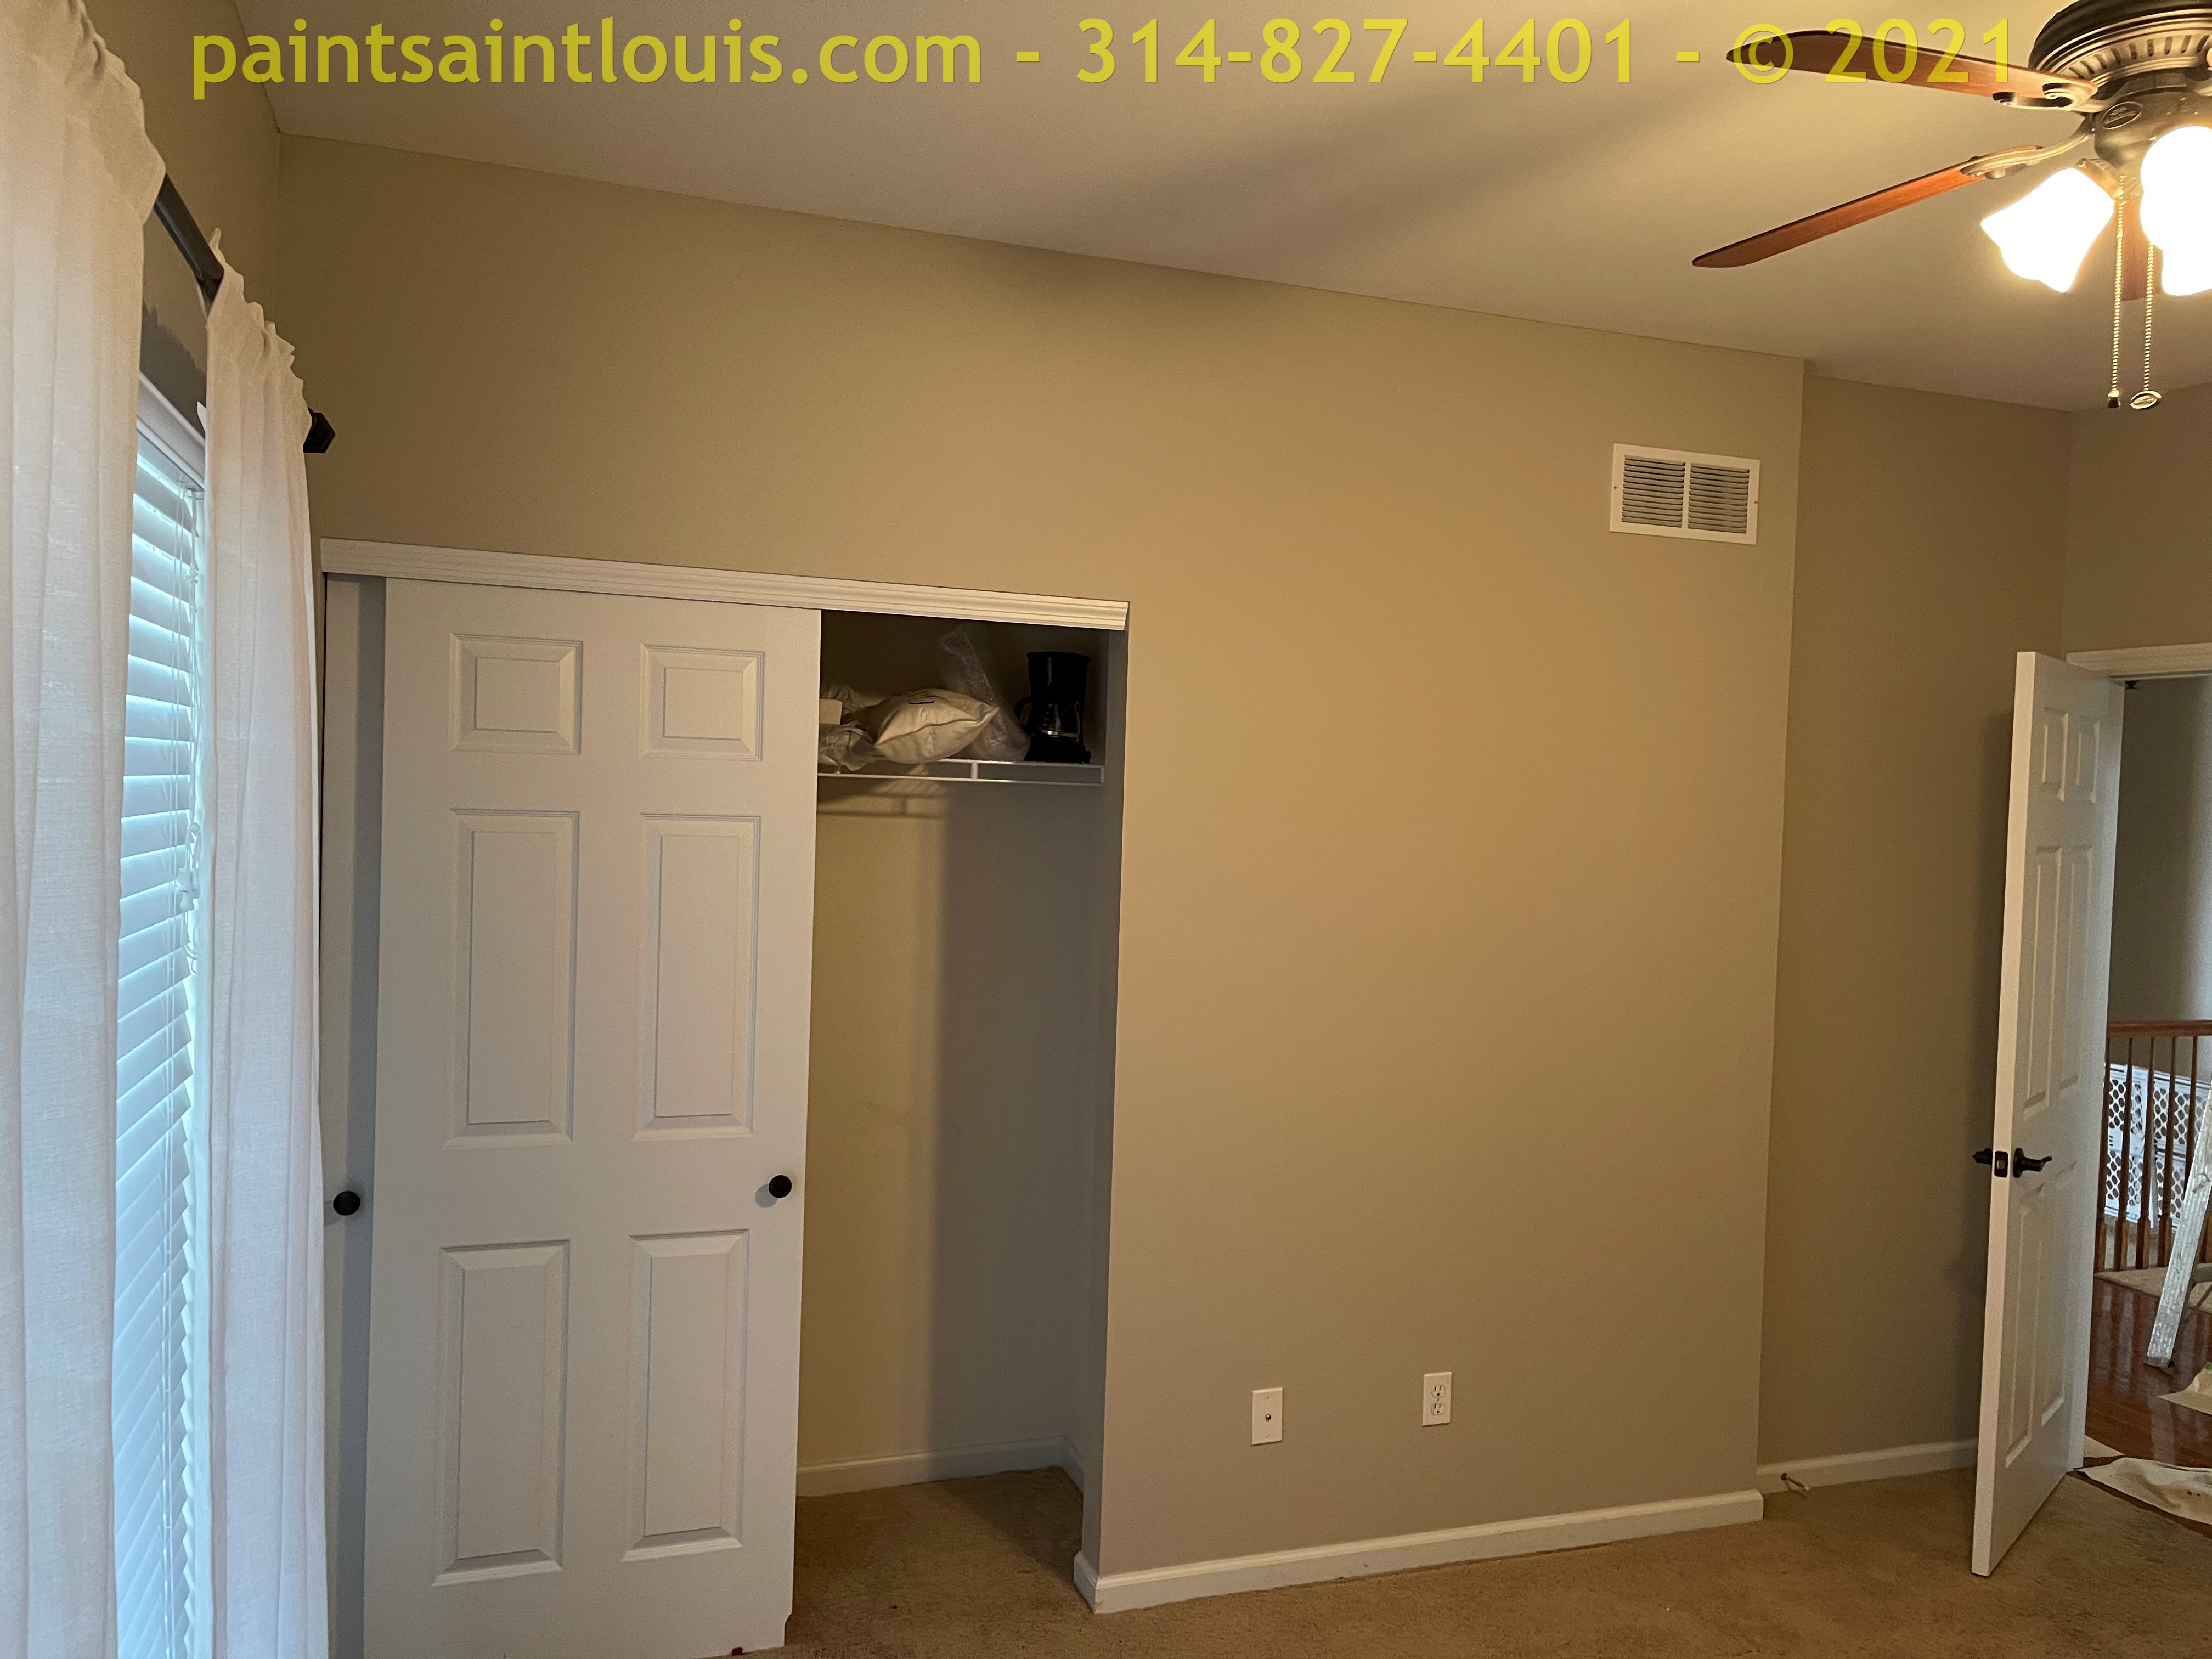
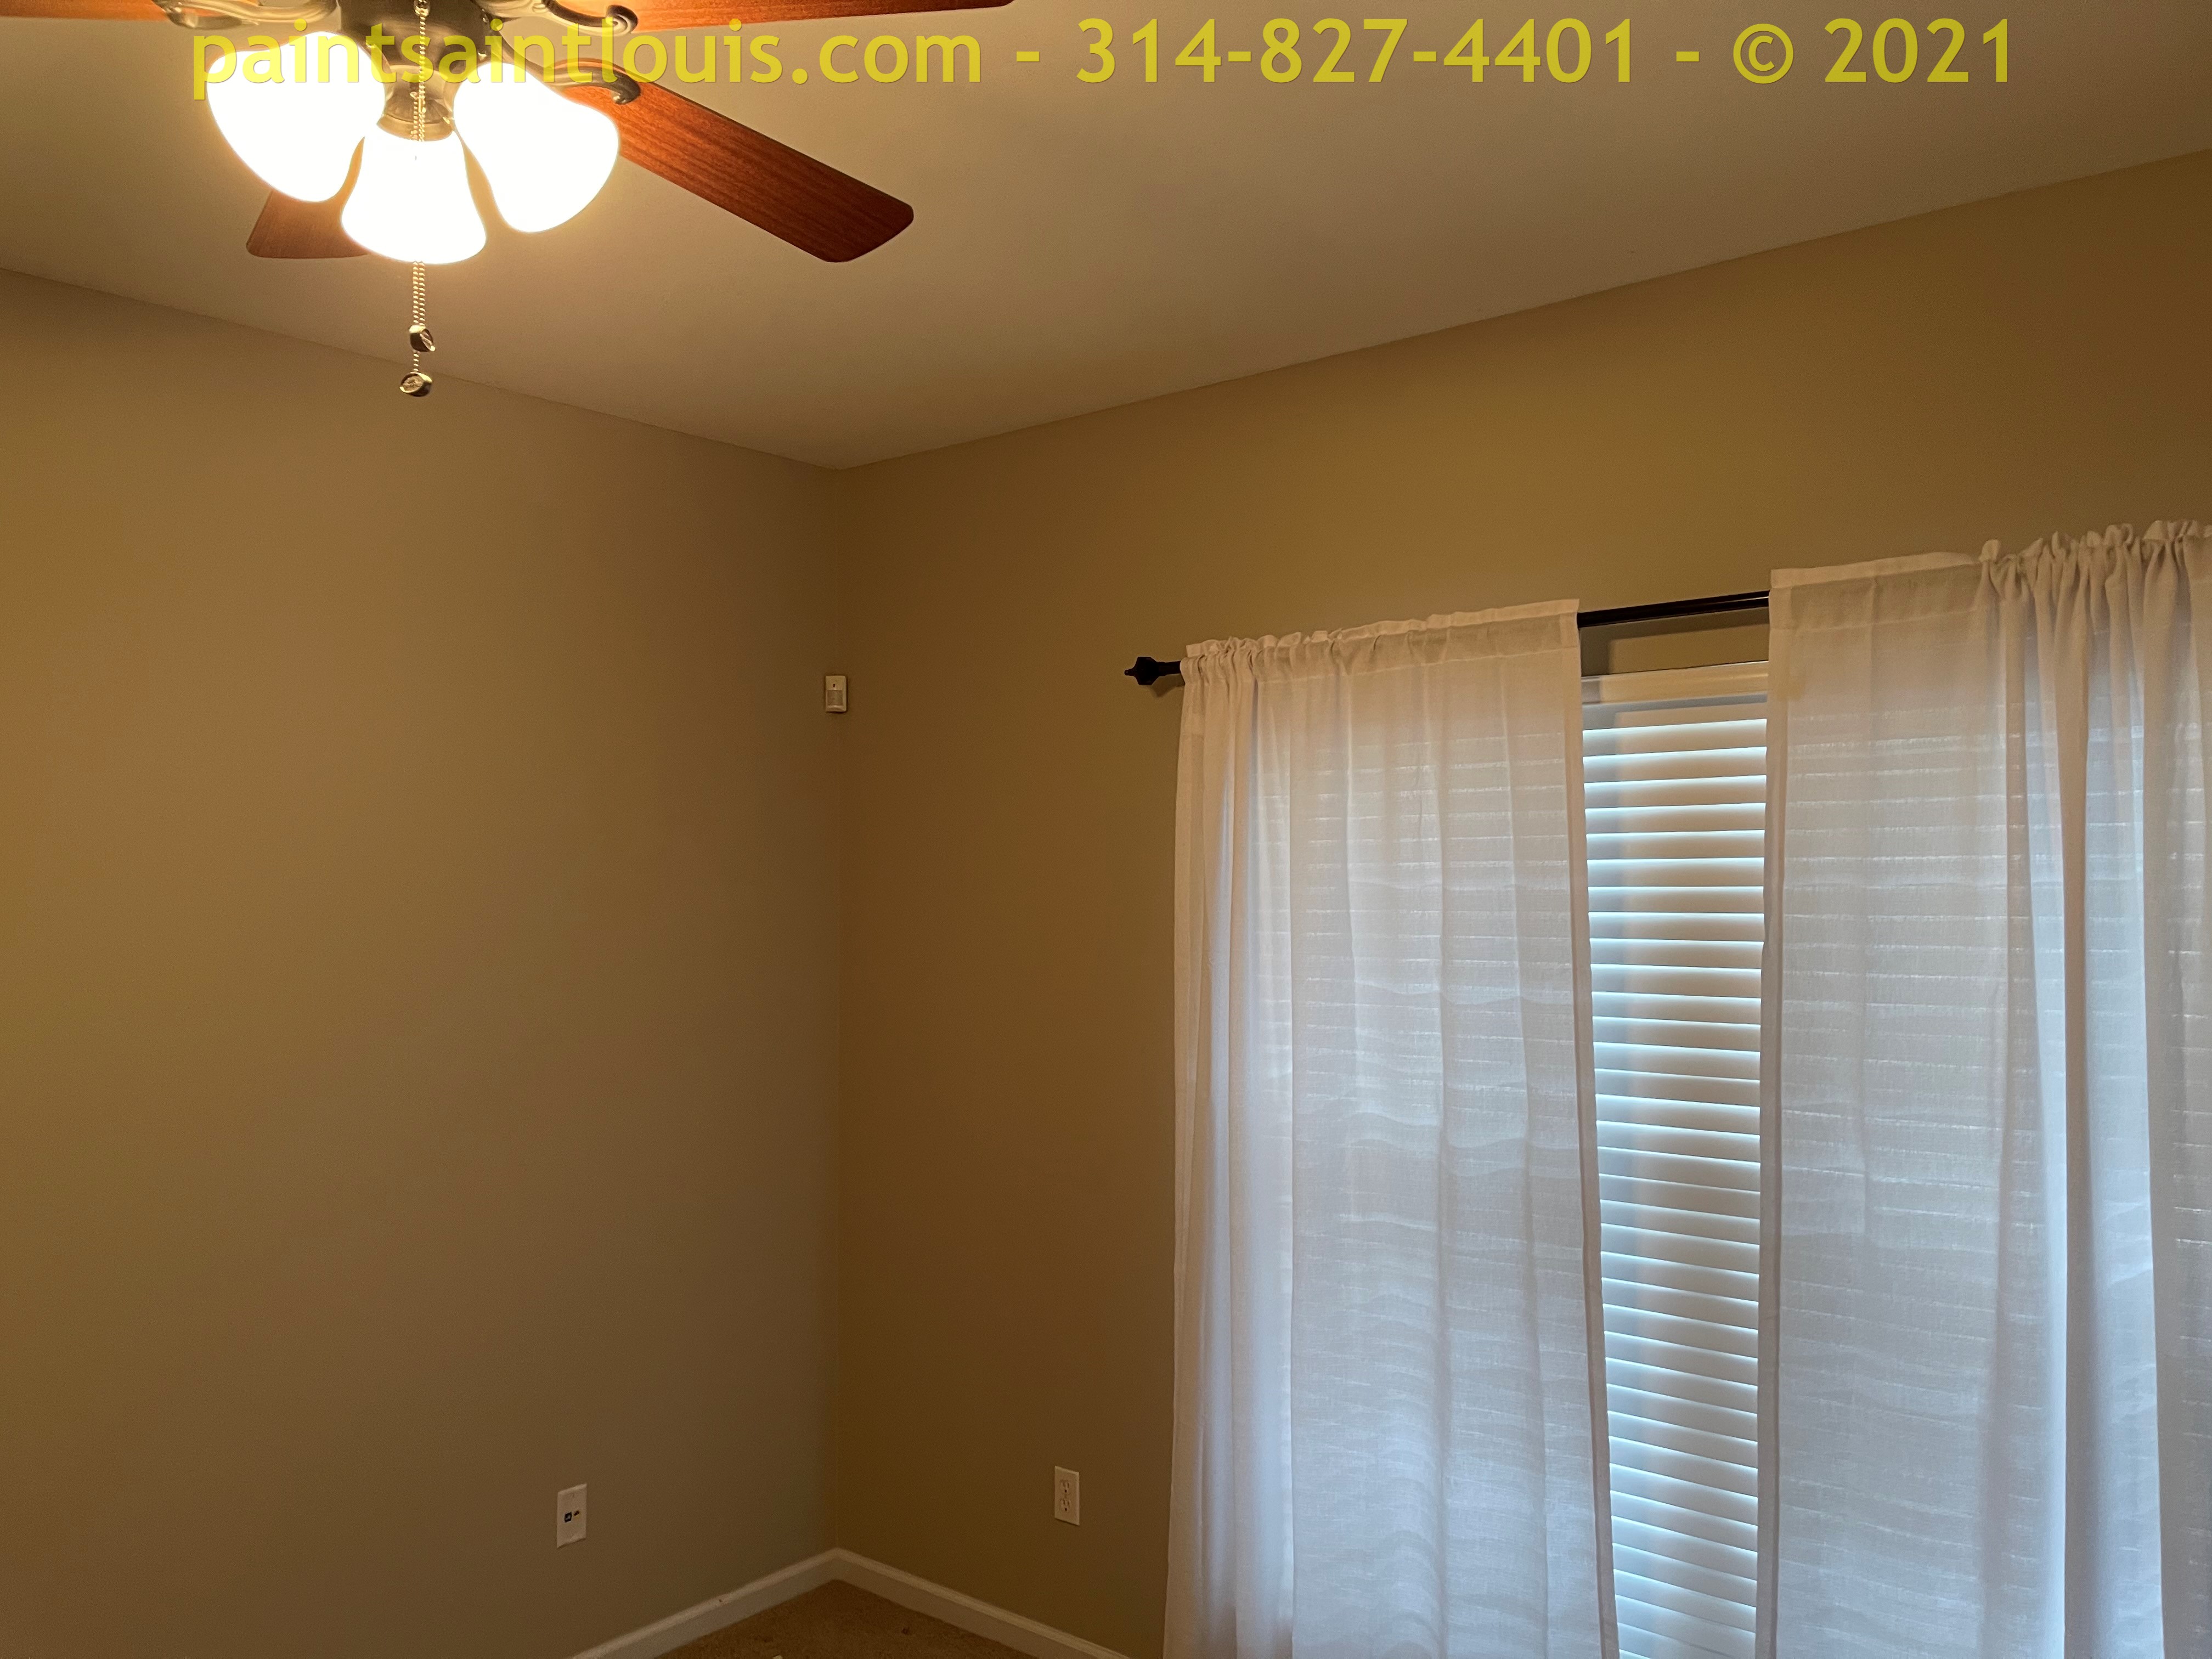
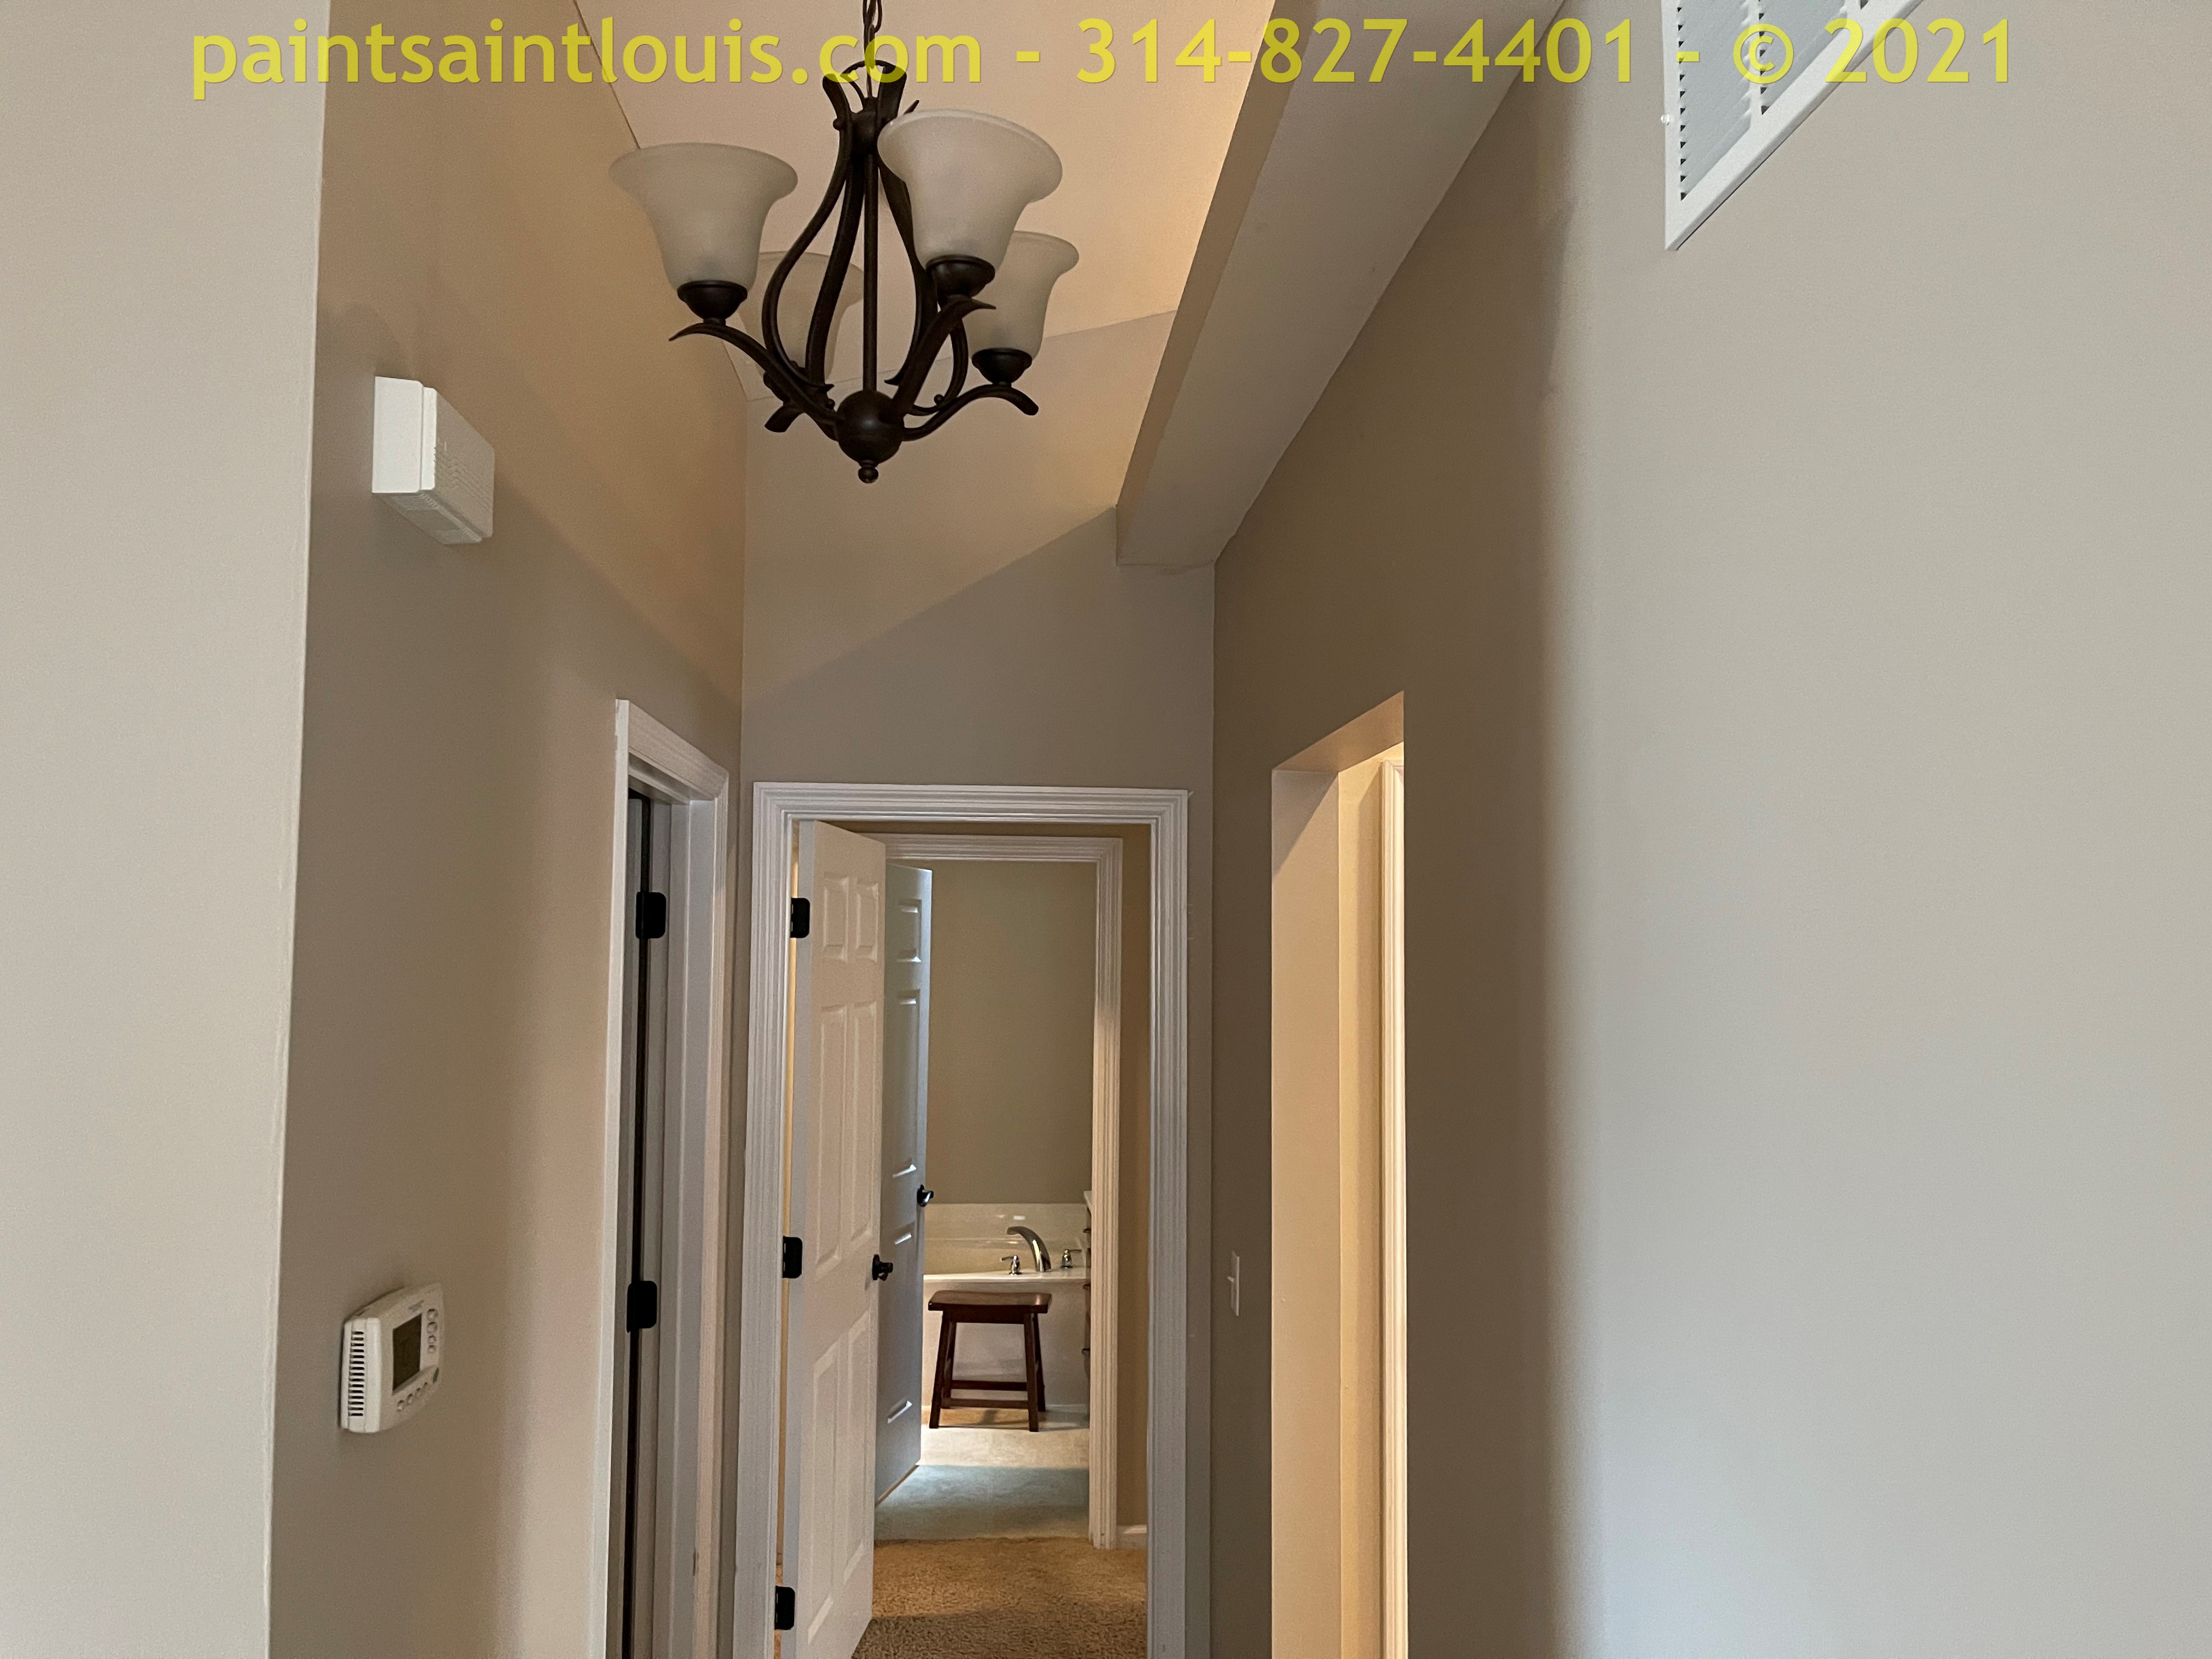
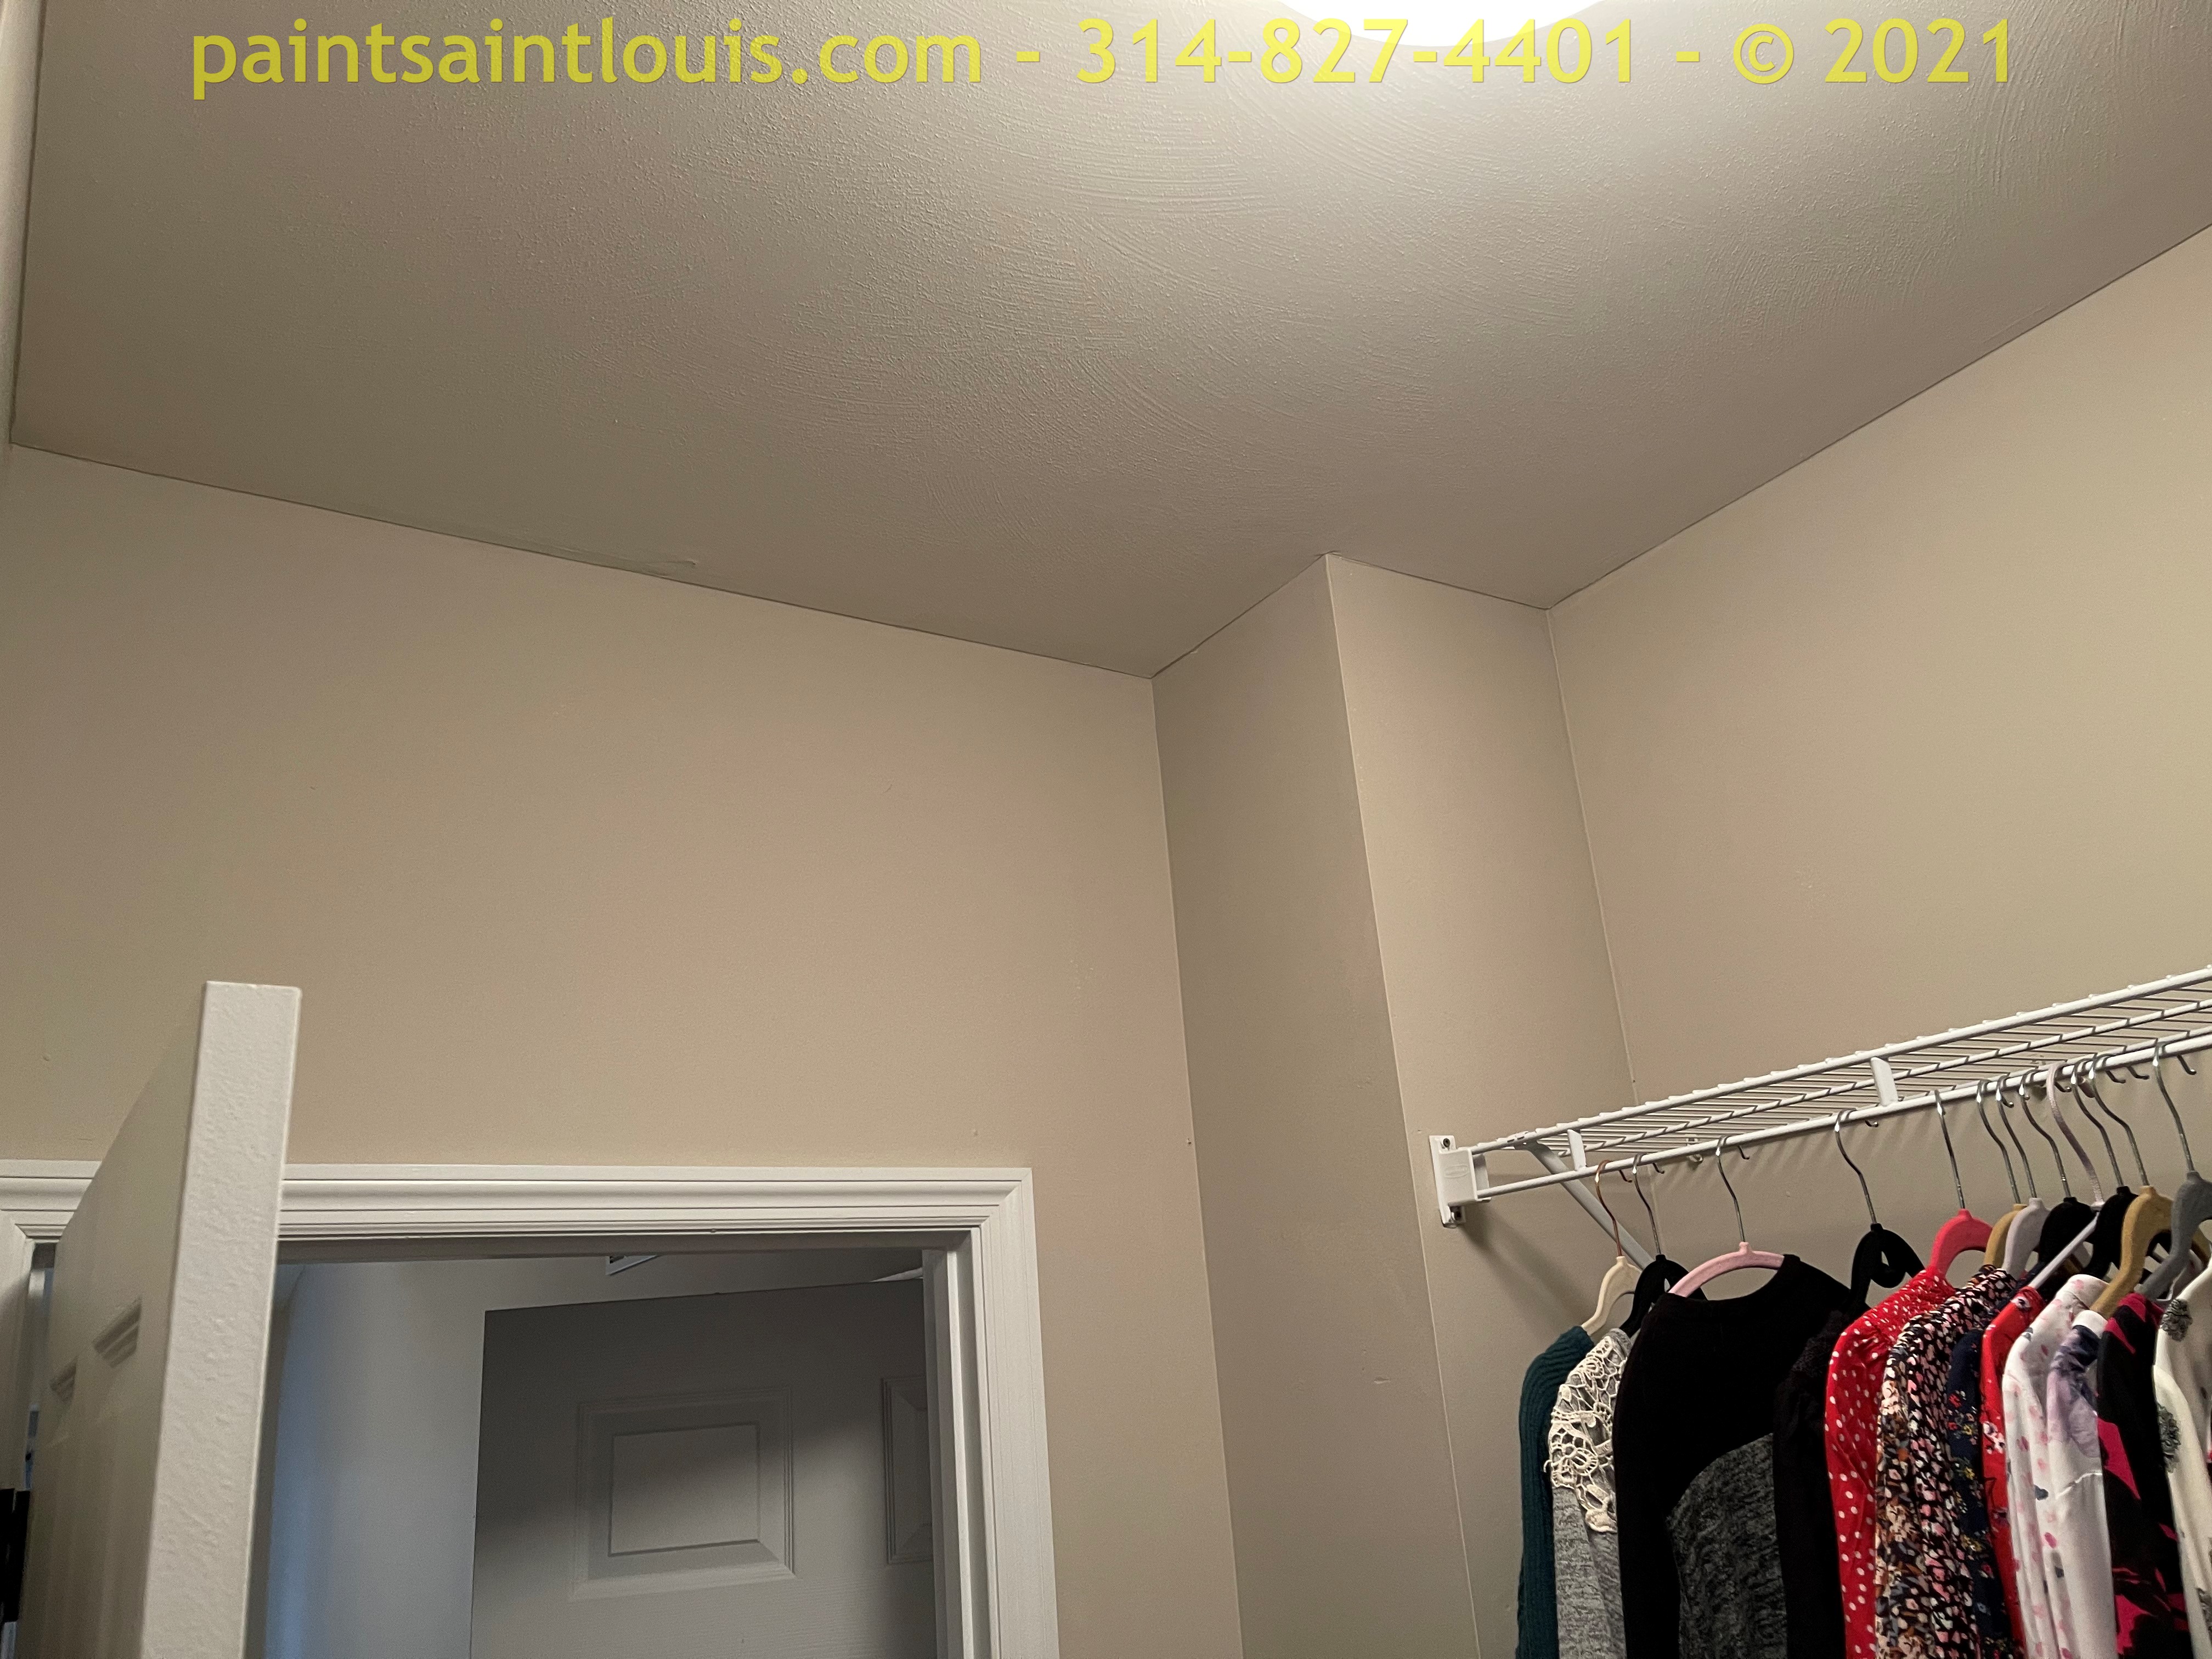
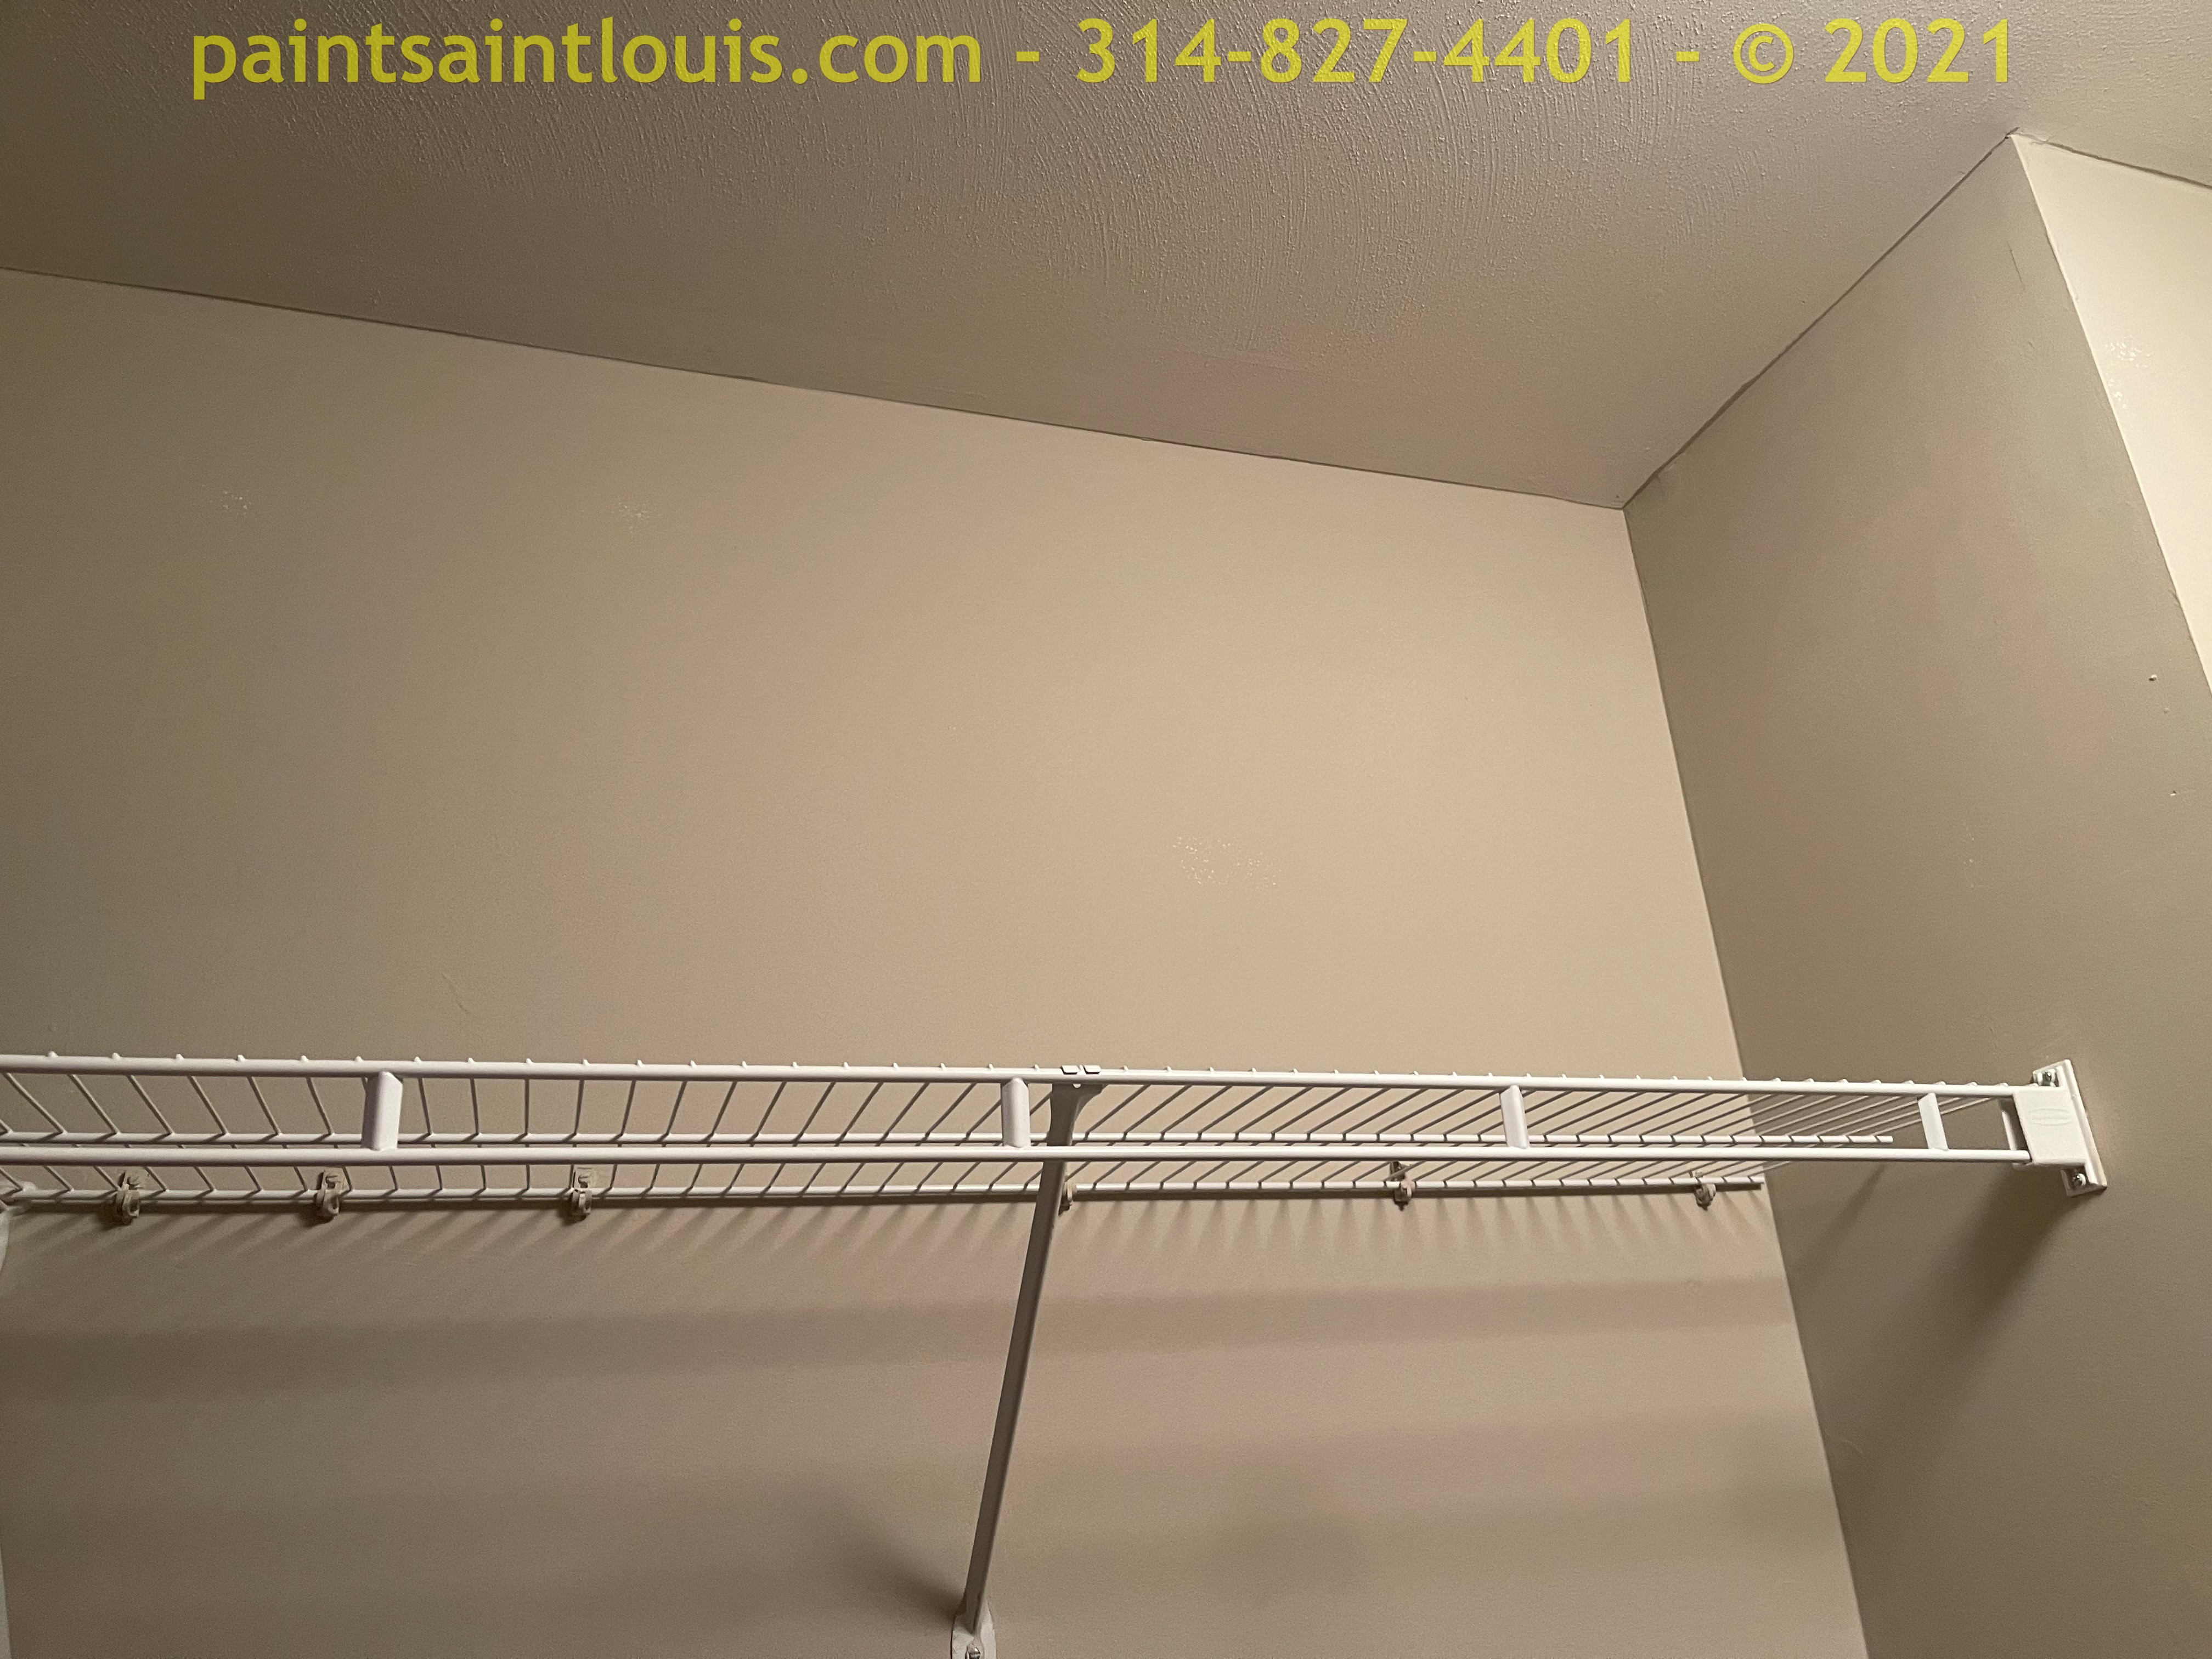
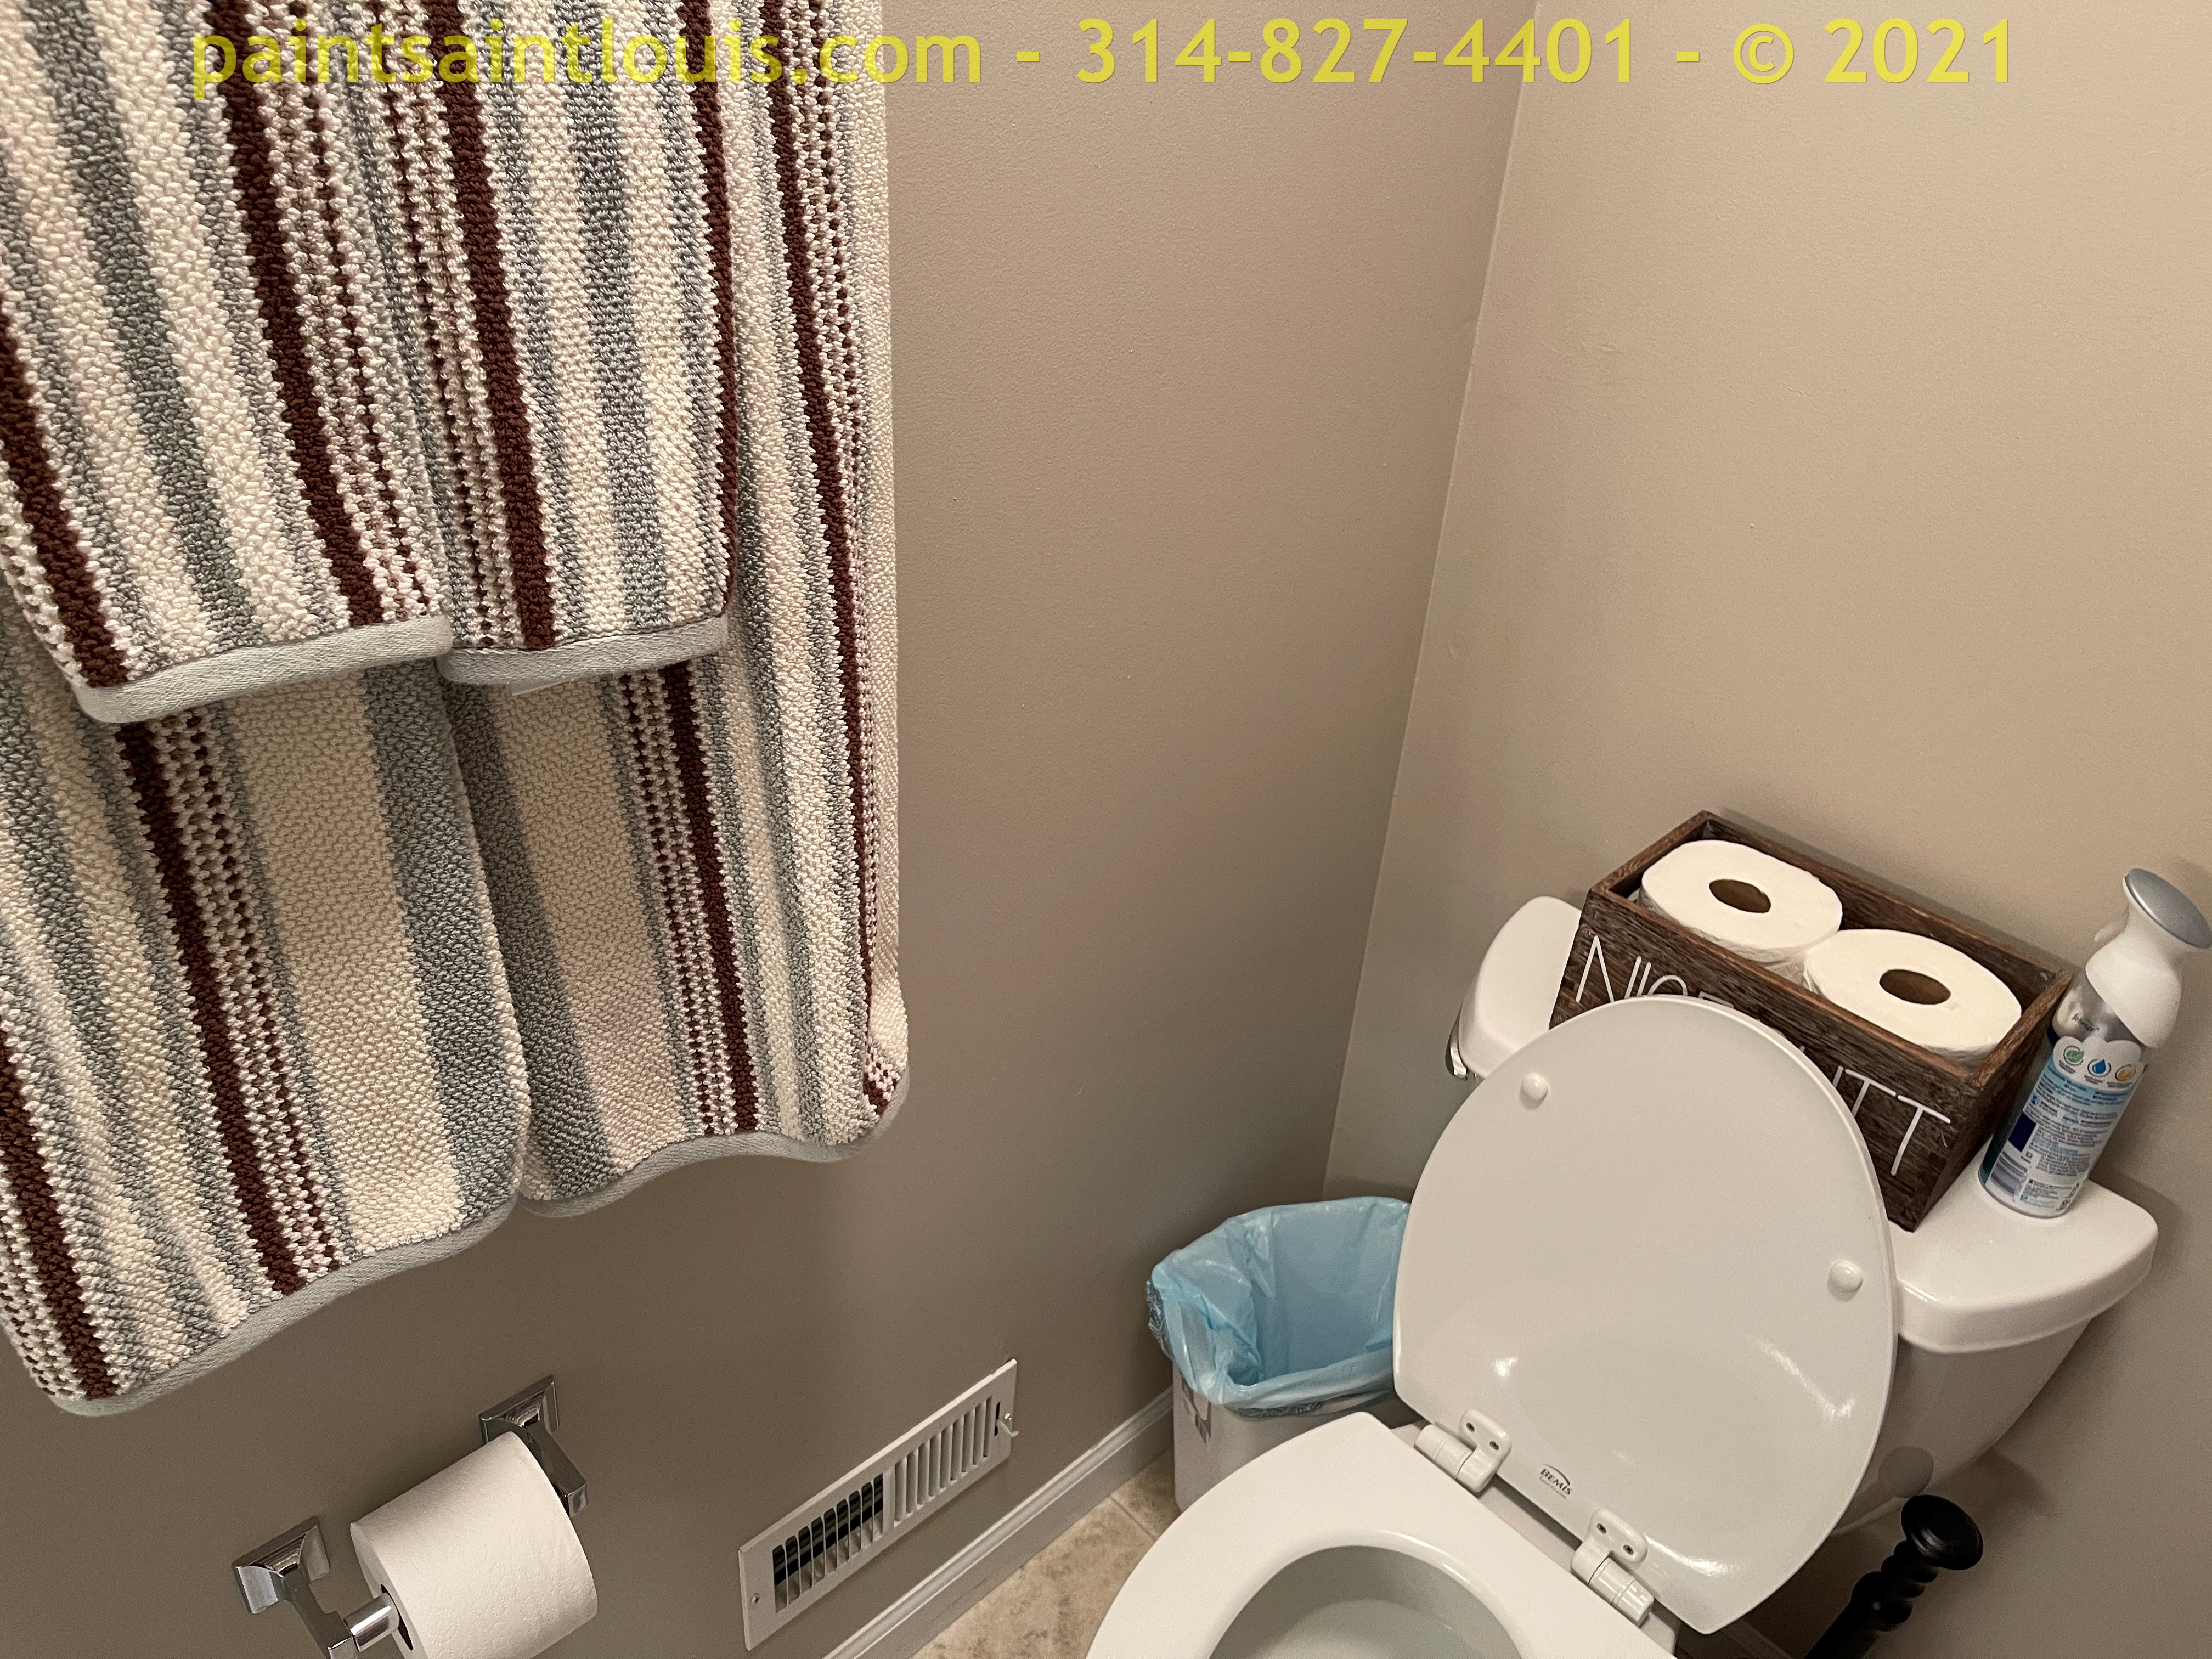
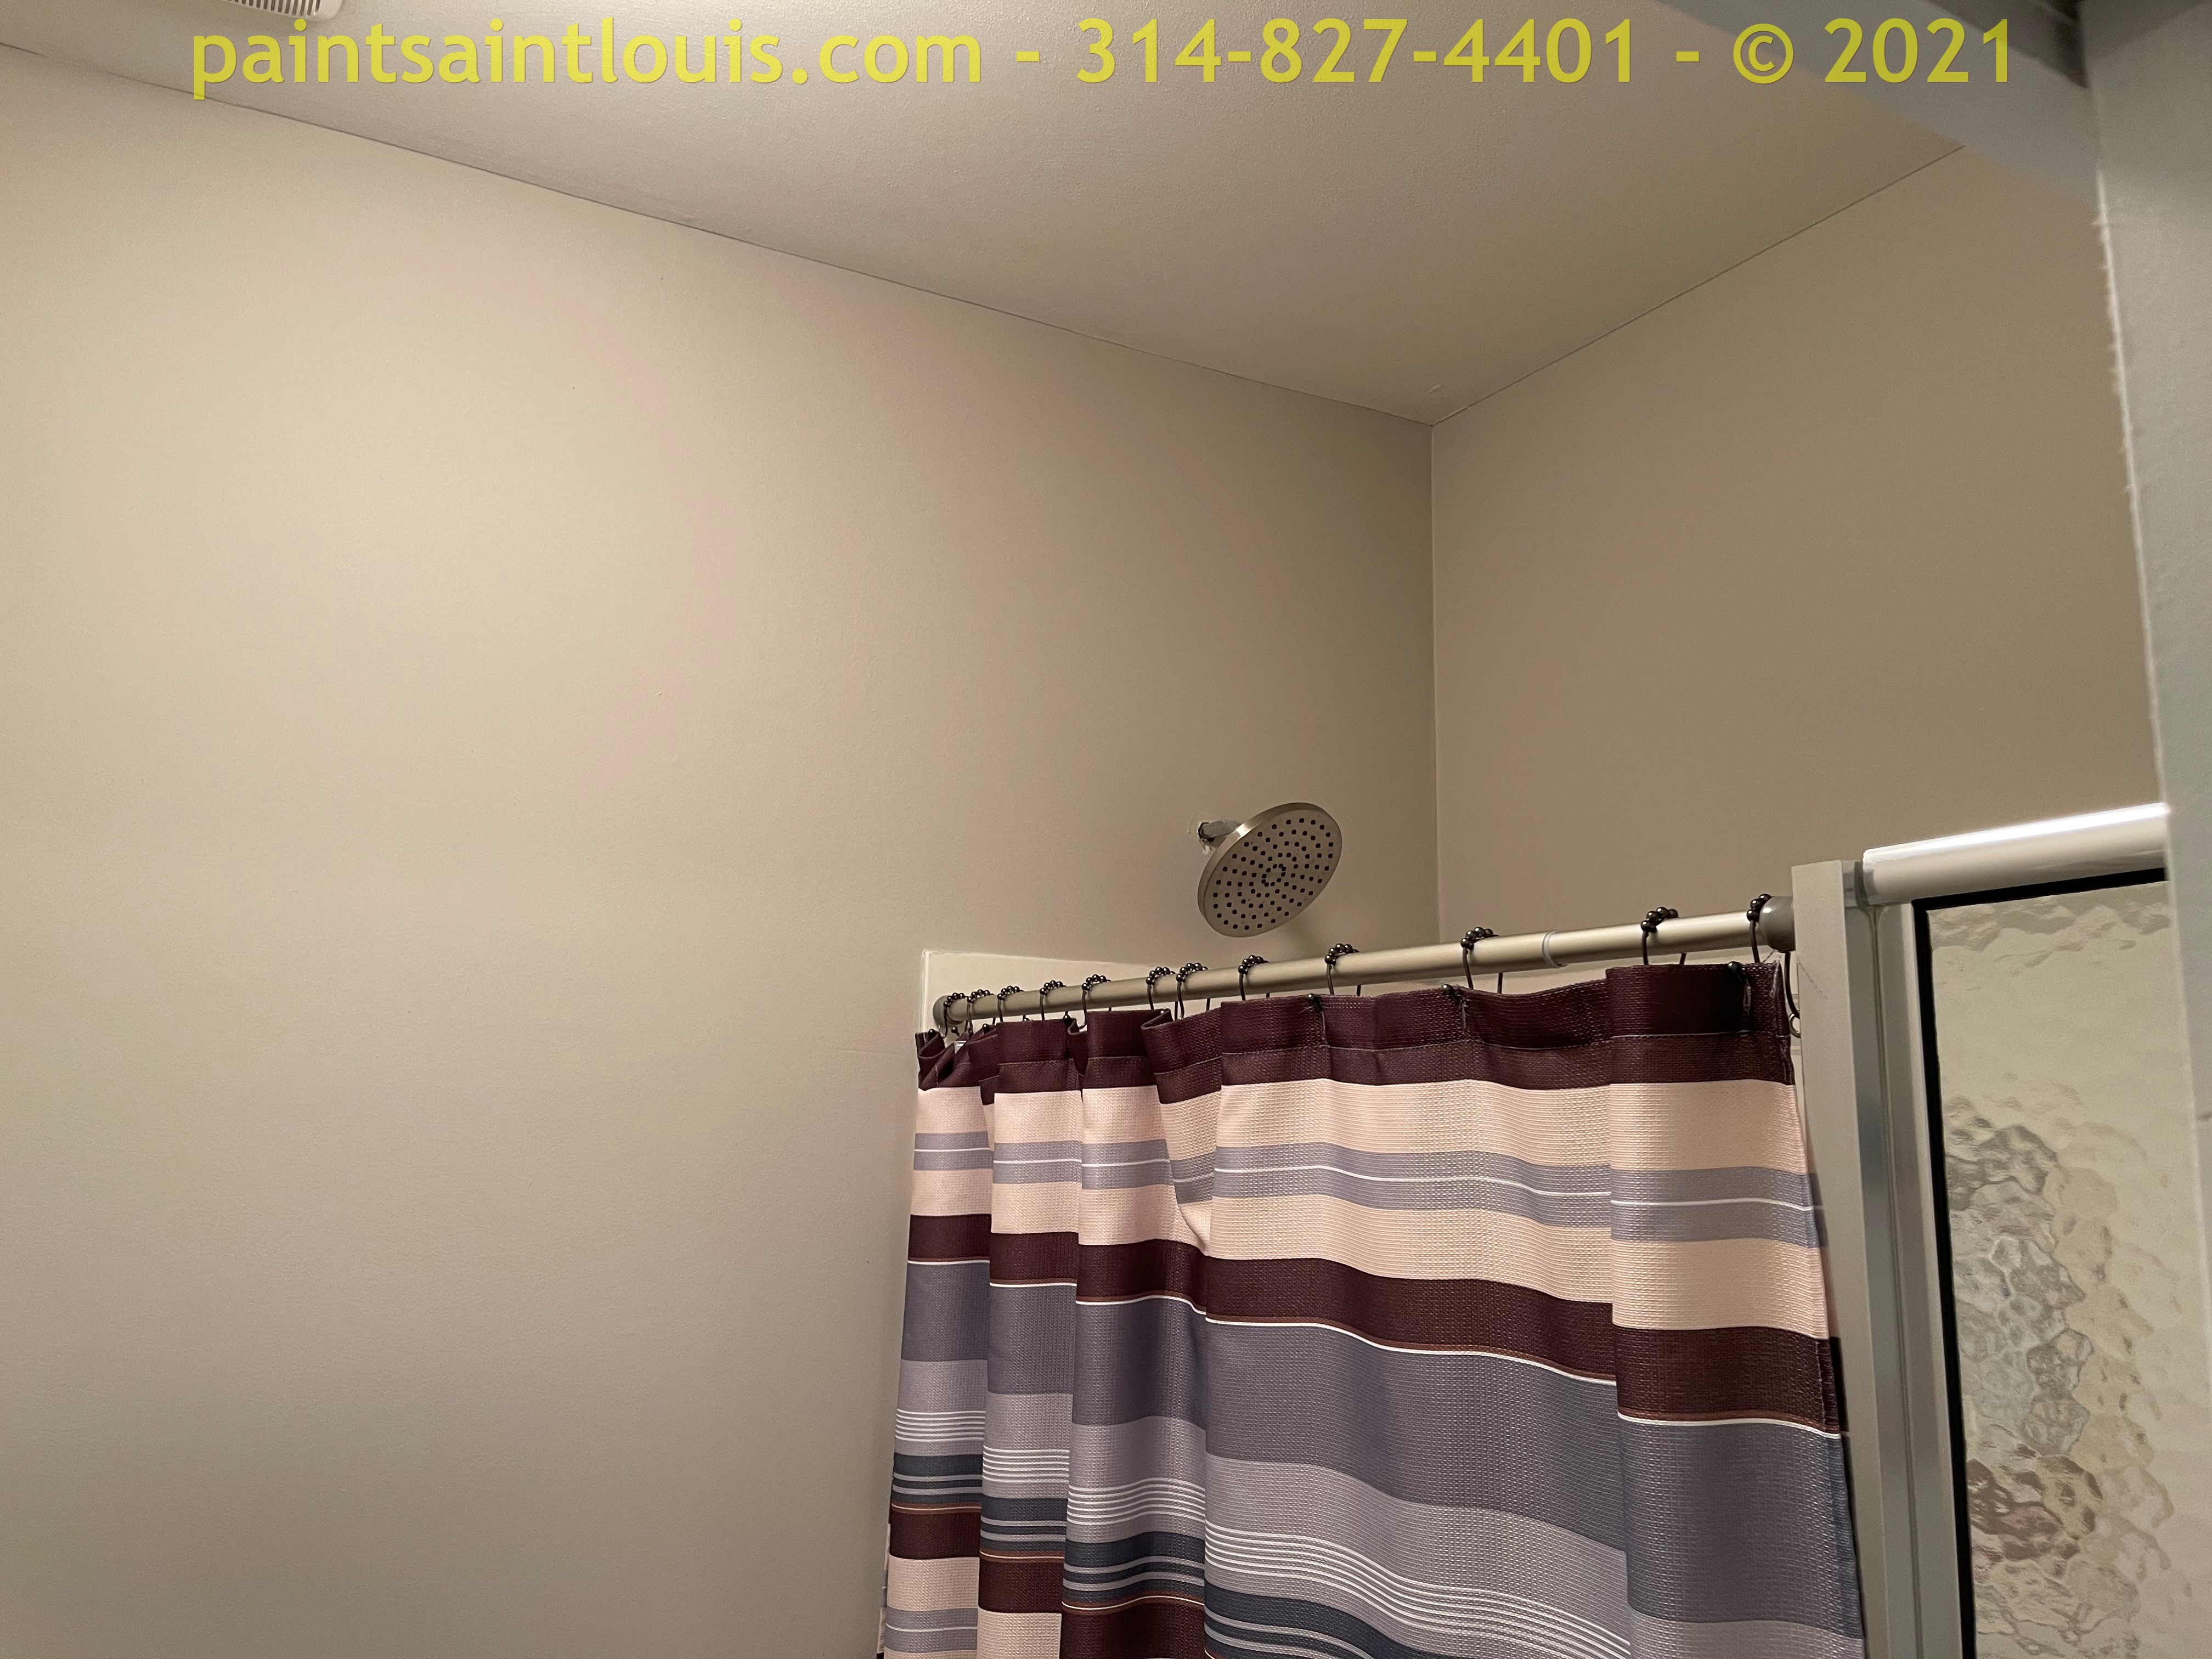
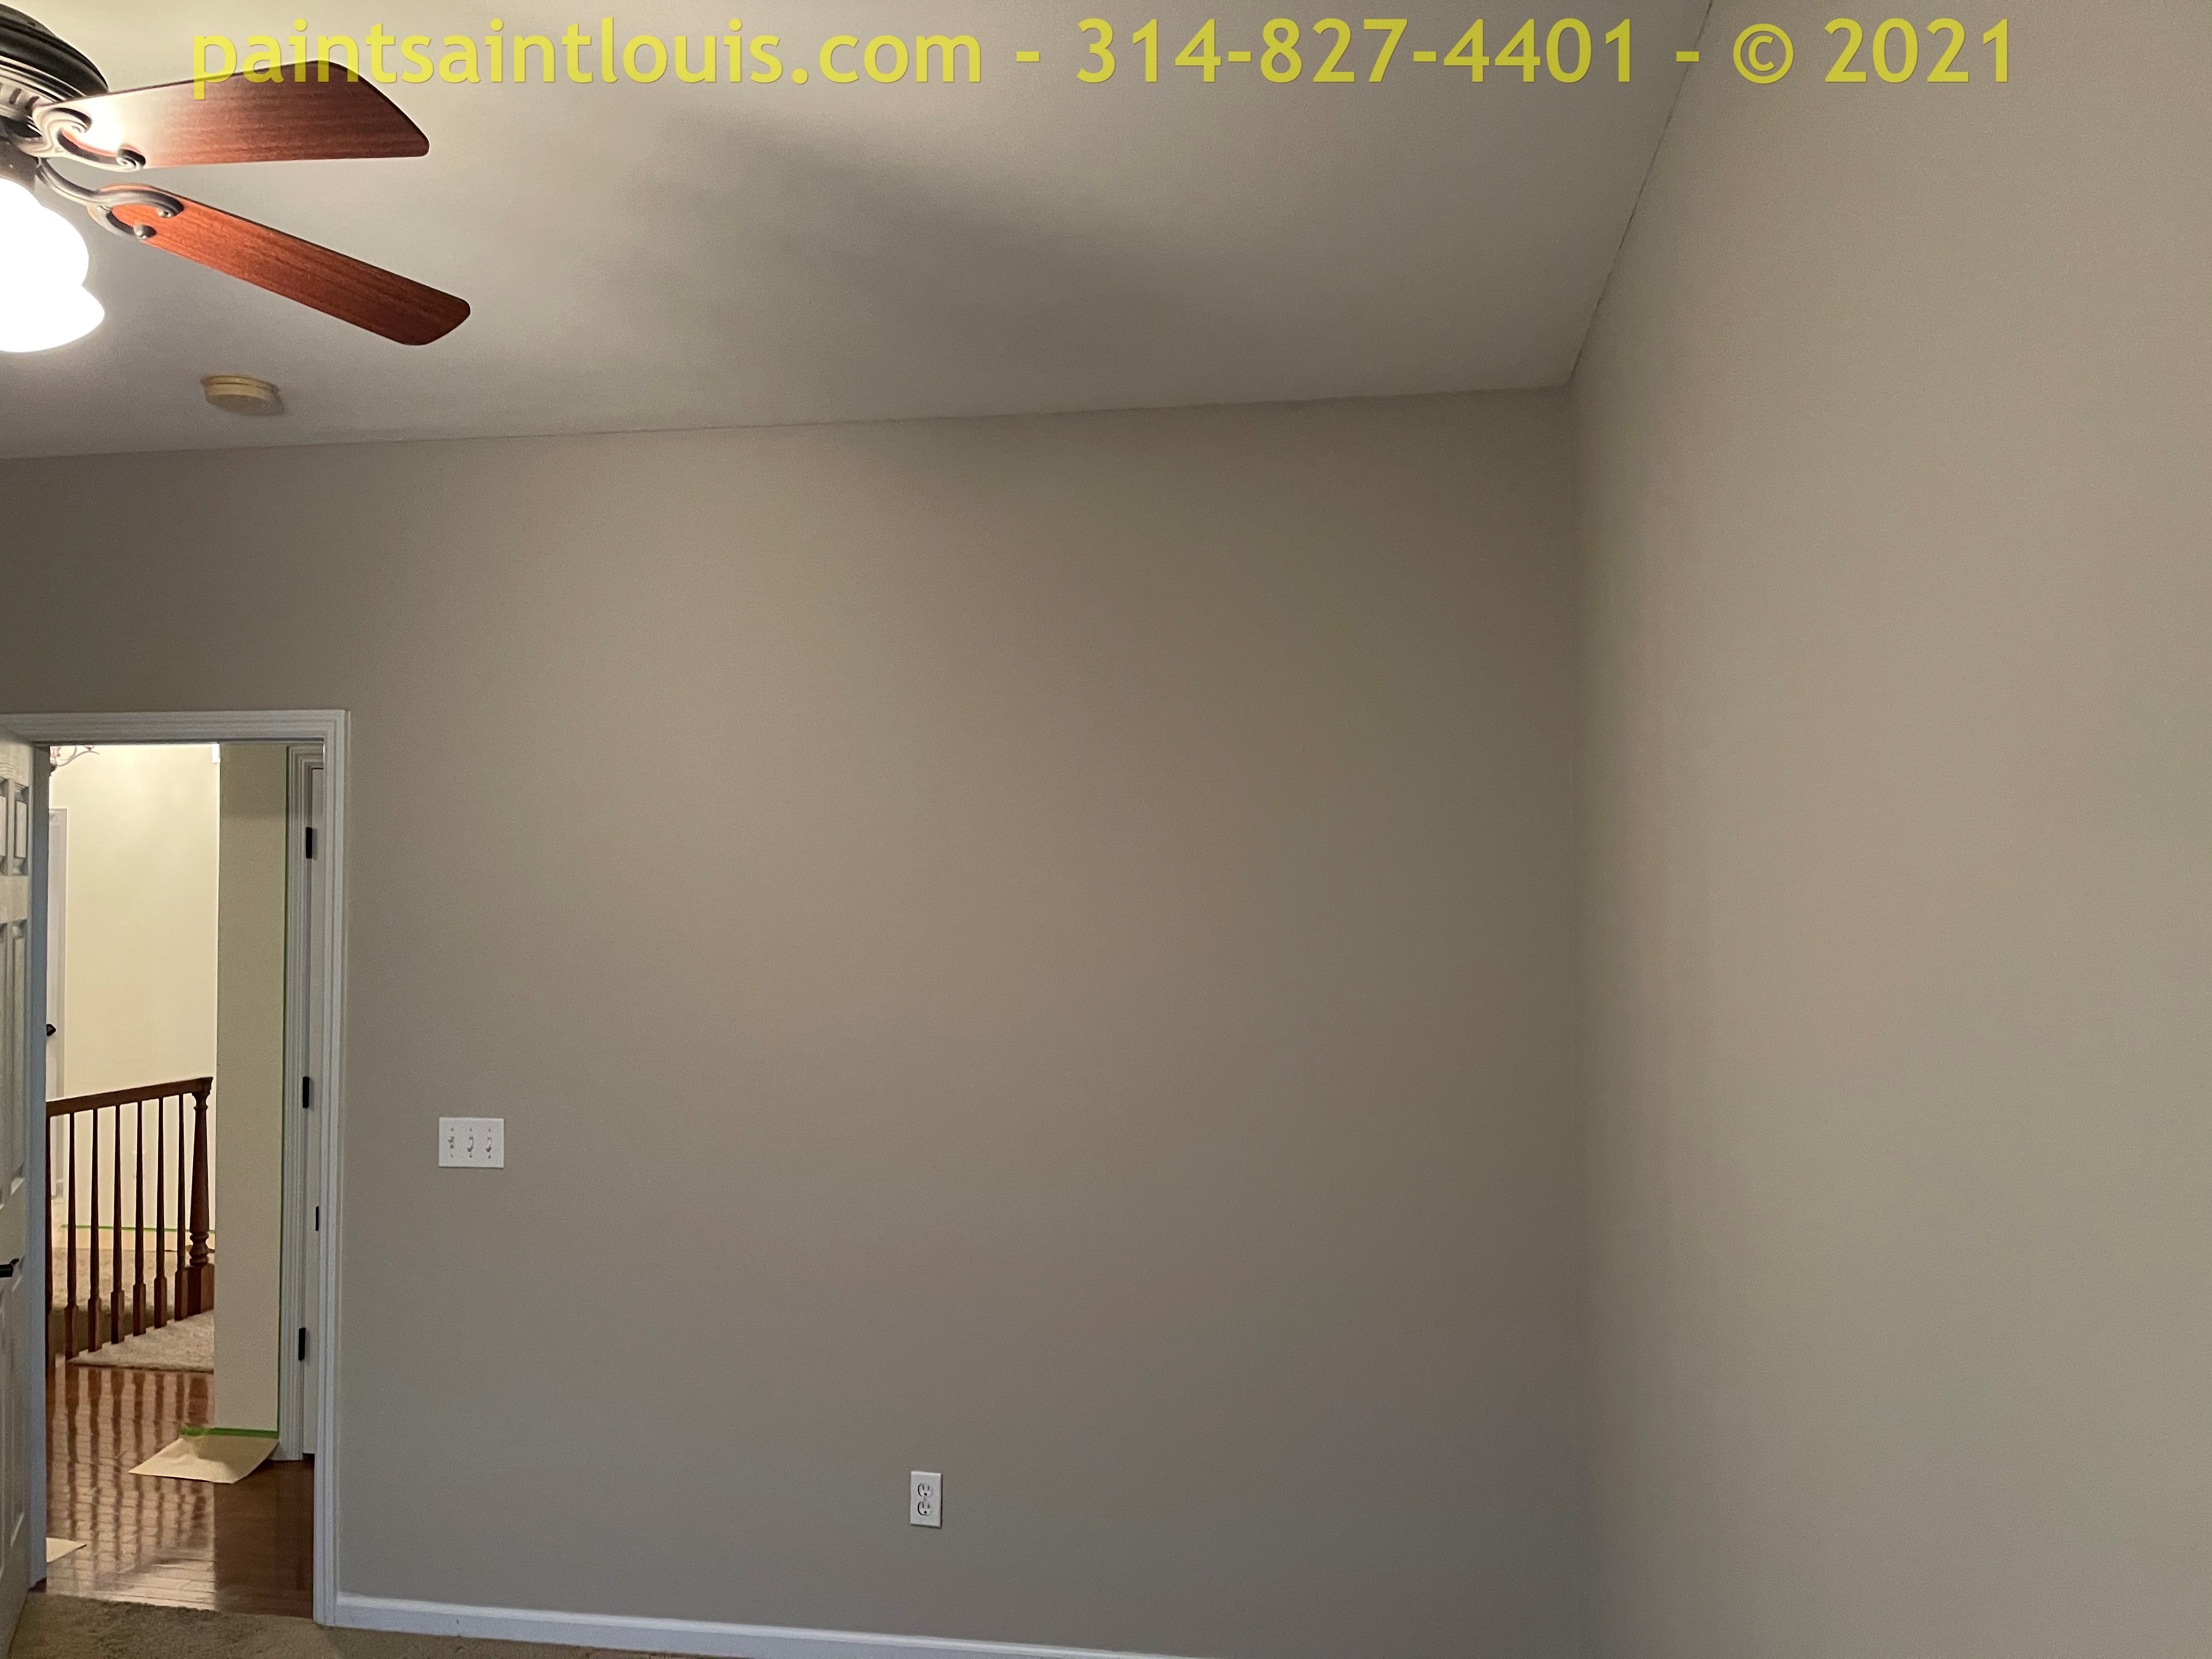
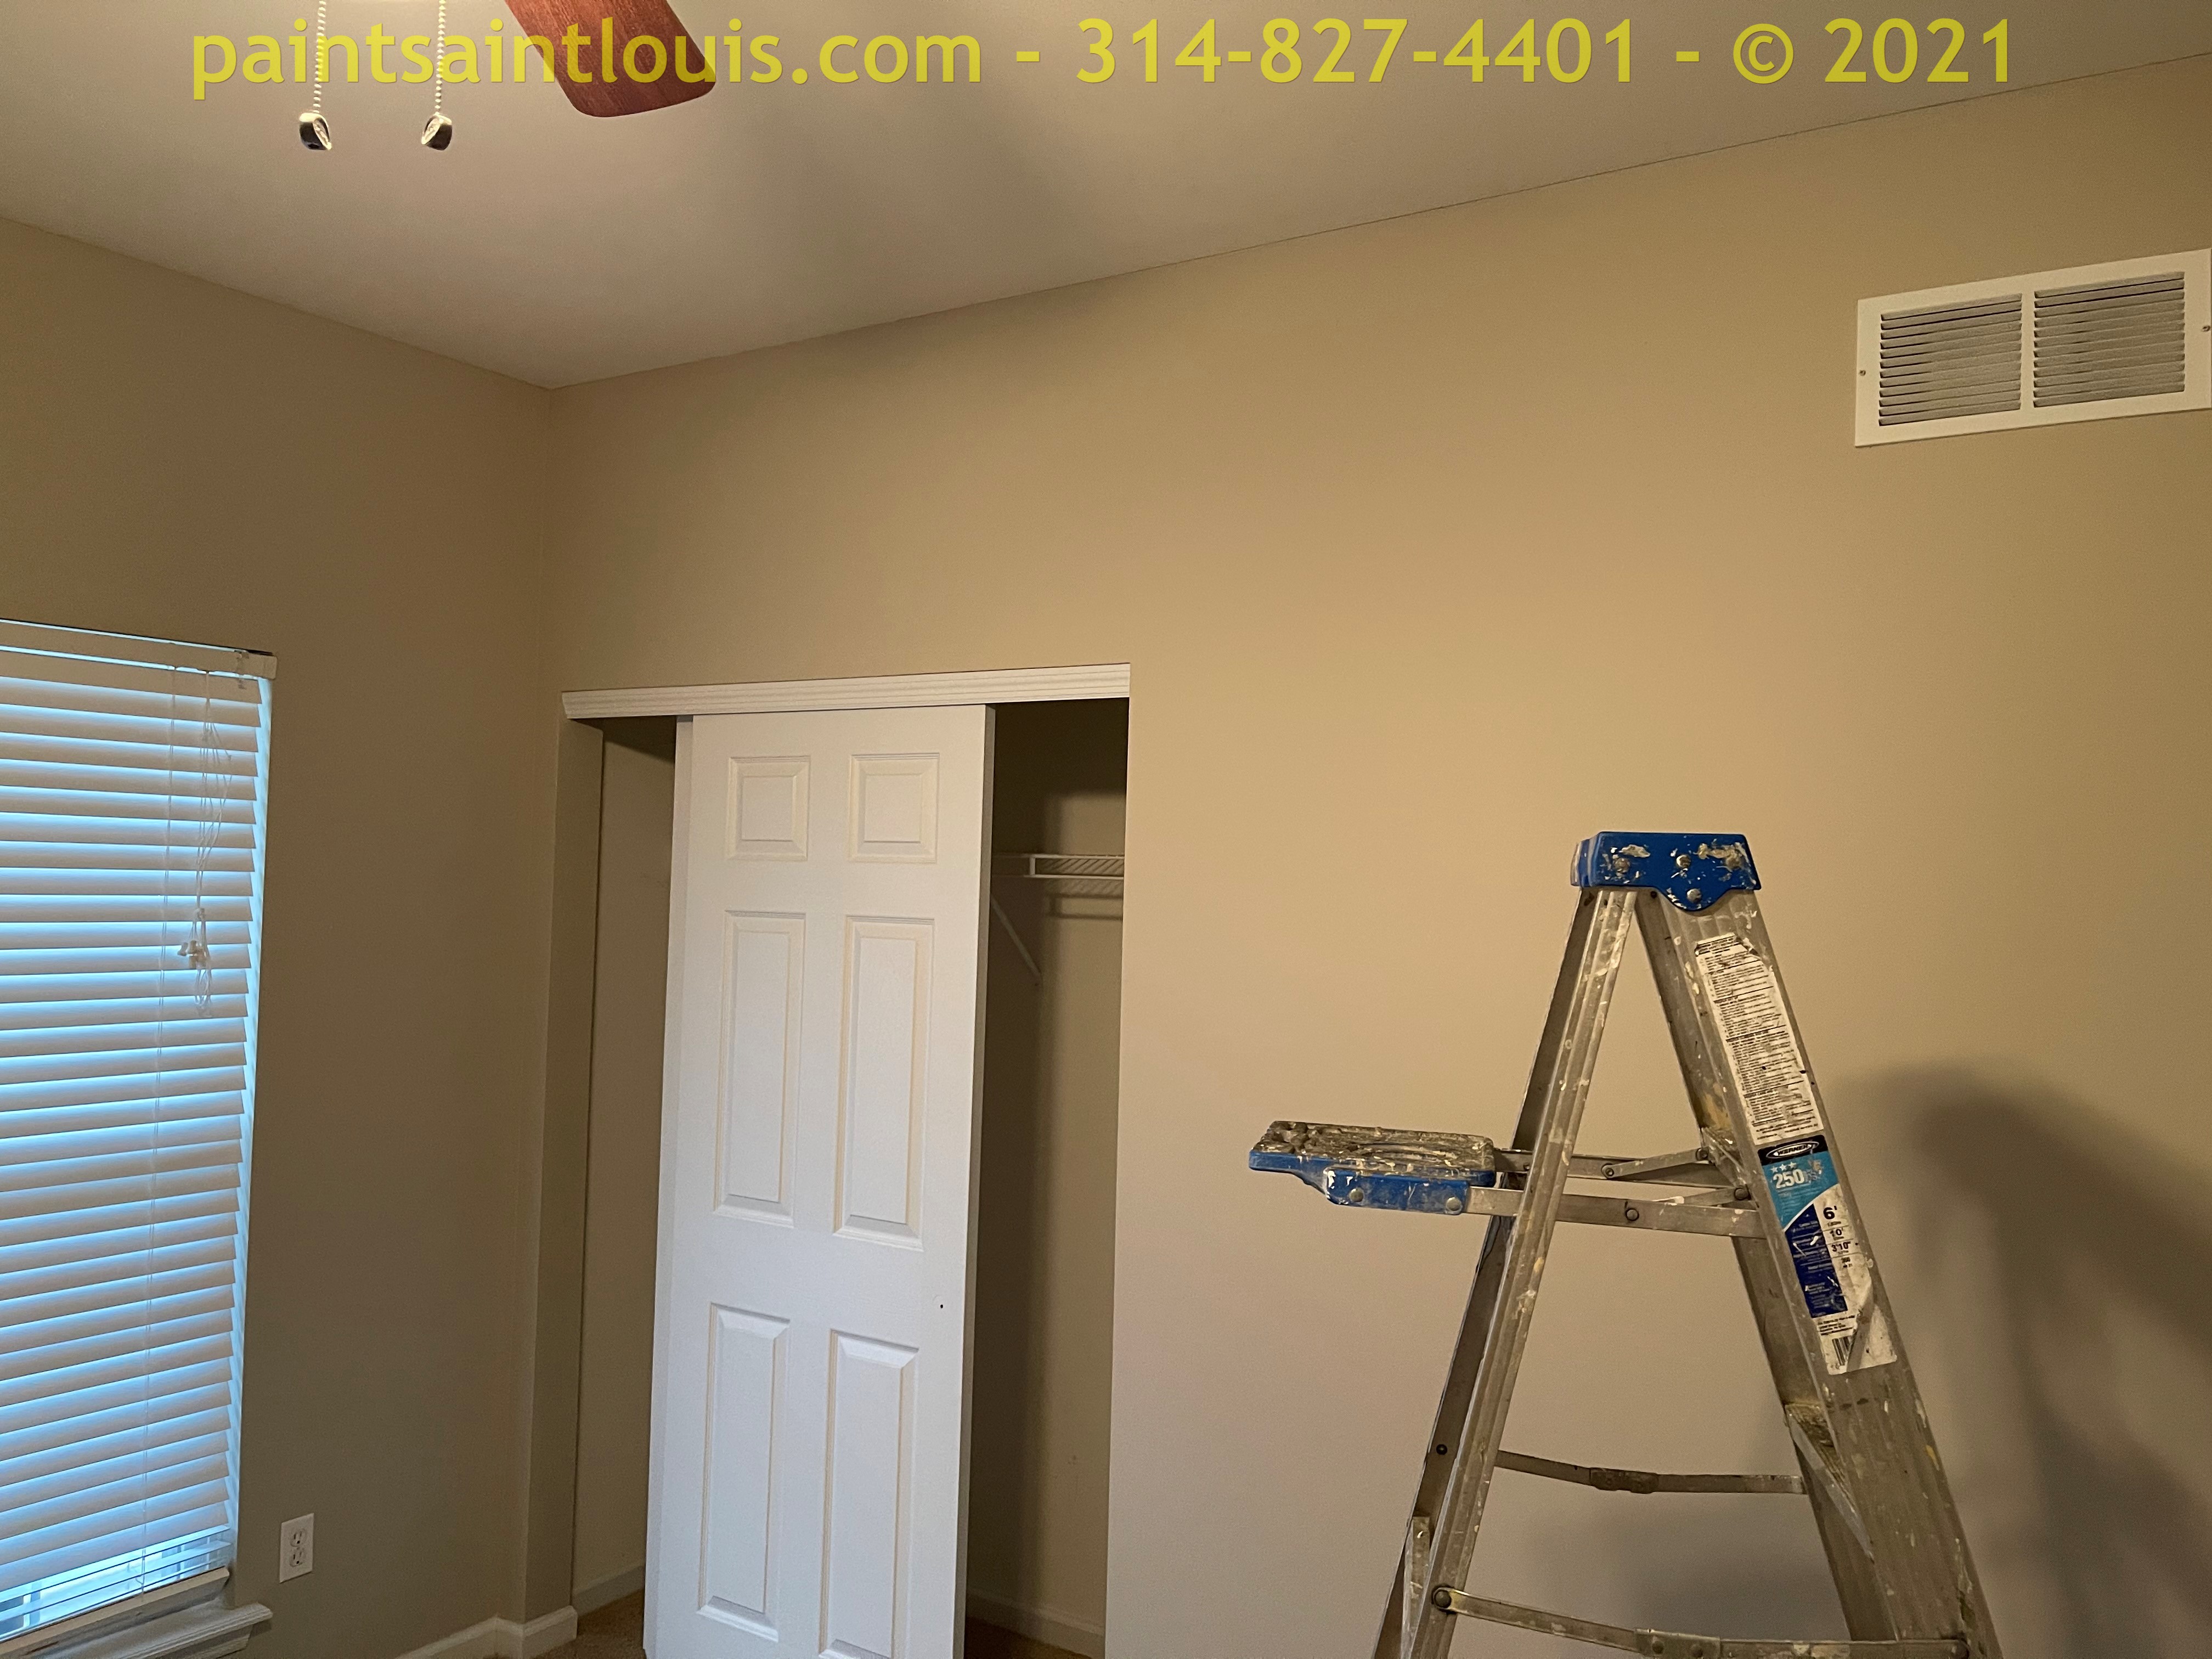
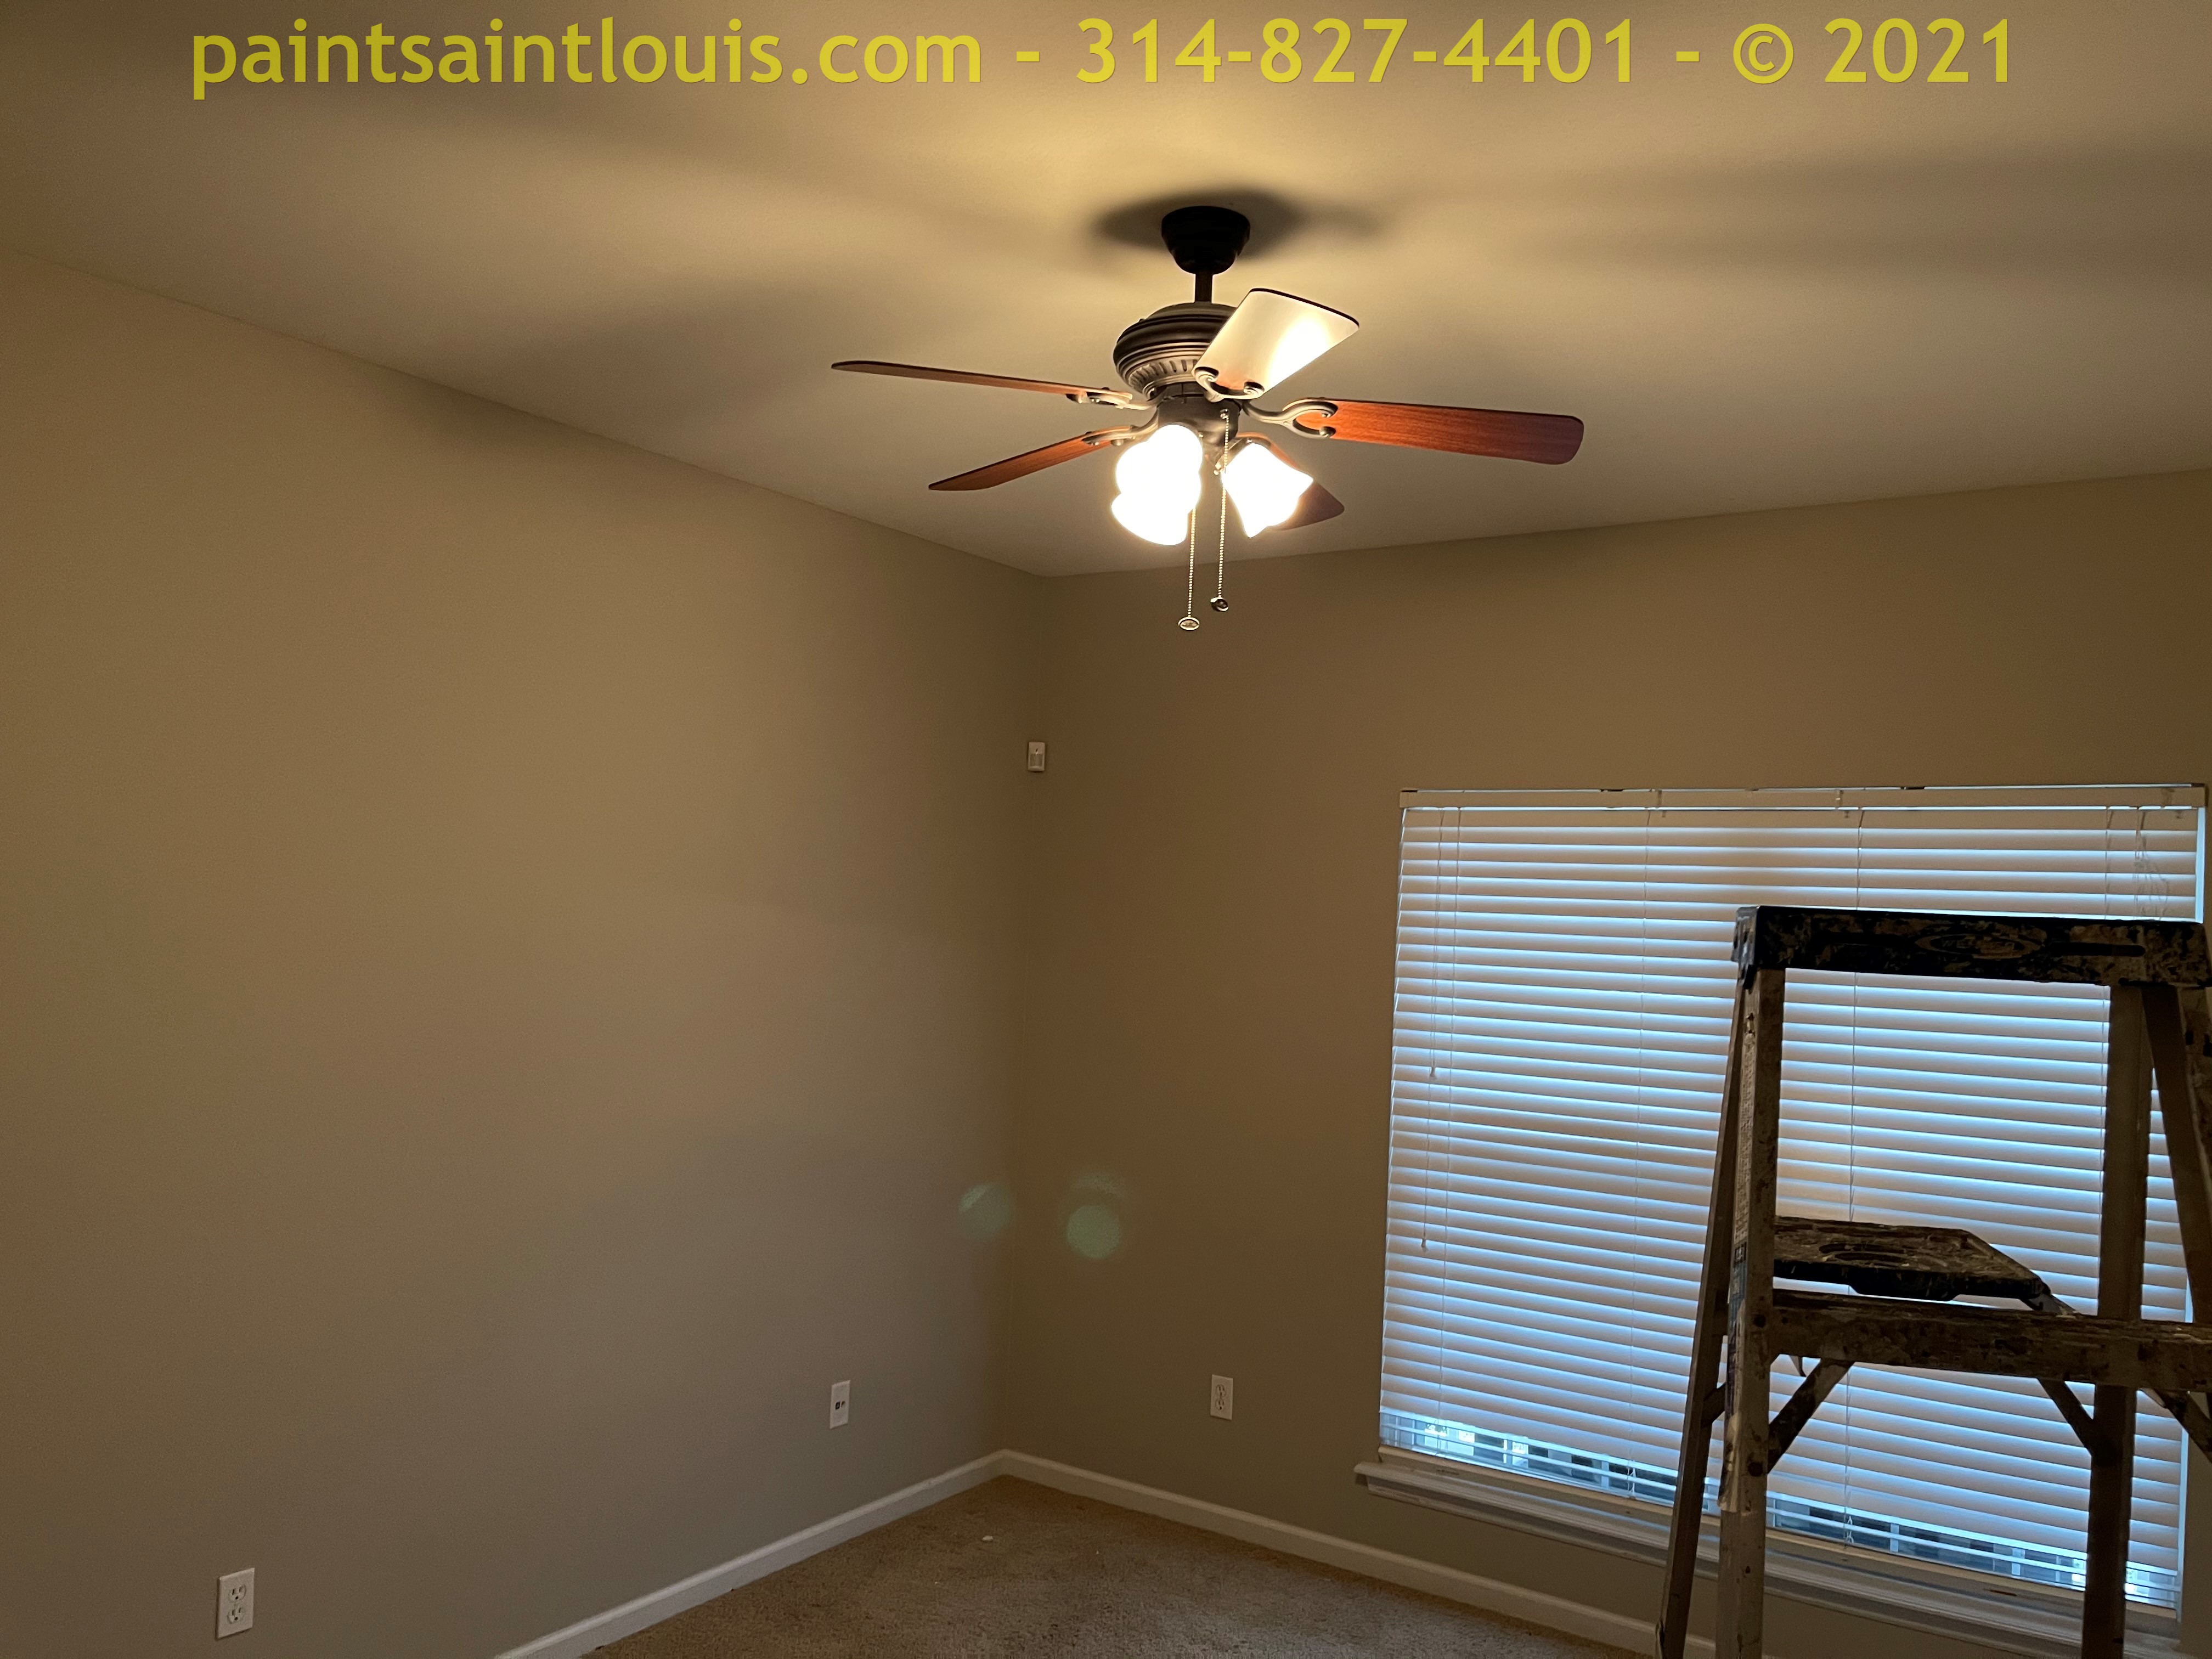
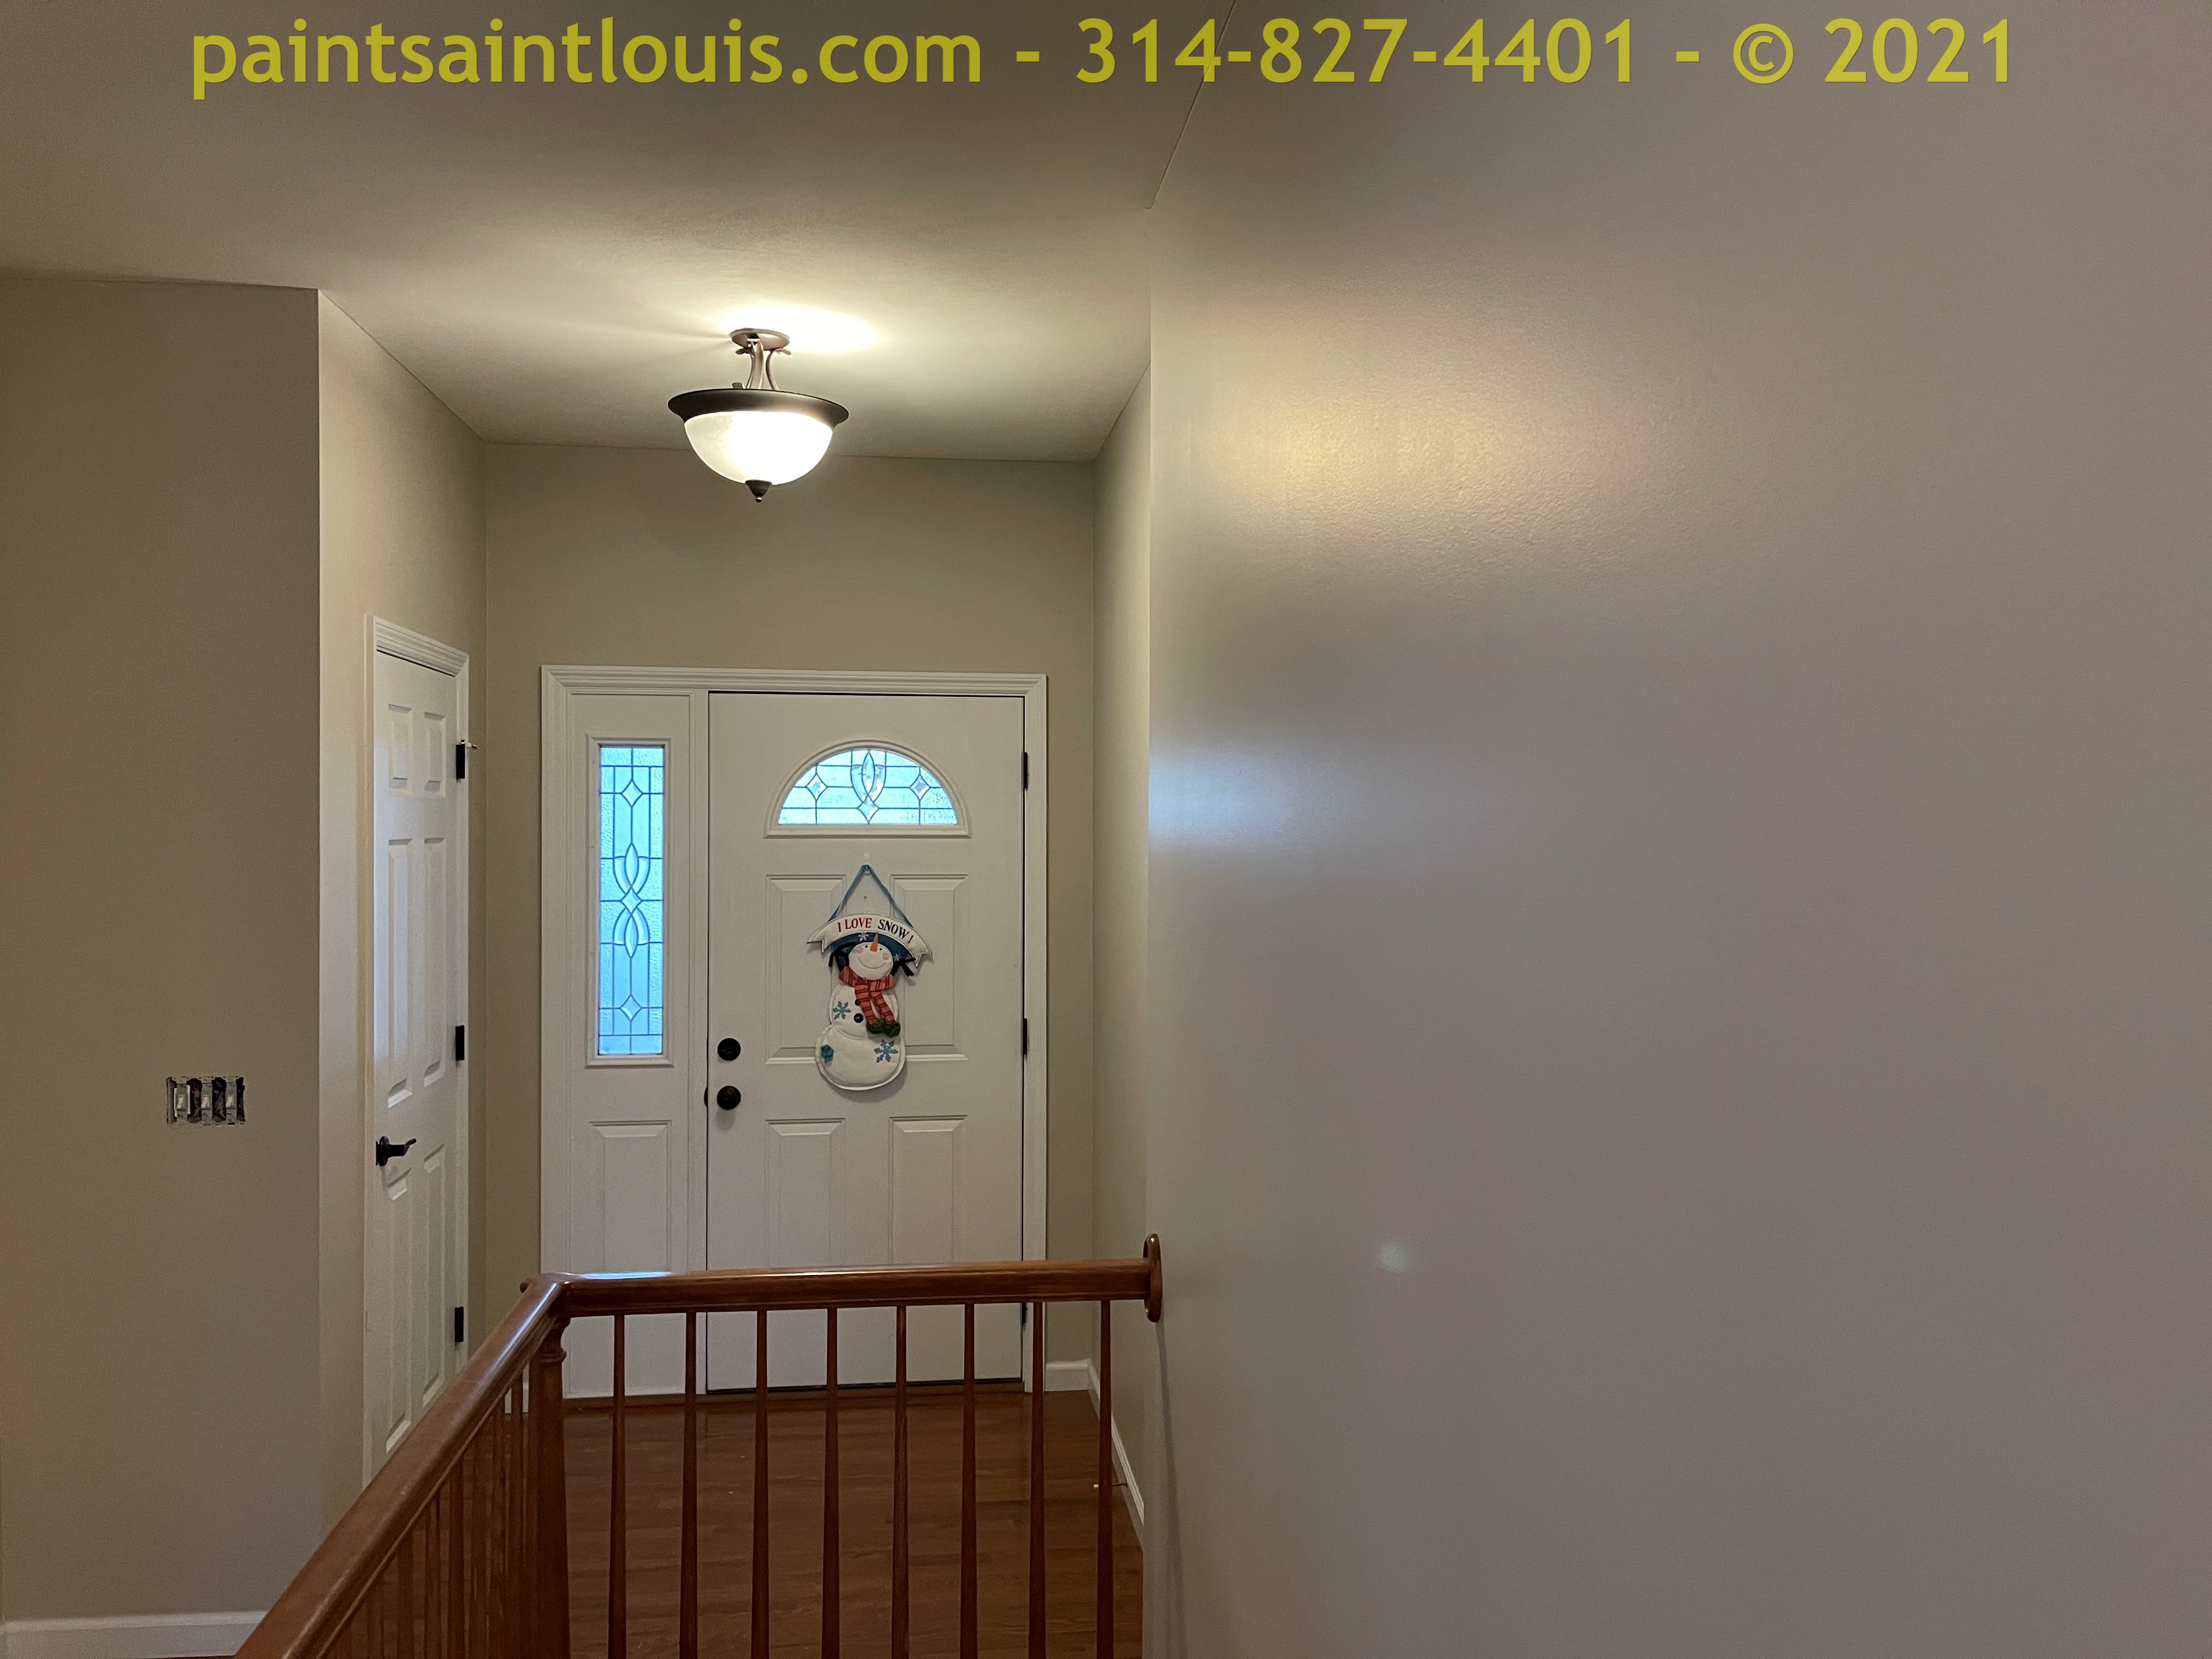
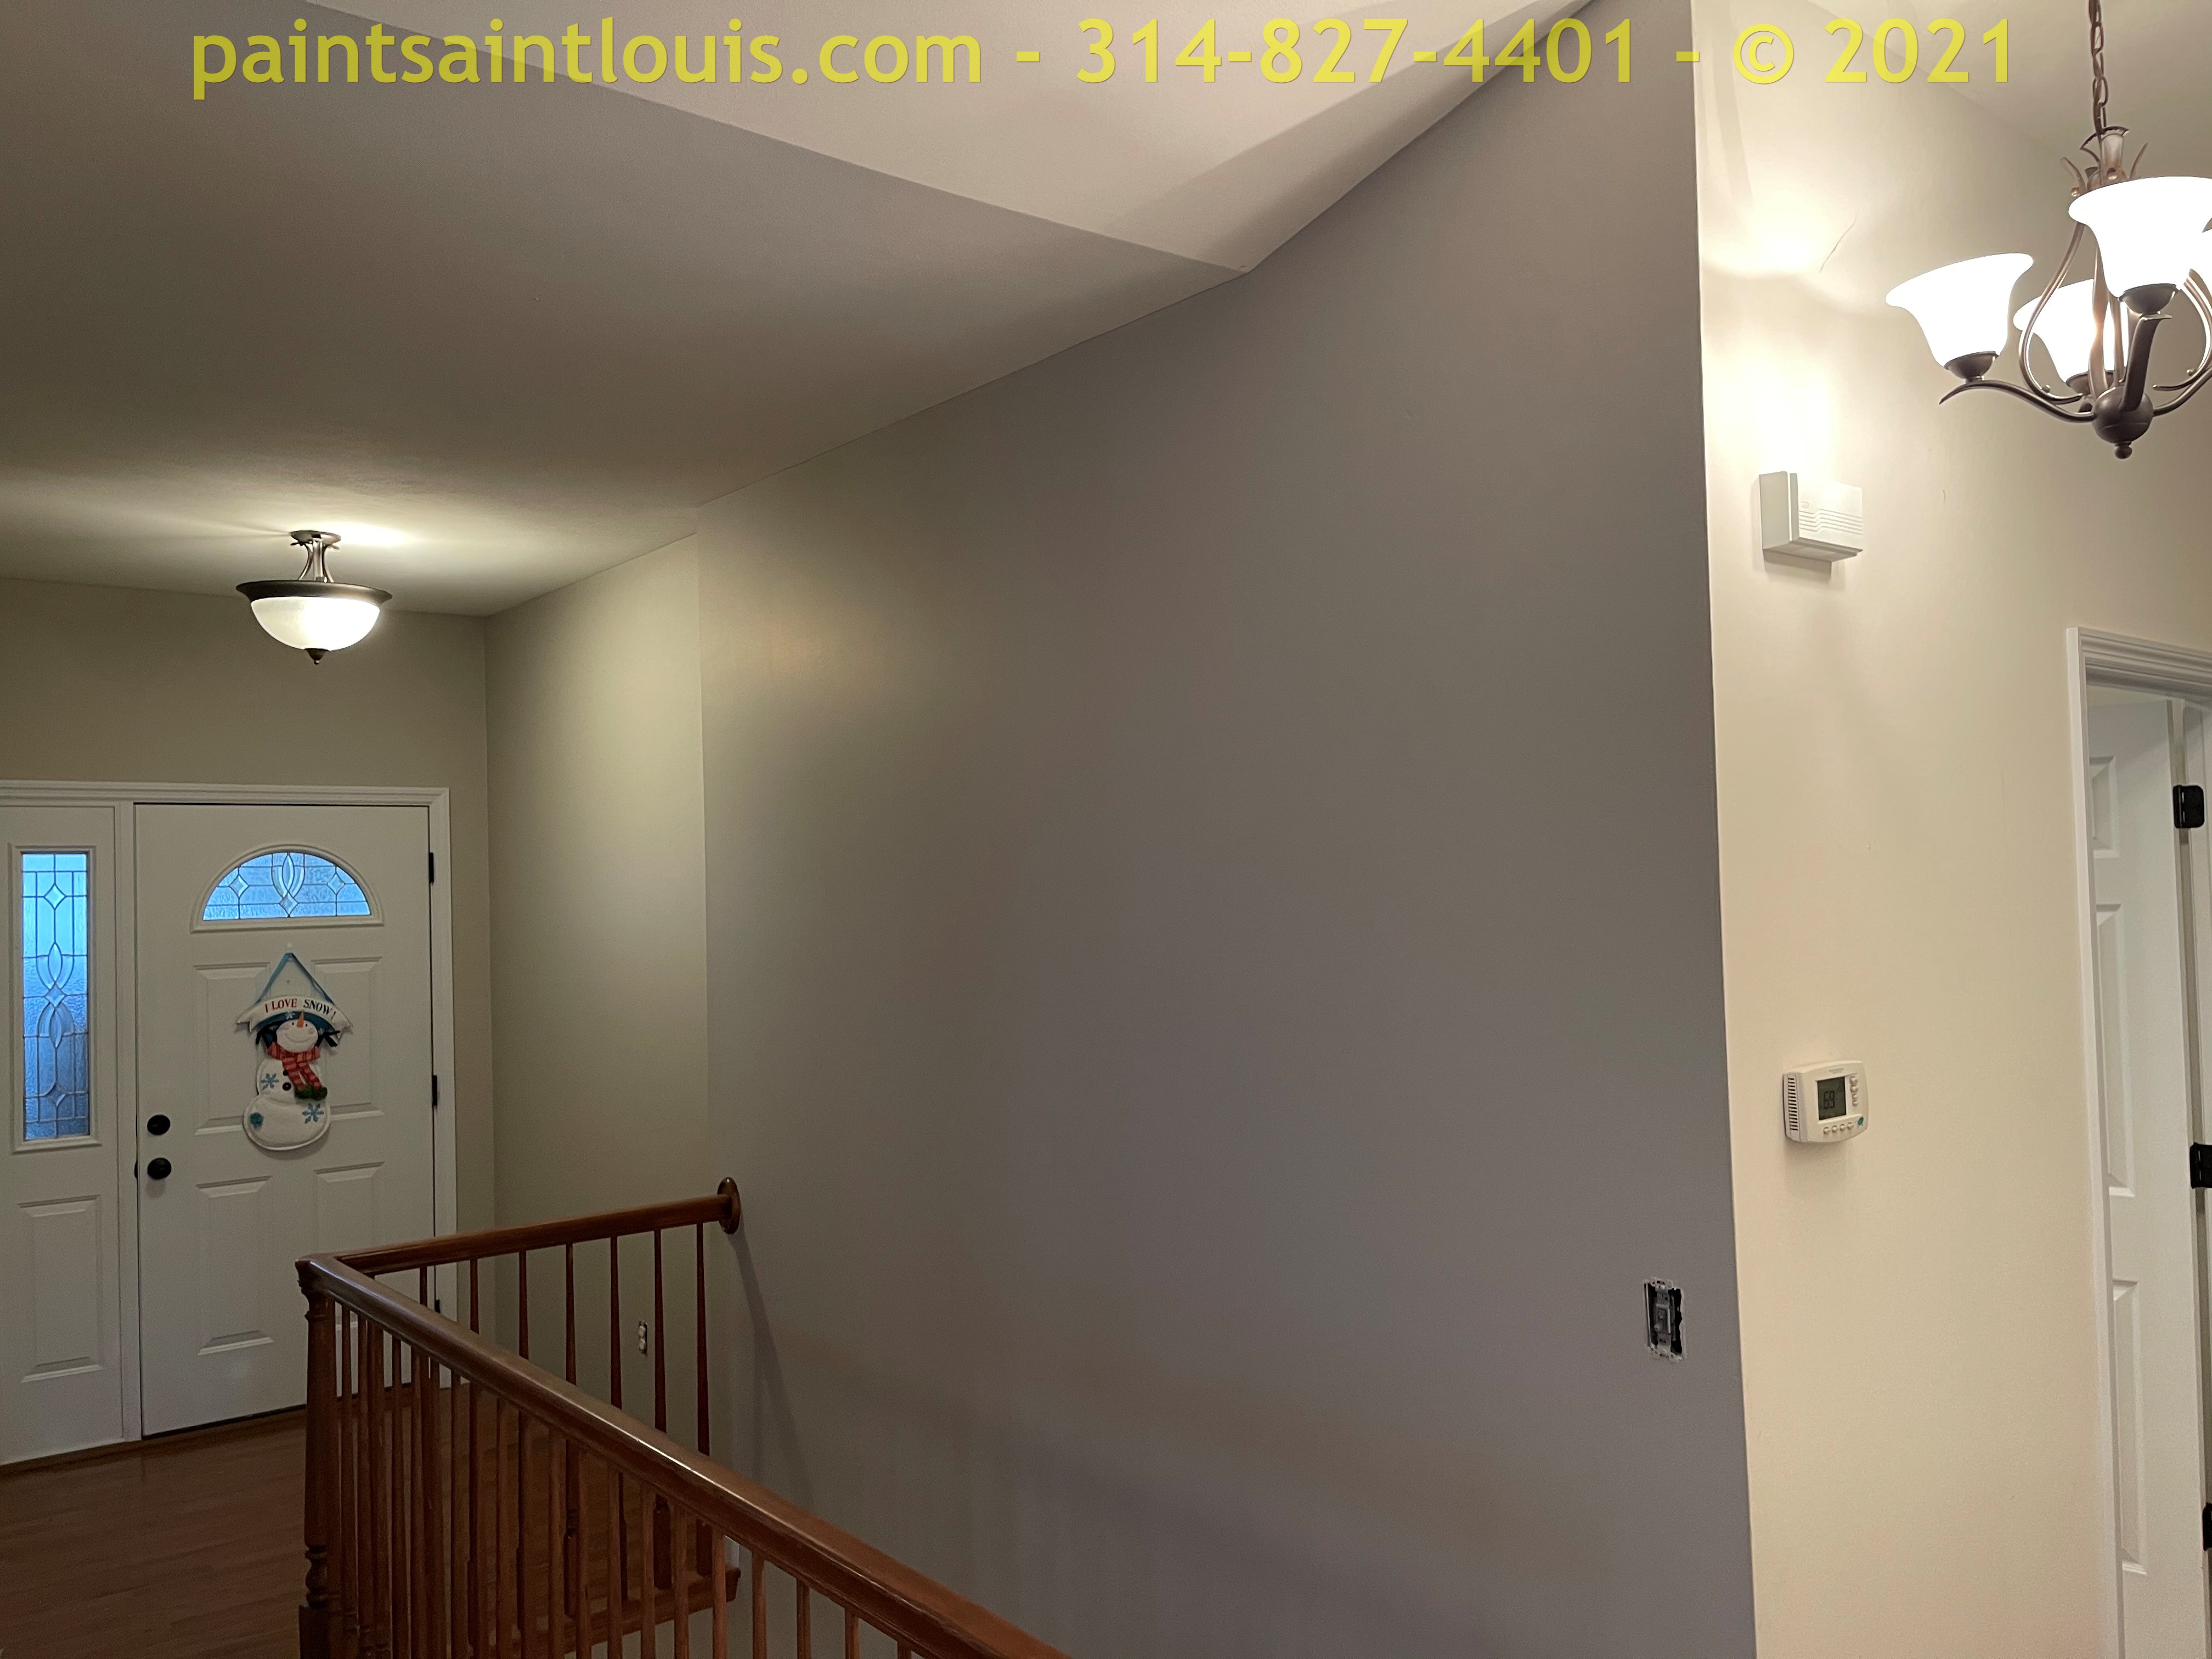
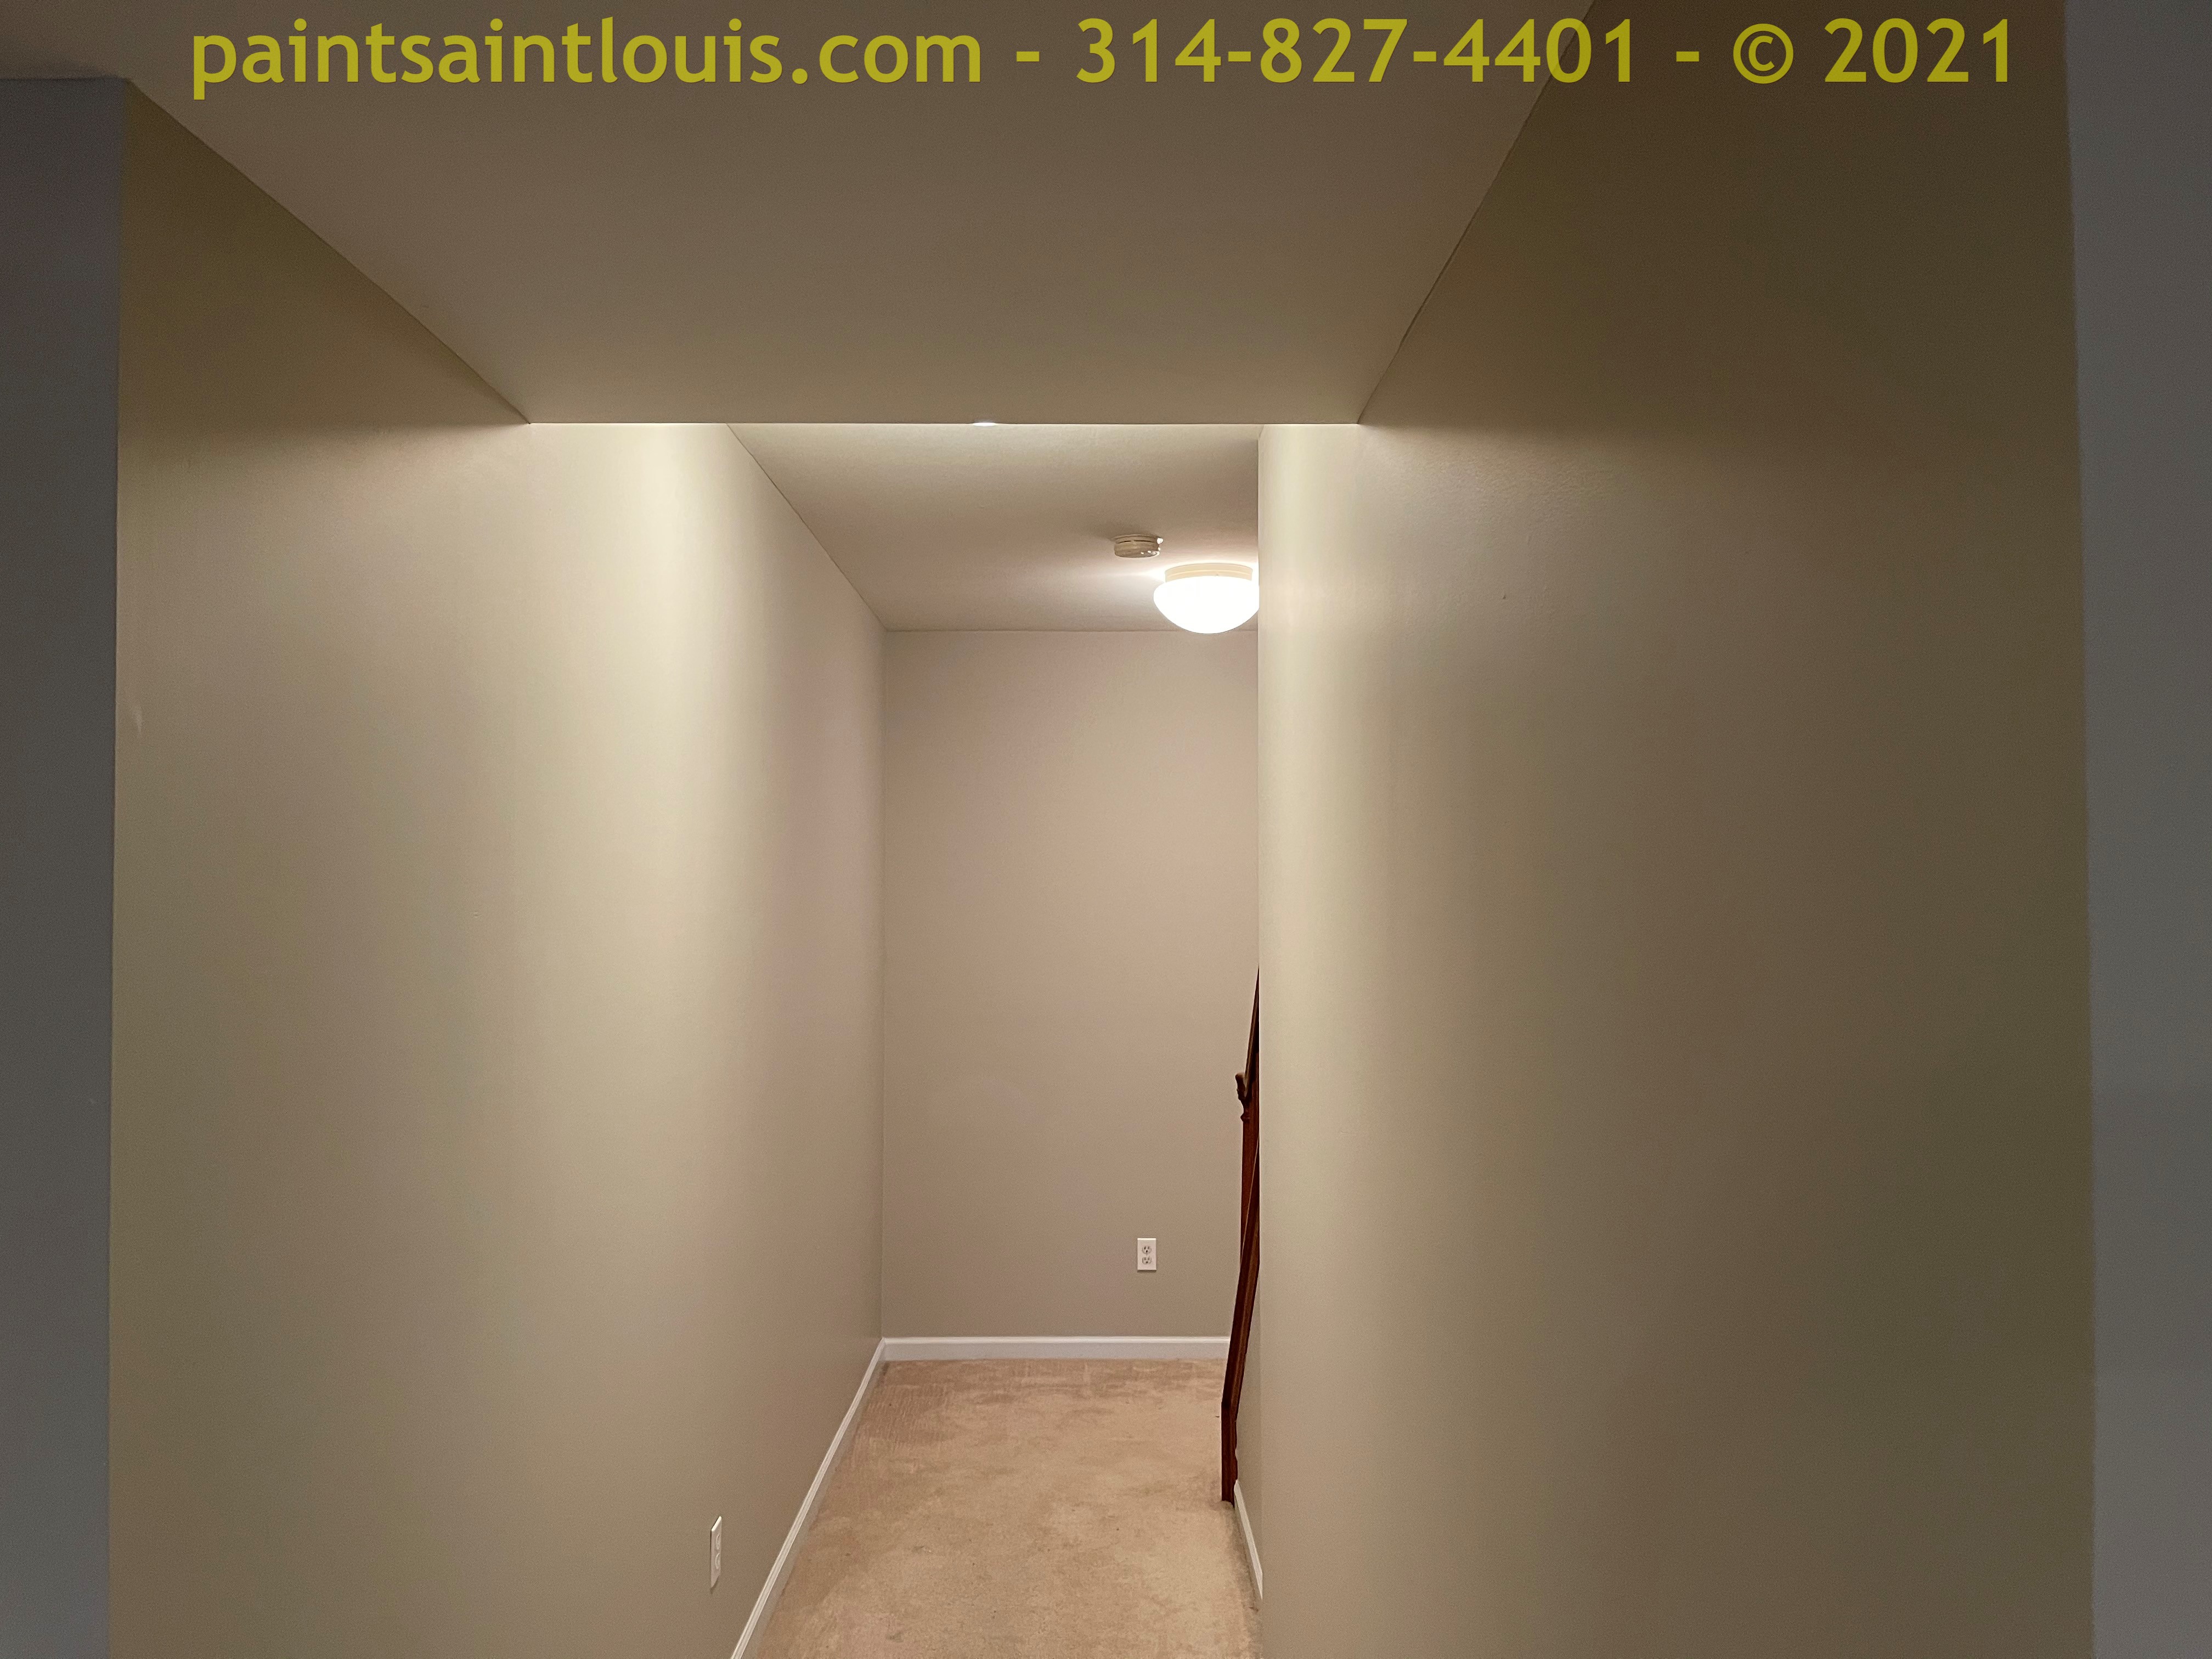
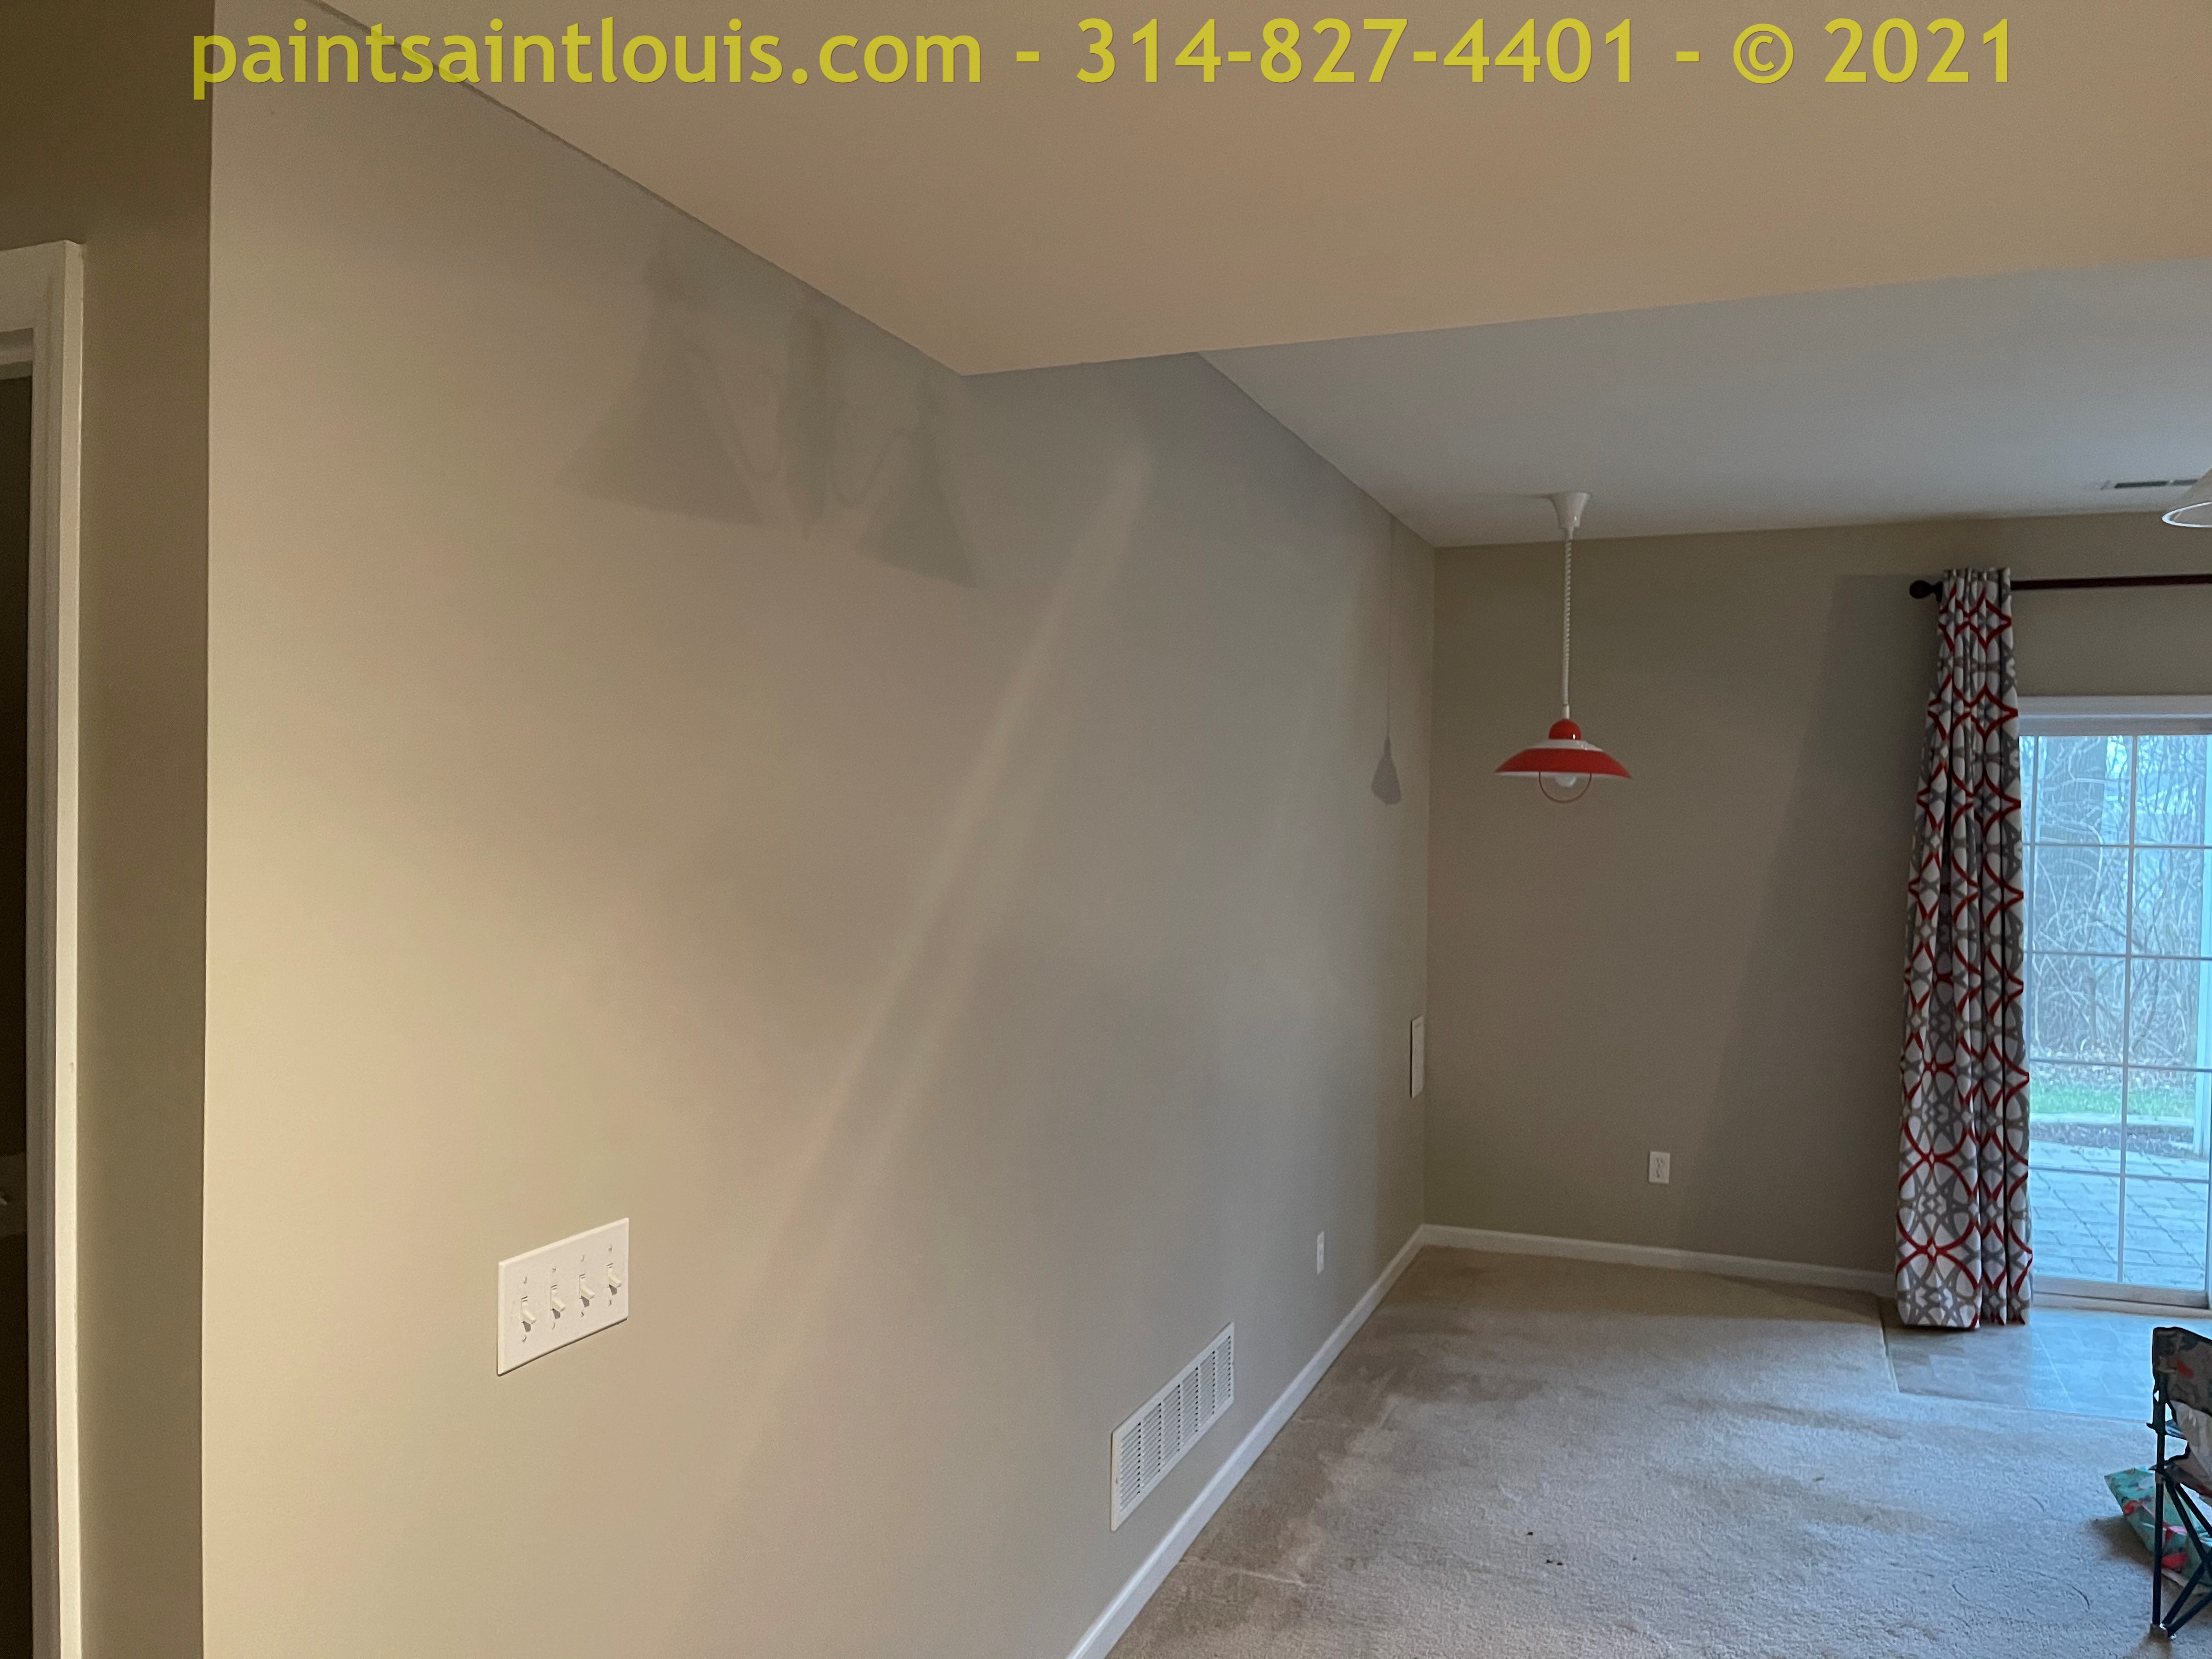
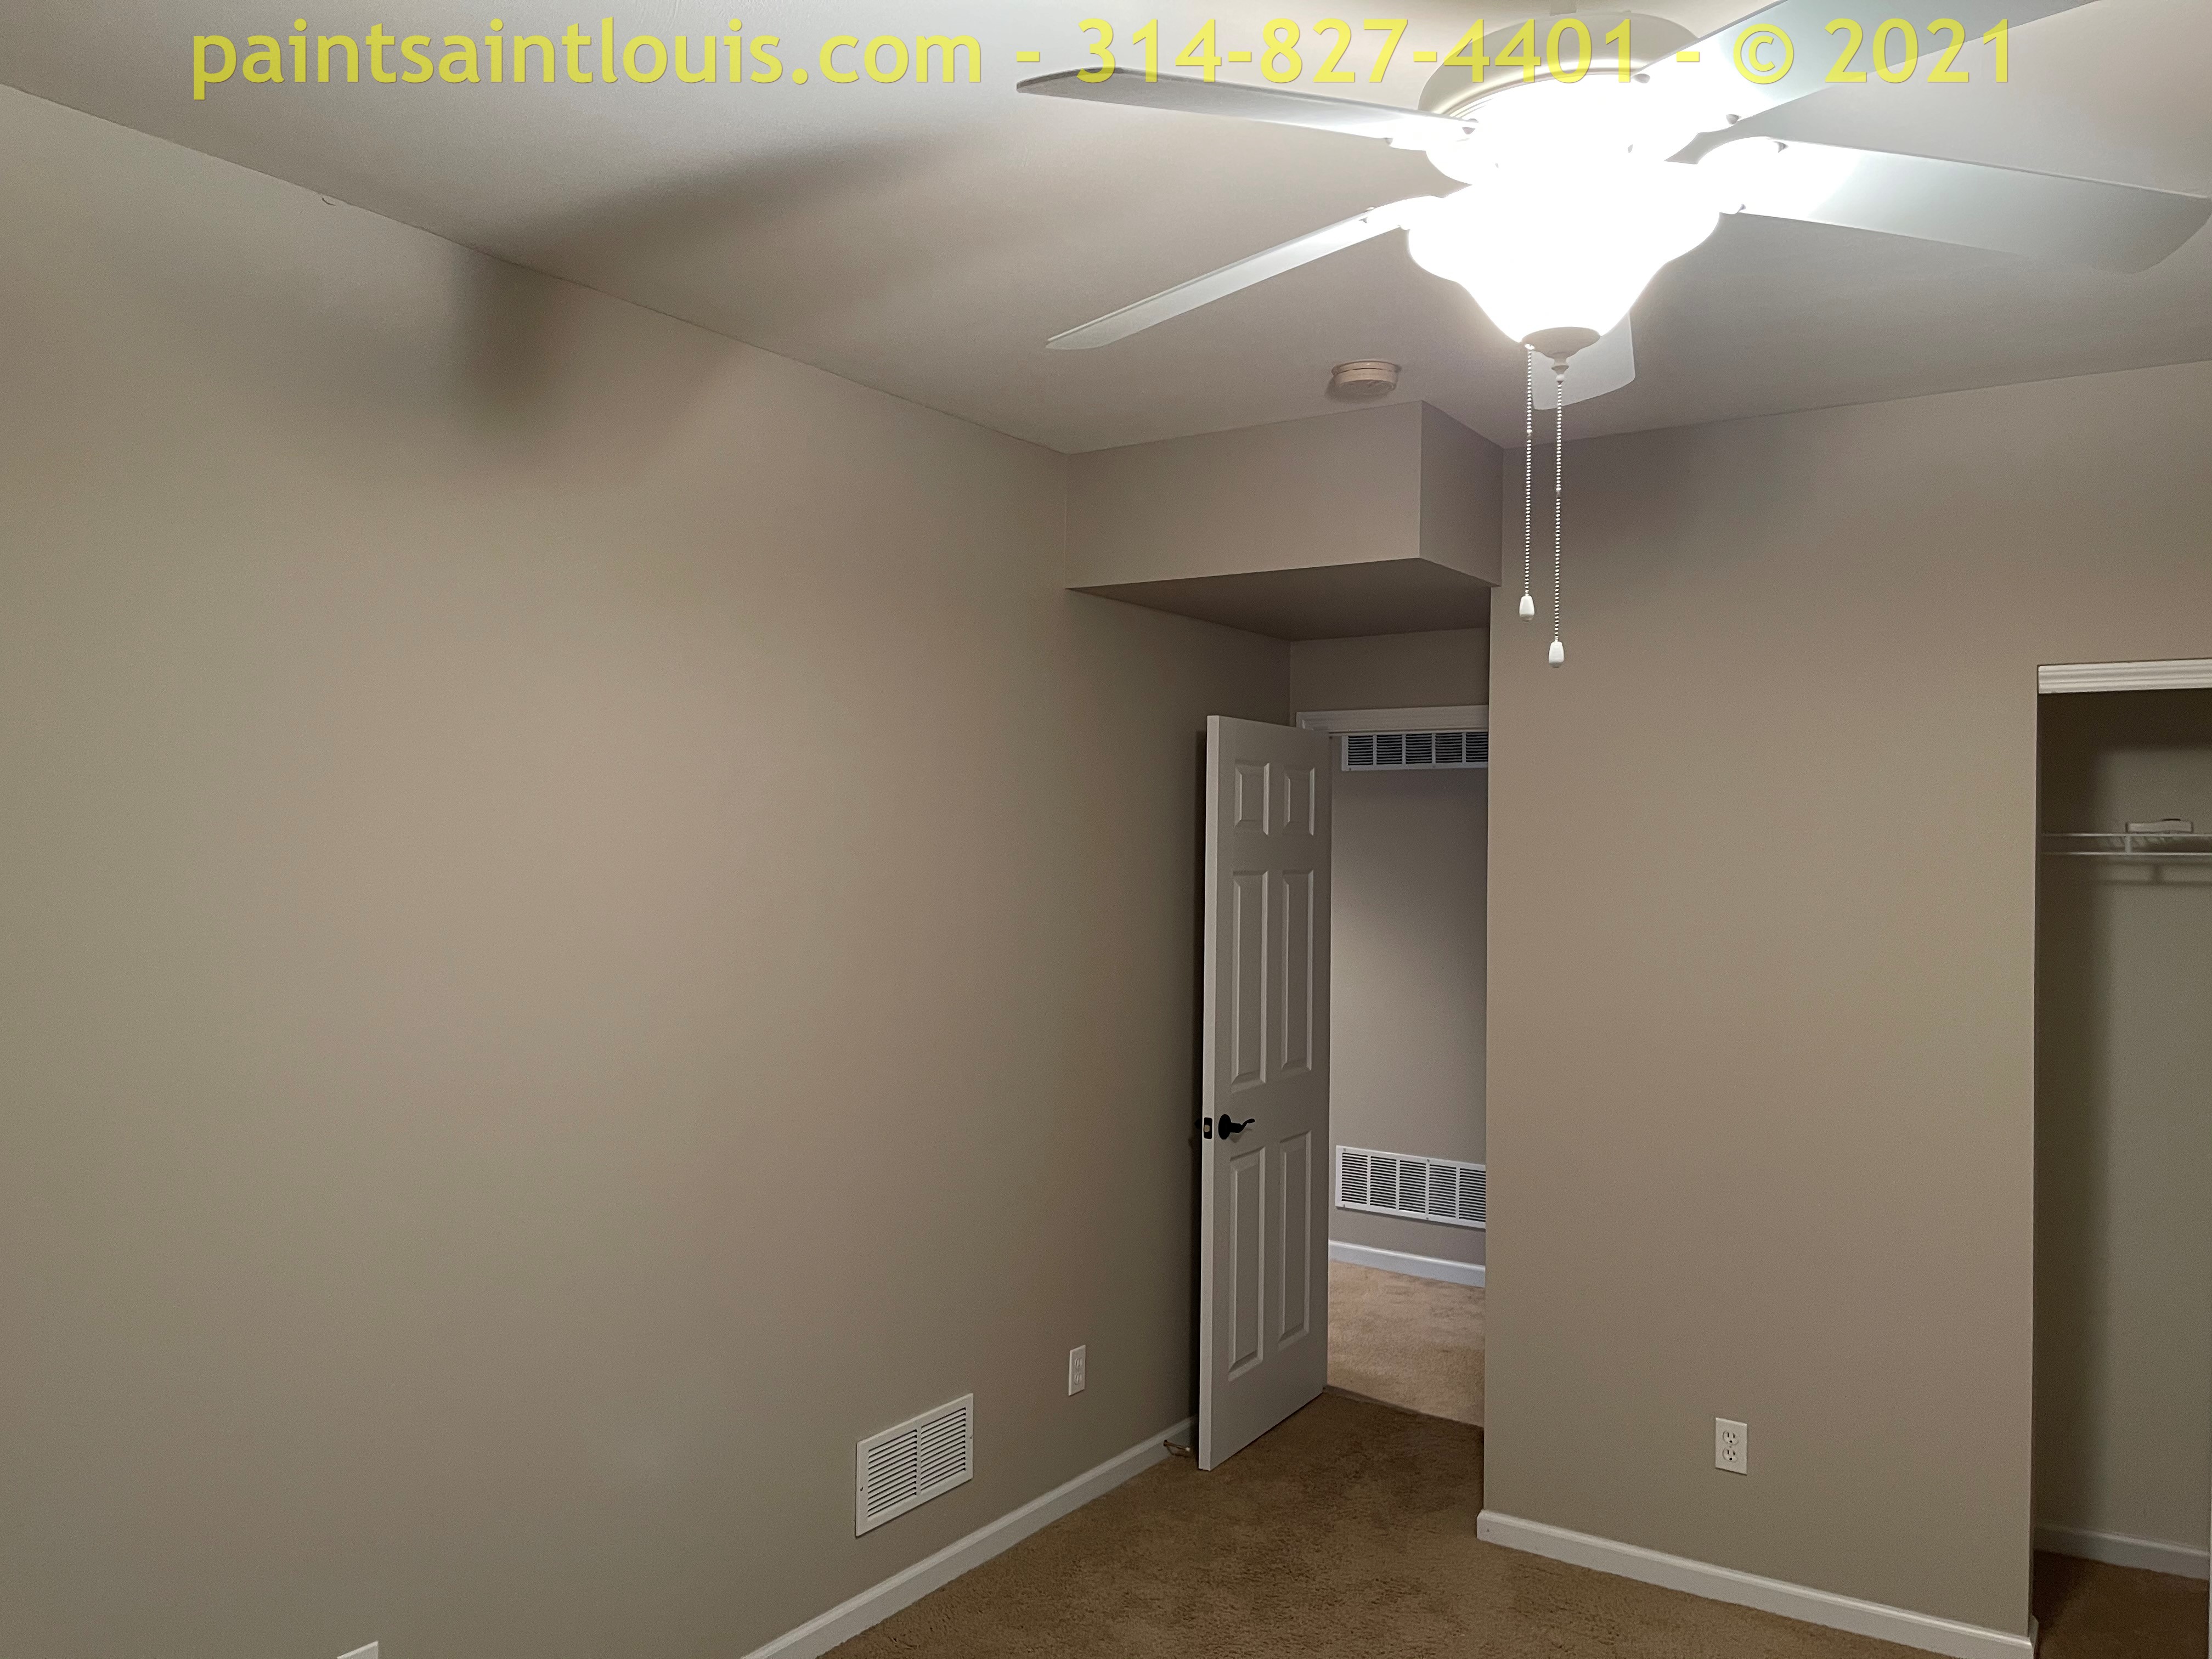
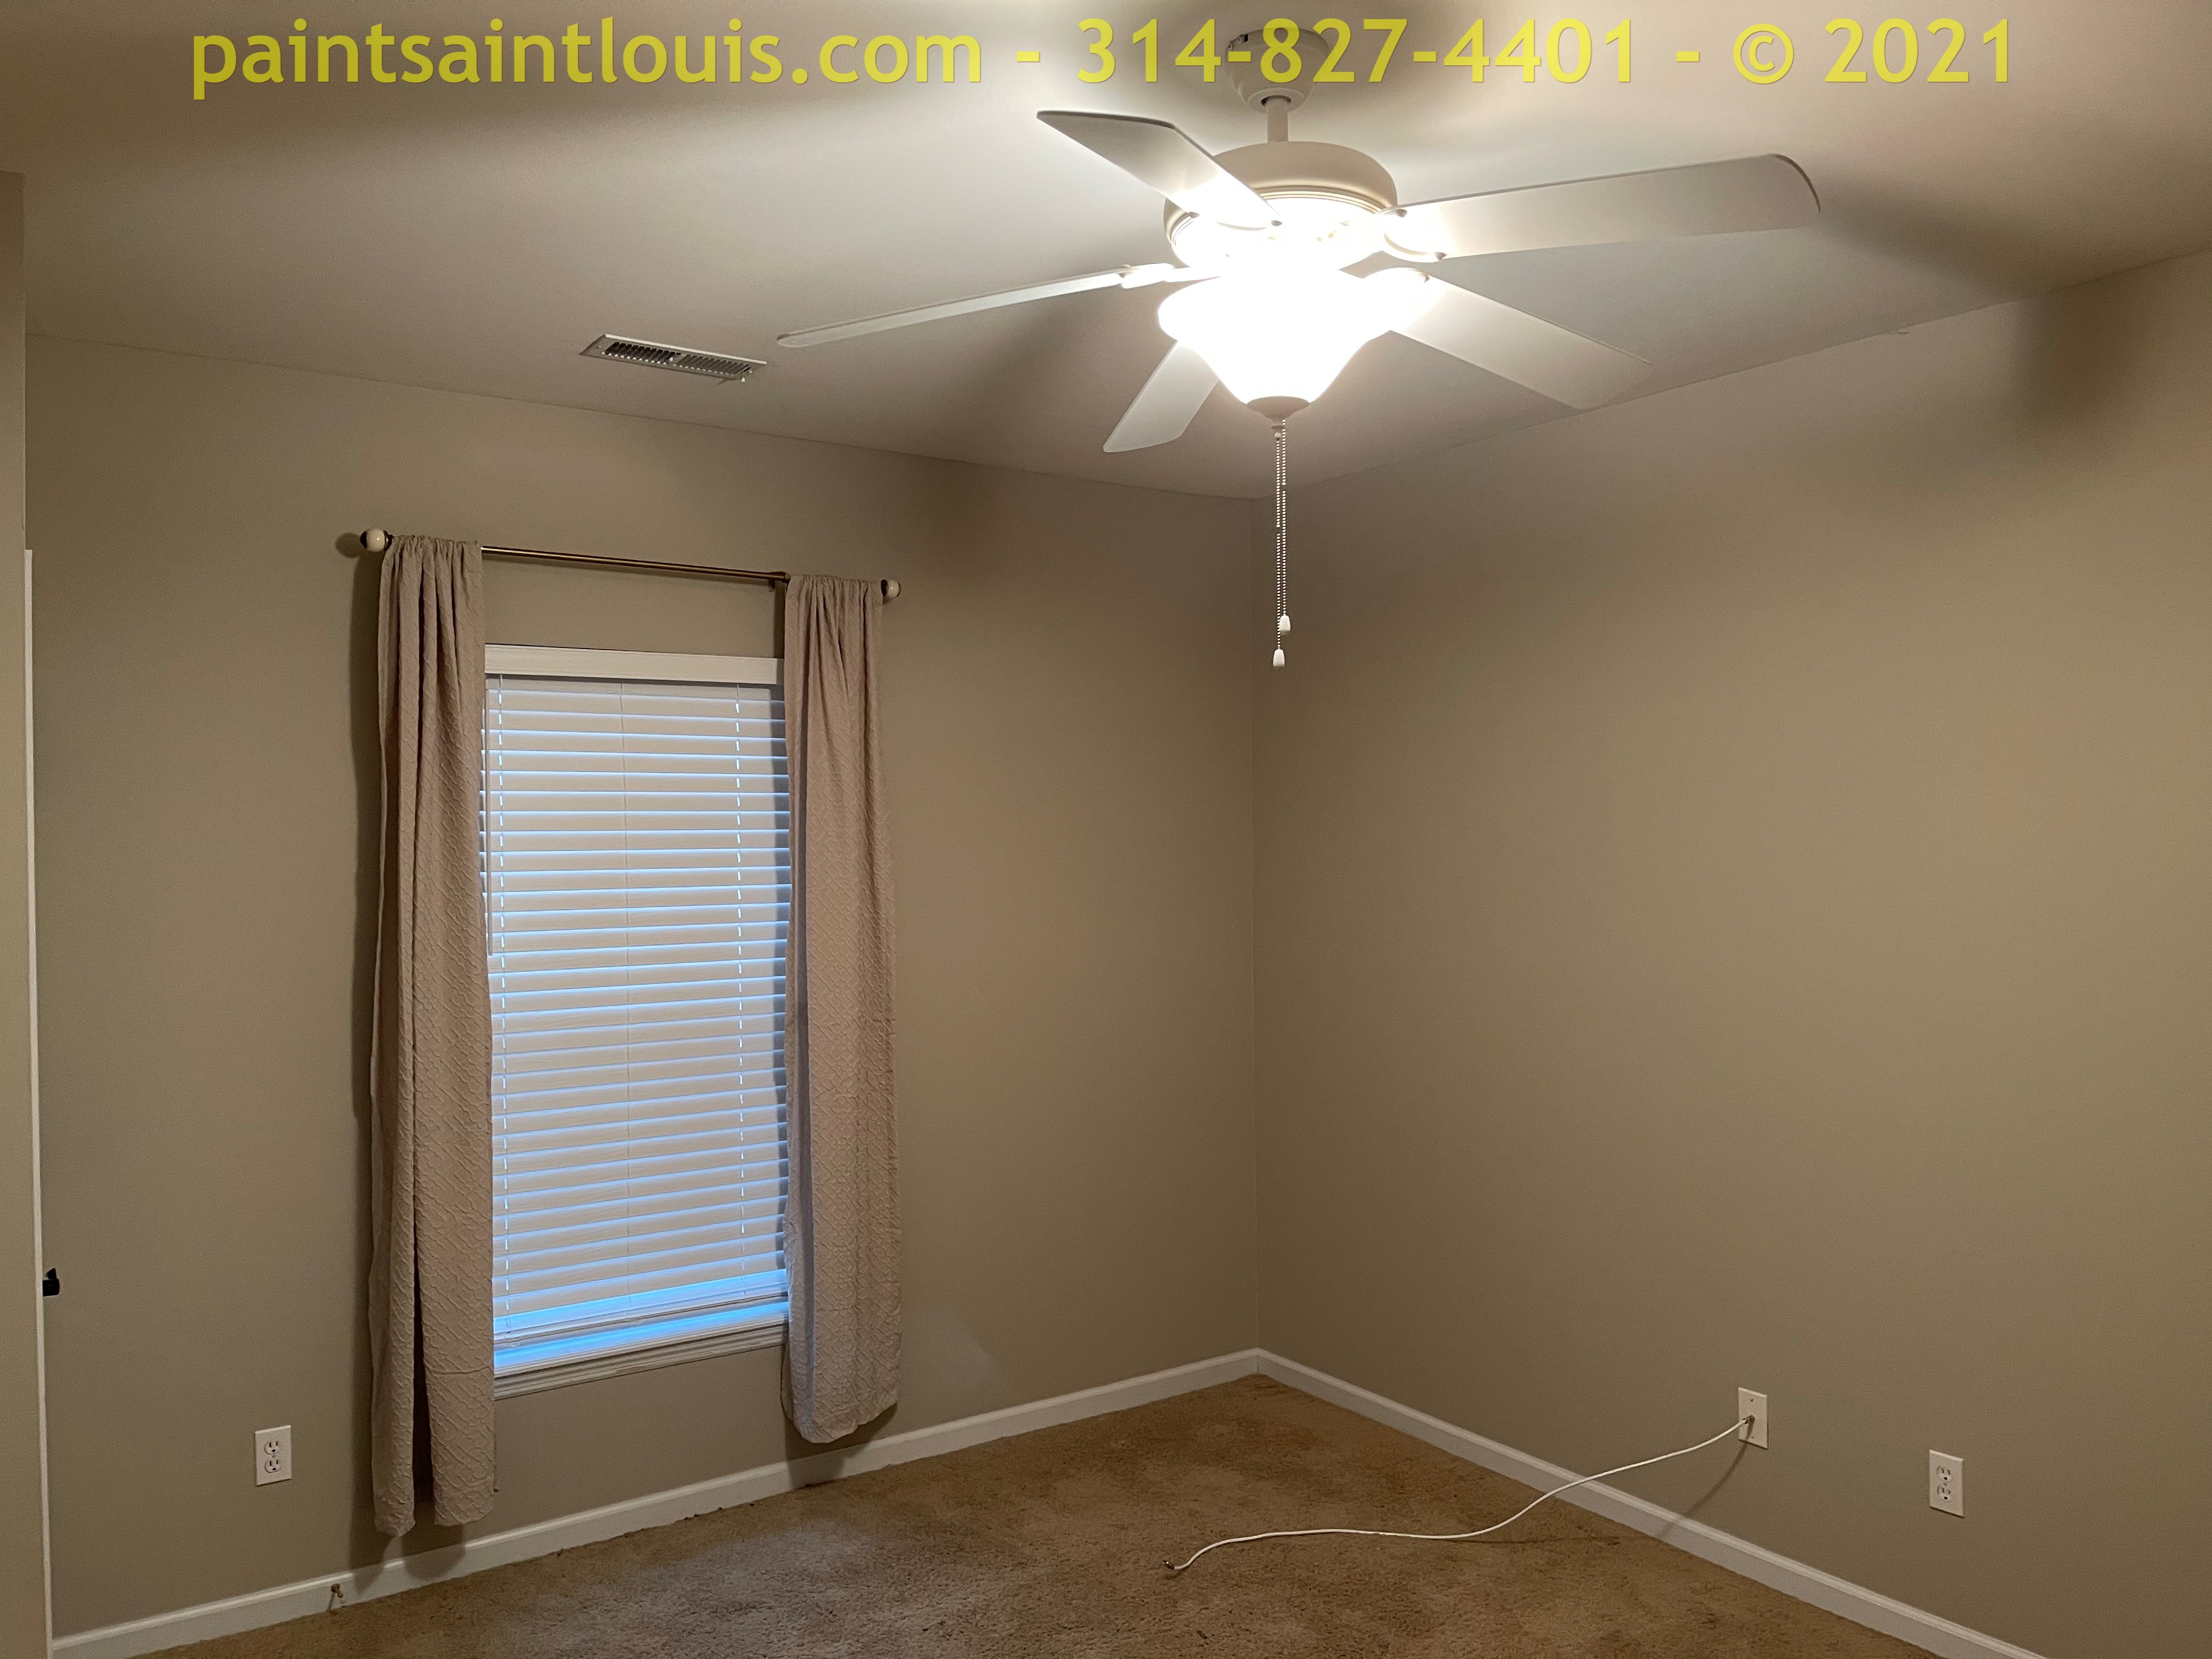
And we start the year in Ofallon, MO to repaint the walls preparing for the new homeowners preparing to move in. B003 720C-3 WHEAT BREAD is the color used and Promar 200 Low Sheen EgShel is the paint line from Sherwin.

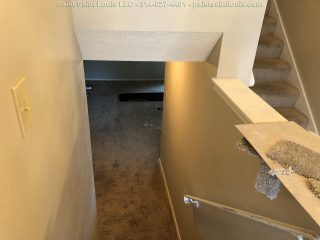
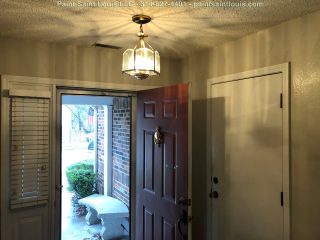
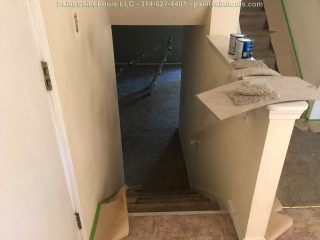
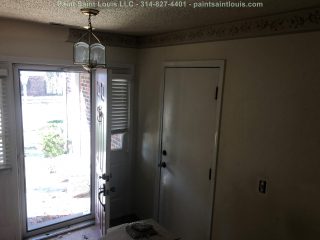
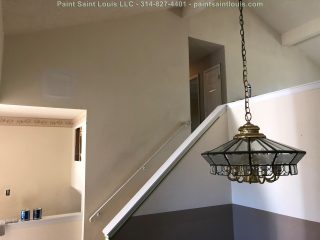
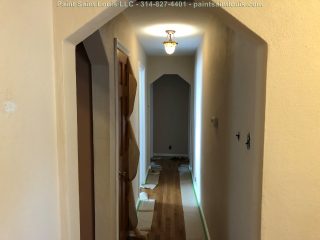
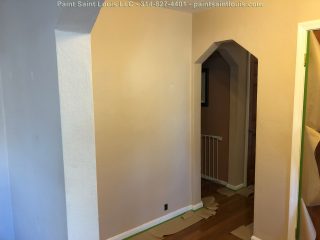
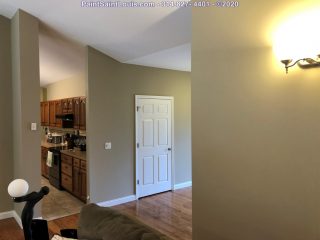
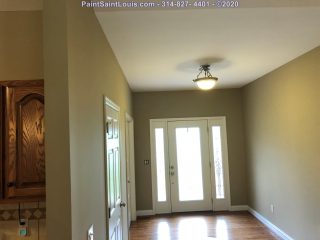
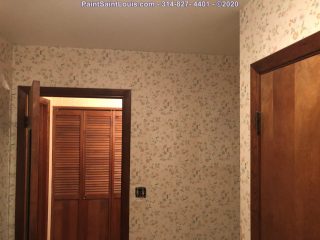
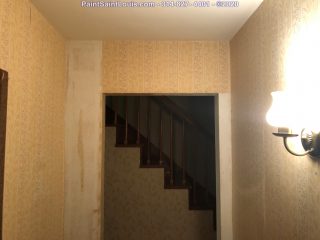
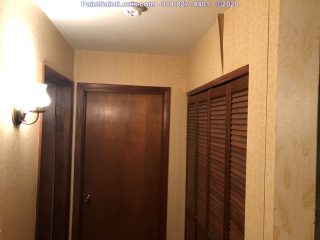
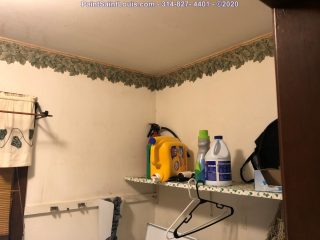
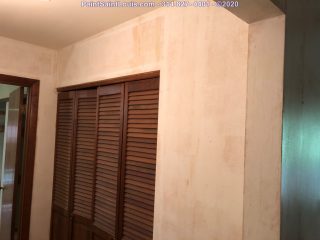
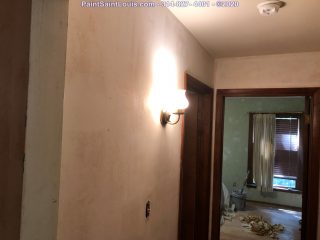
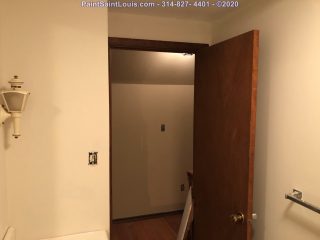
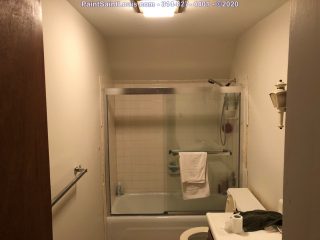
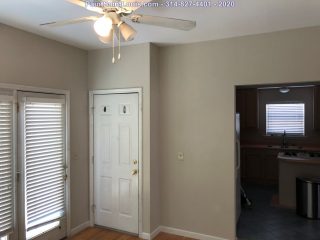
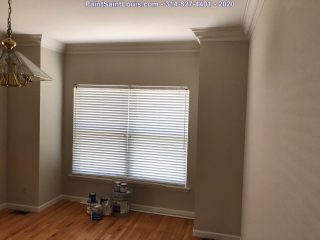
The job consisted of a front bedroom, master bedroom and basement, two bathrooms, bonus basement room, living room, kitchen and entry along with the master bedroom walk in and smaller secondary closet and only the walls.

    F

IMG_0700.jpg

High Ridge – December 2020

It’s been a long year and while I had taken off most of December for a long needed rest I did get bored about mid way through so I squeezed in this quick two room job for a homeowner in High Ridge, MO. This job consisted of finishing a caulking and putty job mostly finished by another company. We then added two fresh coats of paint on the crown in the living, dining and hallway areas then repainted the living room ceiling due to a small hole and finished it off with two coats of fresh paint all around. We did NOT do the doors (we did ask of course) but in case they changed their mind we did do a coat on all the door trim so if they changed their mind it would not mess with the existing wall paint. Baseboards were also done.

IMG_0571-1200x900.jpg

Creve Coeur – November 2020

Before able to rent this condo owner needed some substantial wall repairs caused by plumbers cutting holes through walls to repair and run new pipes. We closed up all the holes, added orange peel back to those areas to hide the repairs then repainted the walls of the entire unit. Color is Sherwin’s Accessible Beige. We also removed wallpaper borders in two rooms and painted over wallpaper in one bathroom.

|

IMG_0467-1200x900.jpg

Sunset Hills – November 2020

Repainted the entry, hall, living and dining rooms in this Sunset Hills area home. Ceilings, walls and trim were done. Please note hallway was still drying when photos were taken and these are older plaster walls which is the texture you see.

IMG_0439-1200x900.jpg

Sunset Hills – October 2020

A typical basement ‘rafter blackout’ using dryfall. Did two coats to get a real good fill as the basement will be very brightly lit.

Please note a few spots still drying in the pictures. The builders are coming in after to paint out the walls.

IMG_0378-1200x900.jpg

South County – October 2020

Another stained wood to paint conversion for this set of cabinets. The original color was a blonded light wood color (you can see it in the hinge hole). We did our usual magic, primed the surfaces then applied three coats of paint on fronts and boxes and two on the backs. Another beauty finish!

The color is Grizzle Grey SW7068 from Sherwin using top of the line Emerald in a satin finish.

IMG_0186-1200x900.jpg

High Ridge – September 2020

A main level repaint of this Fenton area home. Included a 23′ atrium/staircase, 16′ vaults across the main area consisting of the kitchen, dining and living room area along with the front entry and a small hallway. There were a few areas of drywall damage including a uneven section of wall going into the kitchen. a busted corner bead in the kitchen and a shifted piece of drywall just going down the stairs. We then painted two coats of Emerald on all the main walls and a rich red accent on several of the vaulted sections.The color used for the walls was only a shade darker than the original but switched from a flat to a low sheen eggshell.

Wall color (main) SW6150 UNIVERSAL KHAKI

Wall color (accent) SW7585 SUN DRIED TOMATO

Paint used: Emerald Flat

IMG_0138-1200x900.jpg

DeSoto – September 2020

Owner had taken down a few pieces here and there and like many decided that was enough. We came in and pulled all the paper except one room which was pretty much glued right into drywall so we skimmed back out the test area, sanded down the seams and skimmed those, sealed the paper and repainted. All the rest of the rooms came down (some very stubborn), did some patching, sanded down all the walls, sealed and repainted.

This home is a good example of the challenges of all wallpaper jobs – even within the same home paper removal can go drastically different from one room to the next. On this property we ran into normal two piece brown backed paper which came down pretty normal, two rooms where it was a little difficult and two rooms where we basically had to power sand through the top layer to get a clean release – and that final room that was right onto drywall with no chance of removal without significant damage. And even after the paper is down you may find unexpected things – in the upper hallway wallpaper was run directly over an open air return, two small holes in the wall in the bedrooms and even old anchor holes all of which have to be repaired.

Before:

After:

IMG_9878-1200x900.jpg

Pacific – August 2020

Wallpaper… wallpaper and even more wallpaper. Some of it up right, some of it not. Likely one of the more challenging removals but the biggest worry from the initial pictures was what looked like bare drywall… instead the installer used the very same acrylic type sealer we use after removal to seal out residual wallpaper glue. This was mostly an original builder install and for some  reason two different types of paper were used – the two part paper backing type which is a simple and usually damage free removal and the other a very common thin fronted and thin backed white membrane paper which in many cases can be stubborn to remove cleanly. The first bathroom shown was a paper removal only as it is going to be remodeled so there was no reason to repair the walls or paint. The job entailed the upstairs hall style bathroom (remove only), a secondary standard bedroom that had top to chair rail paper, a third bedroom with chair rail to floor paper, the two story foyer which was entirely papered as was  the areas of the first floor including secondary bathroom, rear hall/mud room, laundry, kitchen and sunroom. We did our usual process of remove, patch walls, sand, seal, first coat, check for last second patching, second coat and done.

IMG_9537-1200x900.jpg

U-City – July 2020

Before the painting began we stripped down three rooms of wallpaper and backing. Once complete we allow the walls to dry till the next morning. At that point we patch all visible issues and allow to dry then sand the entire wall surface top to bottom and apply a sealer to lock down any residual glue. That sealer is allowed to dry for 24 hours at which time it’s ready to paint.

With the wallpaper down it’s time to paint. As the home is being prepared for sale we went with Accessible Beige throughout.

Verified by MonsterInsights